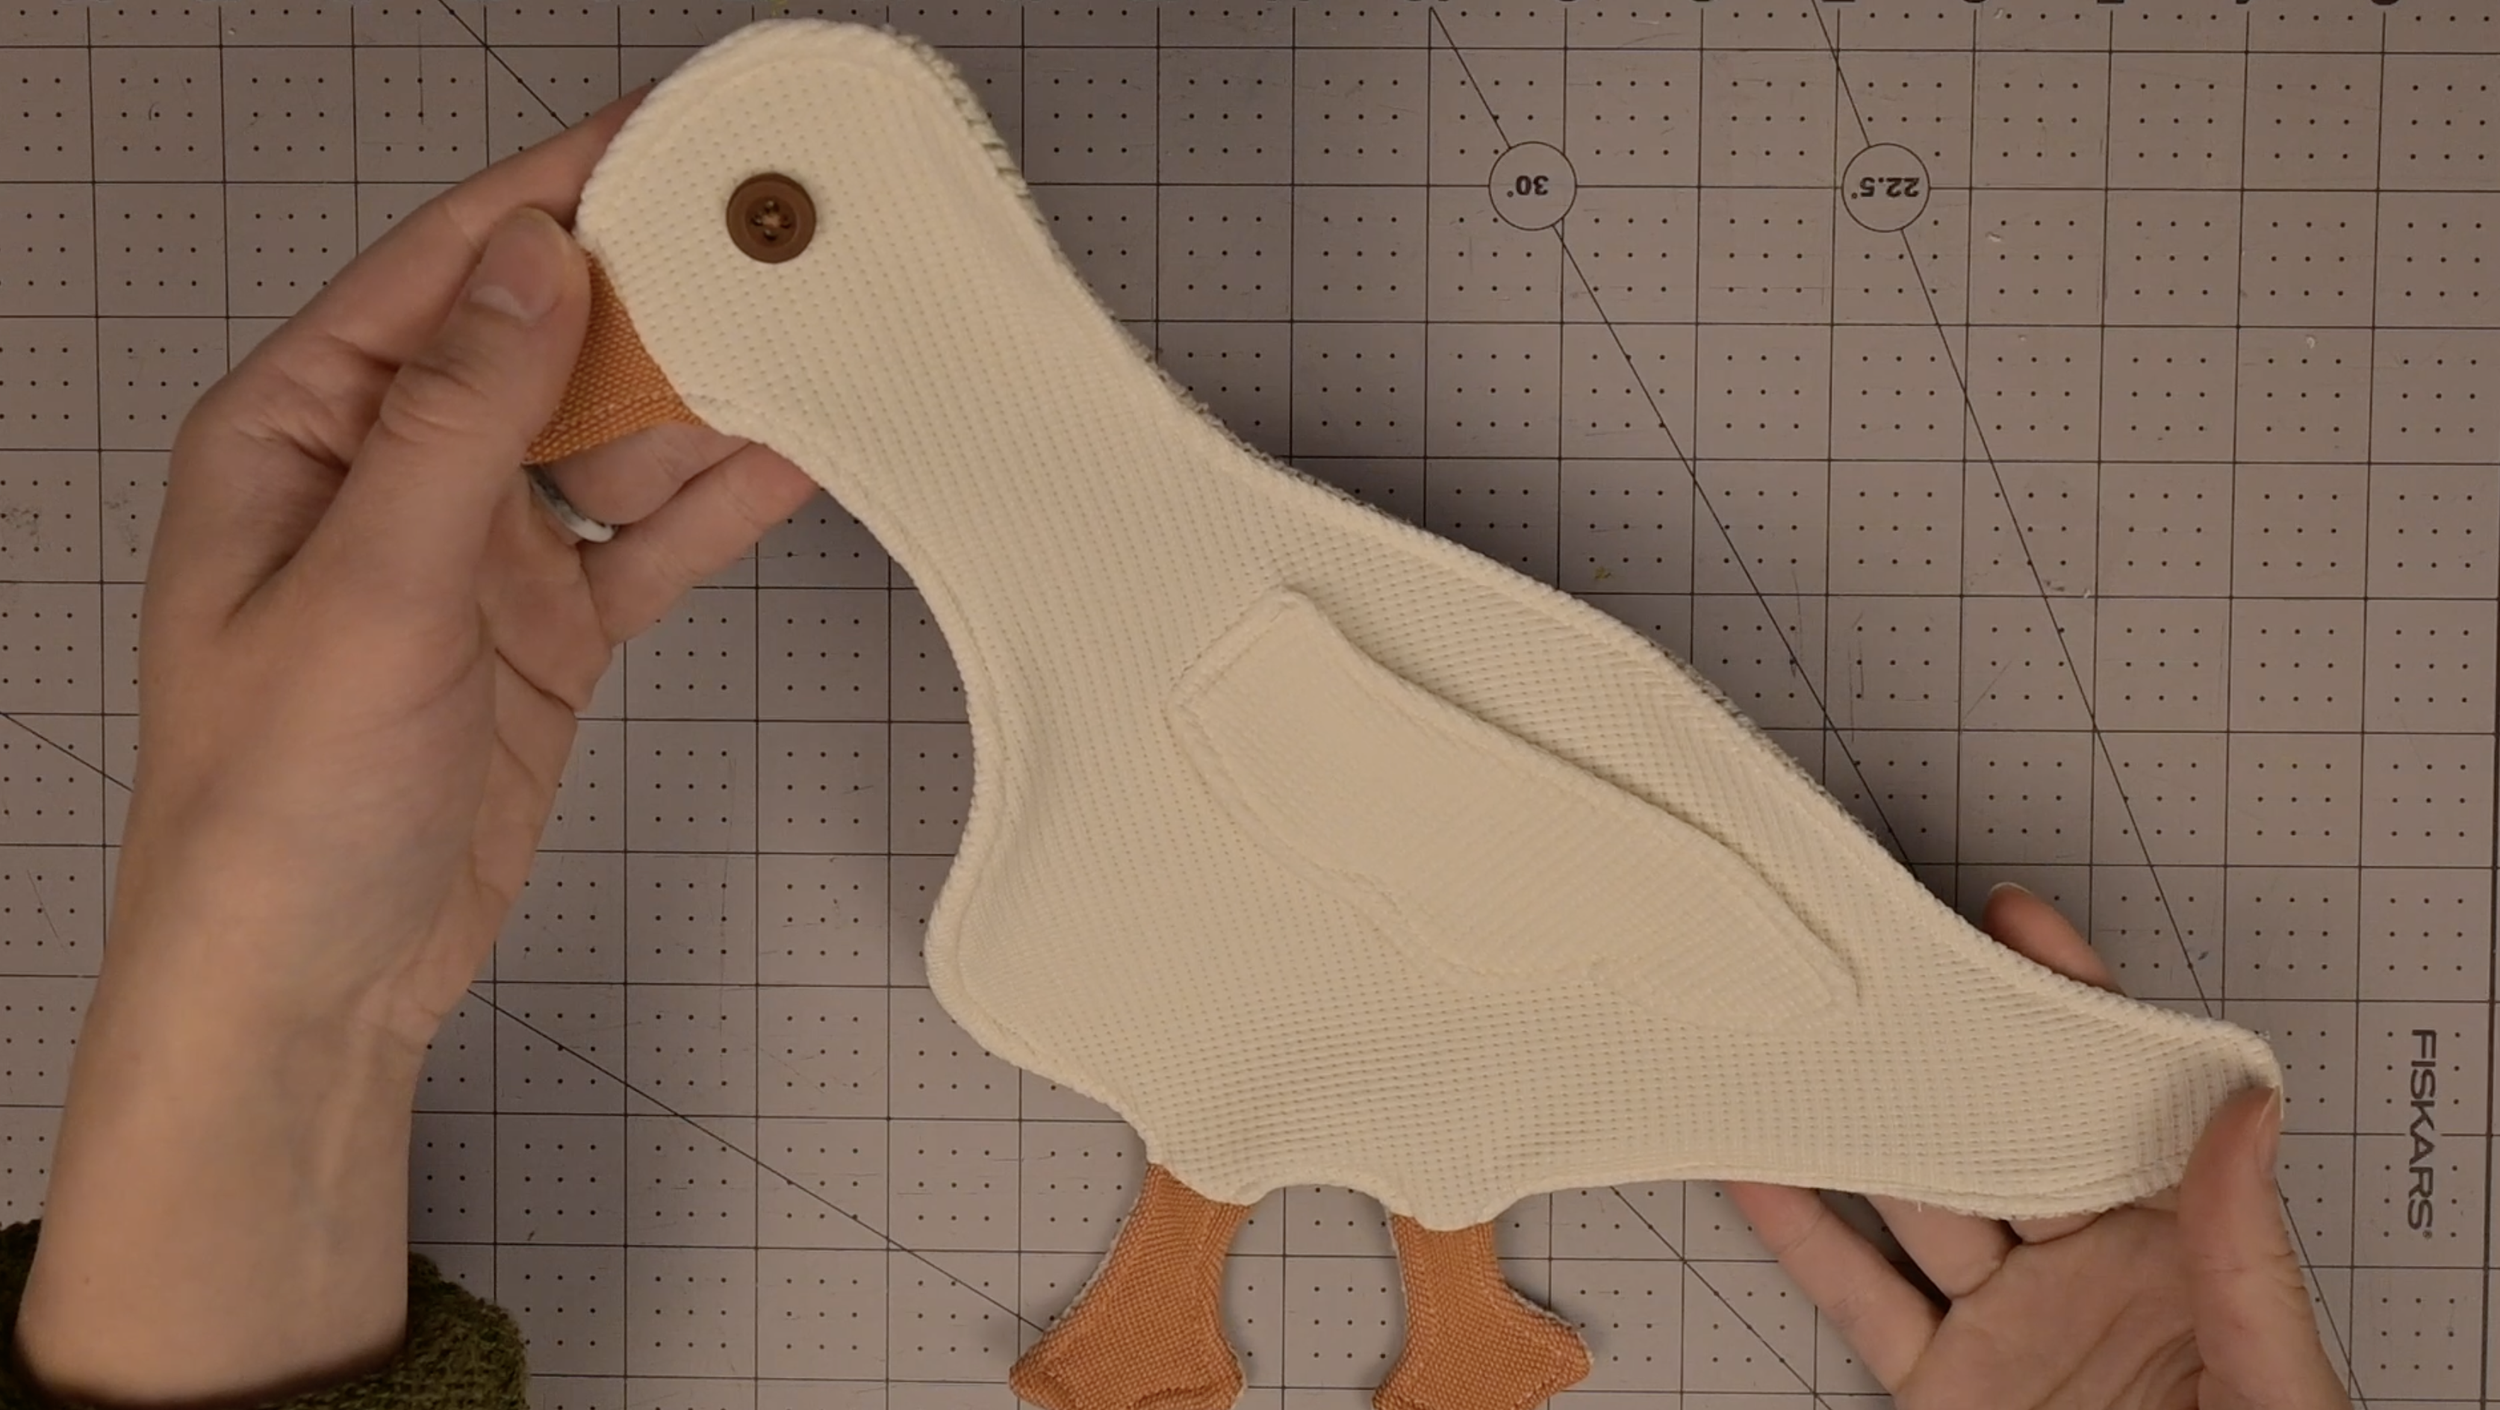
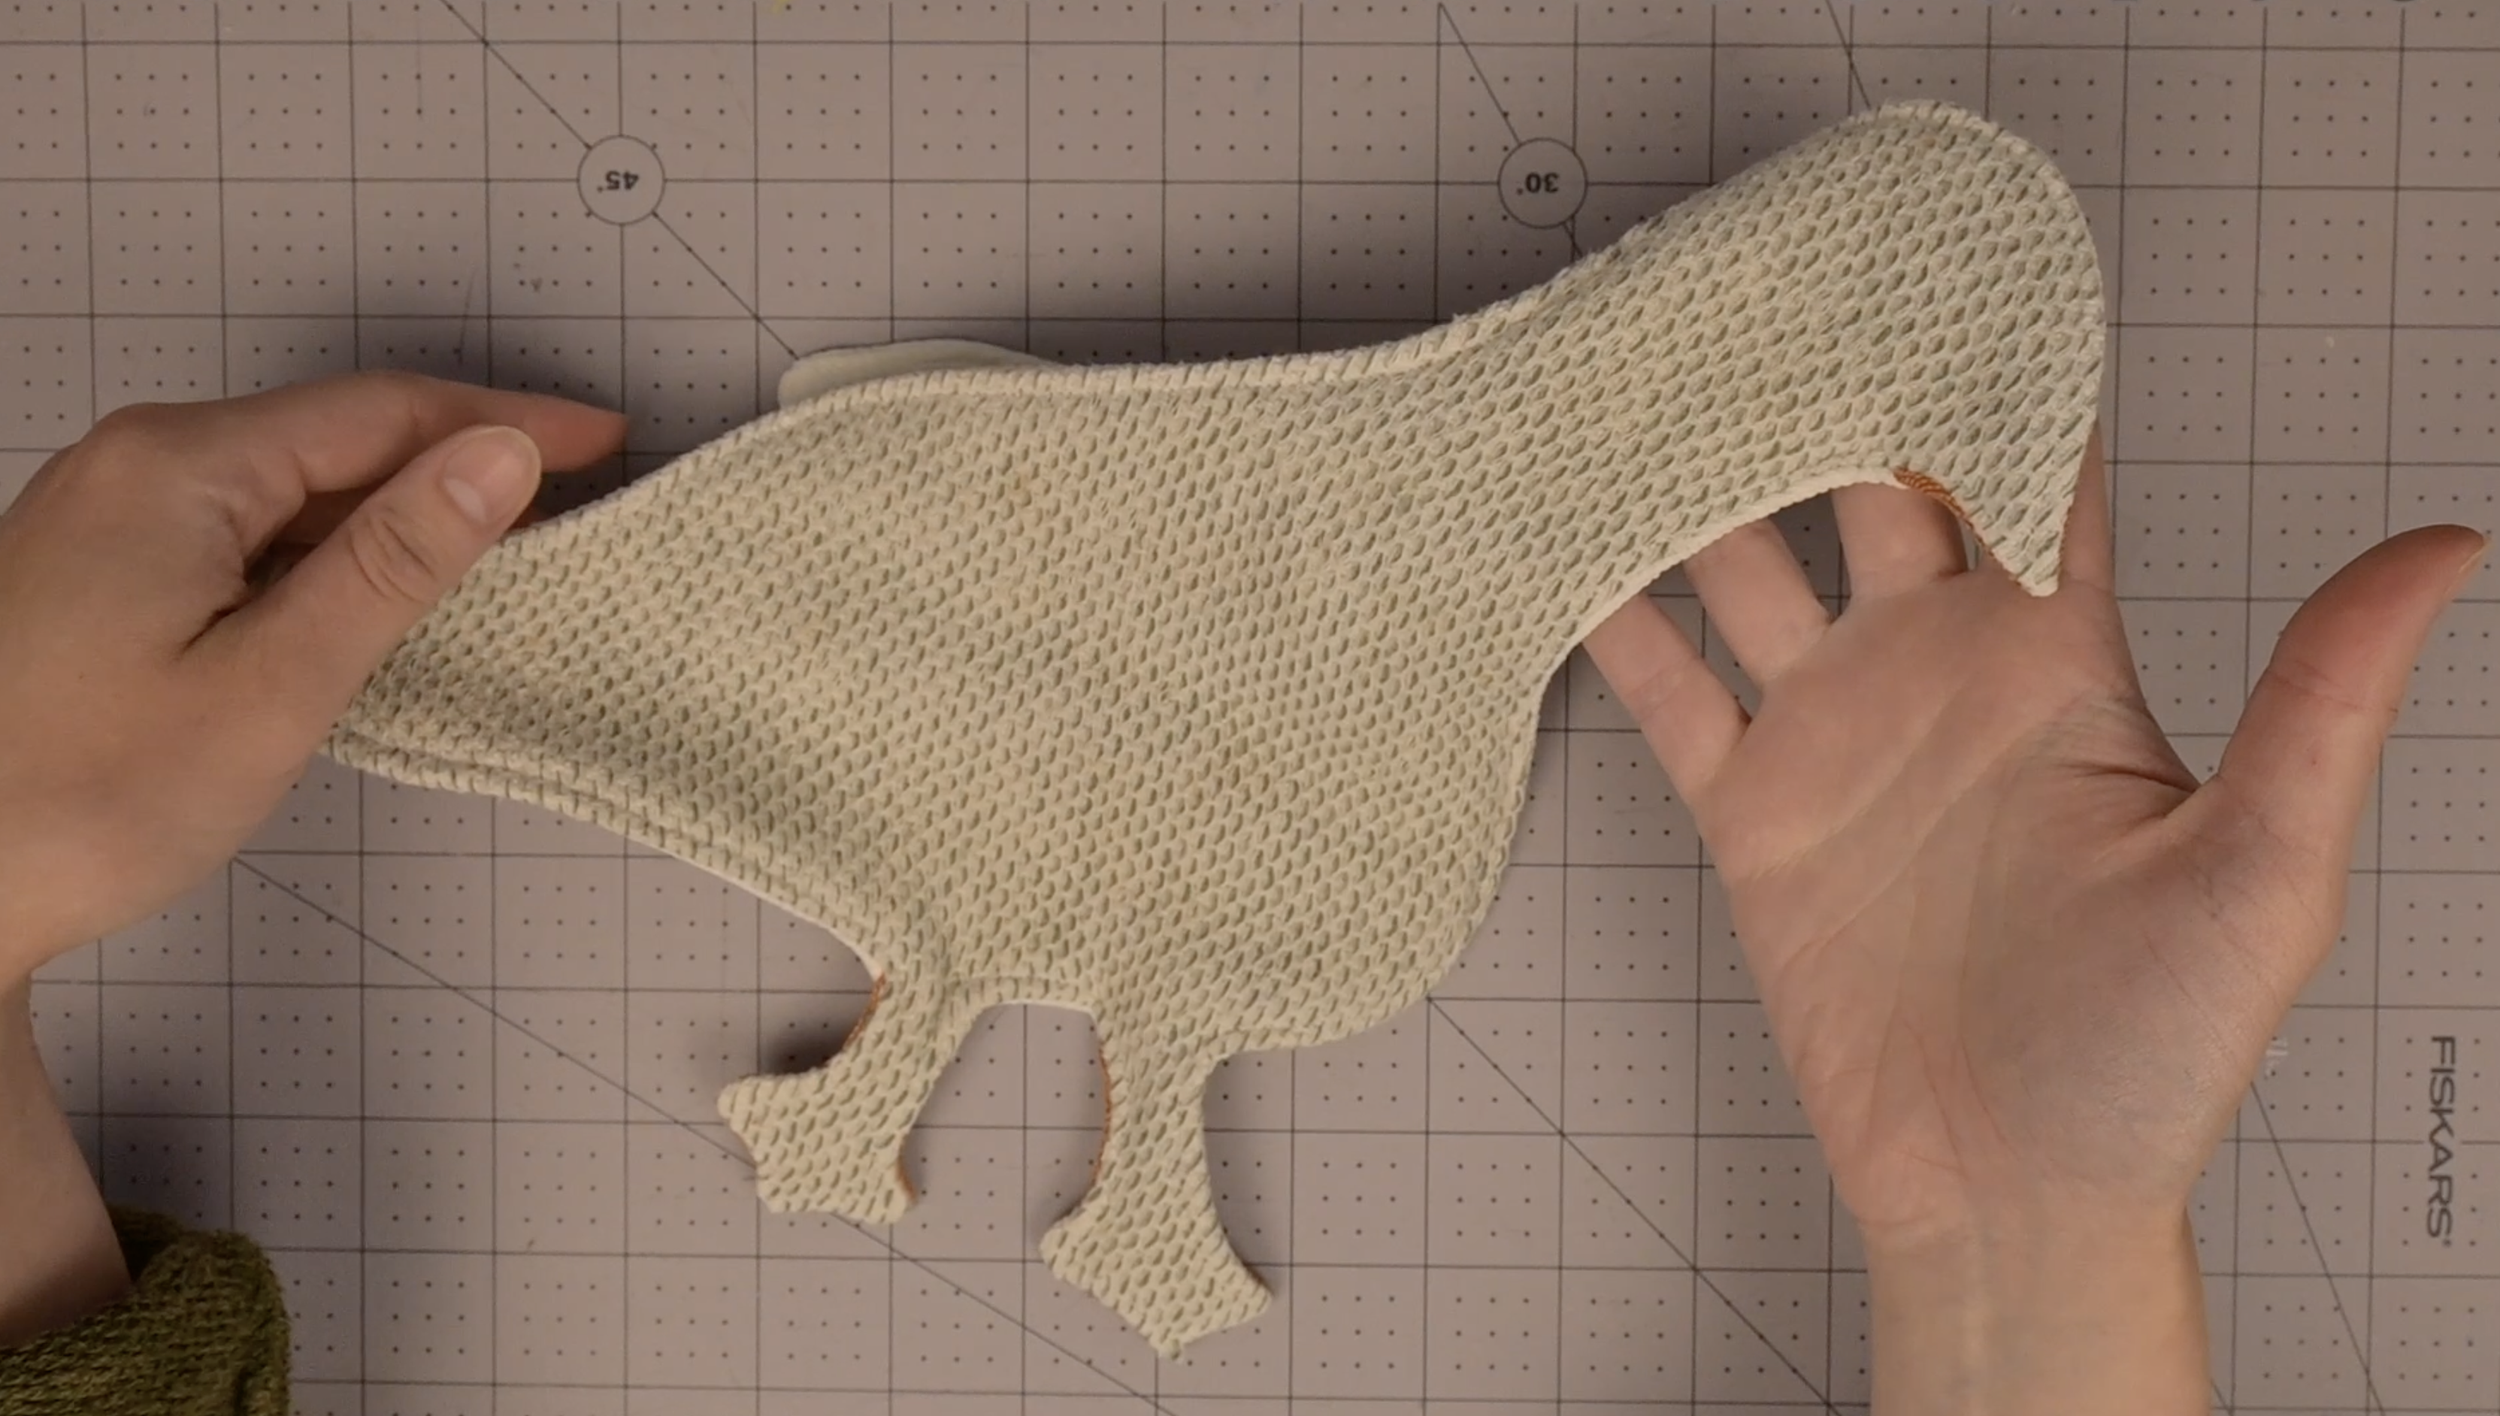
Floor Goose (Goose Mop) Step-by-Step Tutorial / Free Downloadable Pattern!
Let’s make a Floor Goose, inspired by the viral Turtle Mop!
These absorbent Goose Mops are designed for everyday drips. The best part? You don’t even have to bend over. Just drop the goose on the floor, place your foot on its back, and slide it across the floor to wipe the mess away.
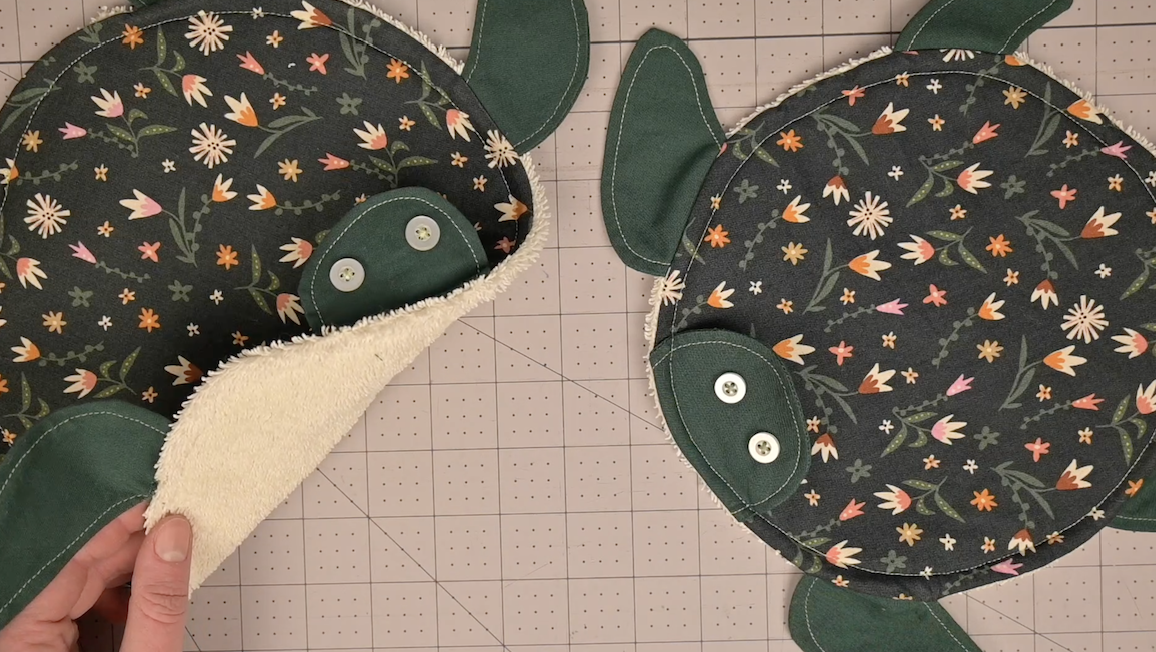
Looking for another design option?
Materials Needed (As an Amazon Associate I earn from qualifying purchases):
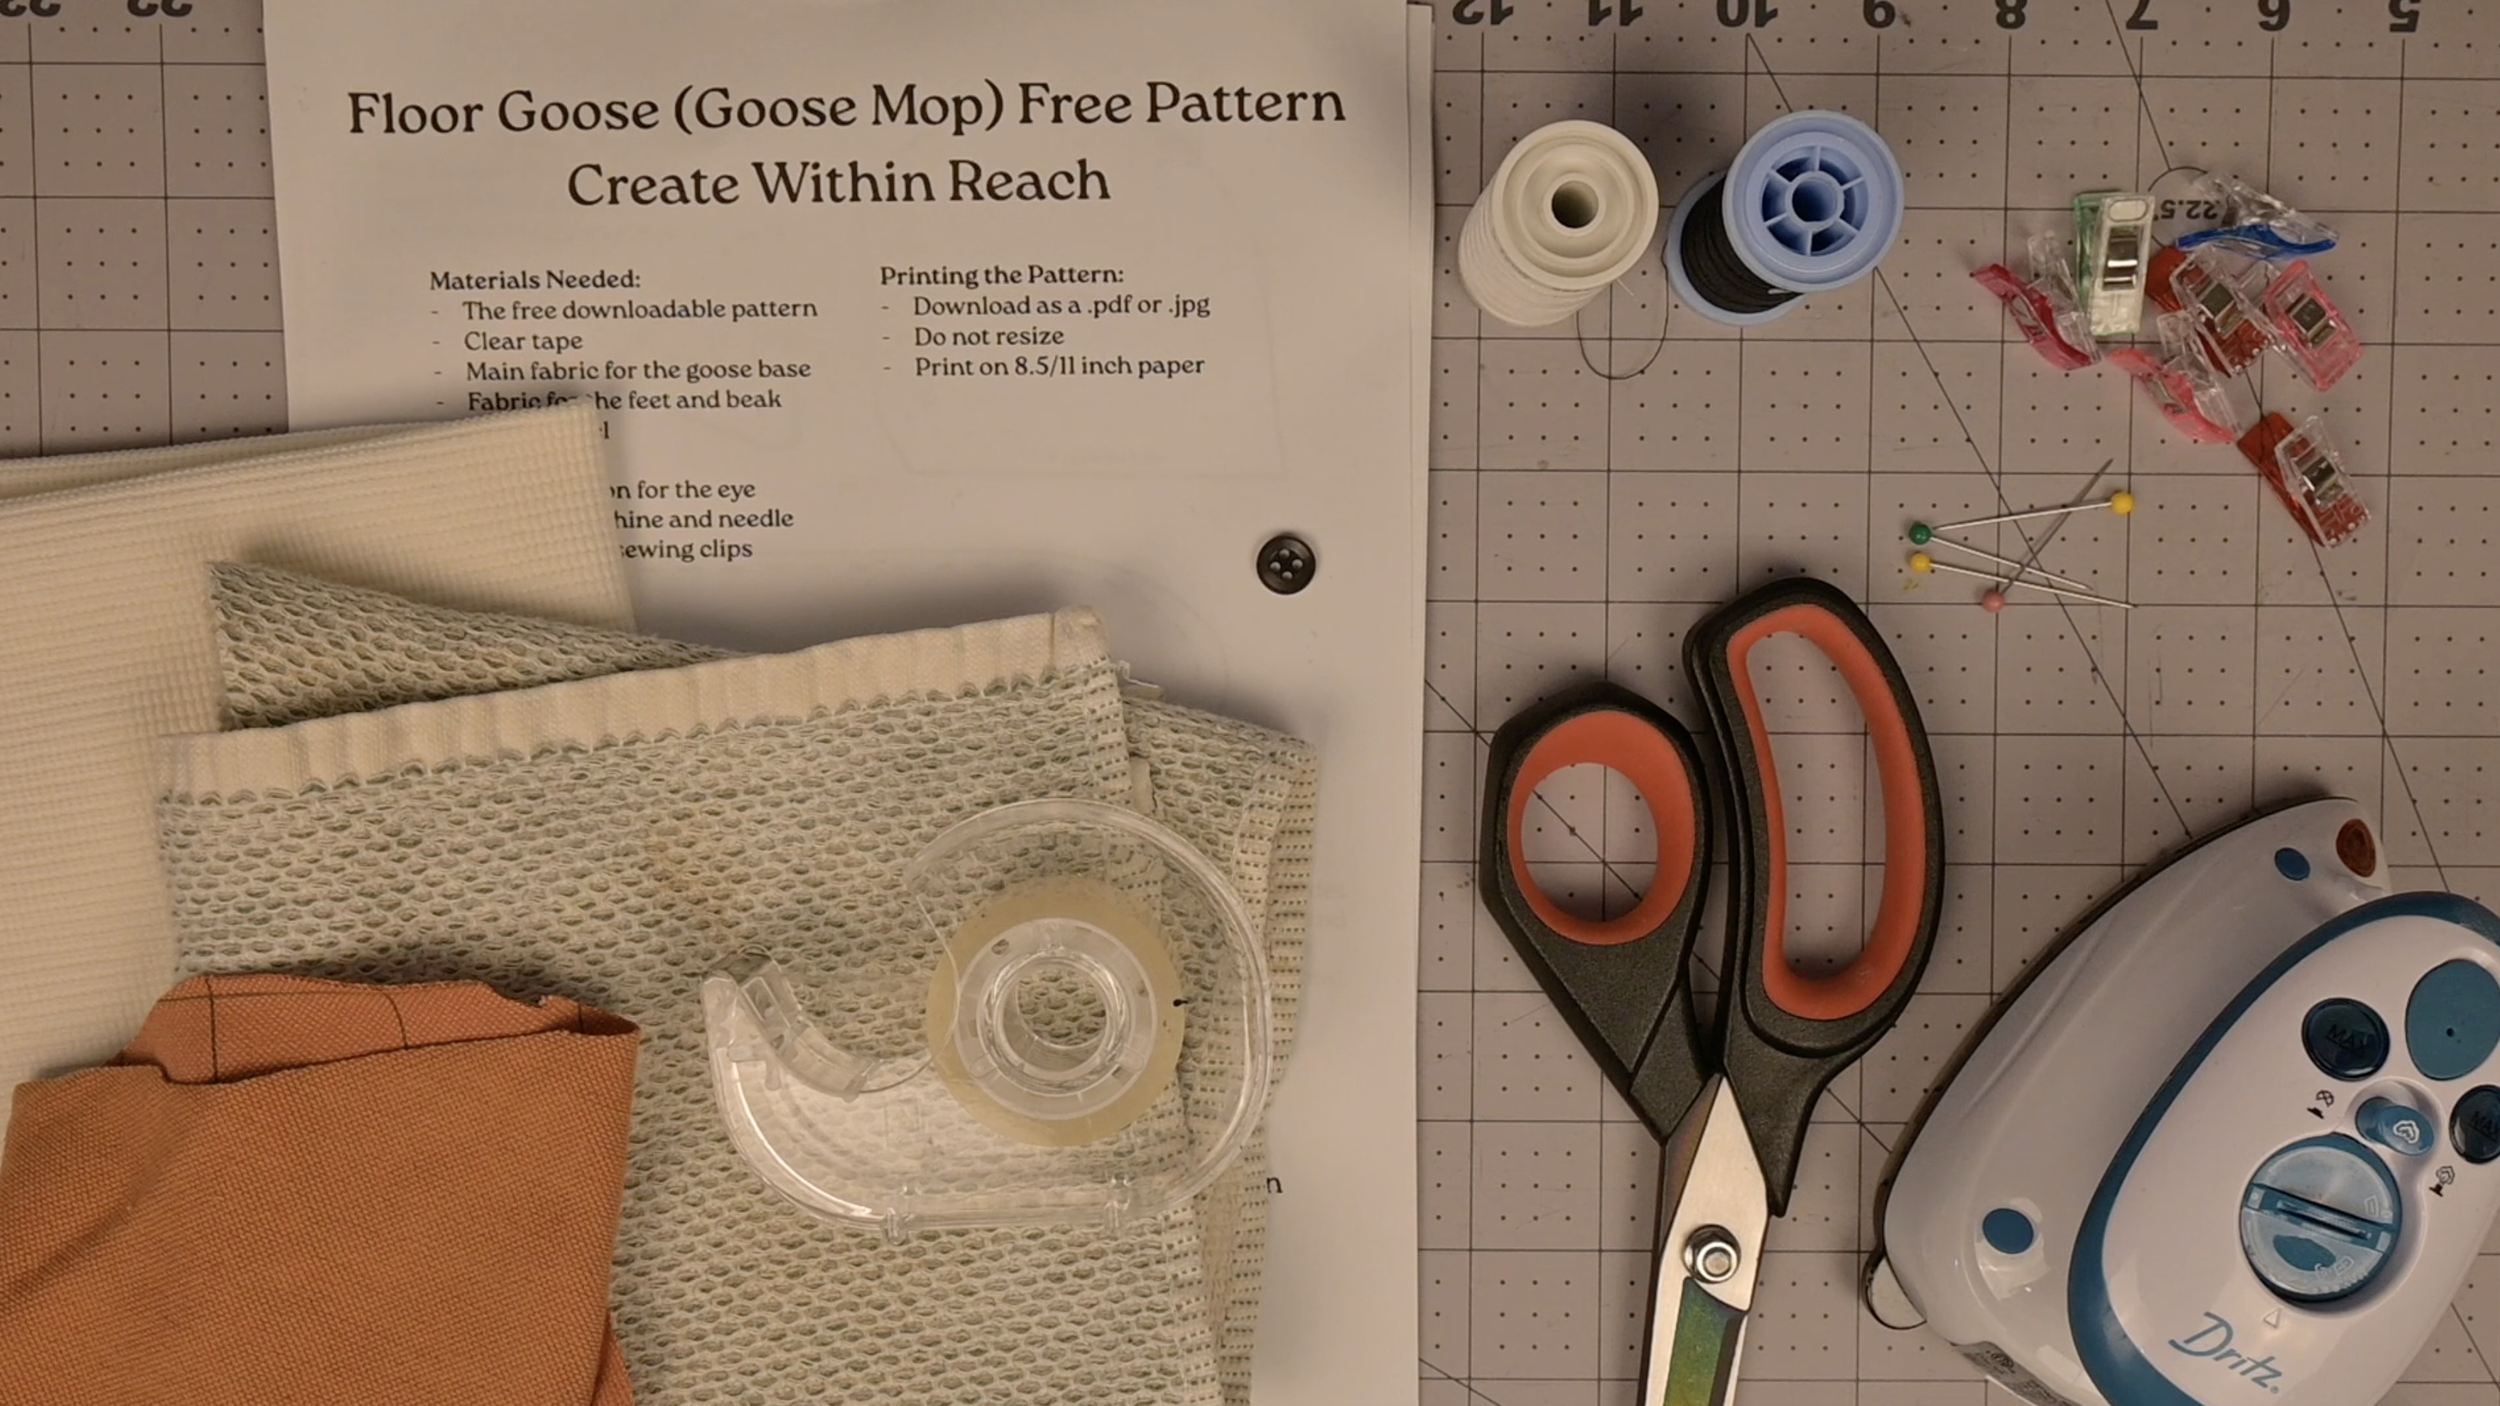
Clear tape
Main fabric for the goose base
Fabric for the feet and beak
An old towel
Thread
1 small button for the eye
Sewing machine and needle
Pins and/or sewing clips
Scissors
Iron
Ironing board
The Downloadable Pattern:
Linked below is the free downloadable file:
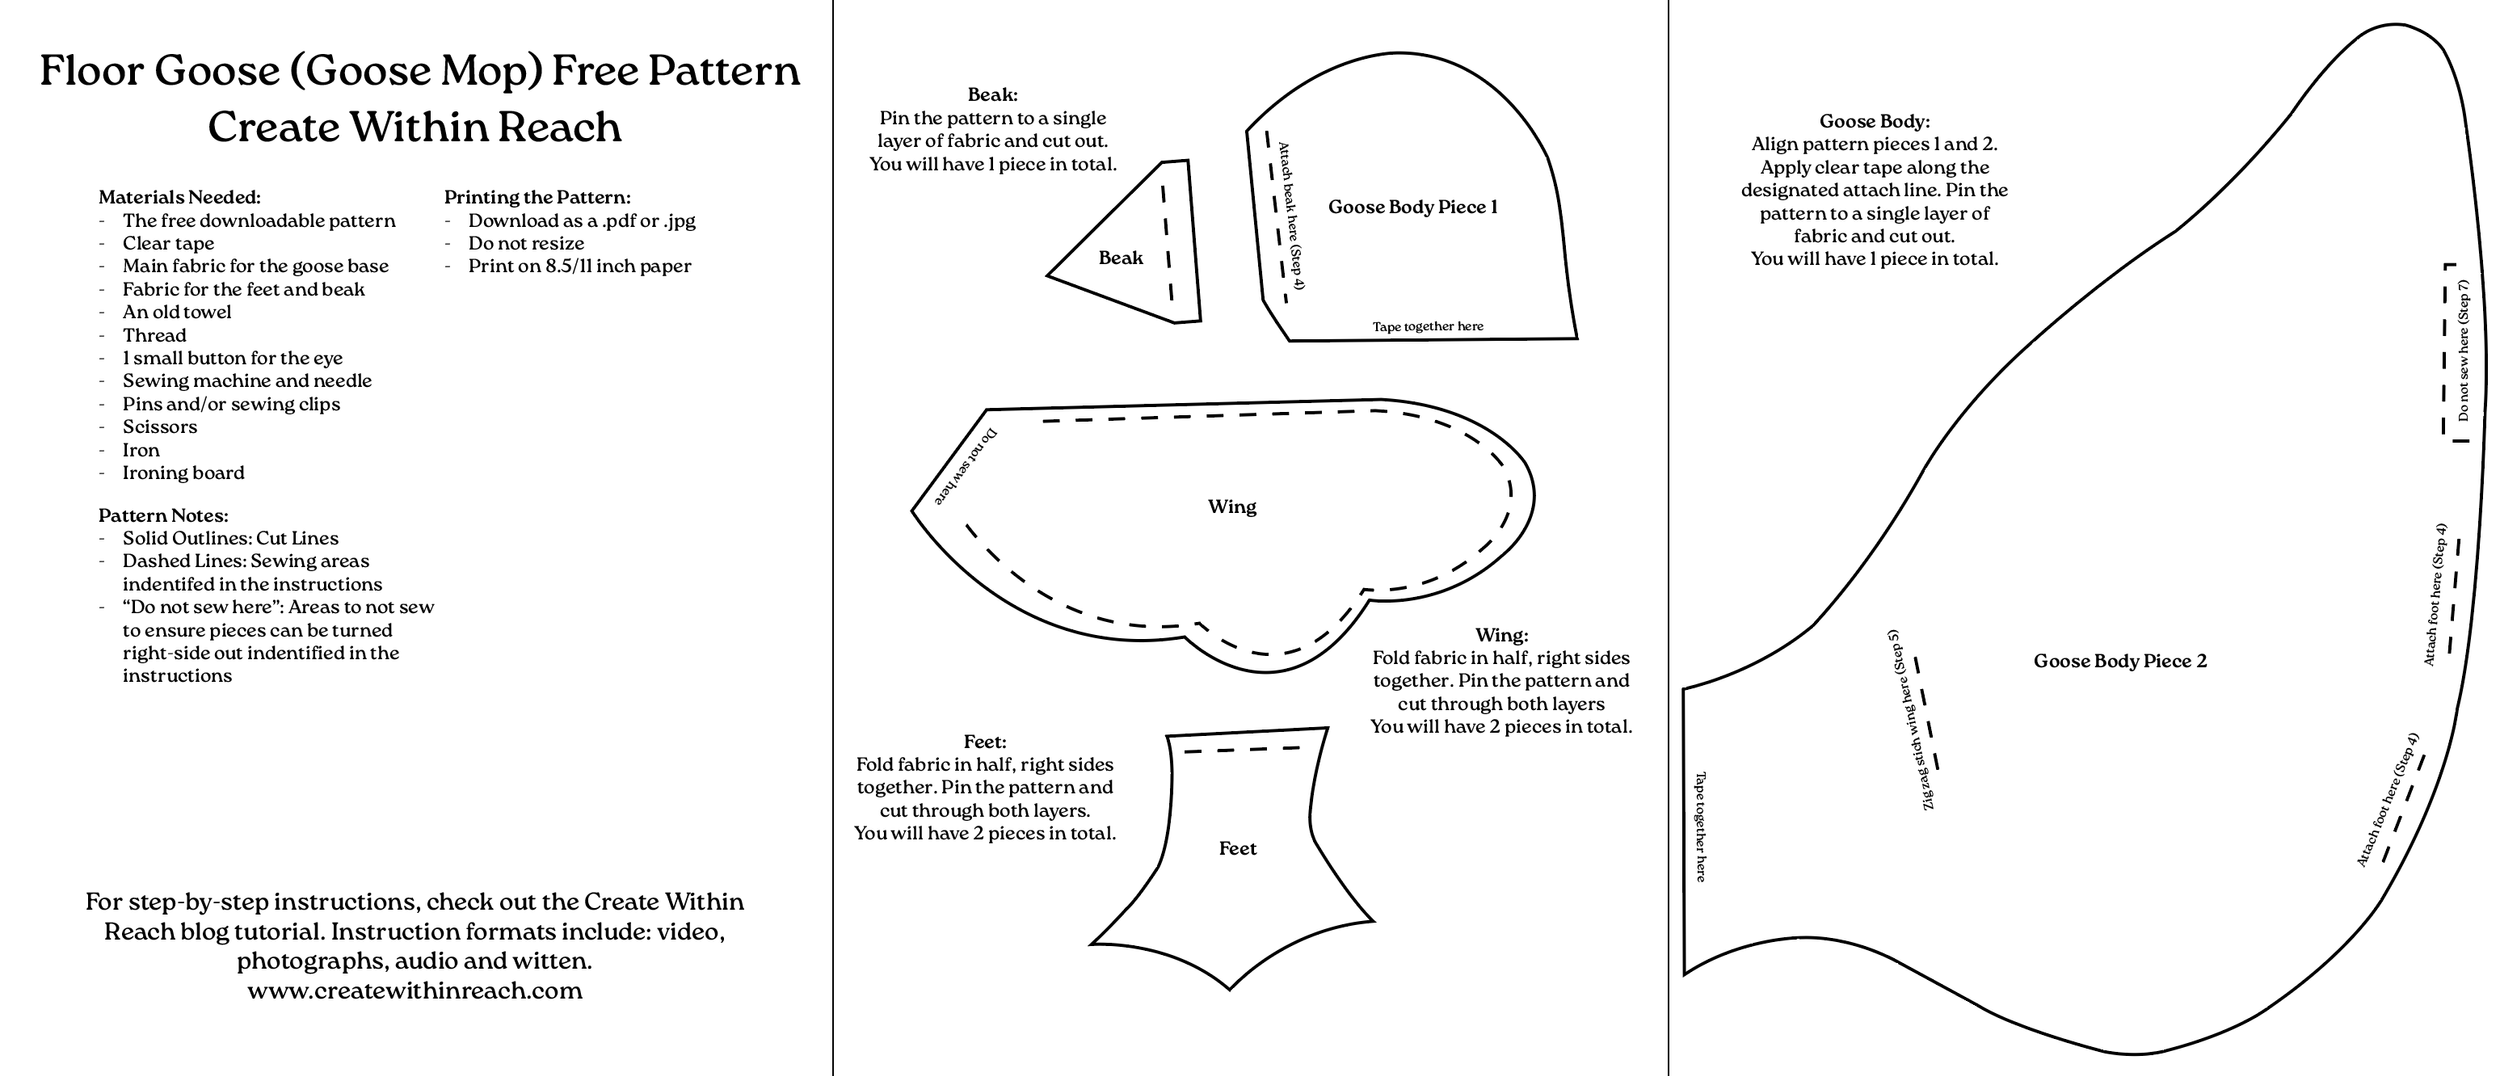
Step 1: Print the Pattern
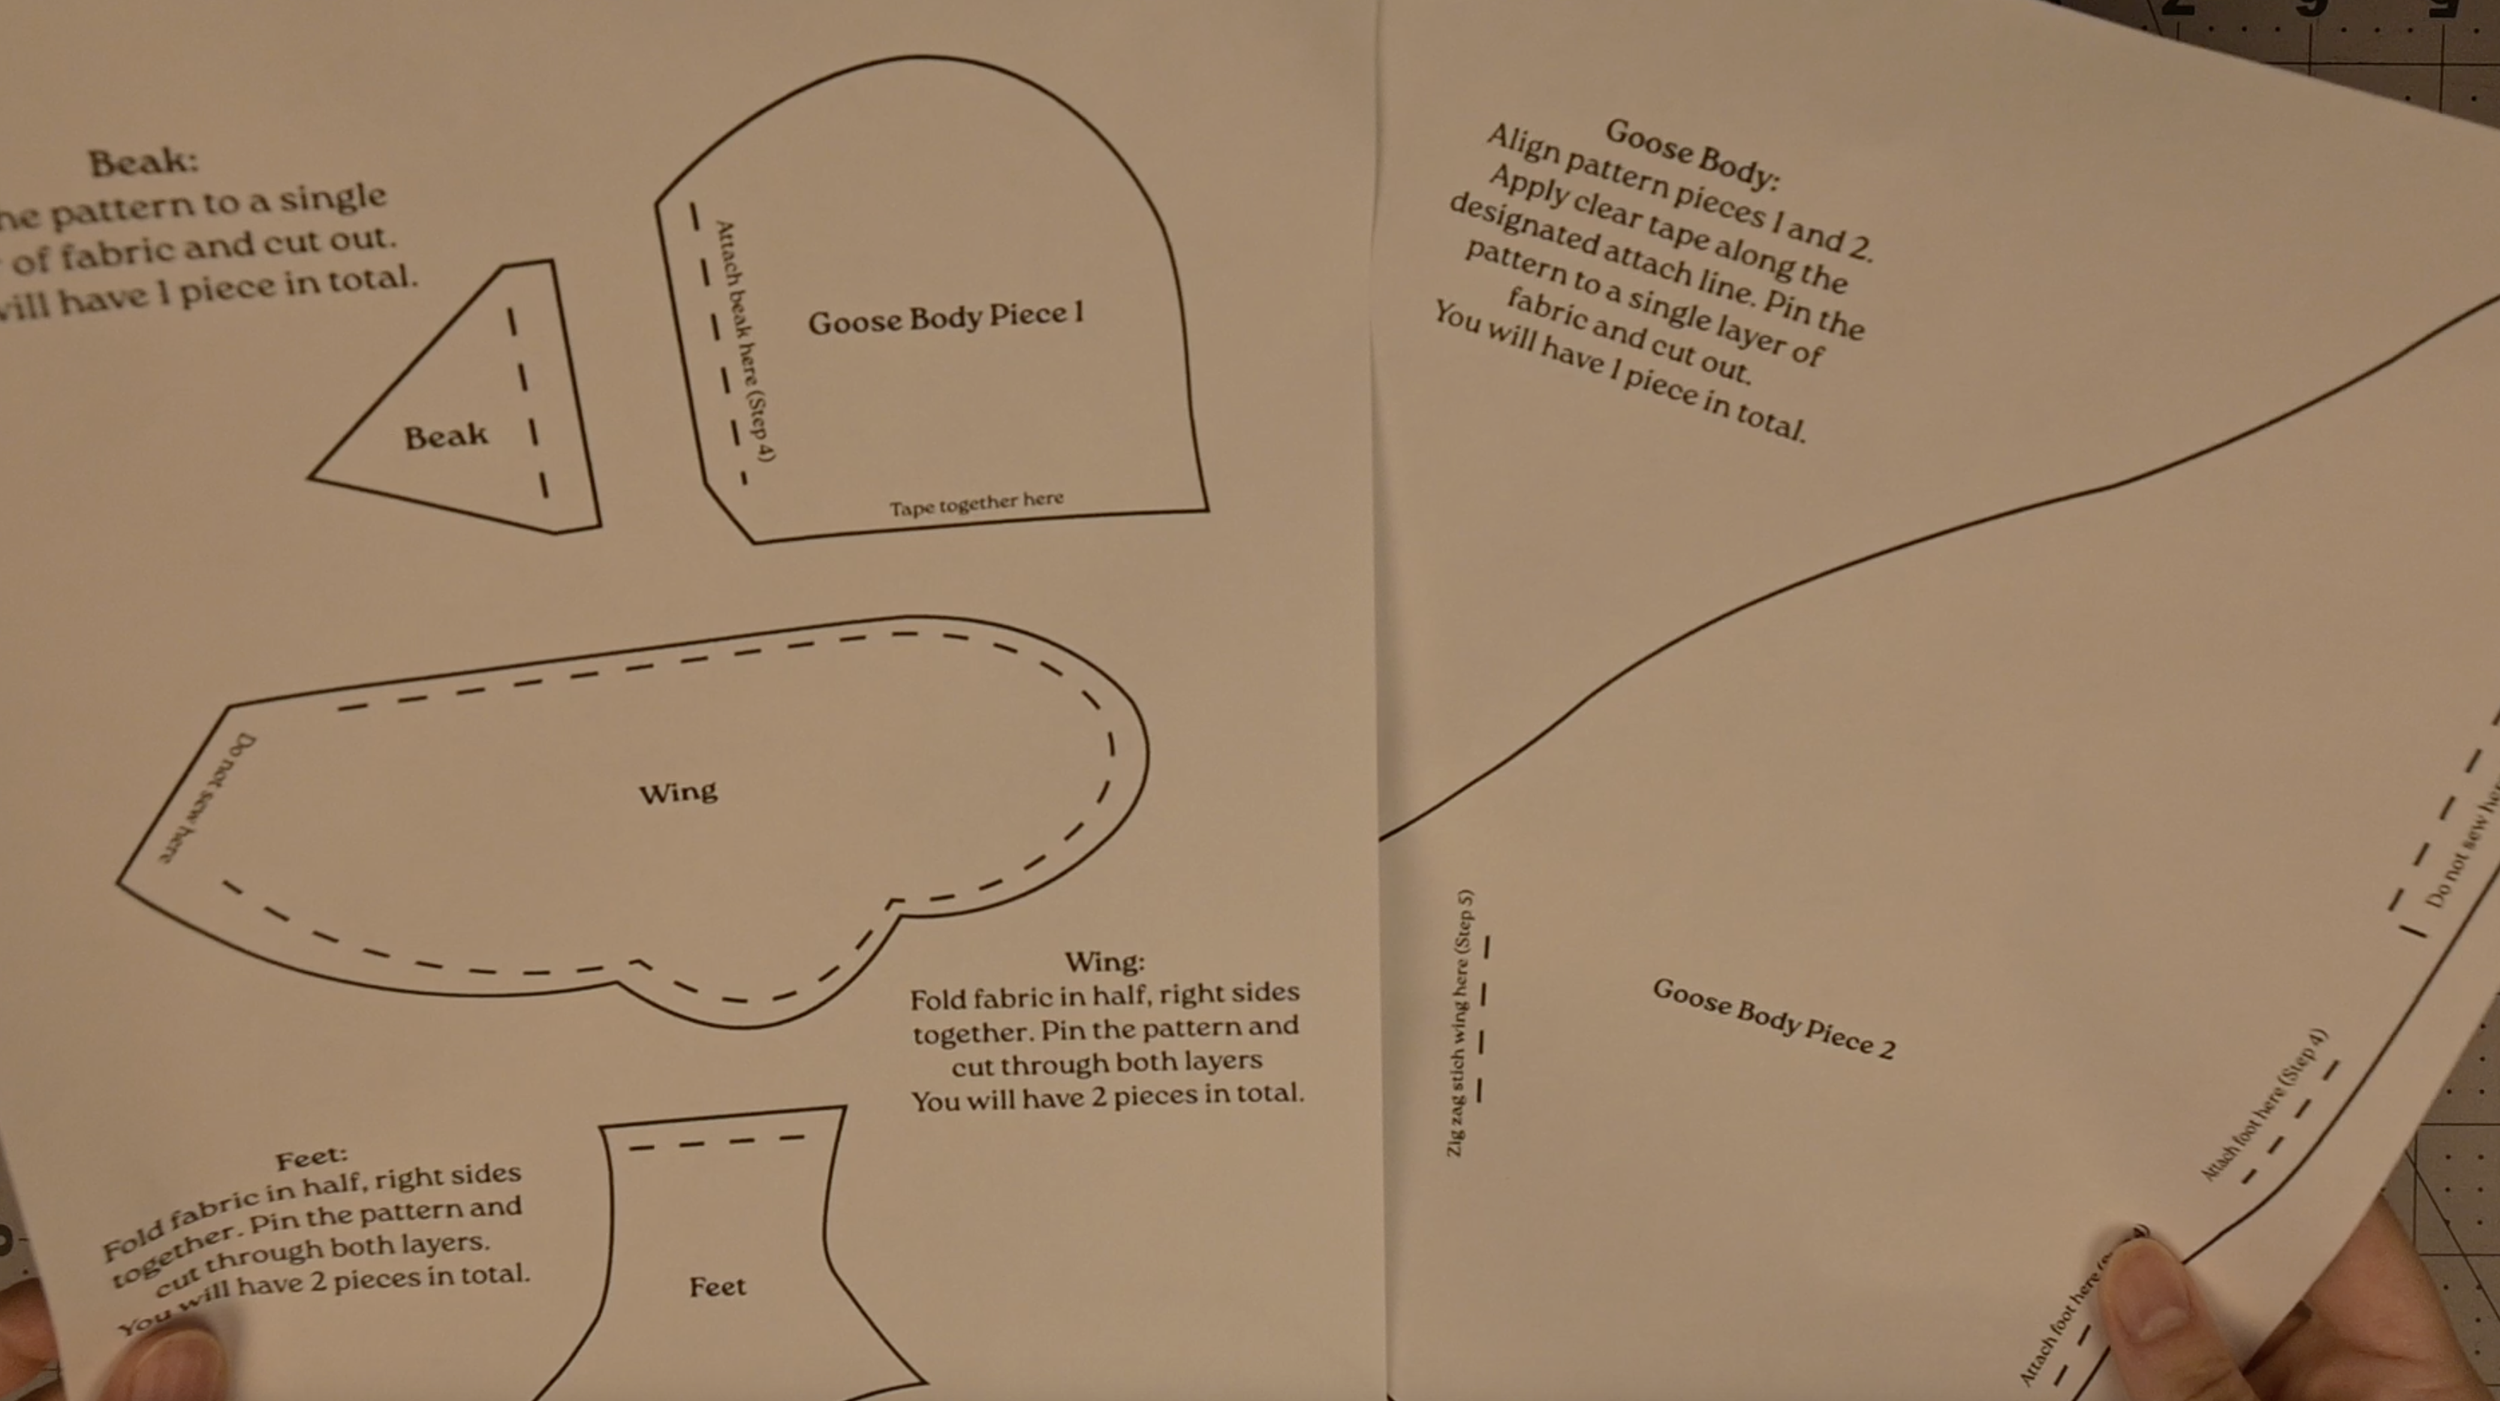
Download the free pattern as a .pdf or .jpg.
Do not resize the file to ensure the dimensions remain correct
Print on standard 8.5" x 11" paper
Step 2: Cut Out and Prepare the Paper Pattern
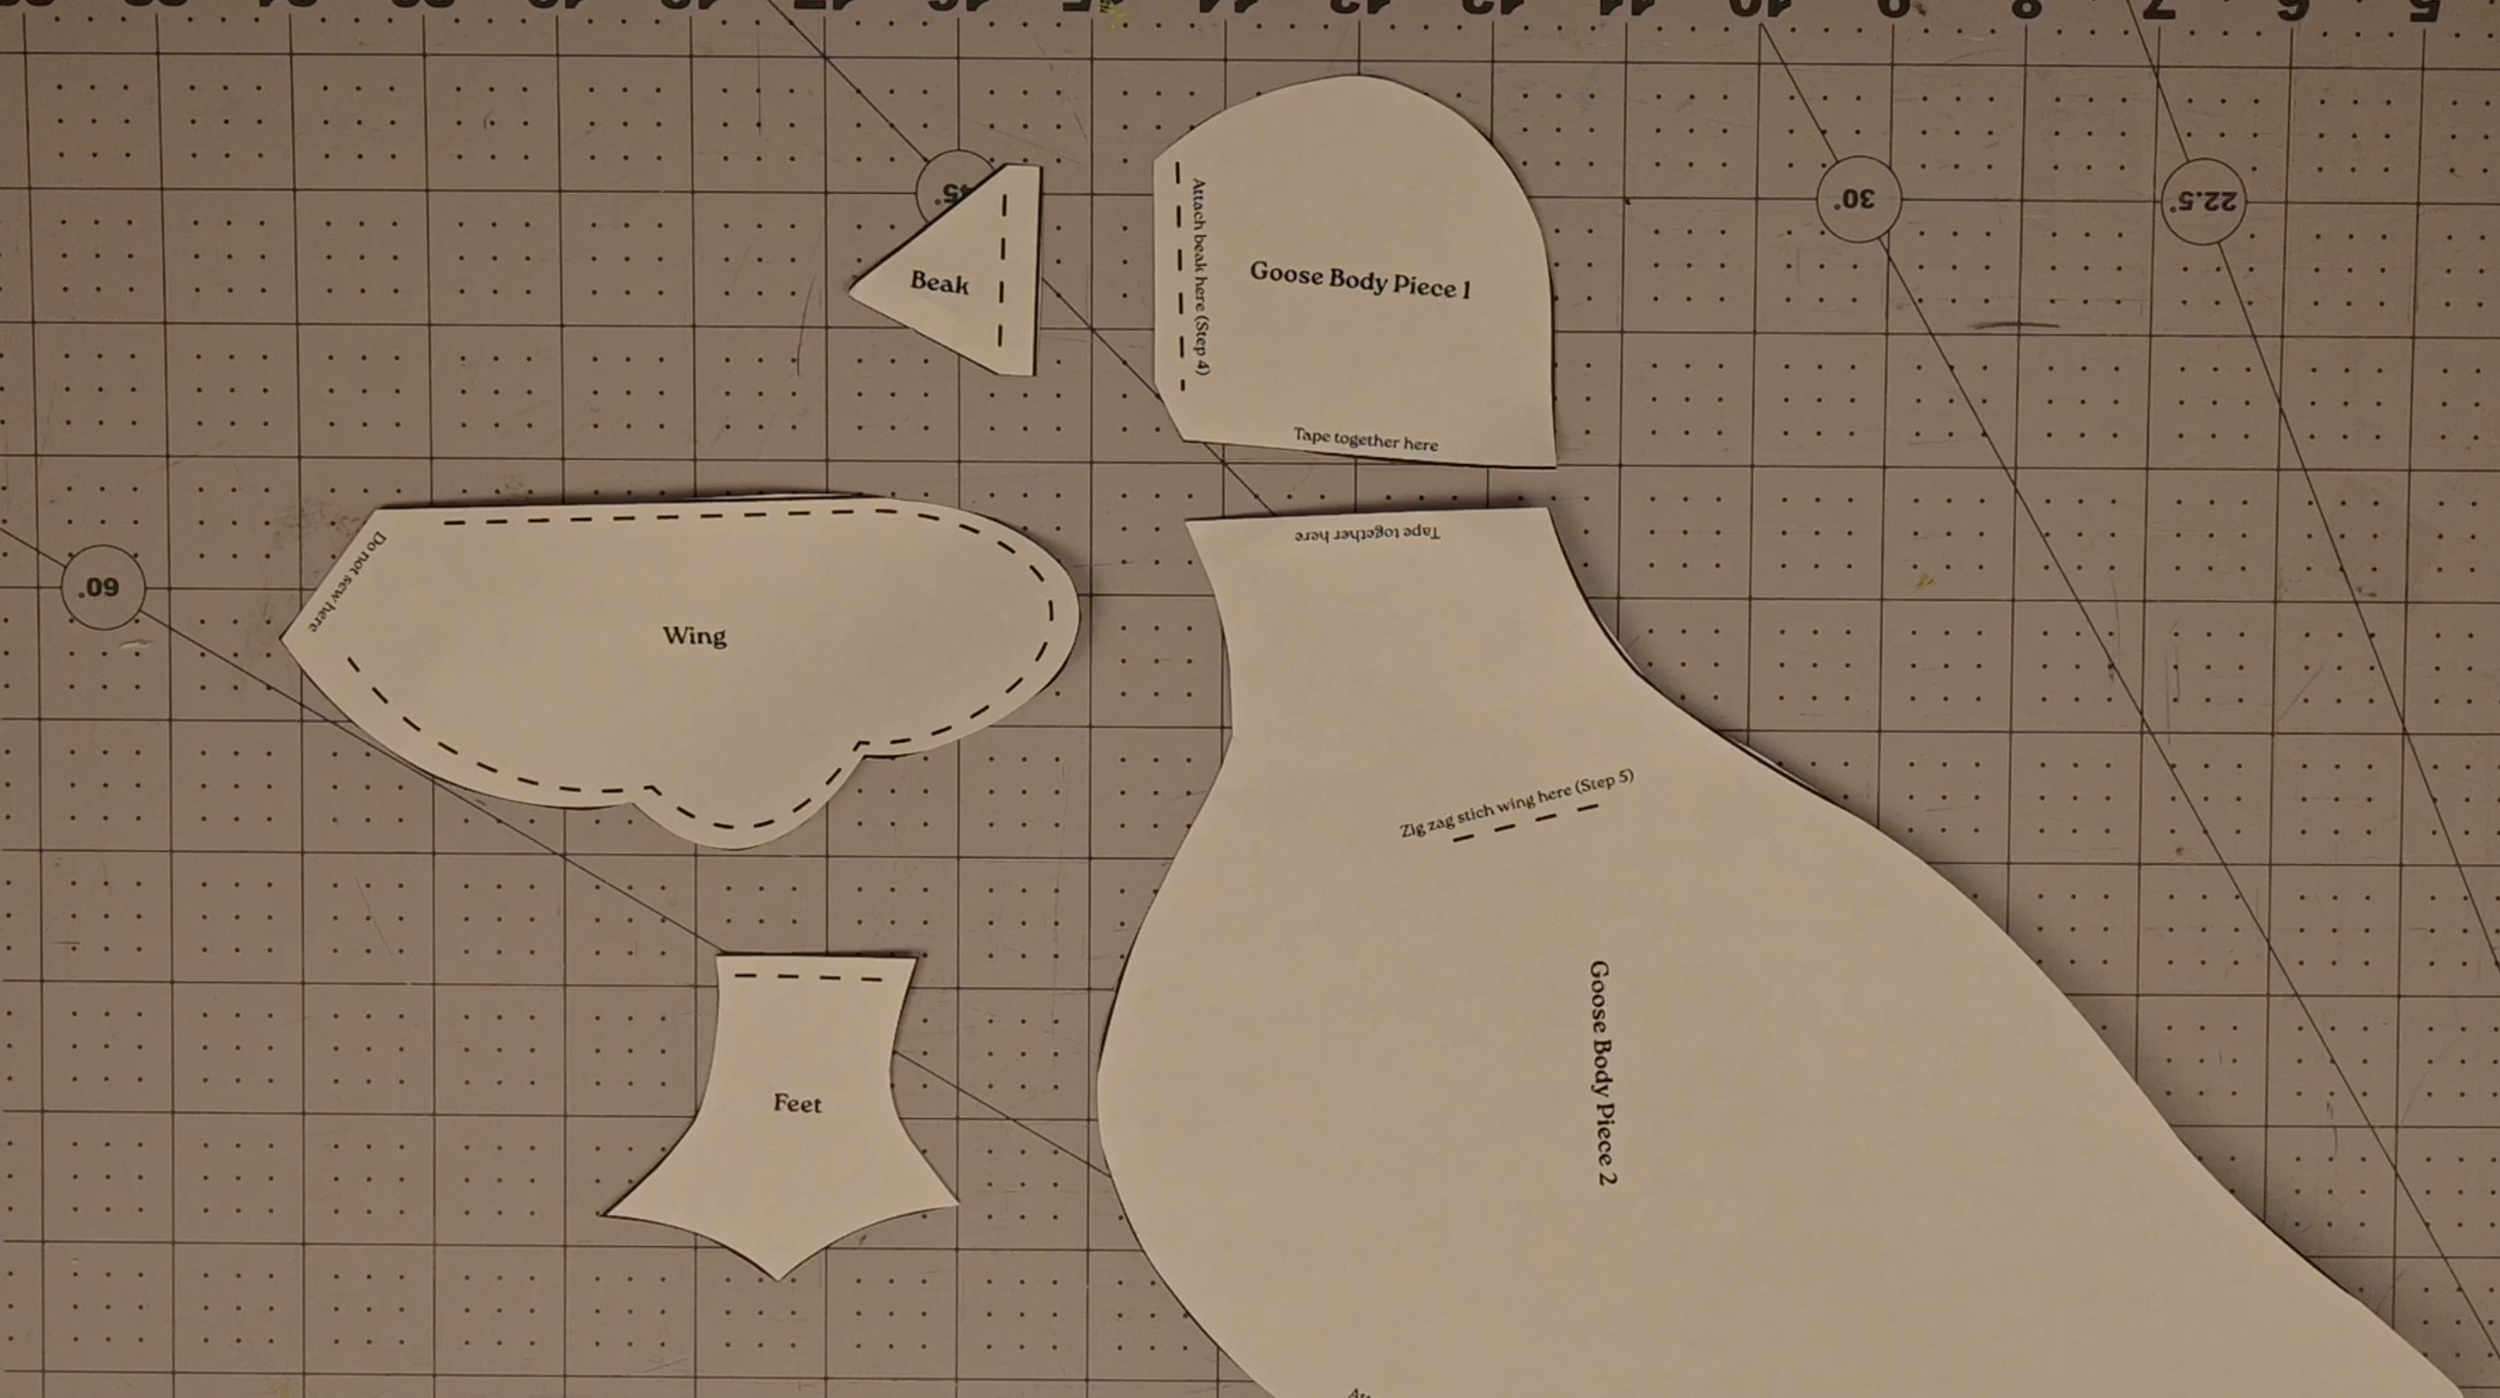
Cut out the paper pattern pieces
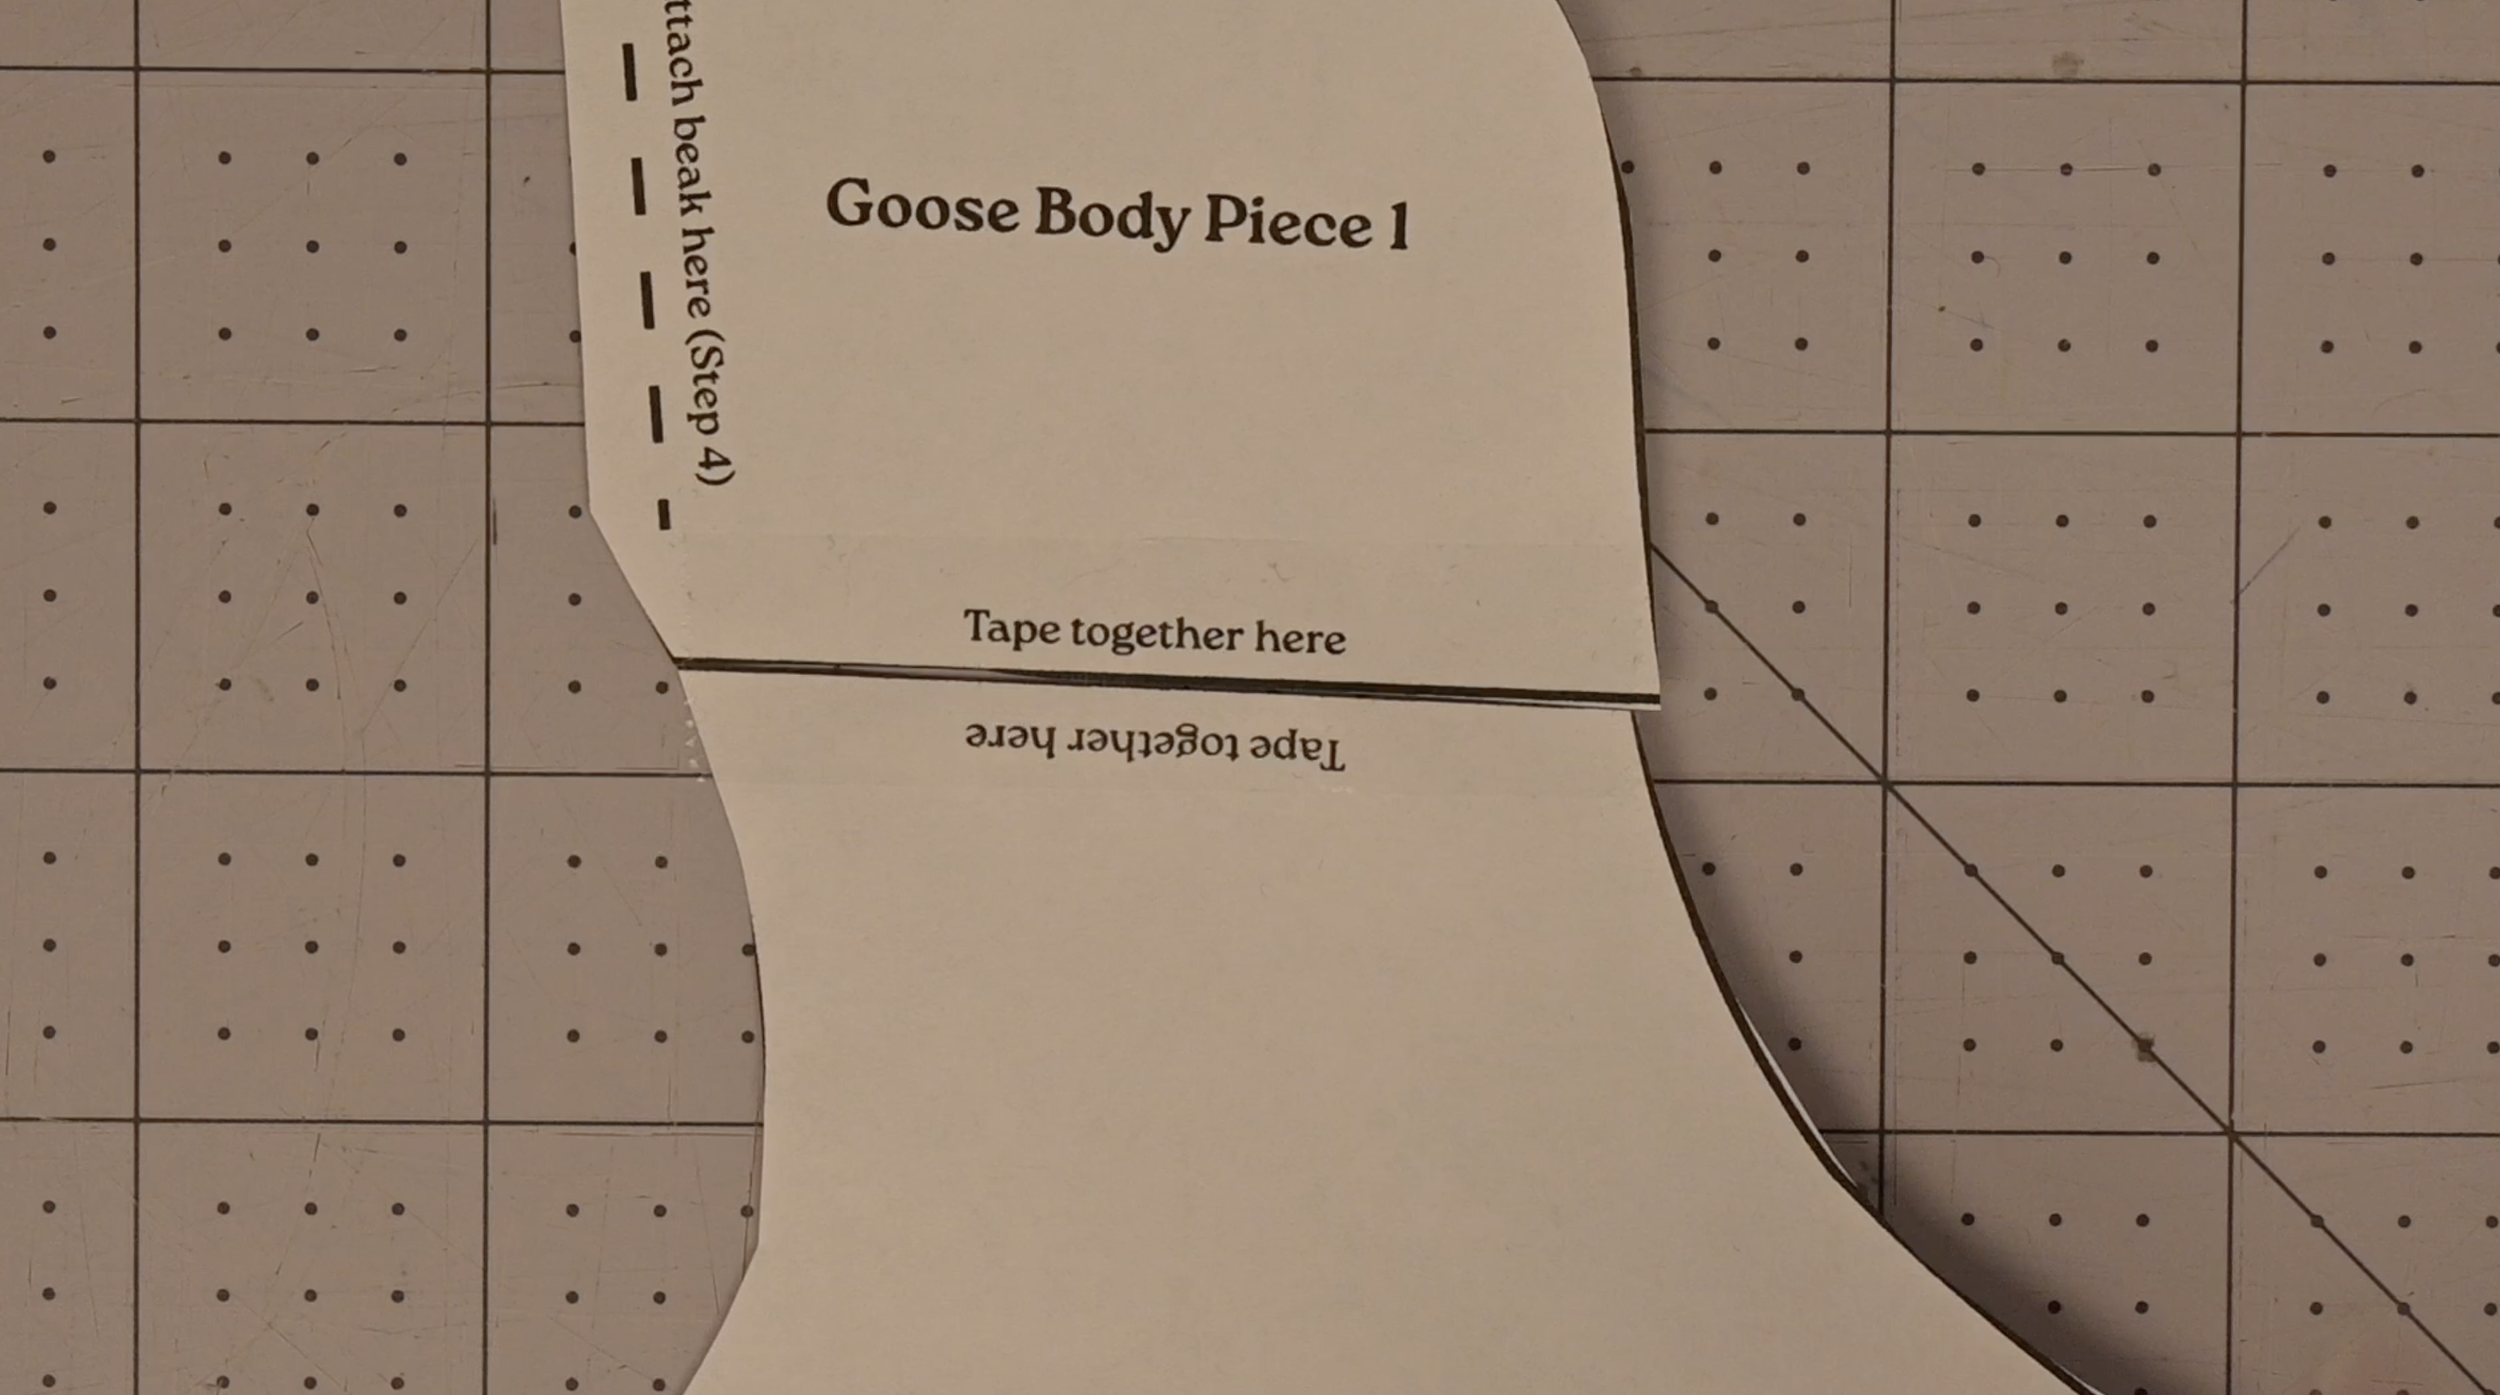
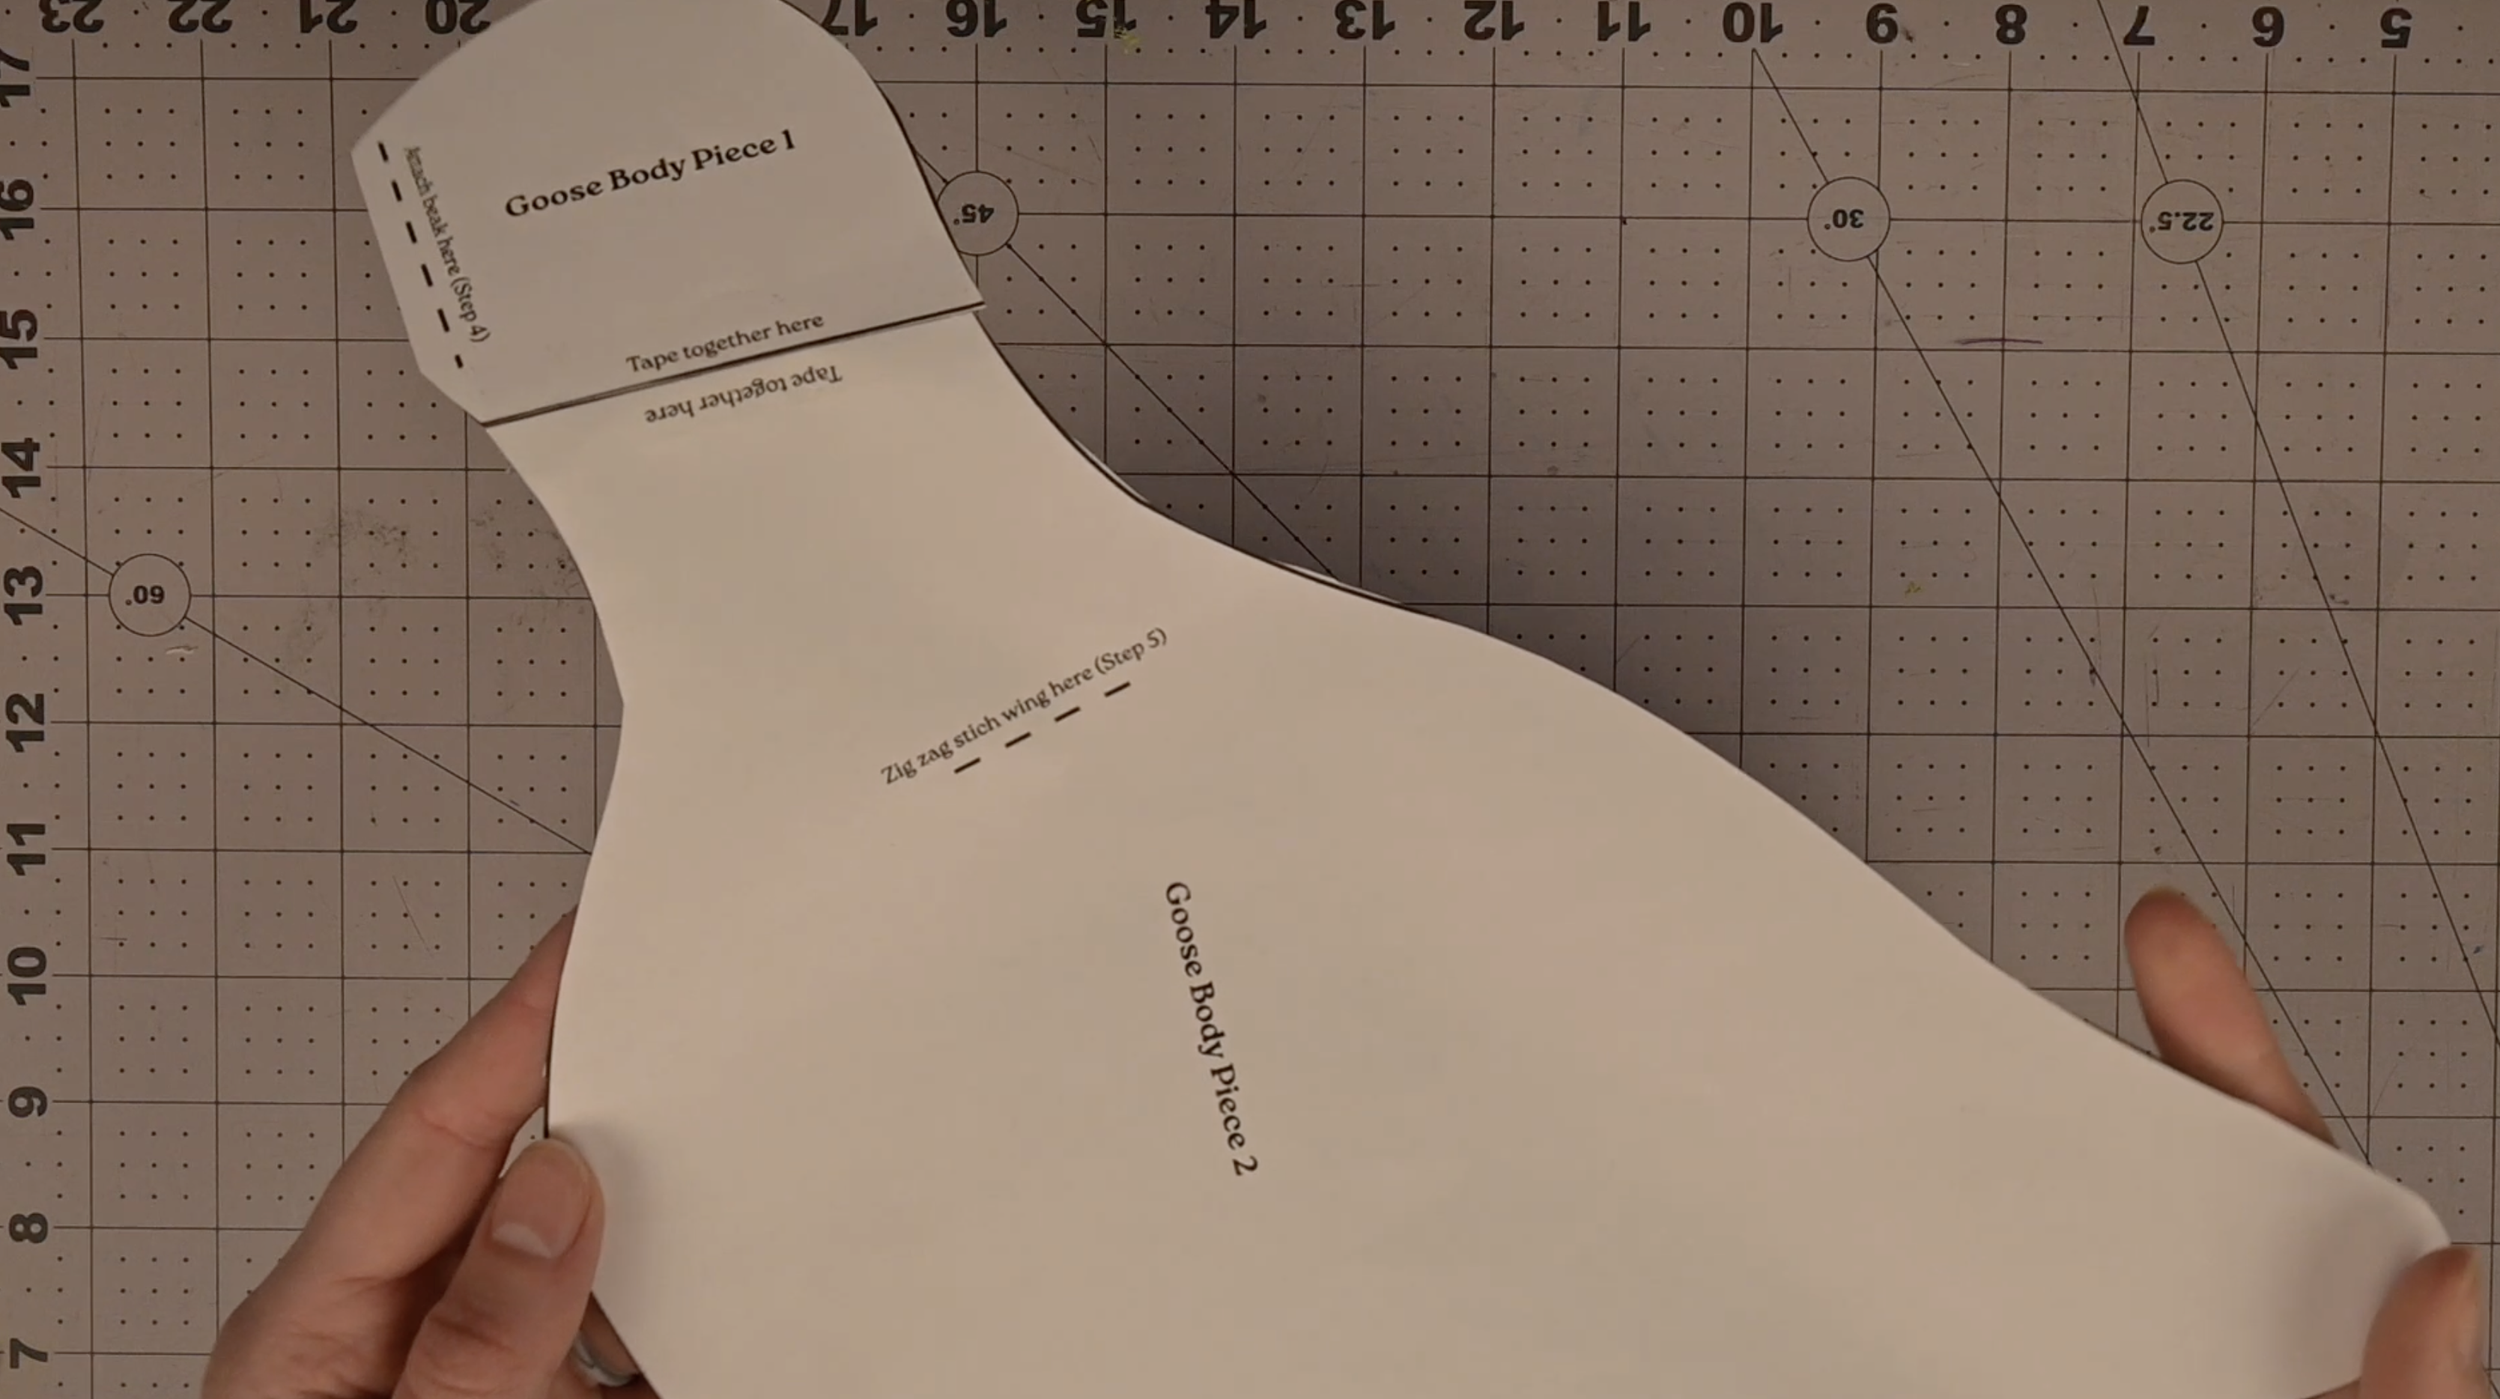
Align pattern pieces 1 and 2 as shown
Apply clear tape along the designated attach line
Step 3: Cut the Fabric
Note: Seam allowance is already included in all pattern pieces
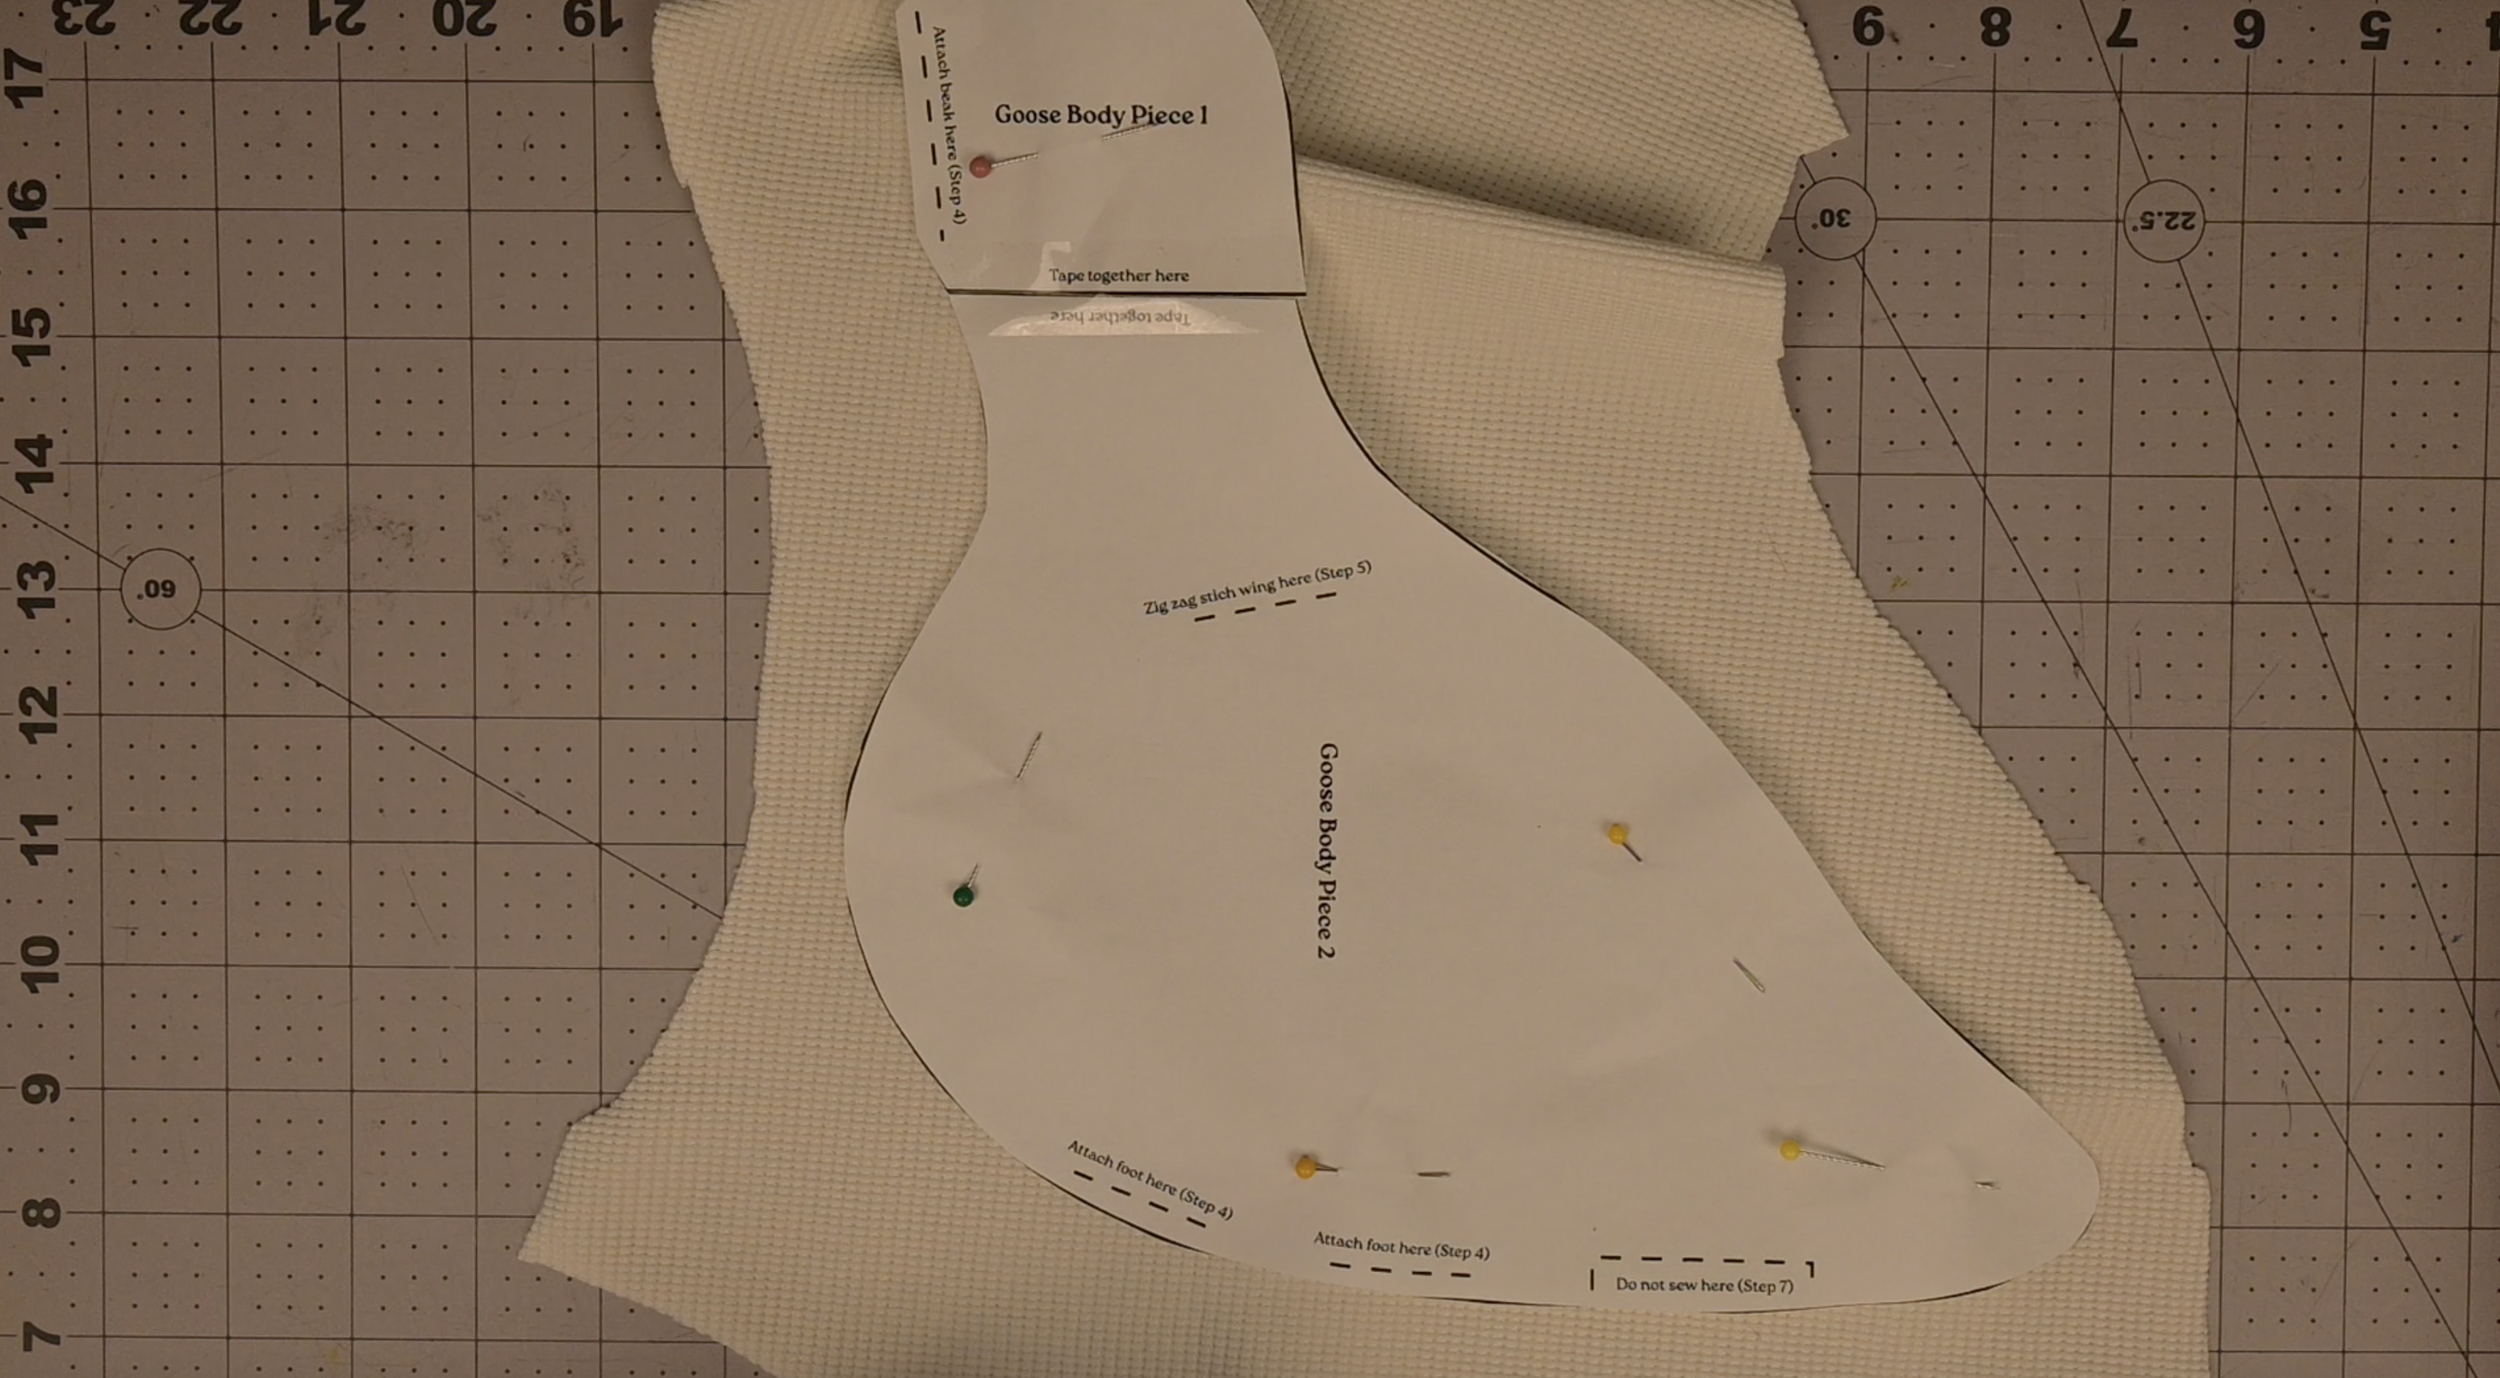
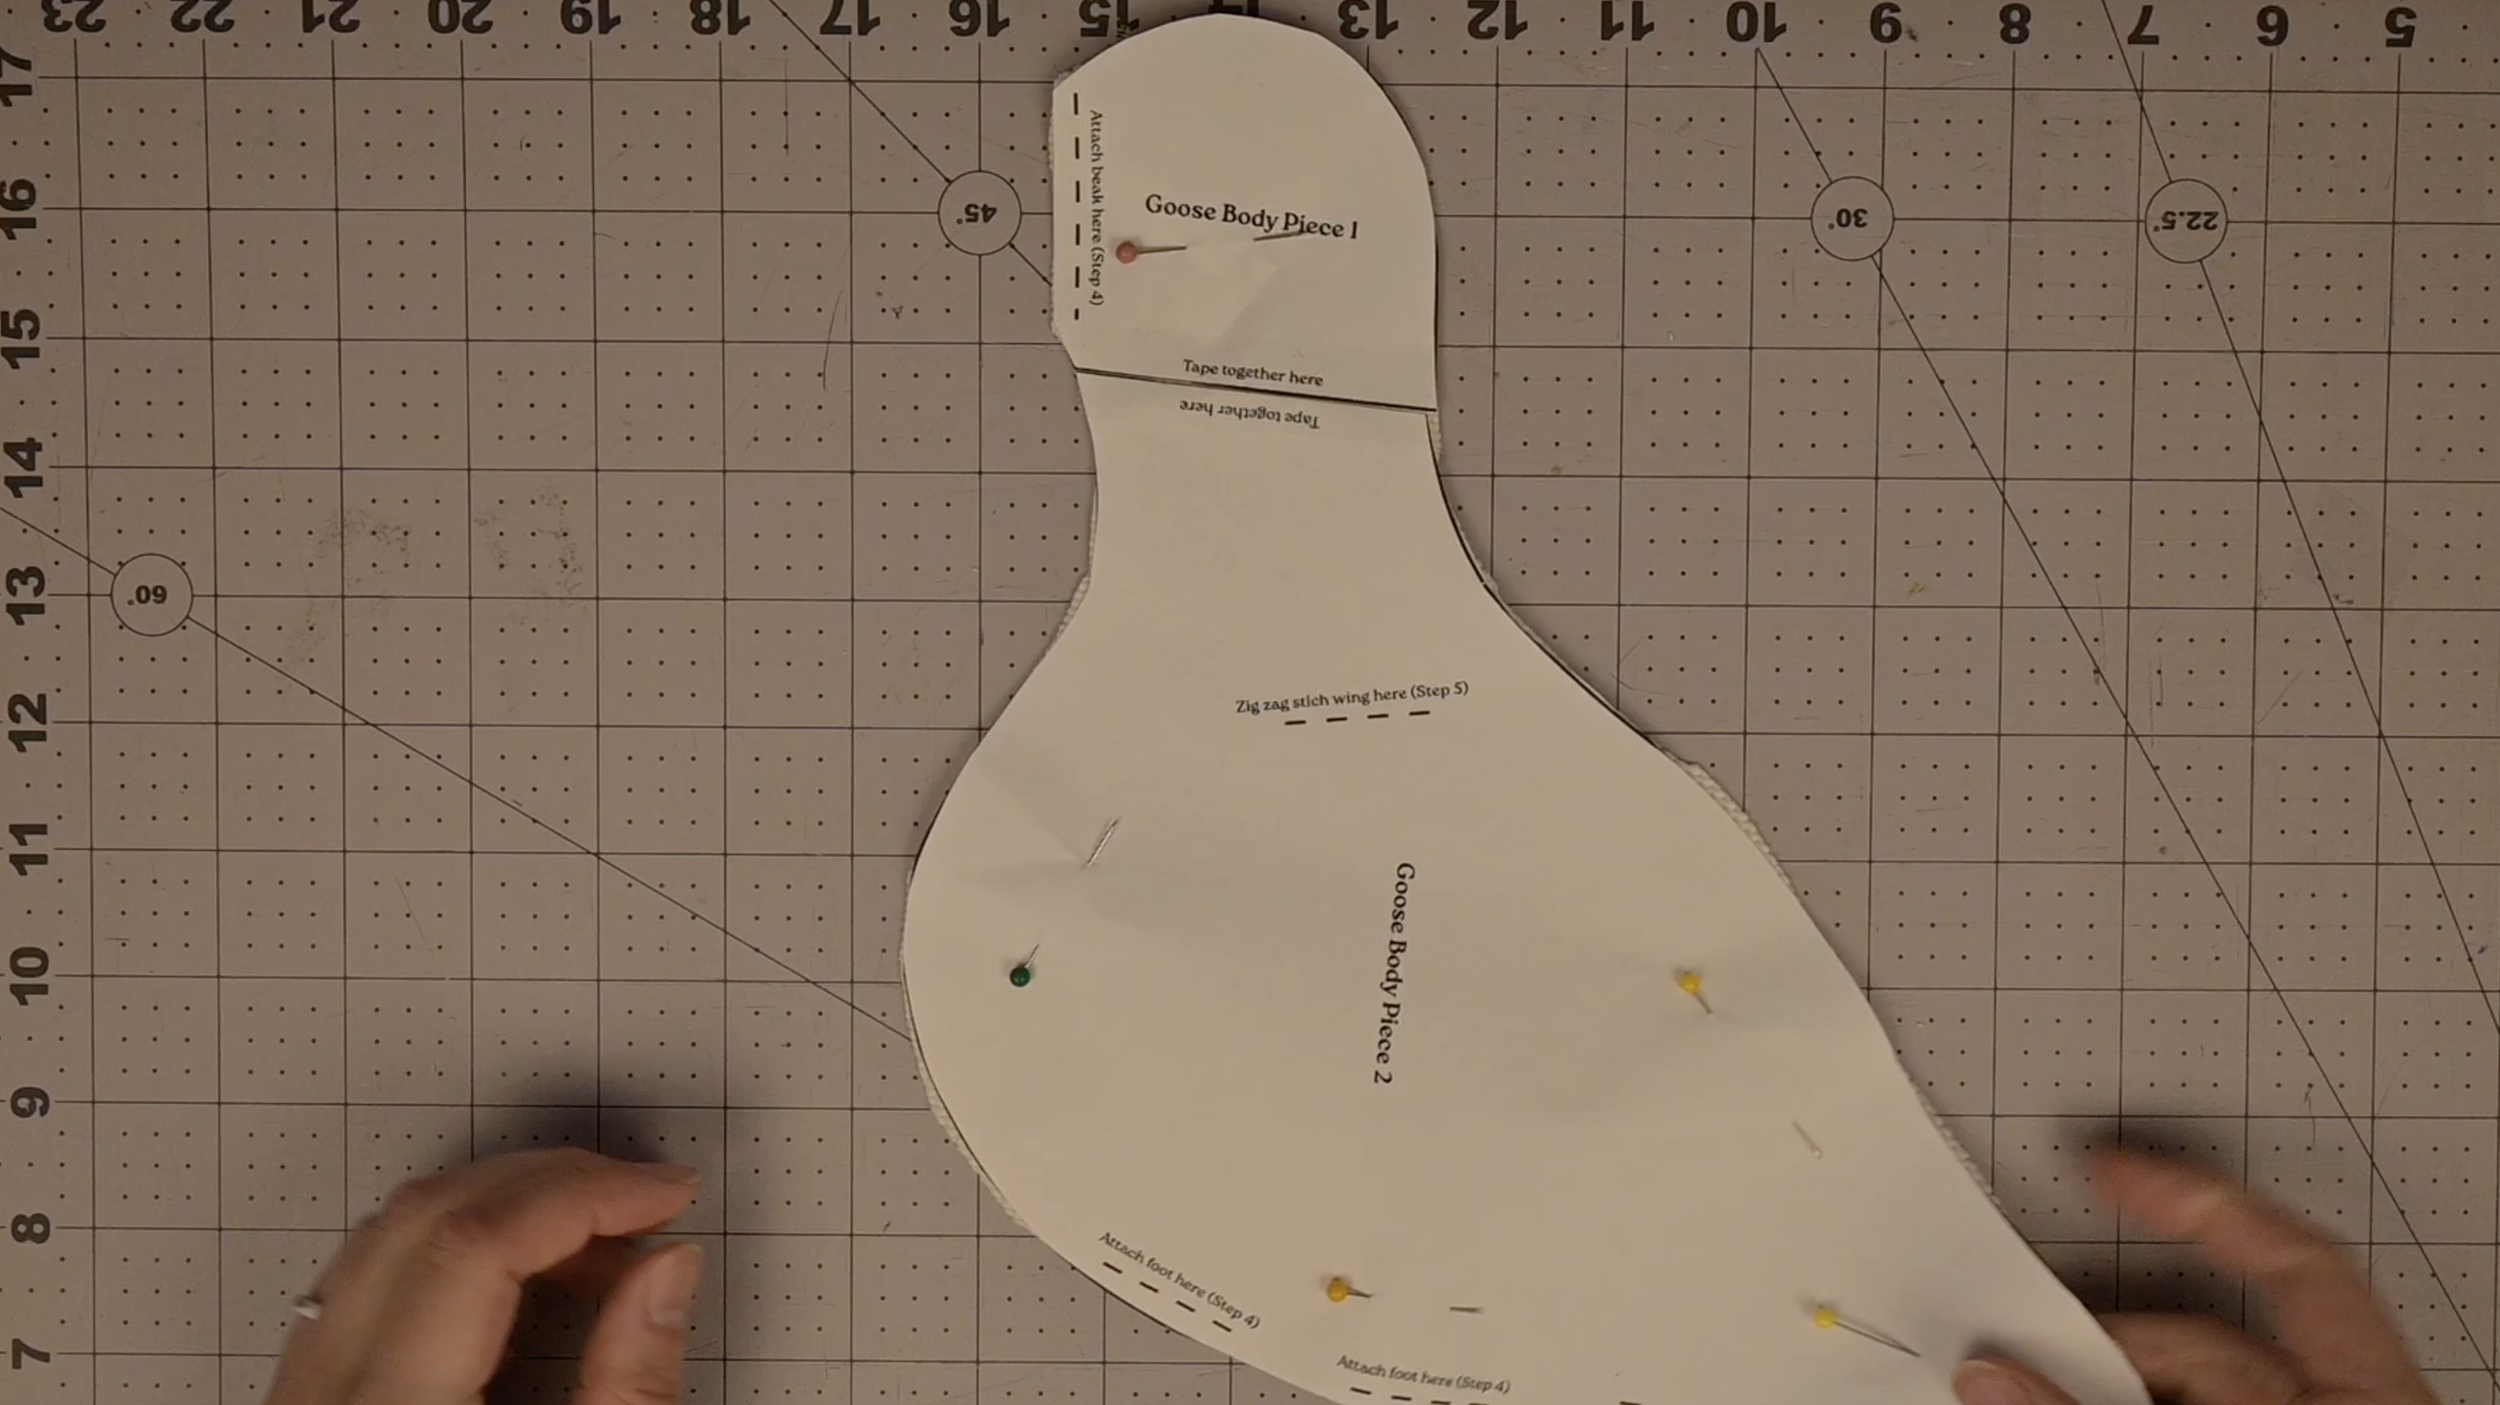
Main Goose Fabric:
Pin the pattern to a single layer of fabric and cut out (1 piece total)
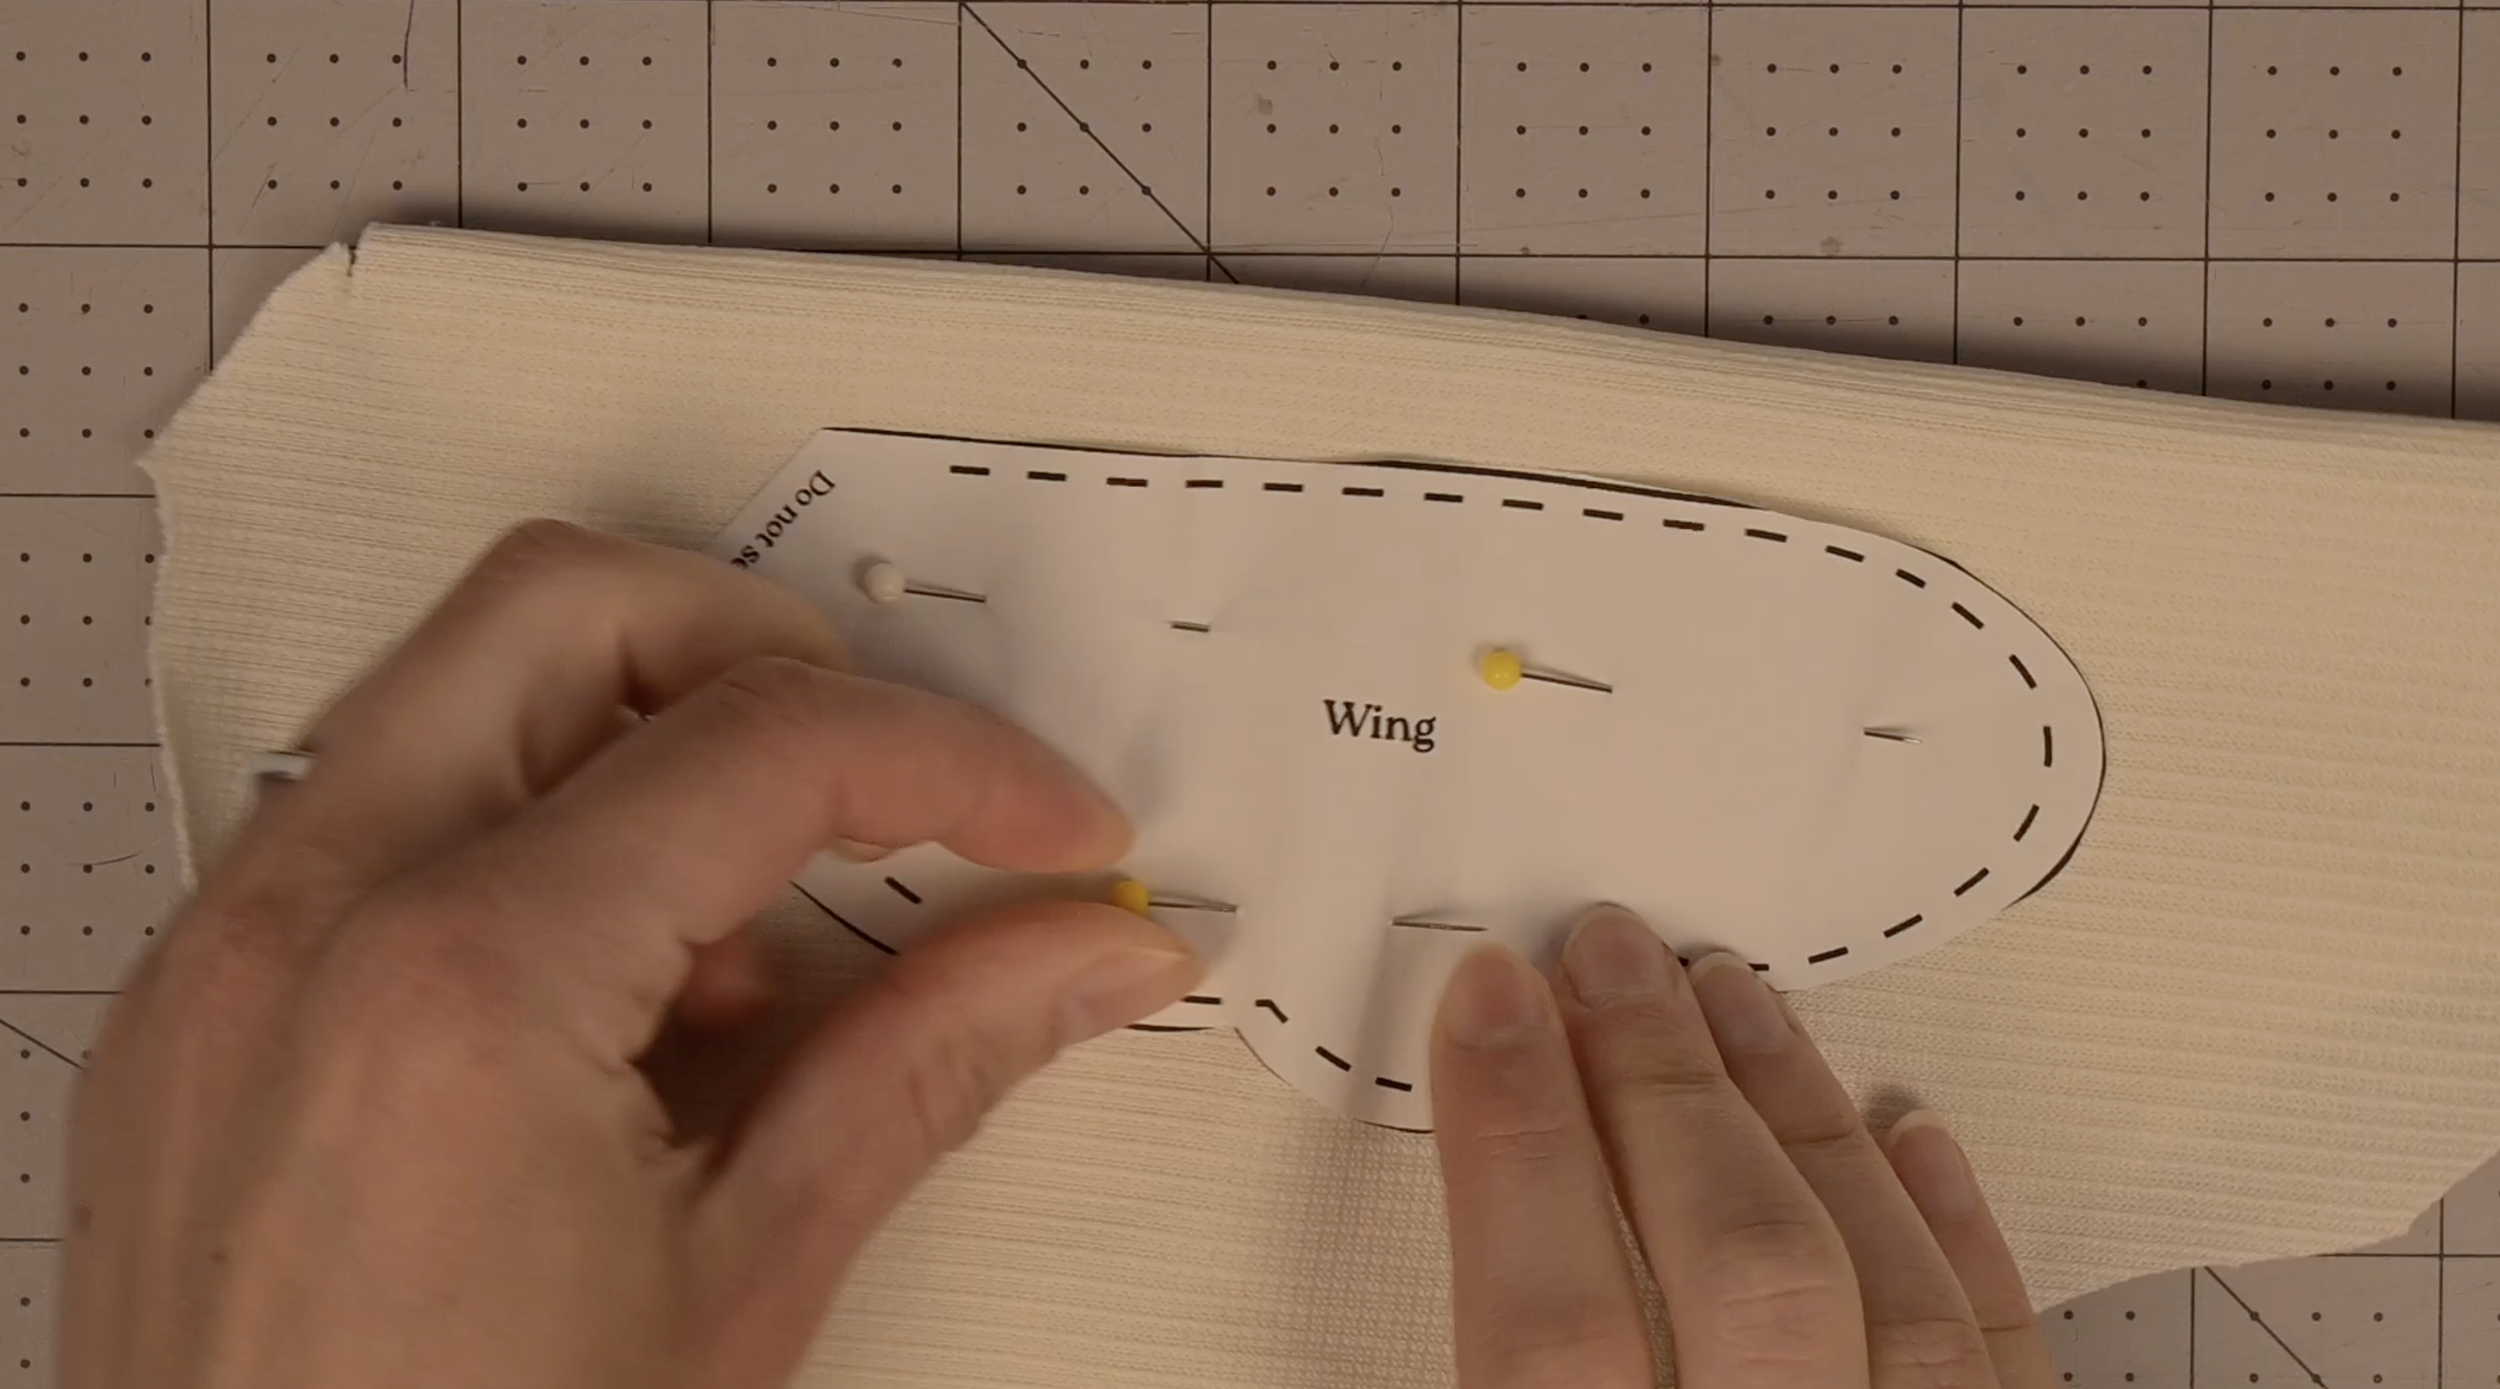
Goose Wing:
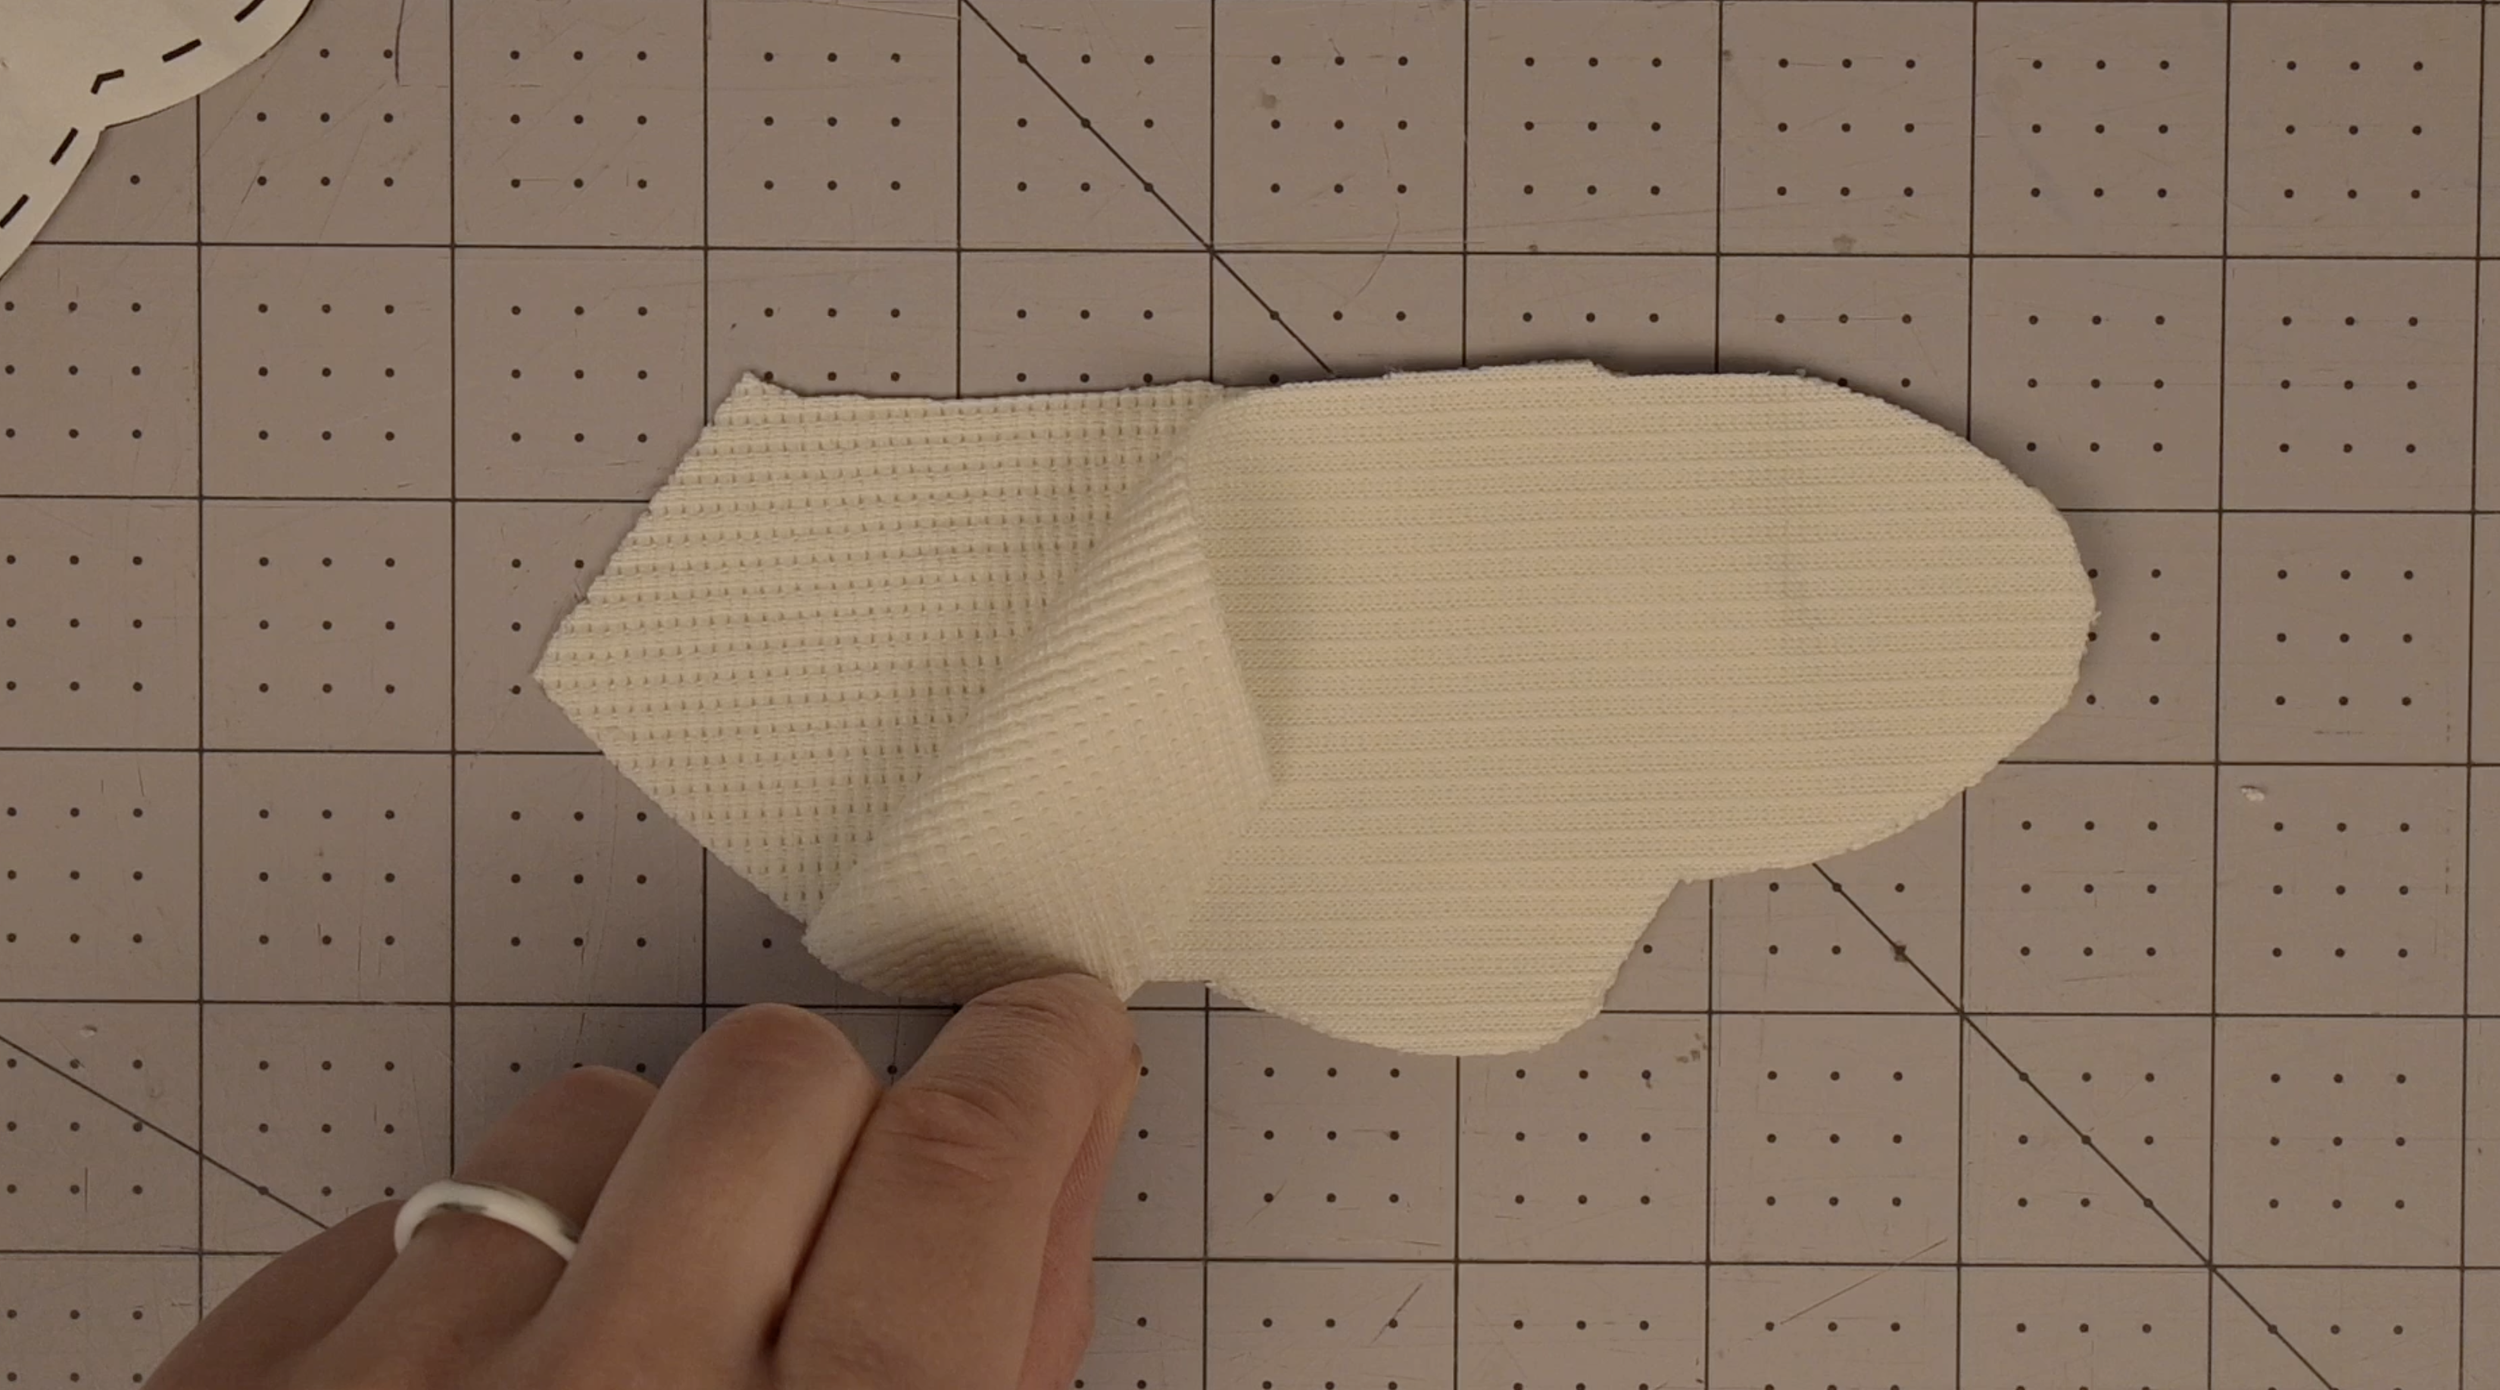
Fold fabric in half, right sides together. Pin the pattern and cut through both layers (2 identical pieces total)
Goose Feet:
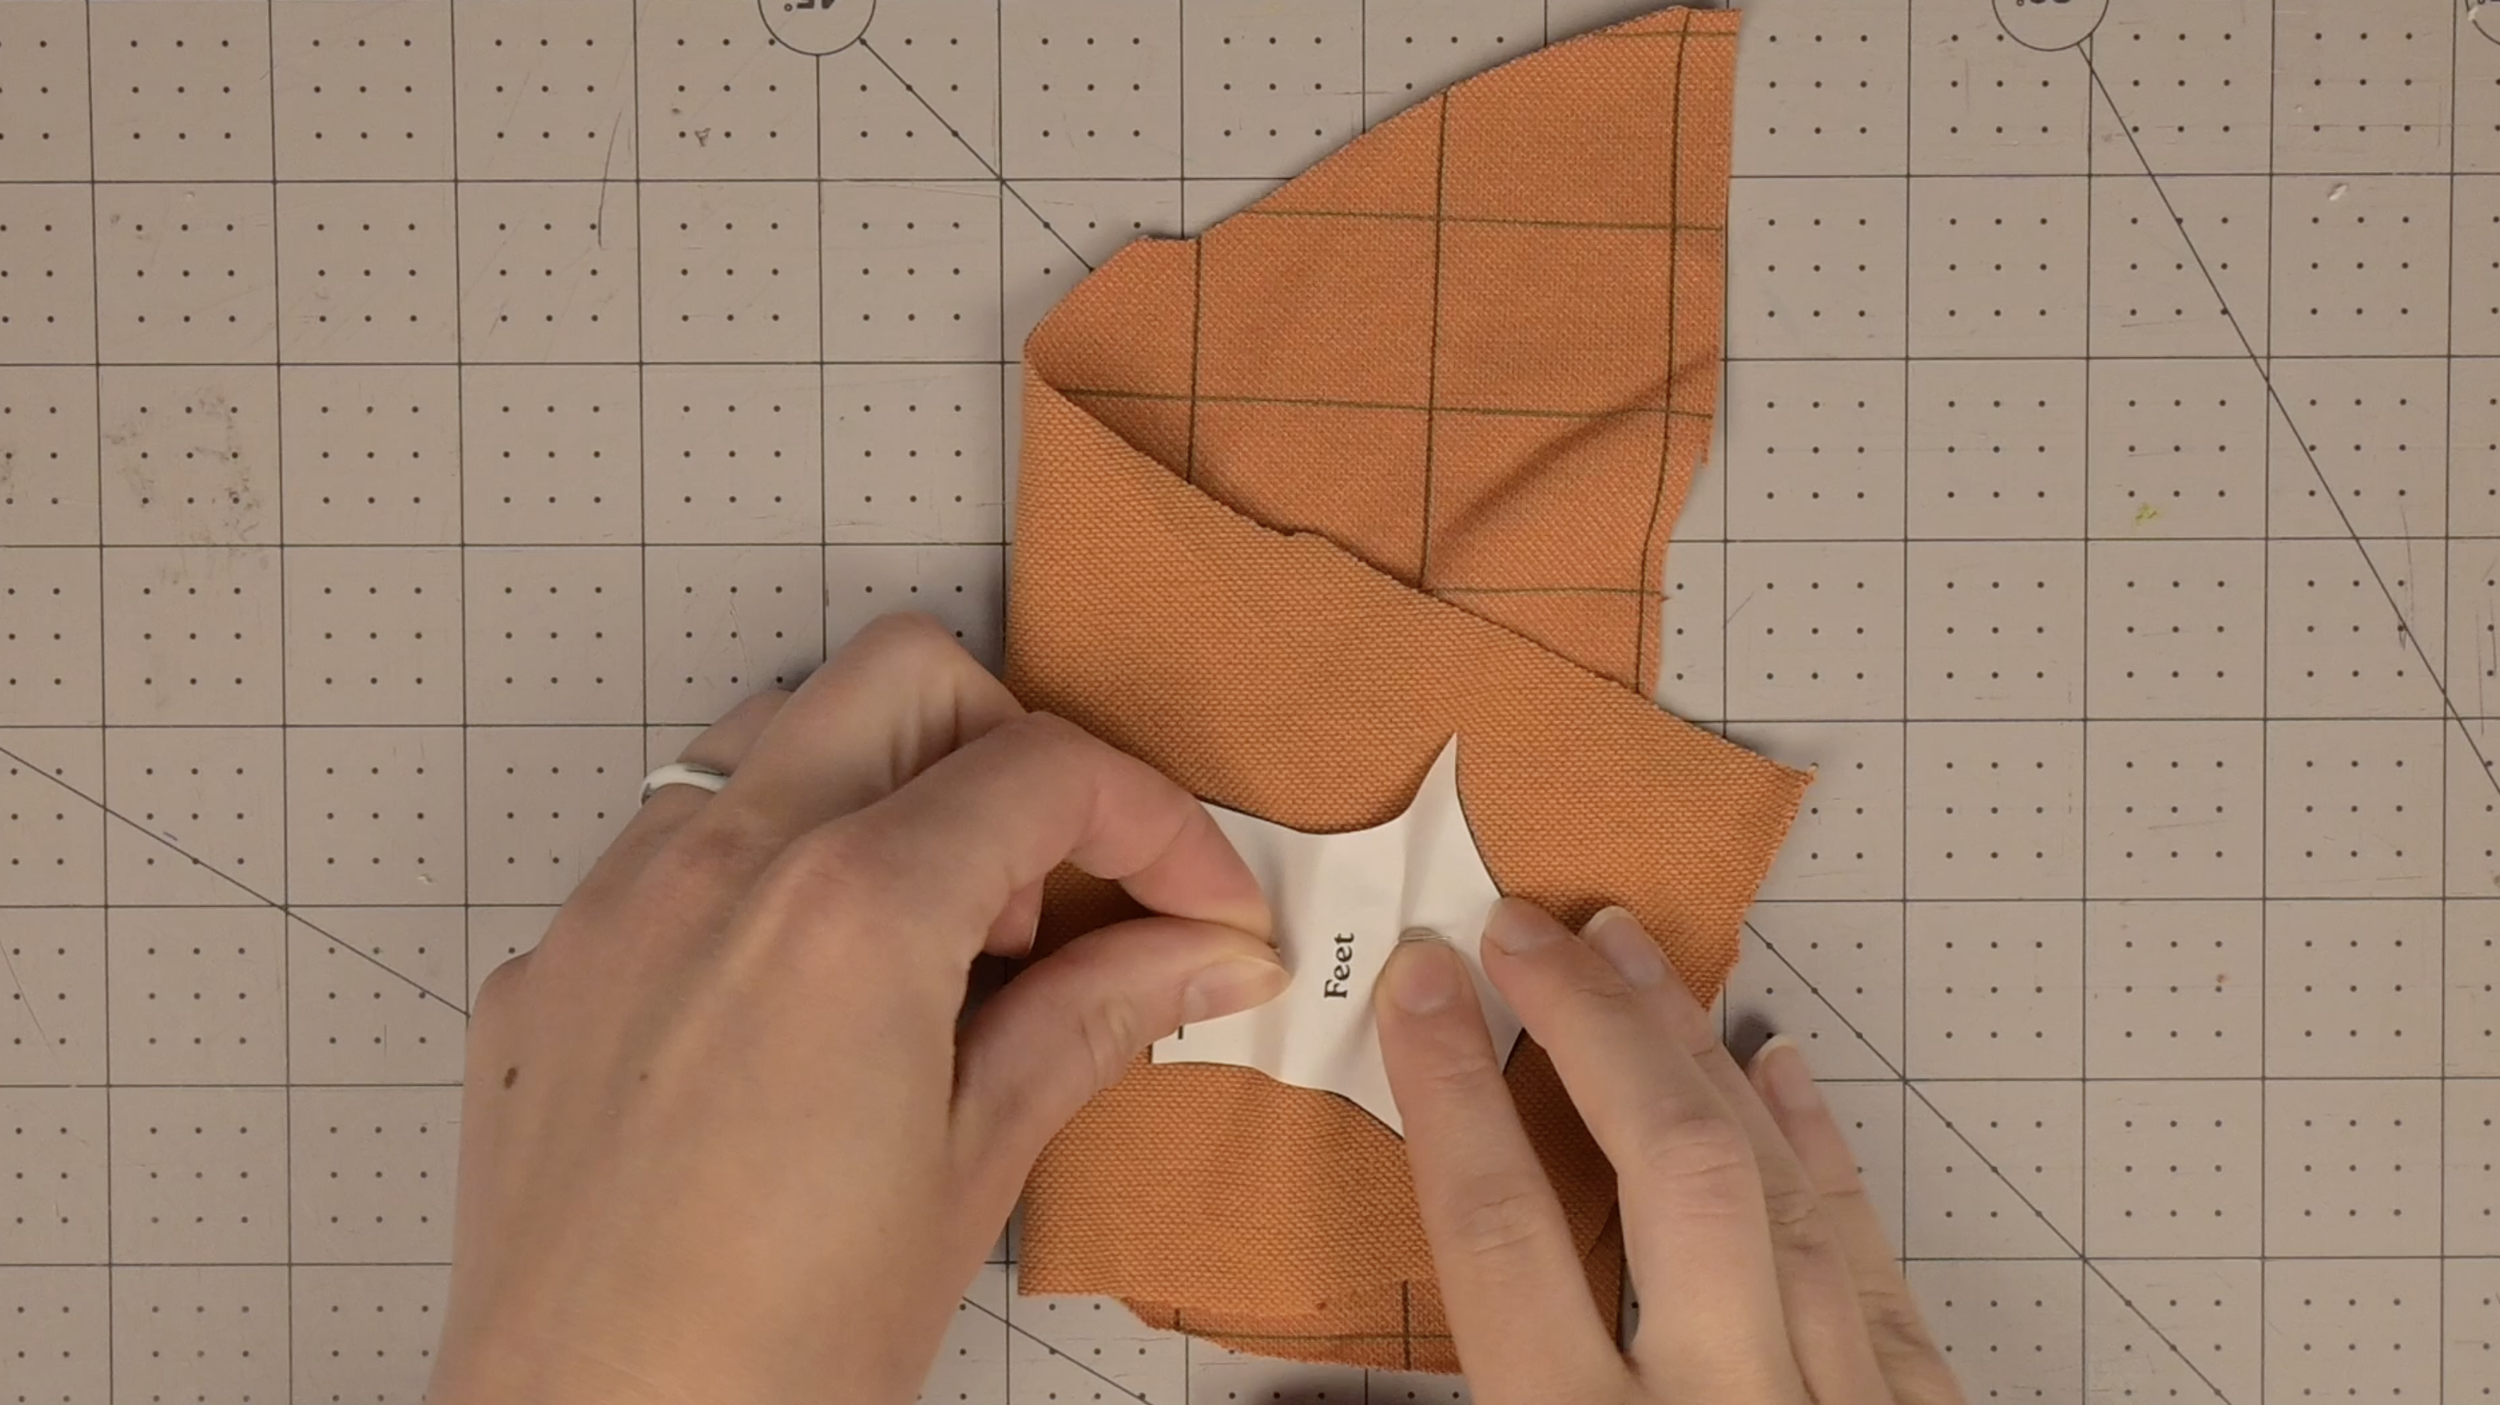
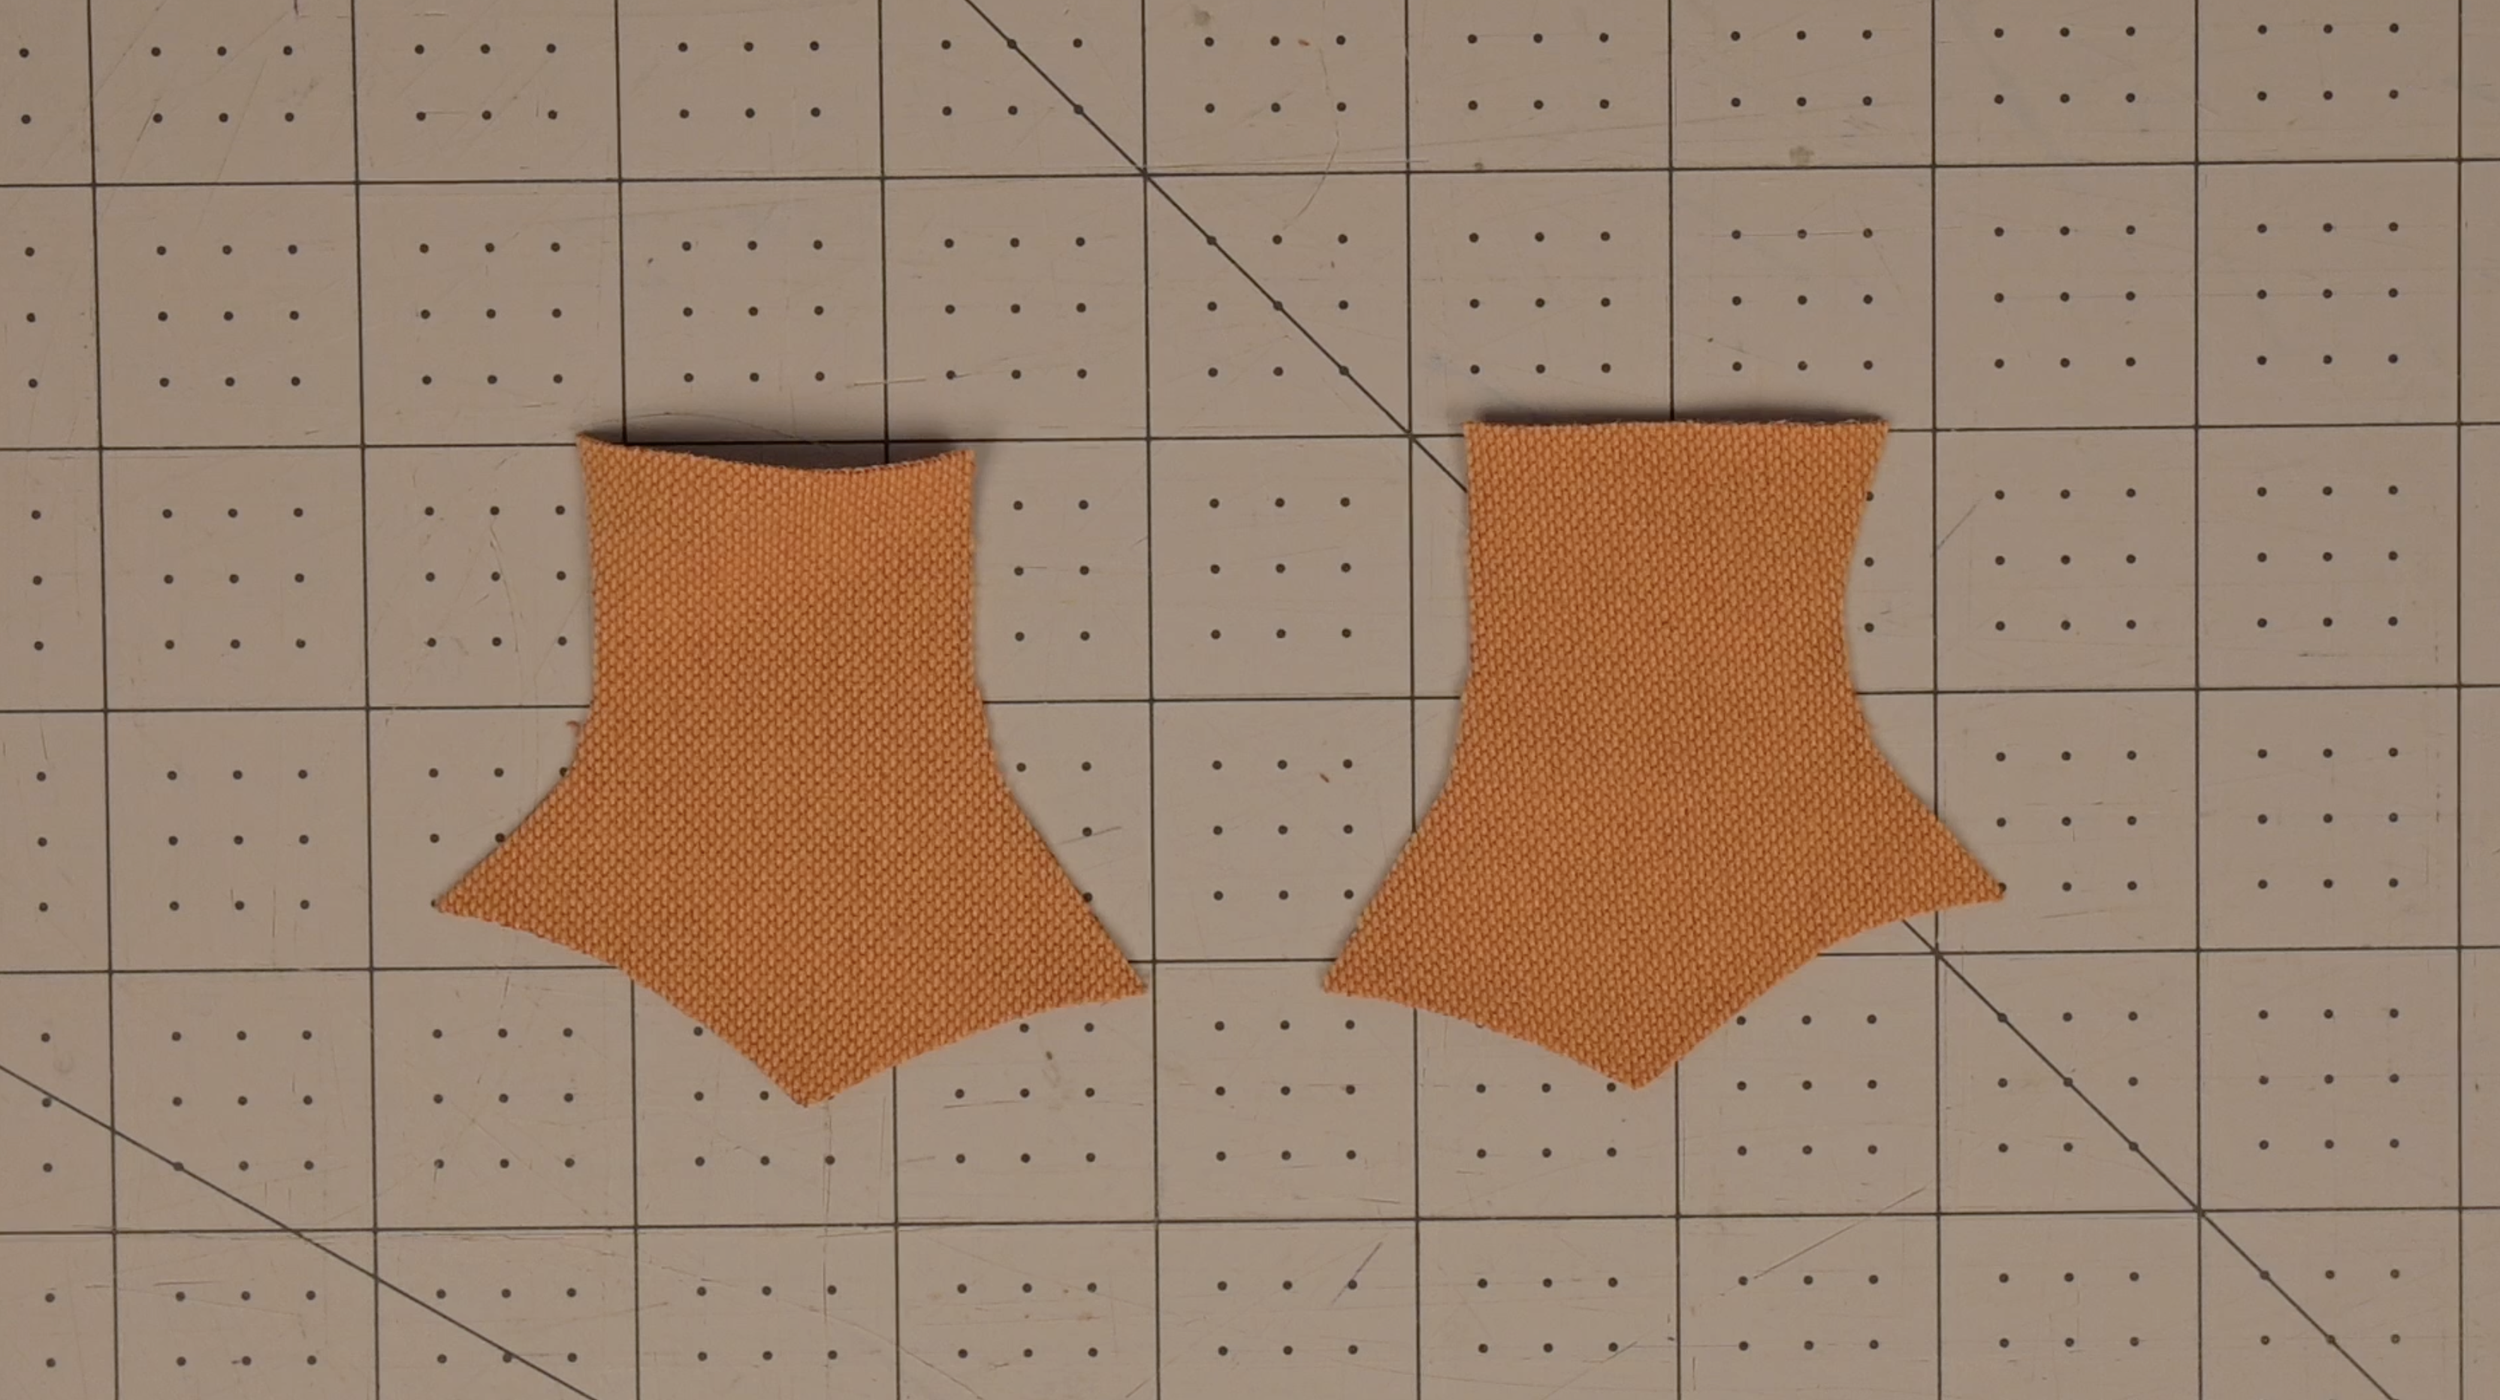
Fold fabric in half, right sides together. Pin the pattern and cut through both layers (2 identical pieces total)
Goose Beak:
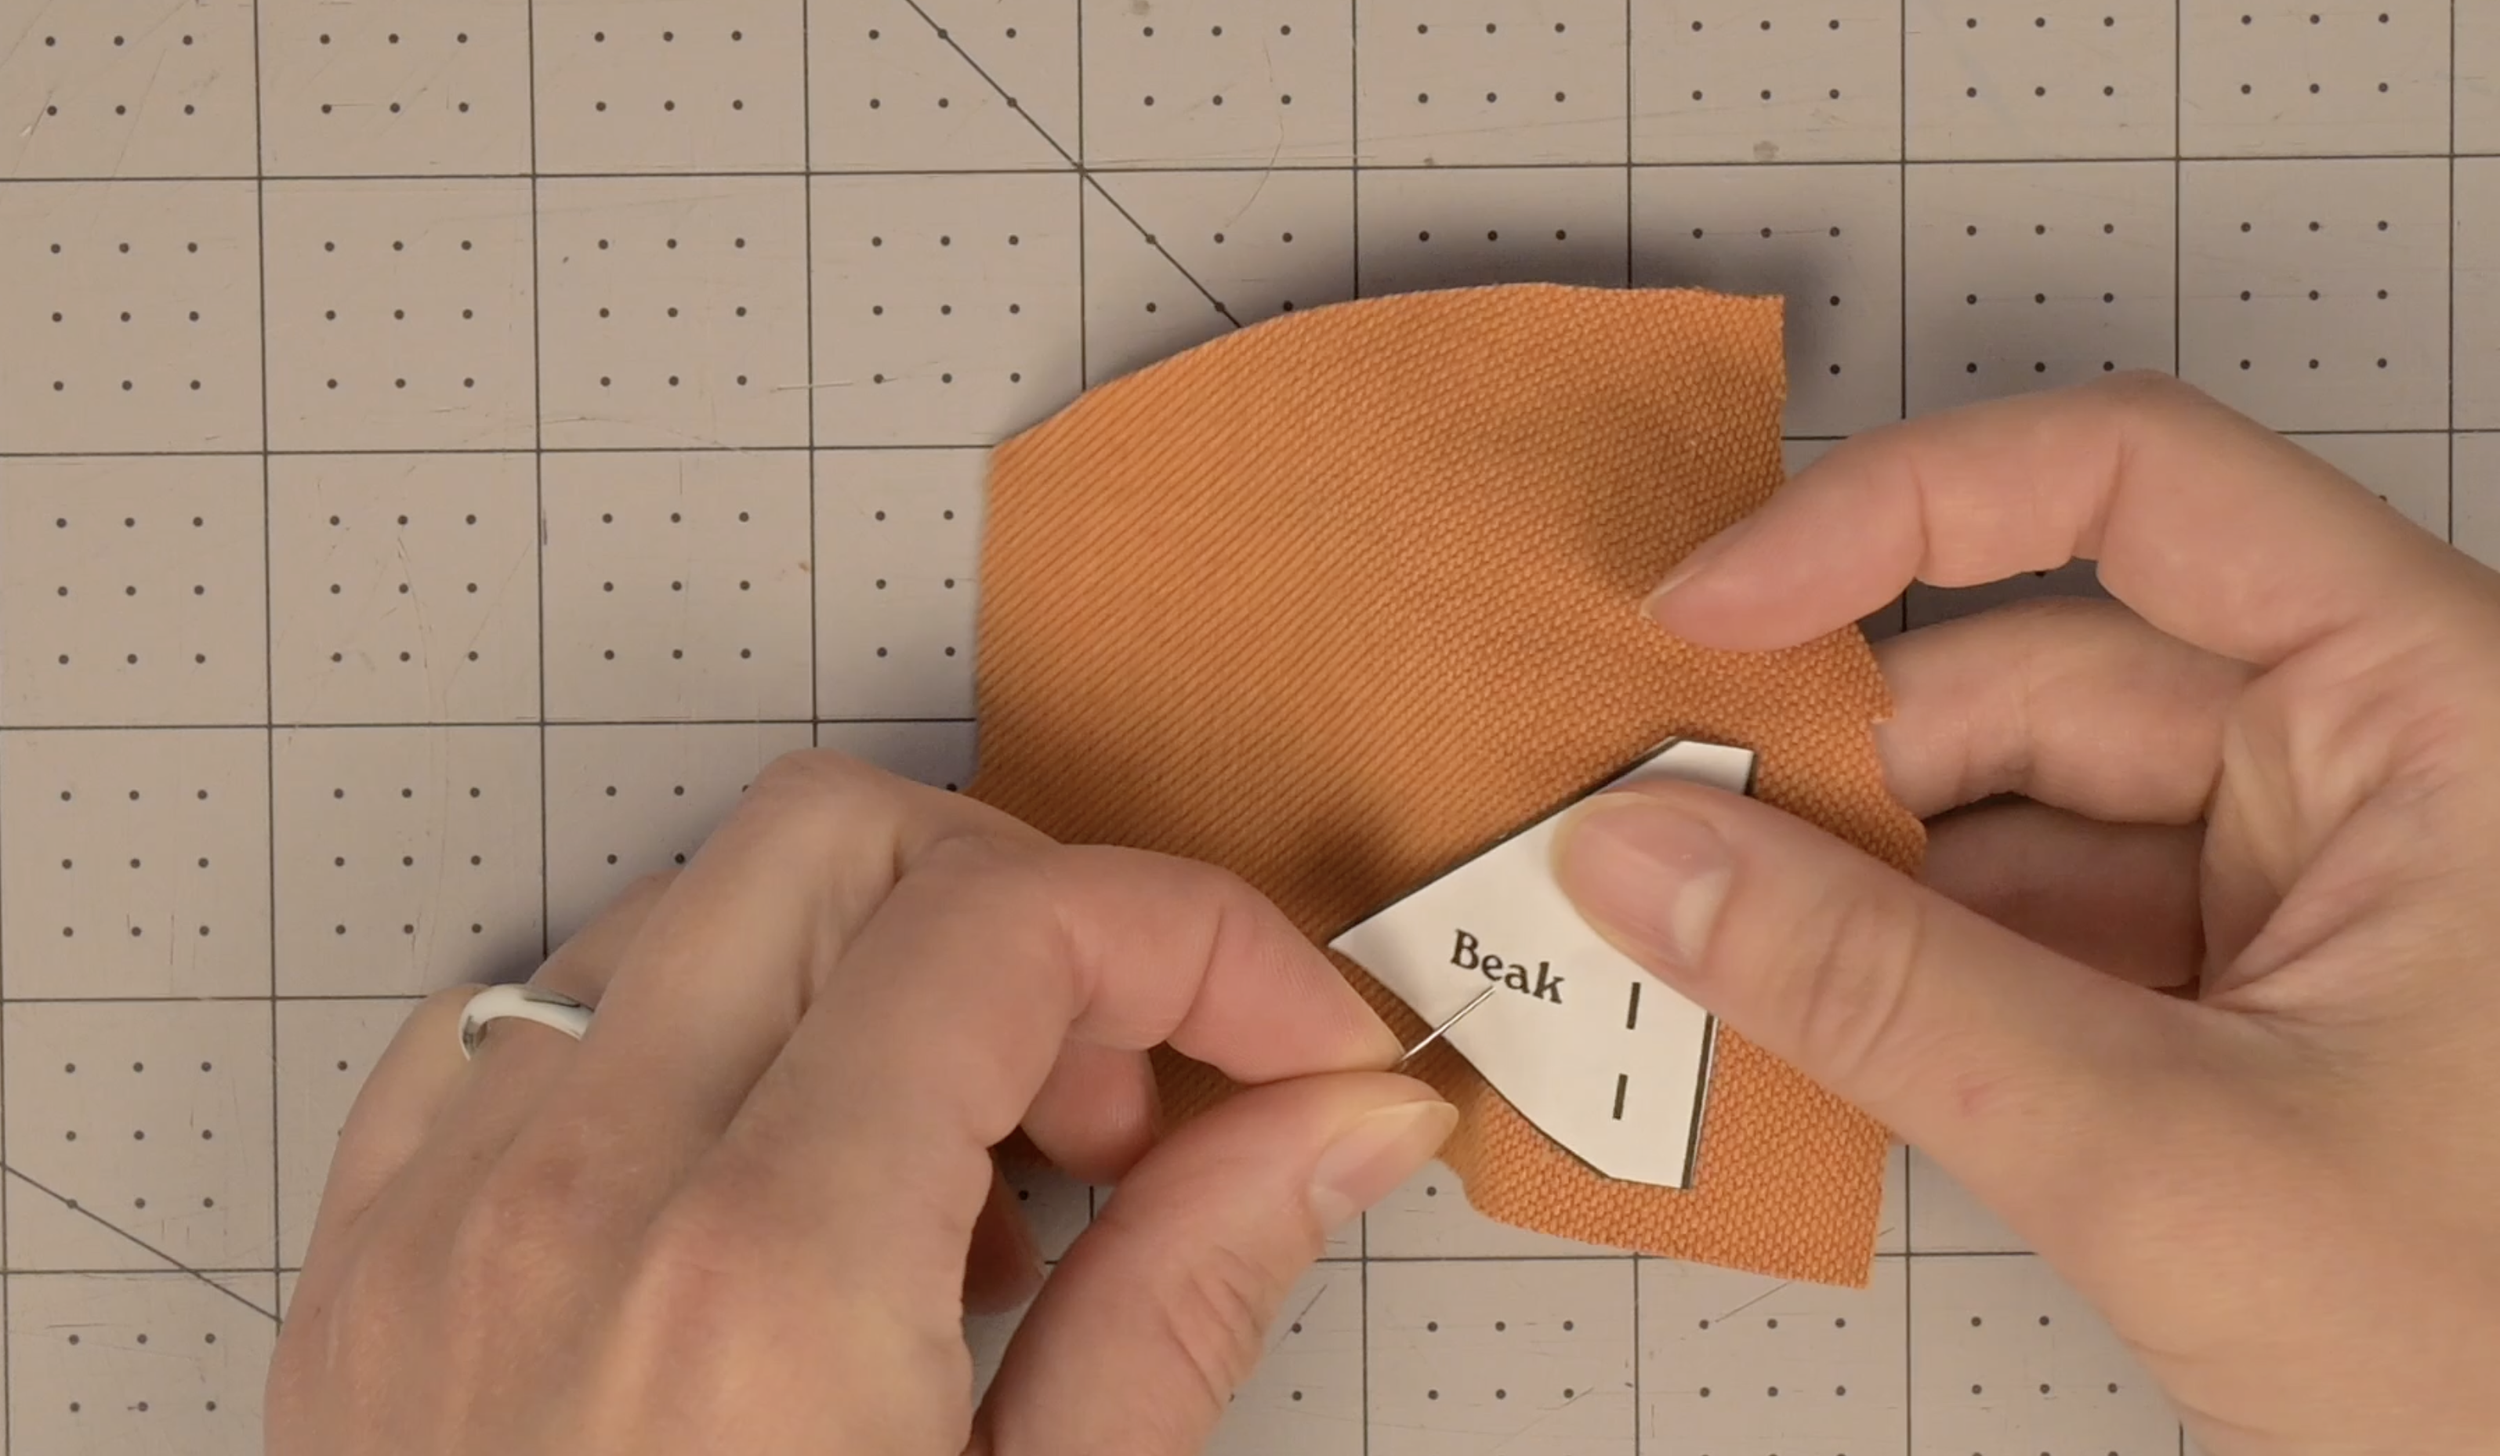
Pin the pattern to a single layer of fabric and cut out (1 piece total)
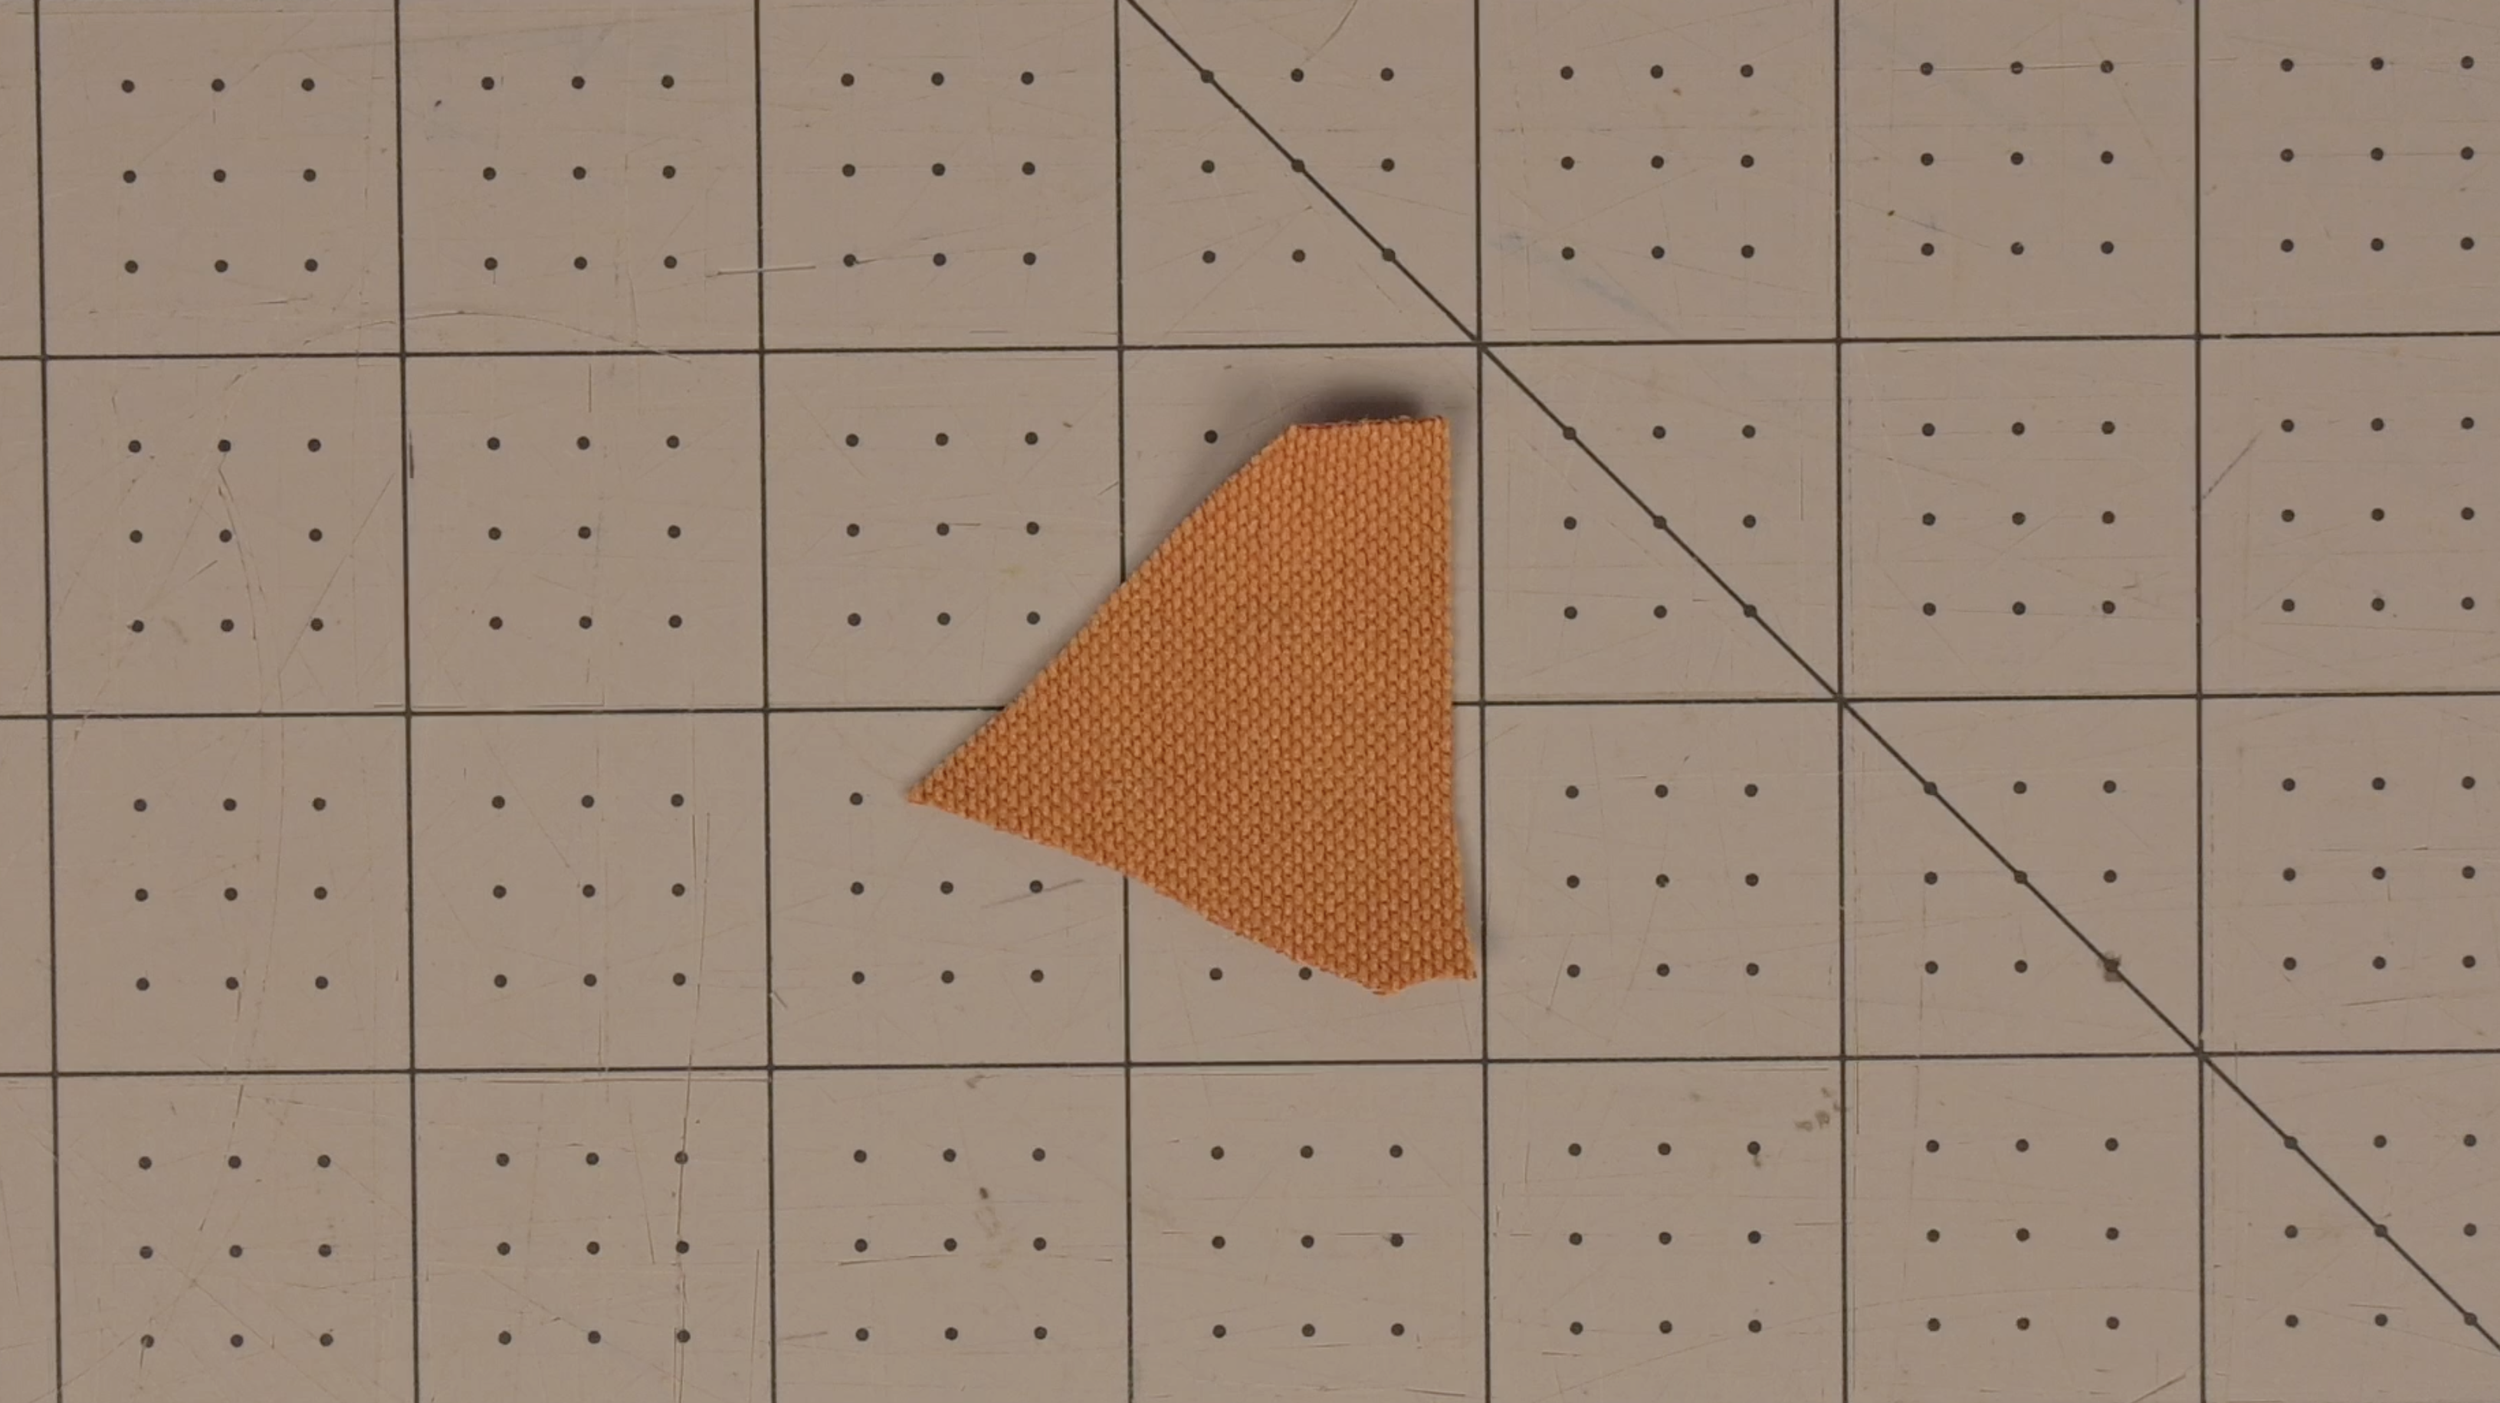
Step 4: Attach the Feet and Beak
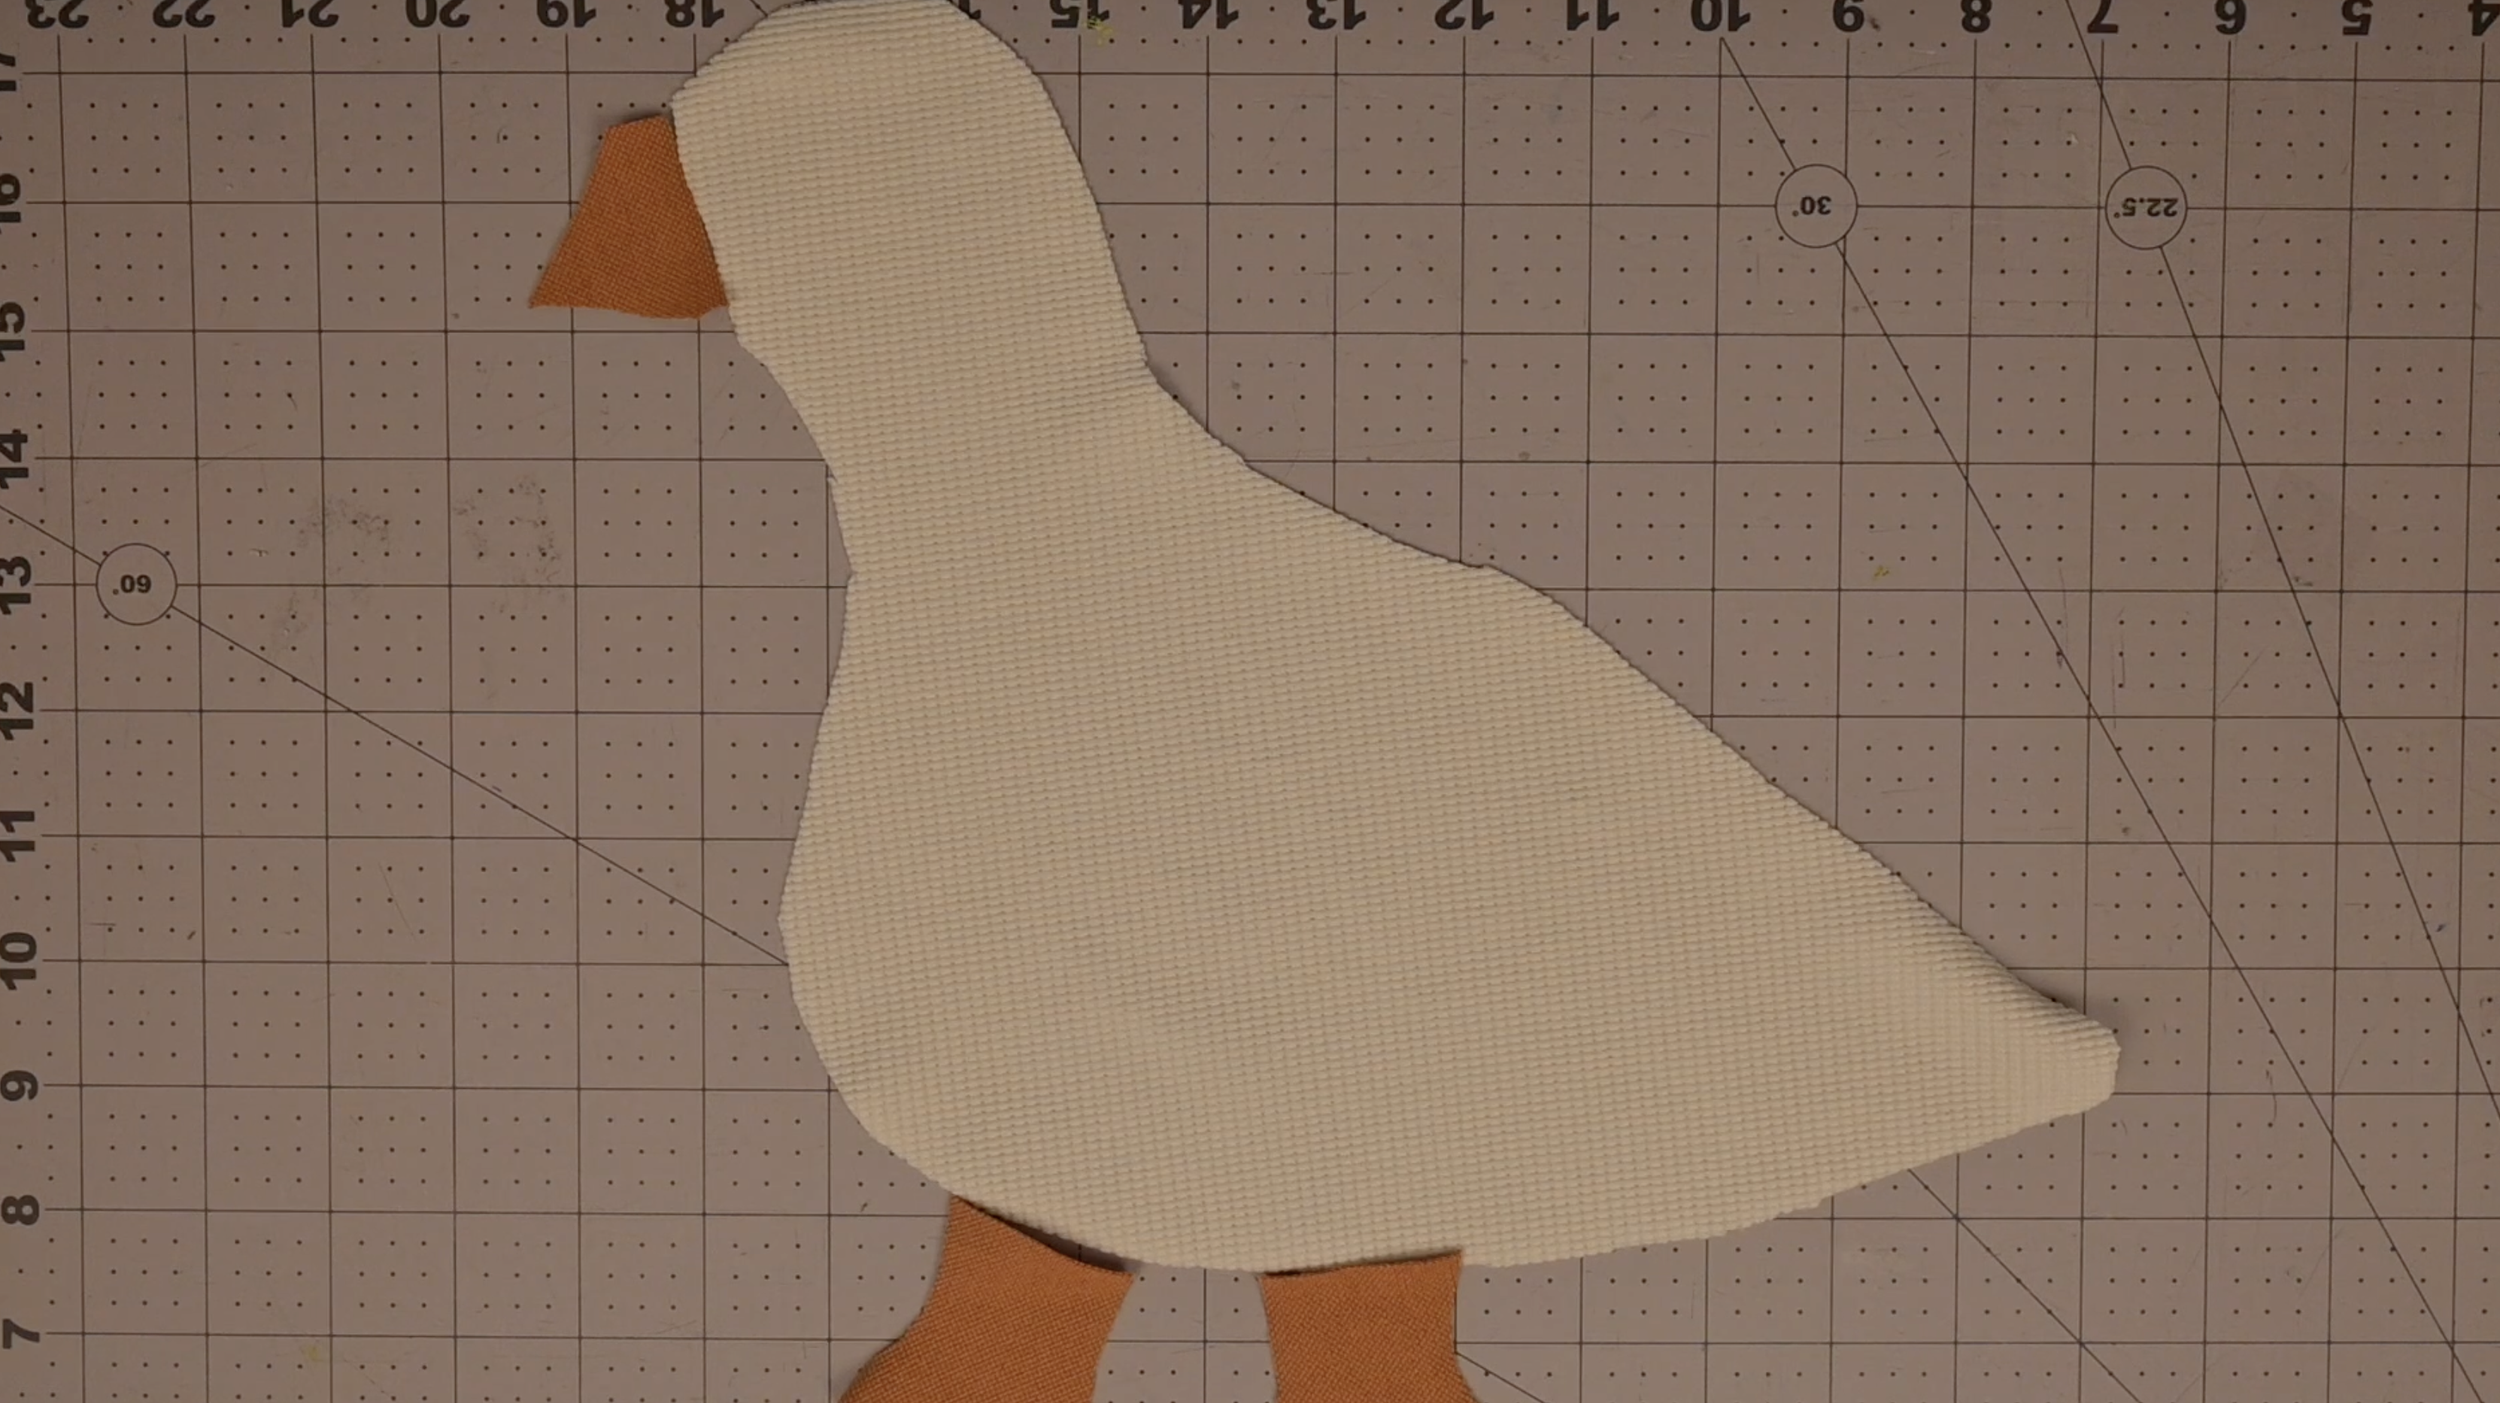
Place the beak and feet right side up onto their designated spots indicated on the pattern
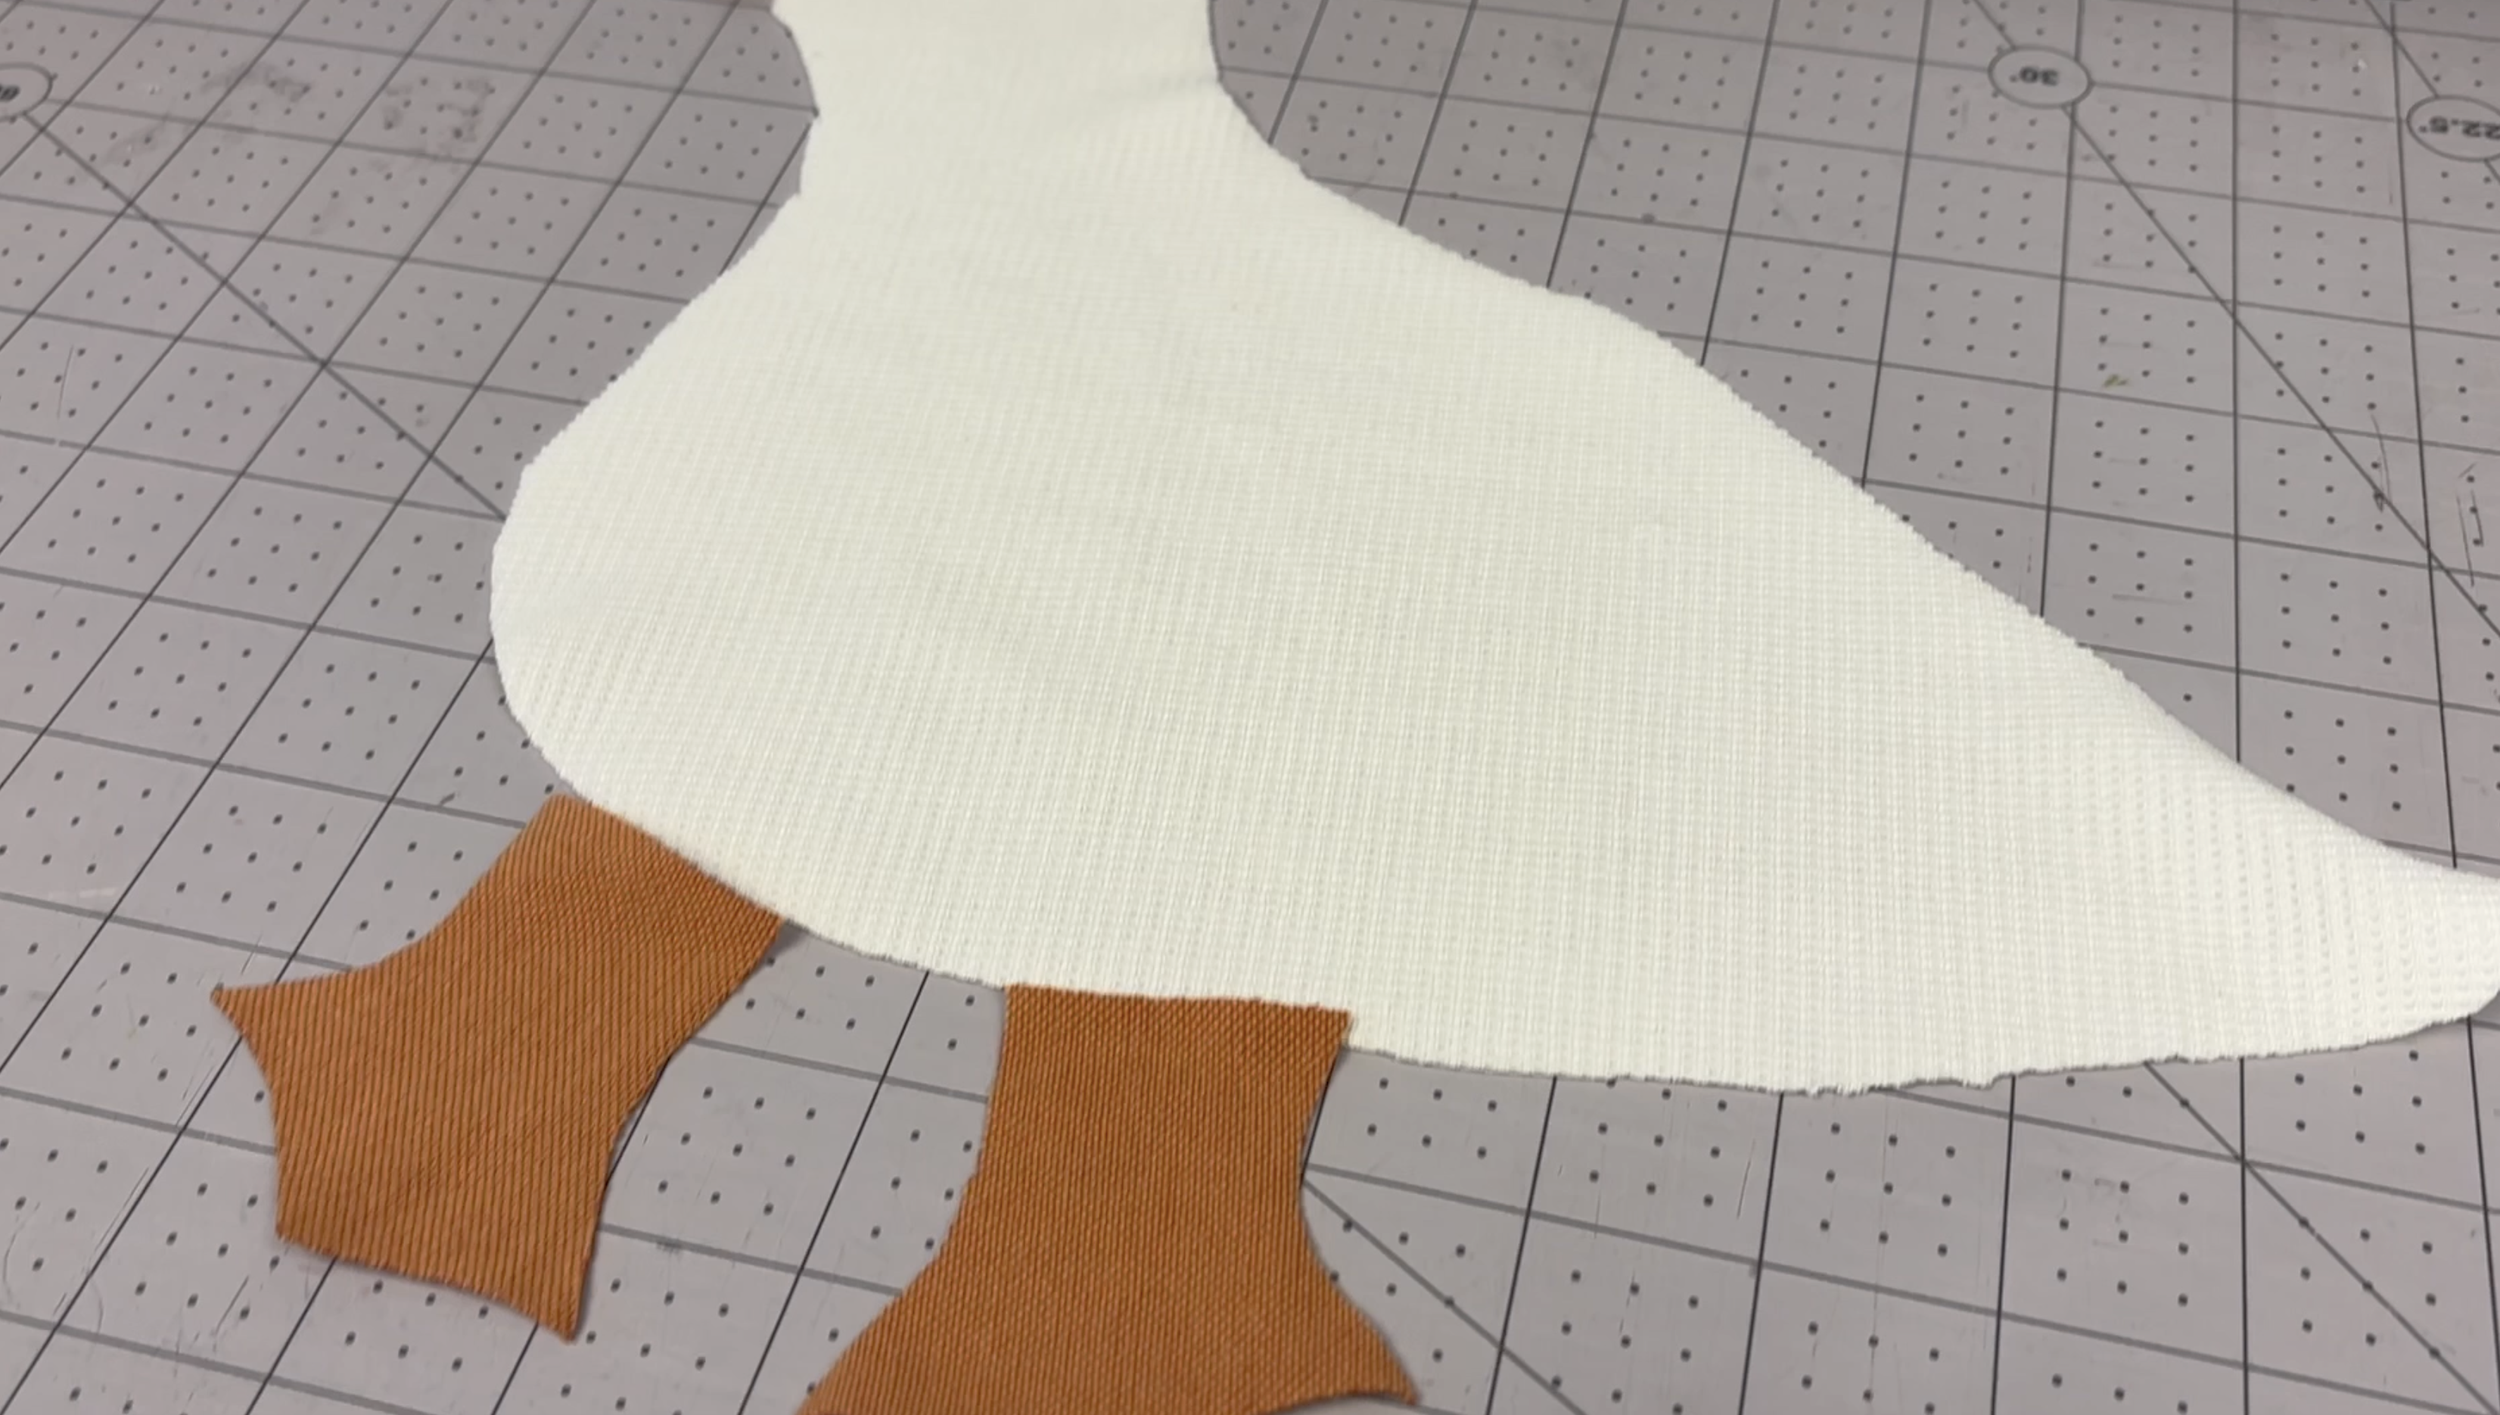
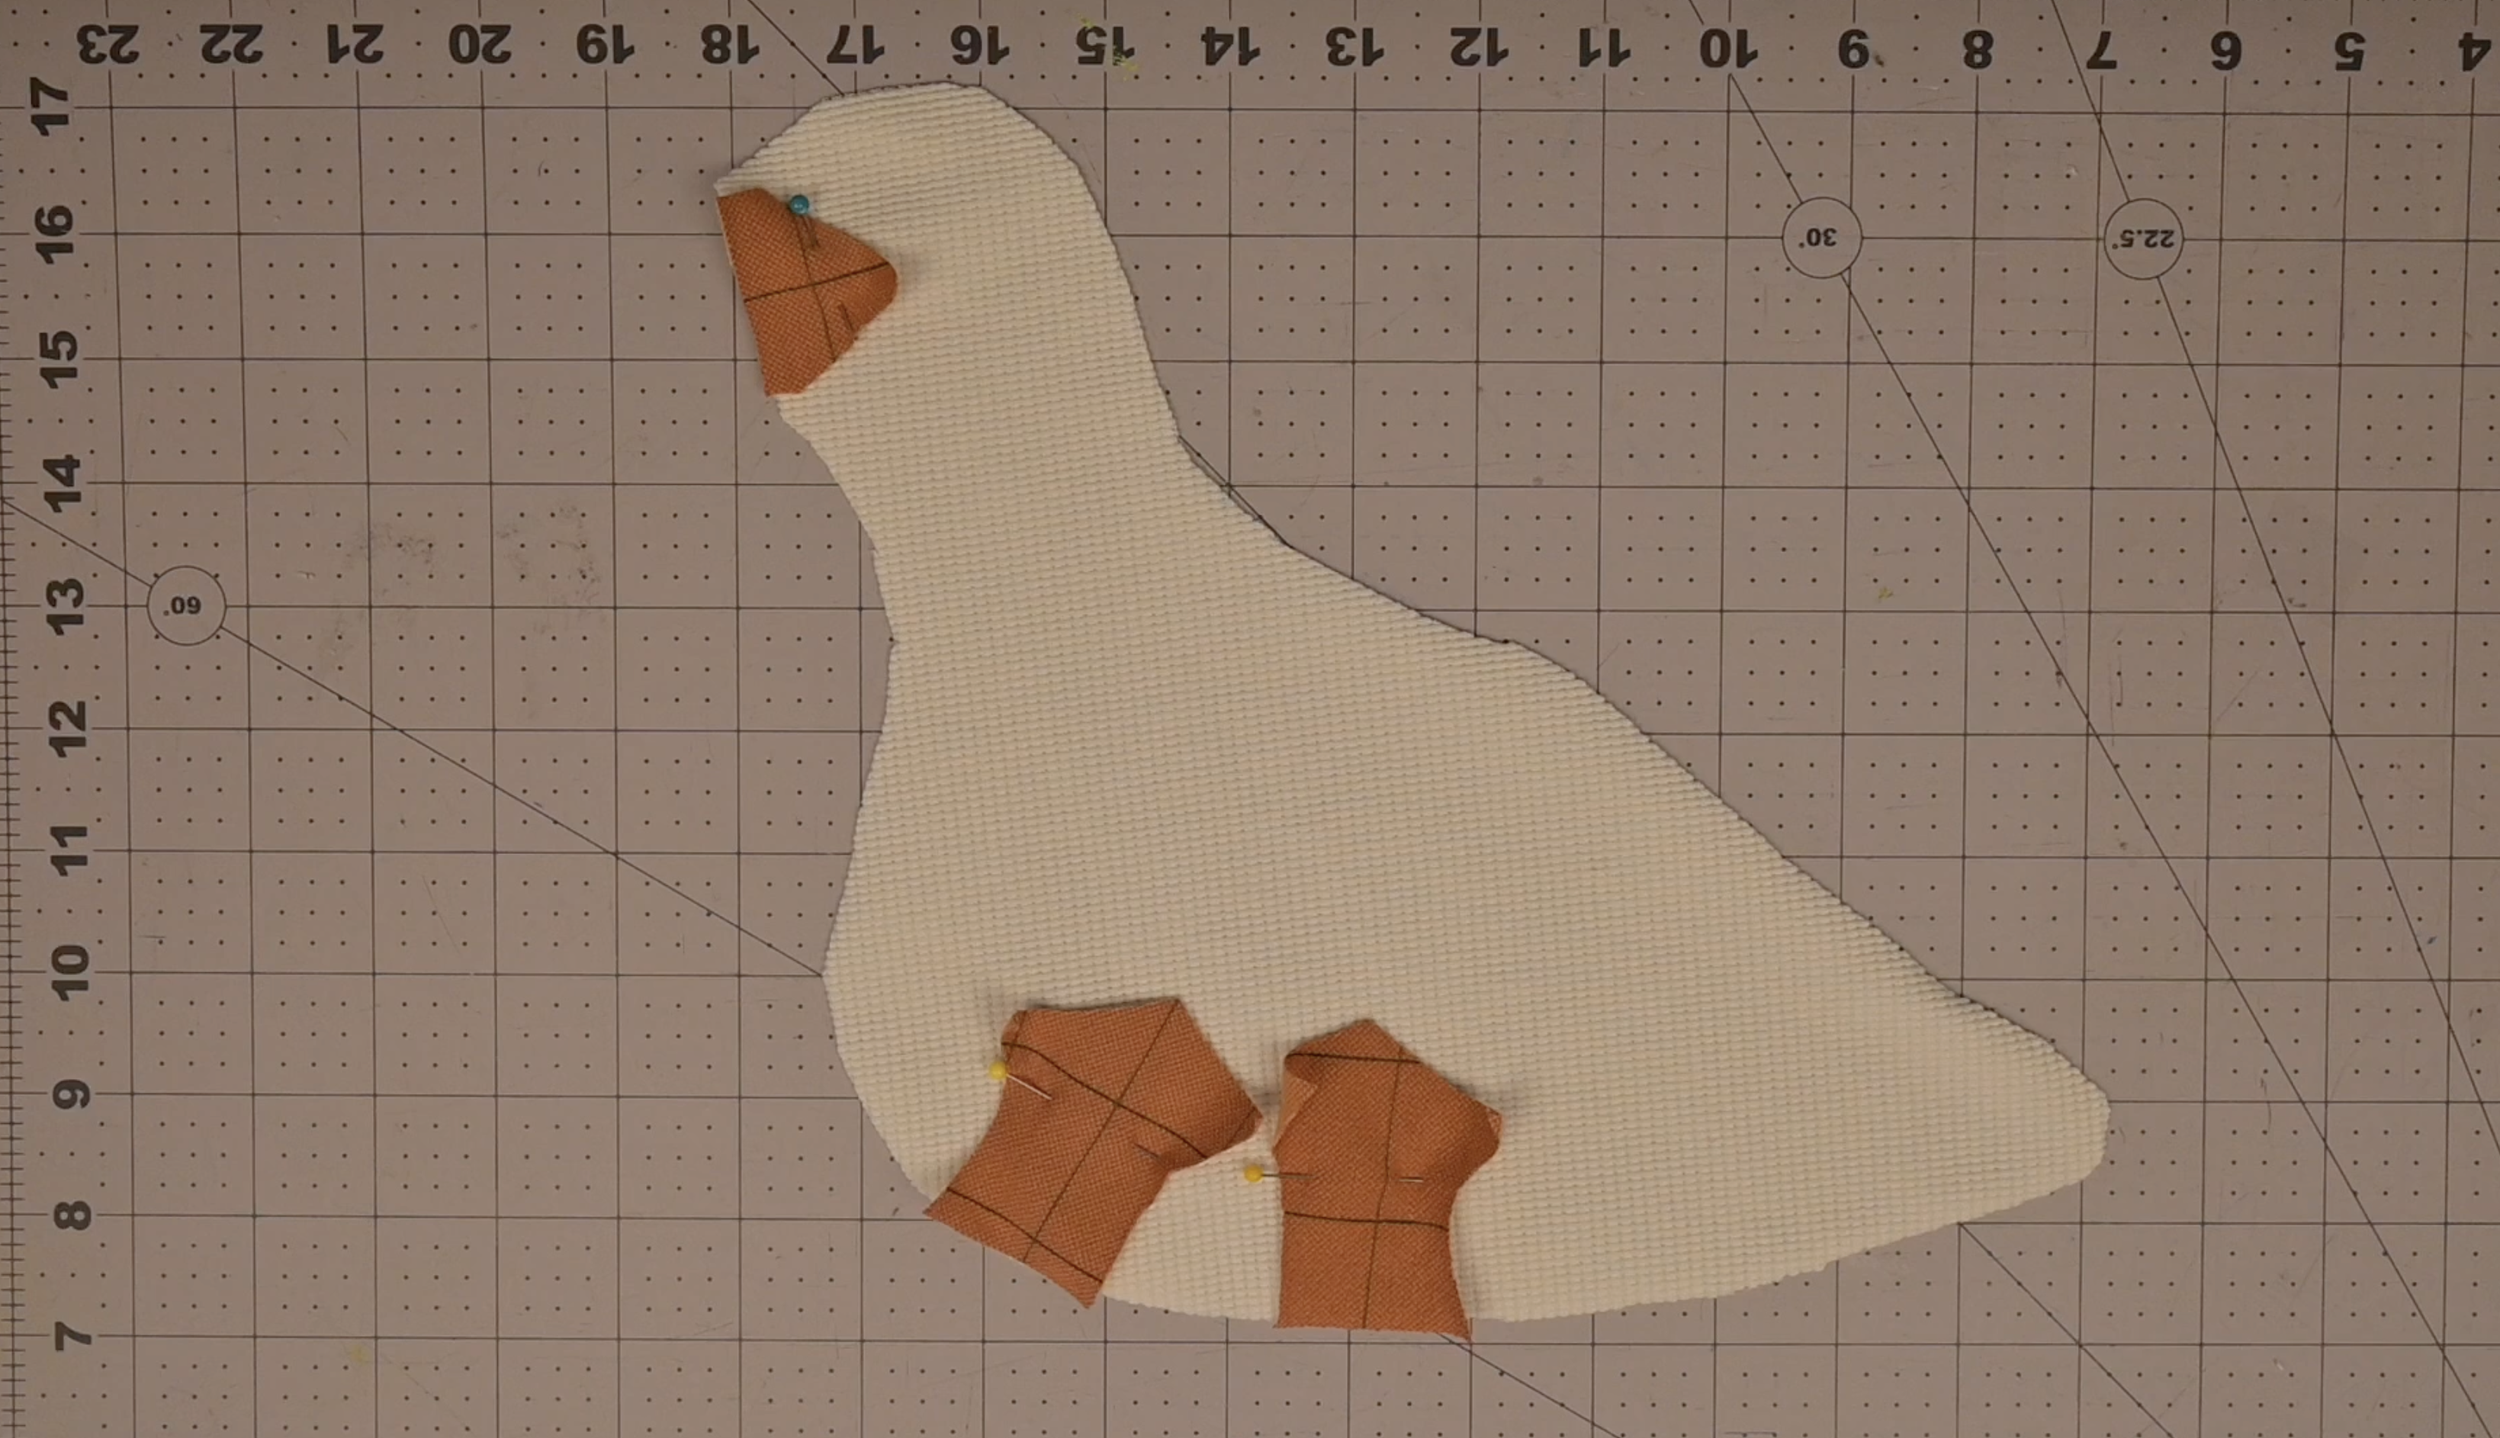
Flip the feet and beak pieces inward onto the main goose piece so the right sides of the fabric are facing each other
Pin in place
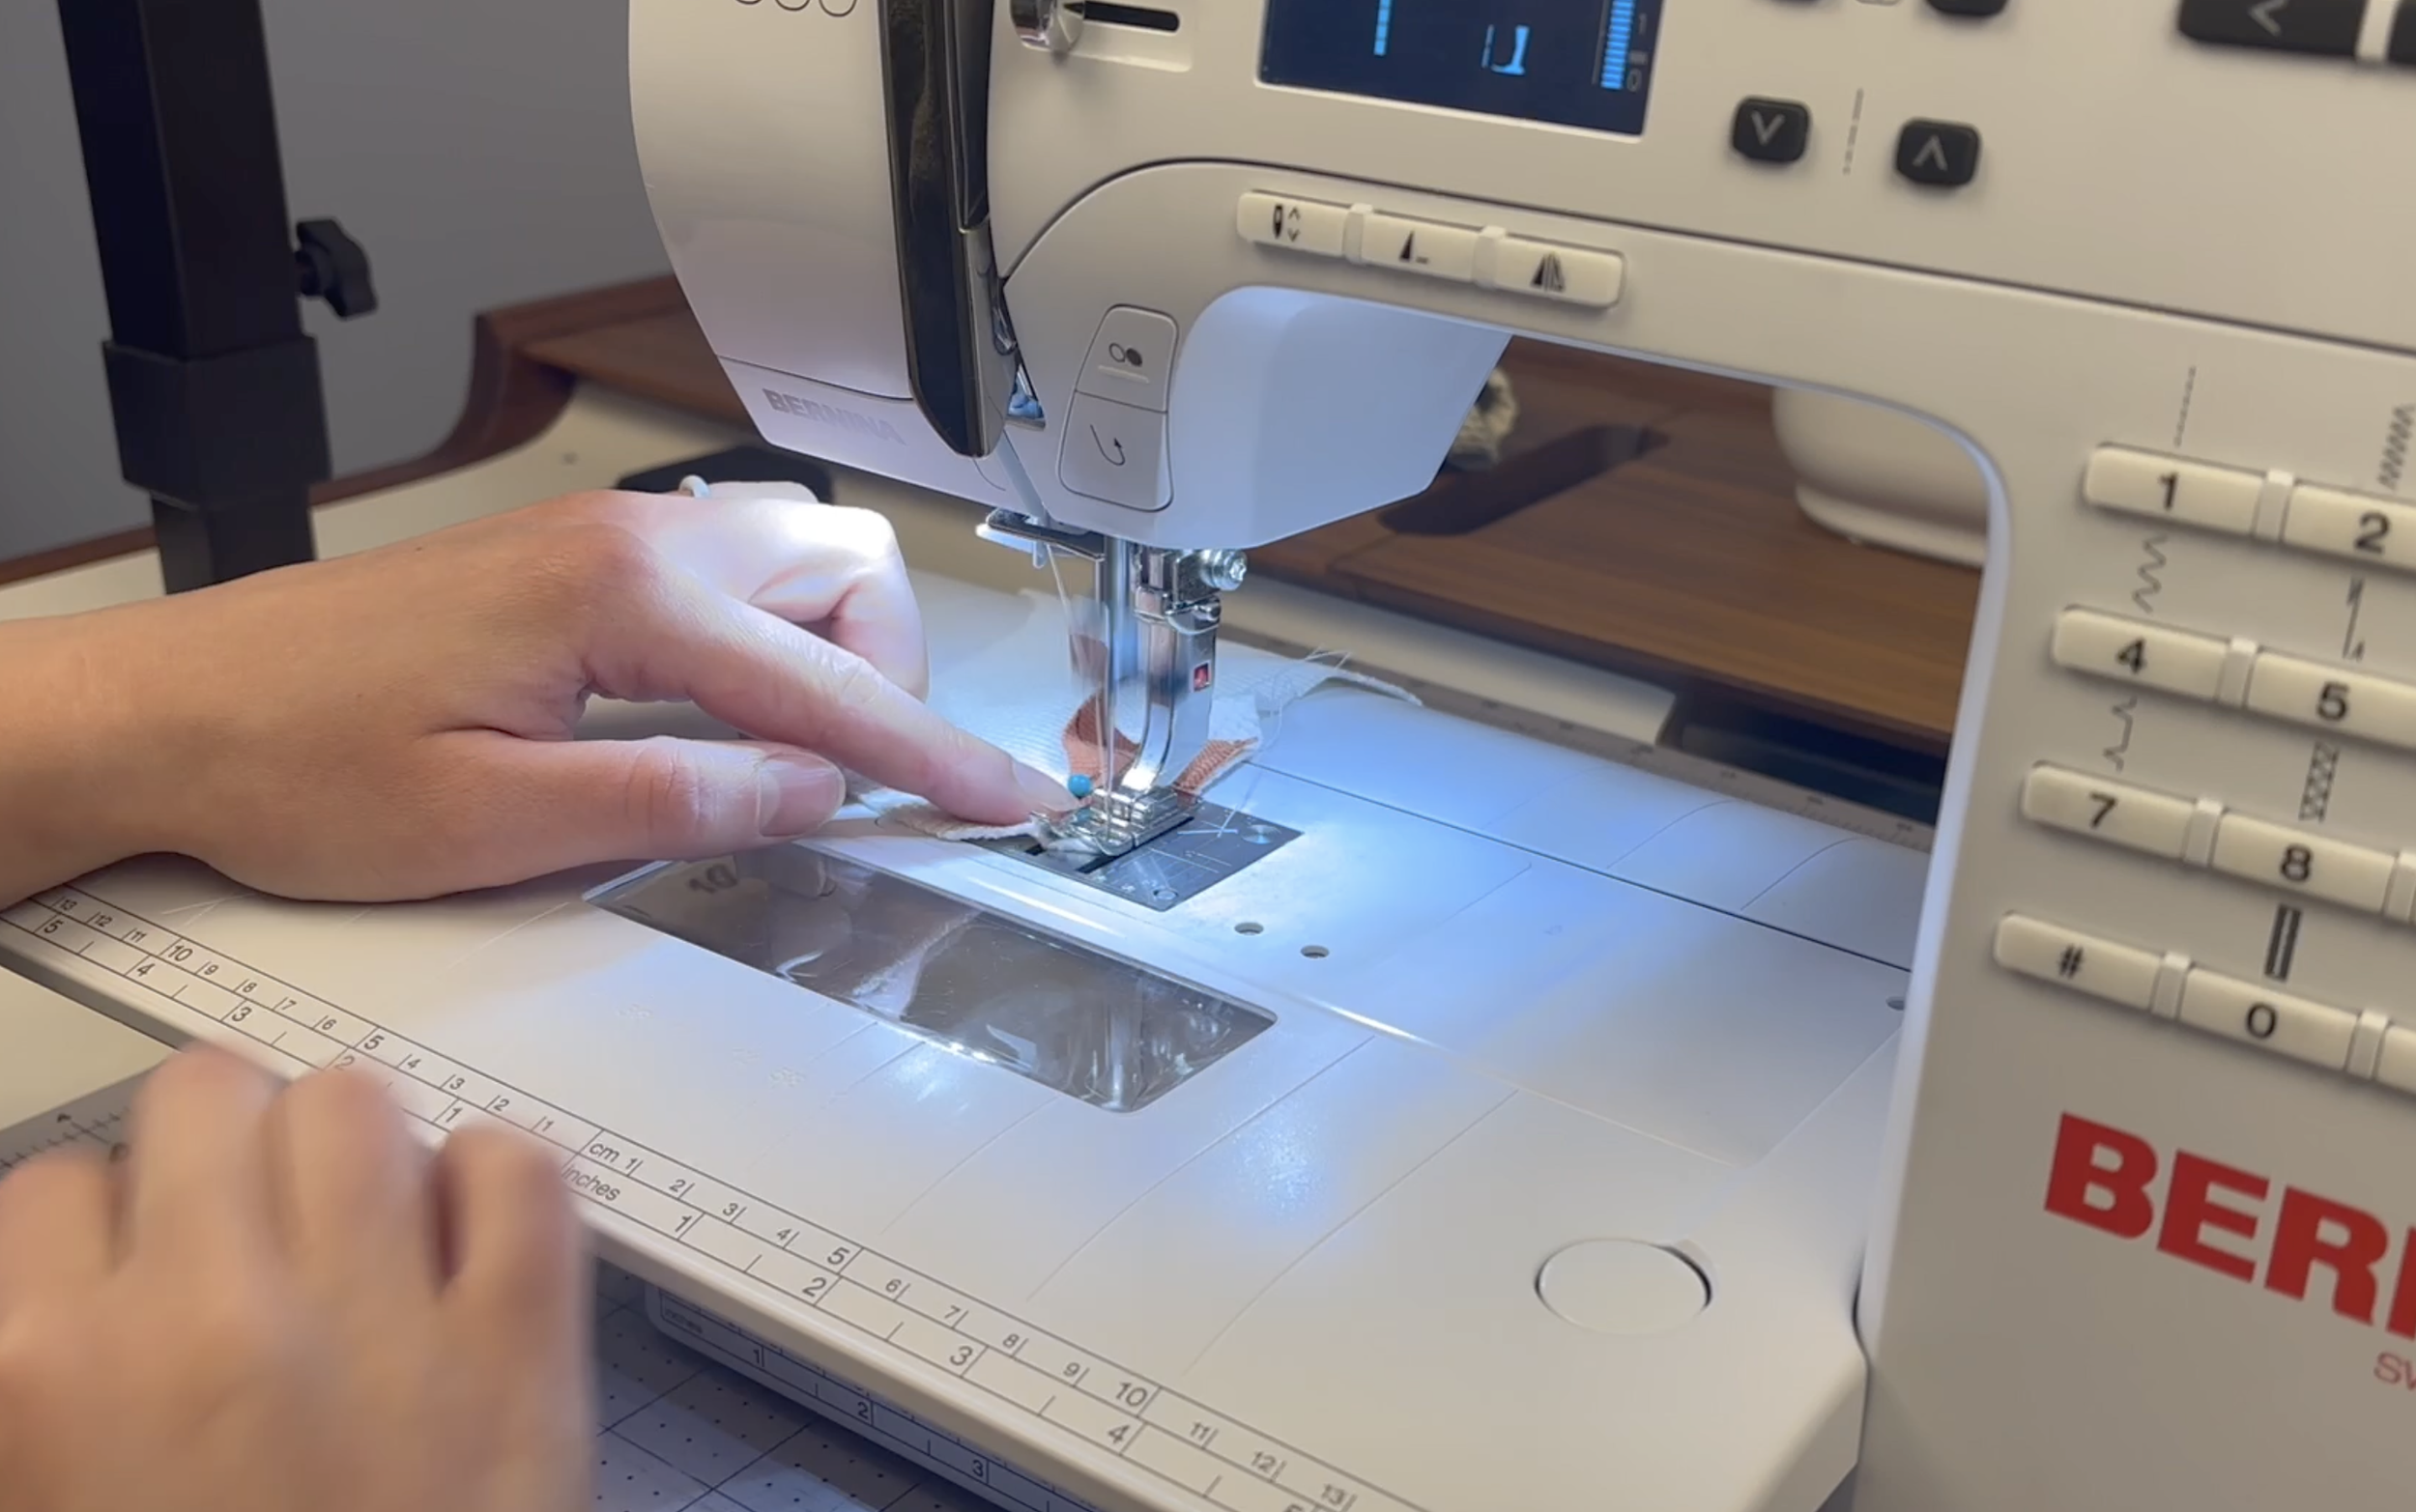
Sew the feet and beak in place
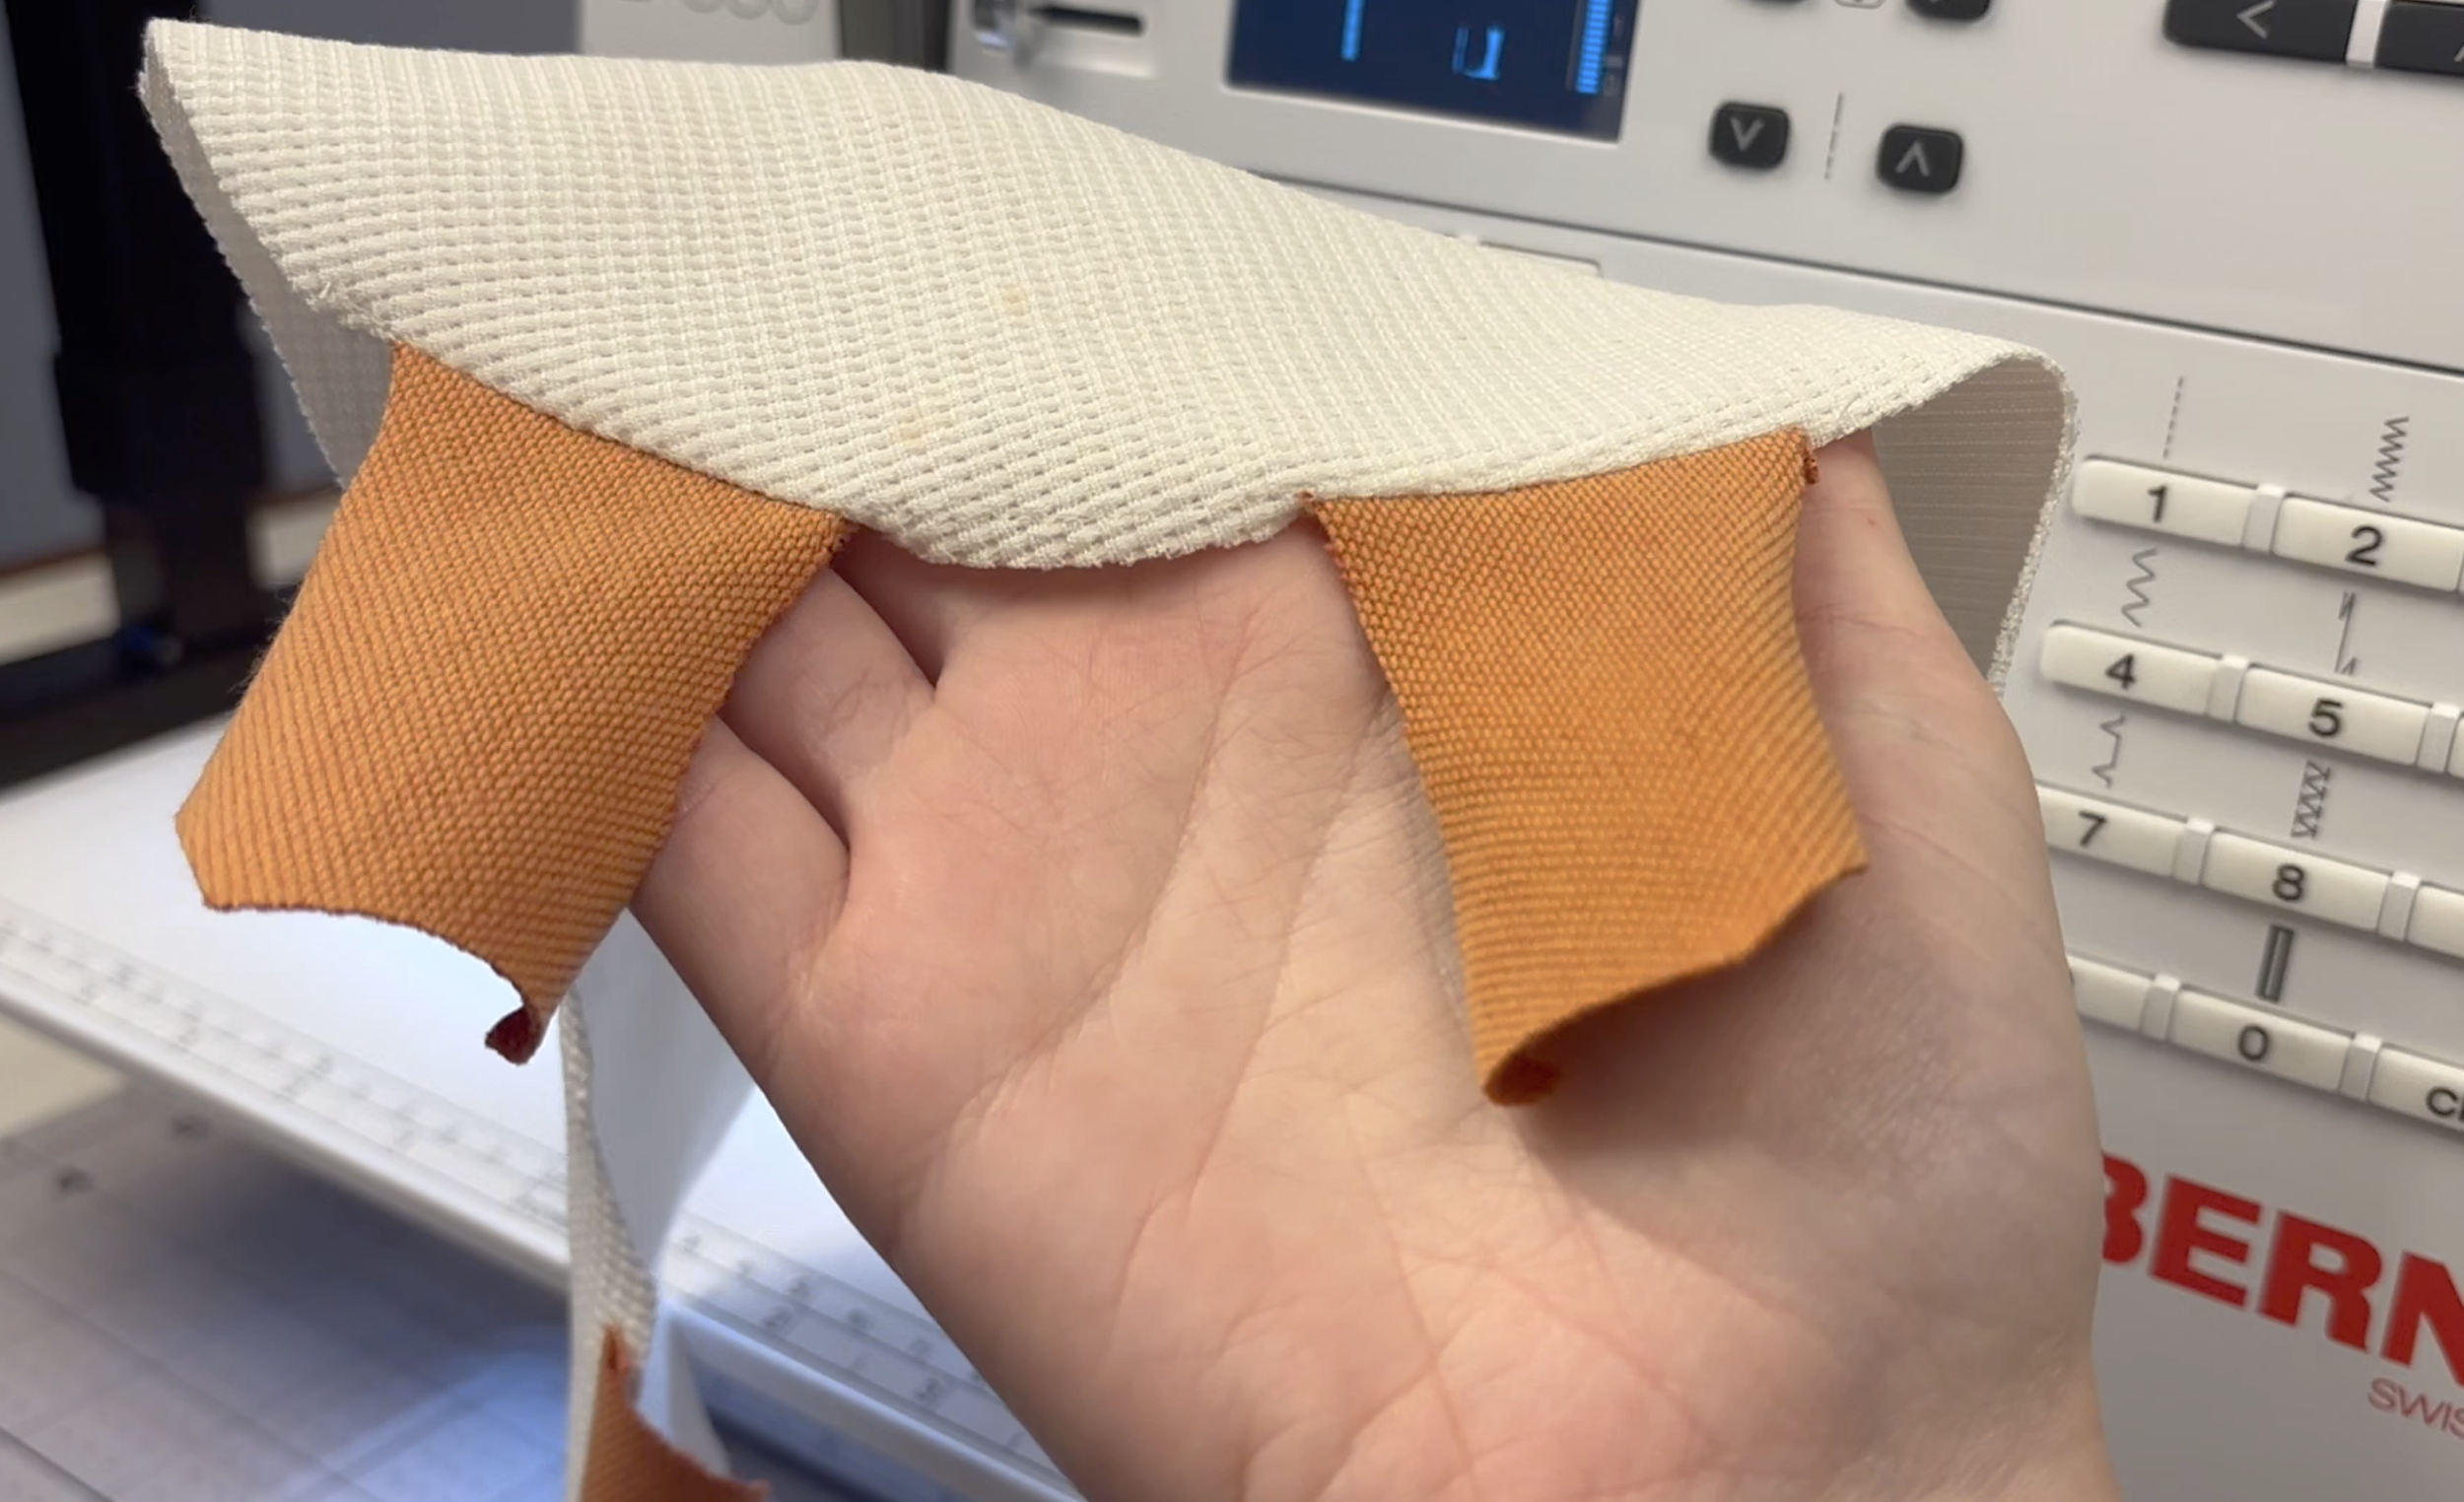
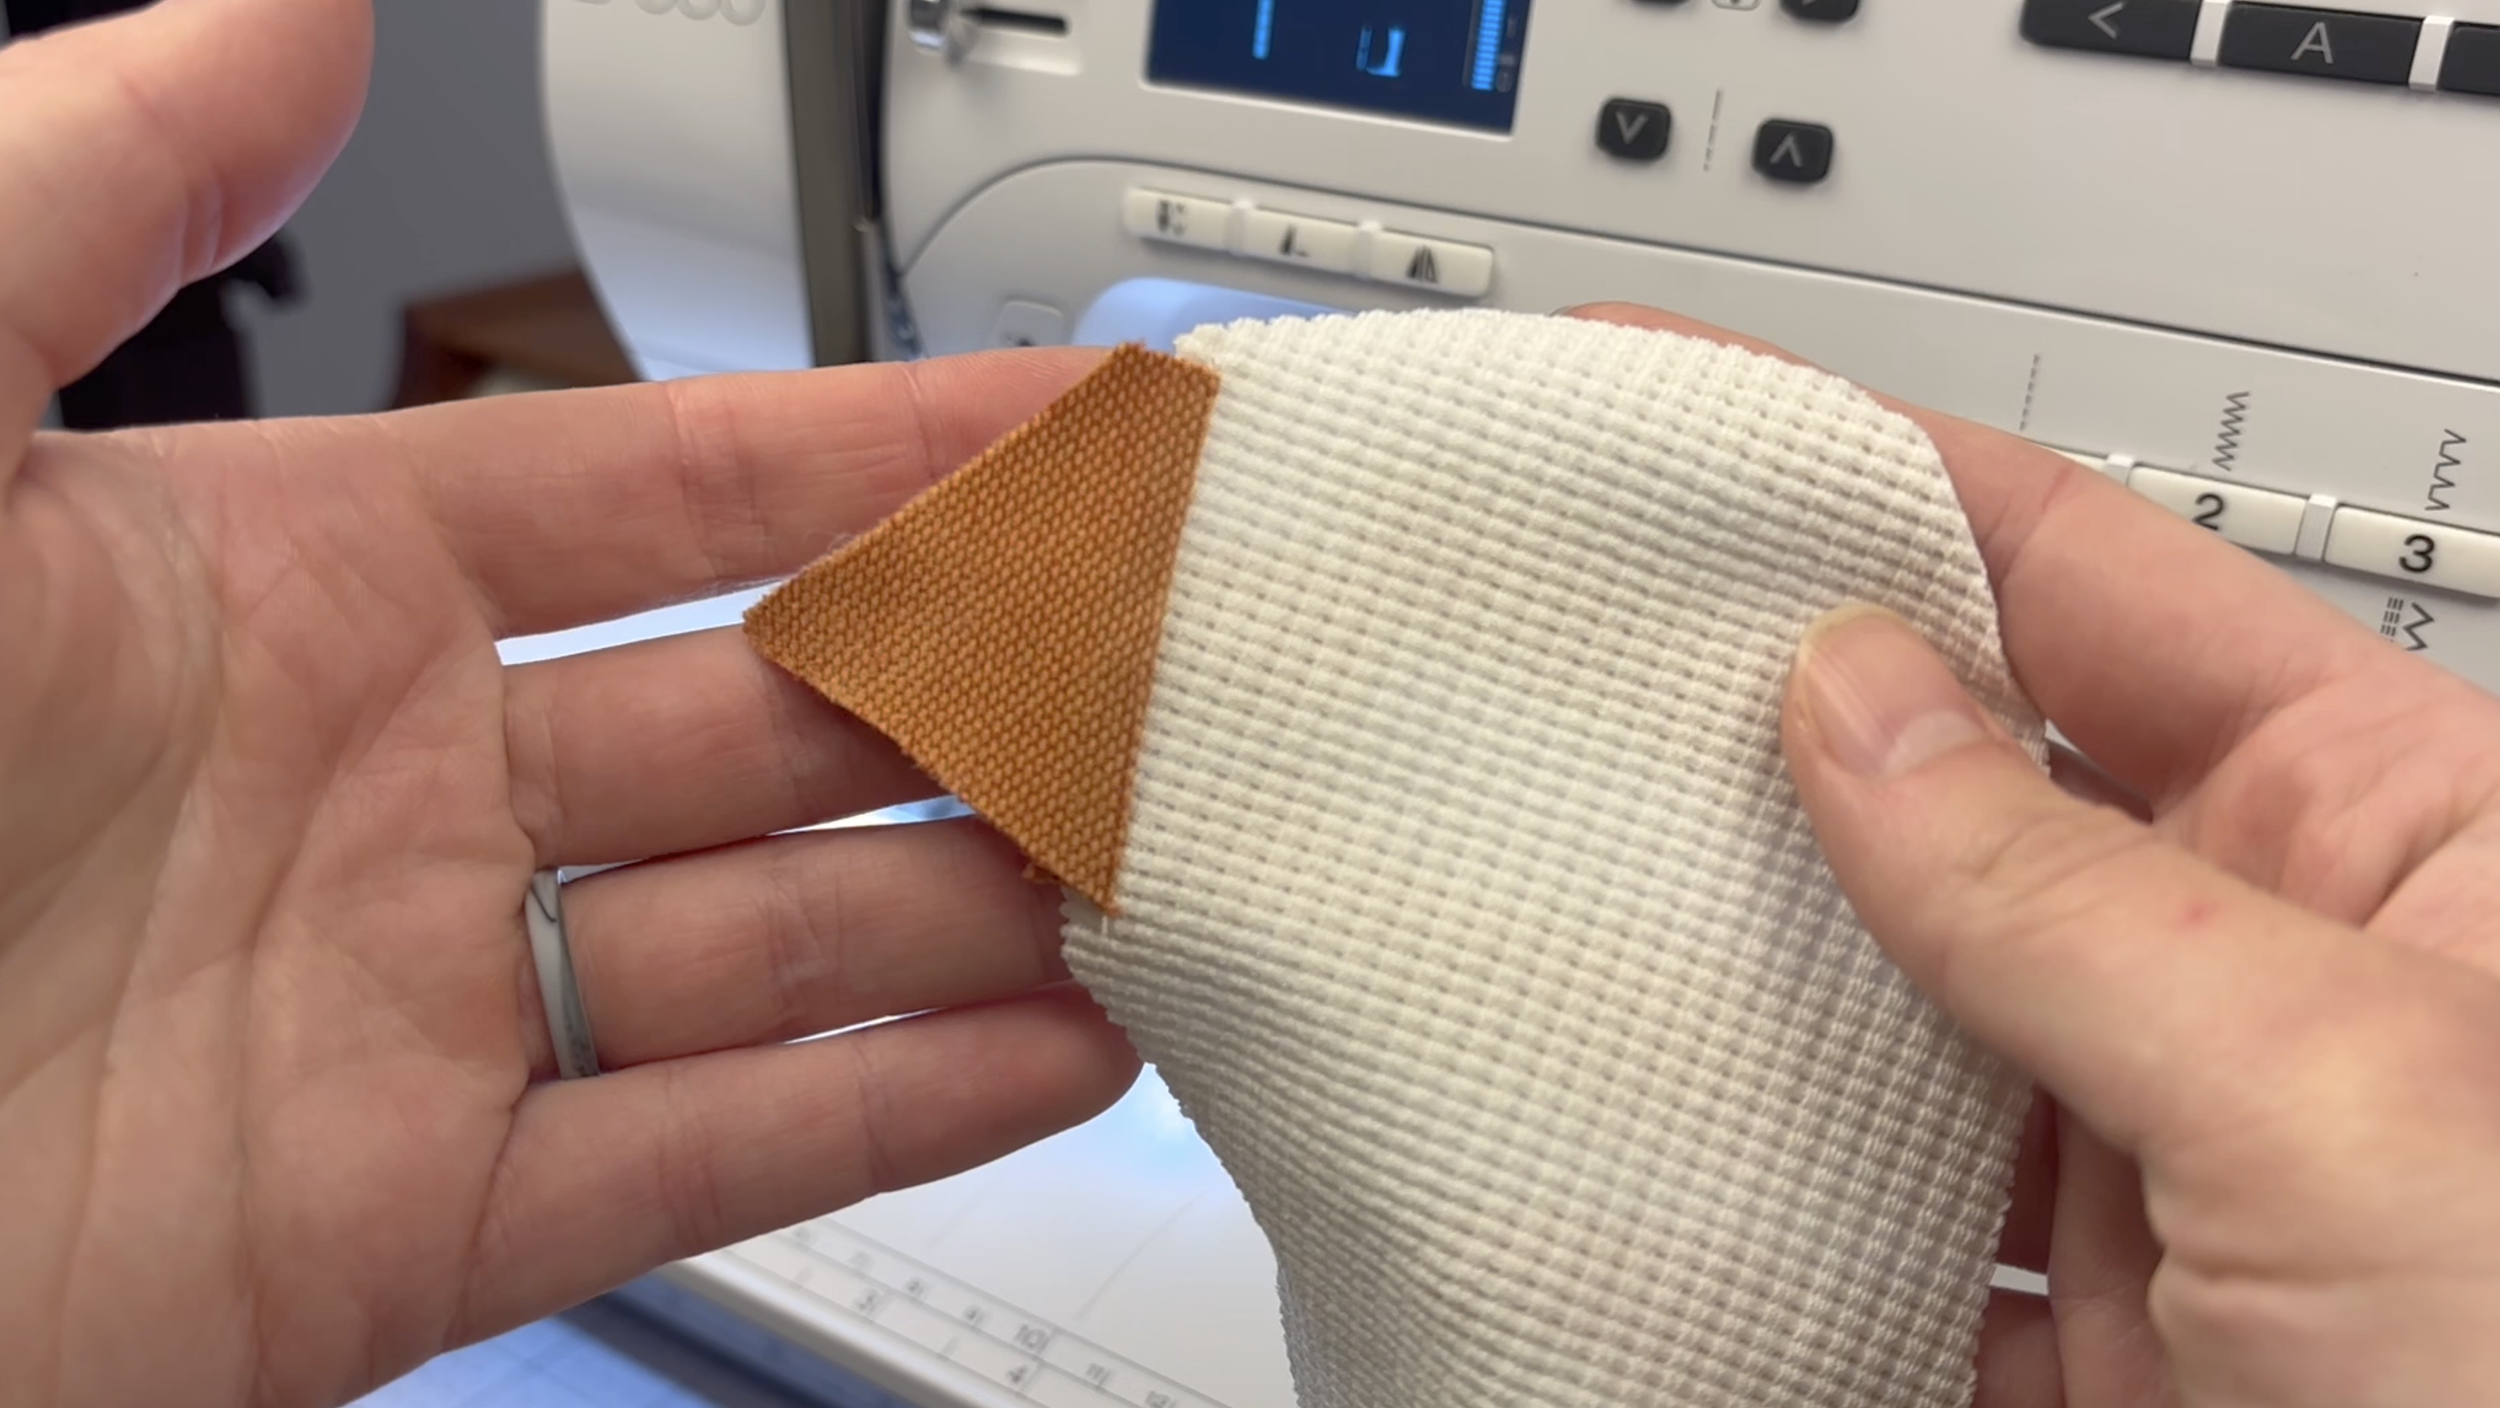
Iron the attached seams flat
Step 5: Sew the Wing
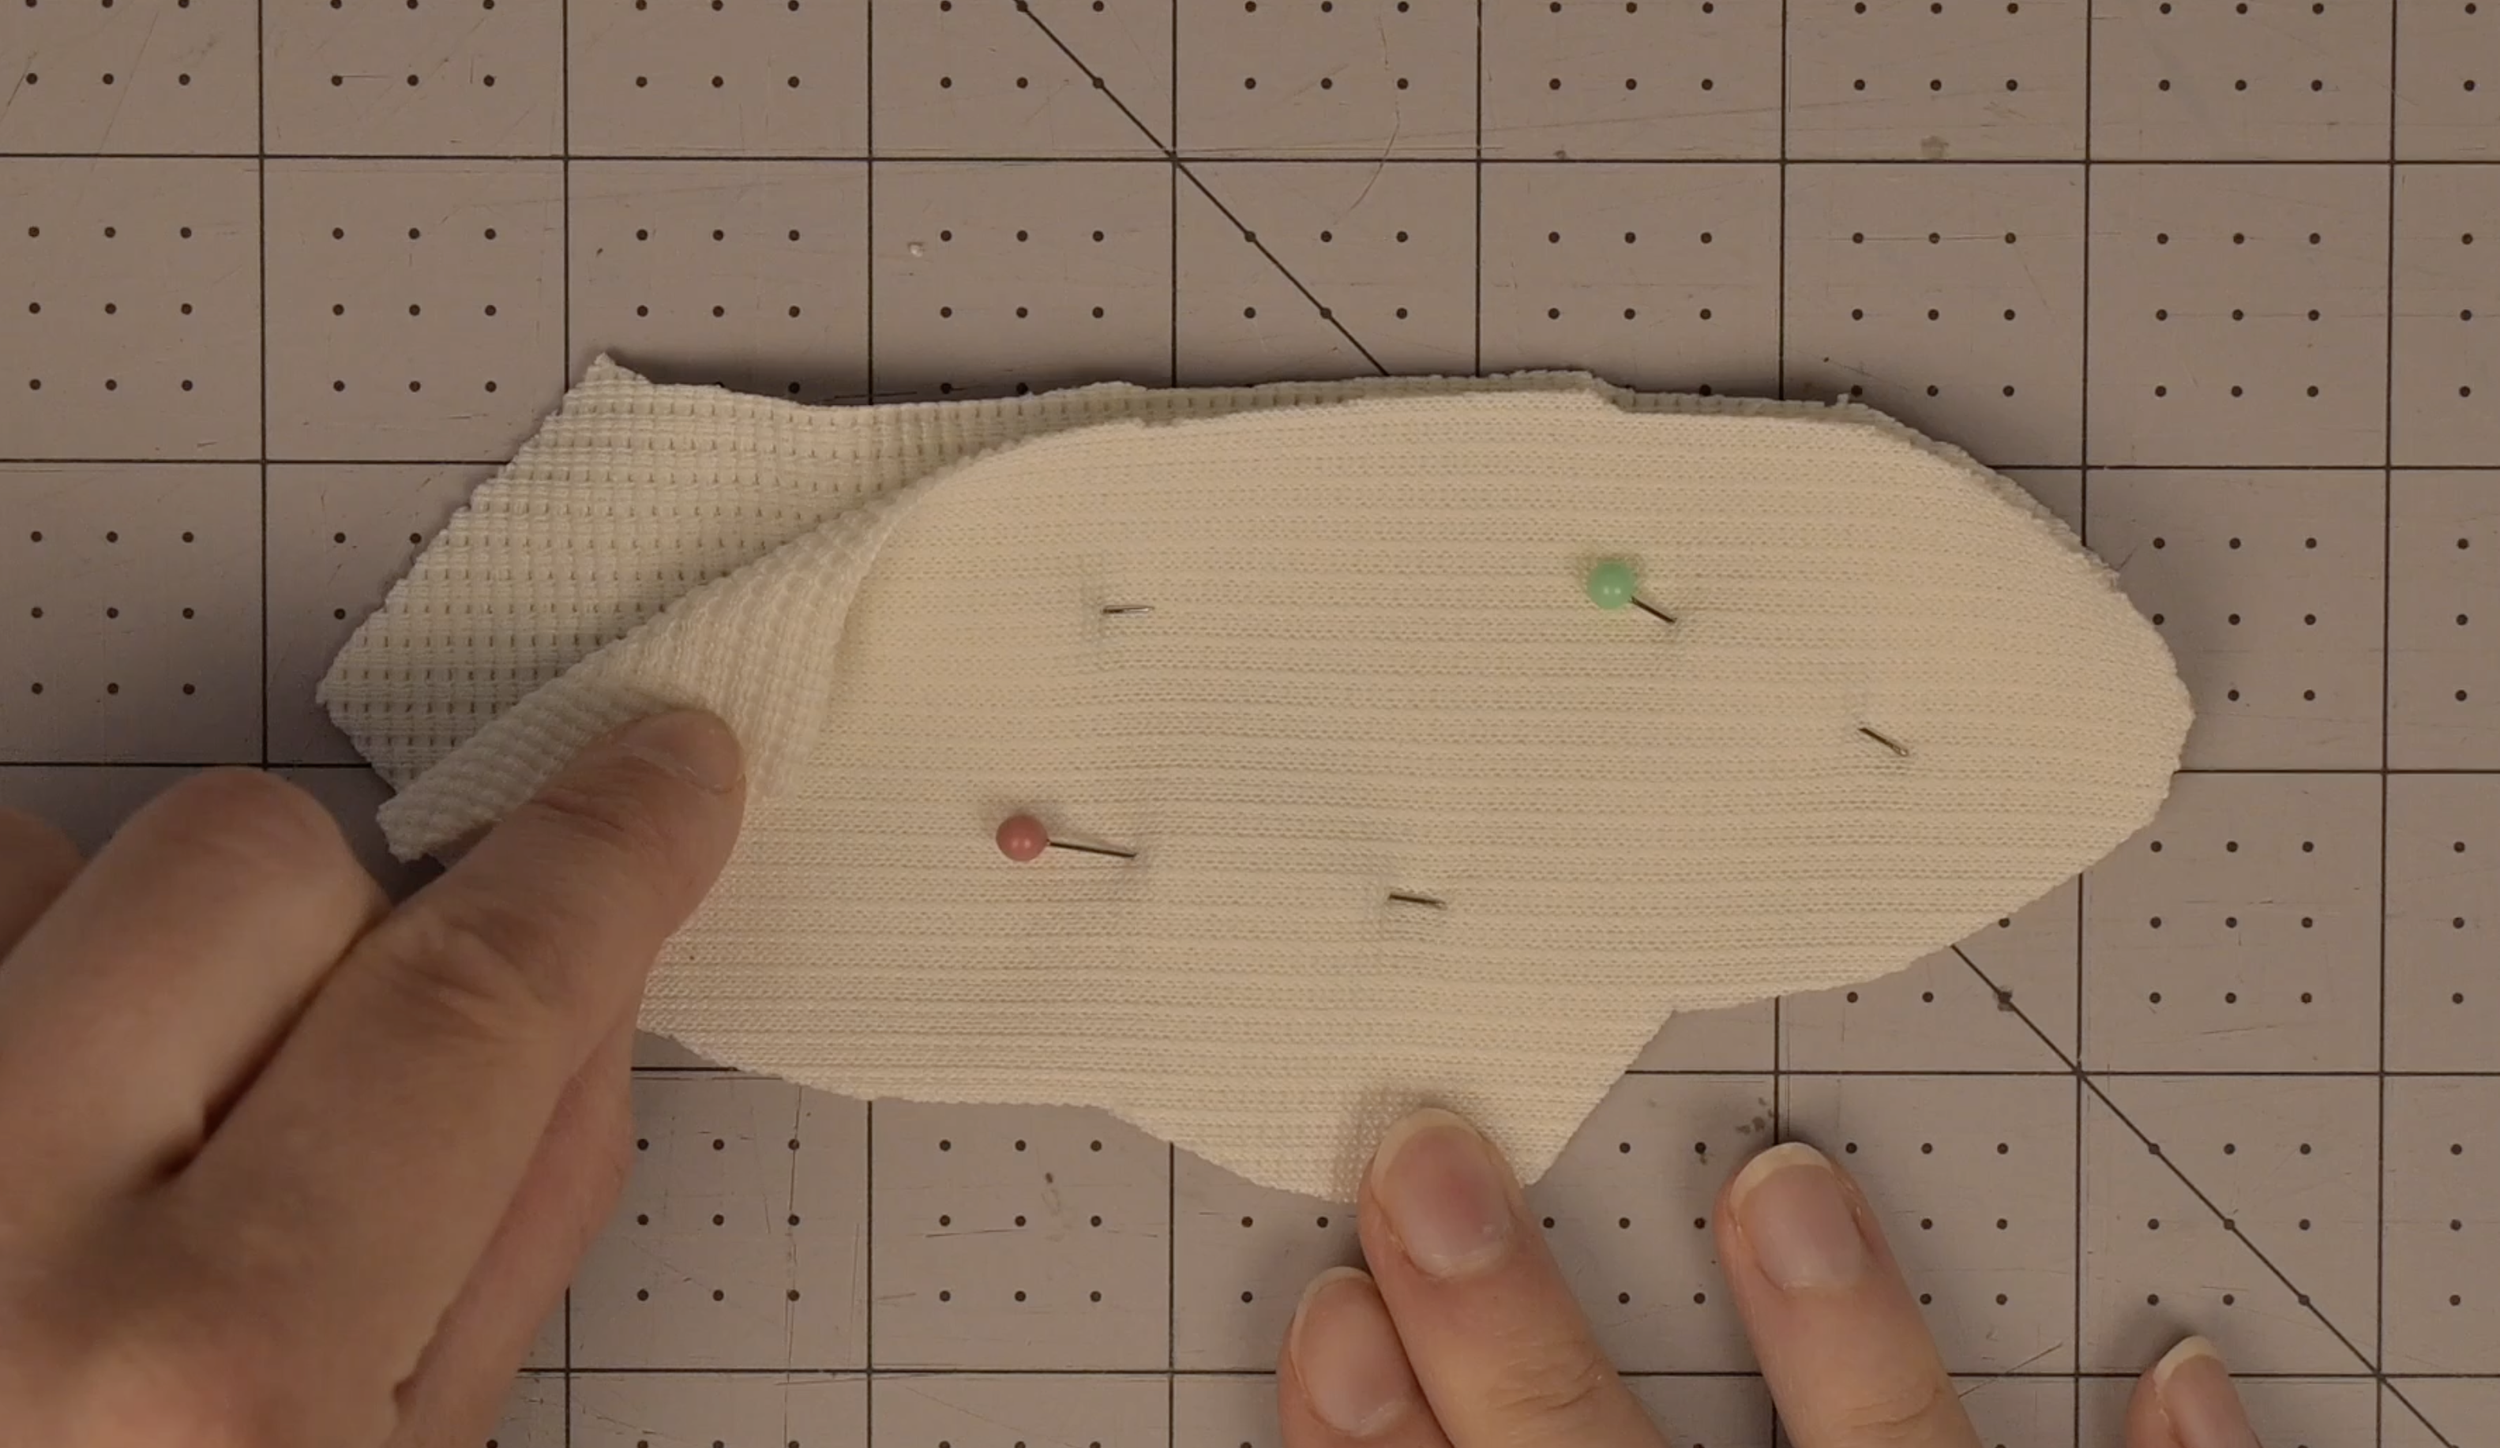
Align the two wing pieces with right sides facing each other
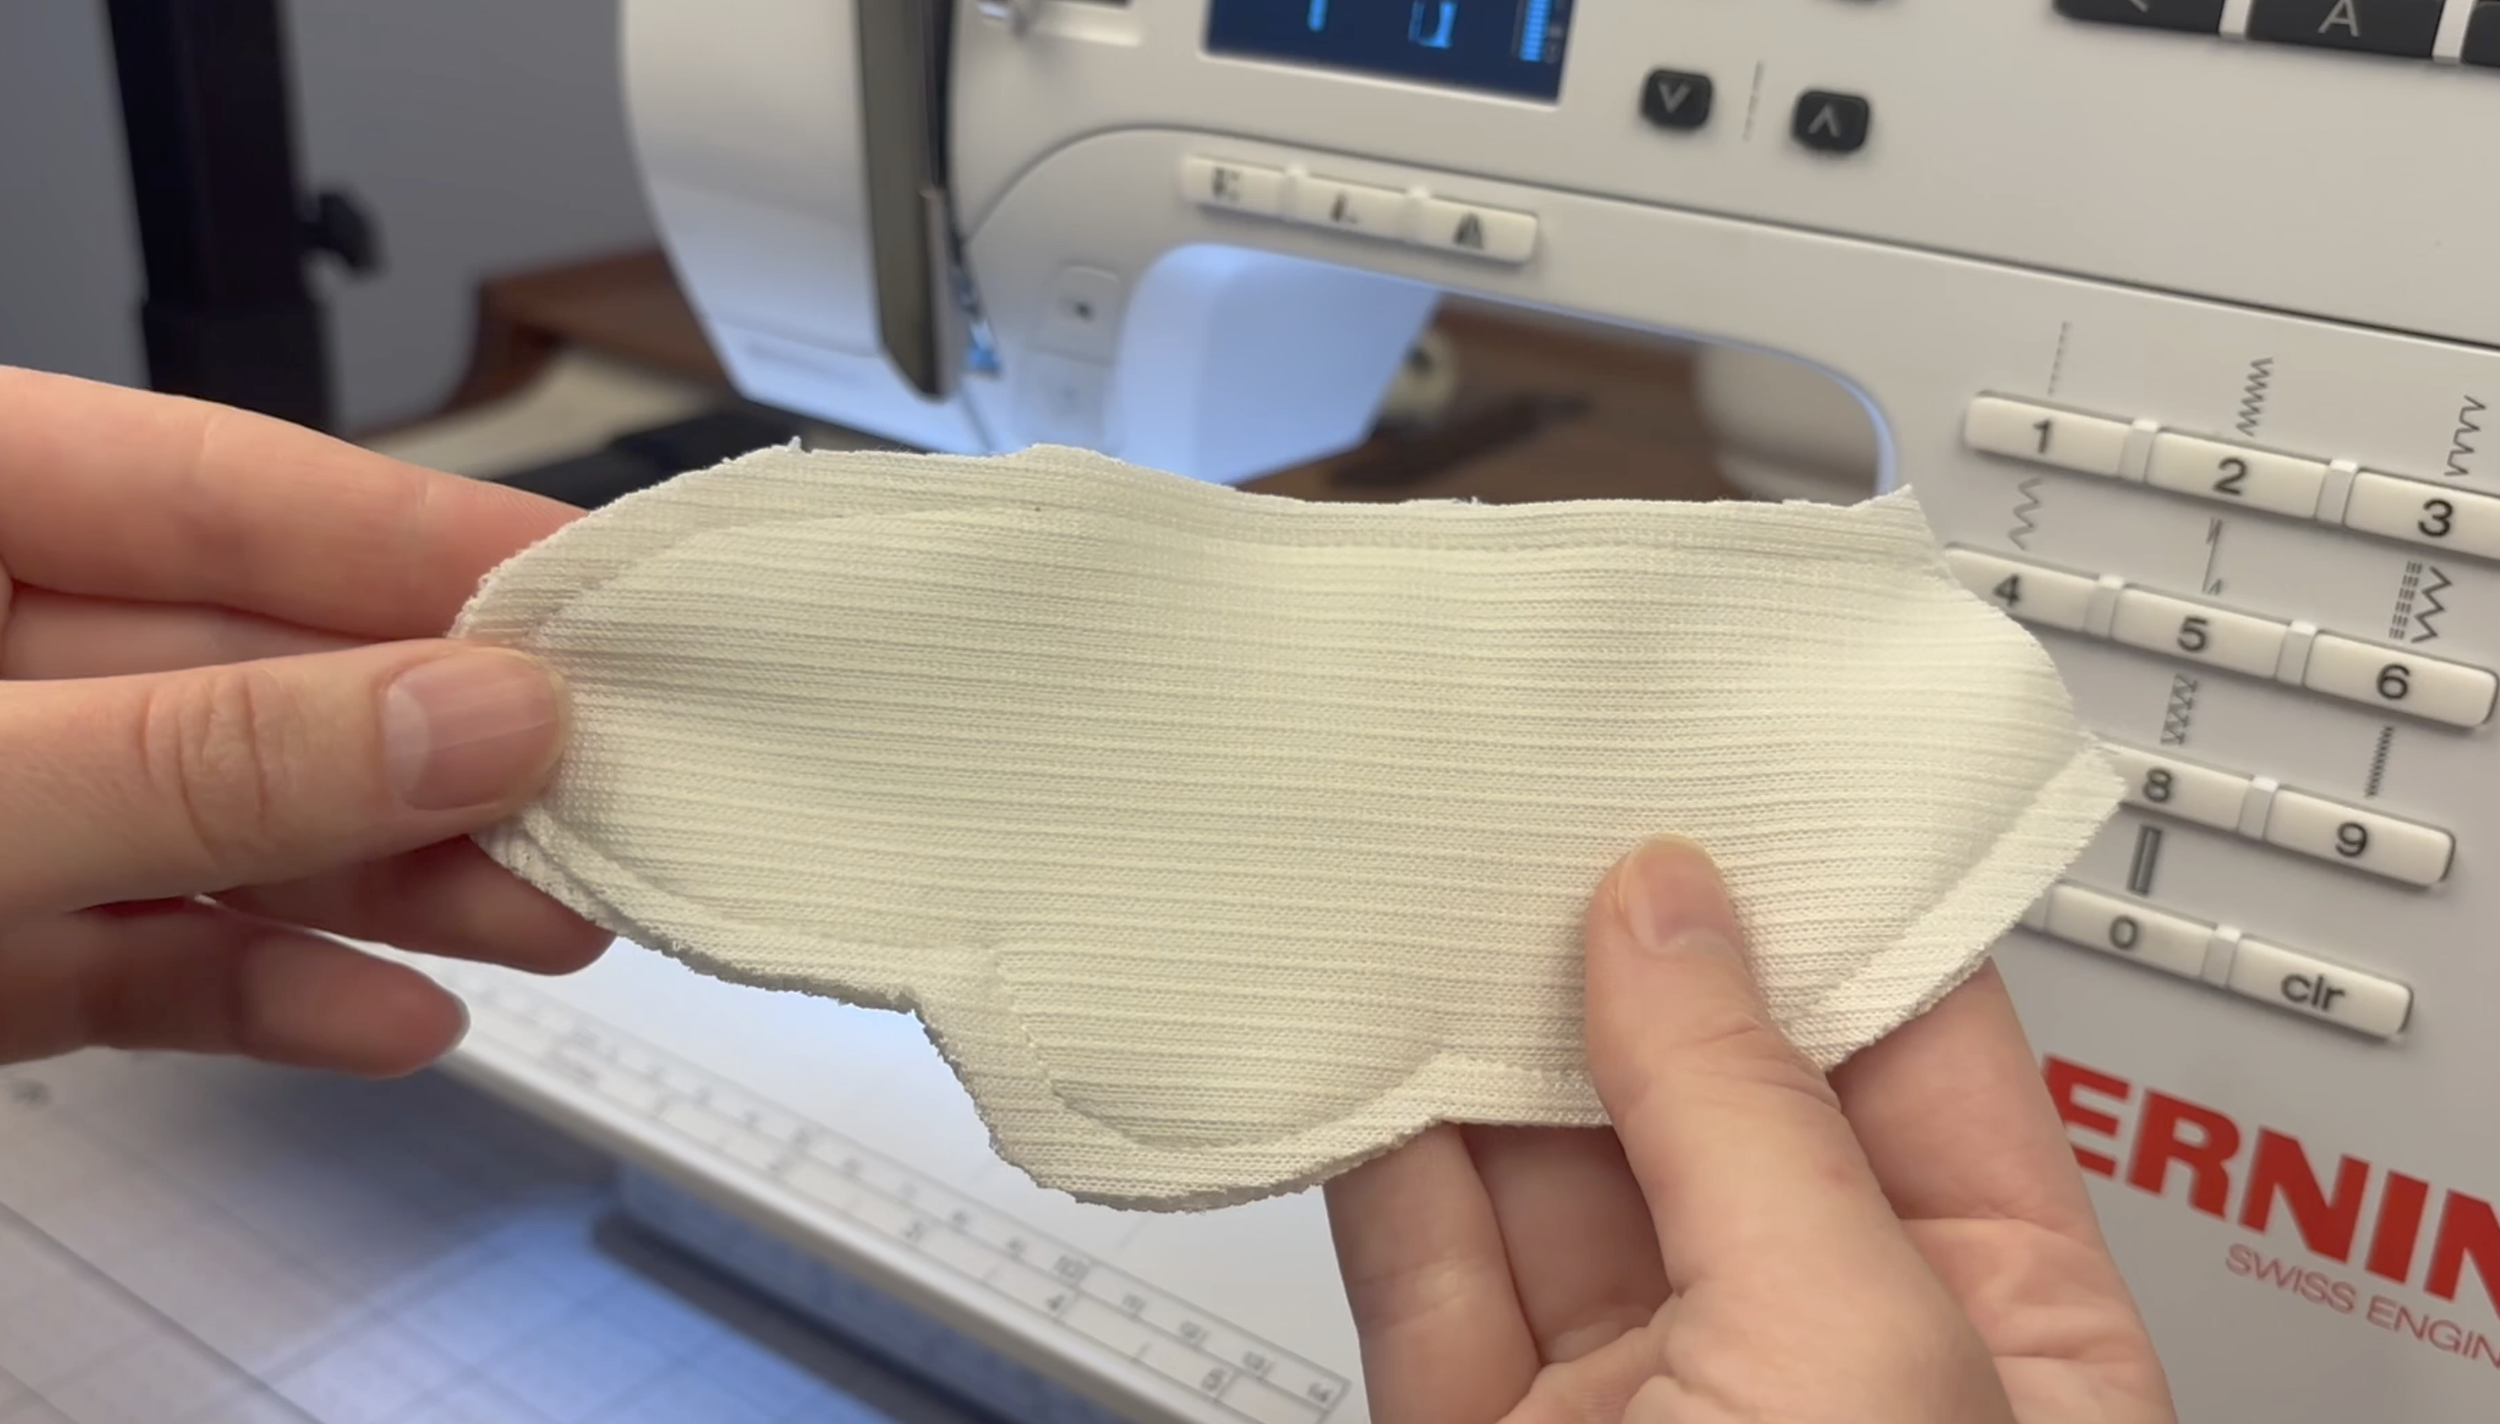
Sew along the edge, leaving a small opening to turn it right side out
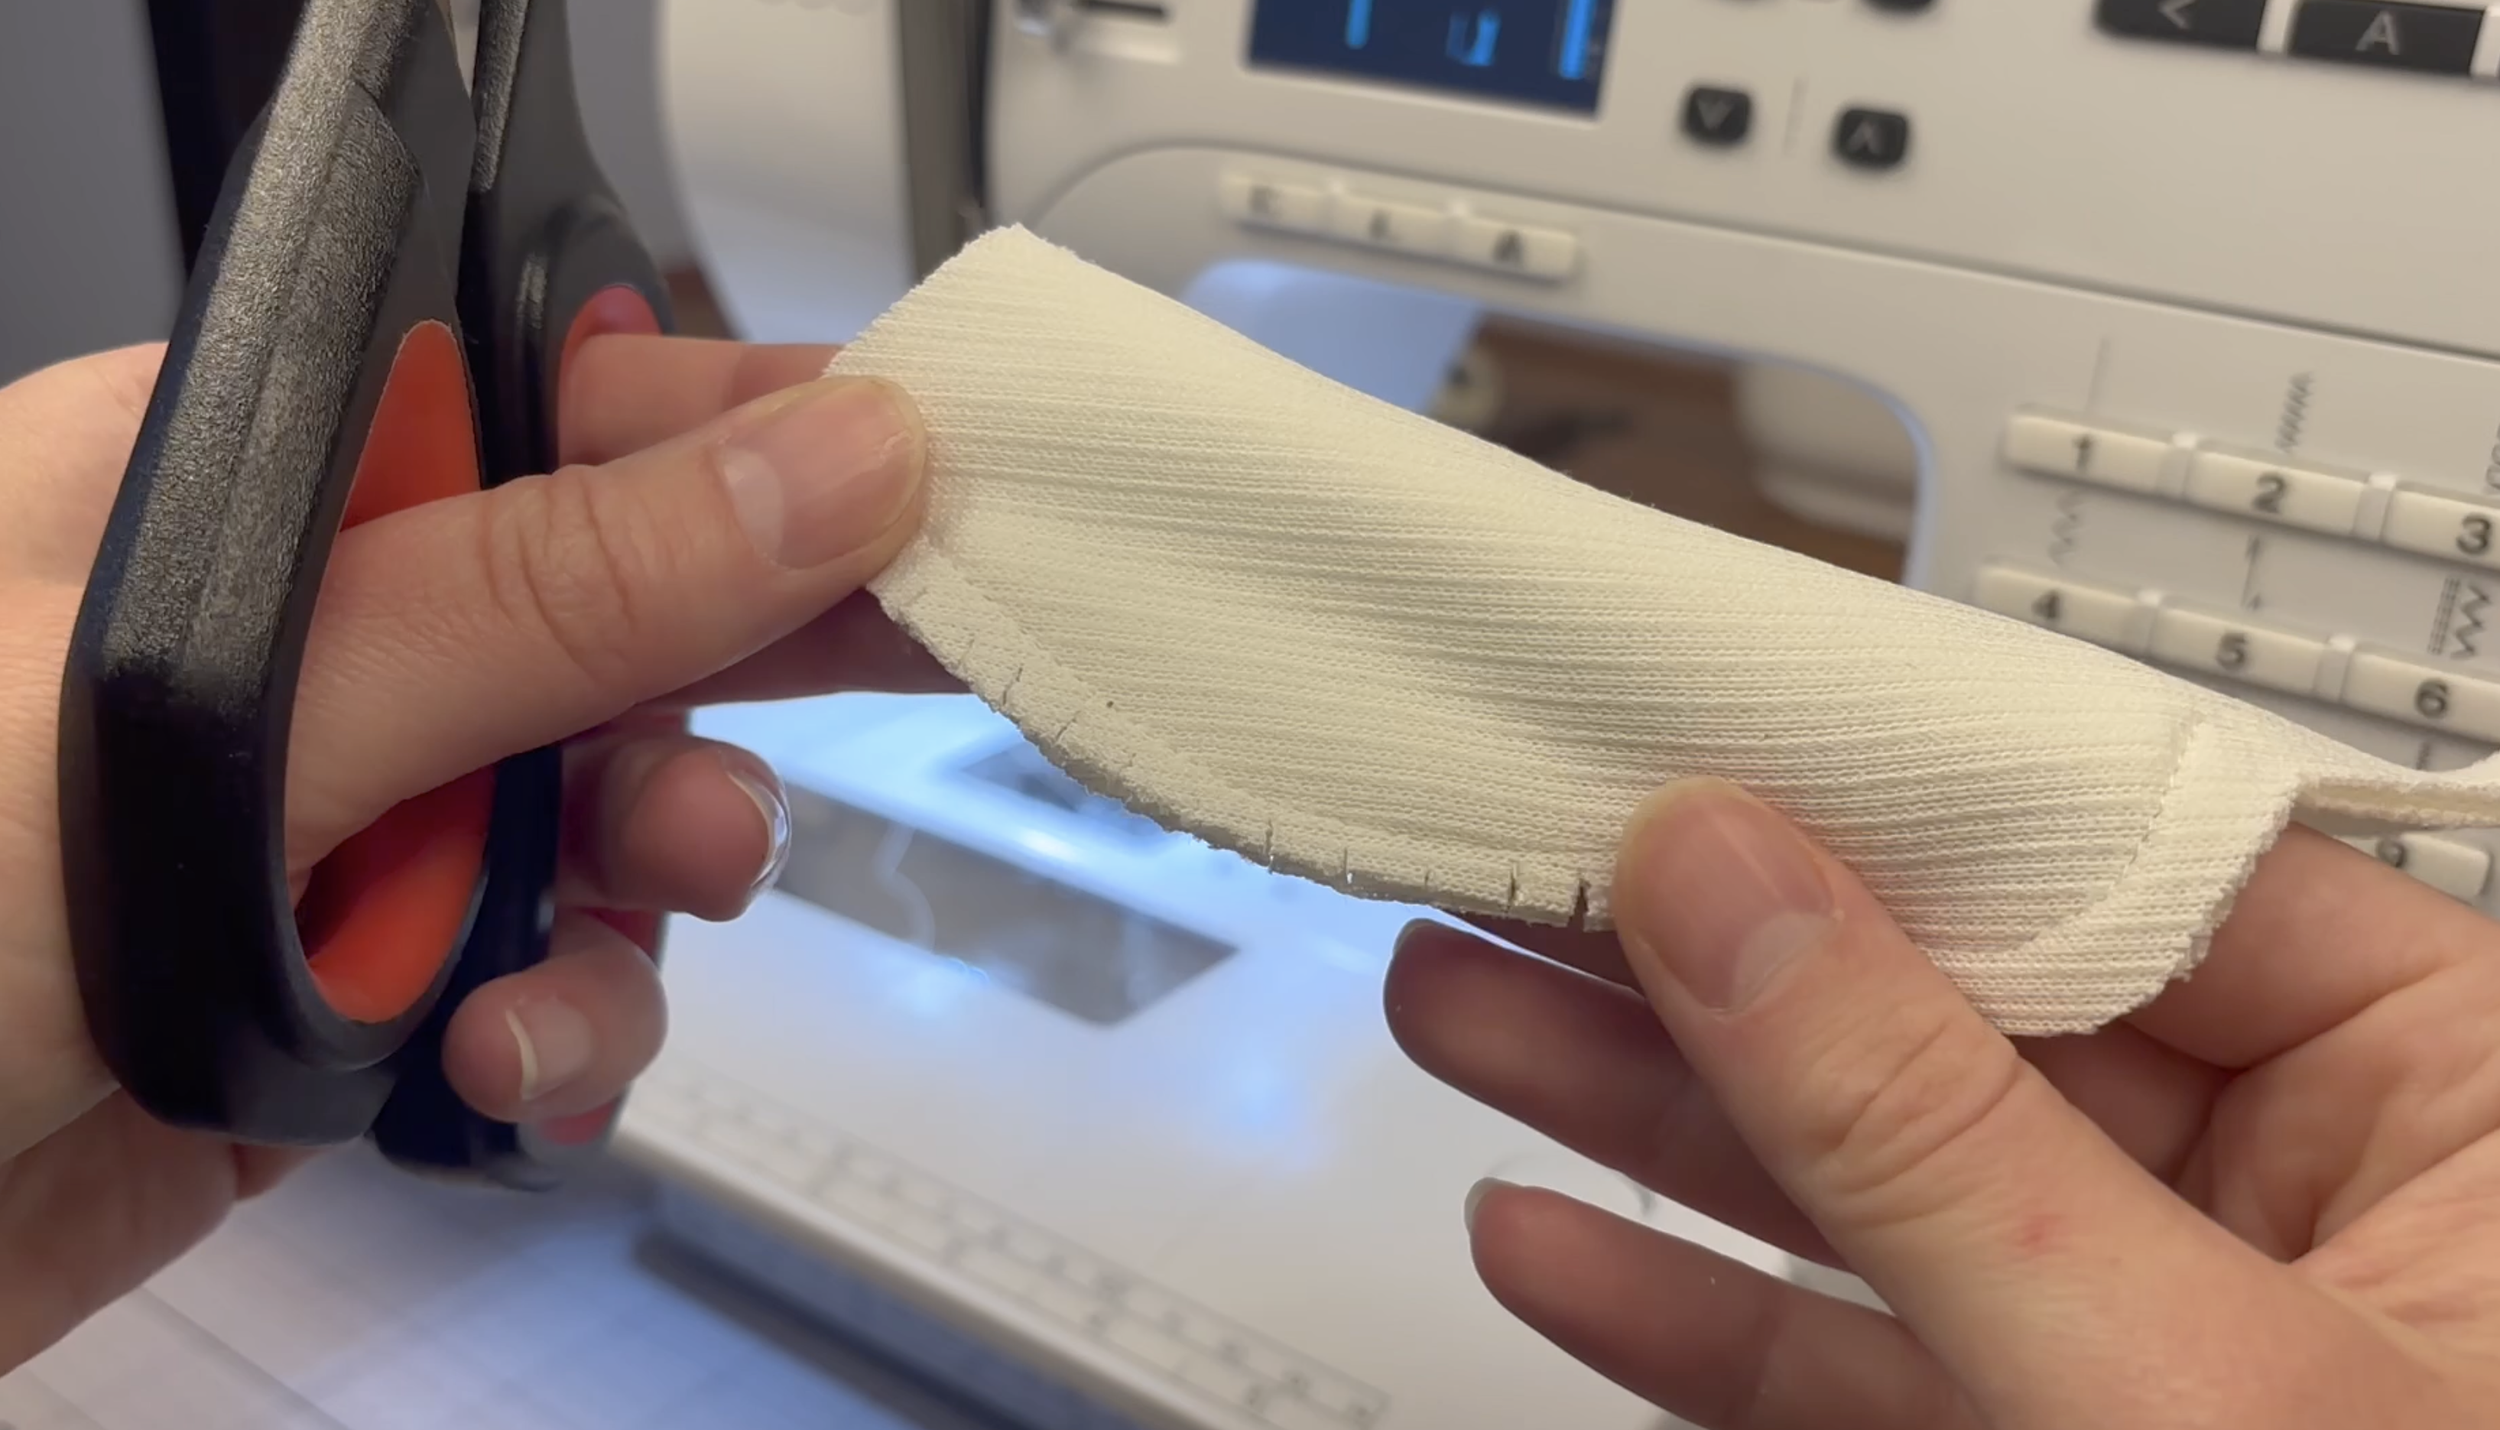
Clip small slits around the curved edges of the entire wing, being careful not to cut your stitches
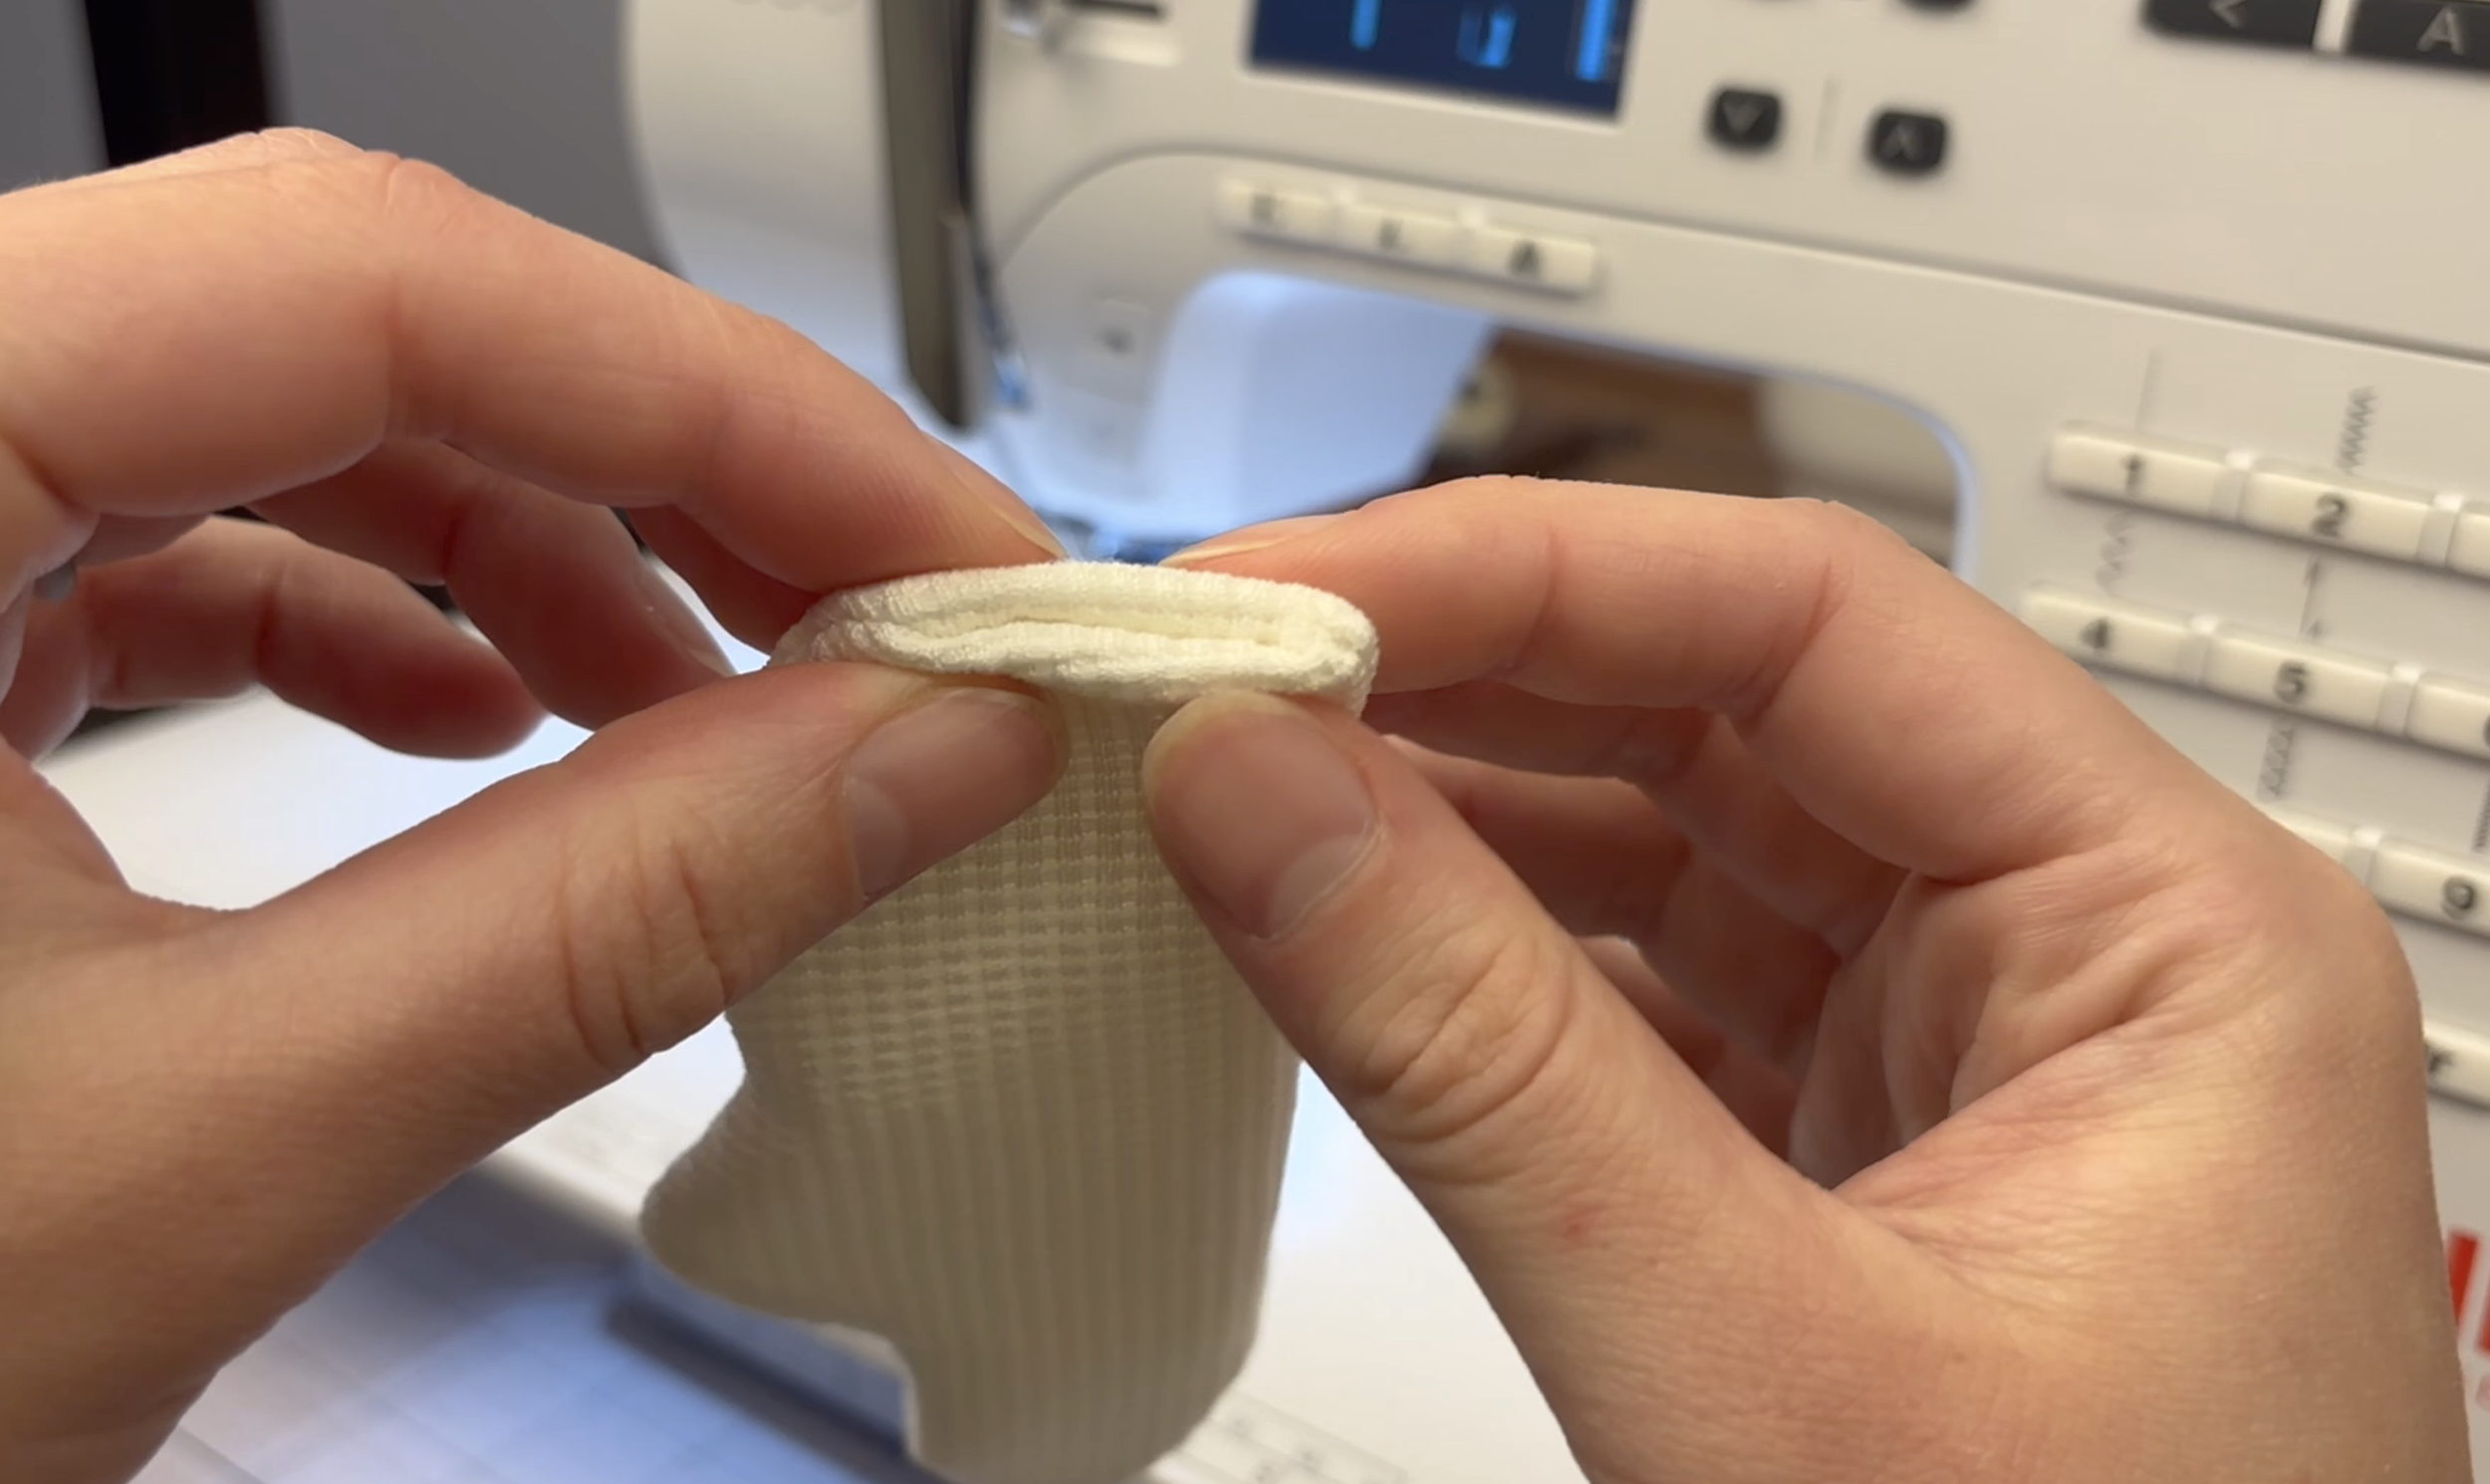
Turn the wing right side out through the opening
Tuck the raw edges of the opening inside the wing, then iron flat
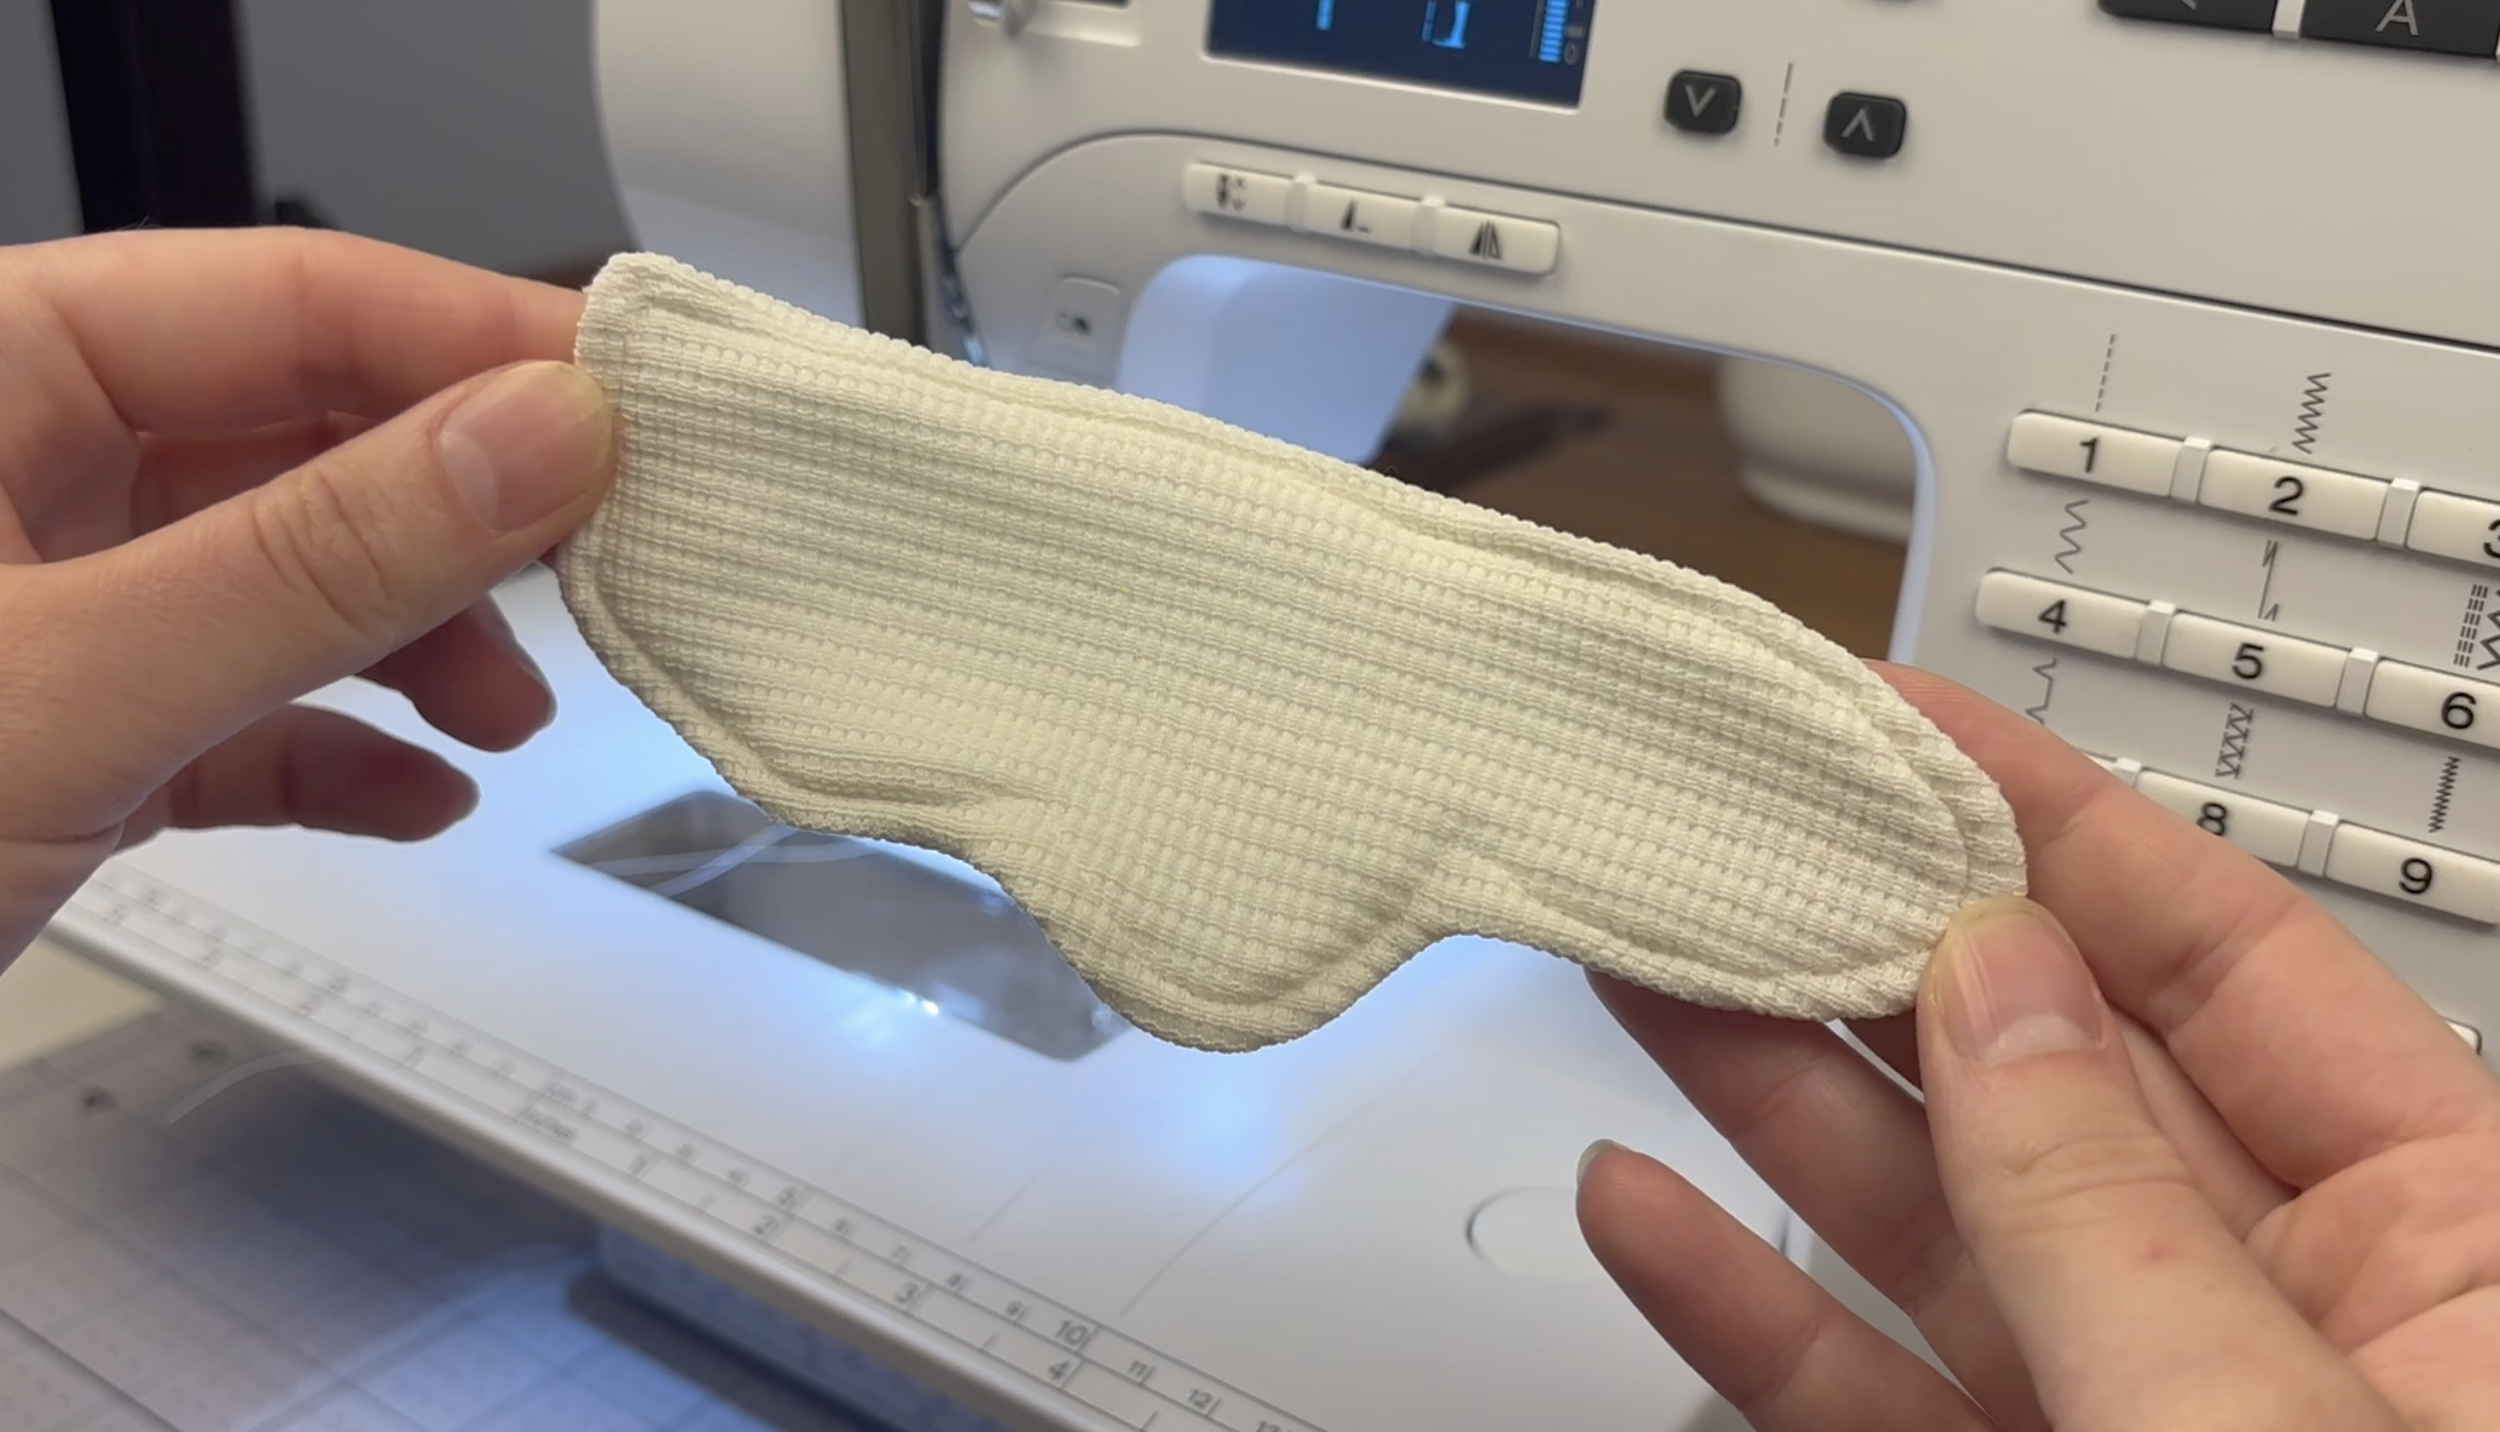
Topstitch around the entire edge of the wing to close the opening and add structure
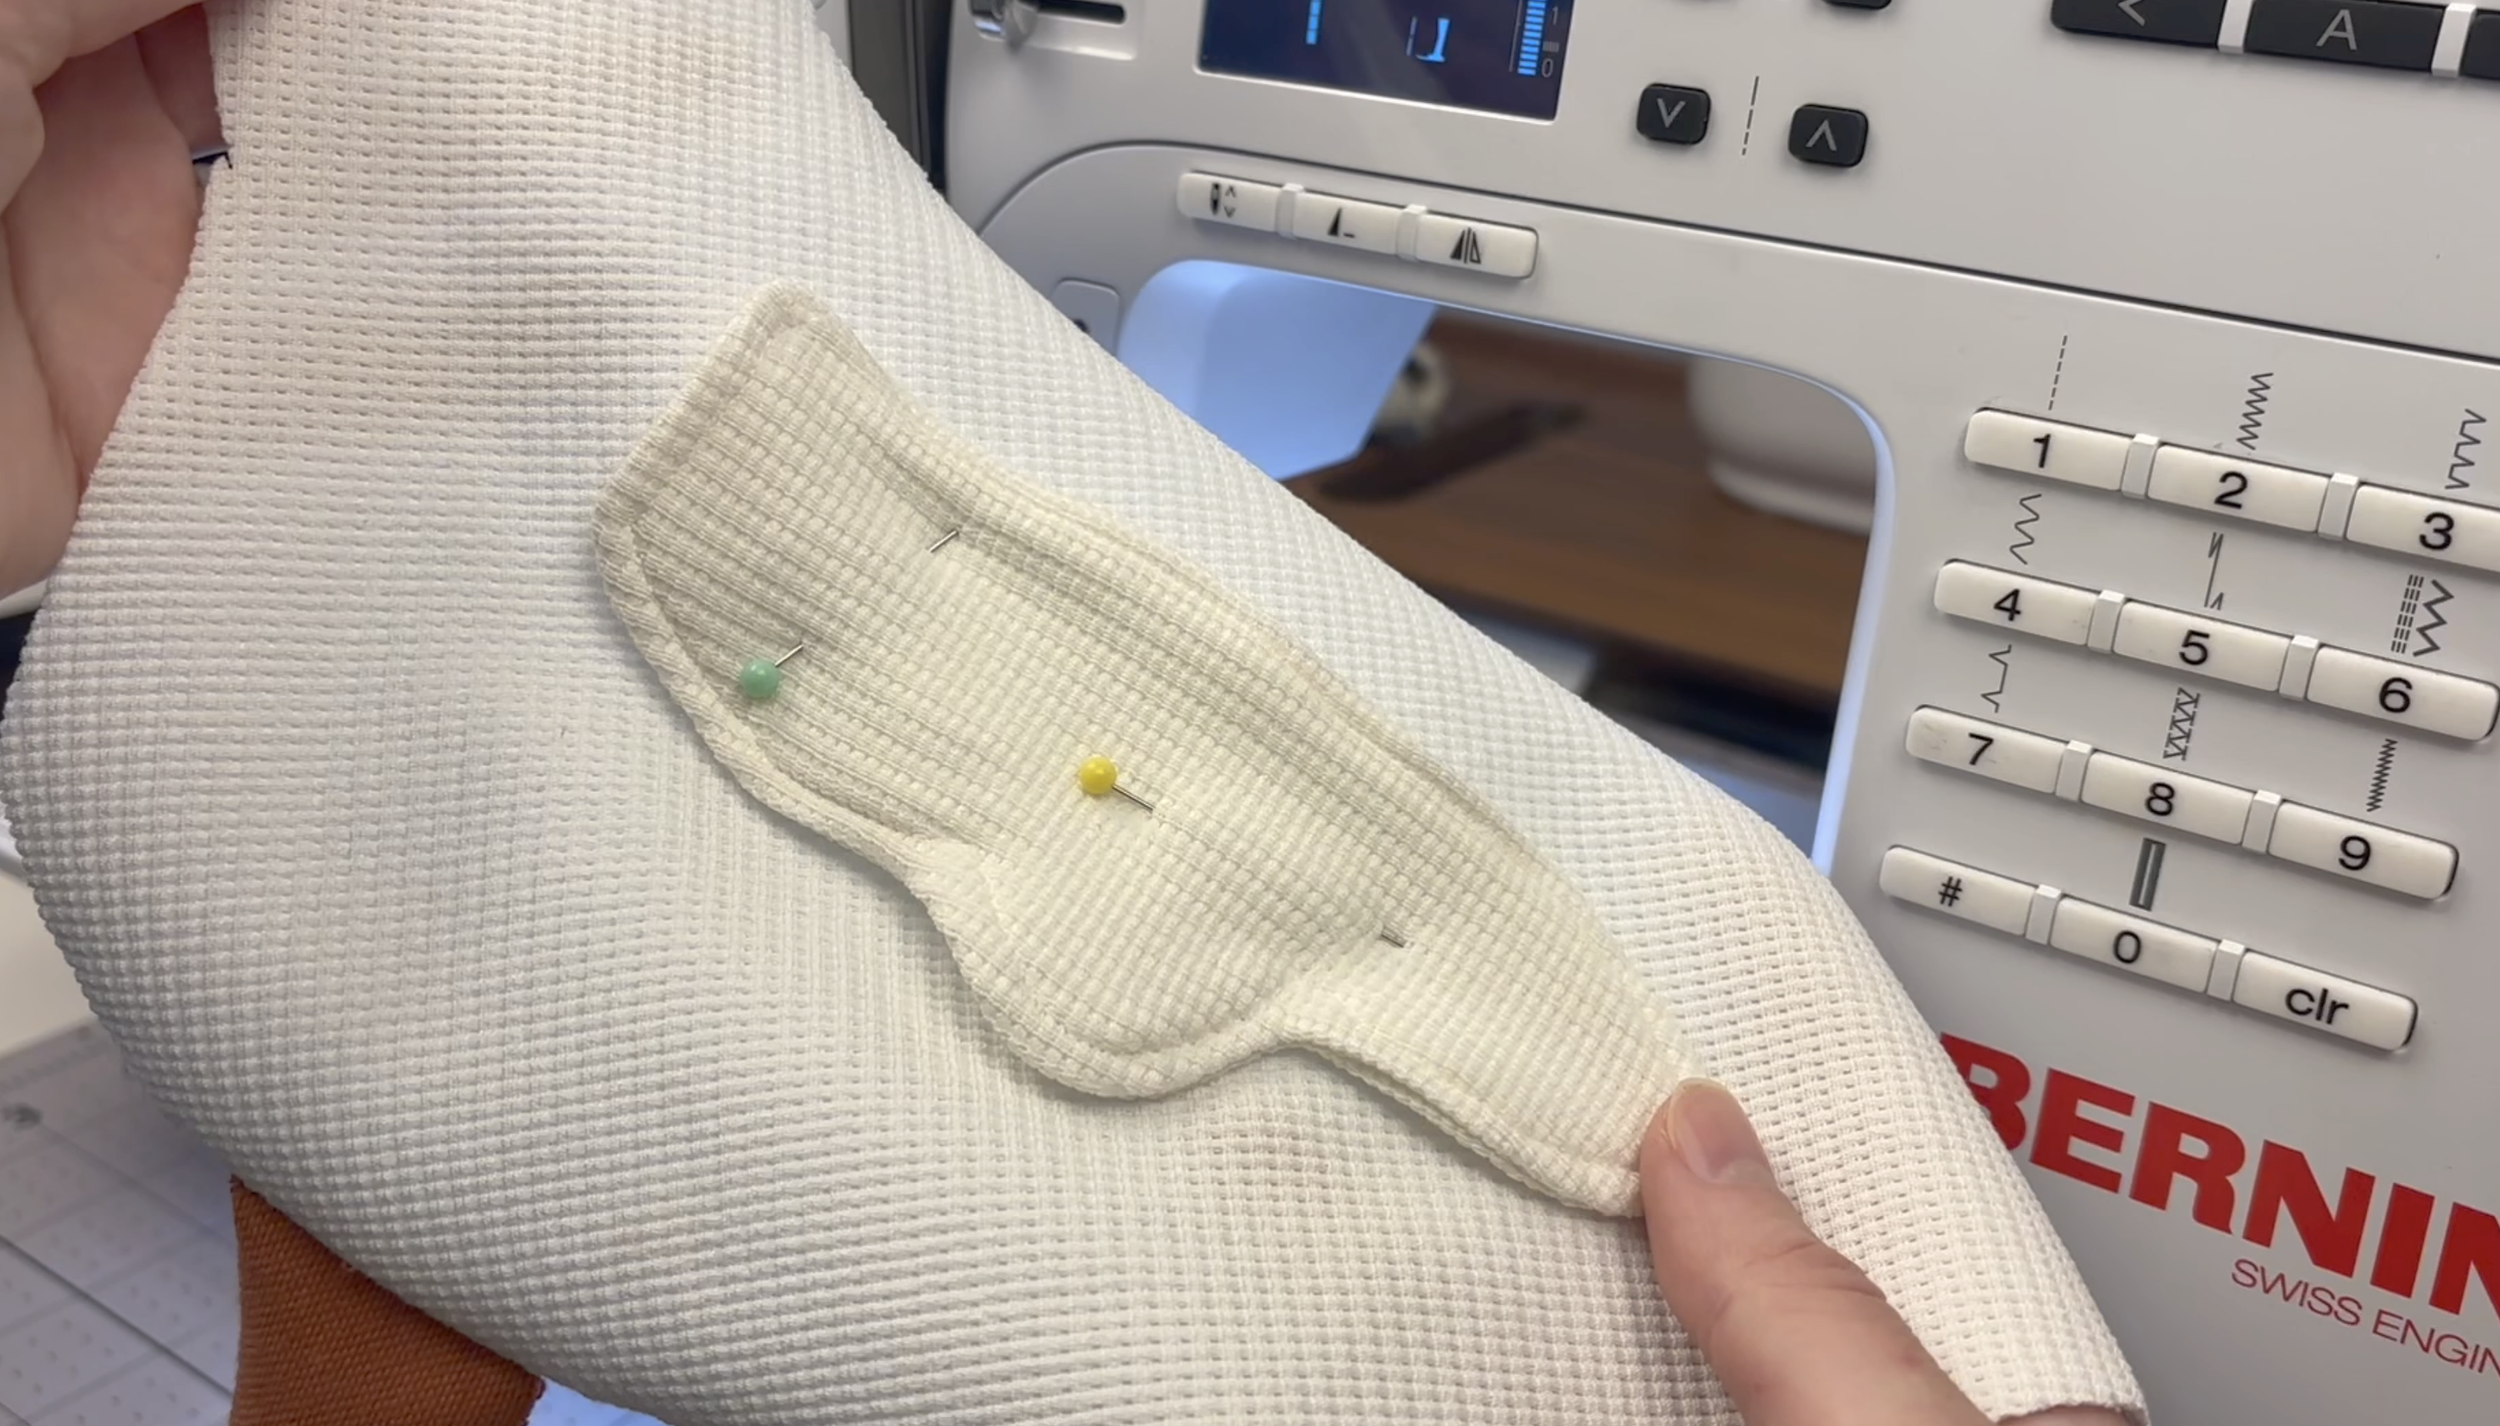
Pin the wing to your desired location on the main goose body
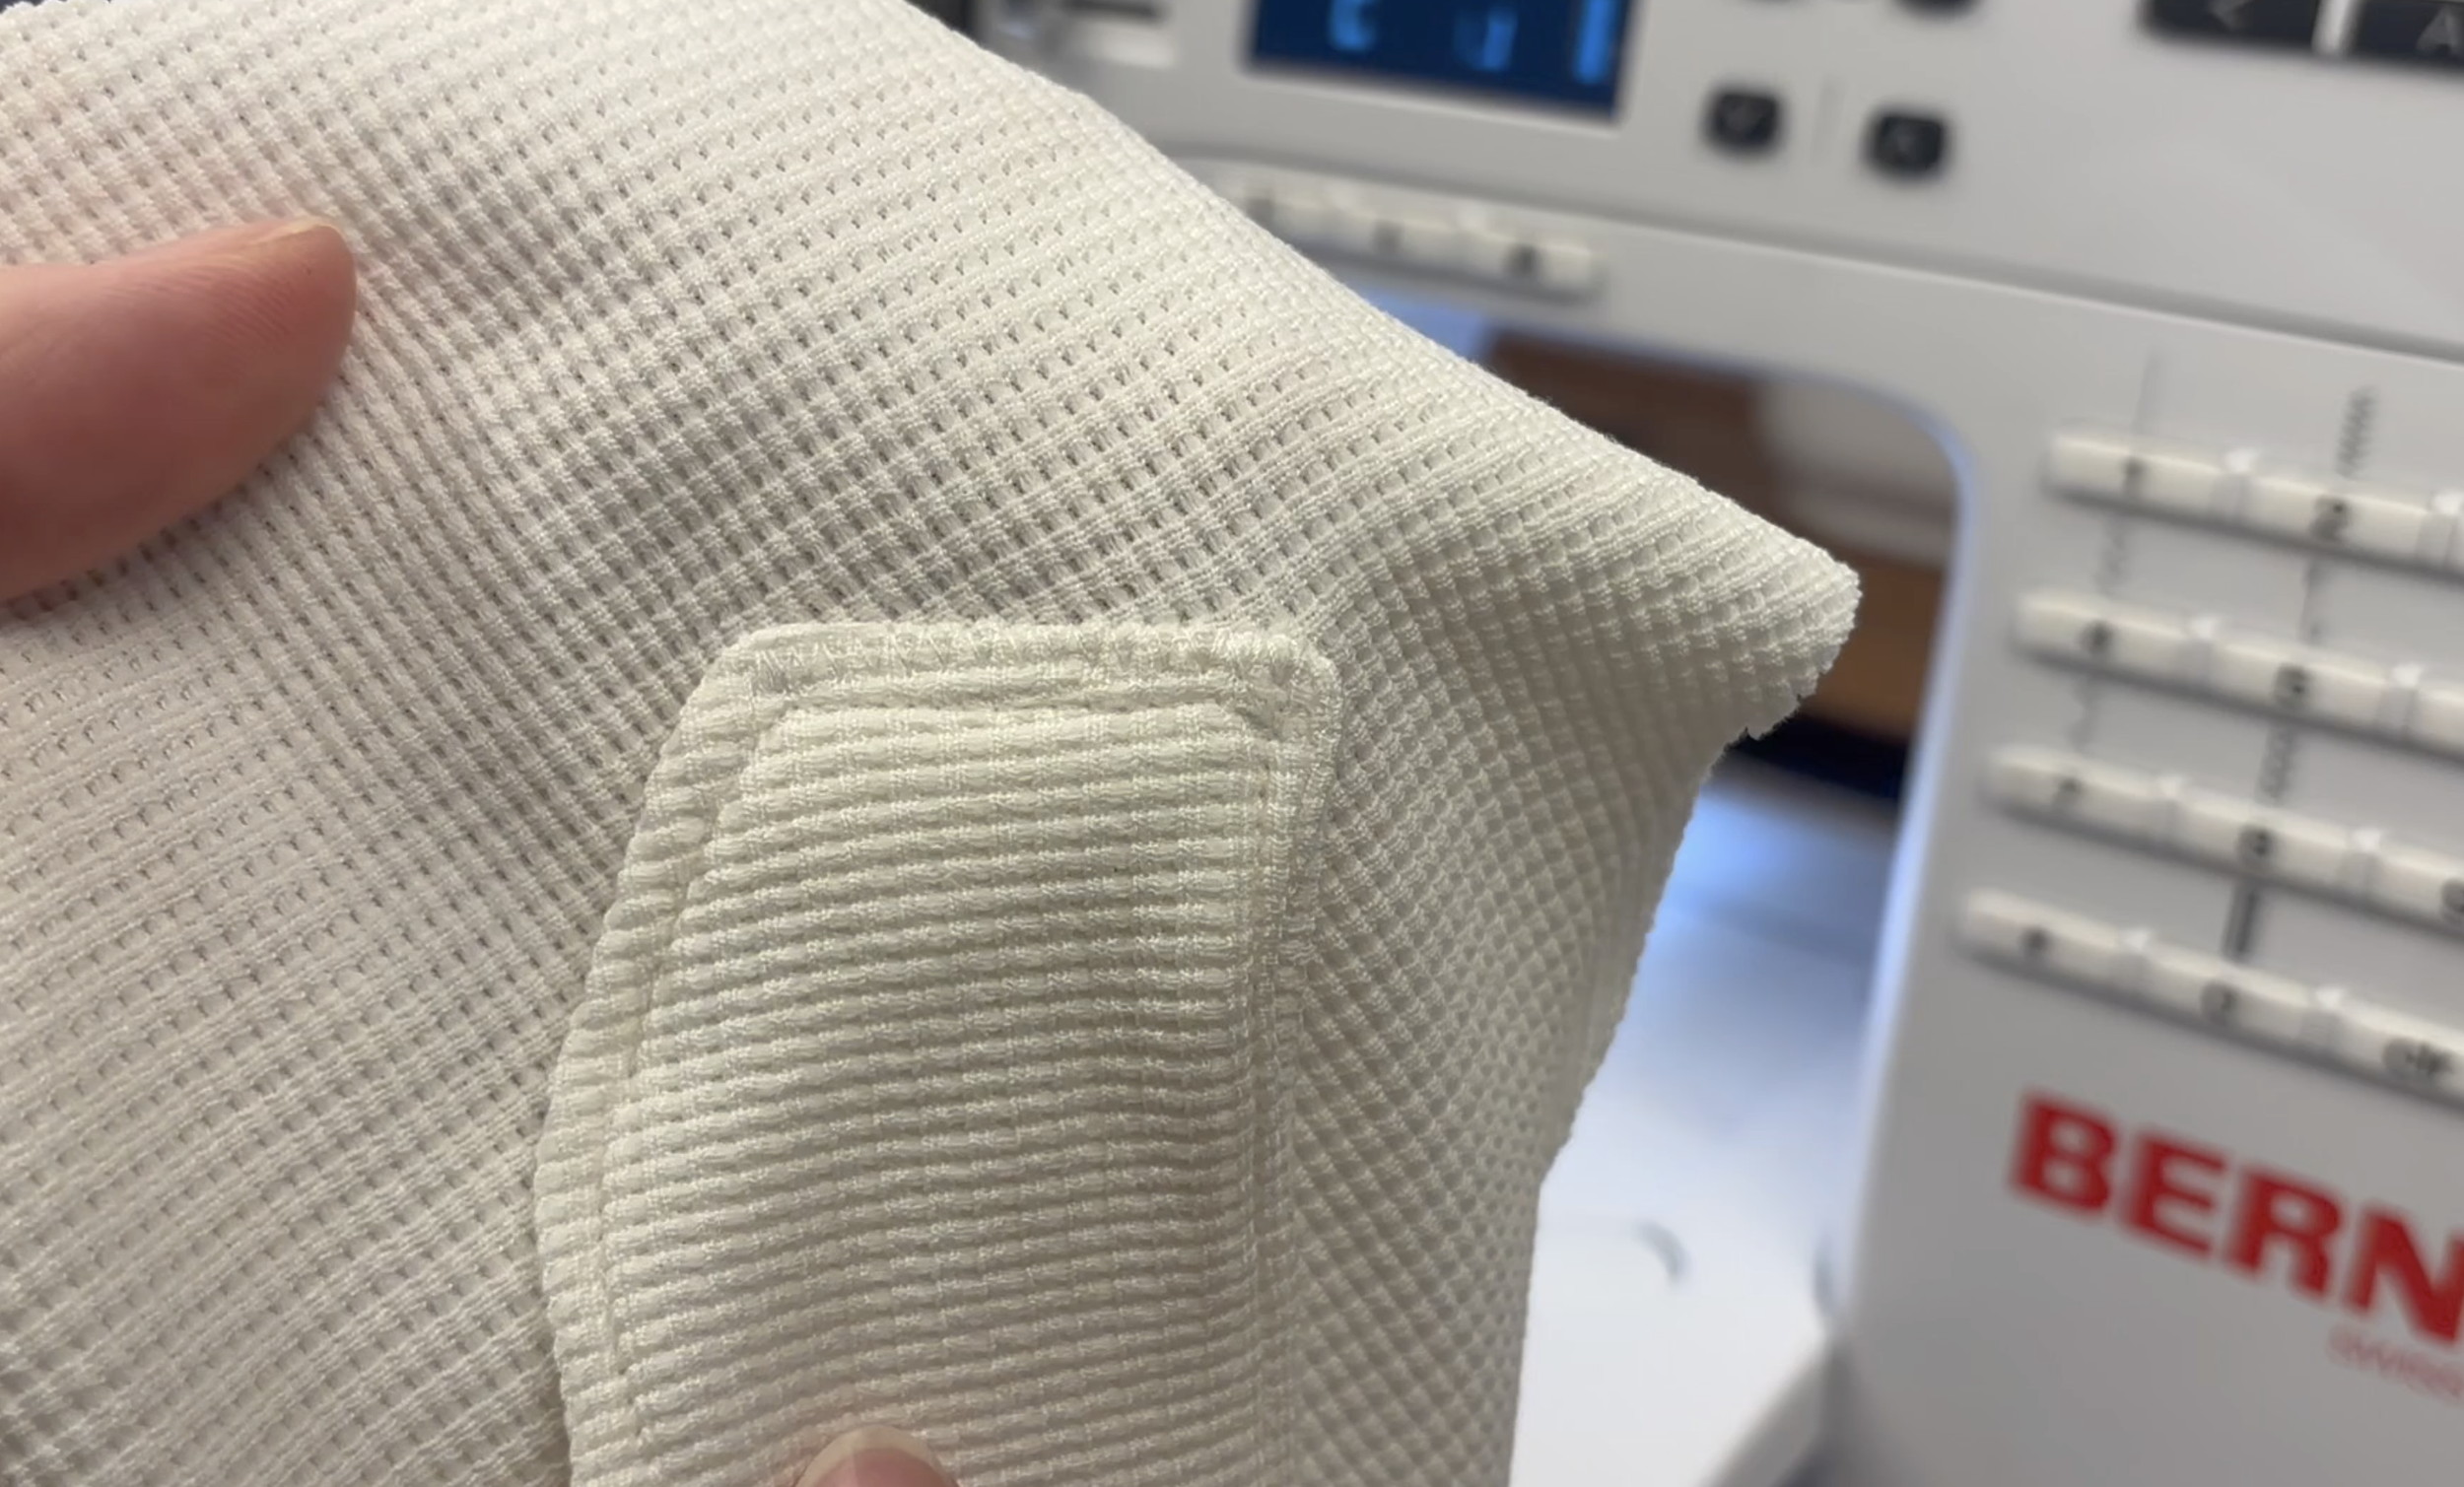
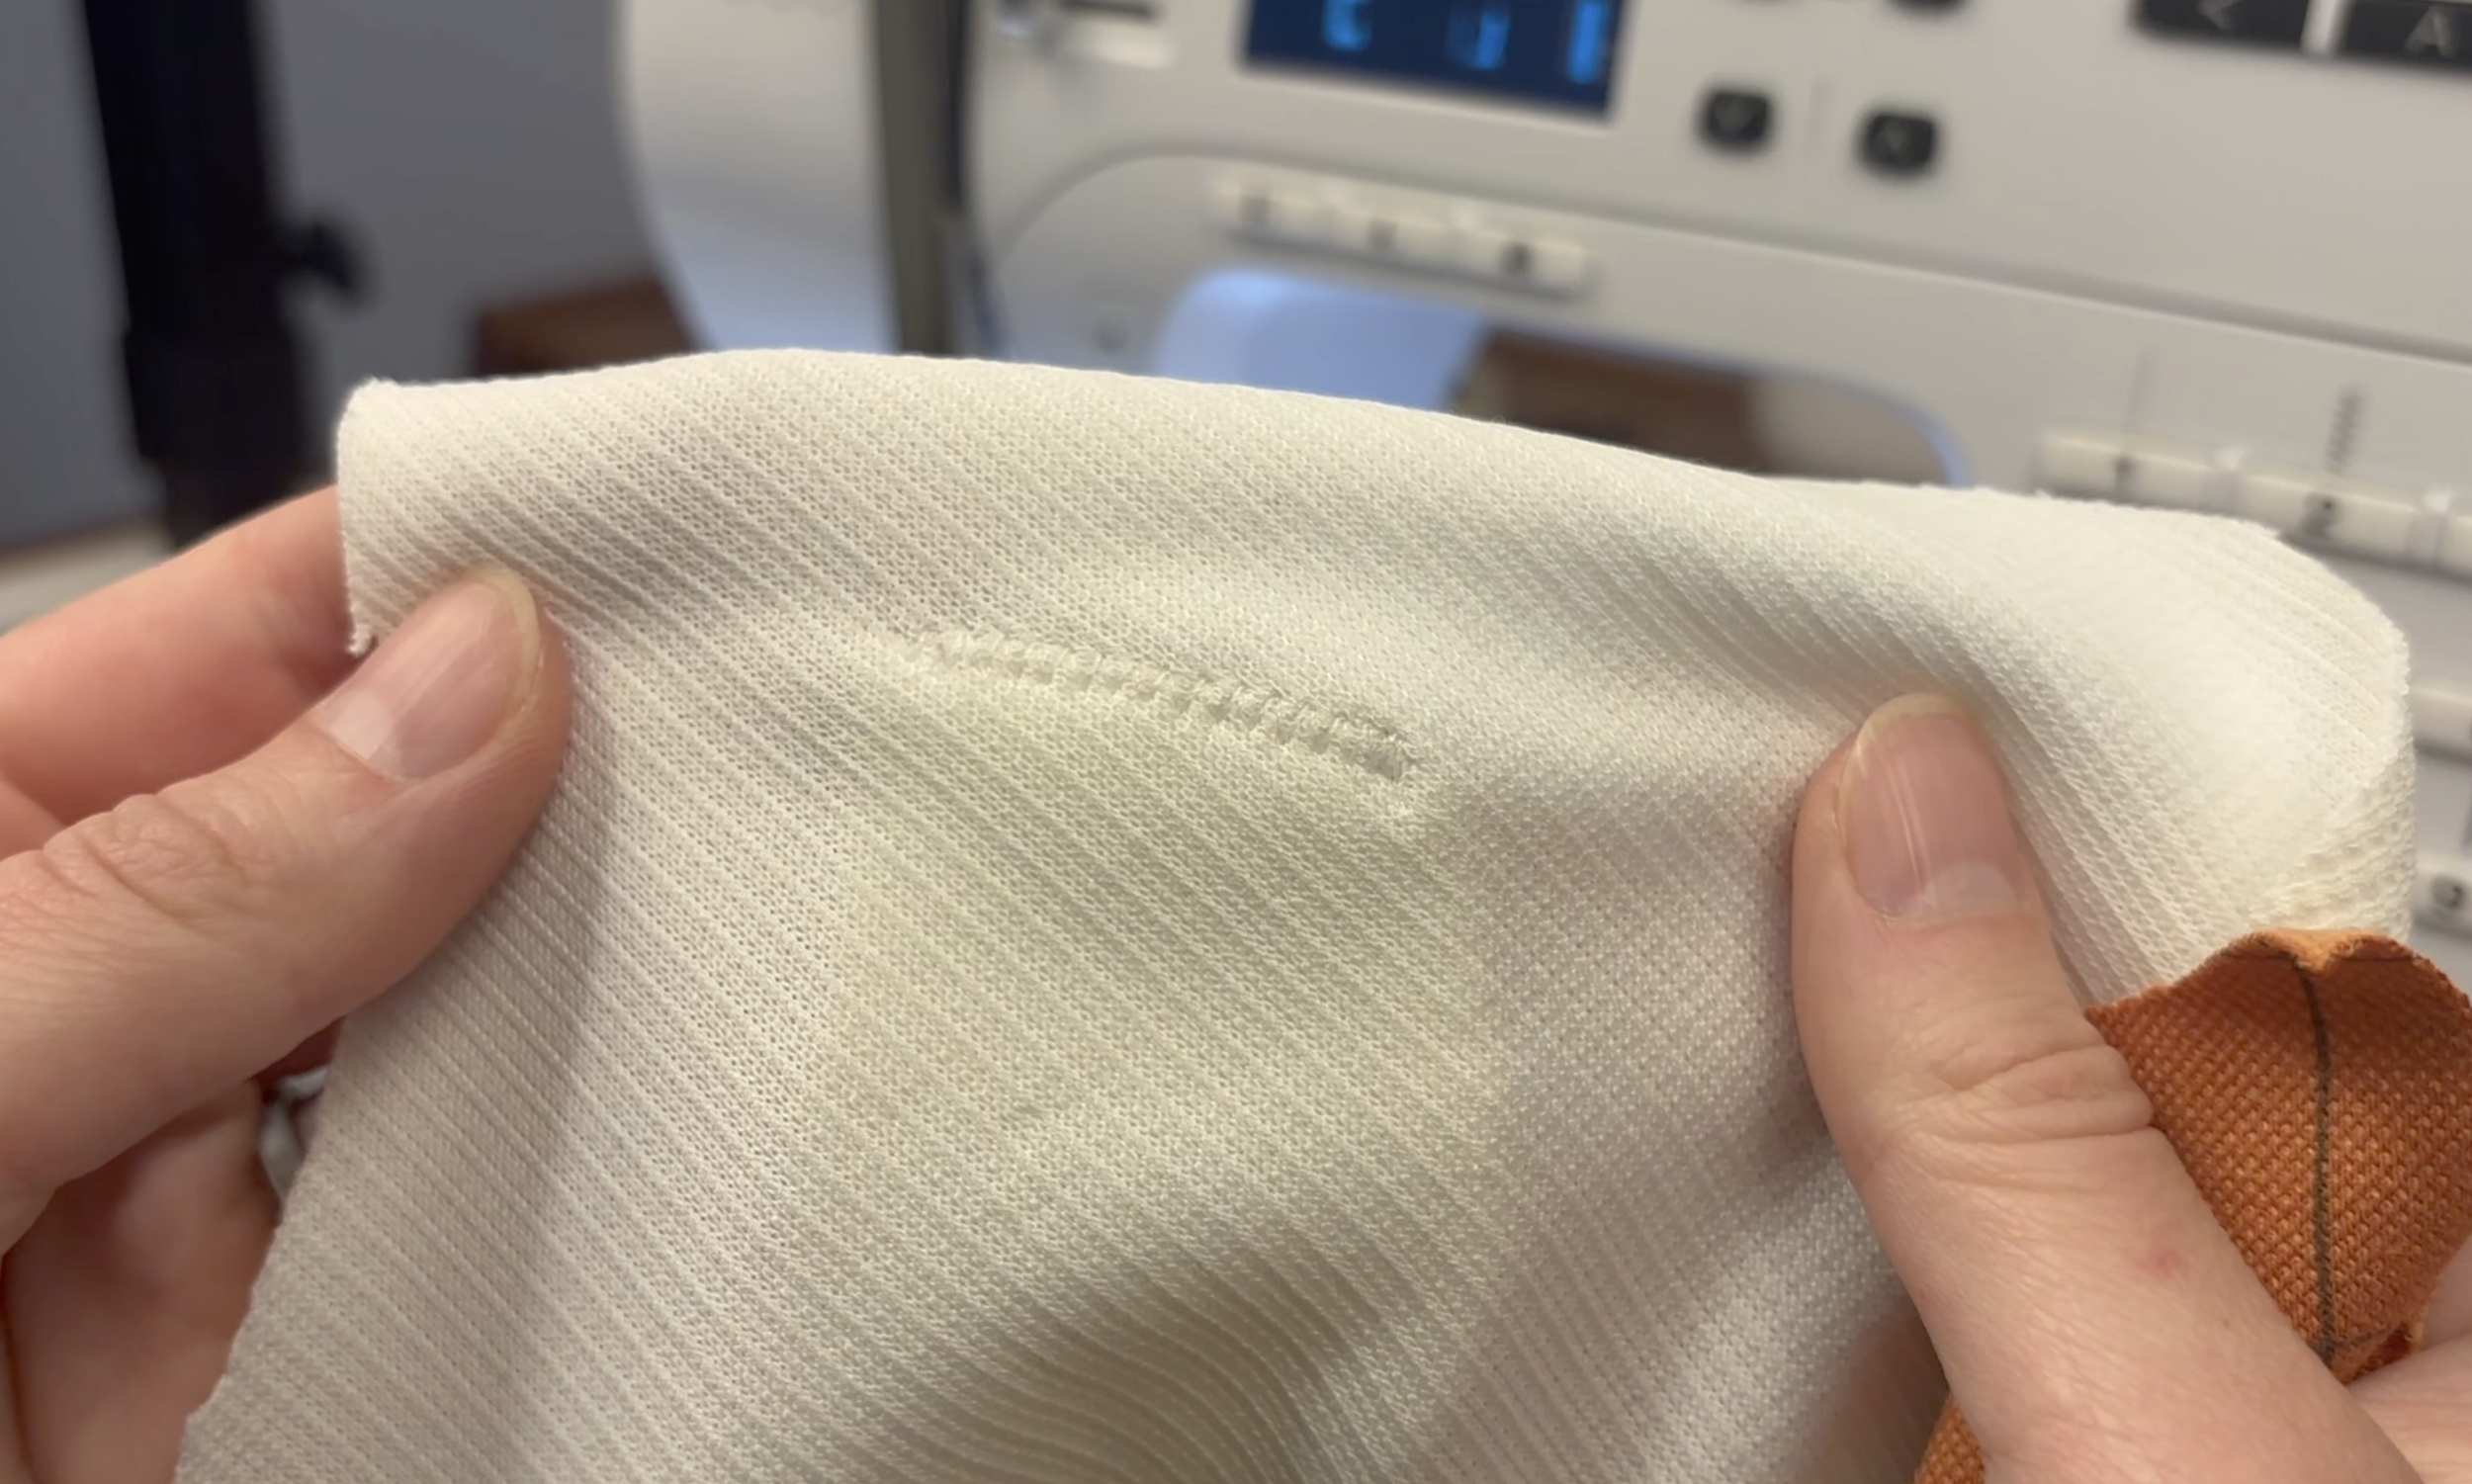
Using a zig-zag stitch, sew along the top side of the wing to attach it to the goose
Step 6: Attach the Button Eye
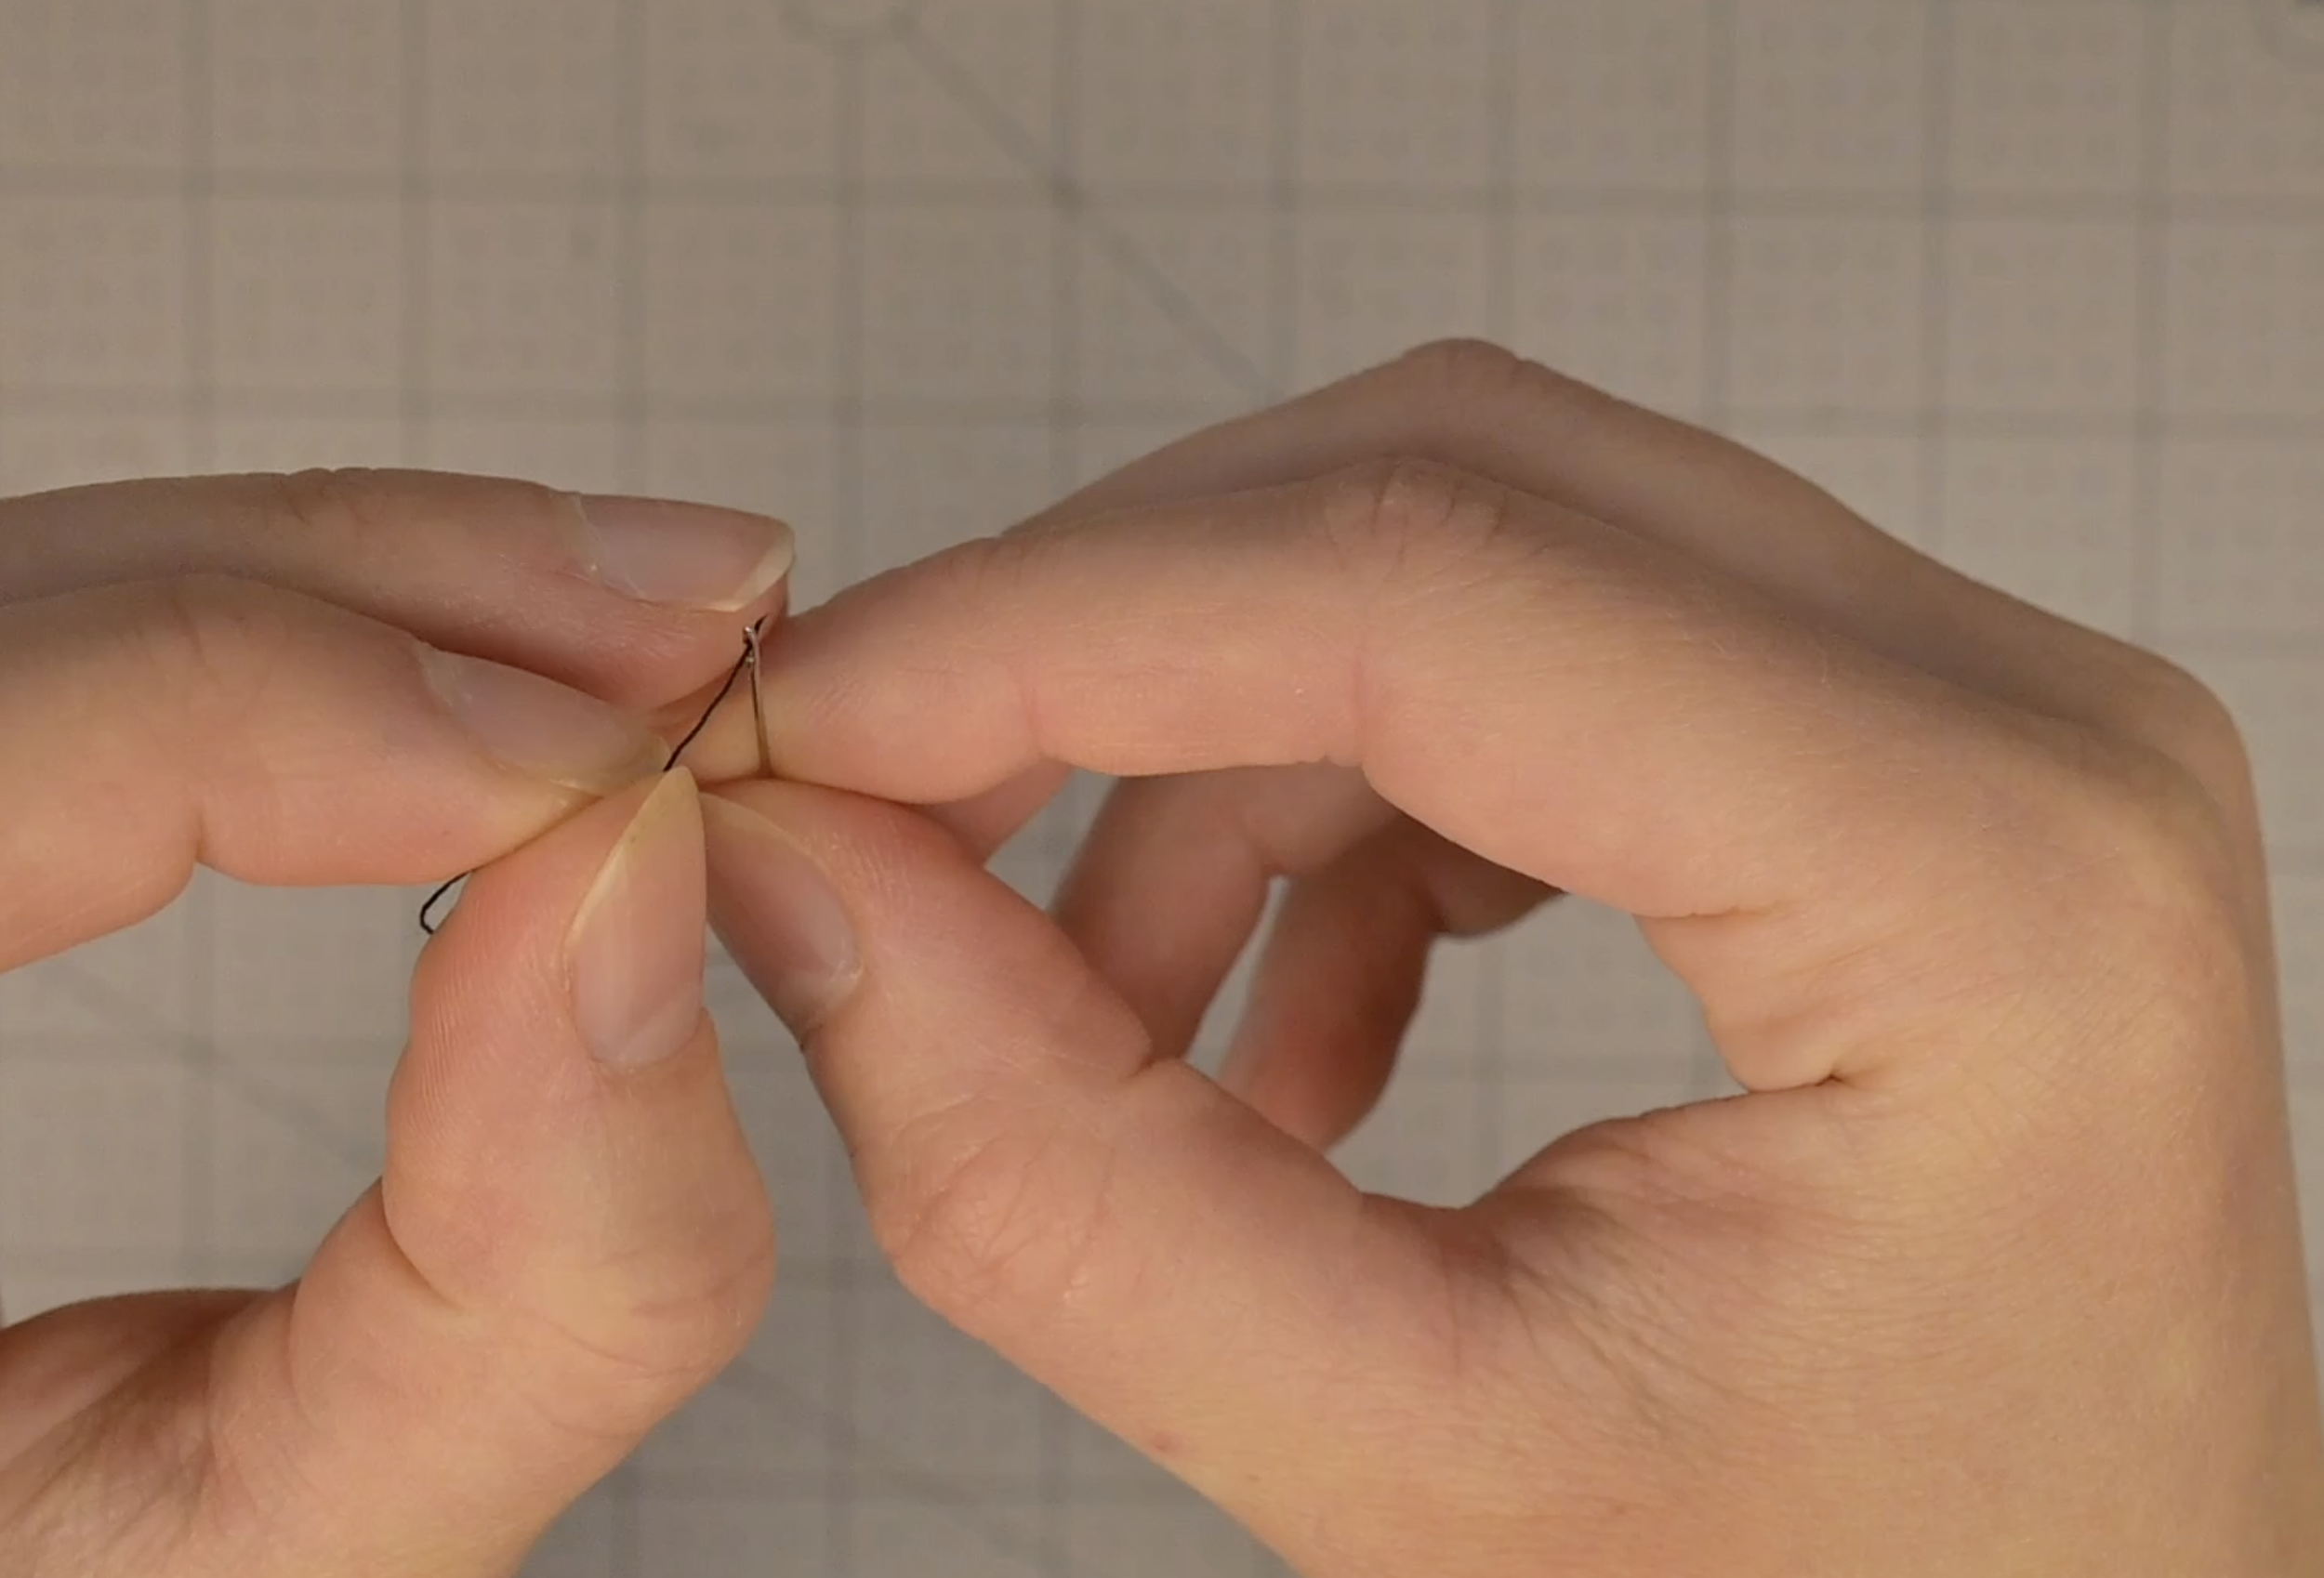
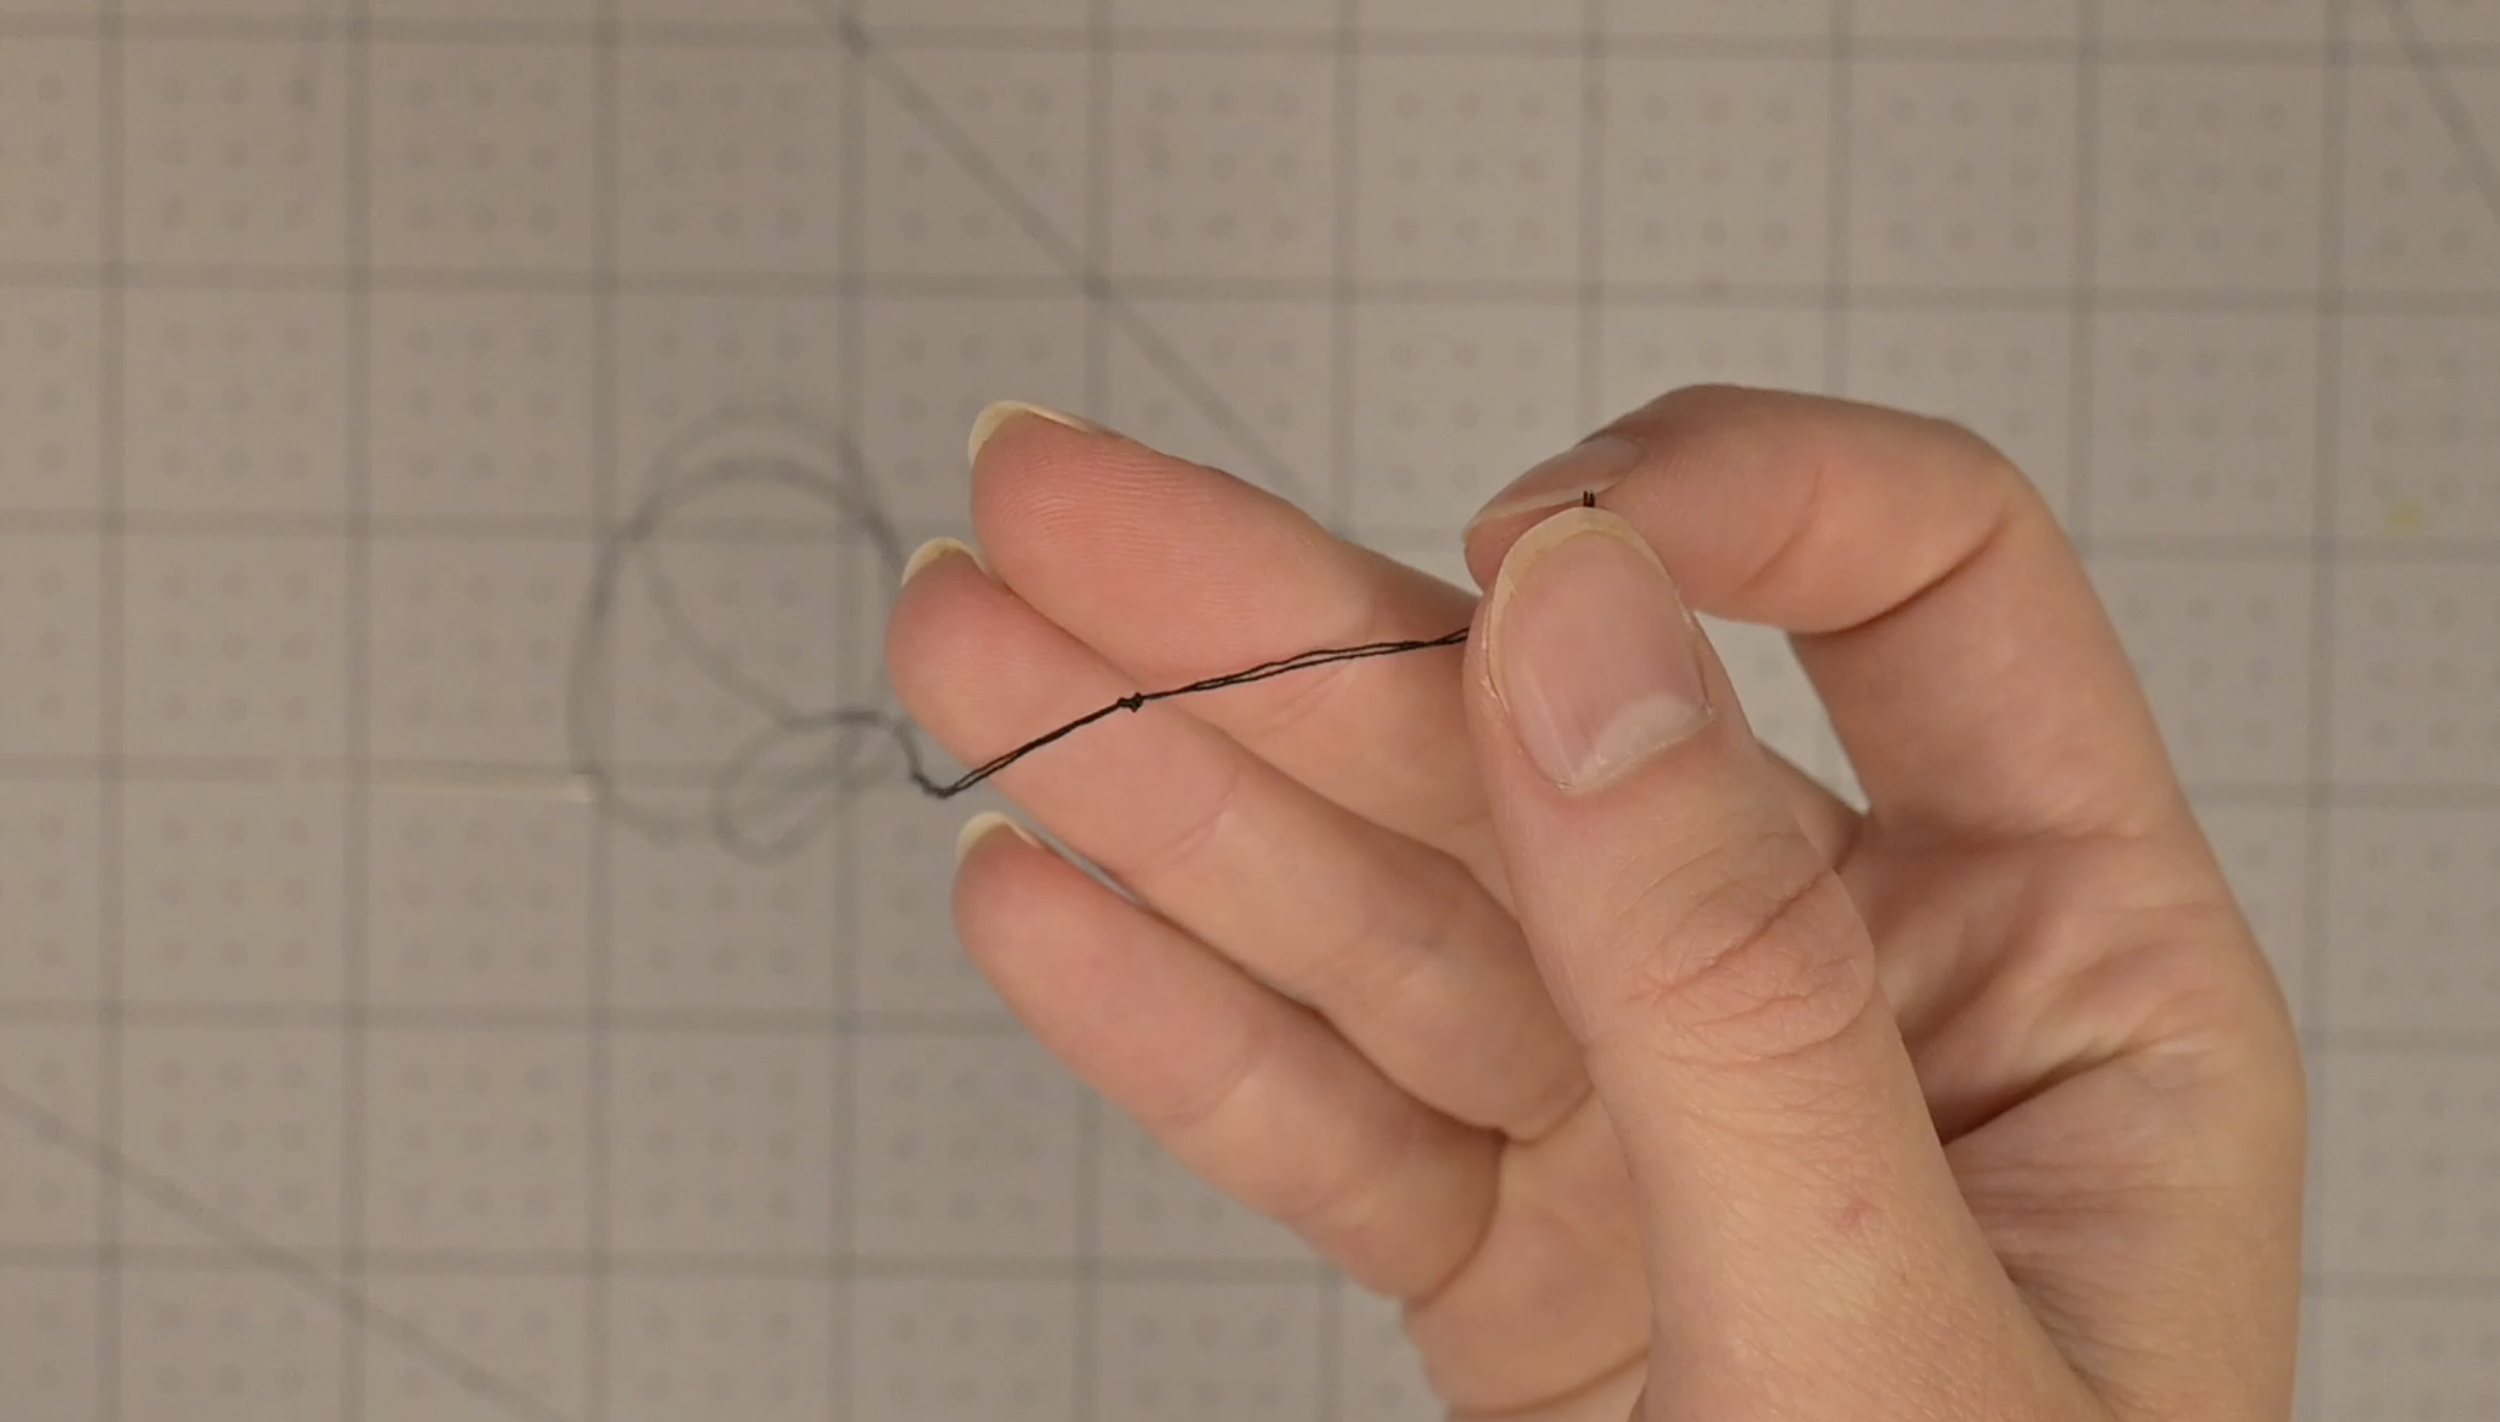
Cut about 24 inches of thread
Fold it in half, thread the needle, and tie the ends together in a single knot
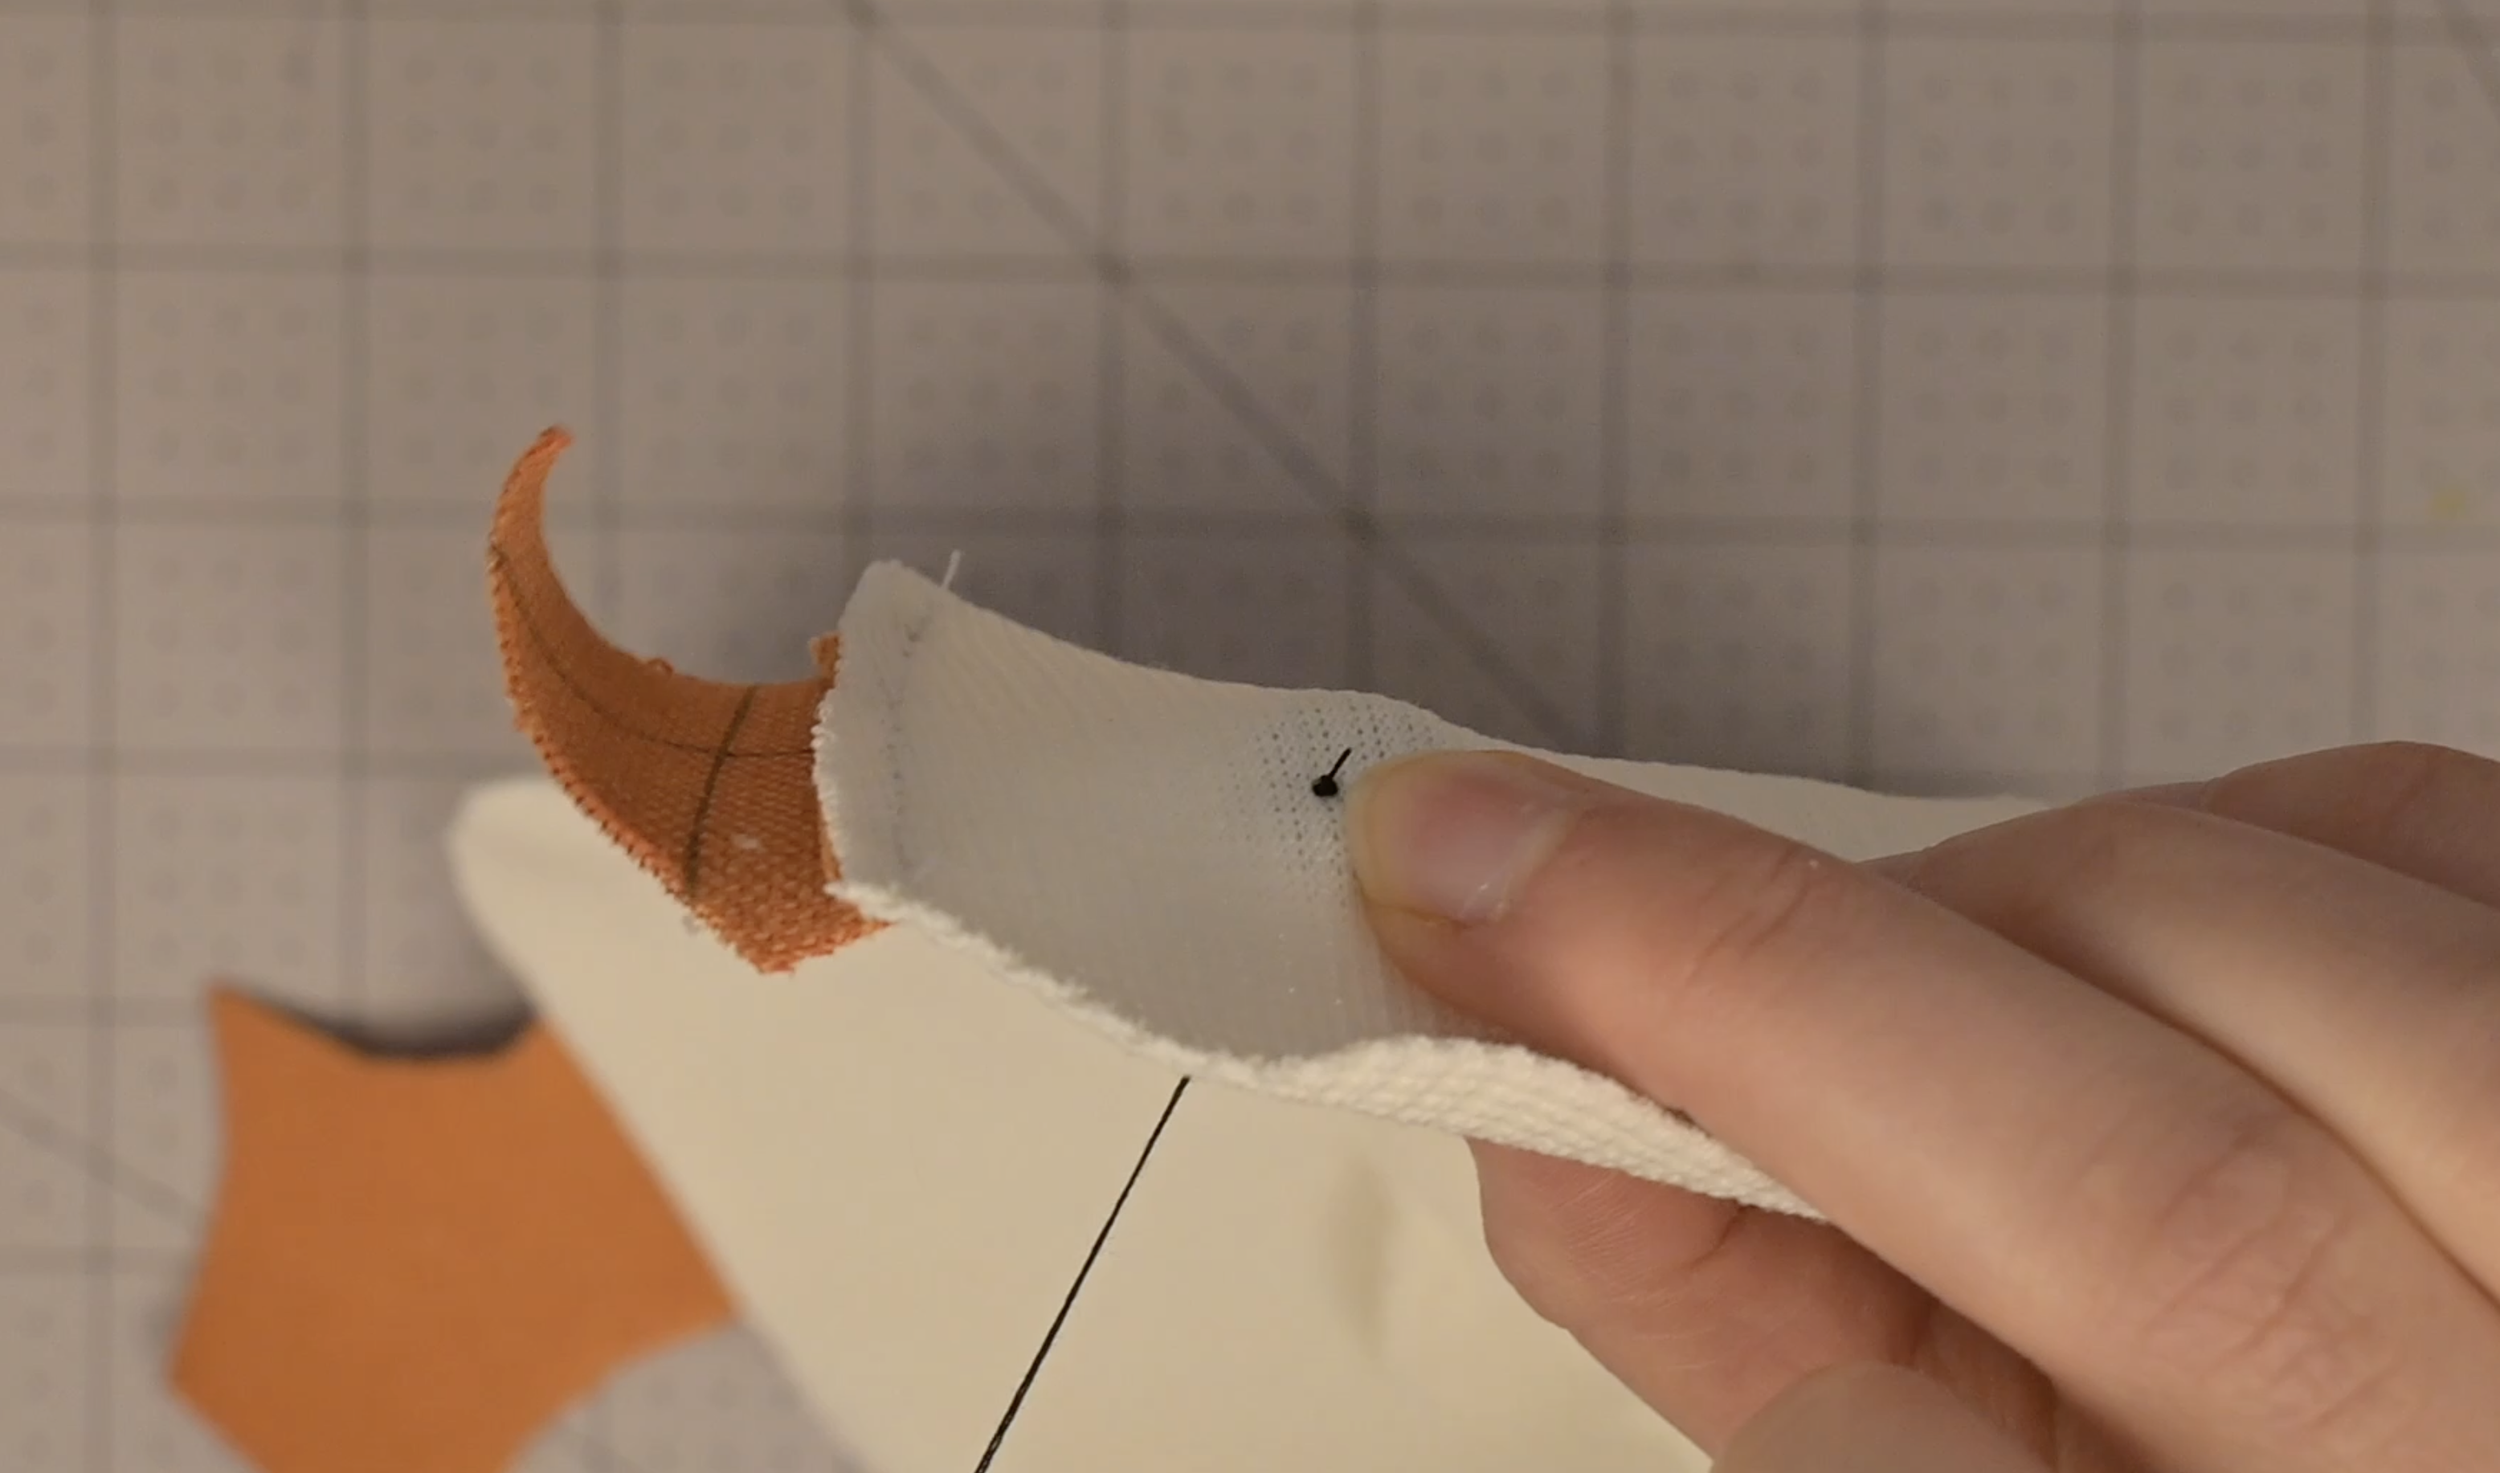
Push the needle through the main goose fabric from back to front at the eye placement mark
Pull until the knot hits the back
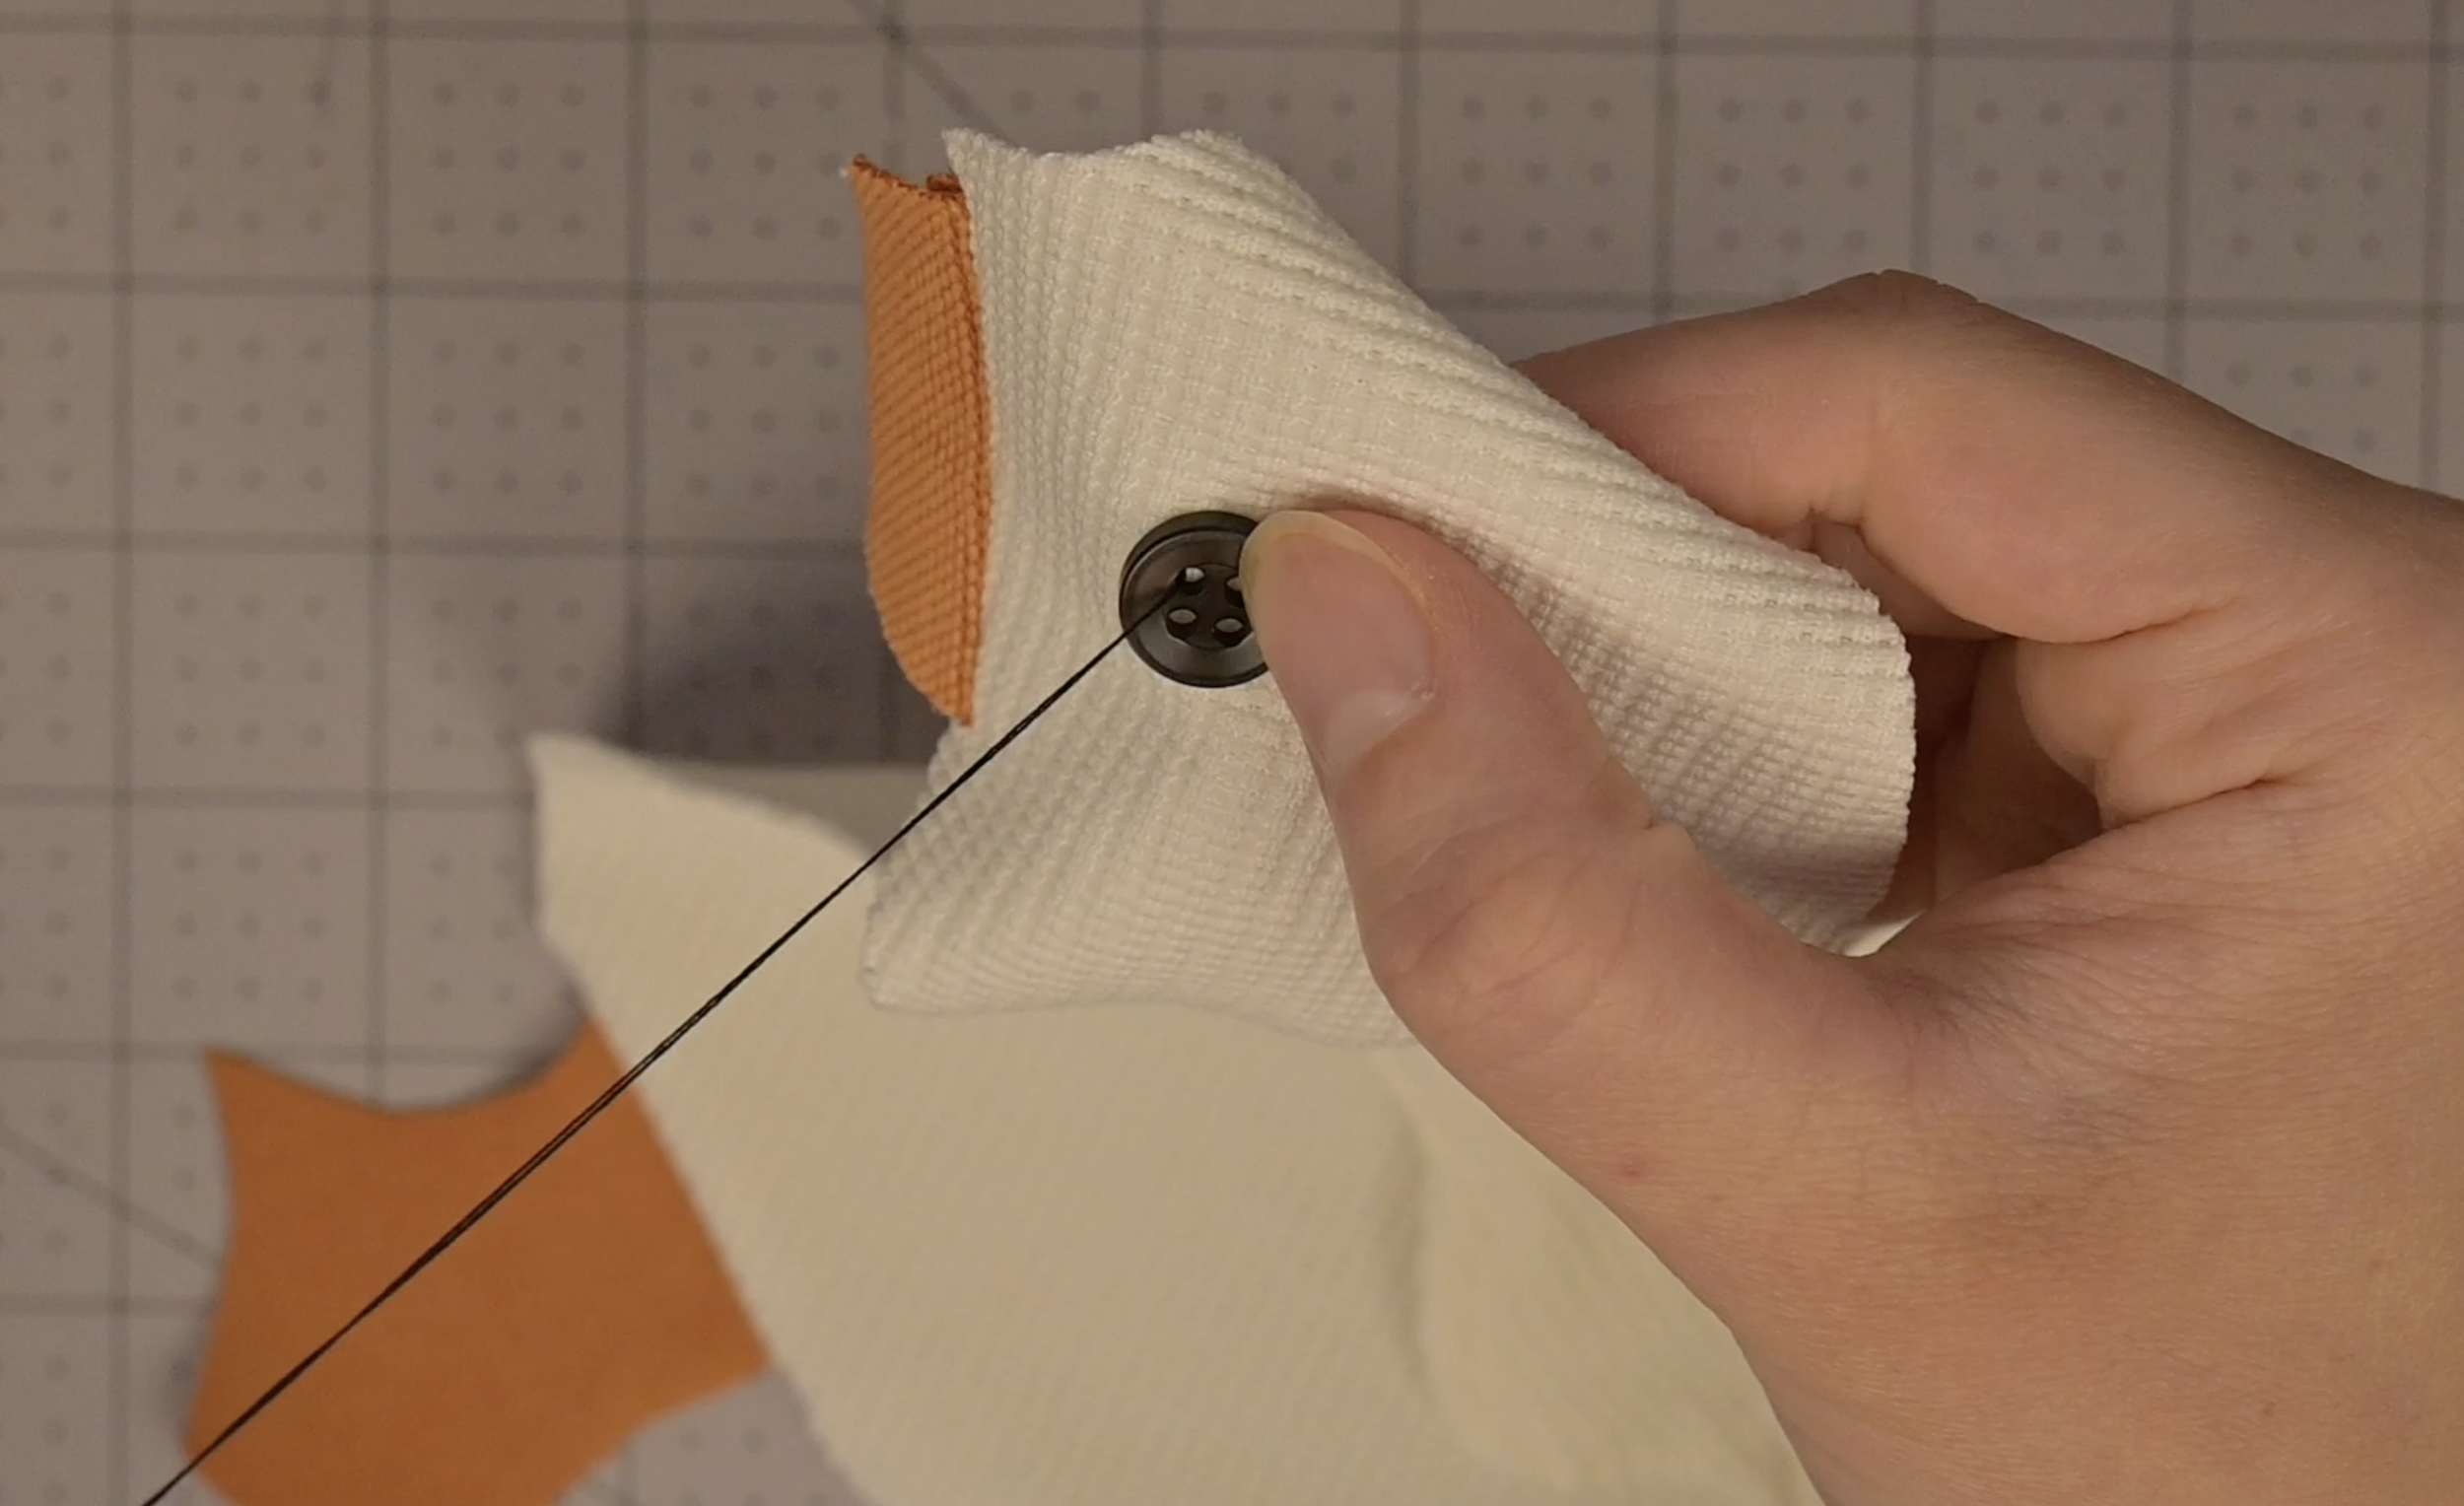
Slide the button onto the needle
Push the needle down through the opposite hole and back through the fabric
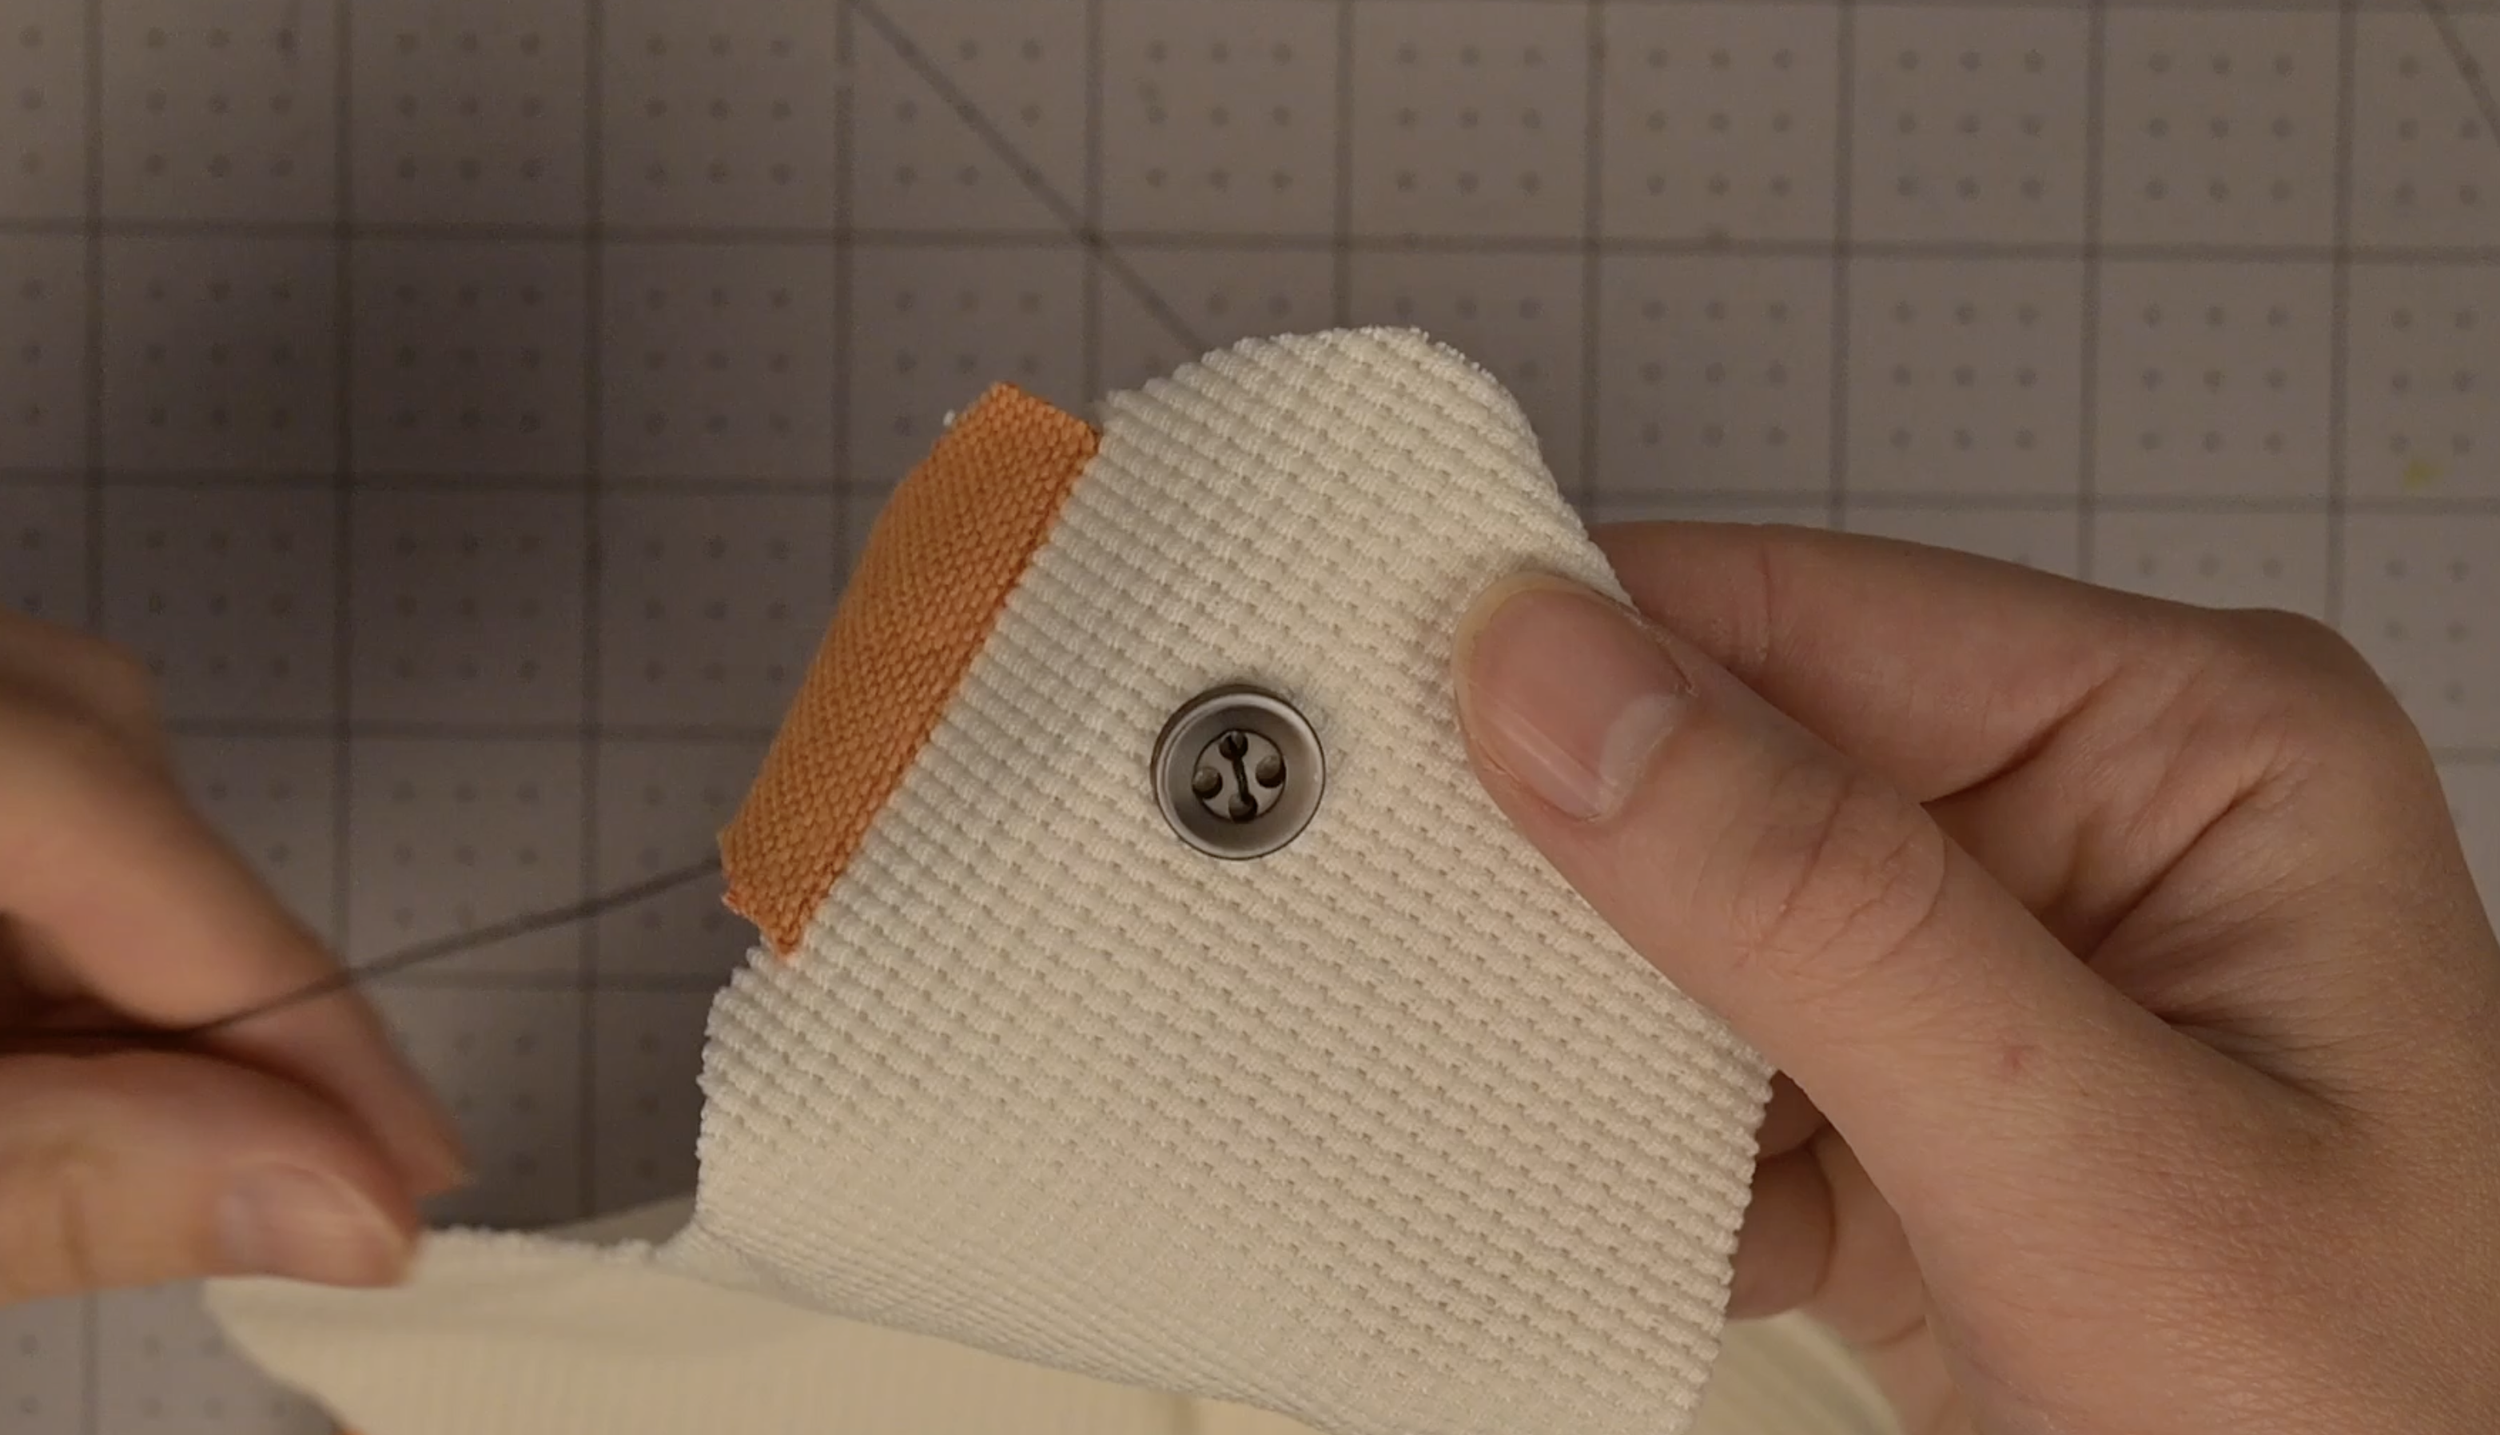
Repeat this motion 6-8 times
If using a 4-hole button, sew in an "X" pattern
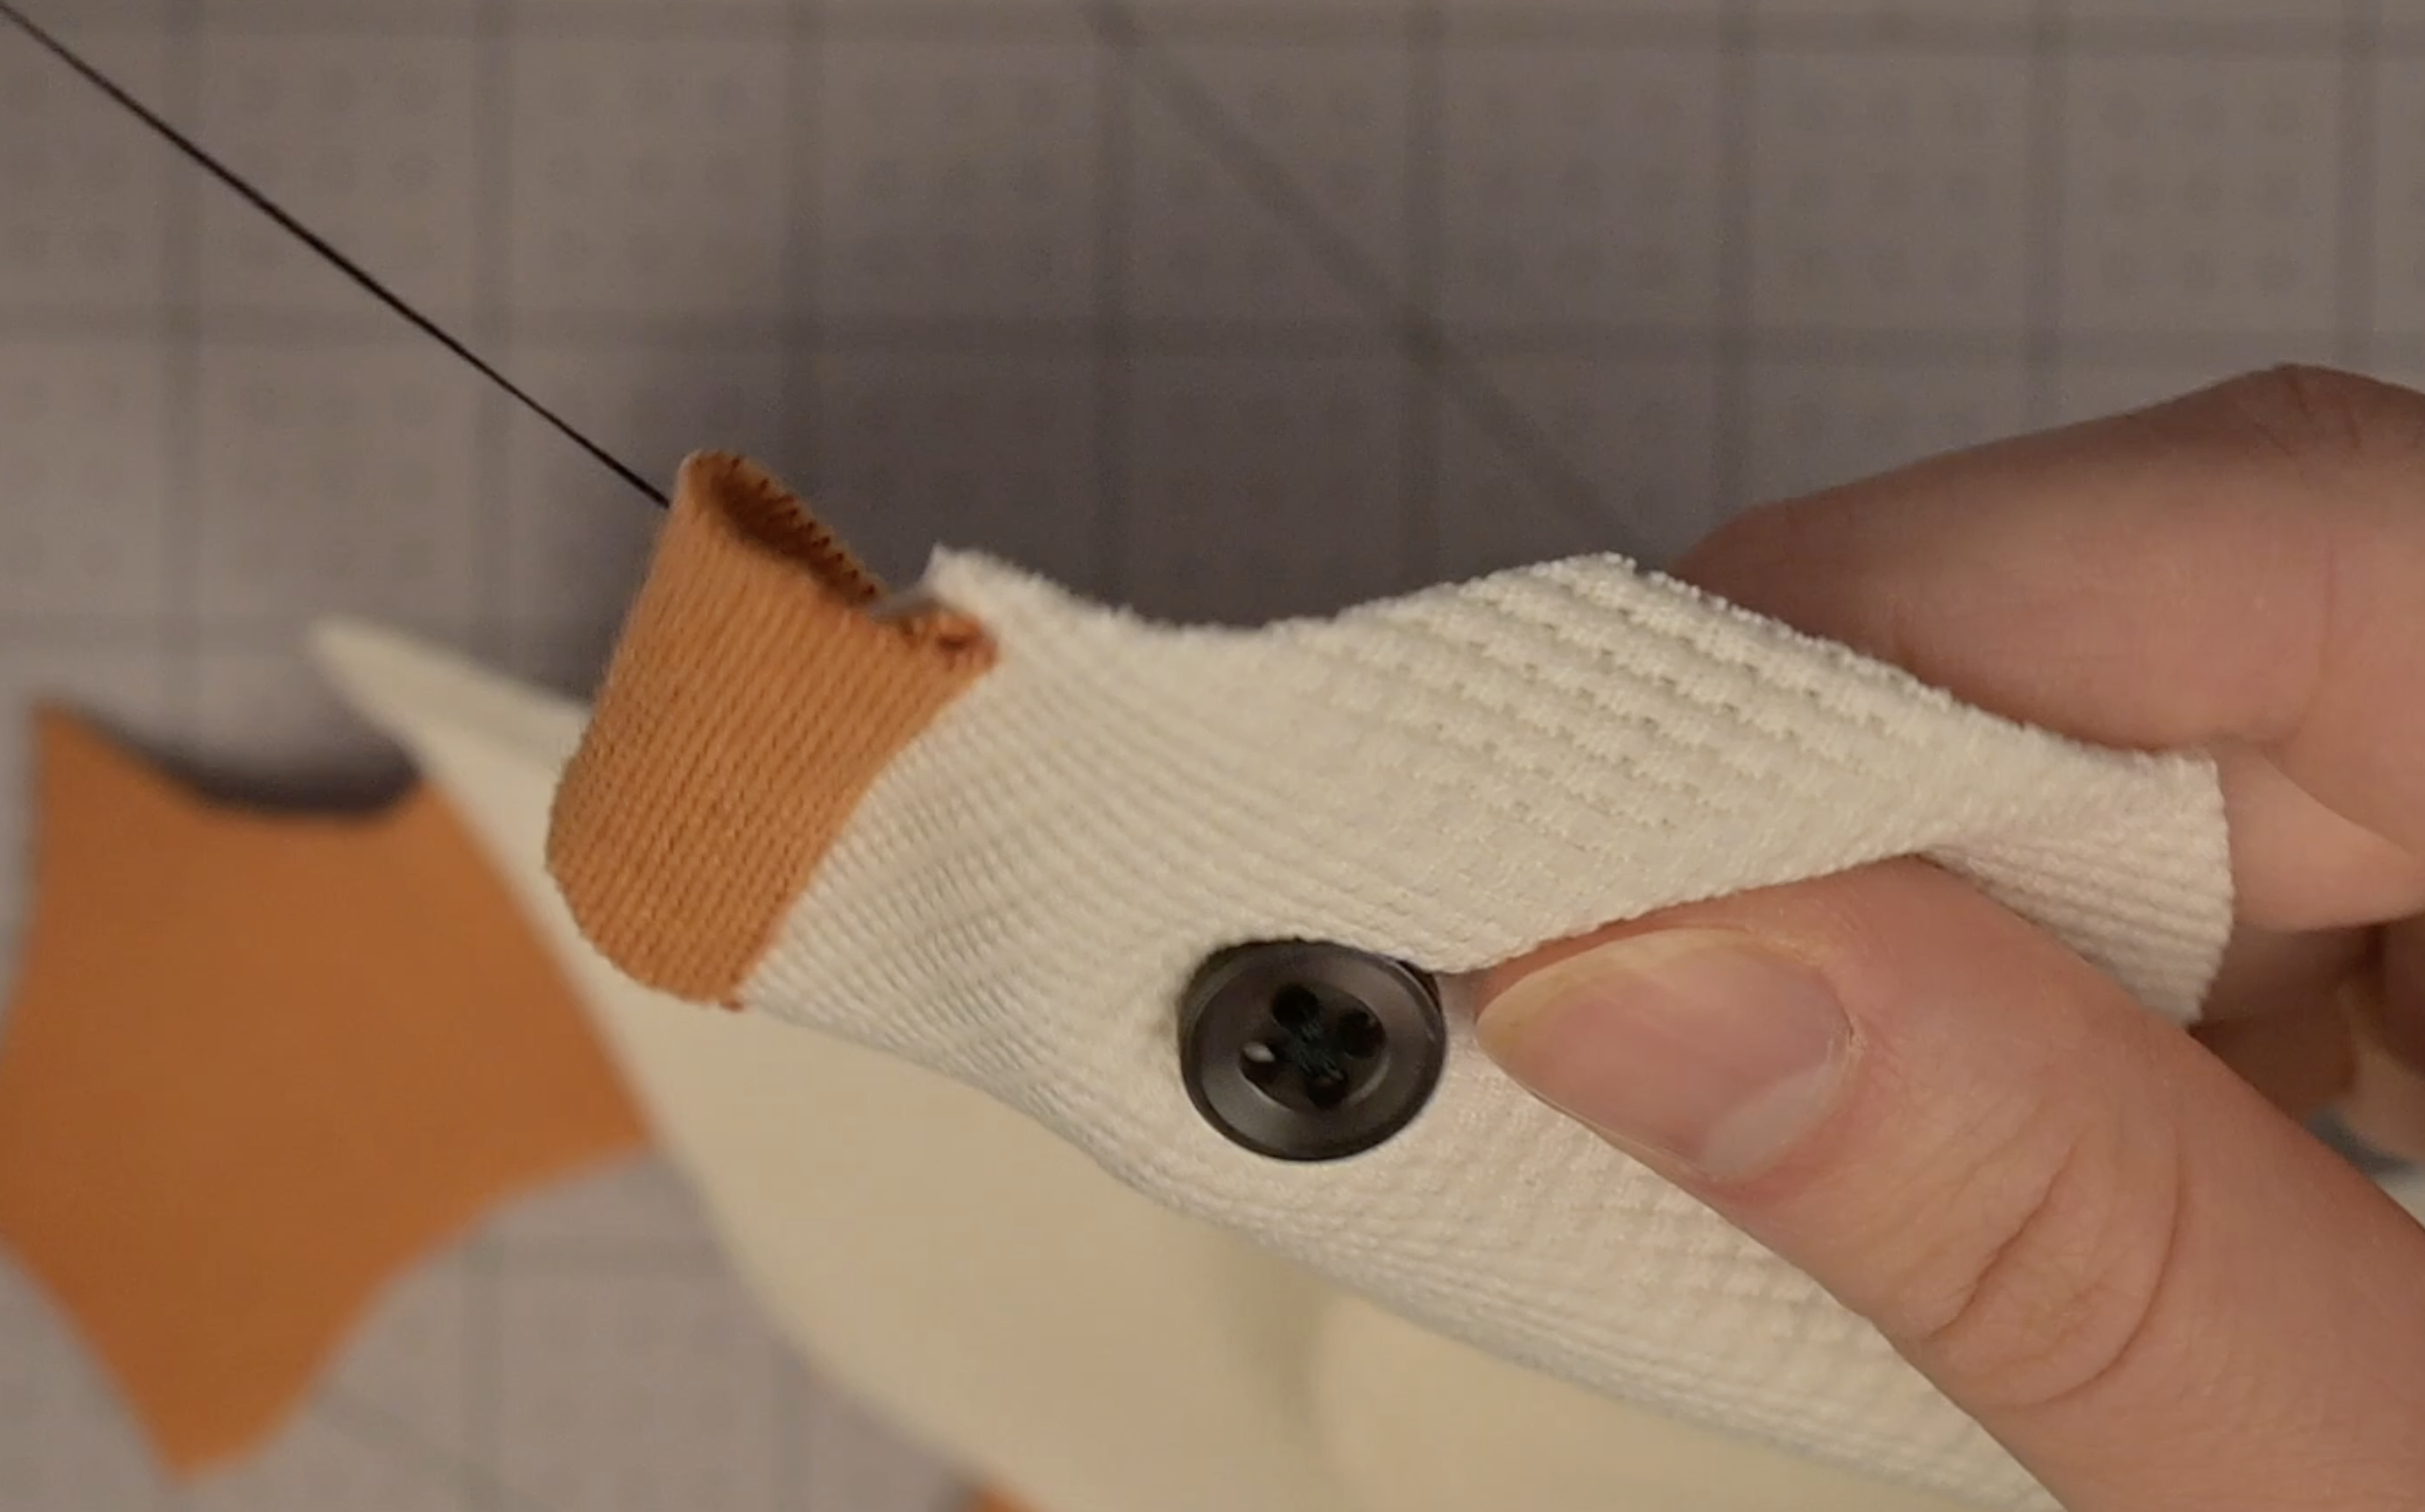
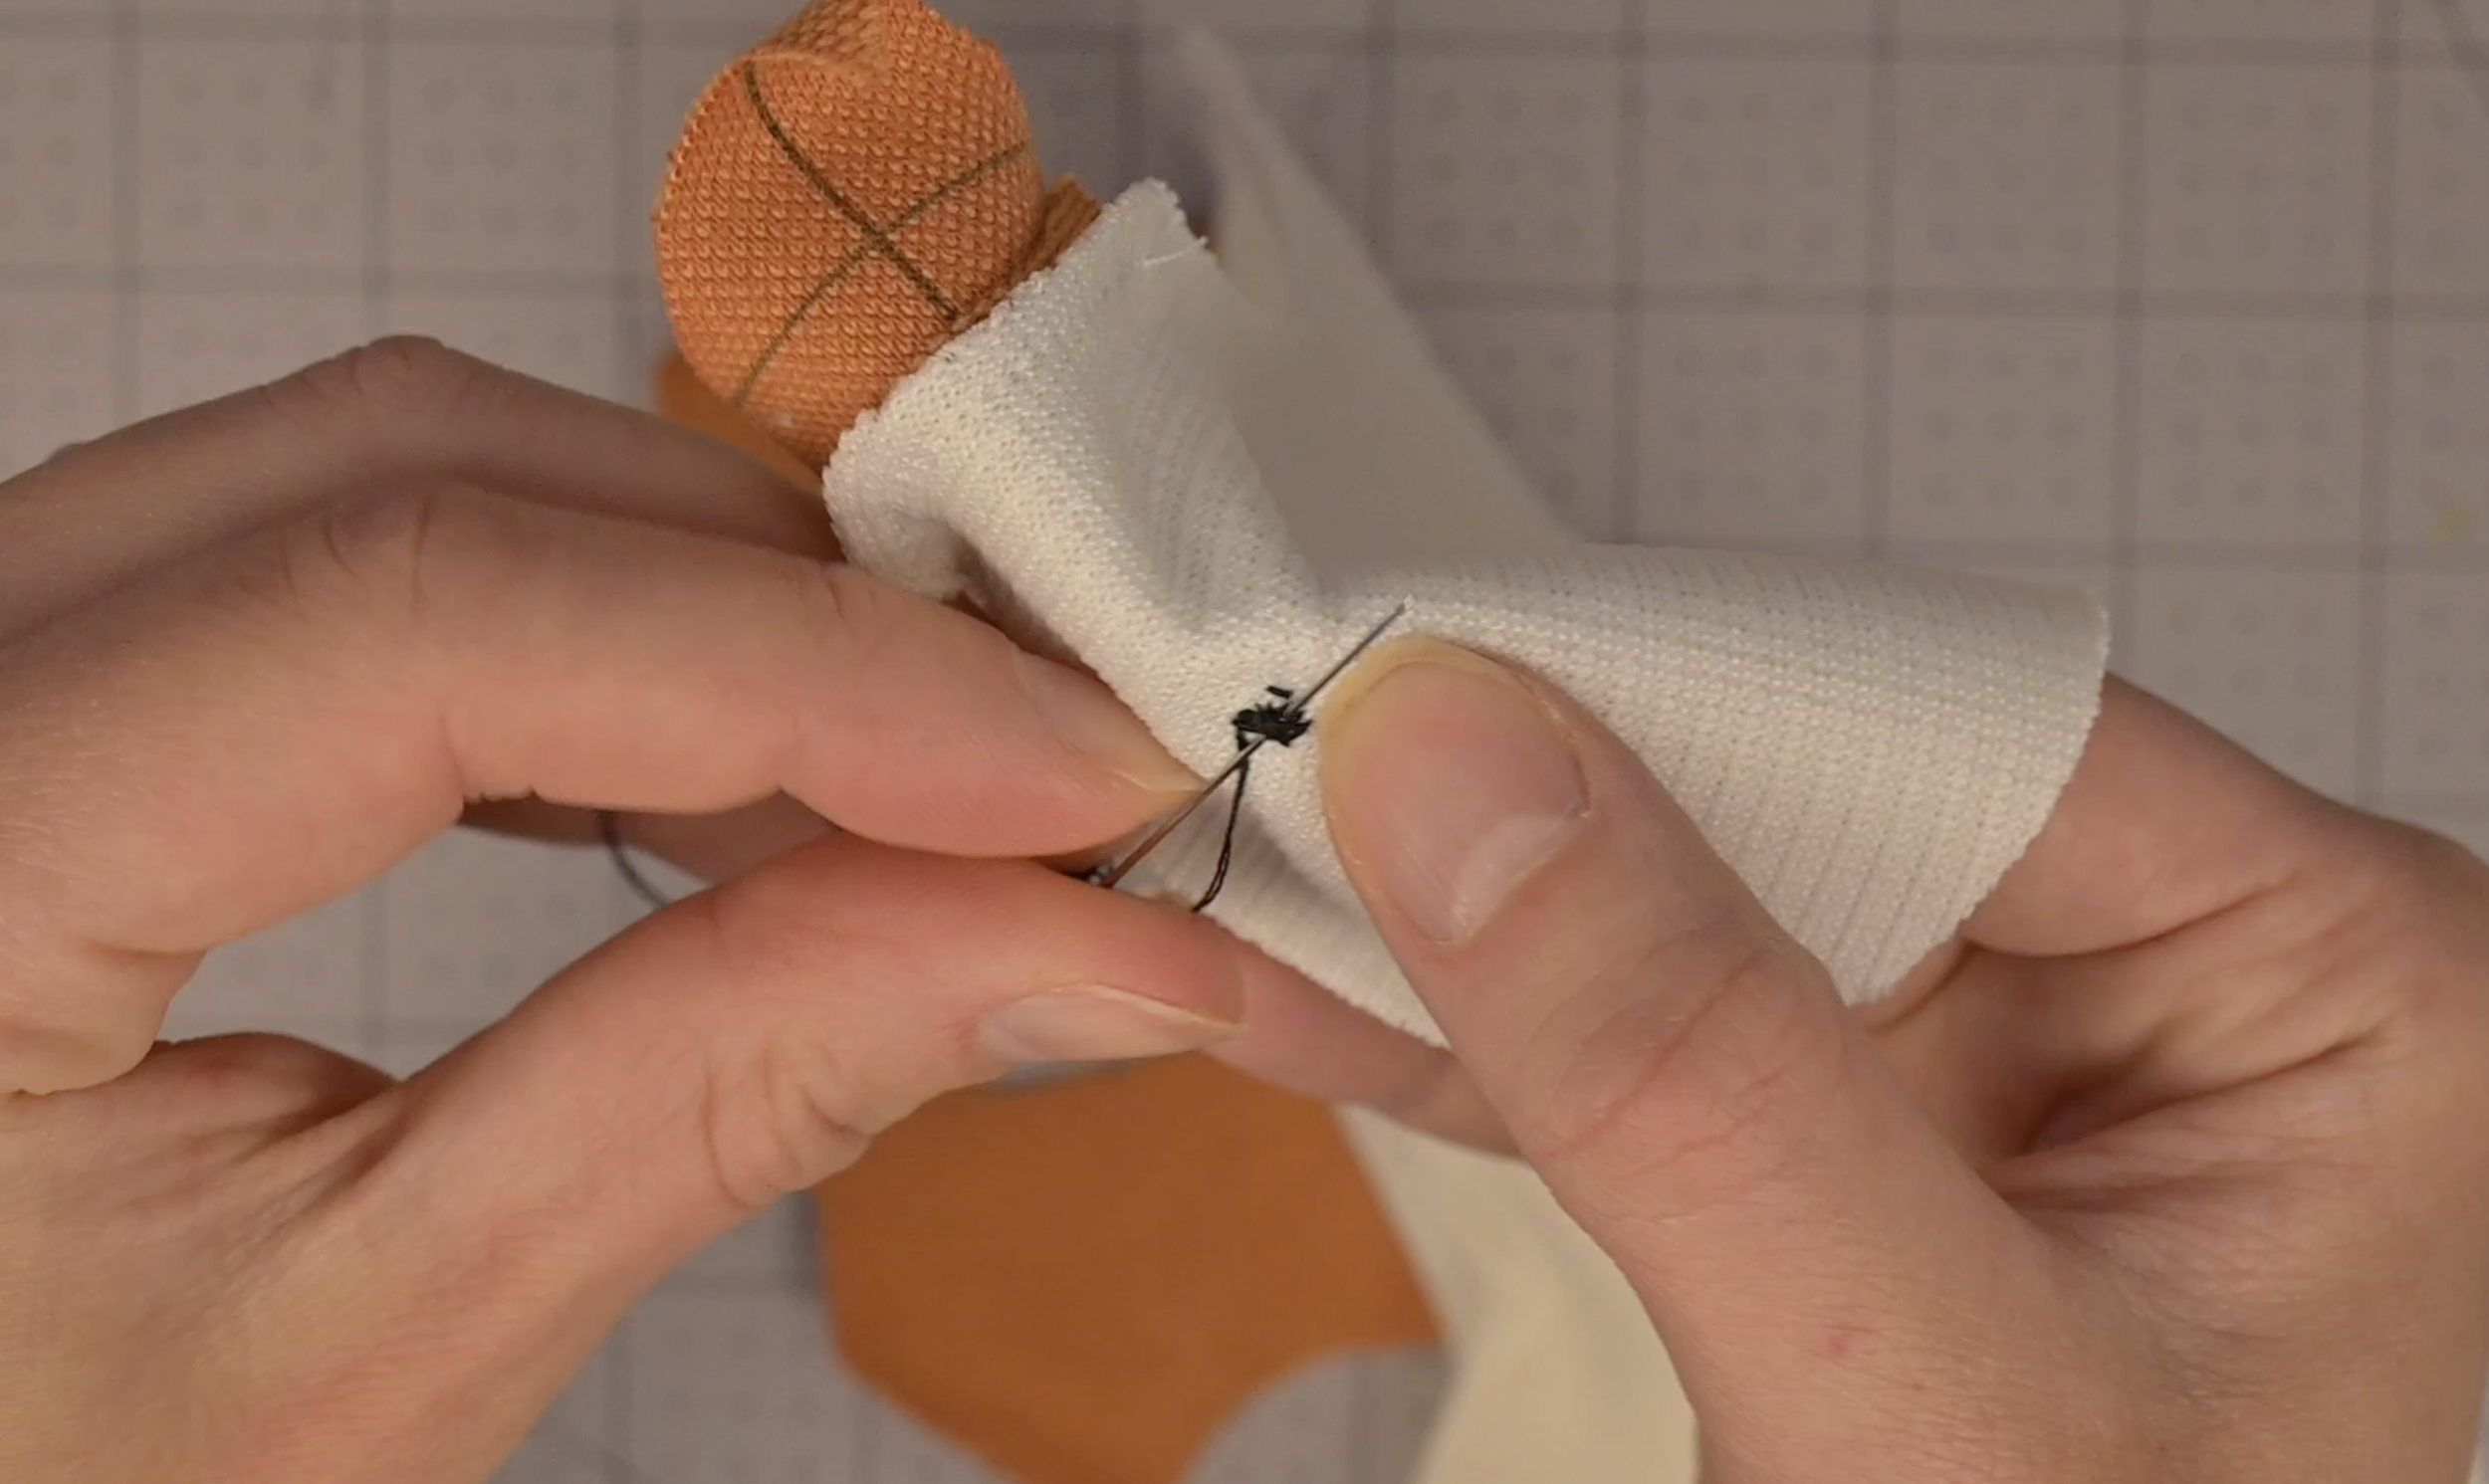
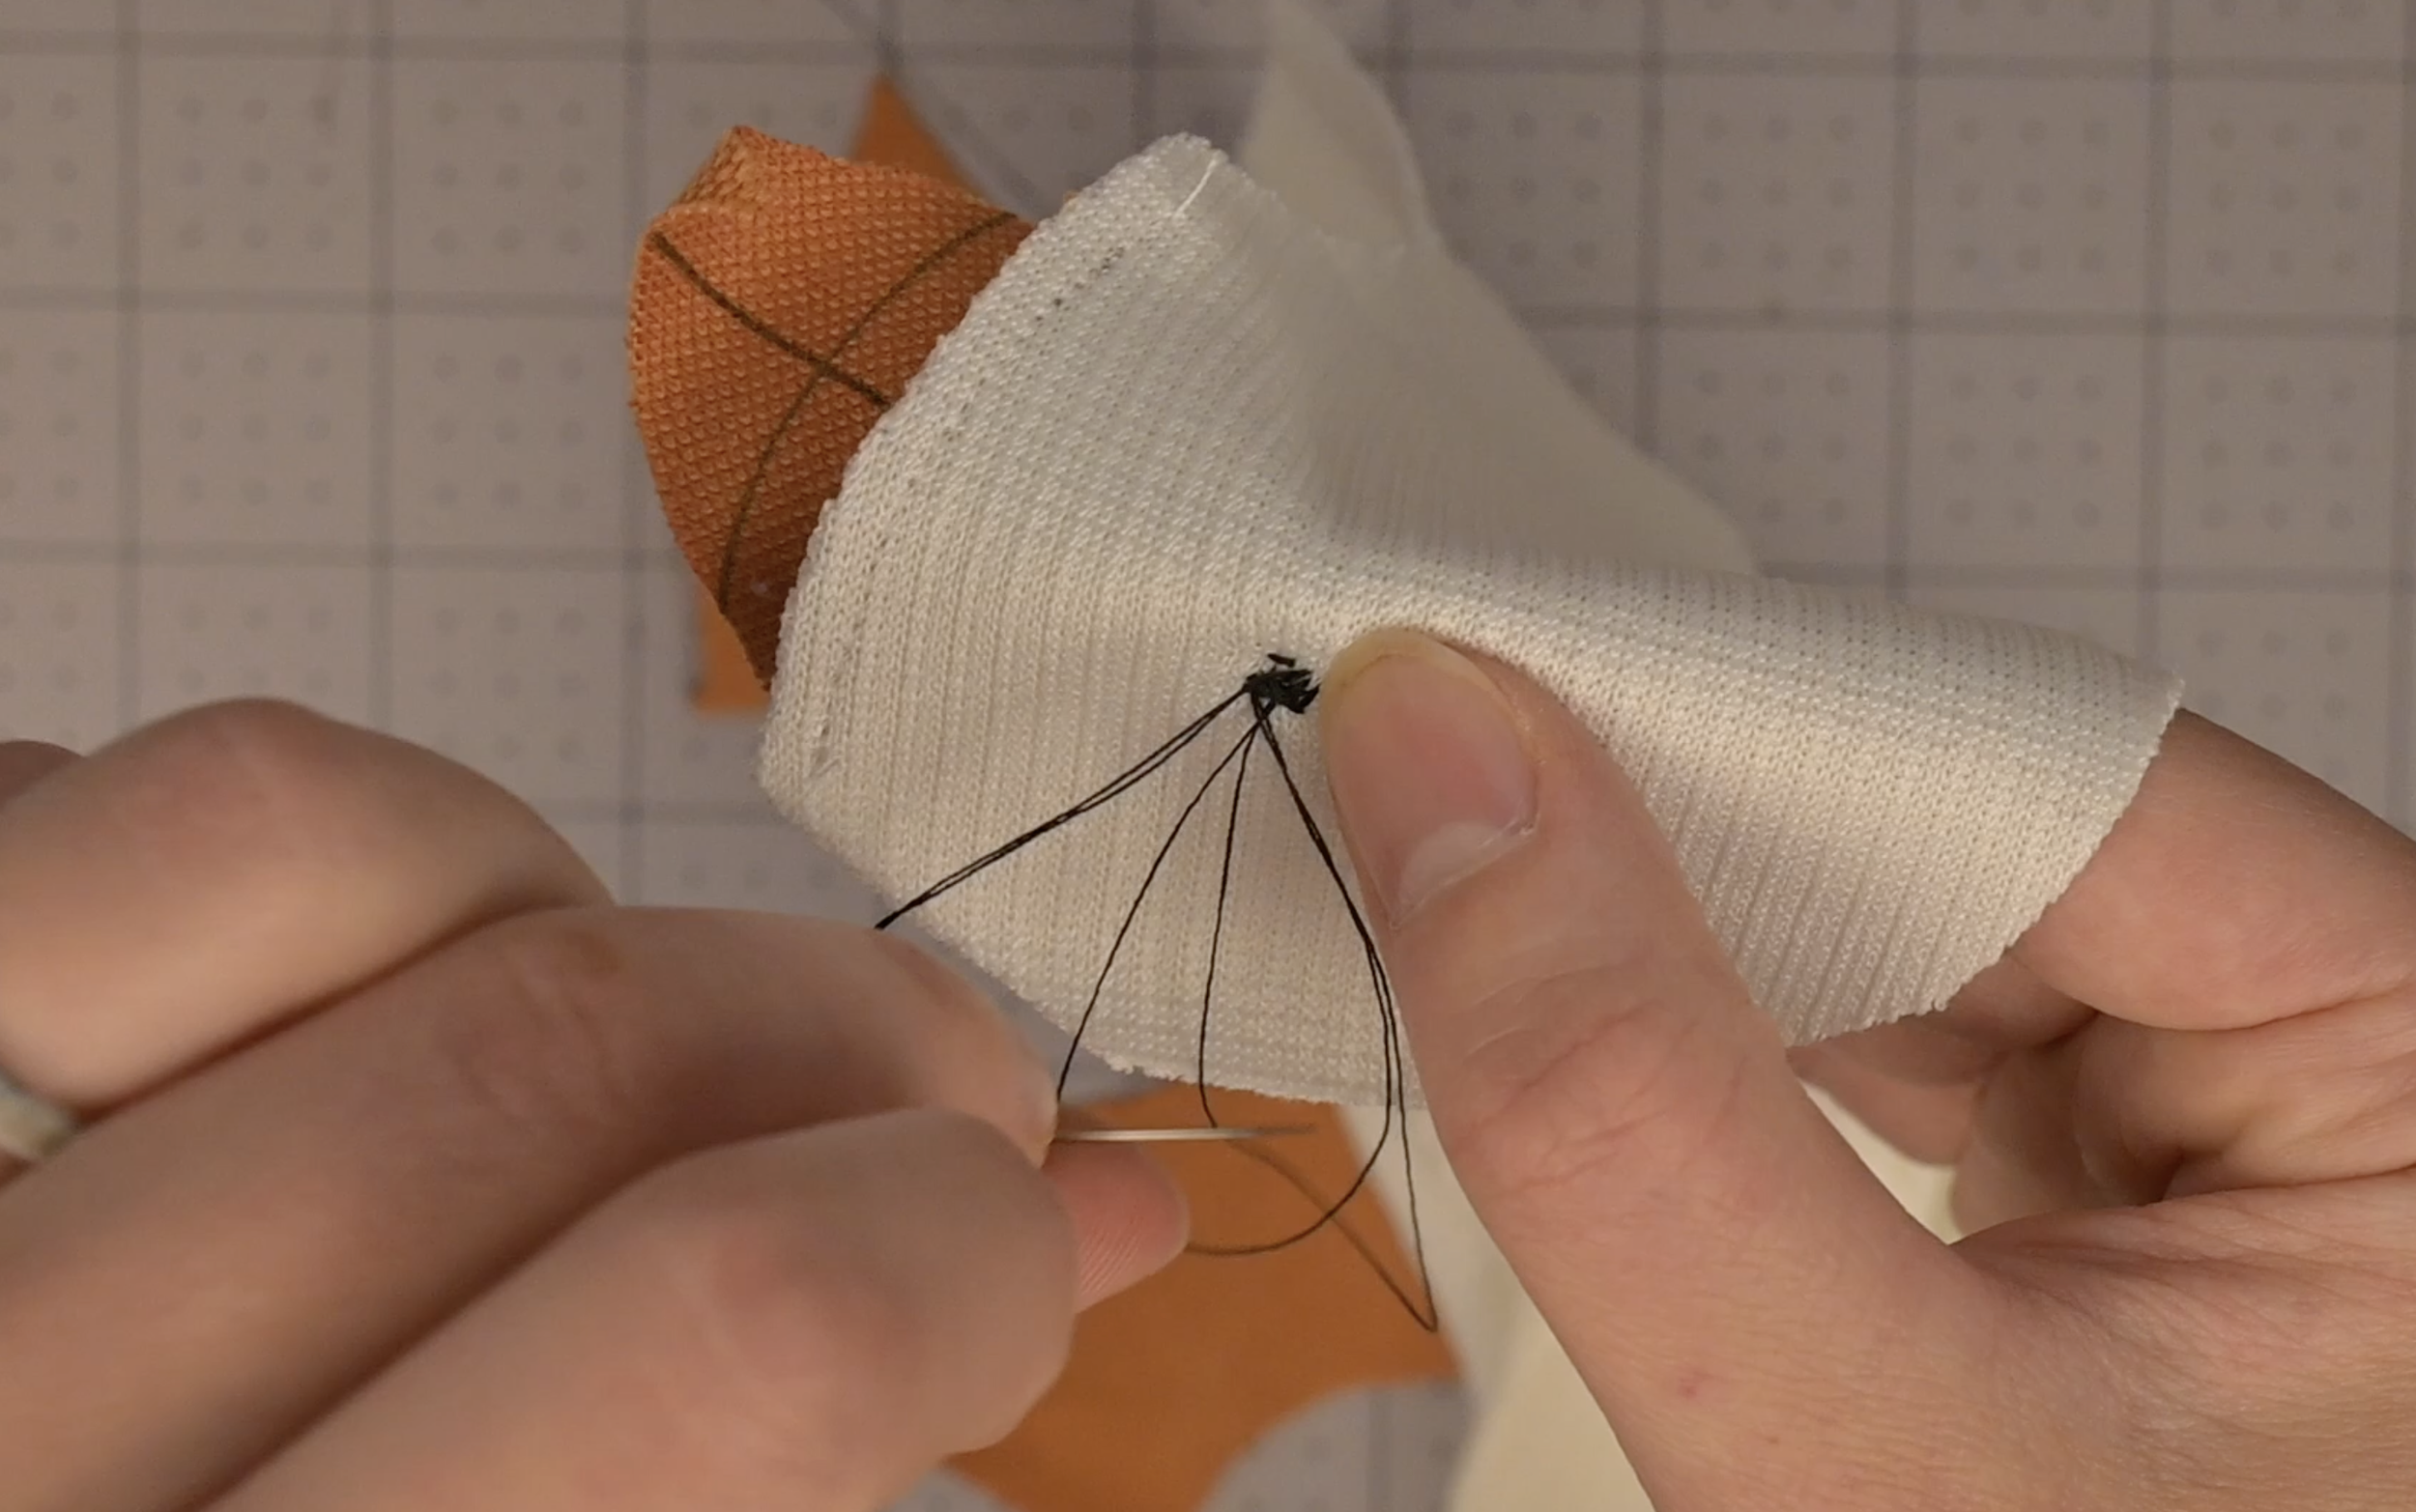
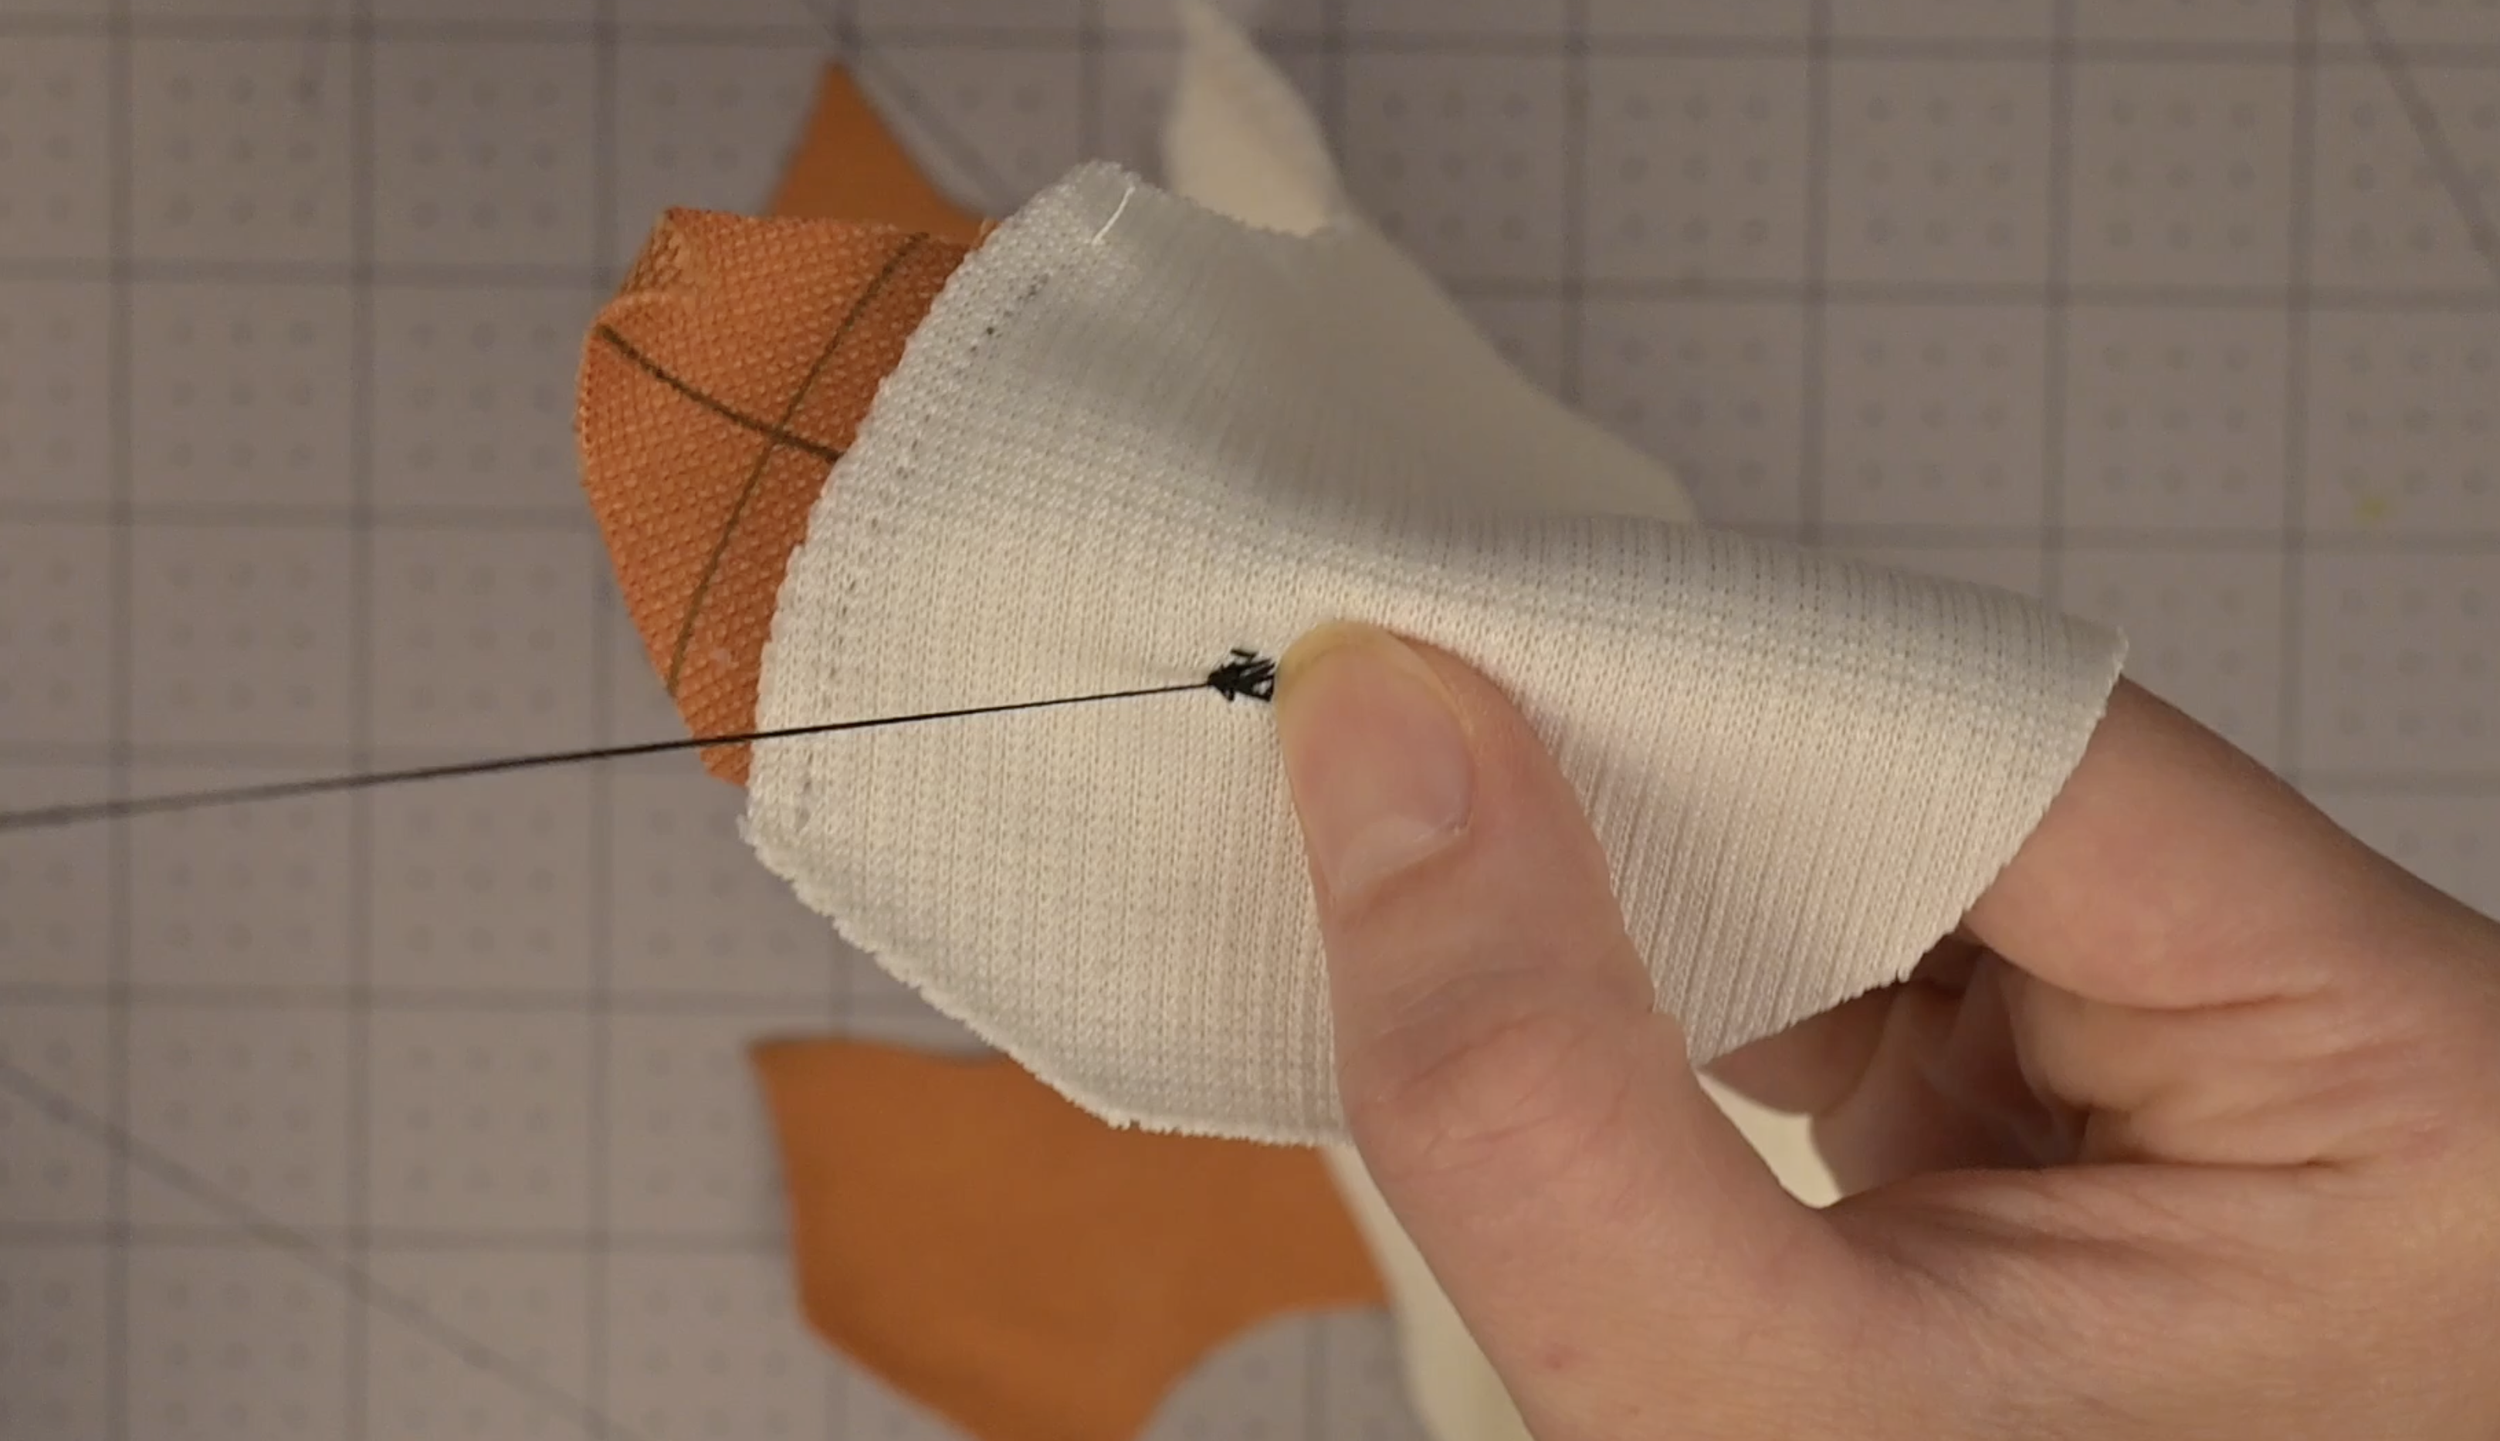
Push the needle to the back of the fabric, pass it through the existing stitches to form a loop, and pull the needle through the loop to create a secure knot
Repeat to double-knot
Step 7: Attaching the Towel
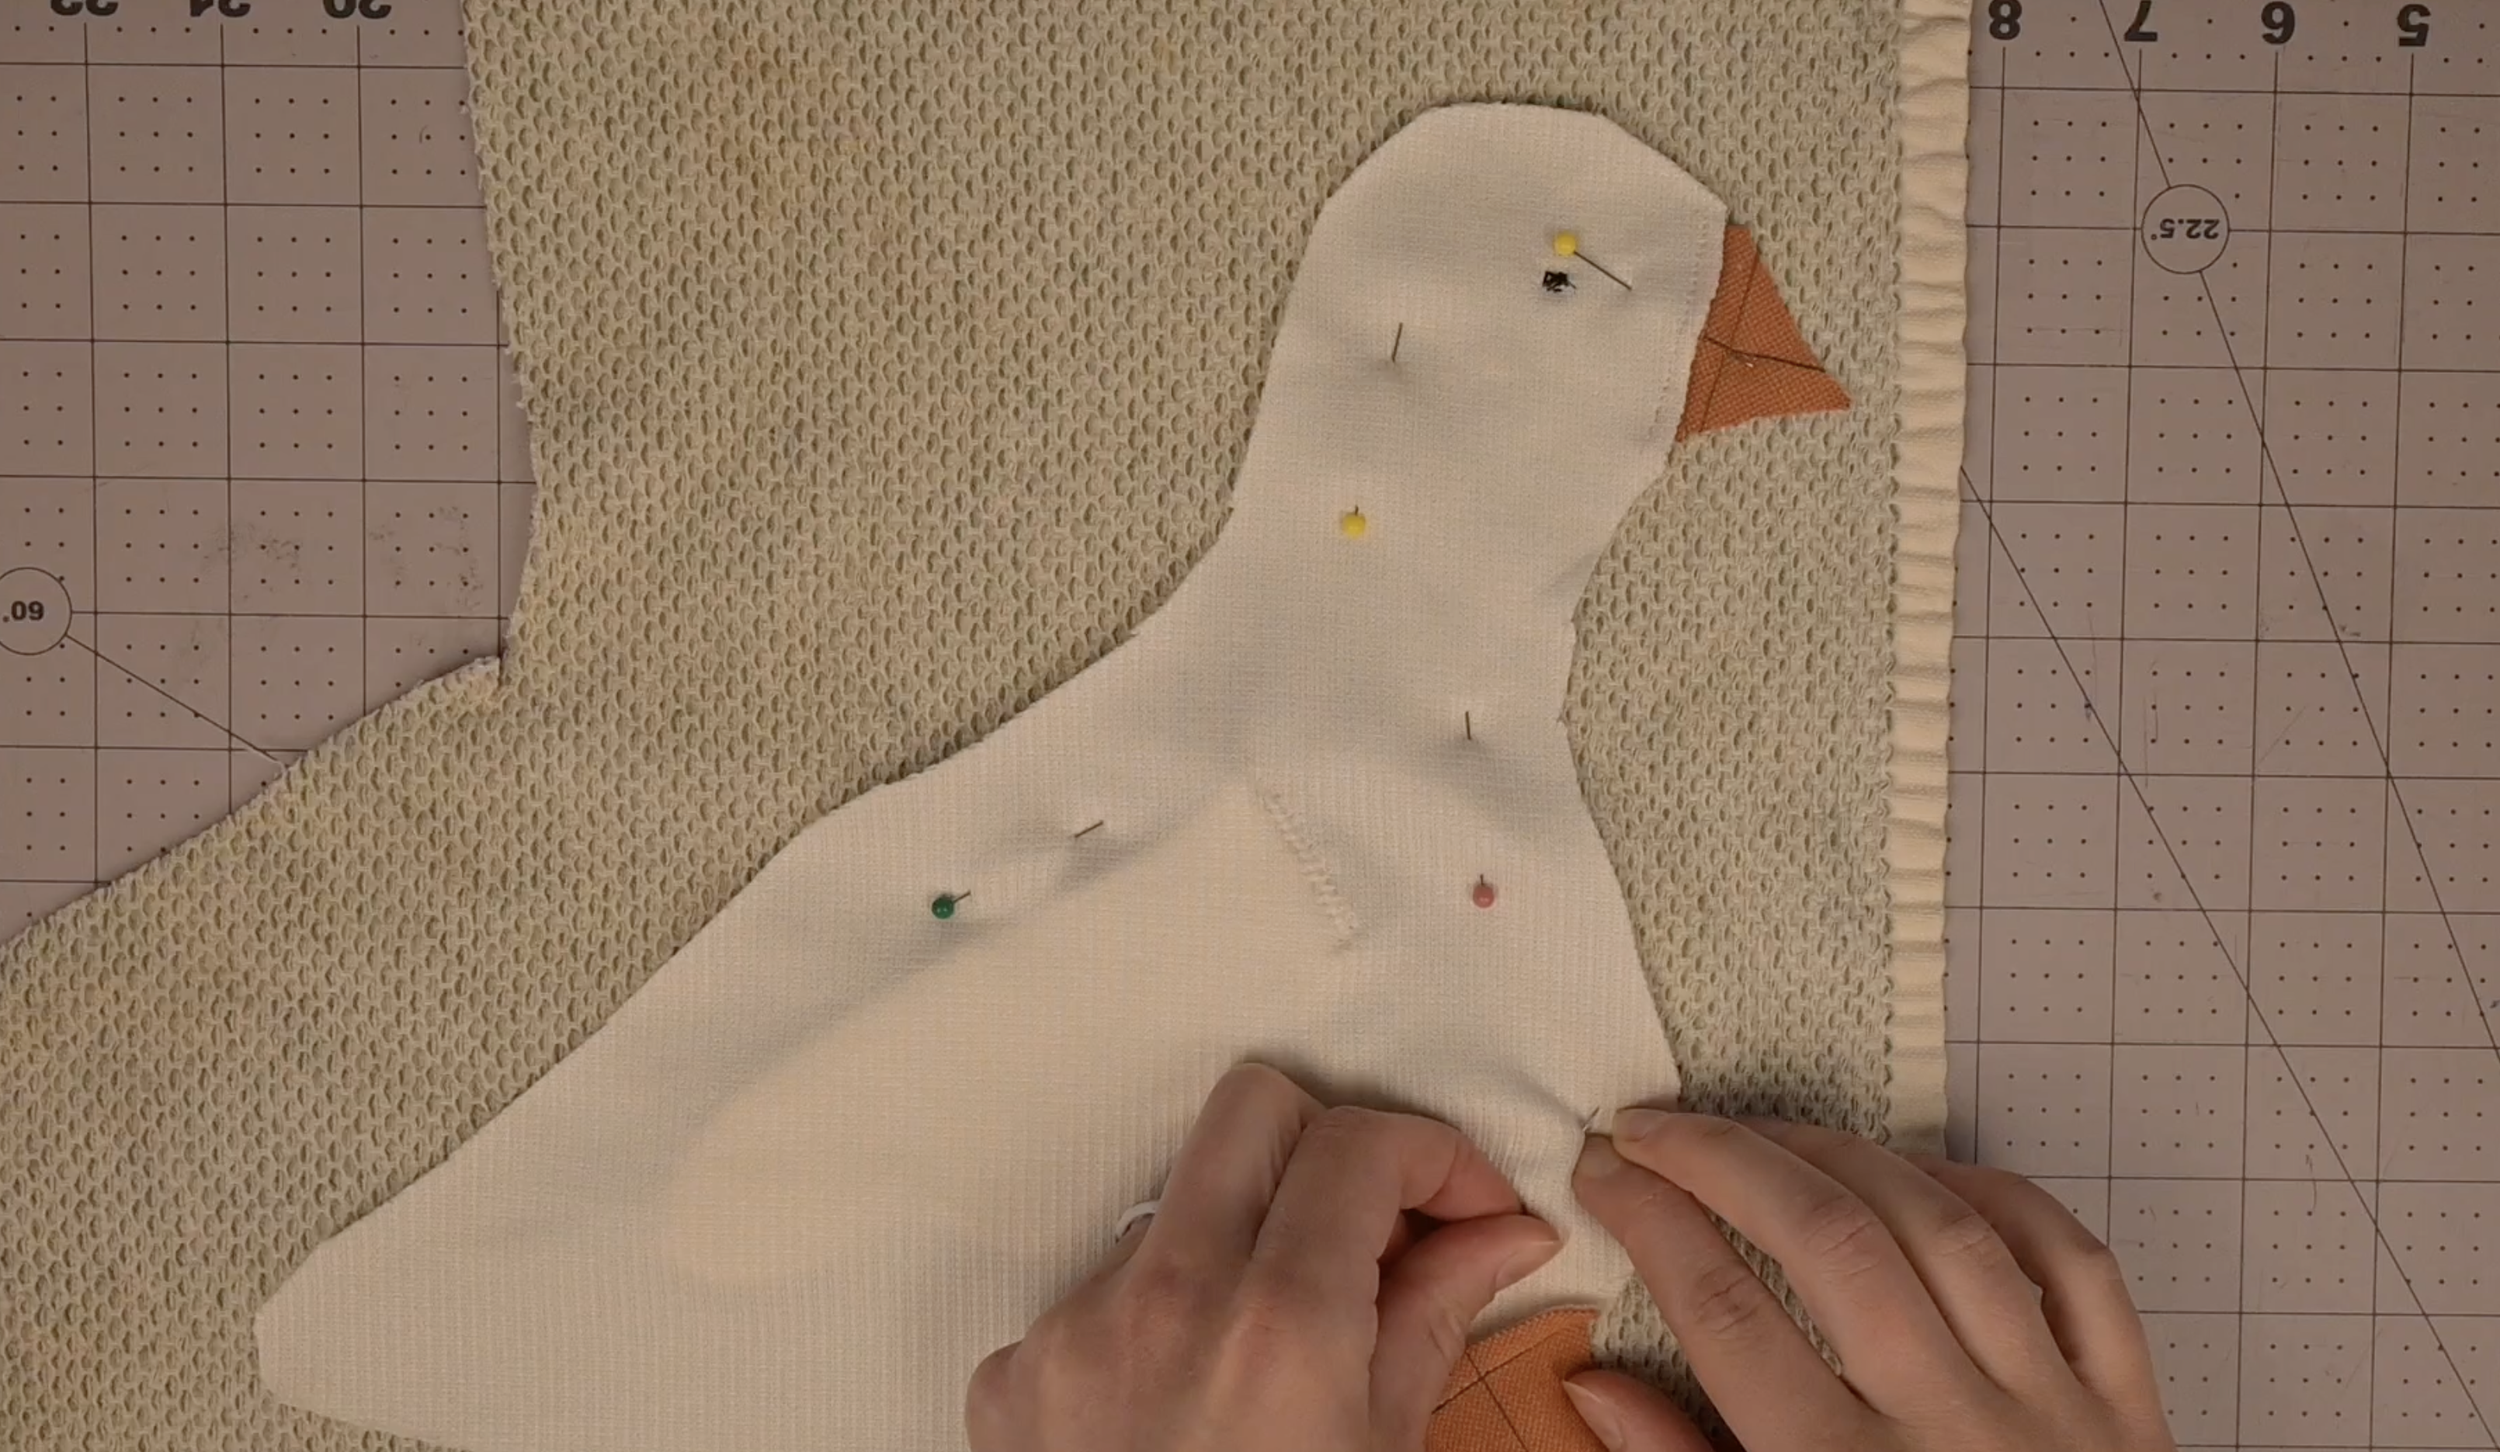
Lay the towel in front of you, right side up
Place the main goose assembly face down on top of the towel (right sides facing)
Pin in place
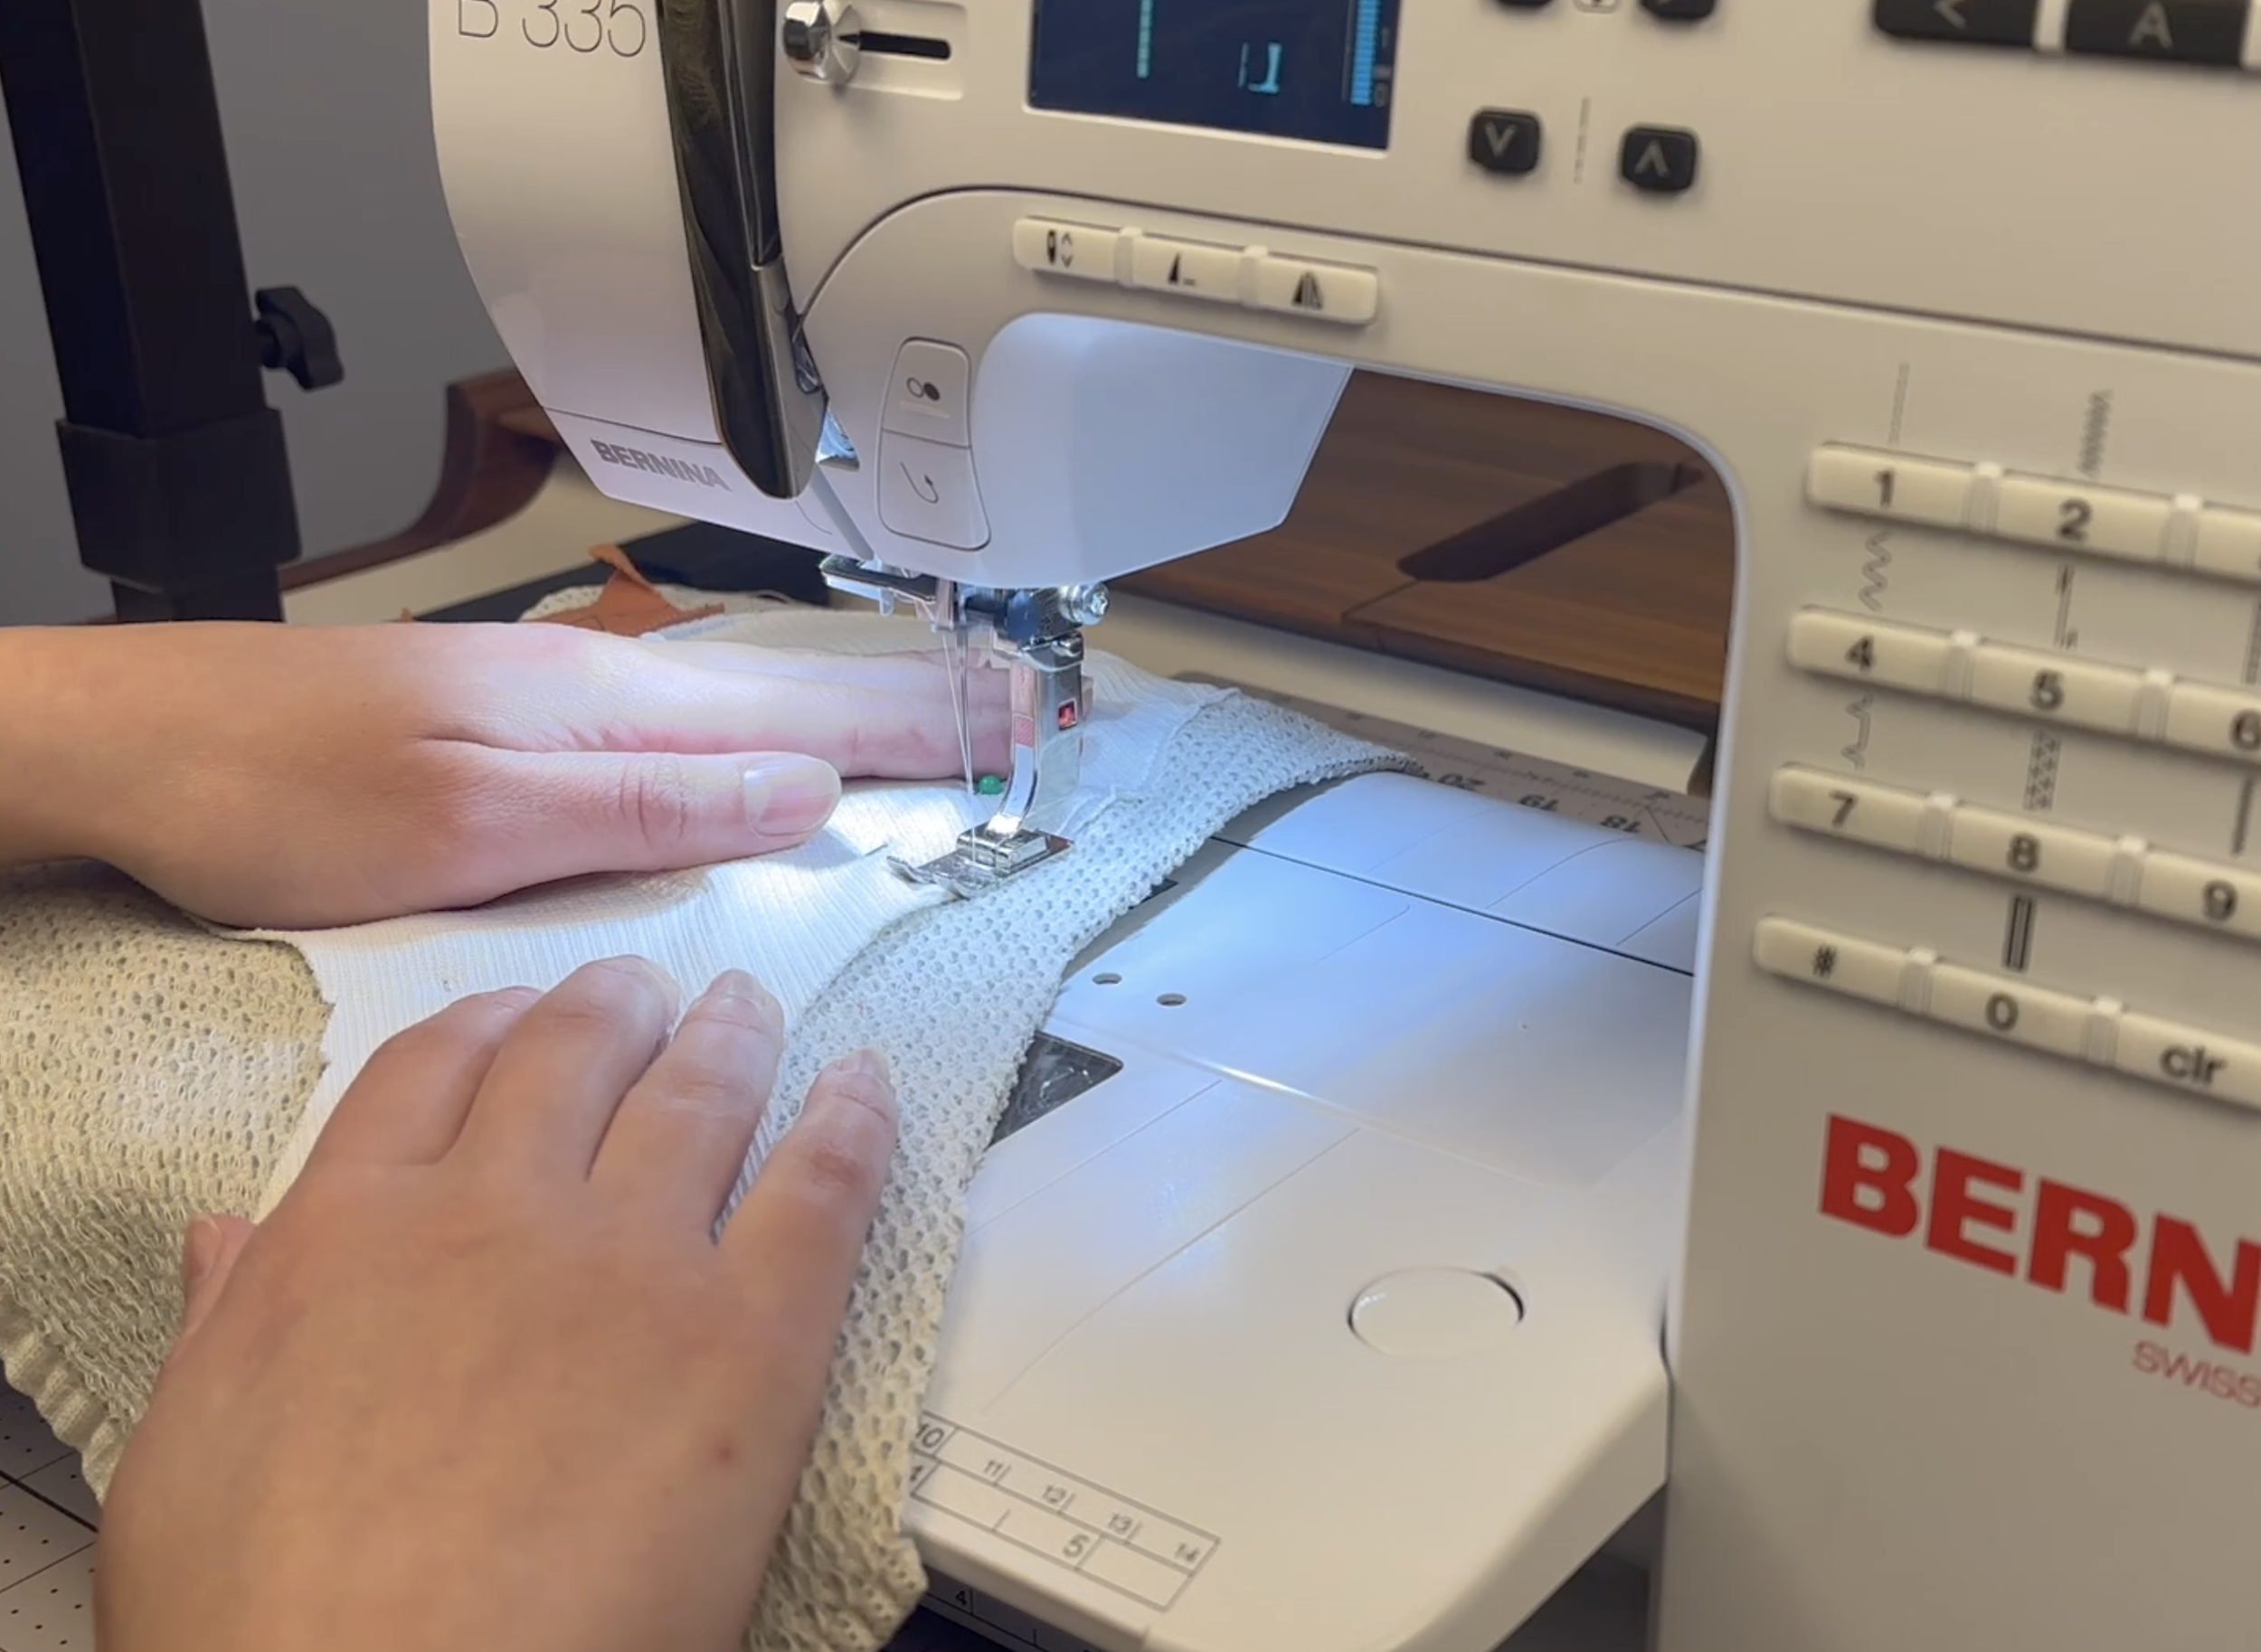
Sew along the outer edge to attach the towel, leaving a 2-inch opening for turning
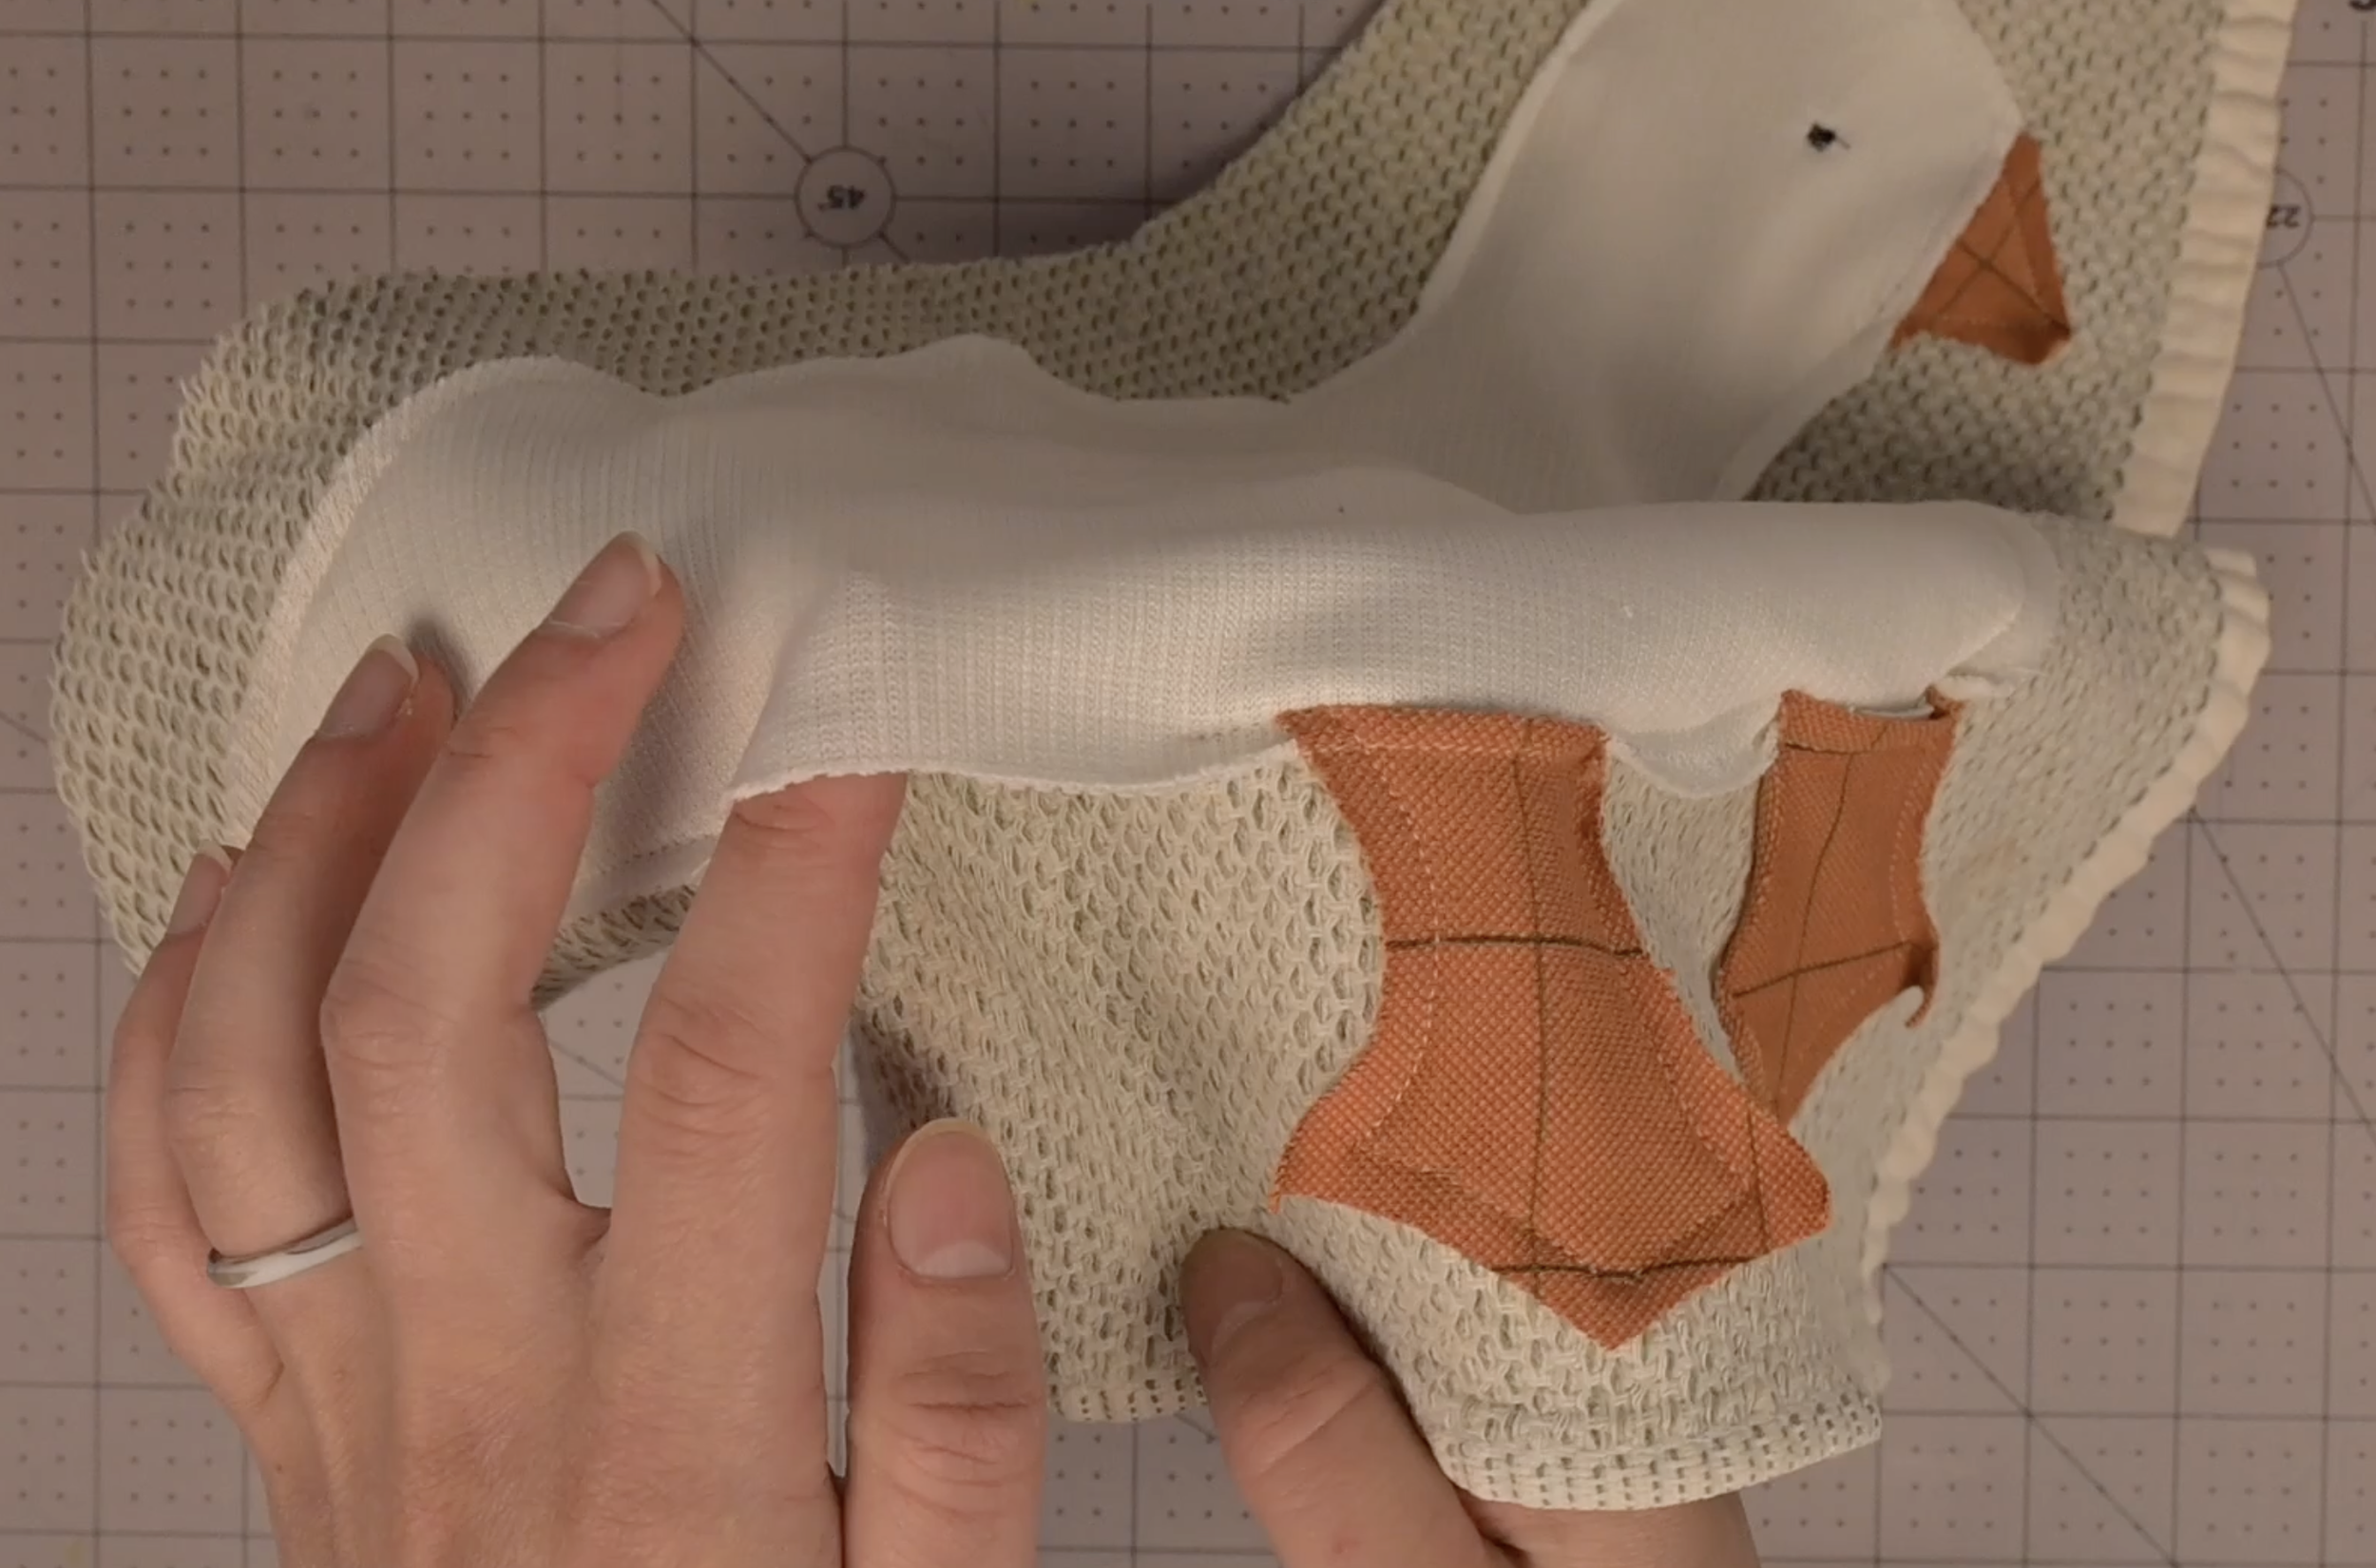
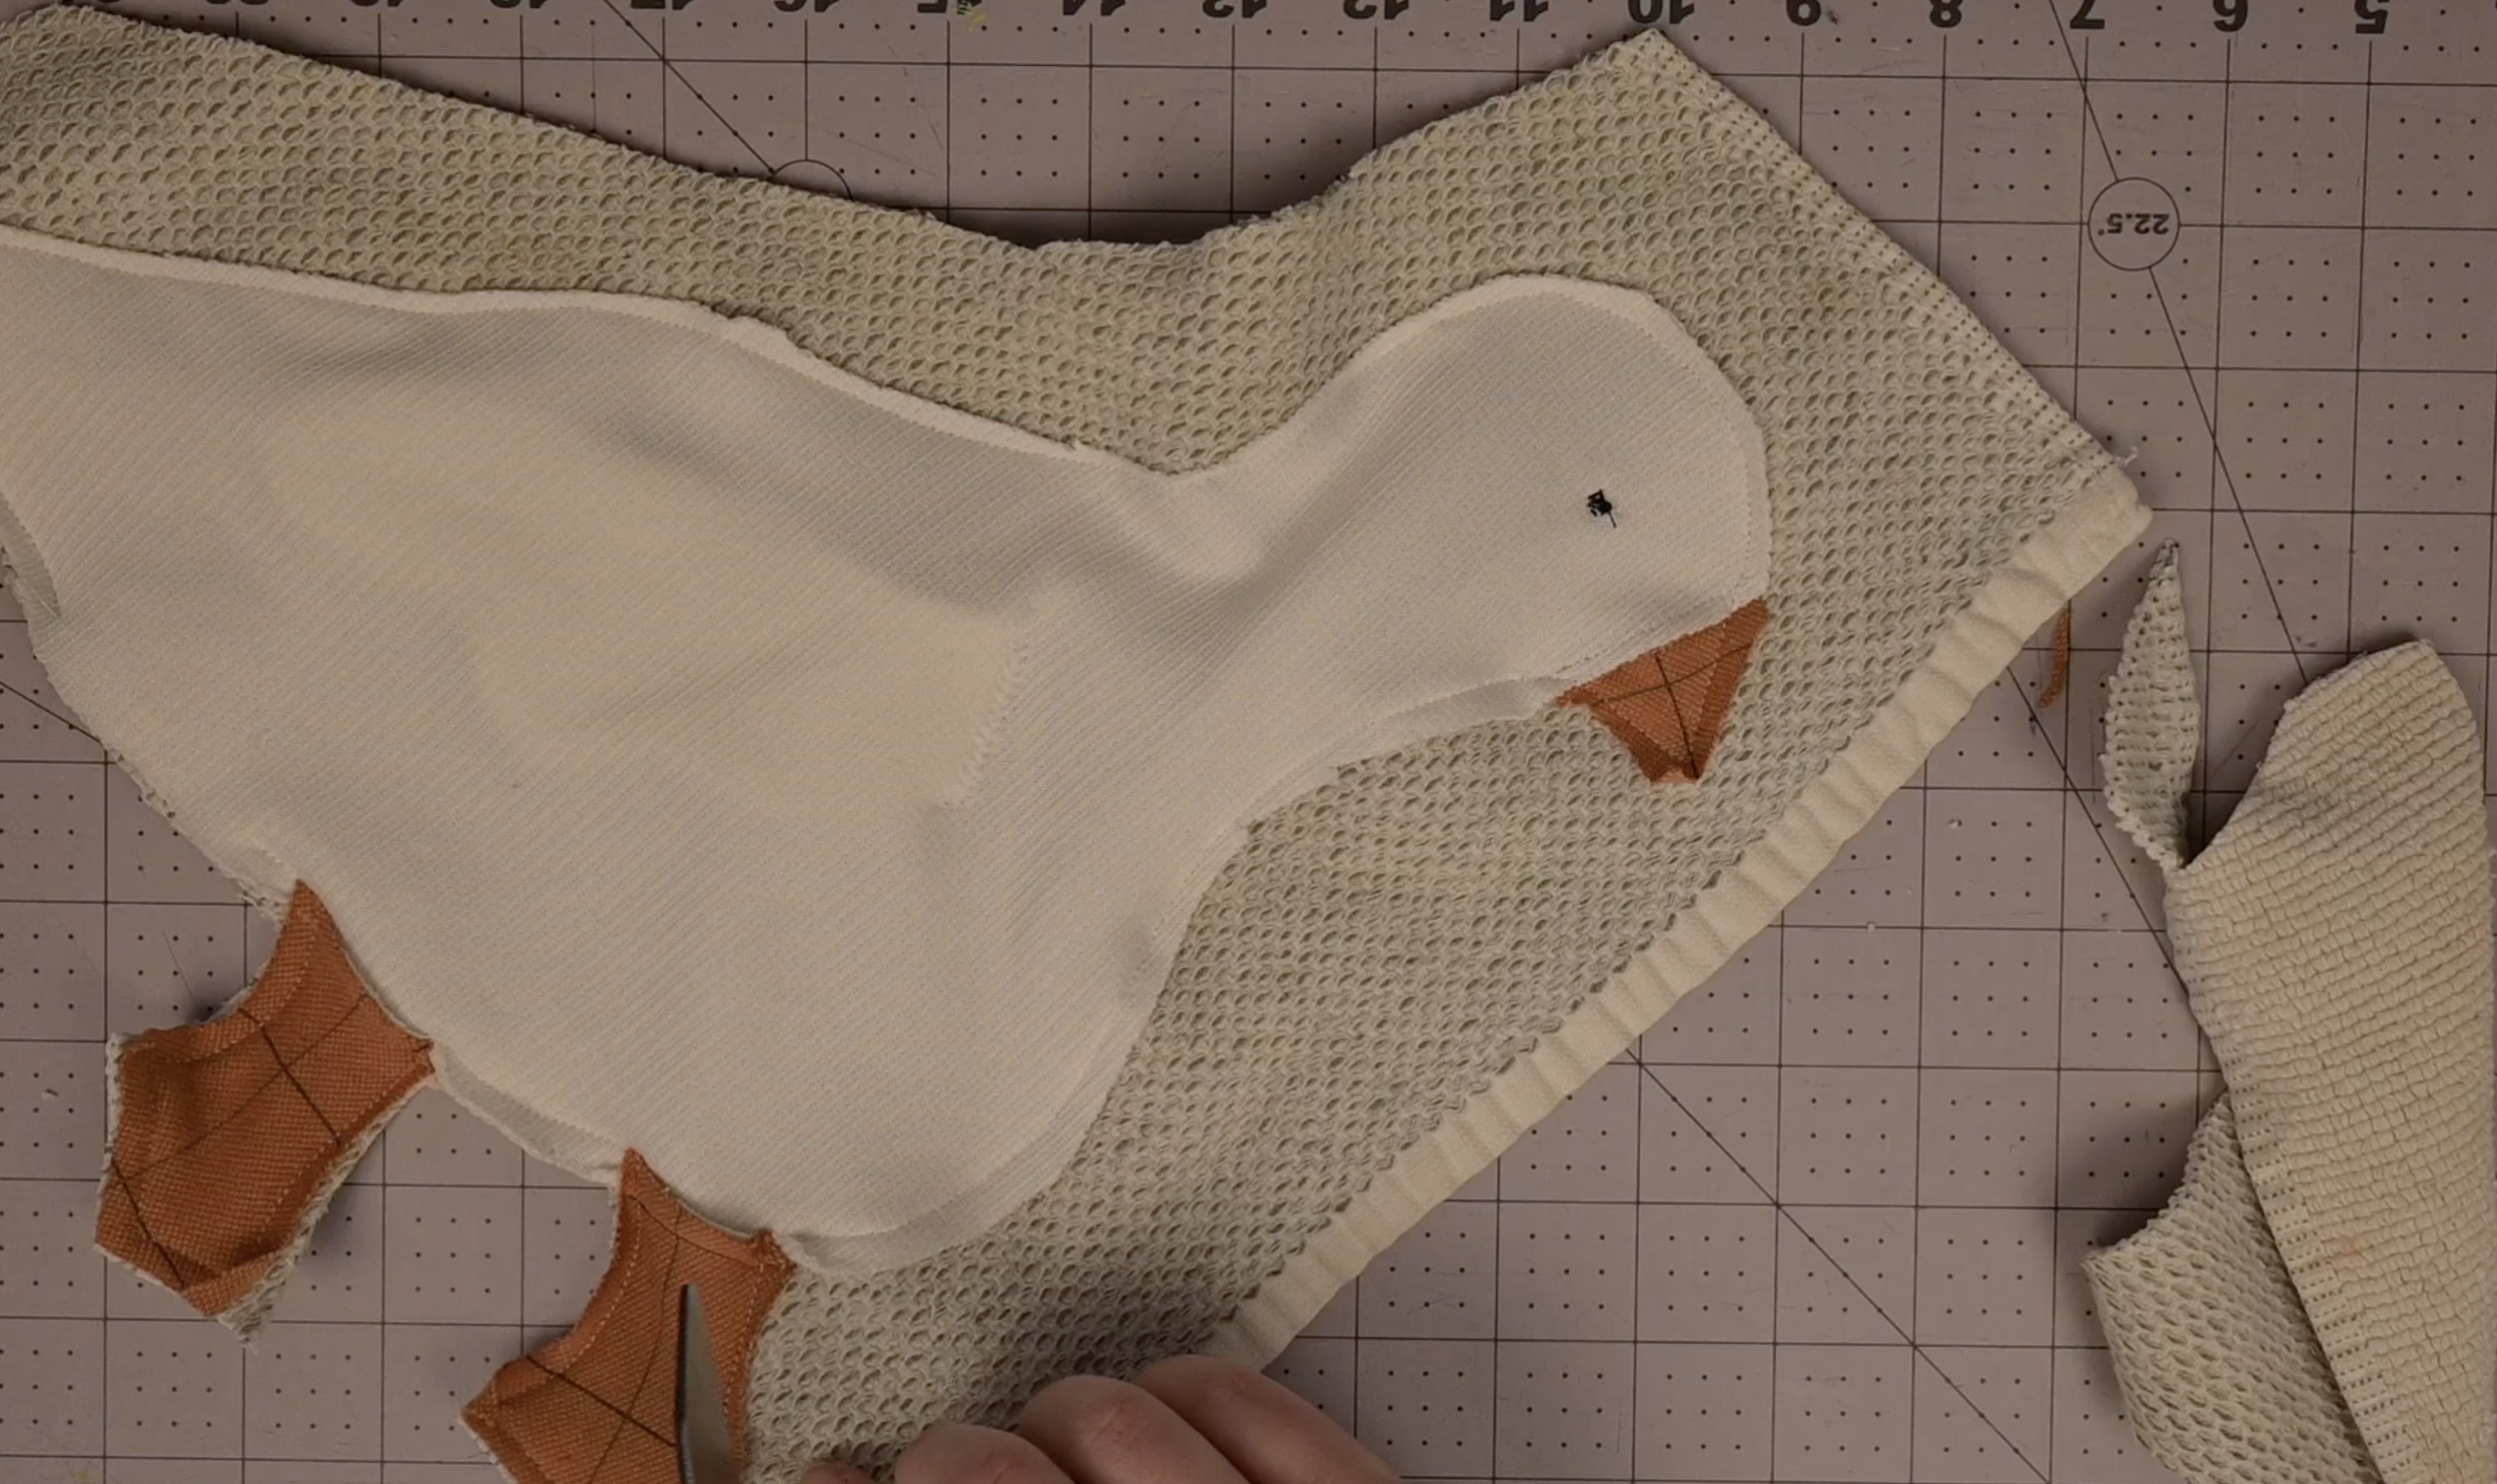
Trim away the excess towel fabric
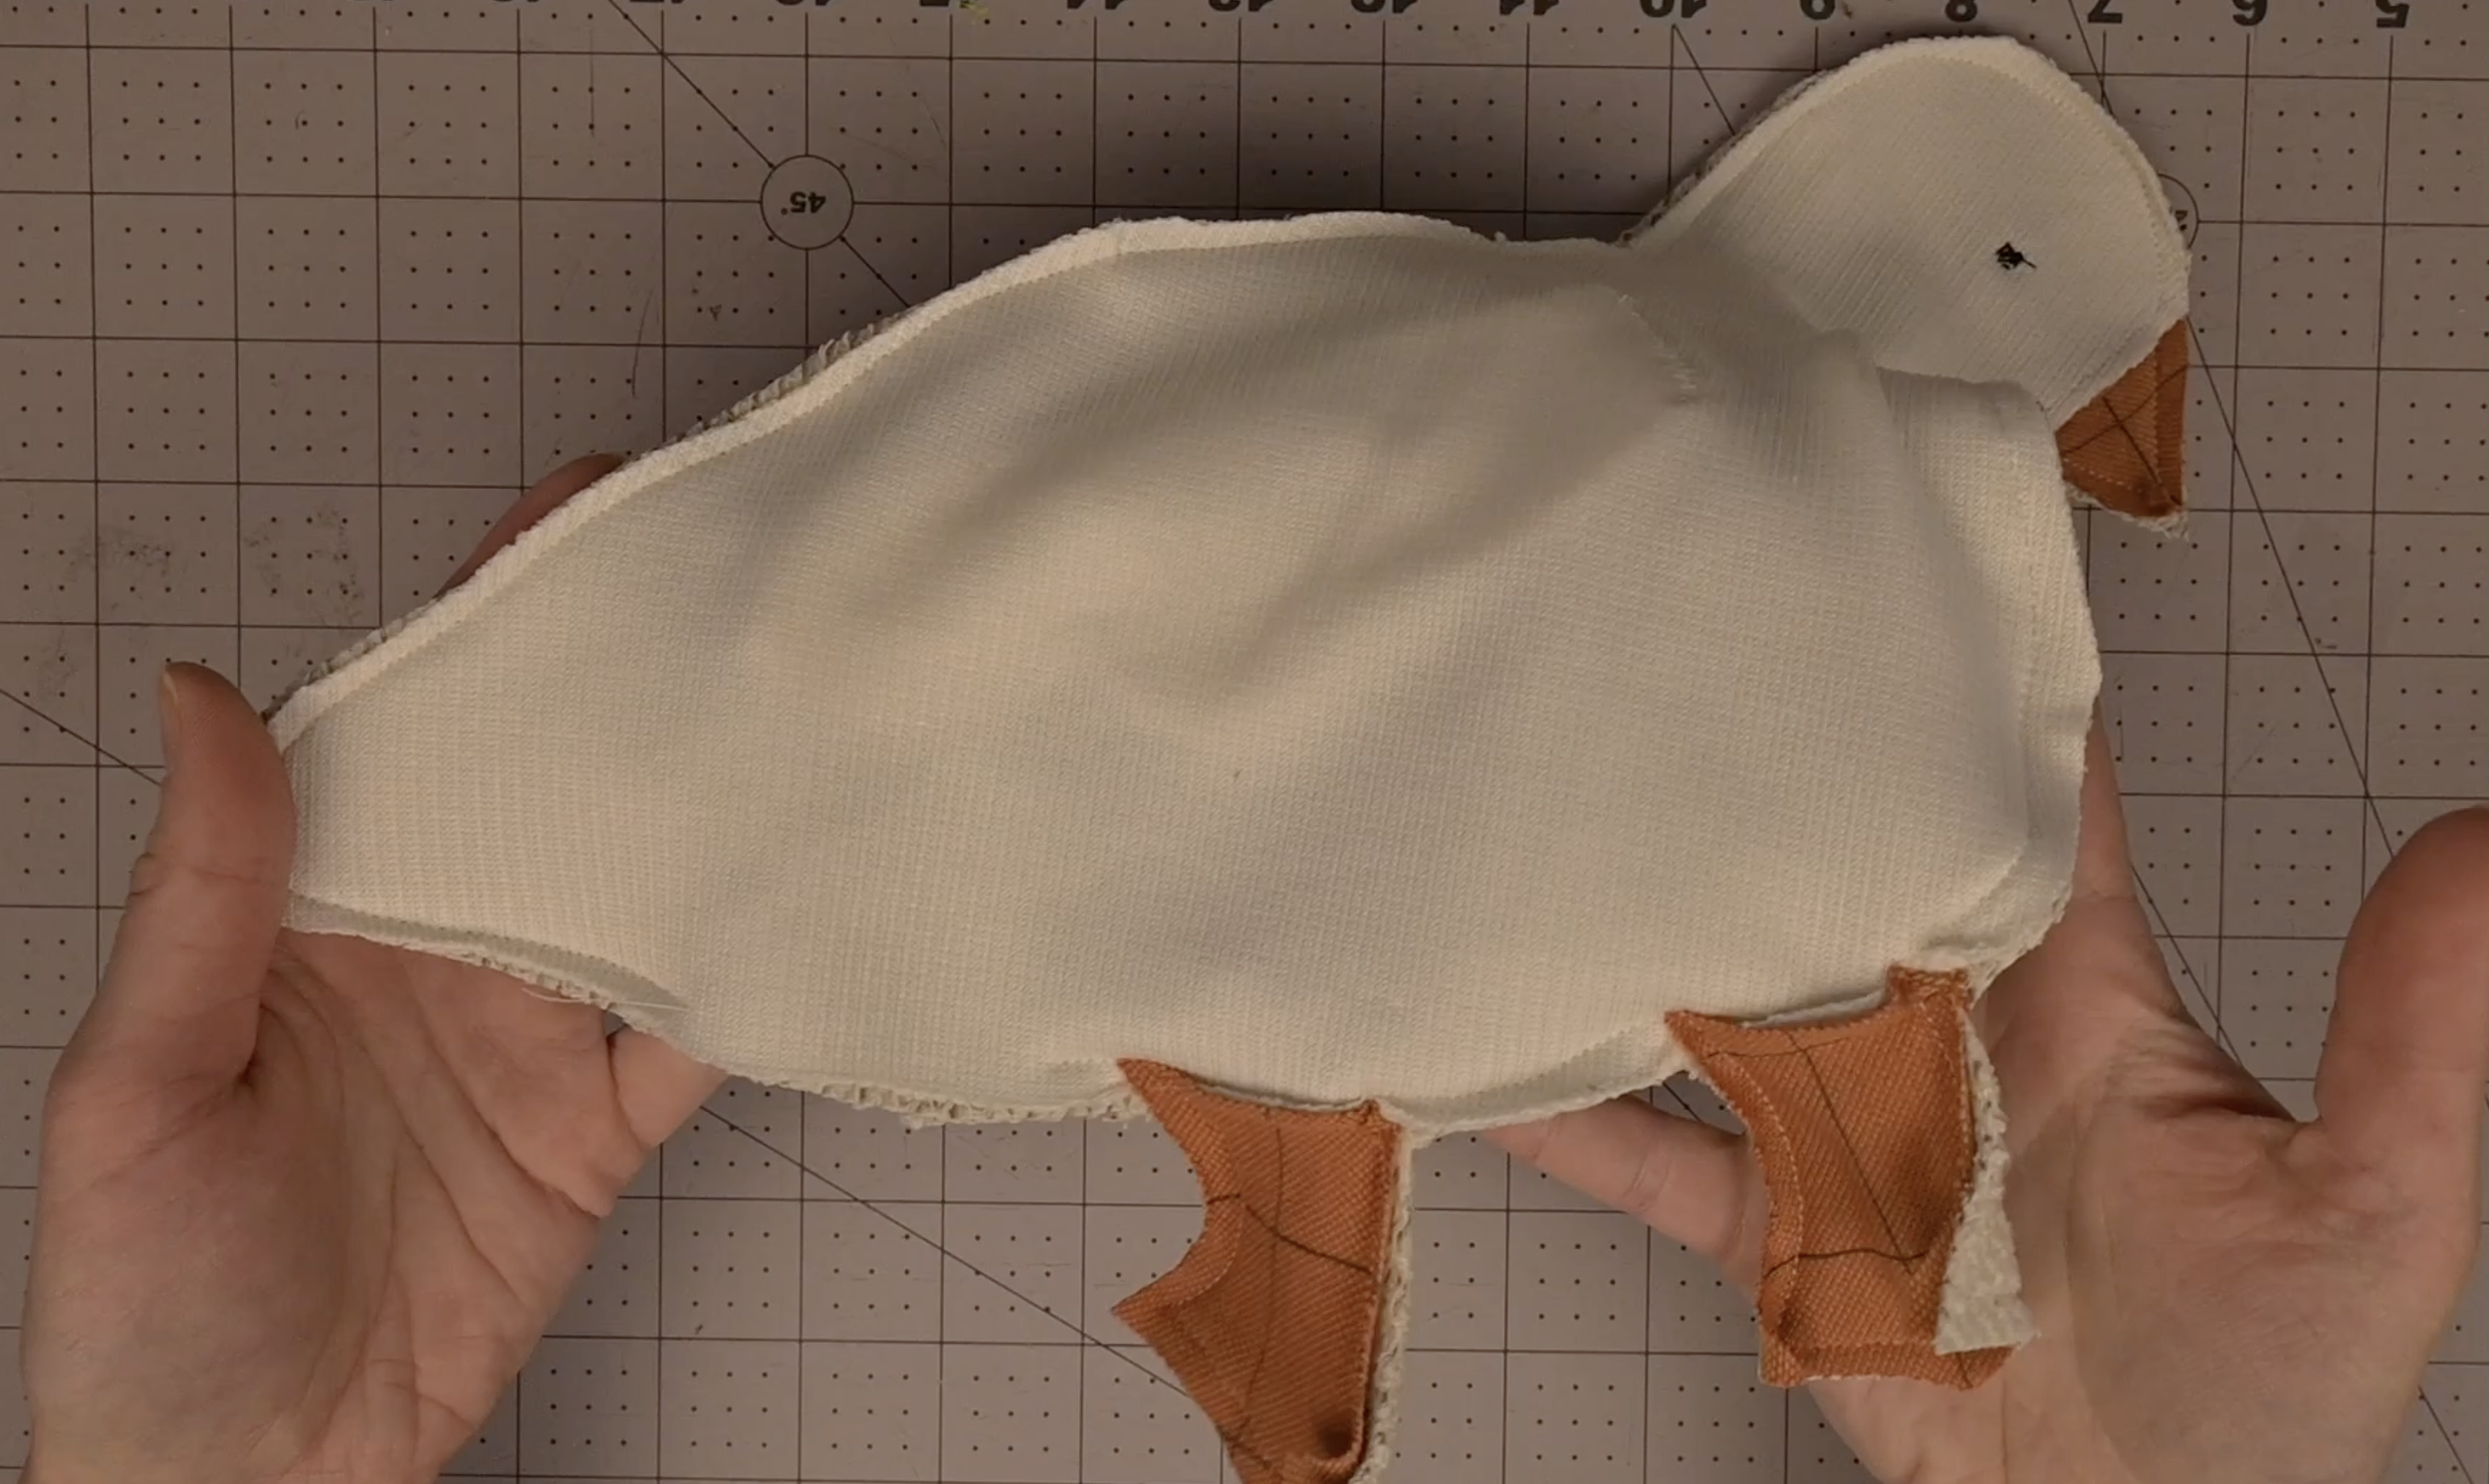
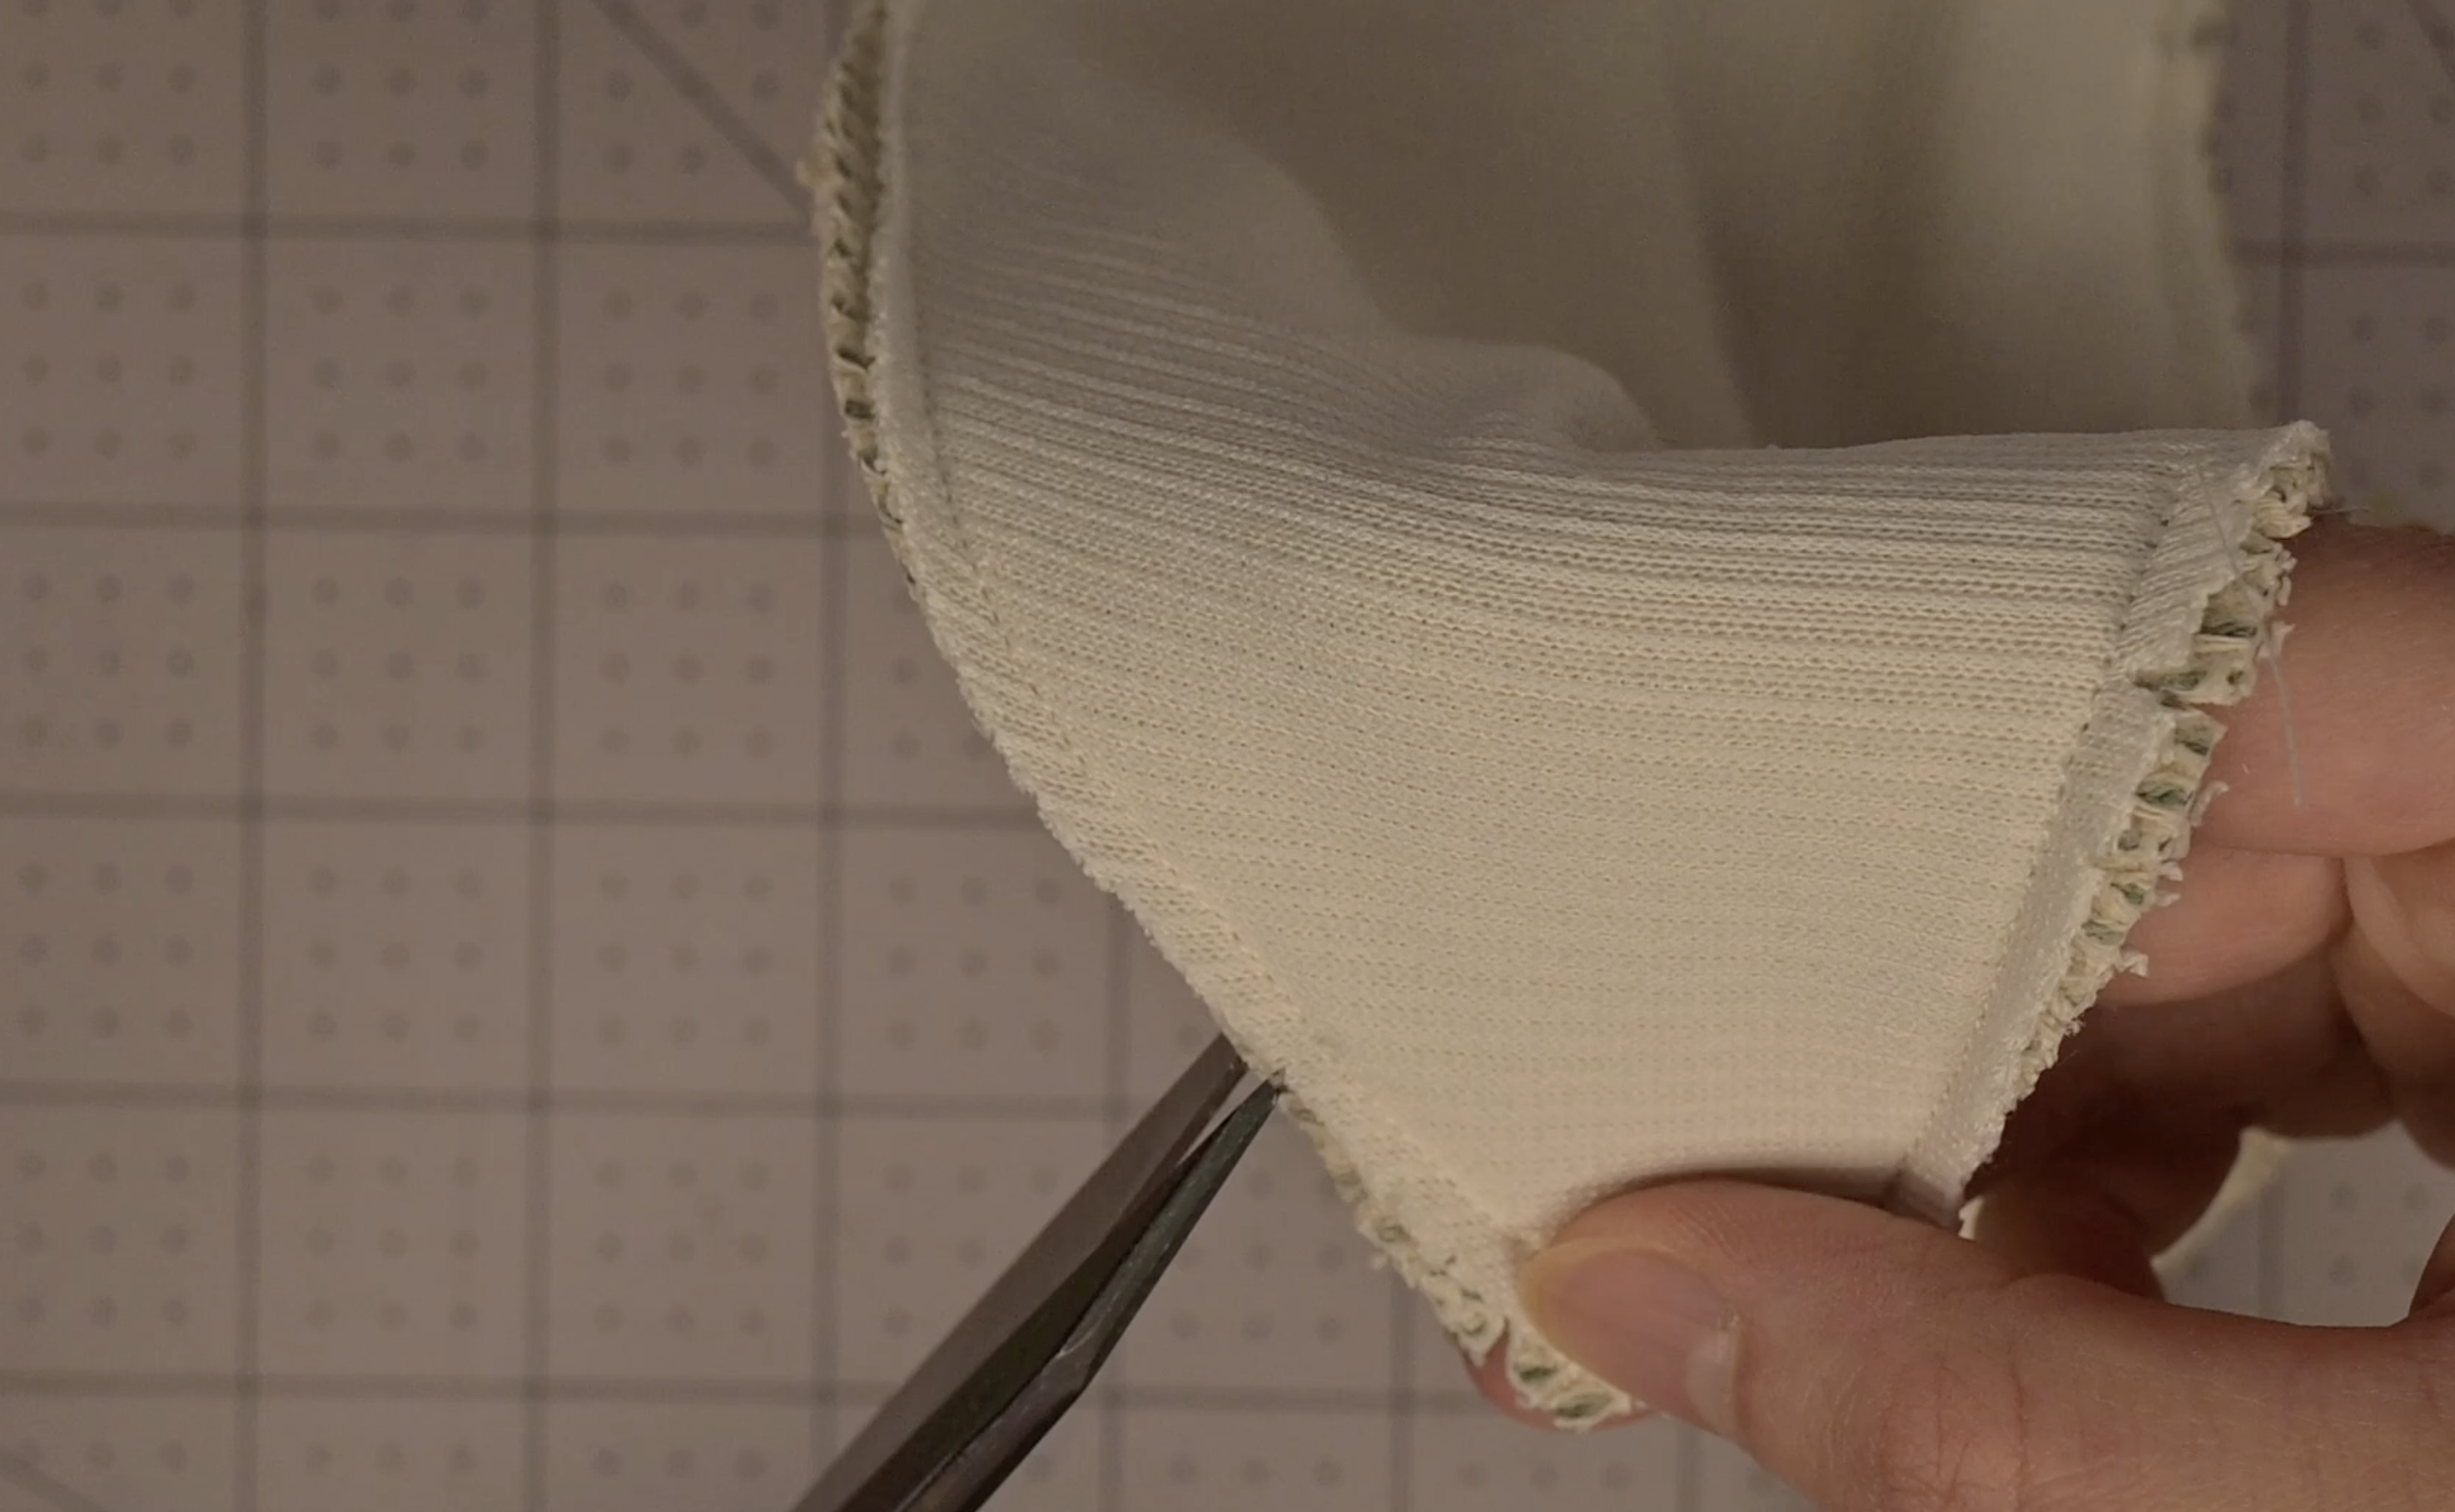
Clip small slits around the curved edges of the entire goose, being careful not to cut your stitches
Step 8: Final Assembly
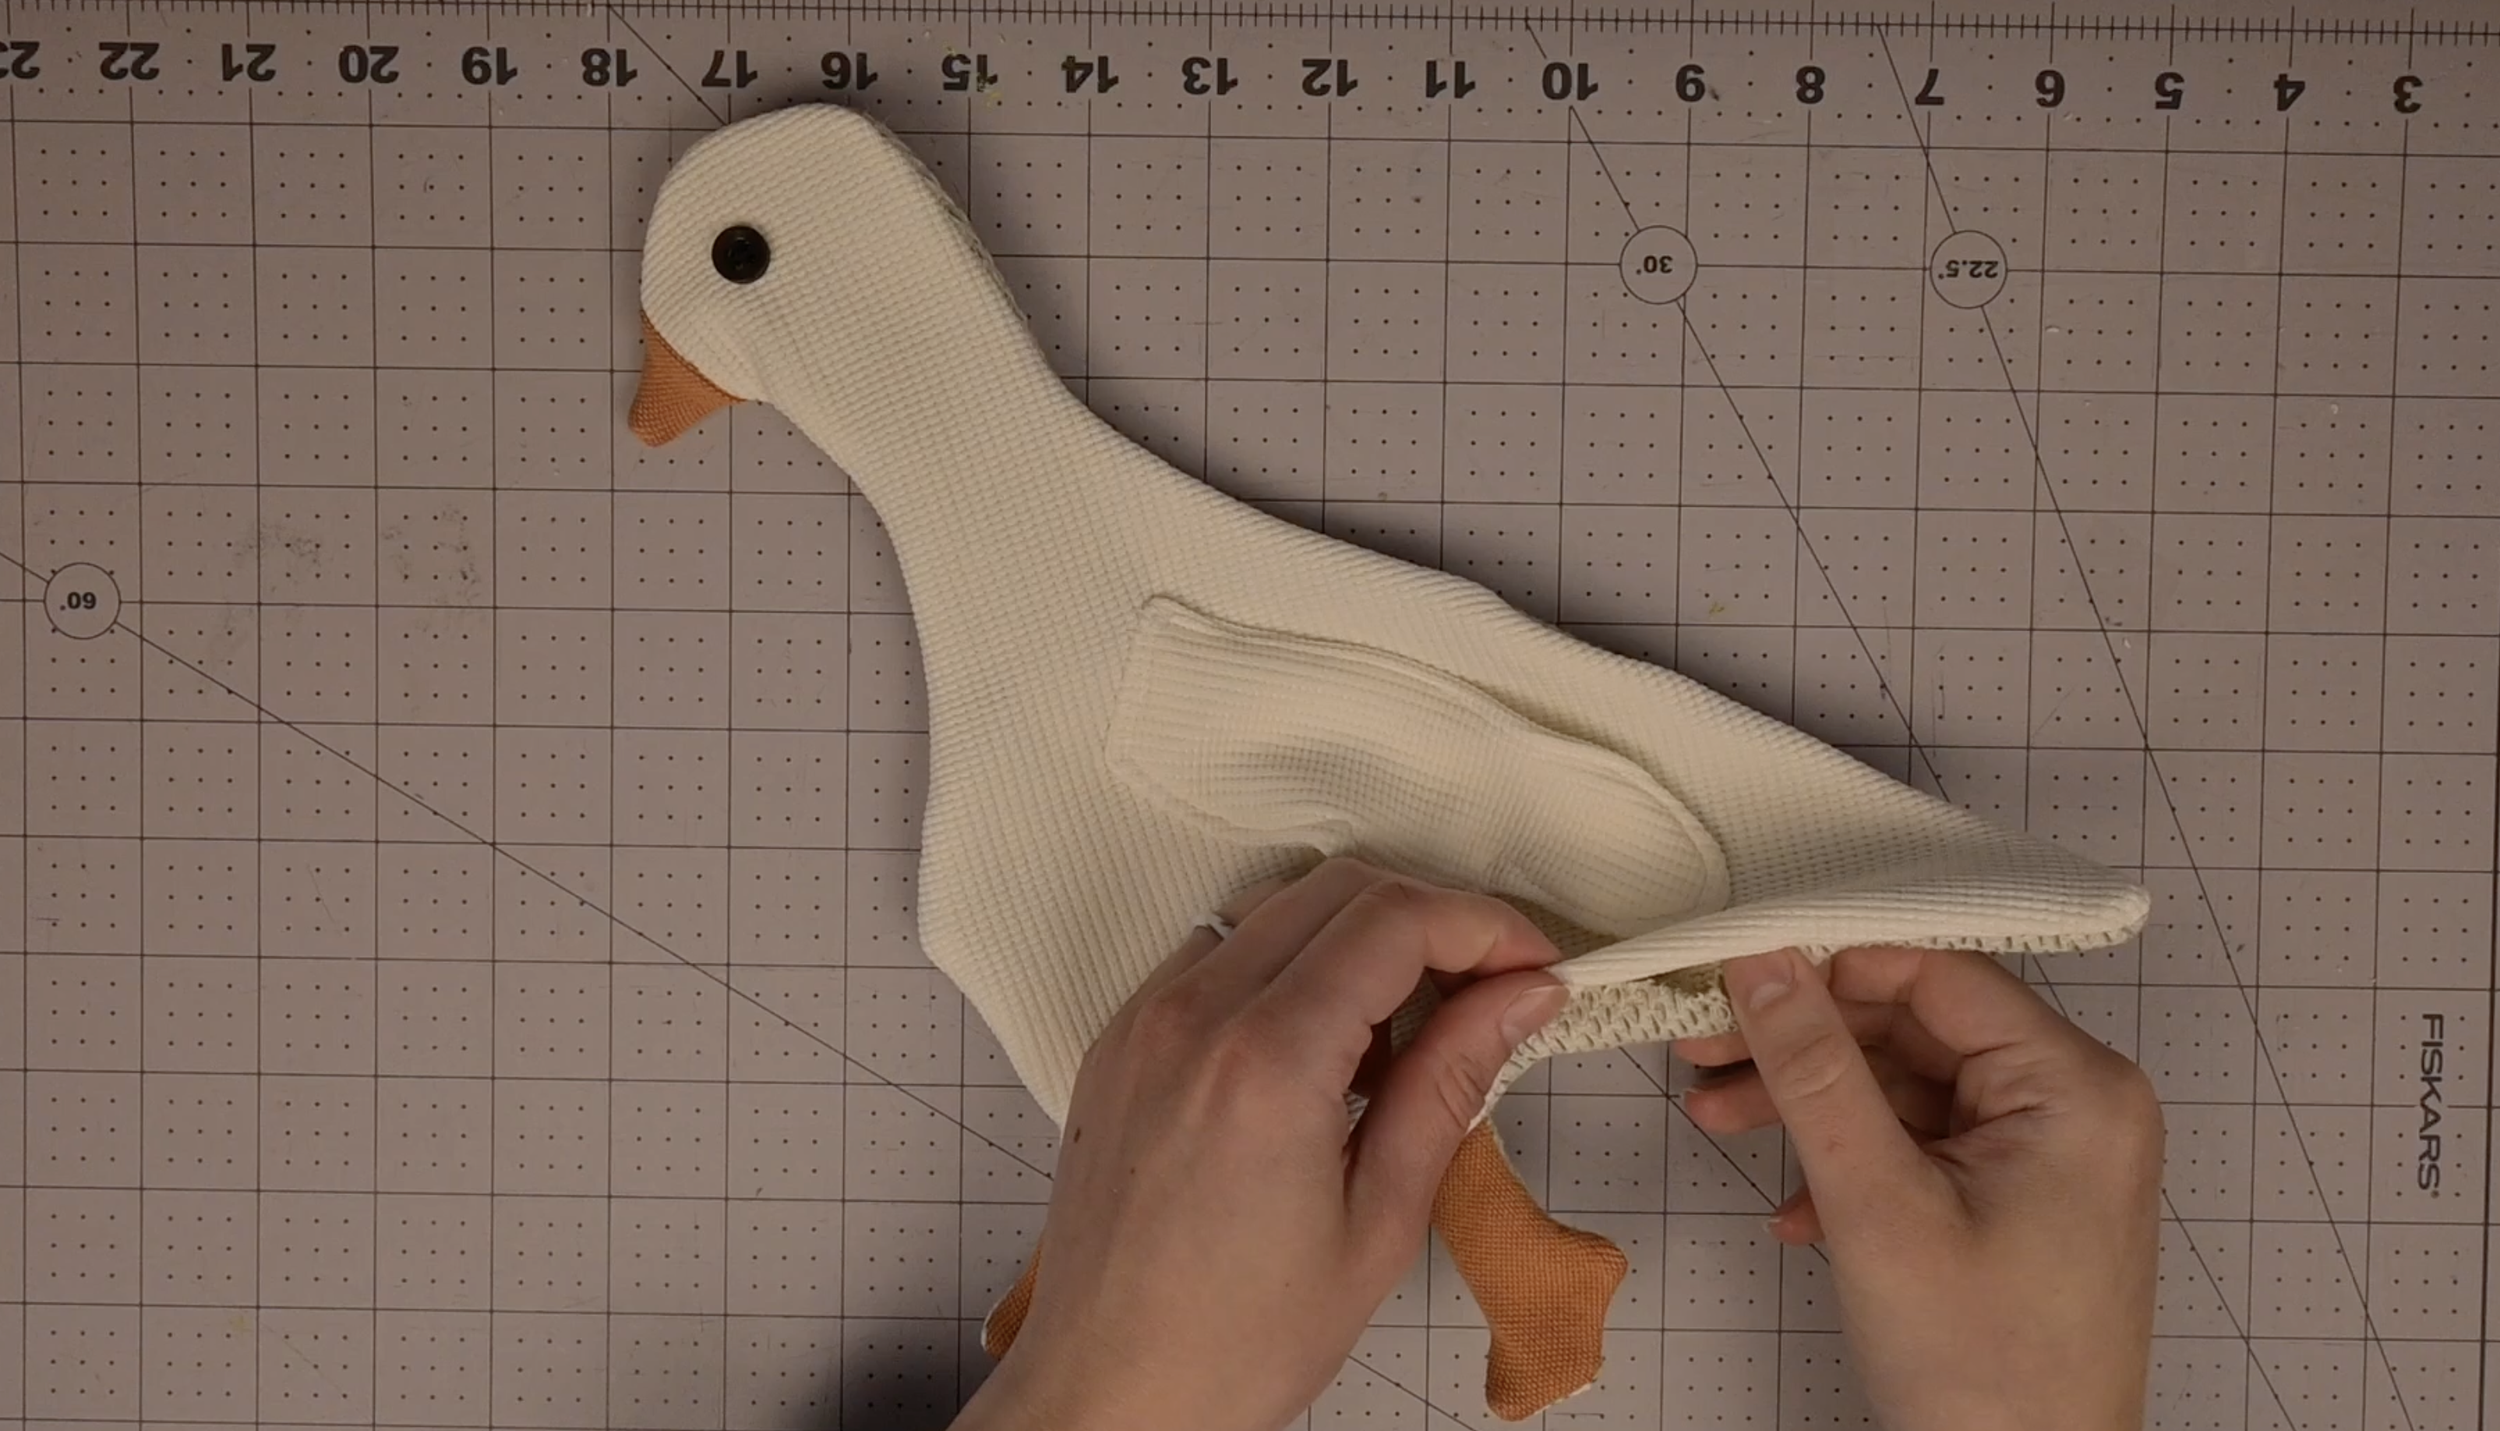
Turn the goose right side out through the 2-inch opening
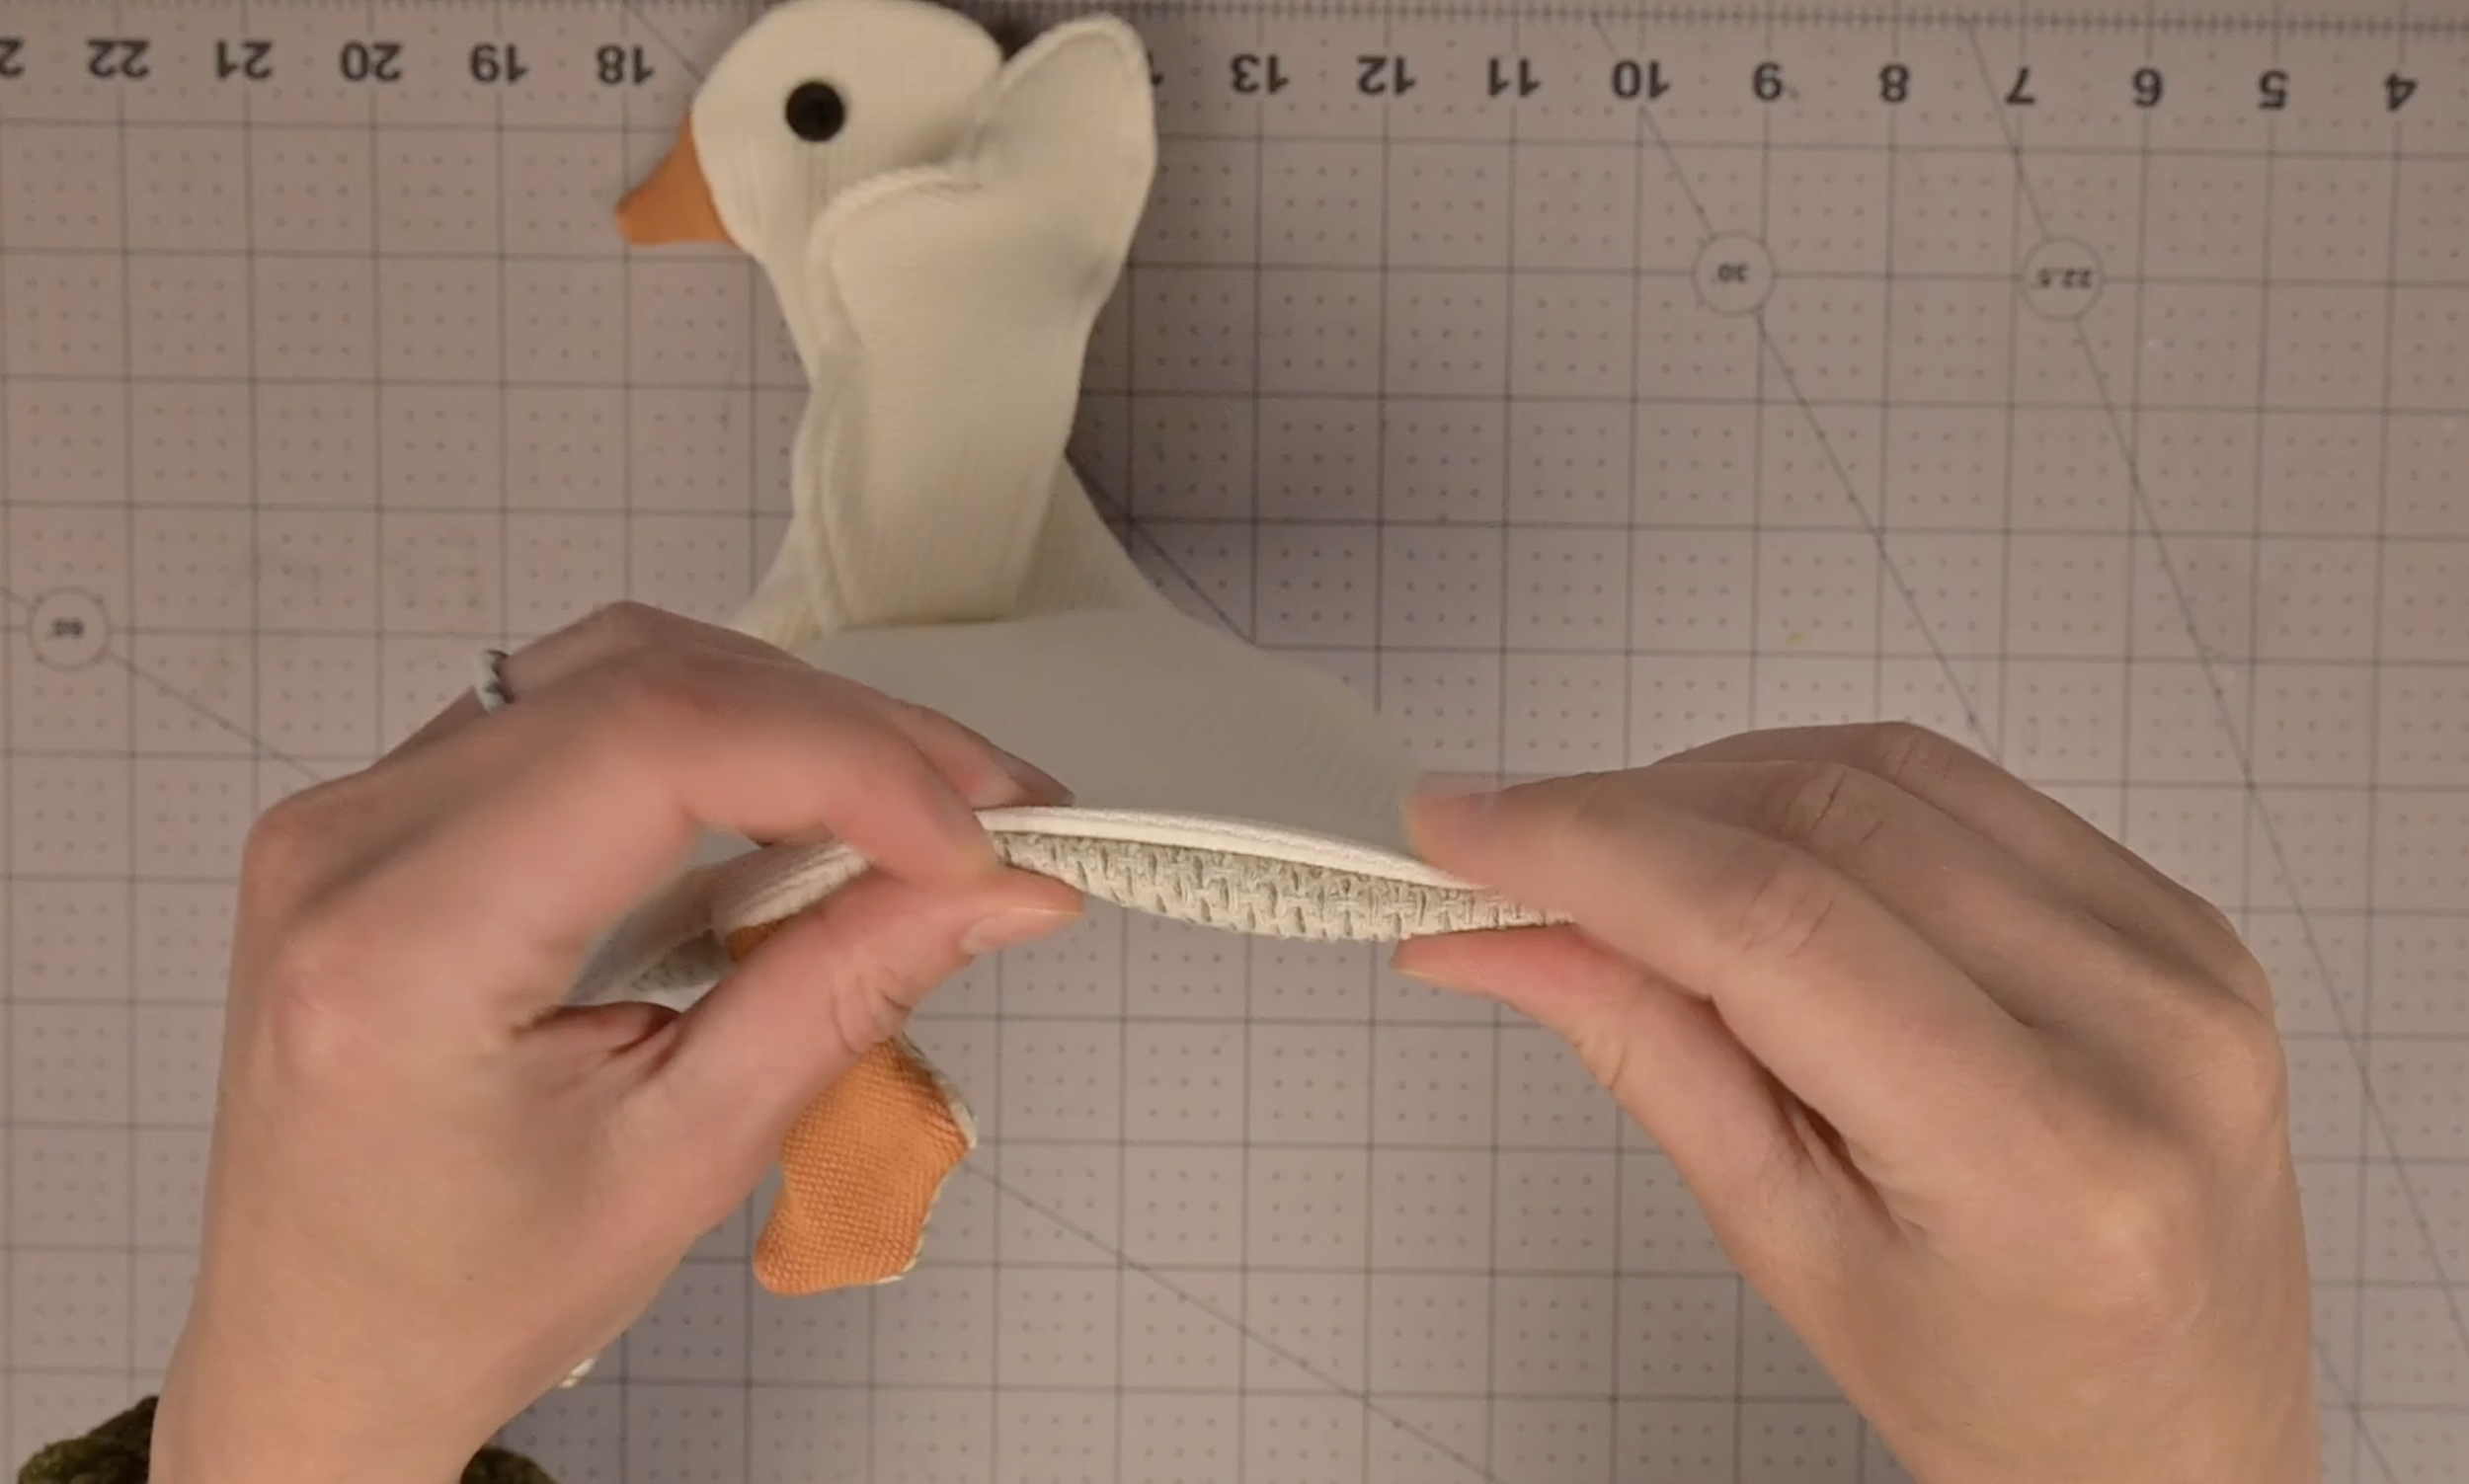
Iron the fabric flat, tucking the raw edges of the opening inside
Pin or clip the opening closed
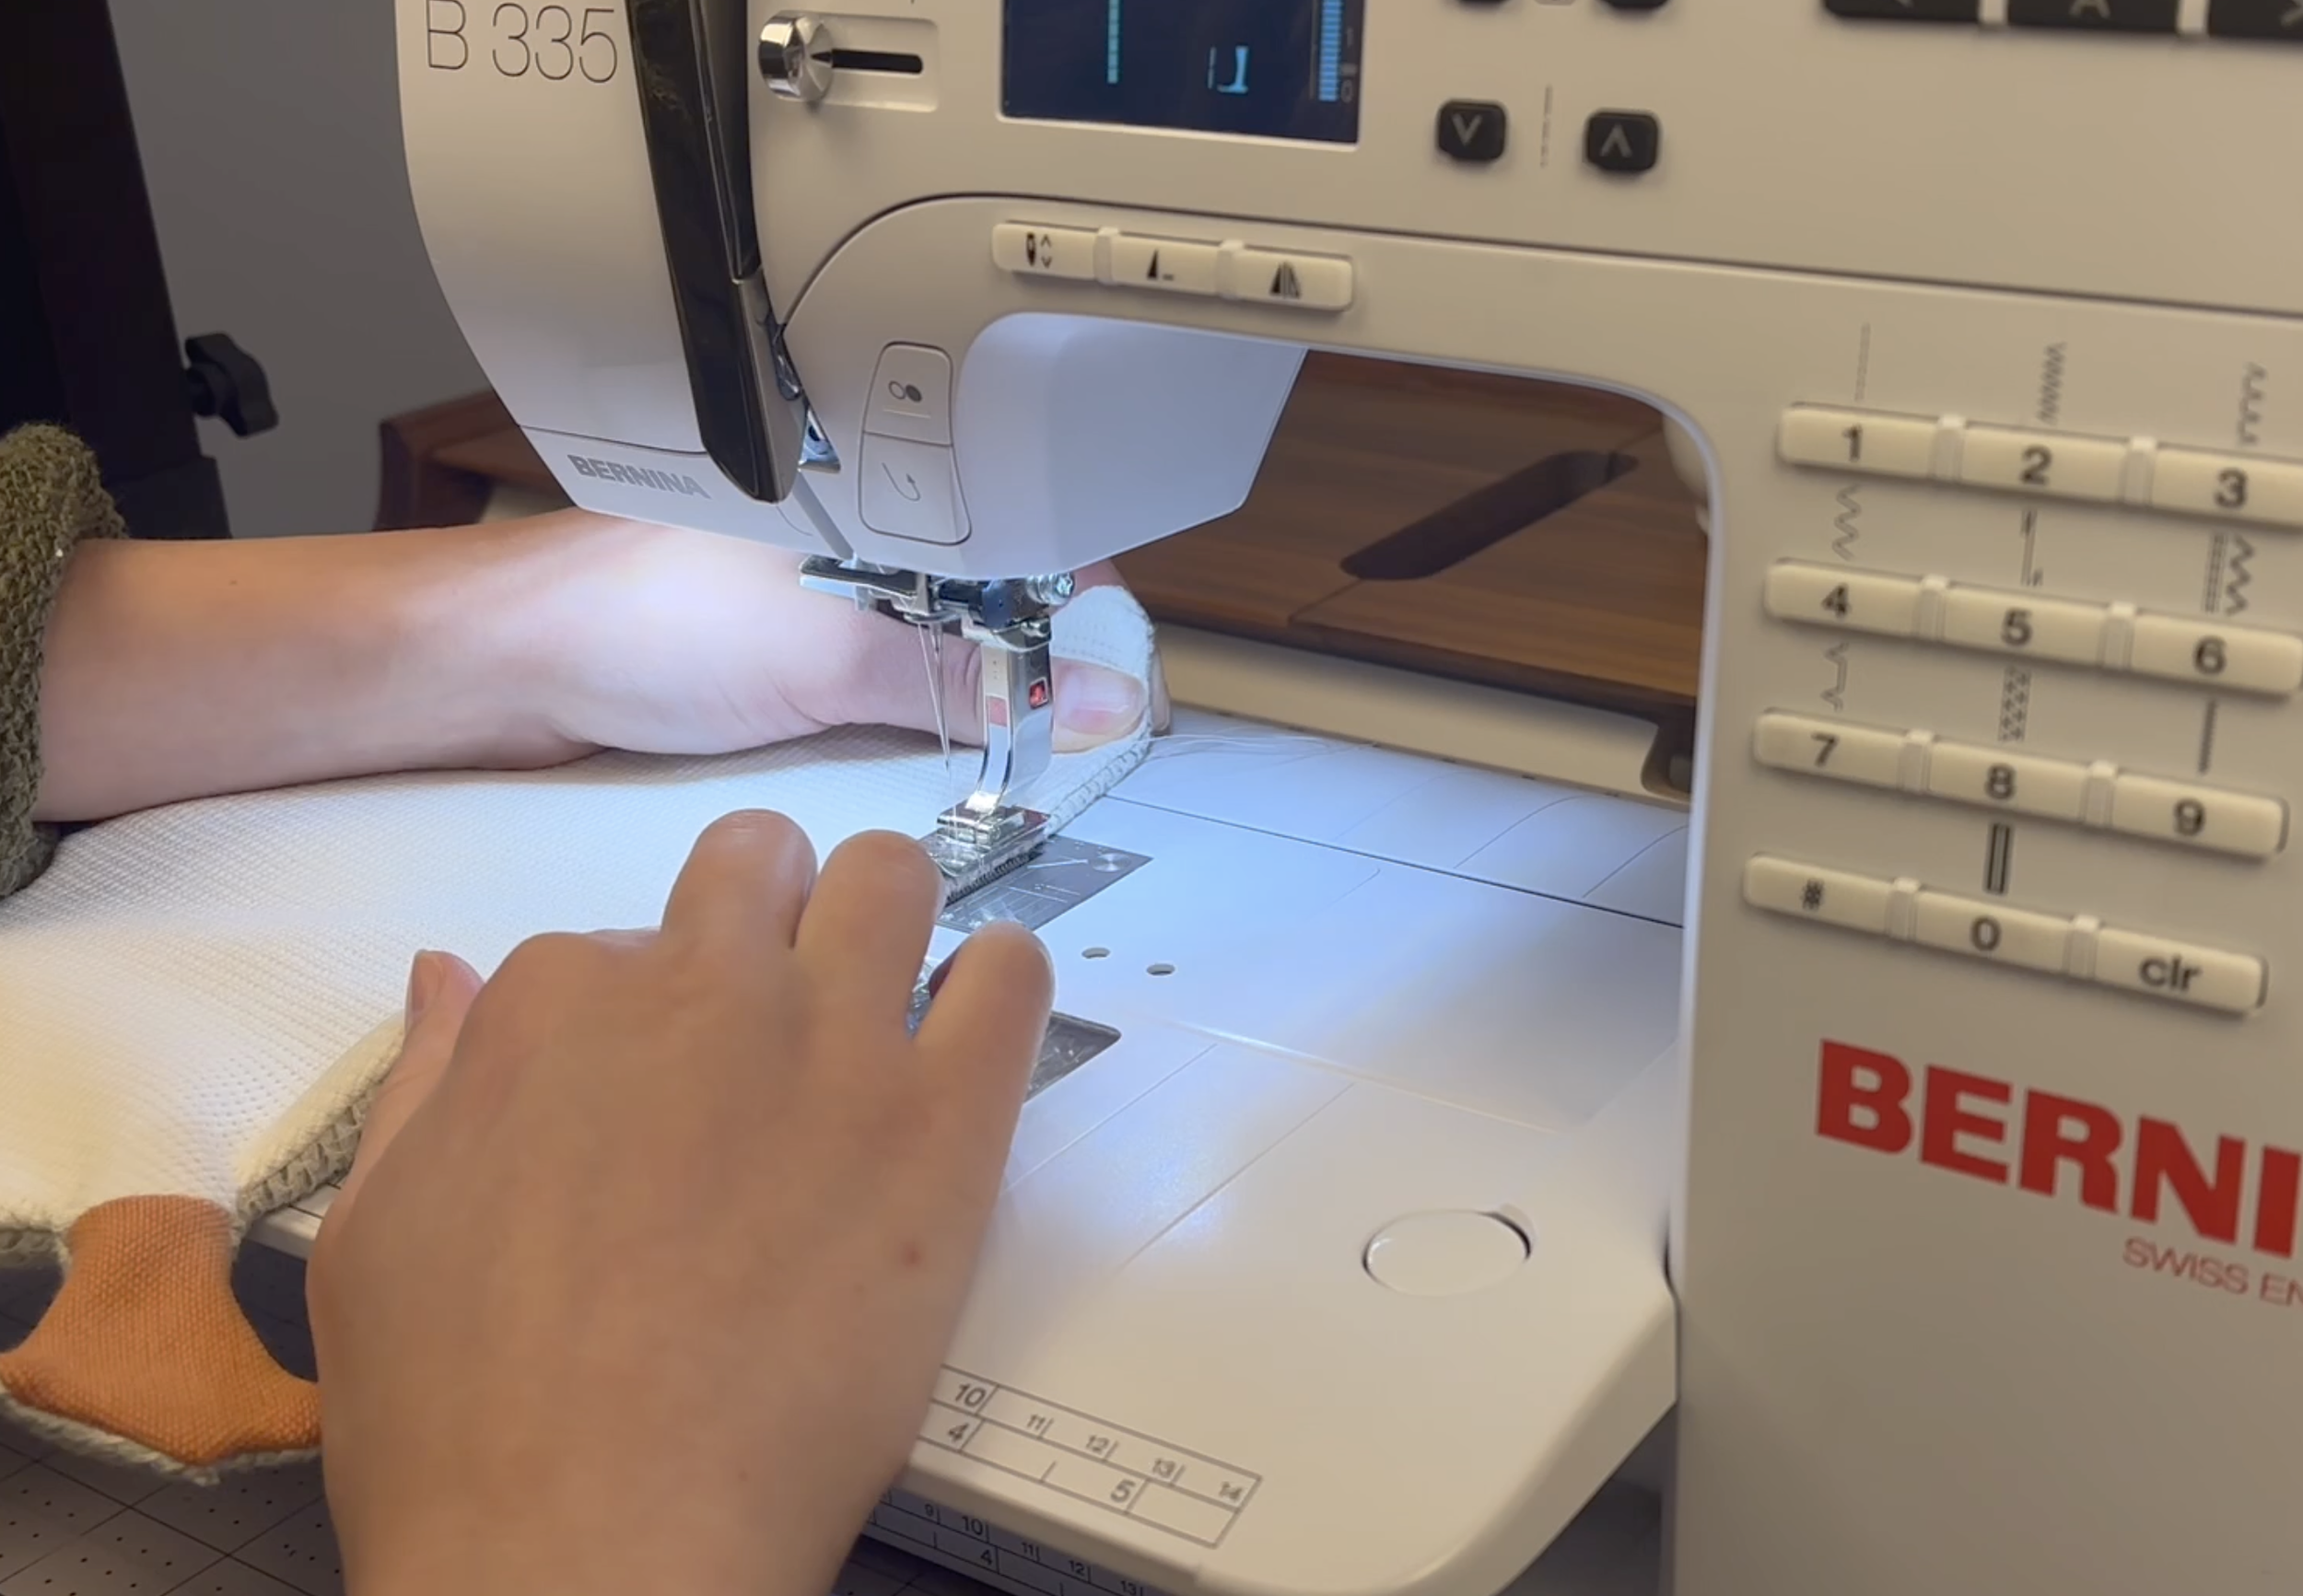
Topstitch around the entire edge of the goose. This will close the opening and provide a clean, structural finish