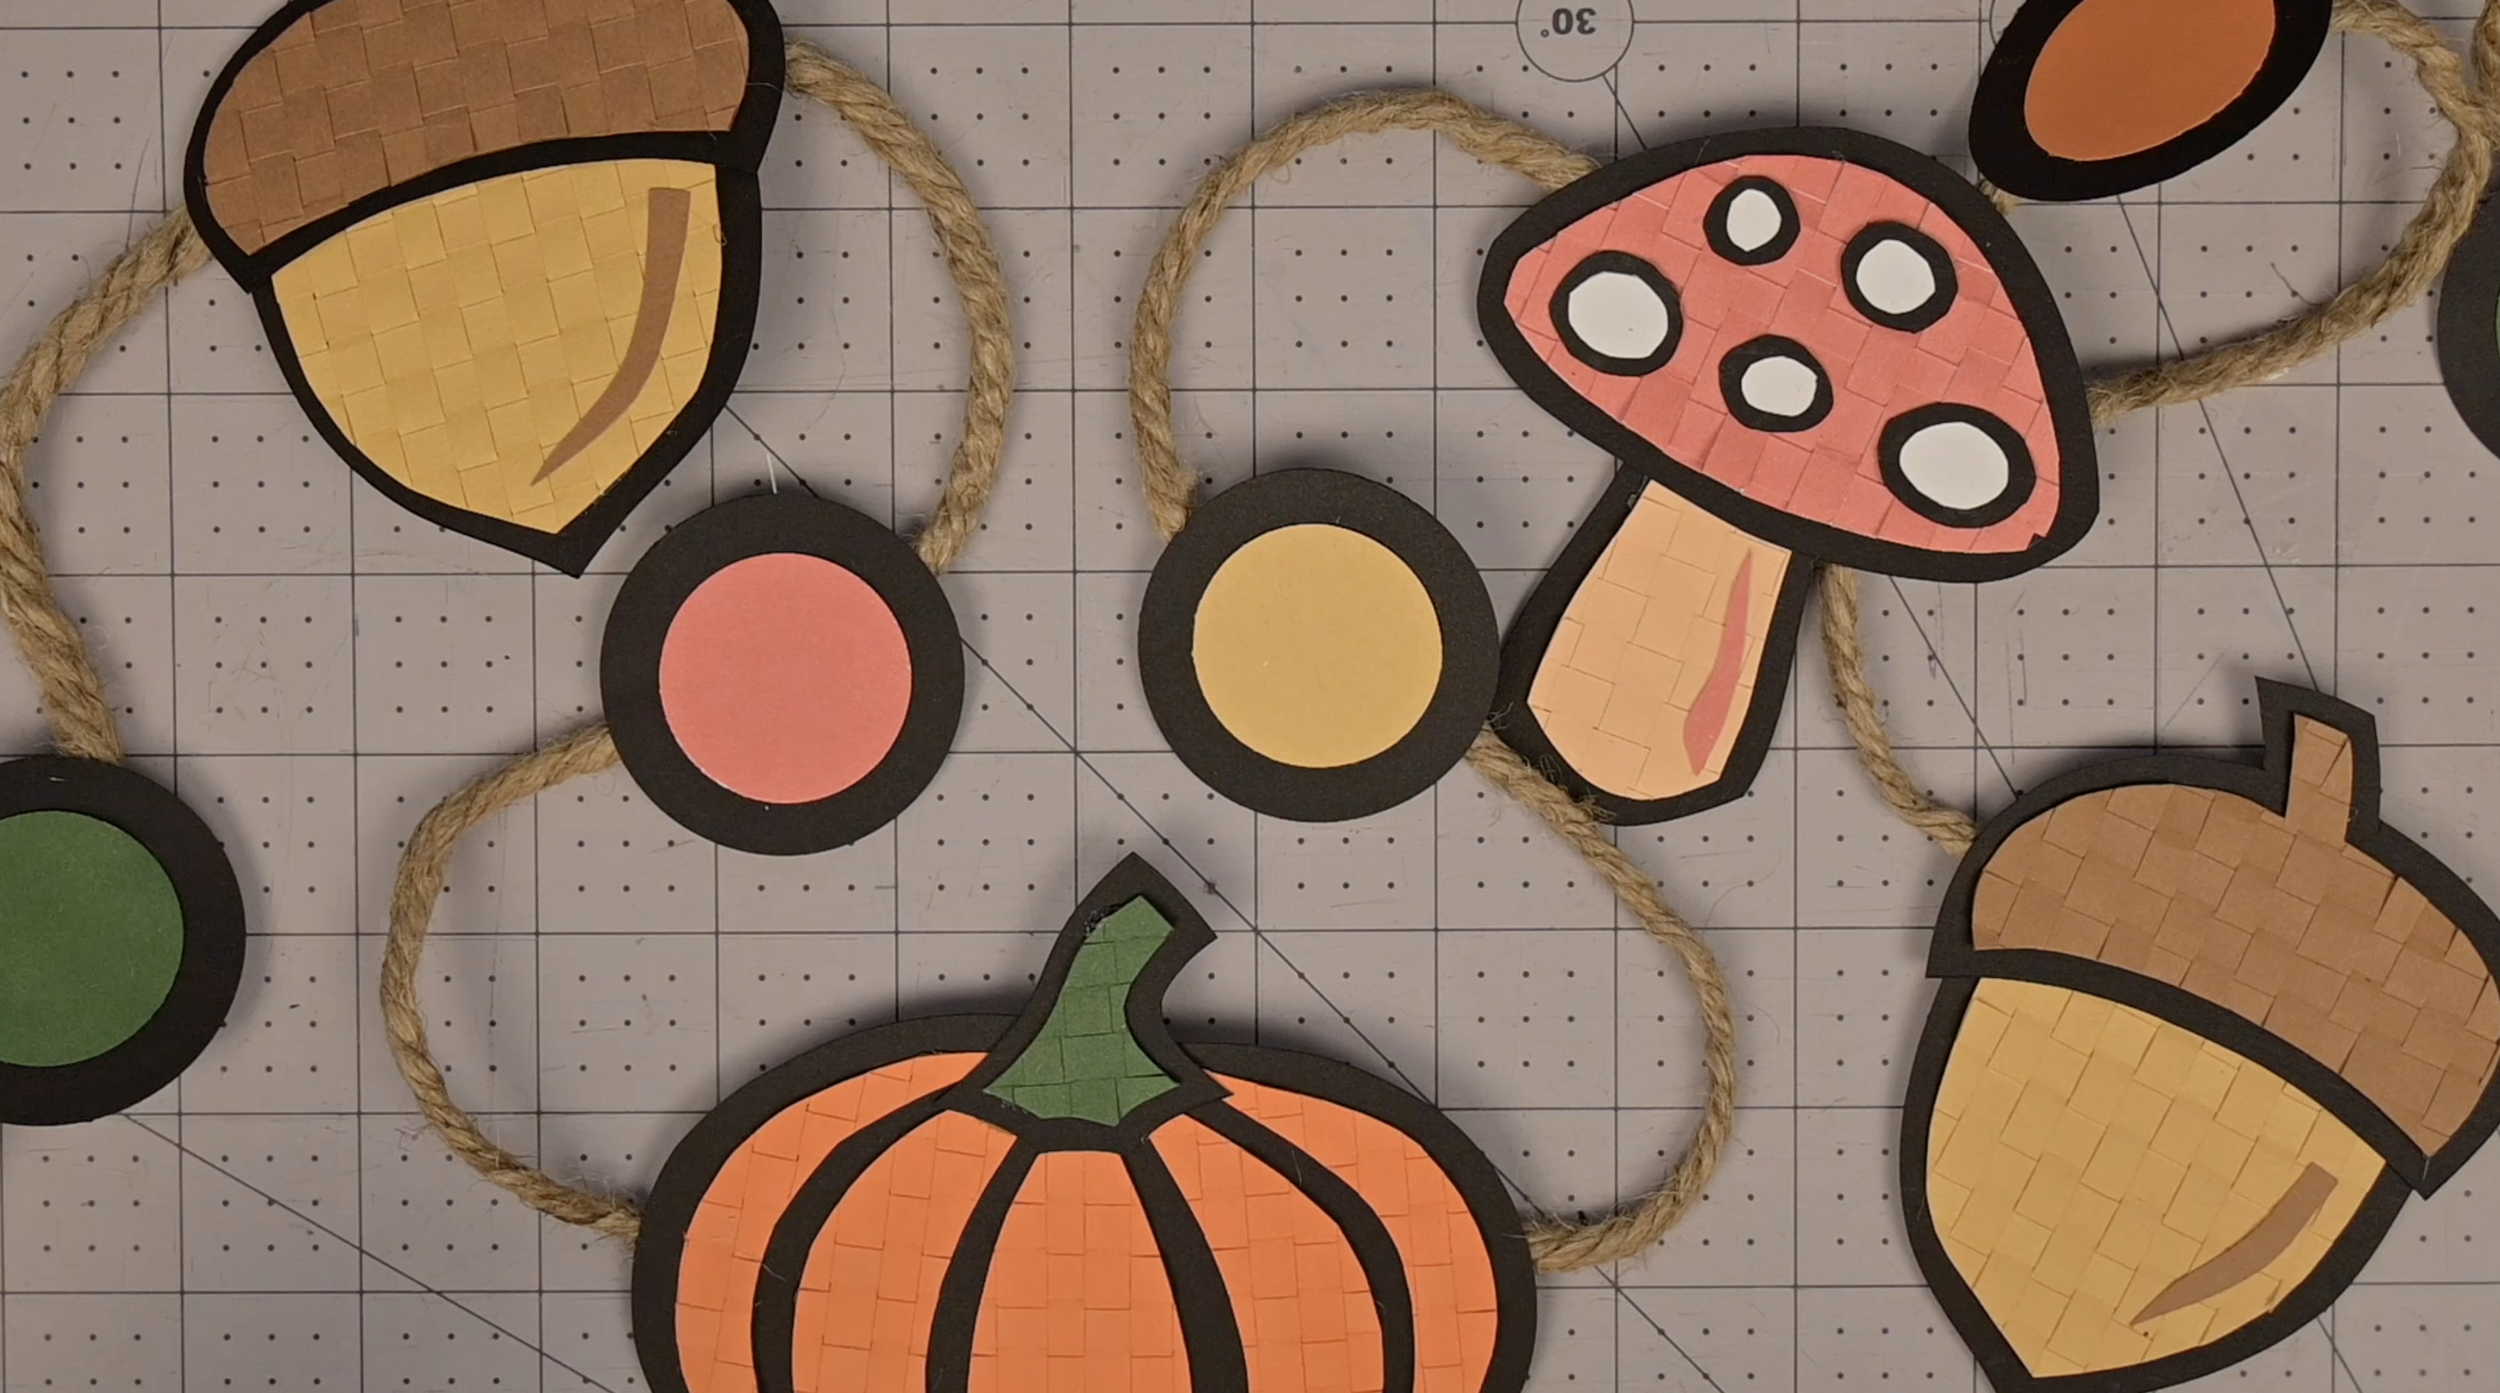
3 Fall-Themed Paper Weaves Step-by-Step Tutorial / Perfect for Garland (Free Downloadable Template)
Let’s make 3 fall-themed shaped paper weaves! These shaped paper weaves are perfect to turn into garland, gift tags, or to place around your home for the autumn season. Let’s weave an acorn, a mushroom, and a pumpkin together!
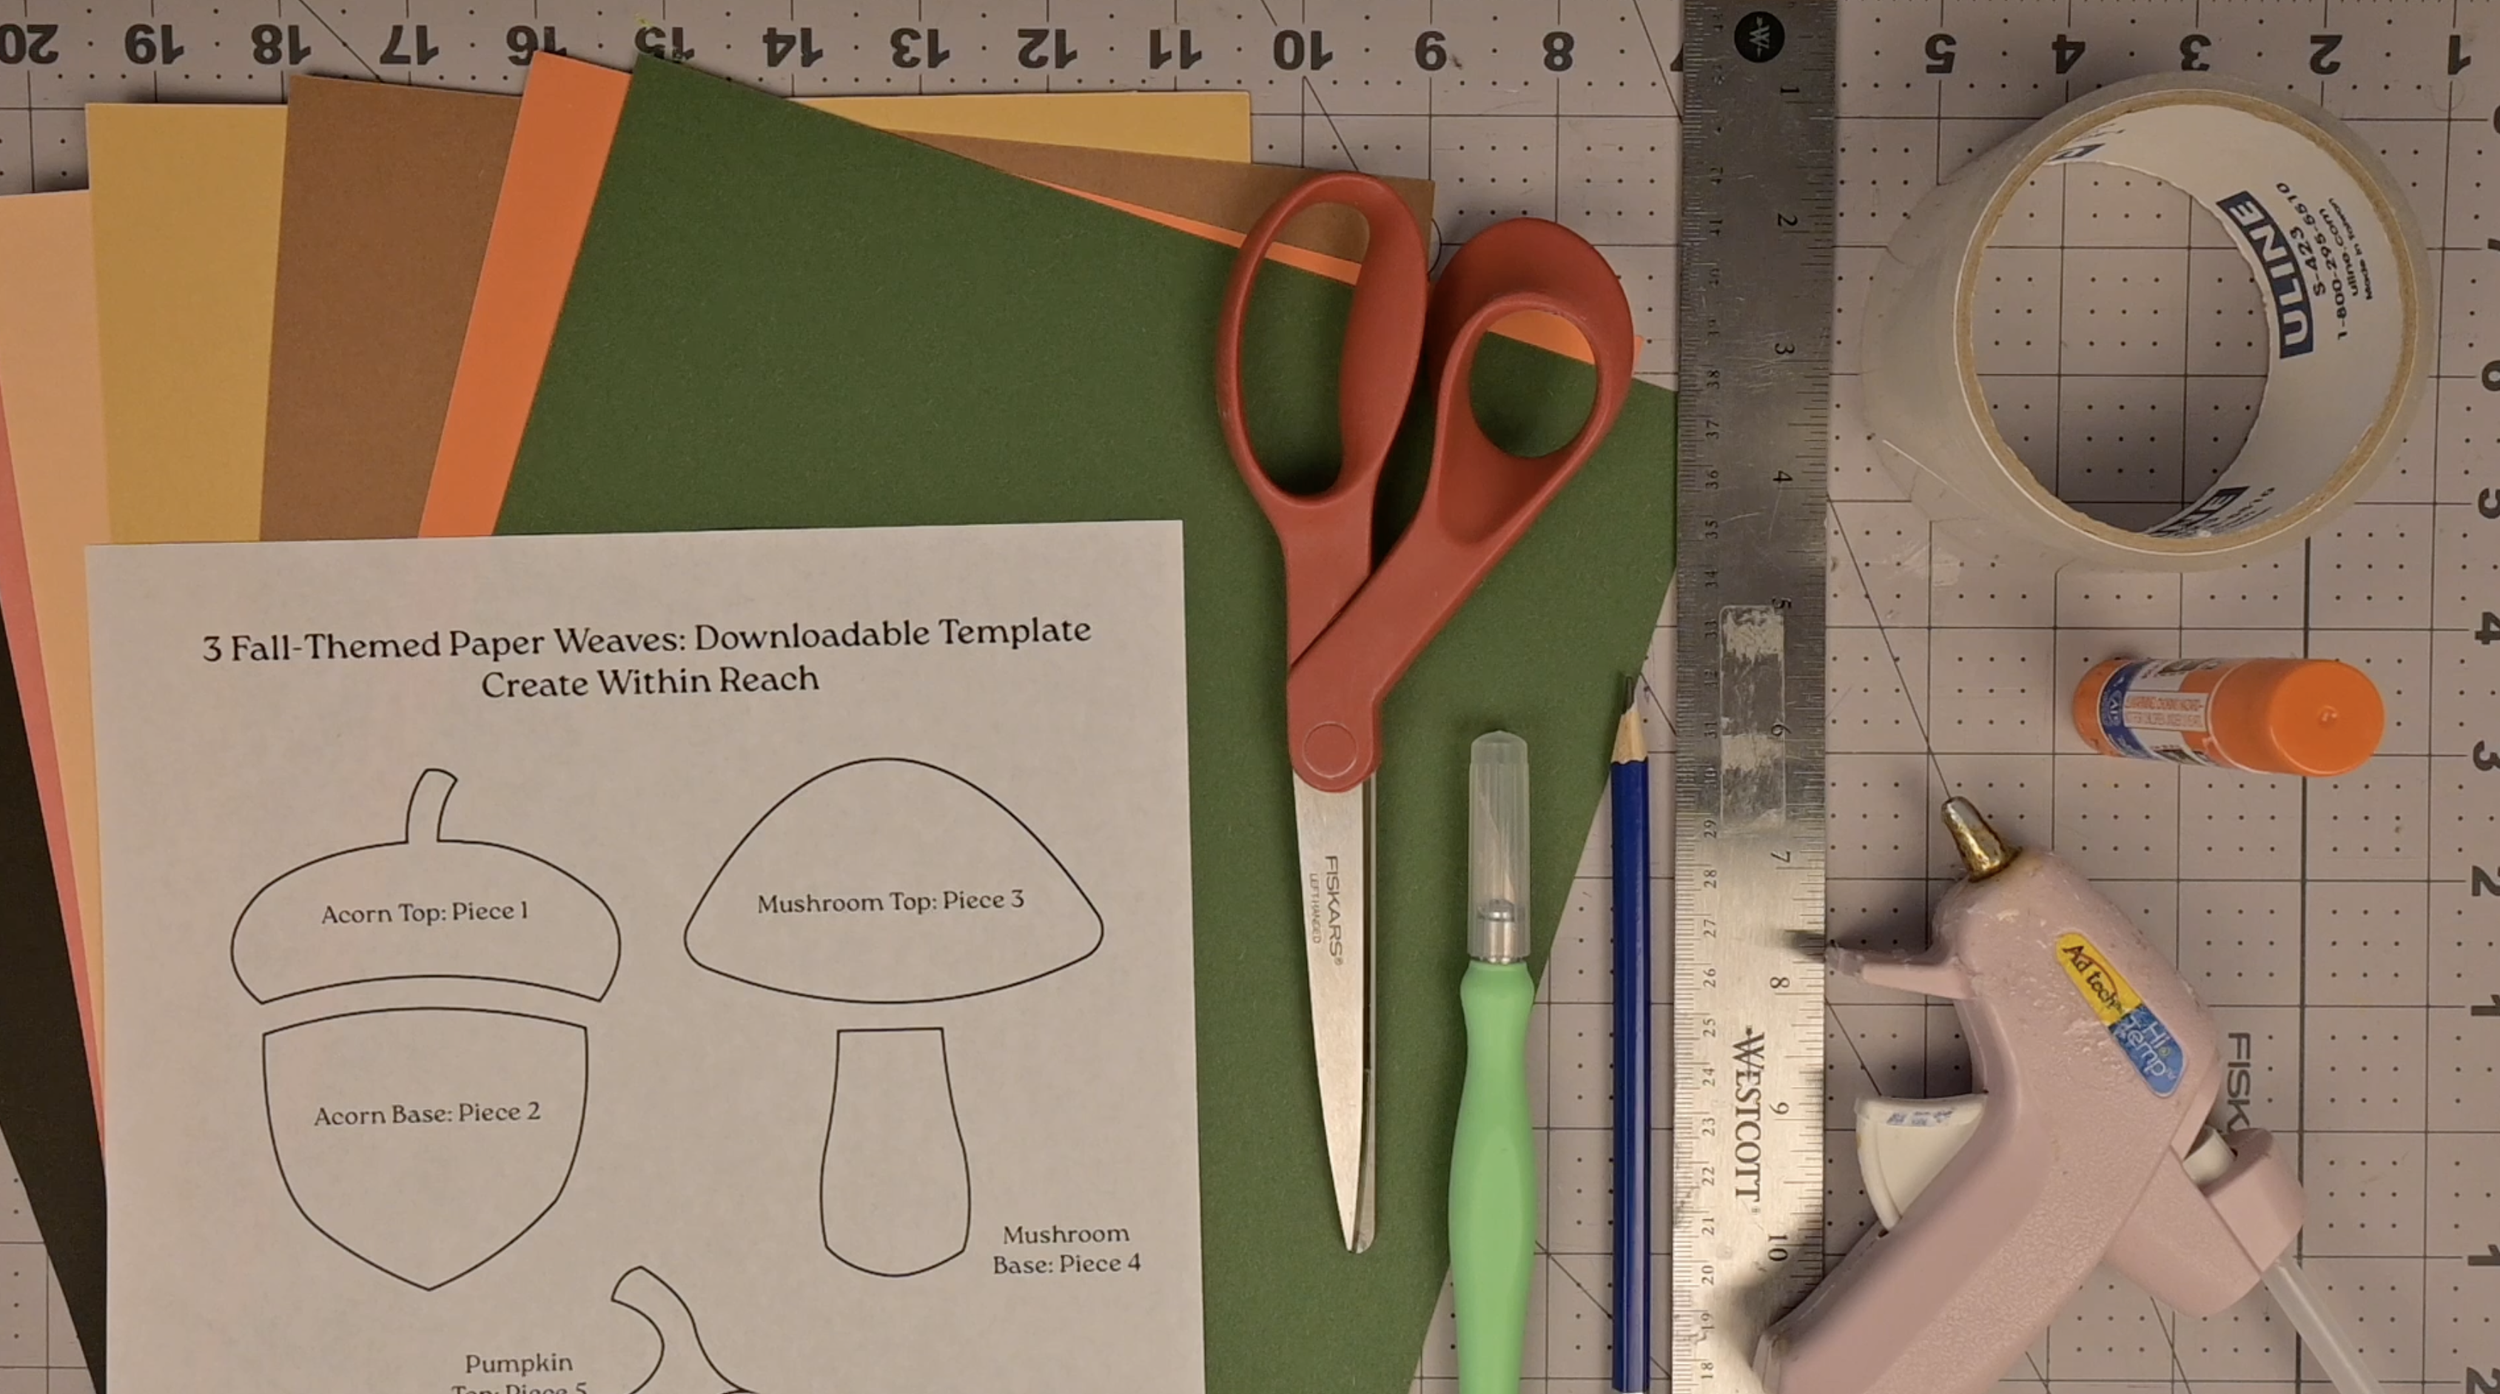
Materials Needed (As an Amazon Associate I earn from qualifying purchases):
2-3 pieces of different colored construction paper for each paper weave option (tutorial uses 9/12 inch)
Scissors or craft knife (with cutting mat)
Ruler
Pencil
Clear tape
The Downloadable Template:
Linked below is the free downloadable file:
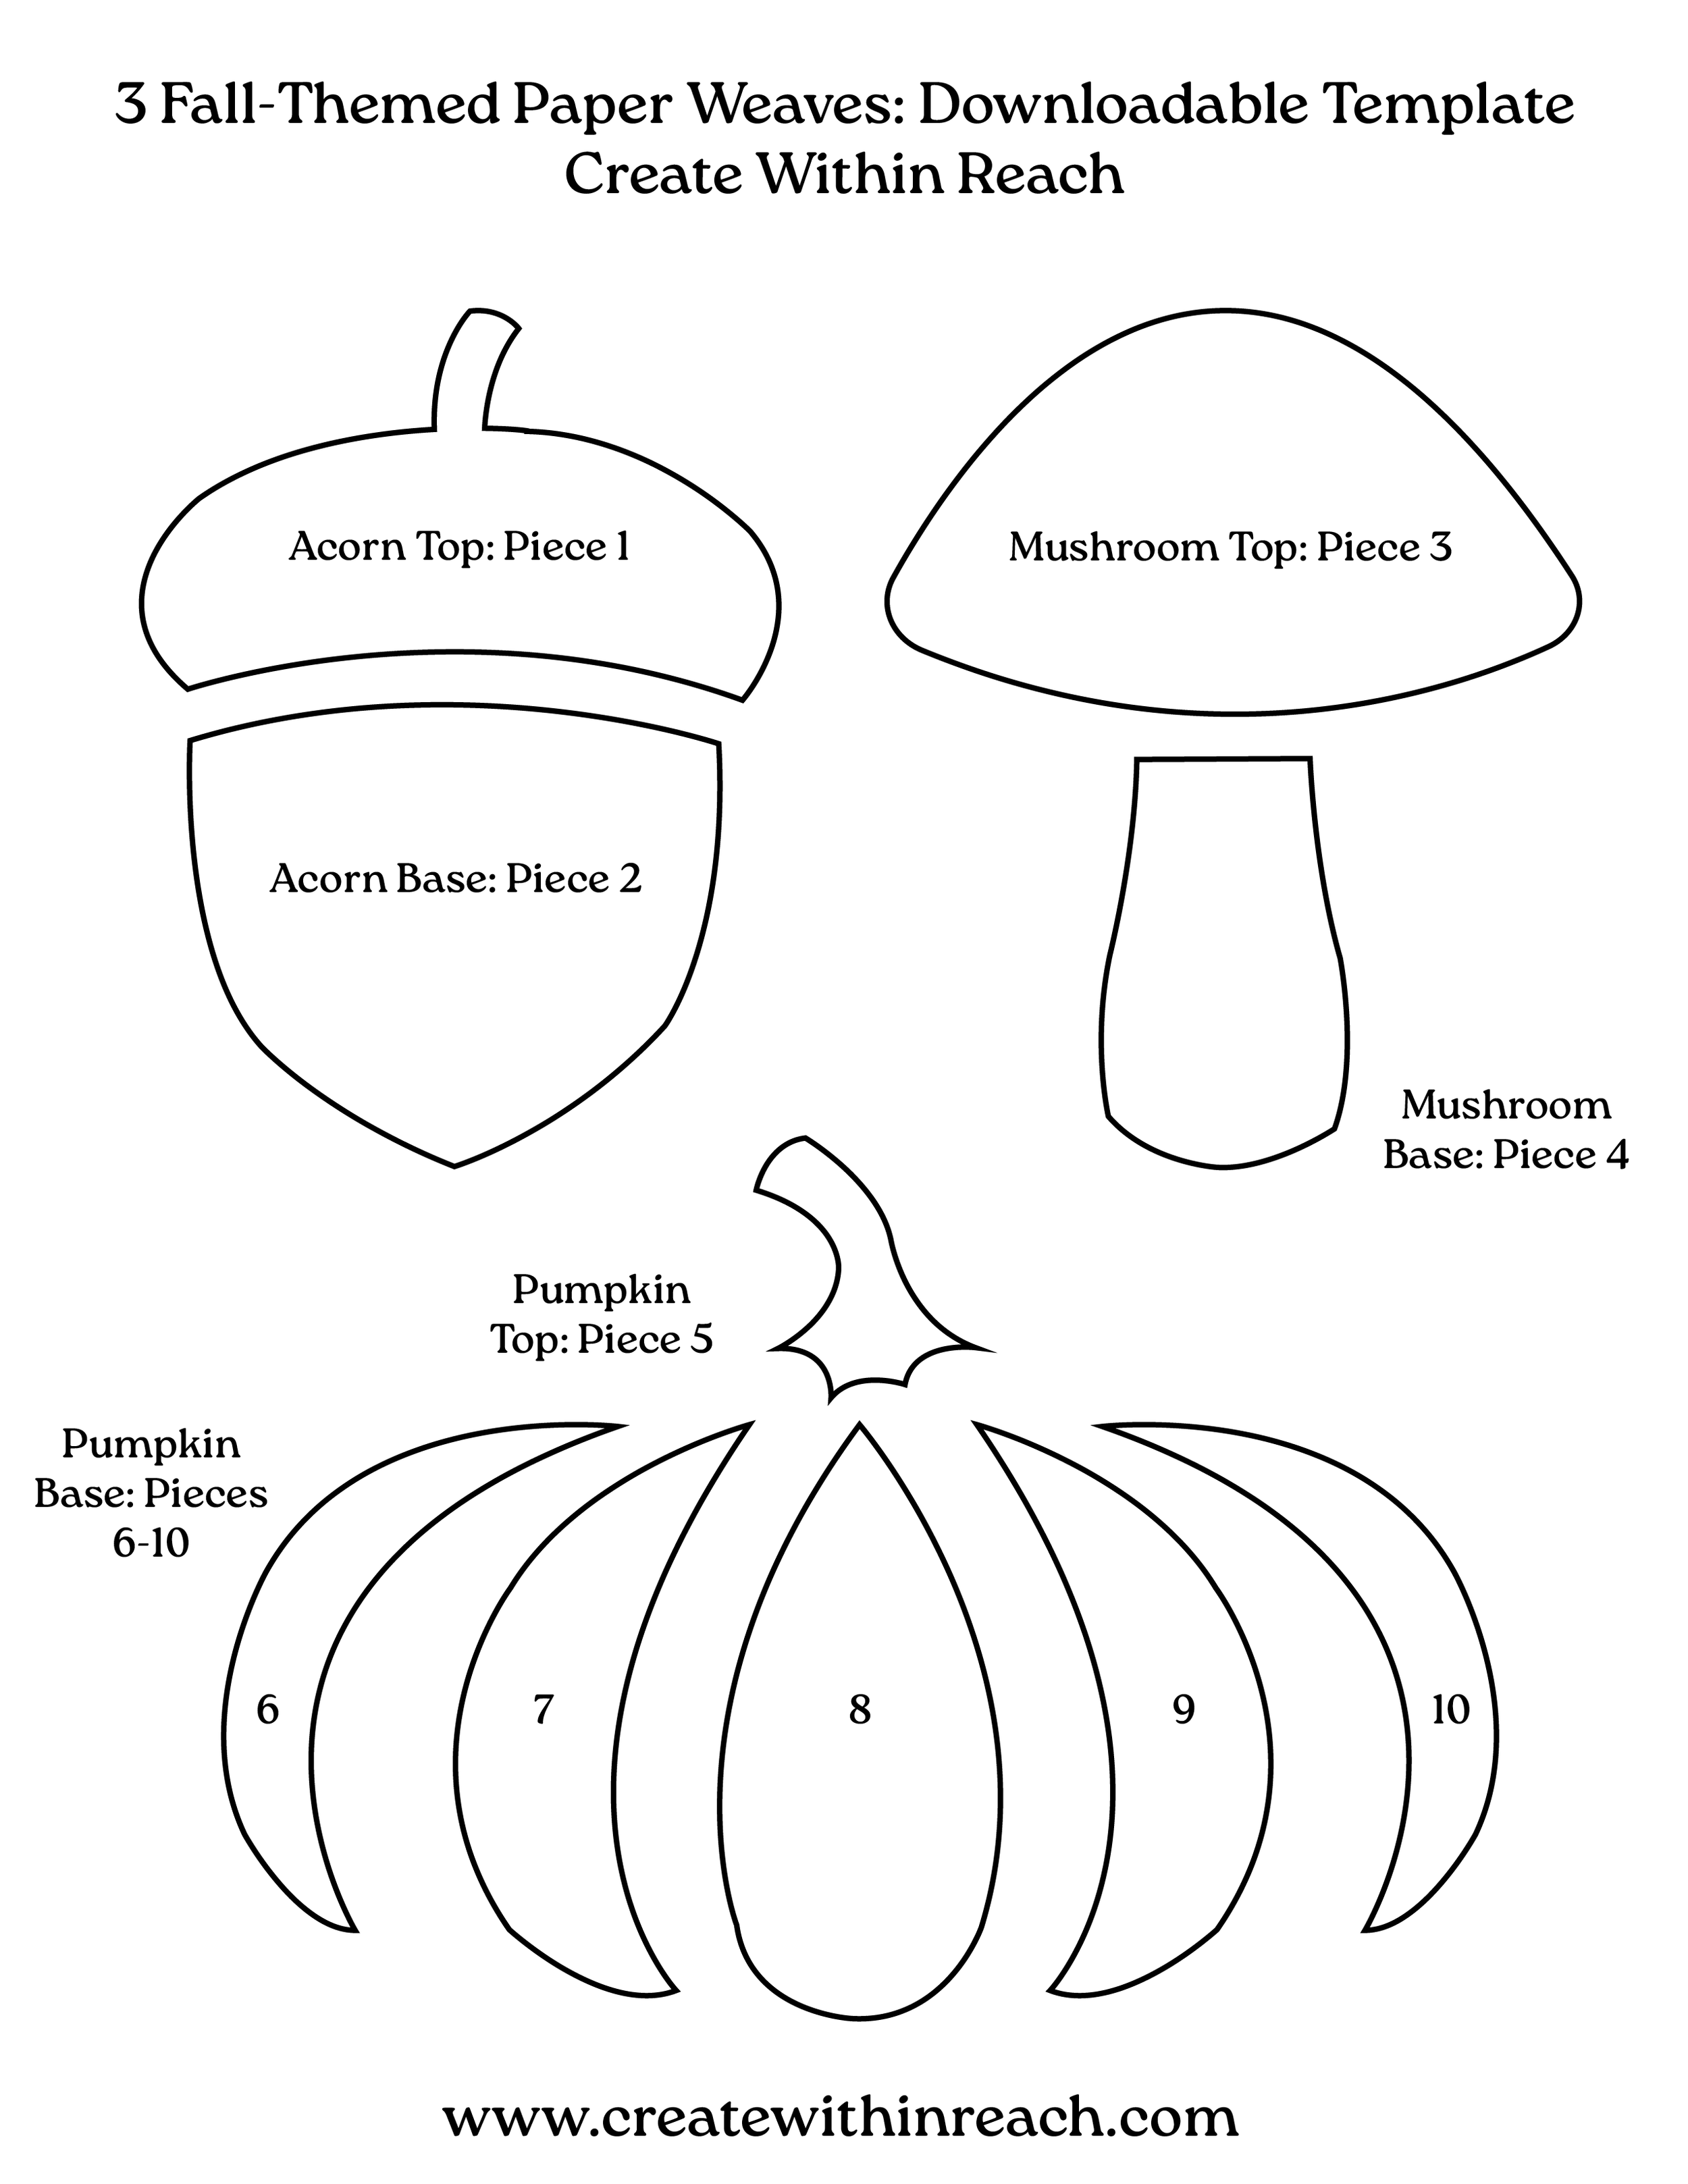
Step 1: Prepare the Pattern
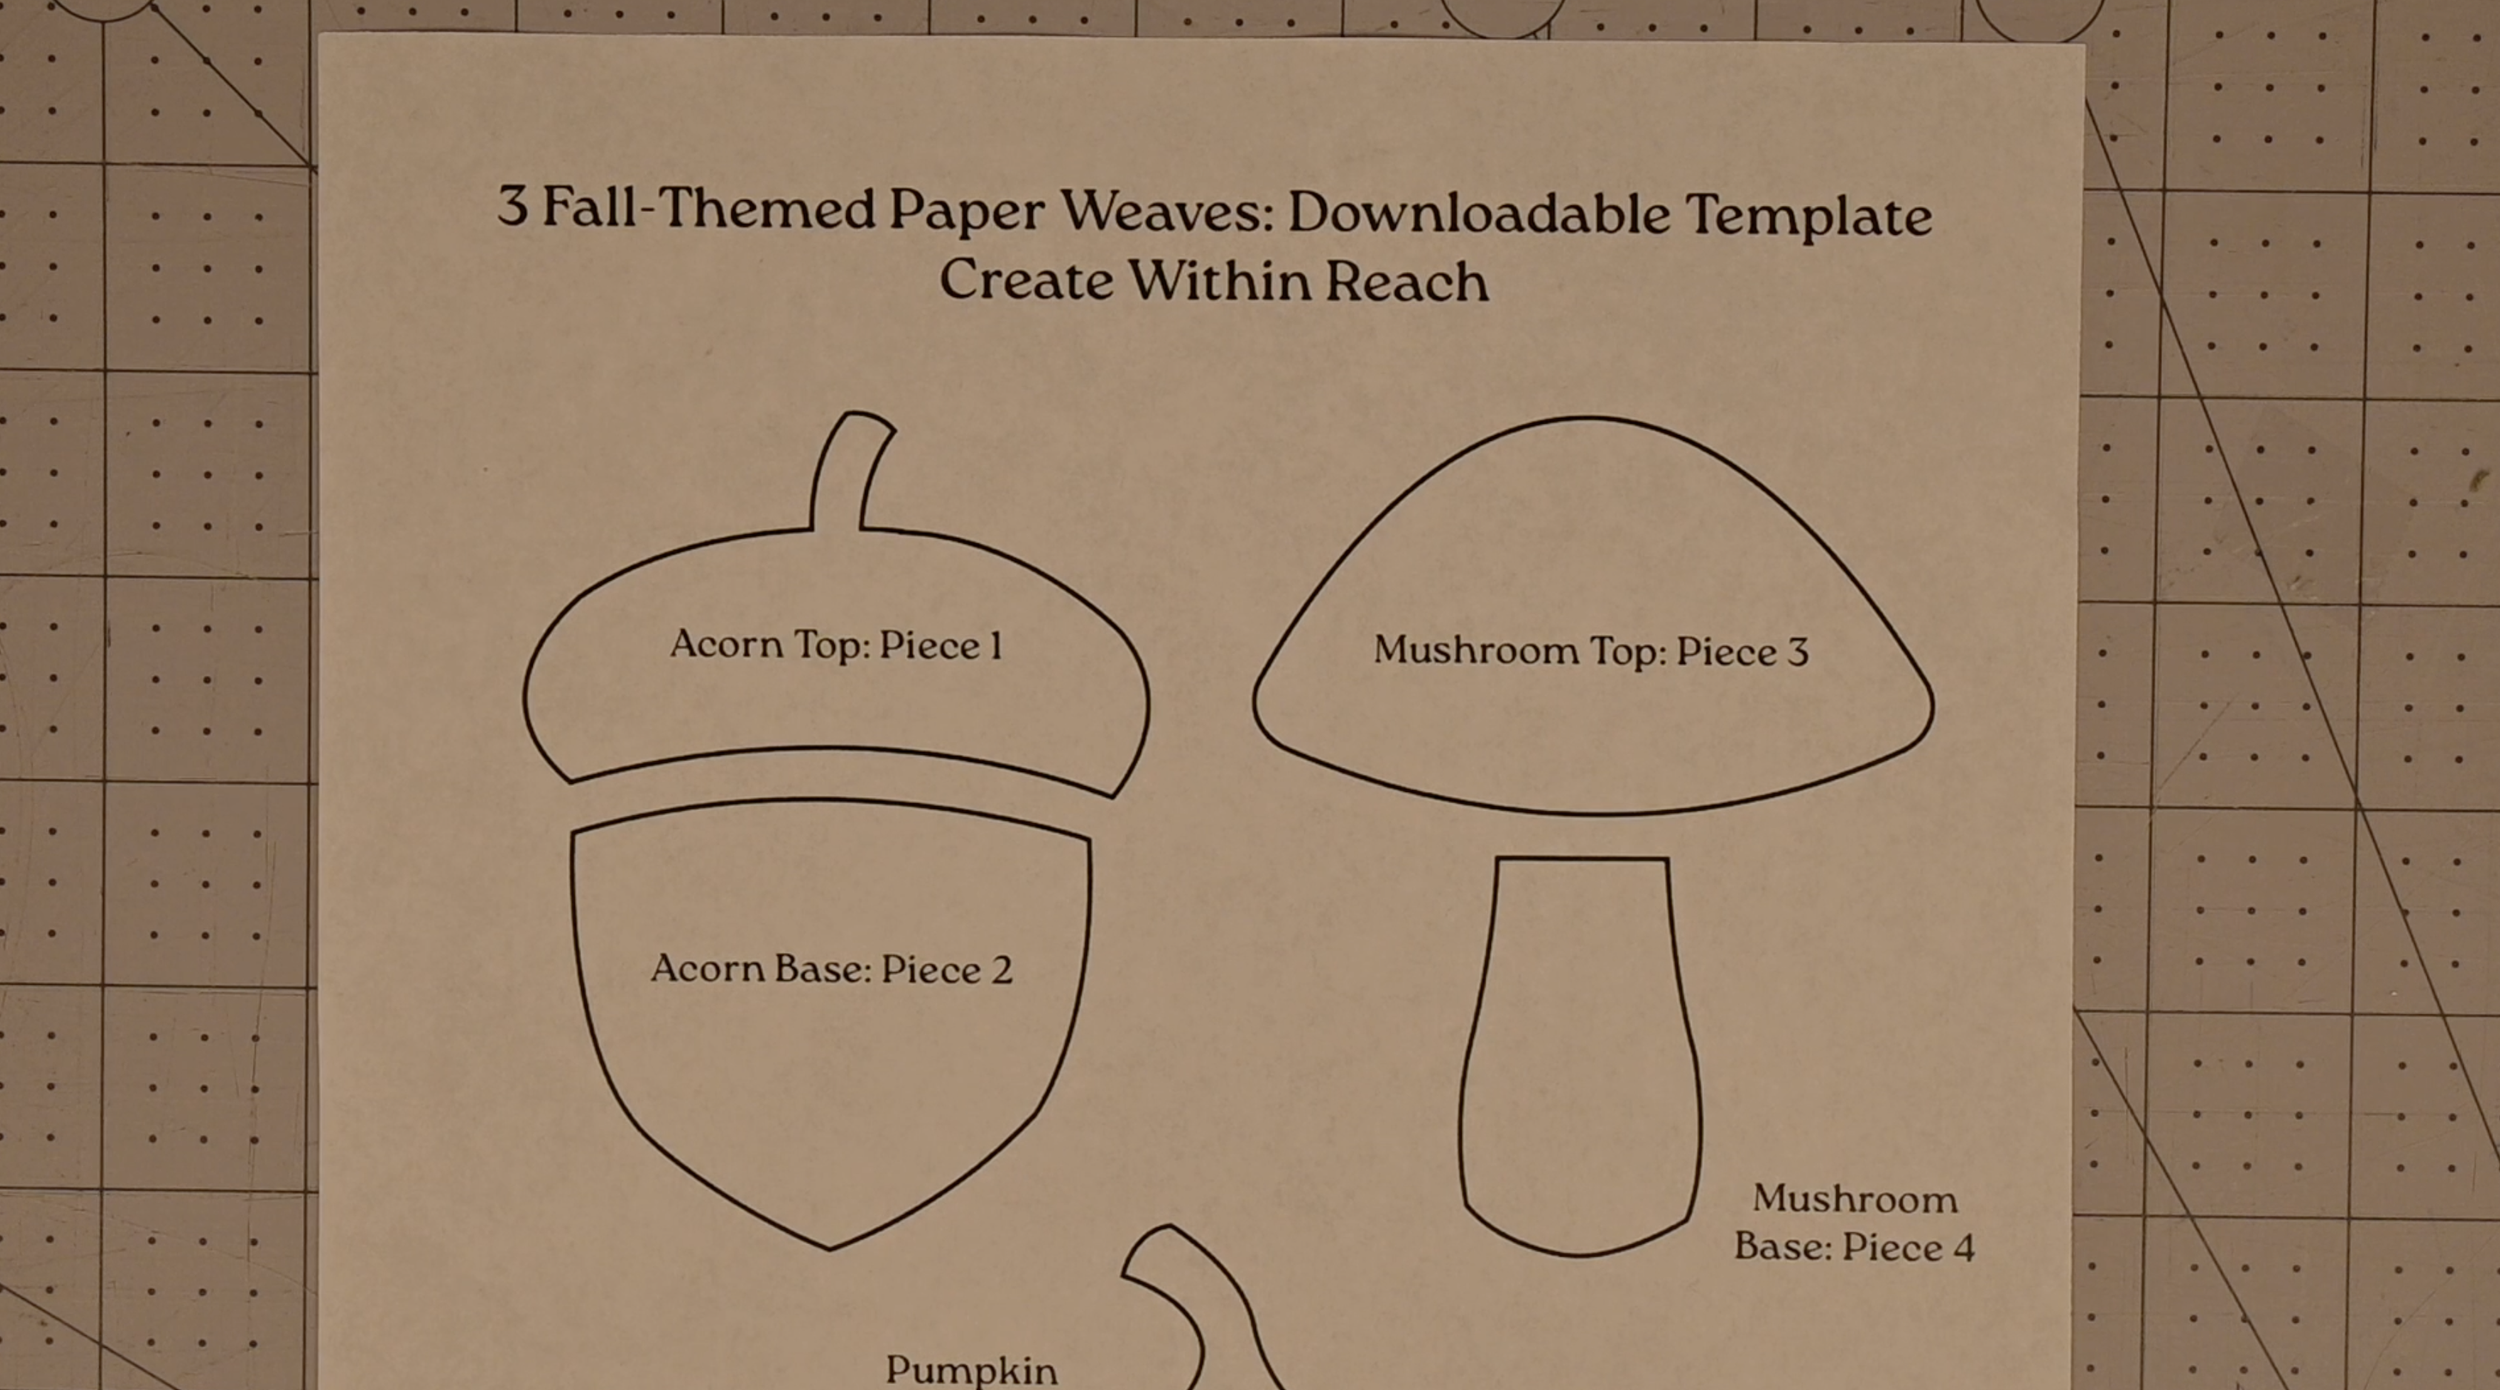
Download the pattern and print it on standard 8.5" x 11" paper. Do not "Scale to Fit.” Ensure it prints at 100% to keep the dimensions accurate.
If needed for your project, you may resize, just beware that you will need to adjust the measurements provided in this tutorial
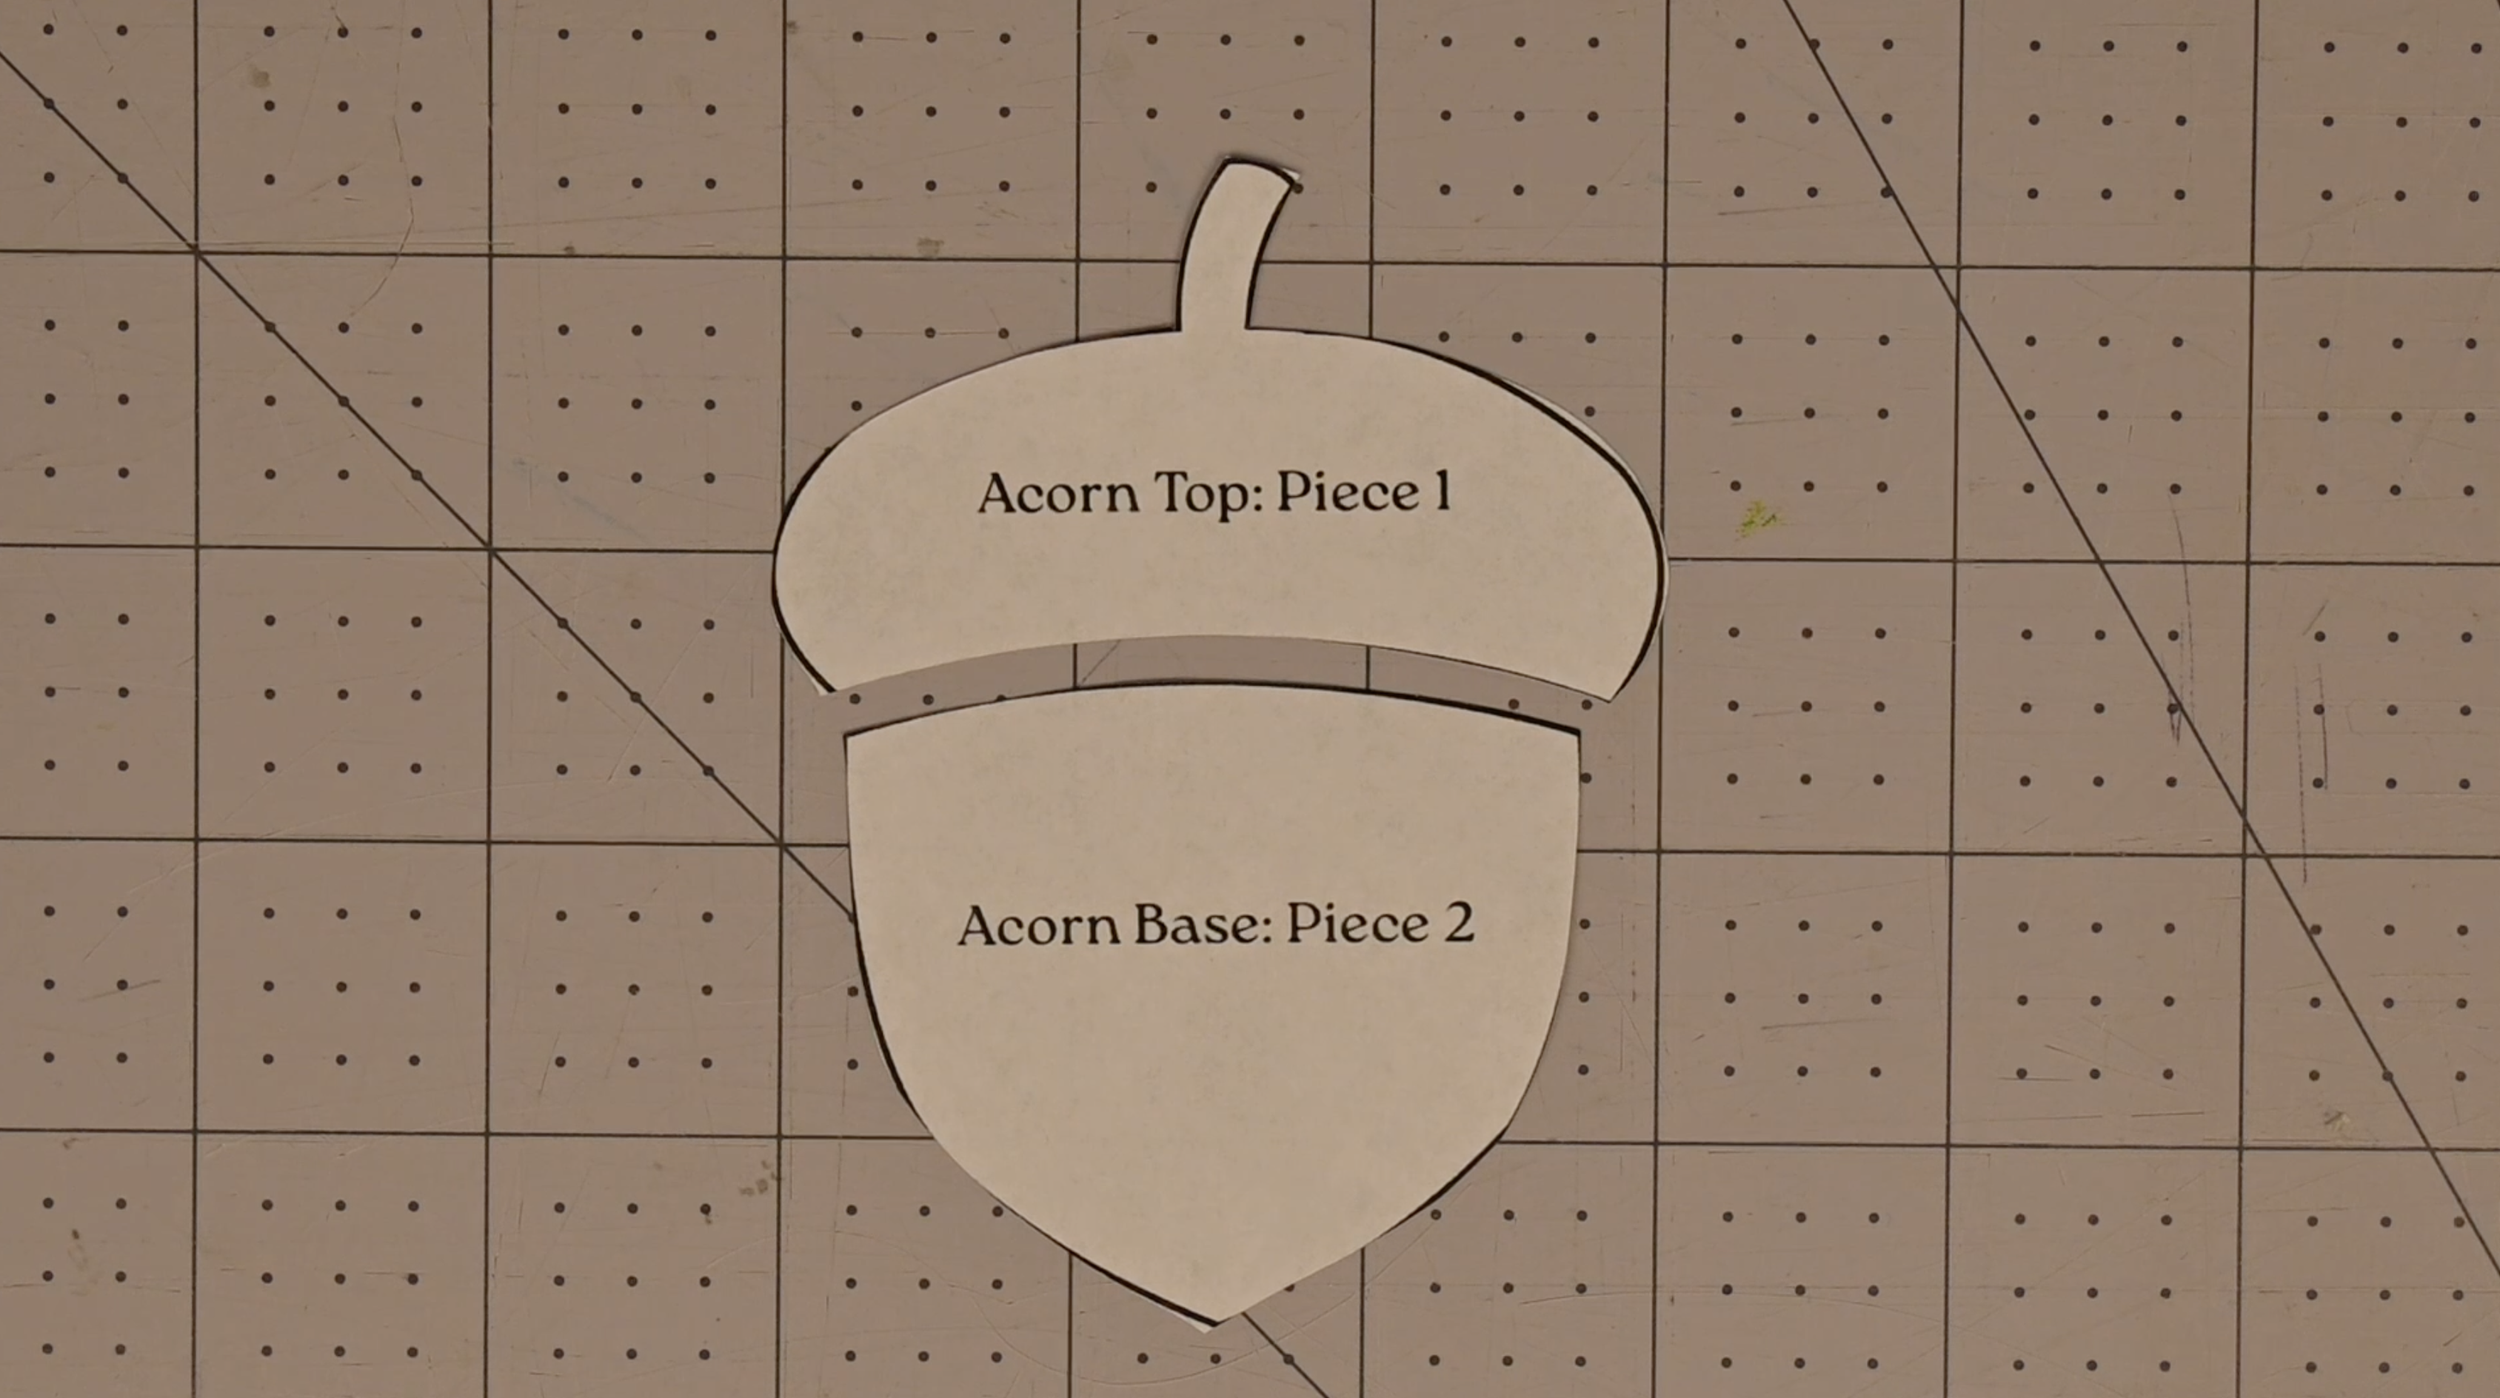
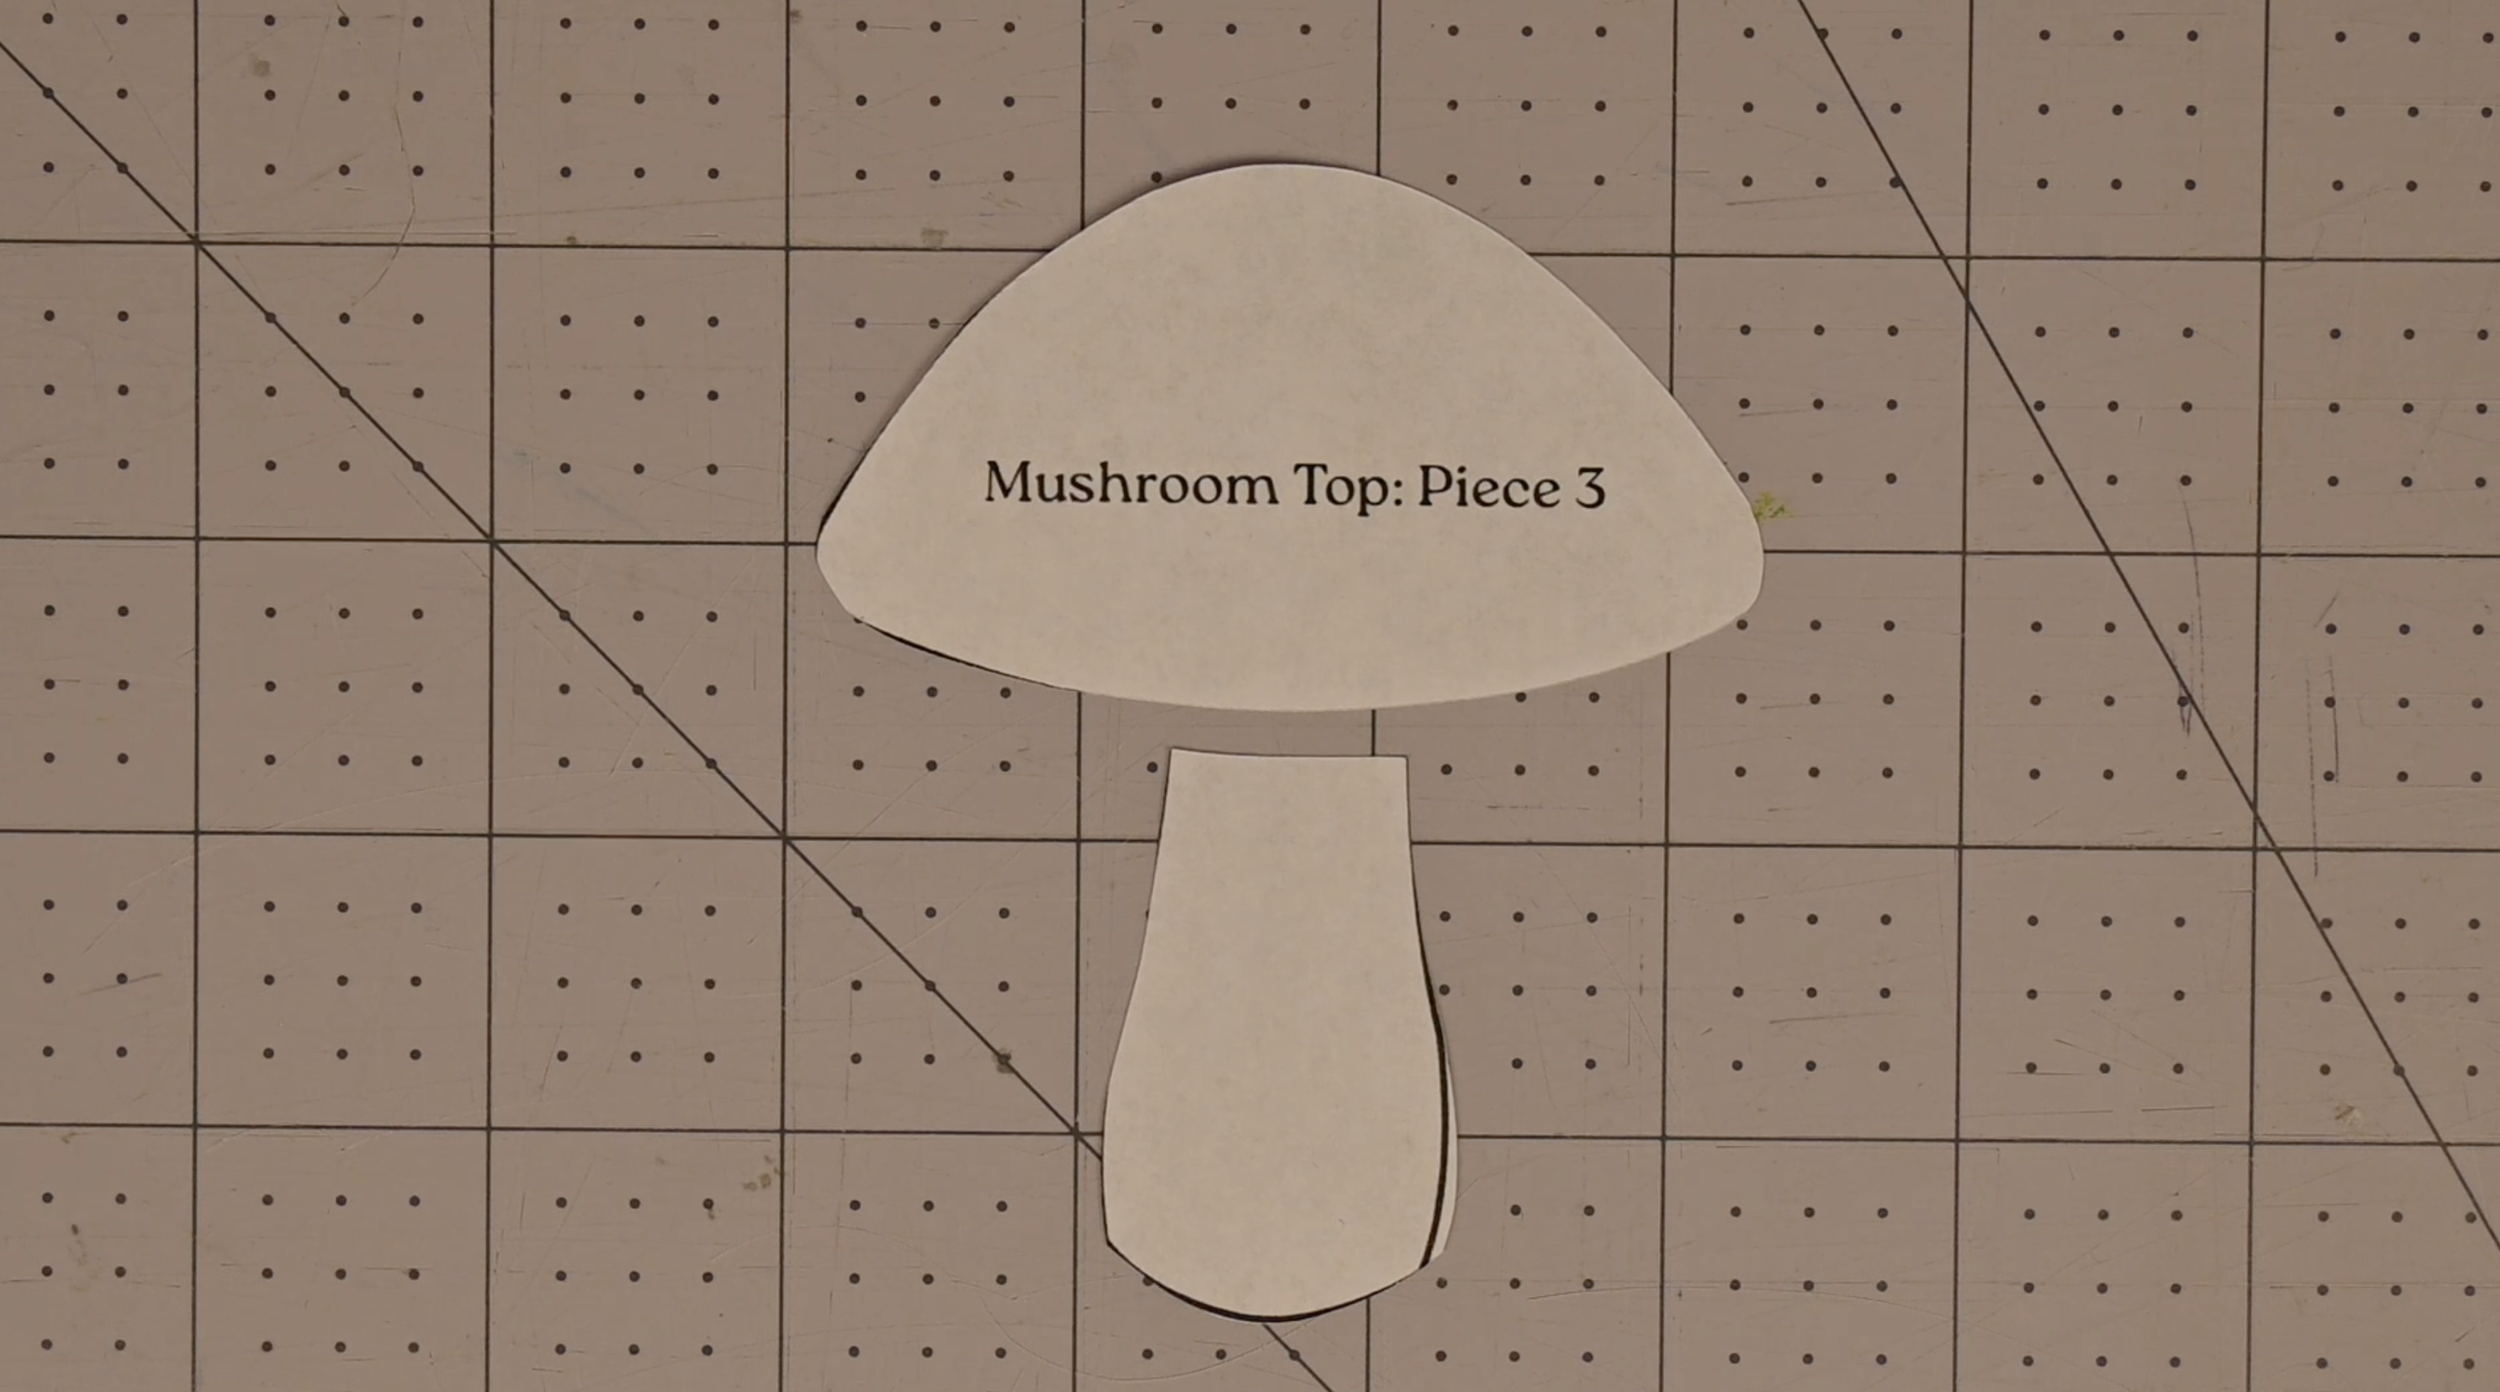
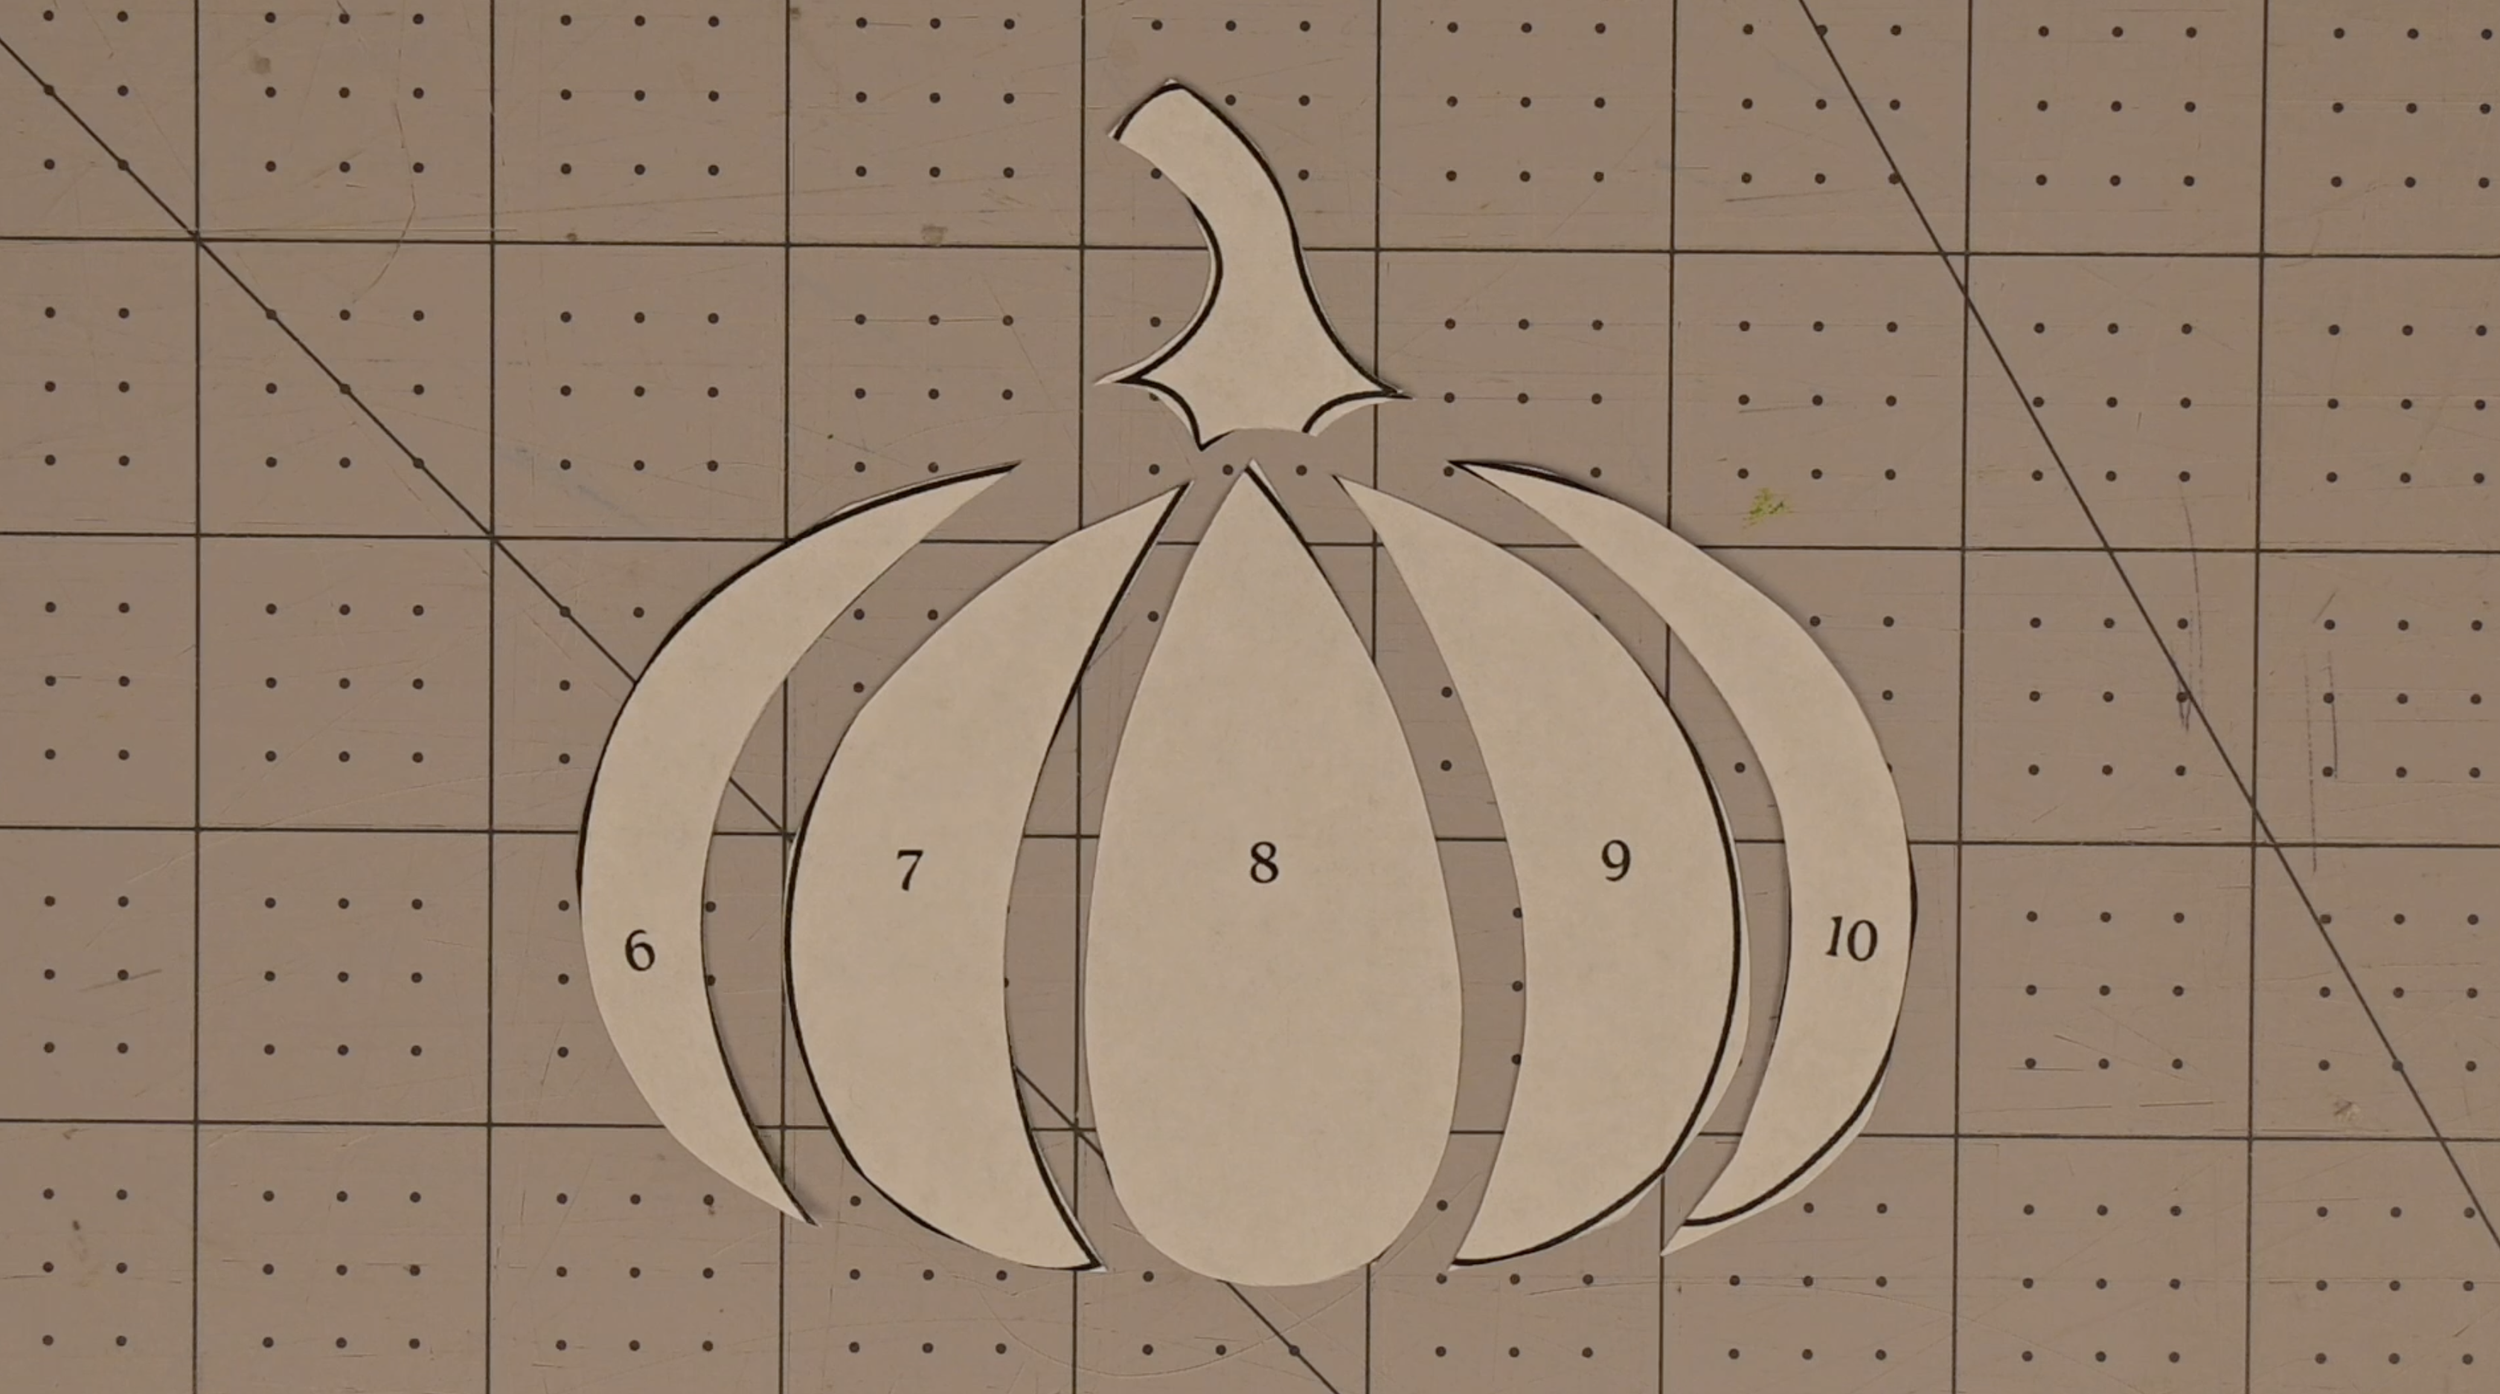
Cut out the paper templates
Step 2: Prepare the Paper
If you are making the woven acorn, you will need the following:
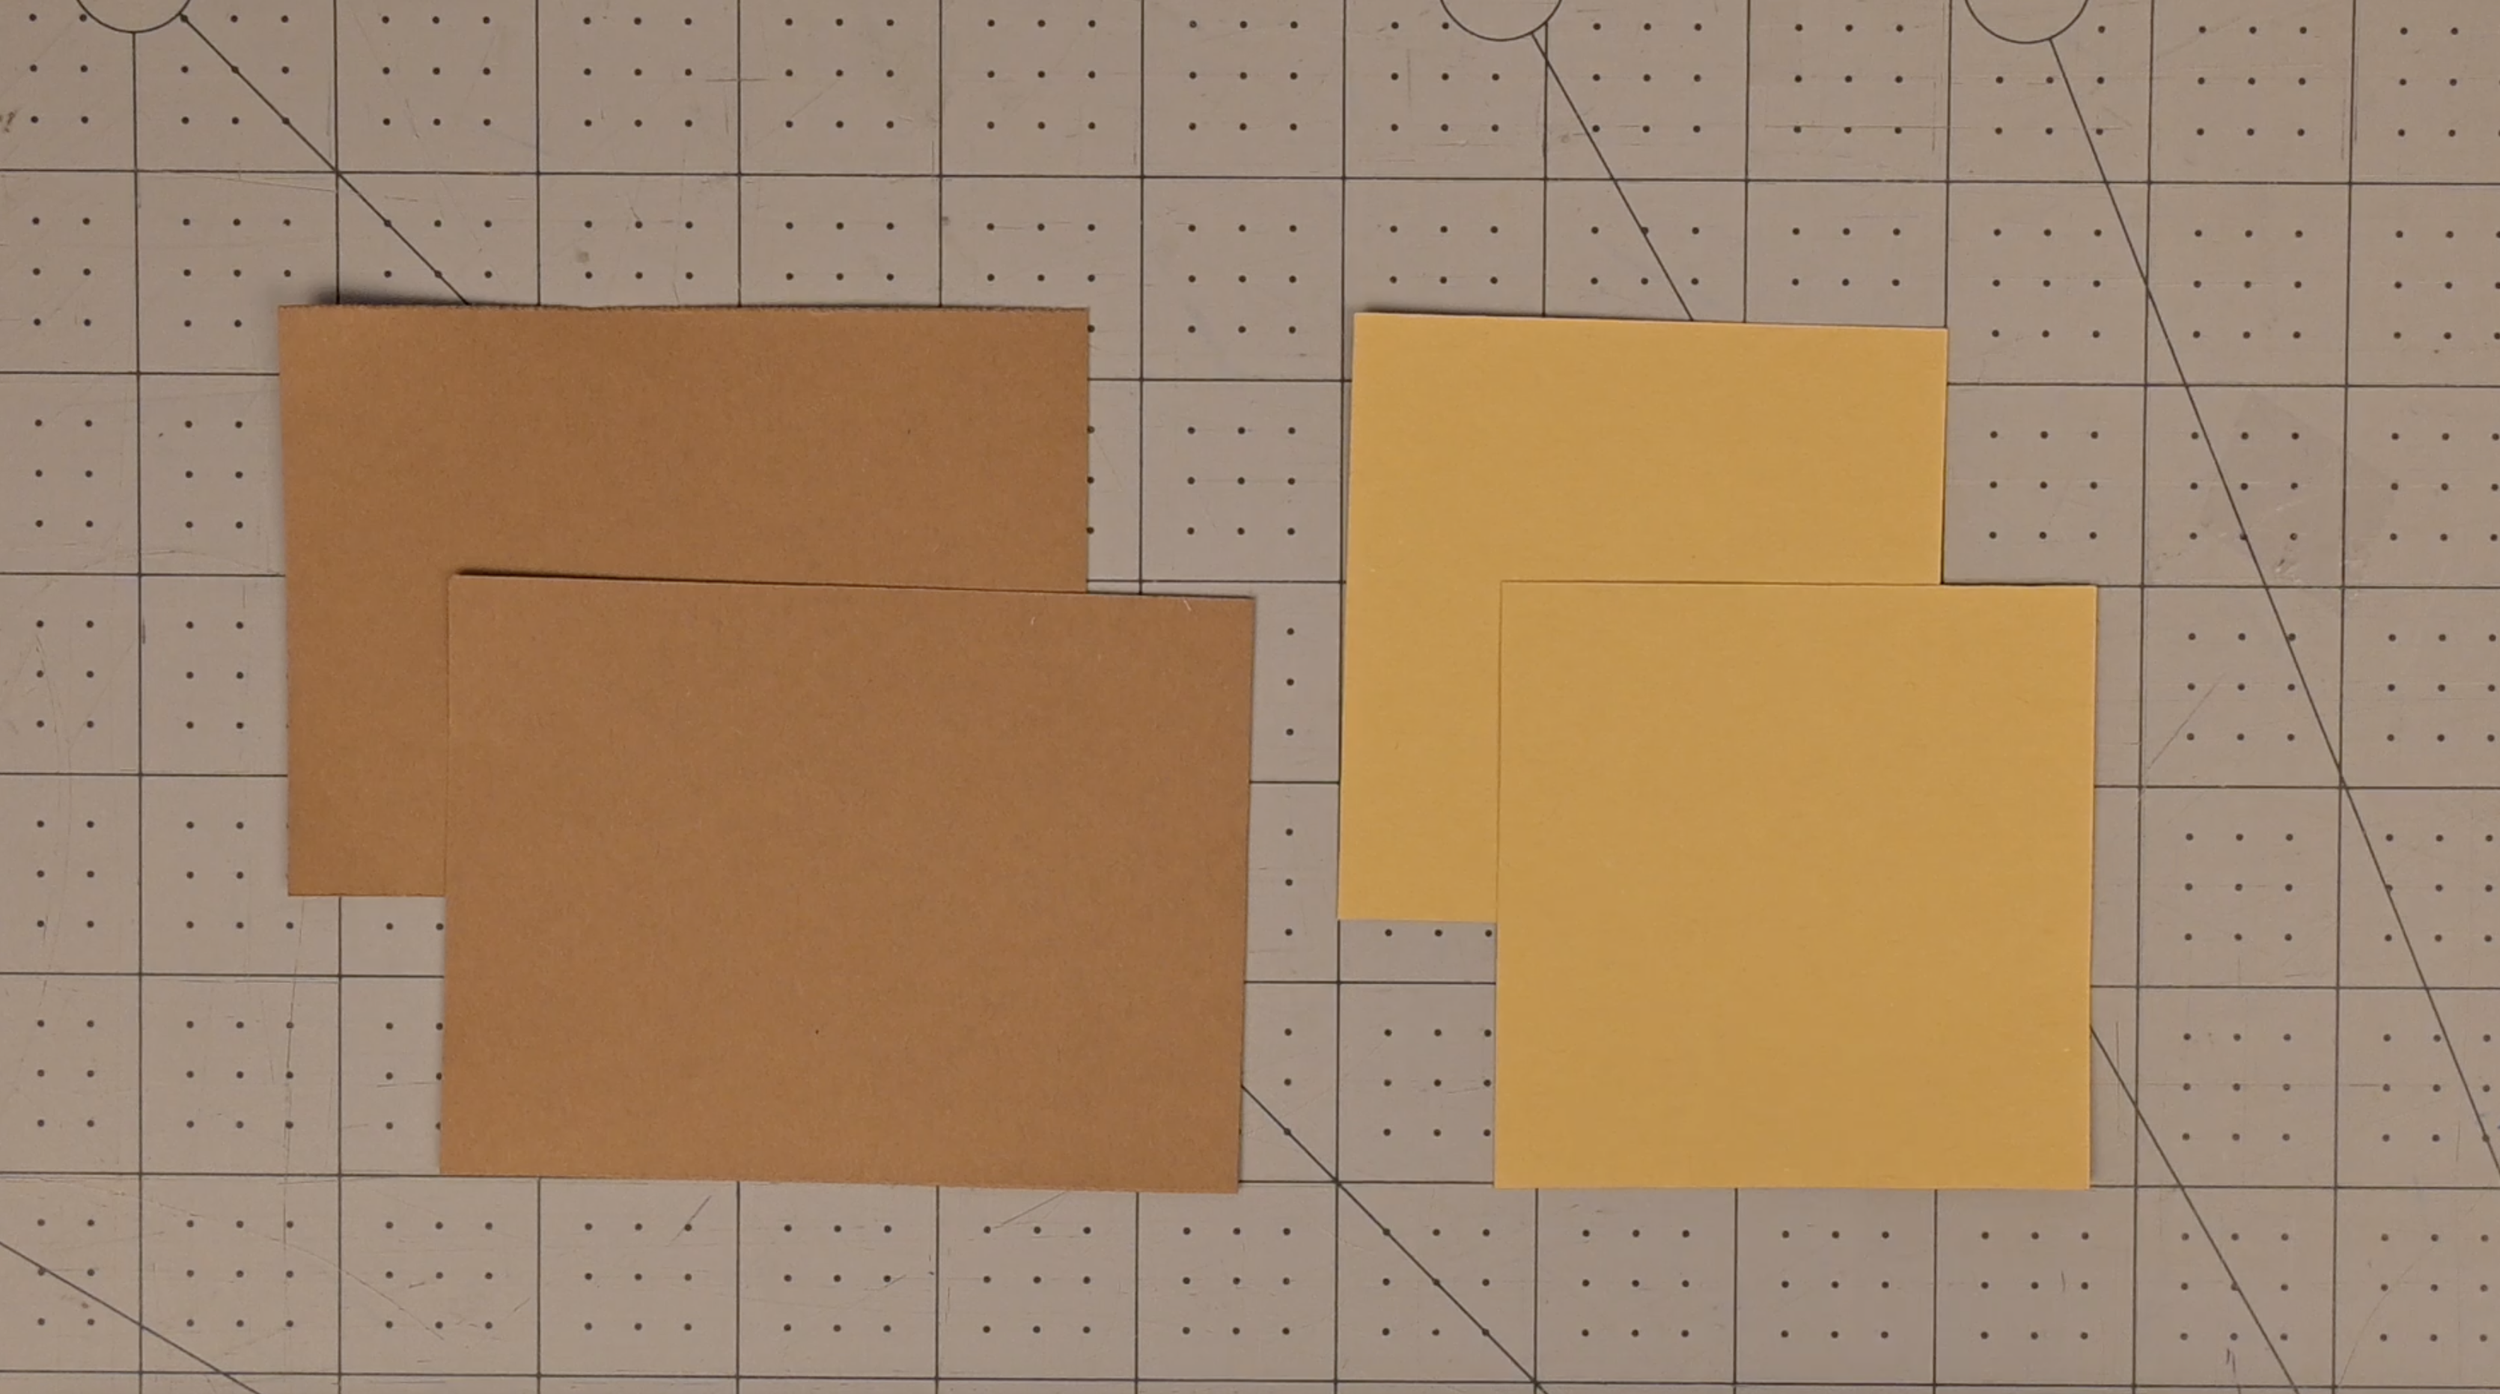
For the Acorn Top (Template Piece 1)
4 x 3 inches (x2)
For the Acorn Base (Template Piece 2)
3 x 3 inches (x2)
If you are making the woven mushroom, you will need the following:
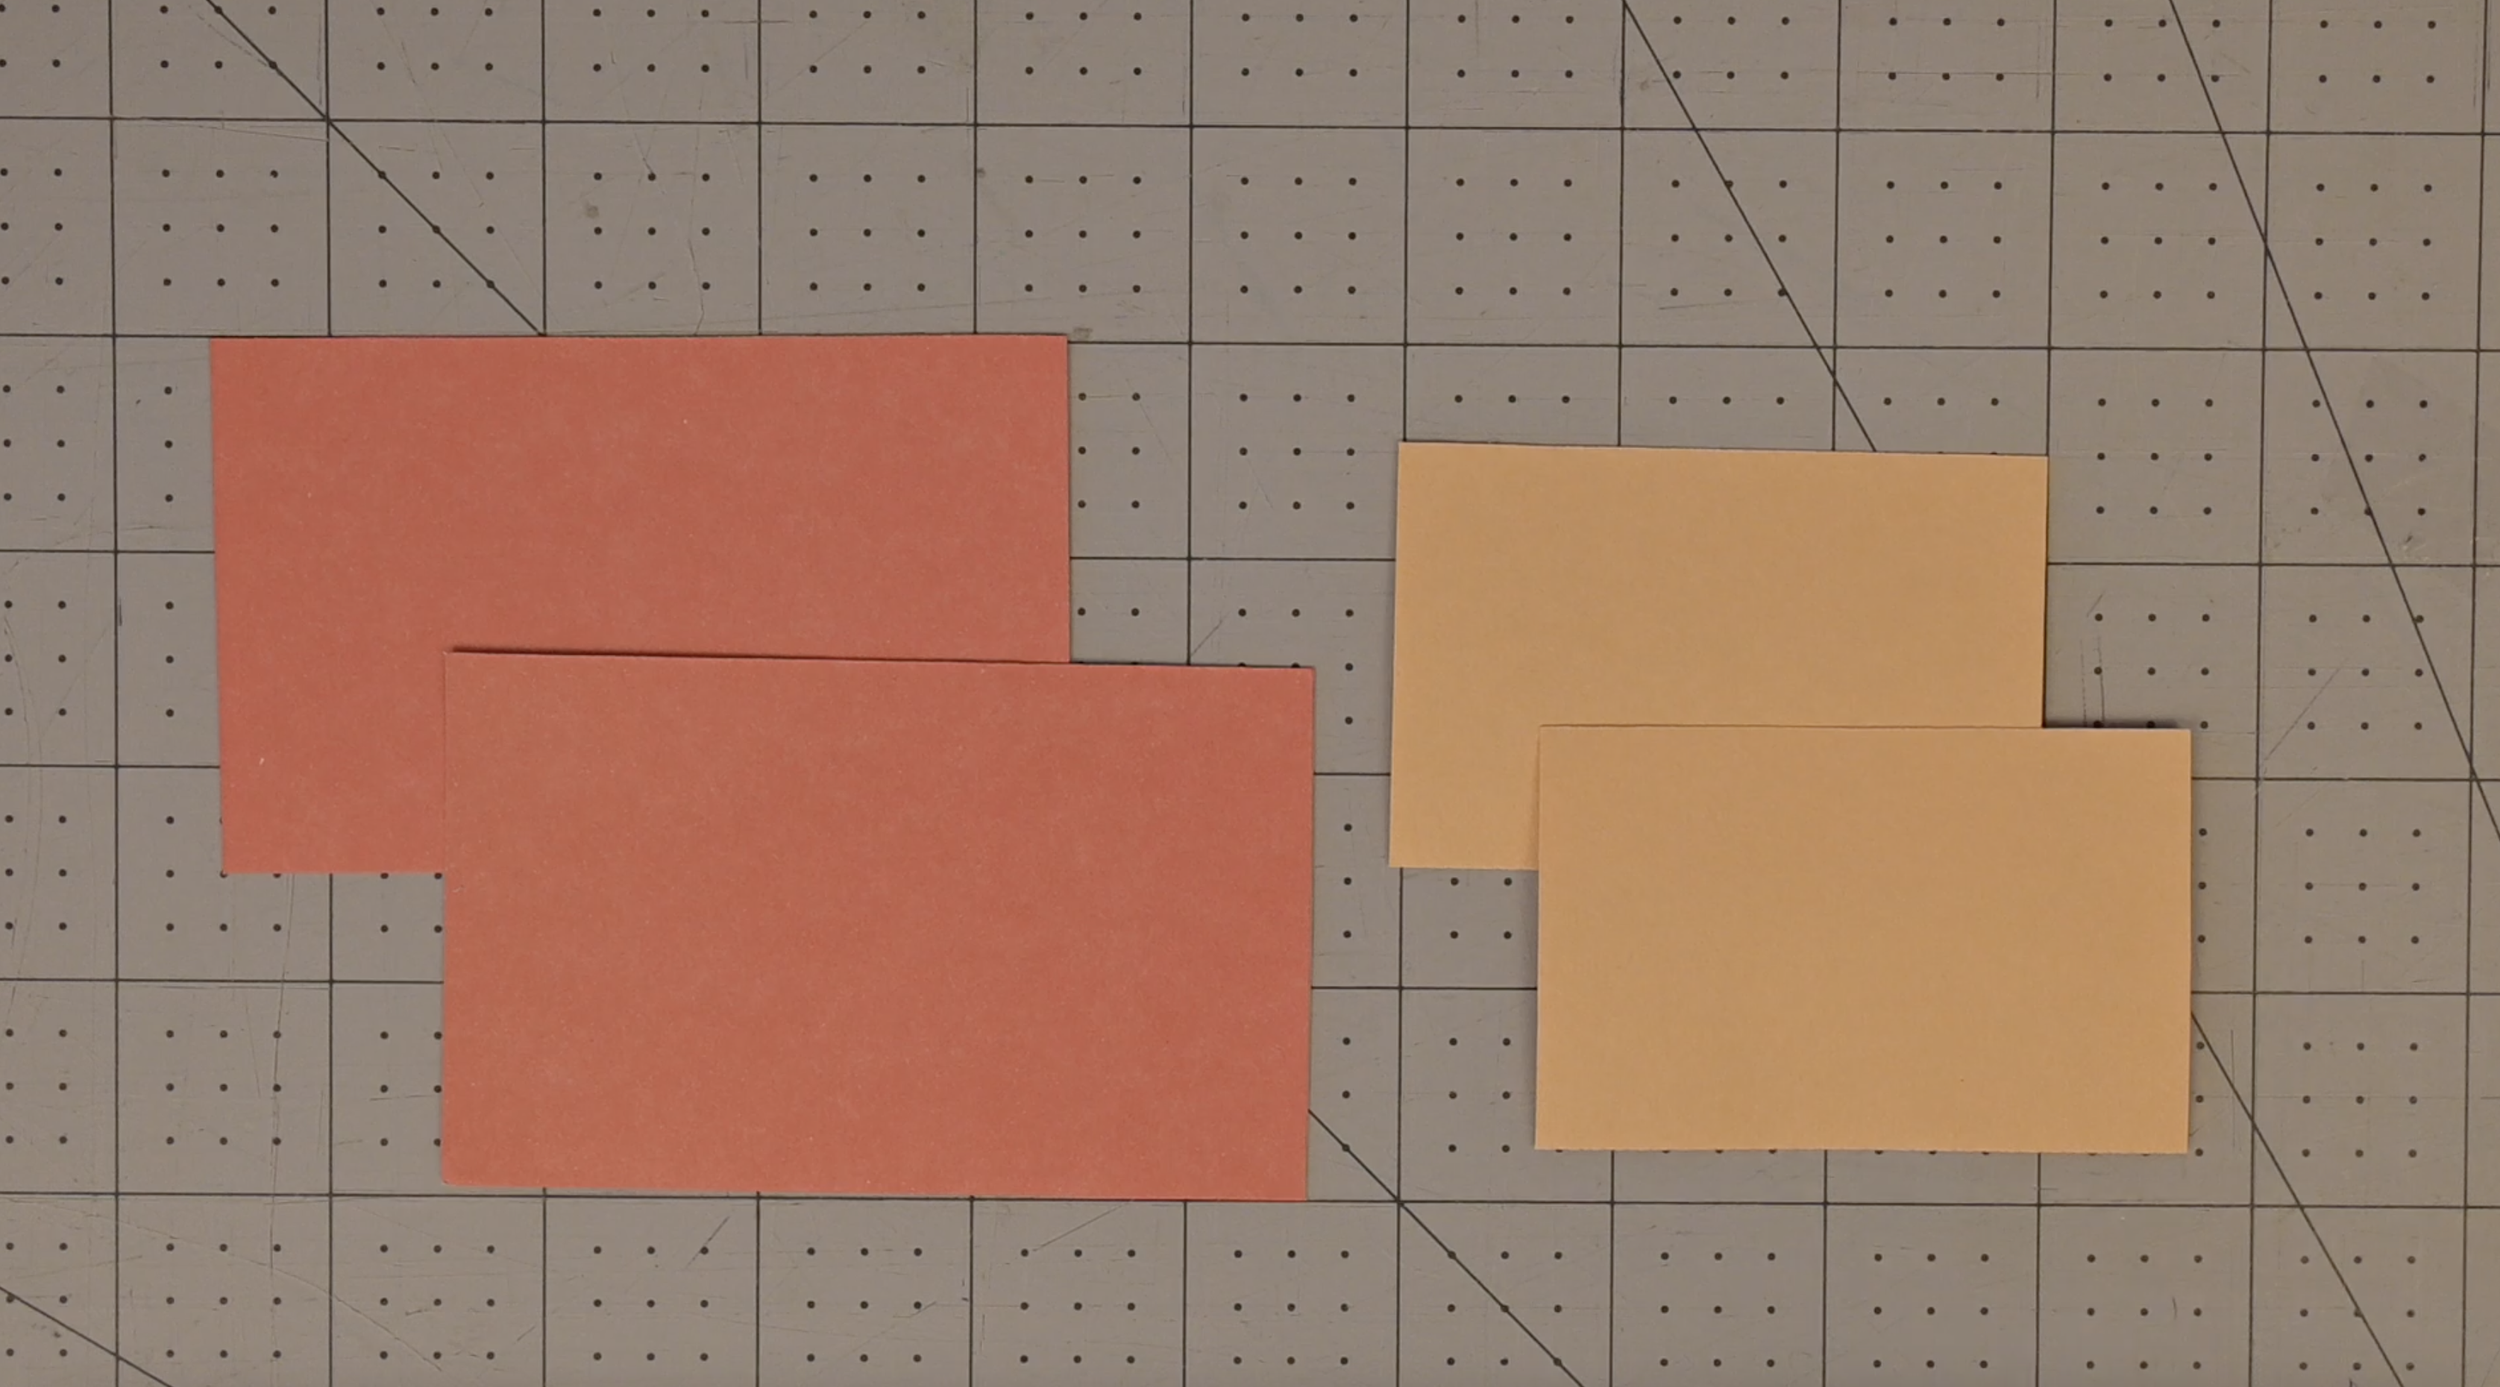
For the Mushroom Top (Template Piece 3):
4 x 2.5 inches (x2)
For the Mushroom Base (Template Piece 4):
2 x 3 inches (x2)
If you are making the woven pumpkin, you will need the following:
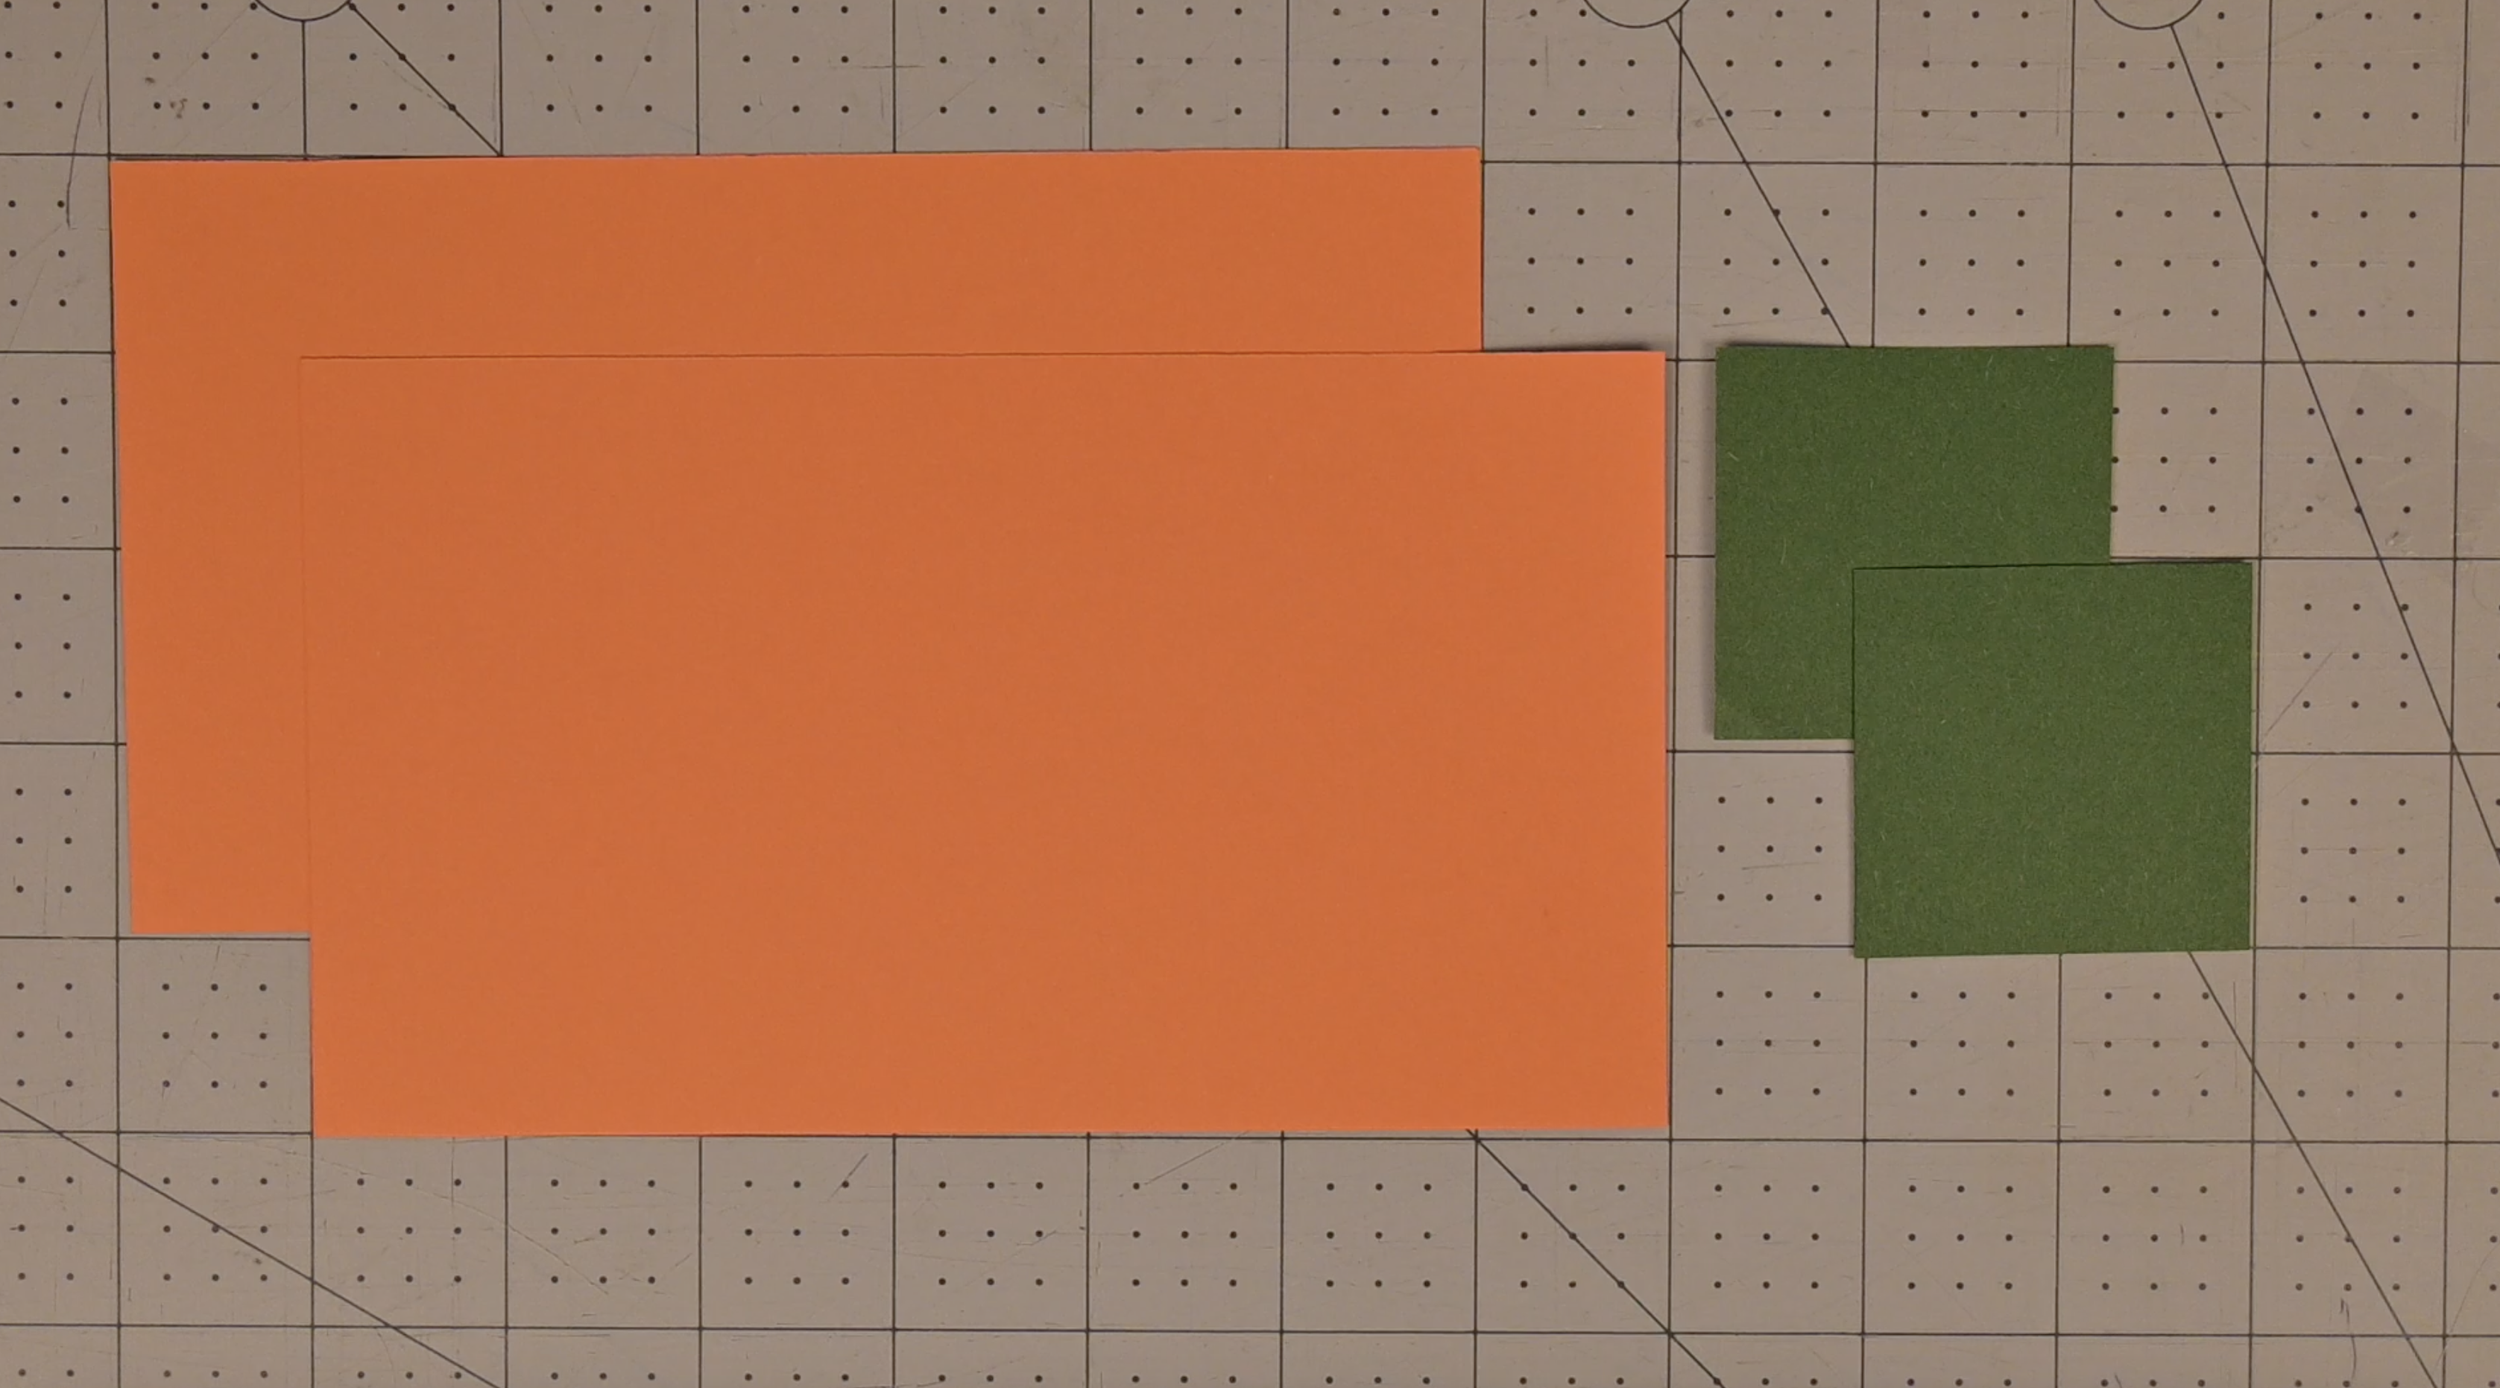
For the Pumpkin Top (Template Piece 5):
2 x 2 inches (x2)
For the Pumpkin Base (Template Piece 6):
7 x 4 inches (x2)
Note: For the following steps, I will be demonstrating the weaving/assembling process with the acorn. Follow the same steps if making the mushroom and/or pumpkin. Updates will be included for the mushroom and pumpkin throughout.
Step 3: Prepare the Weaving Base
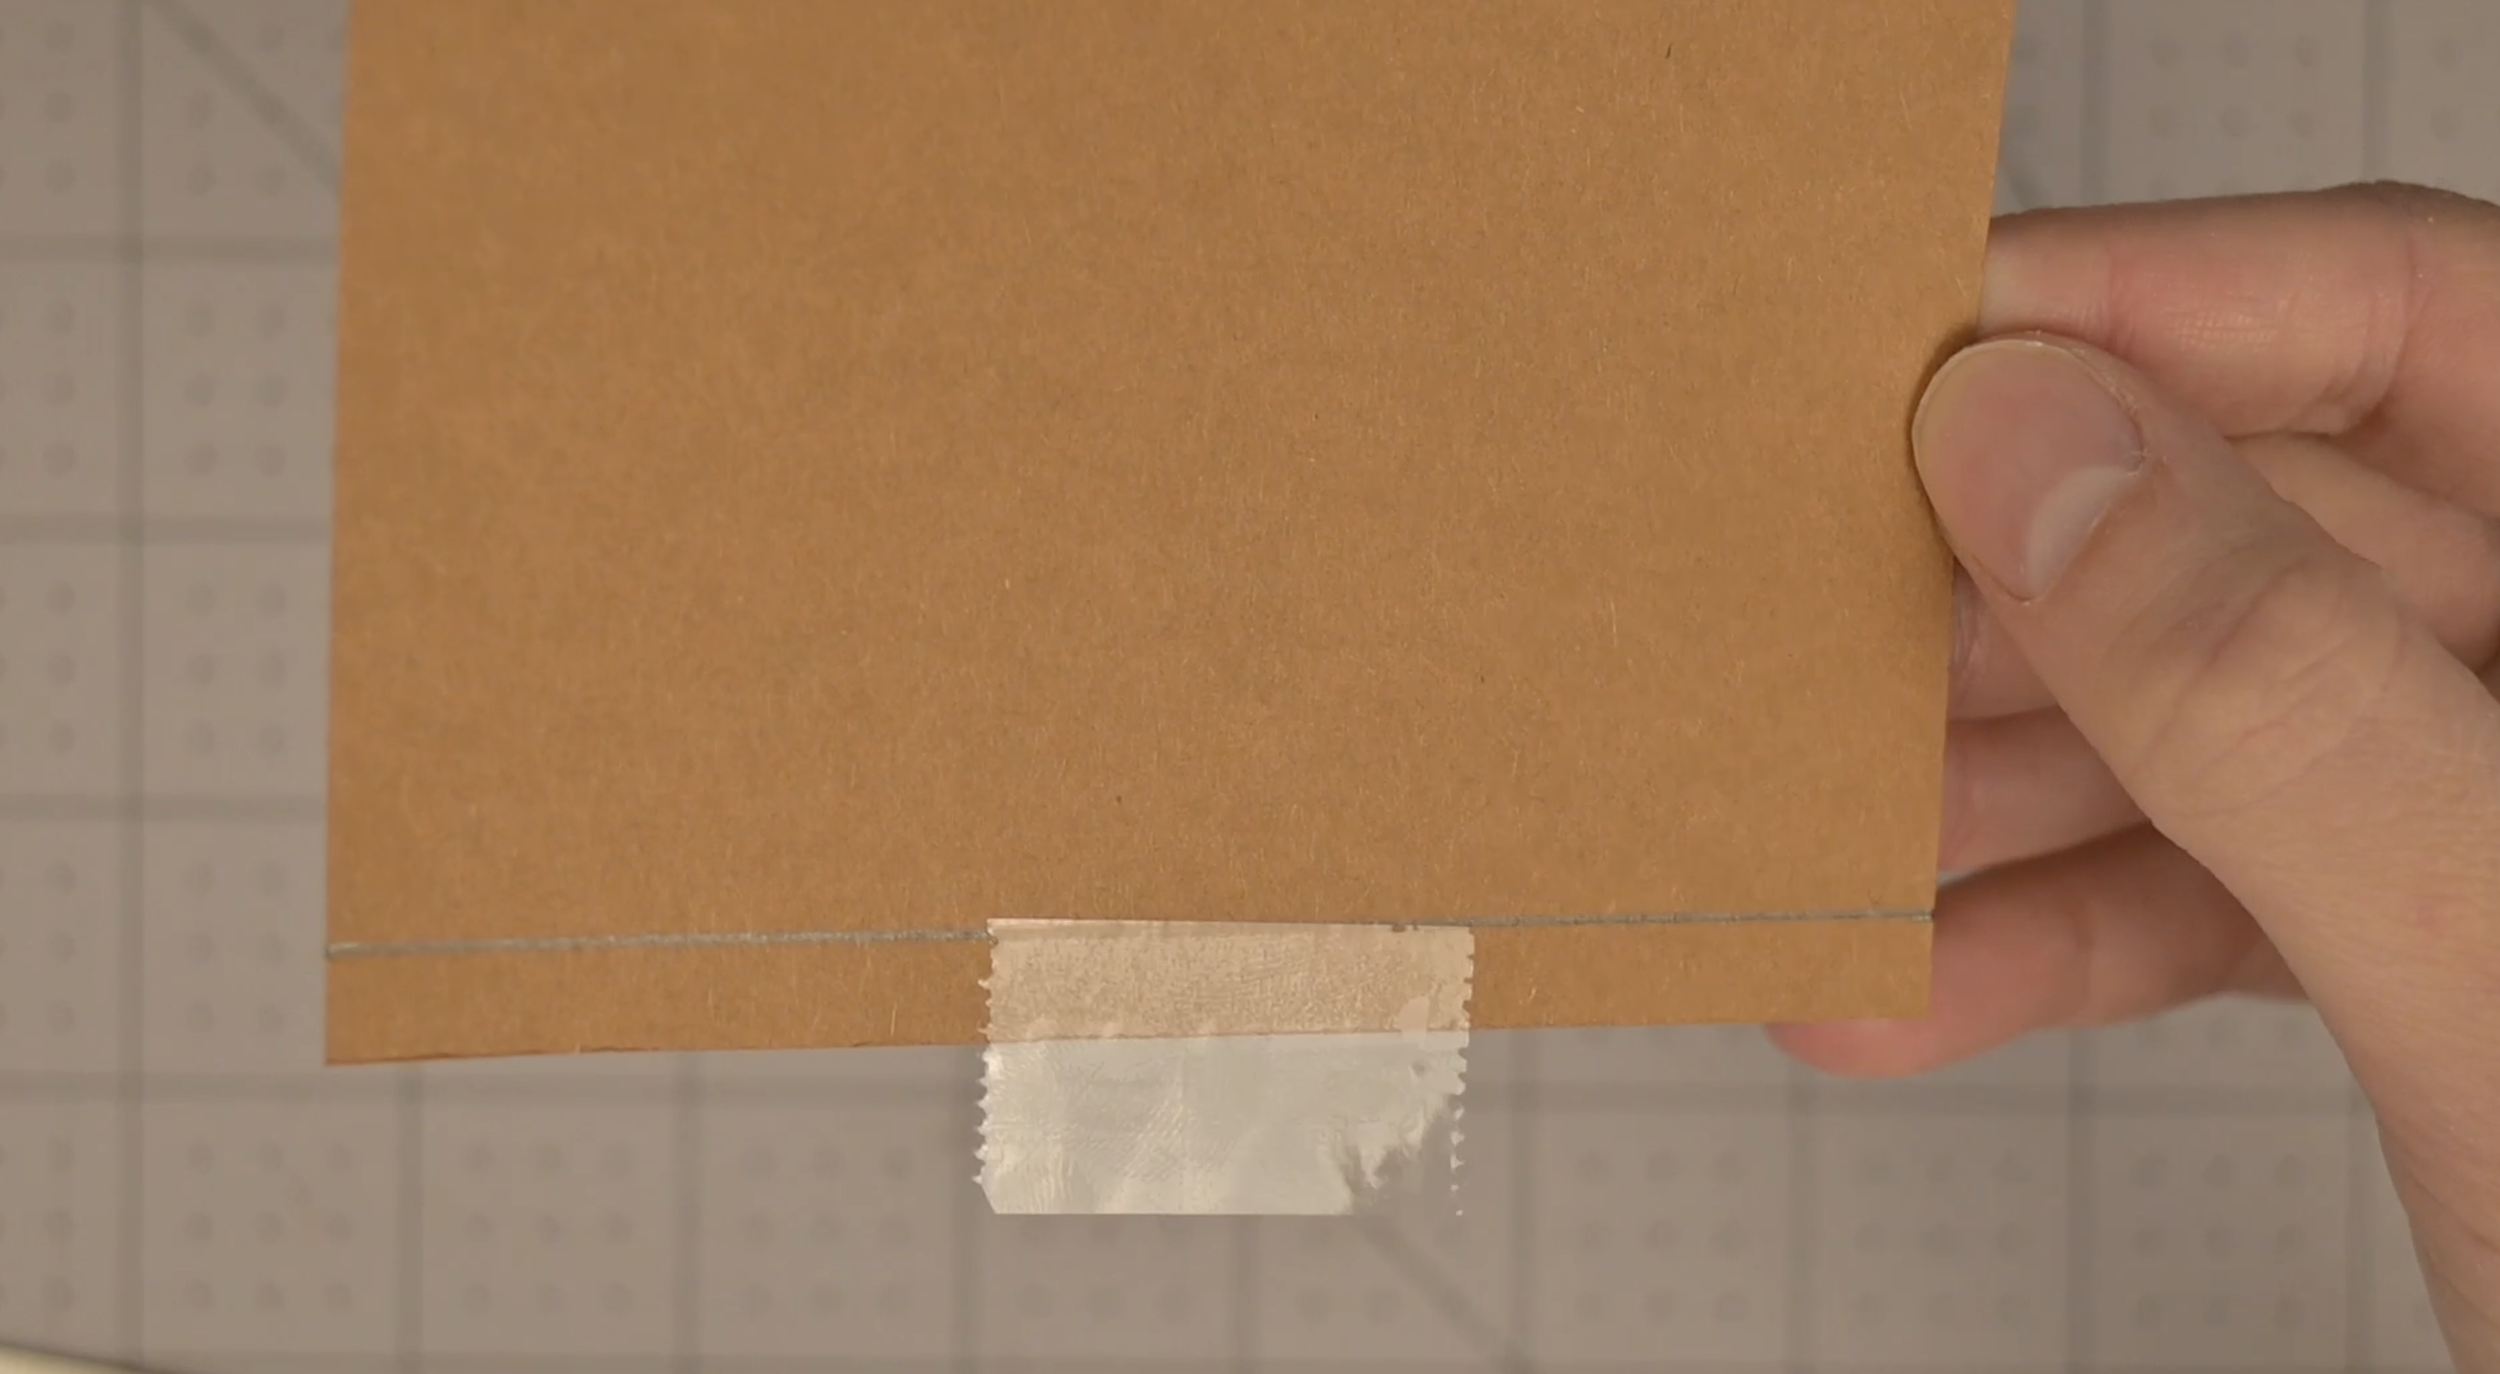
Take one of the acorn top pieces. Measure in and mark .25 inches on the long ends.
Connect the points using a pencil and ruler
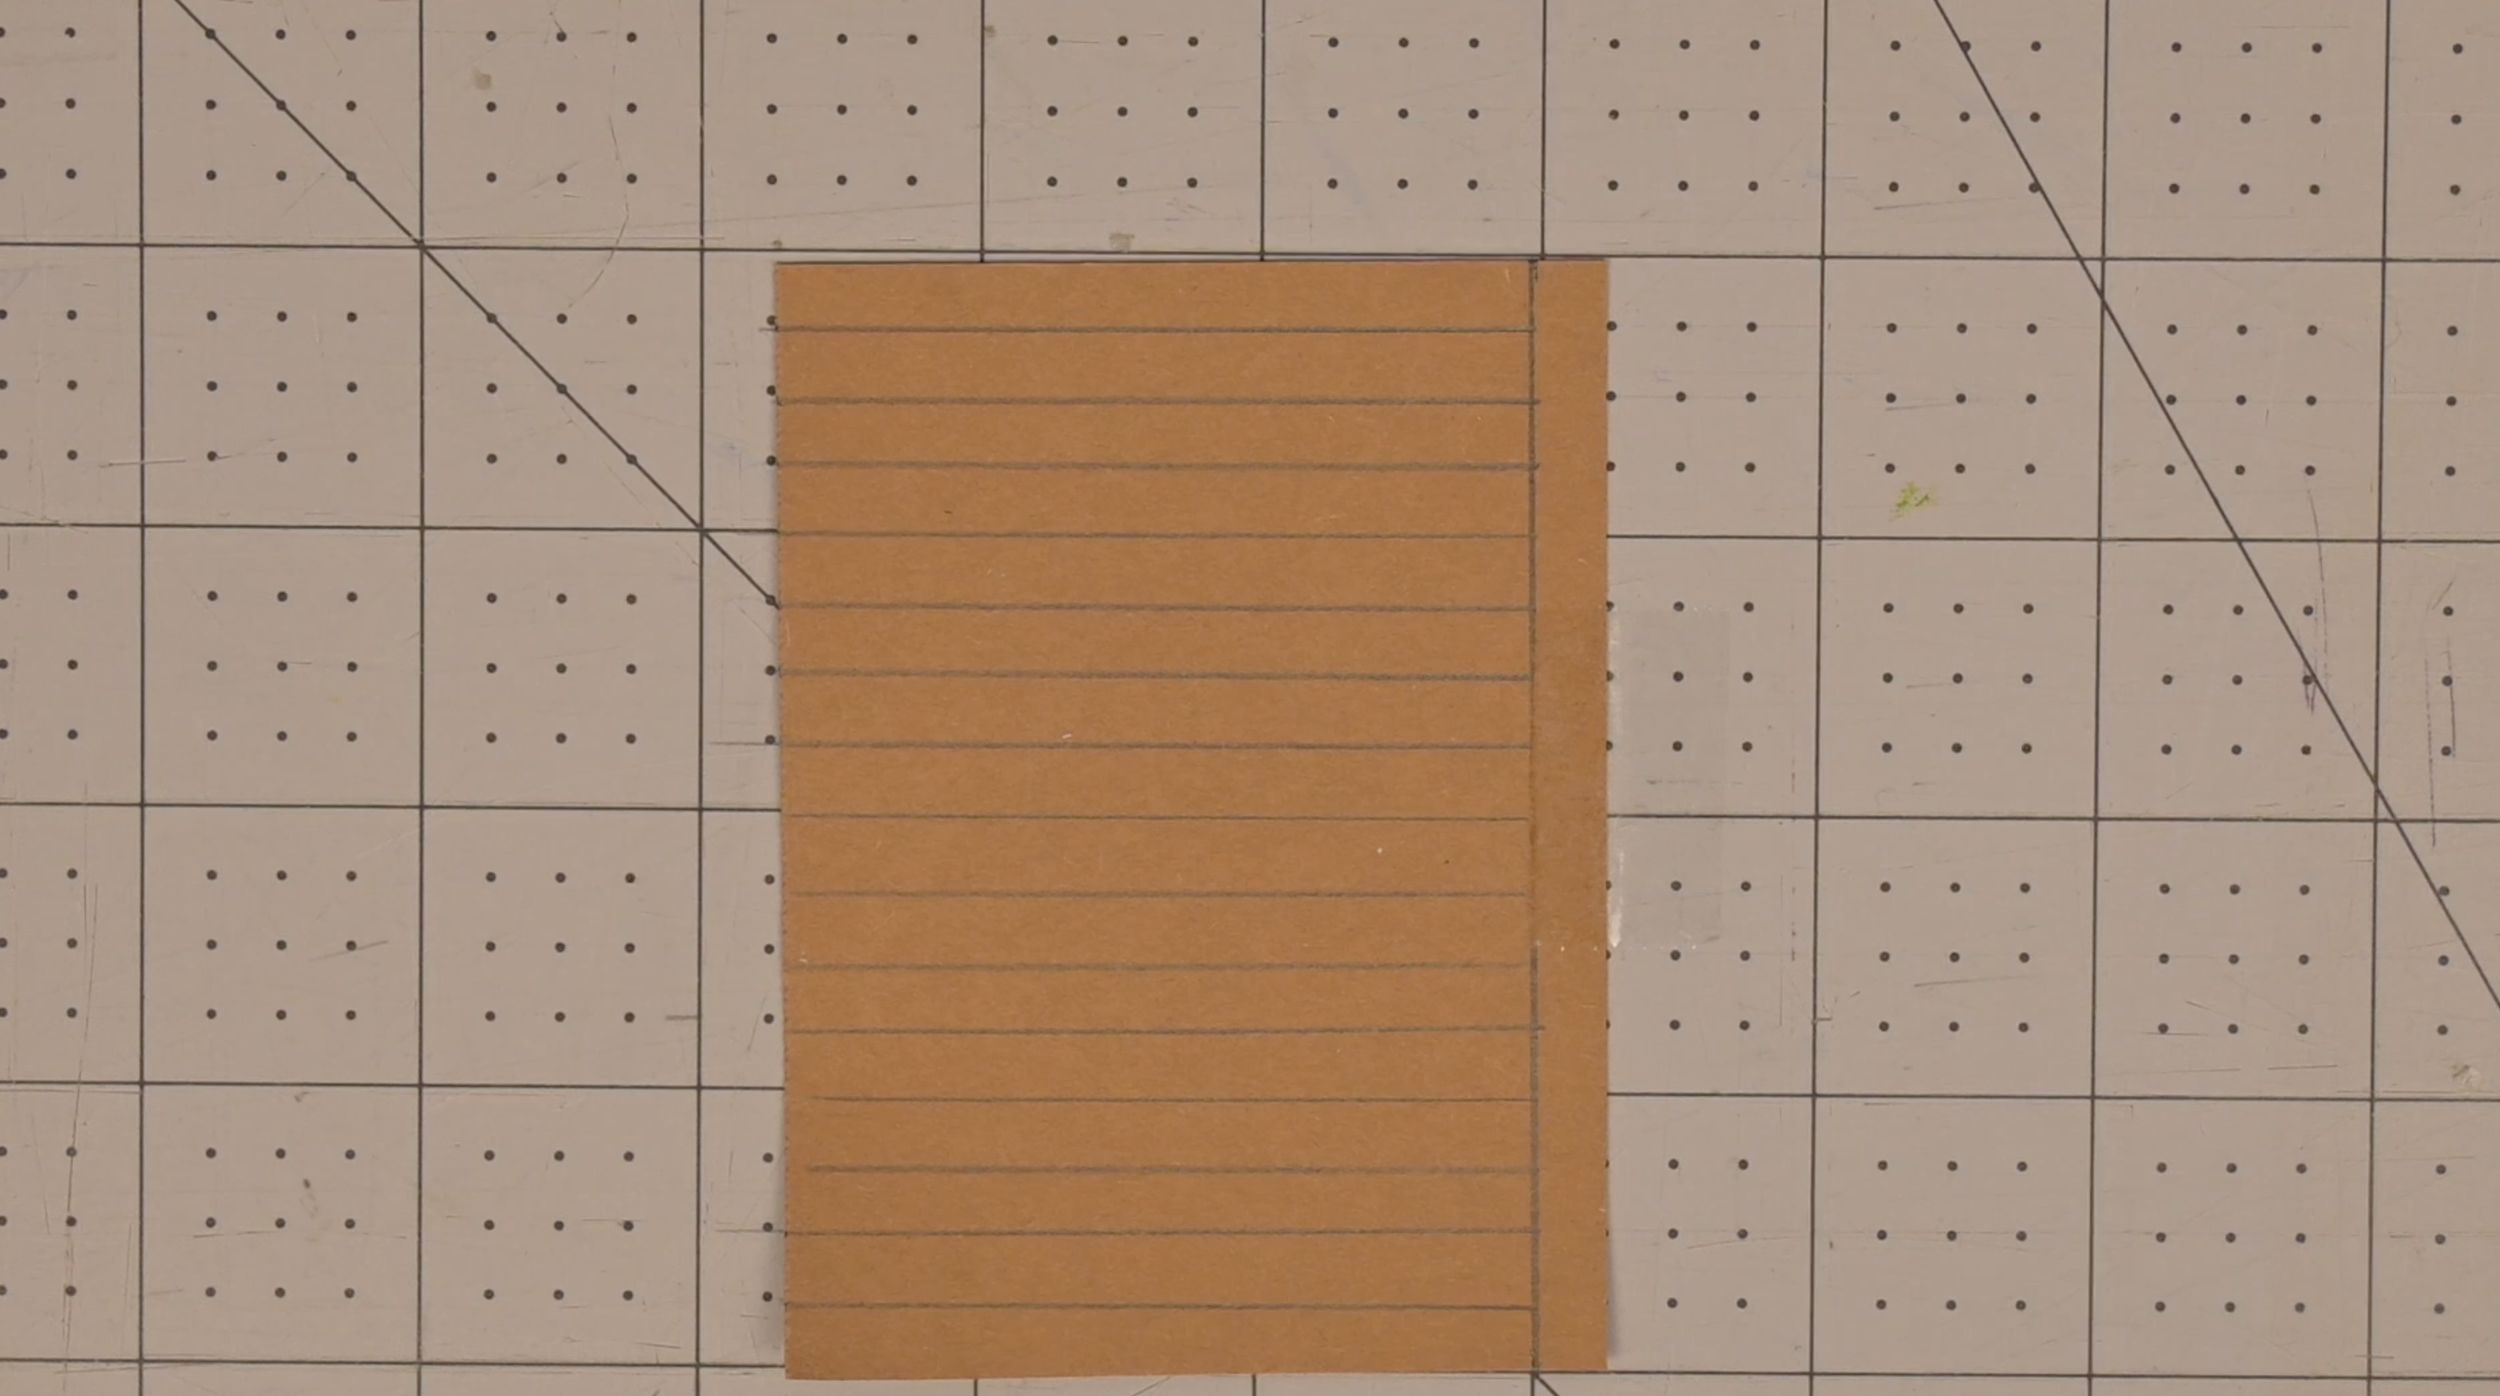
On the drawn line, measure in and mark every .25 inches
Repeat on the other side of the paper
Connect the corresponding lines
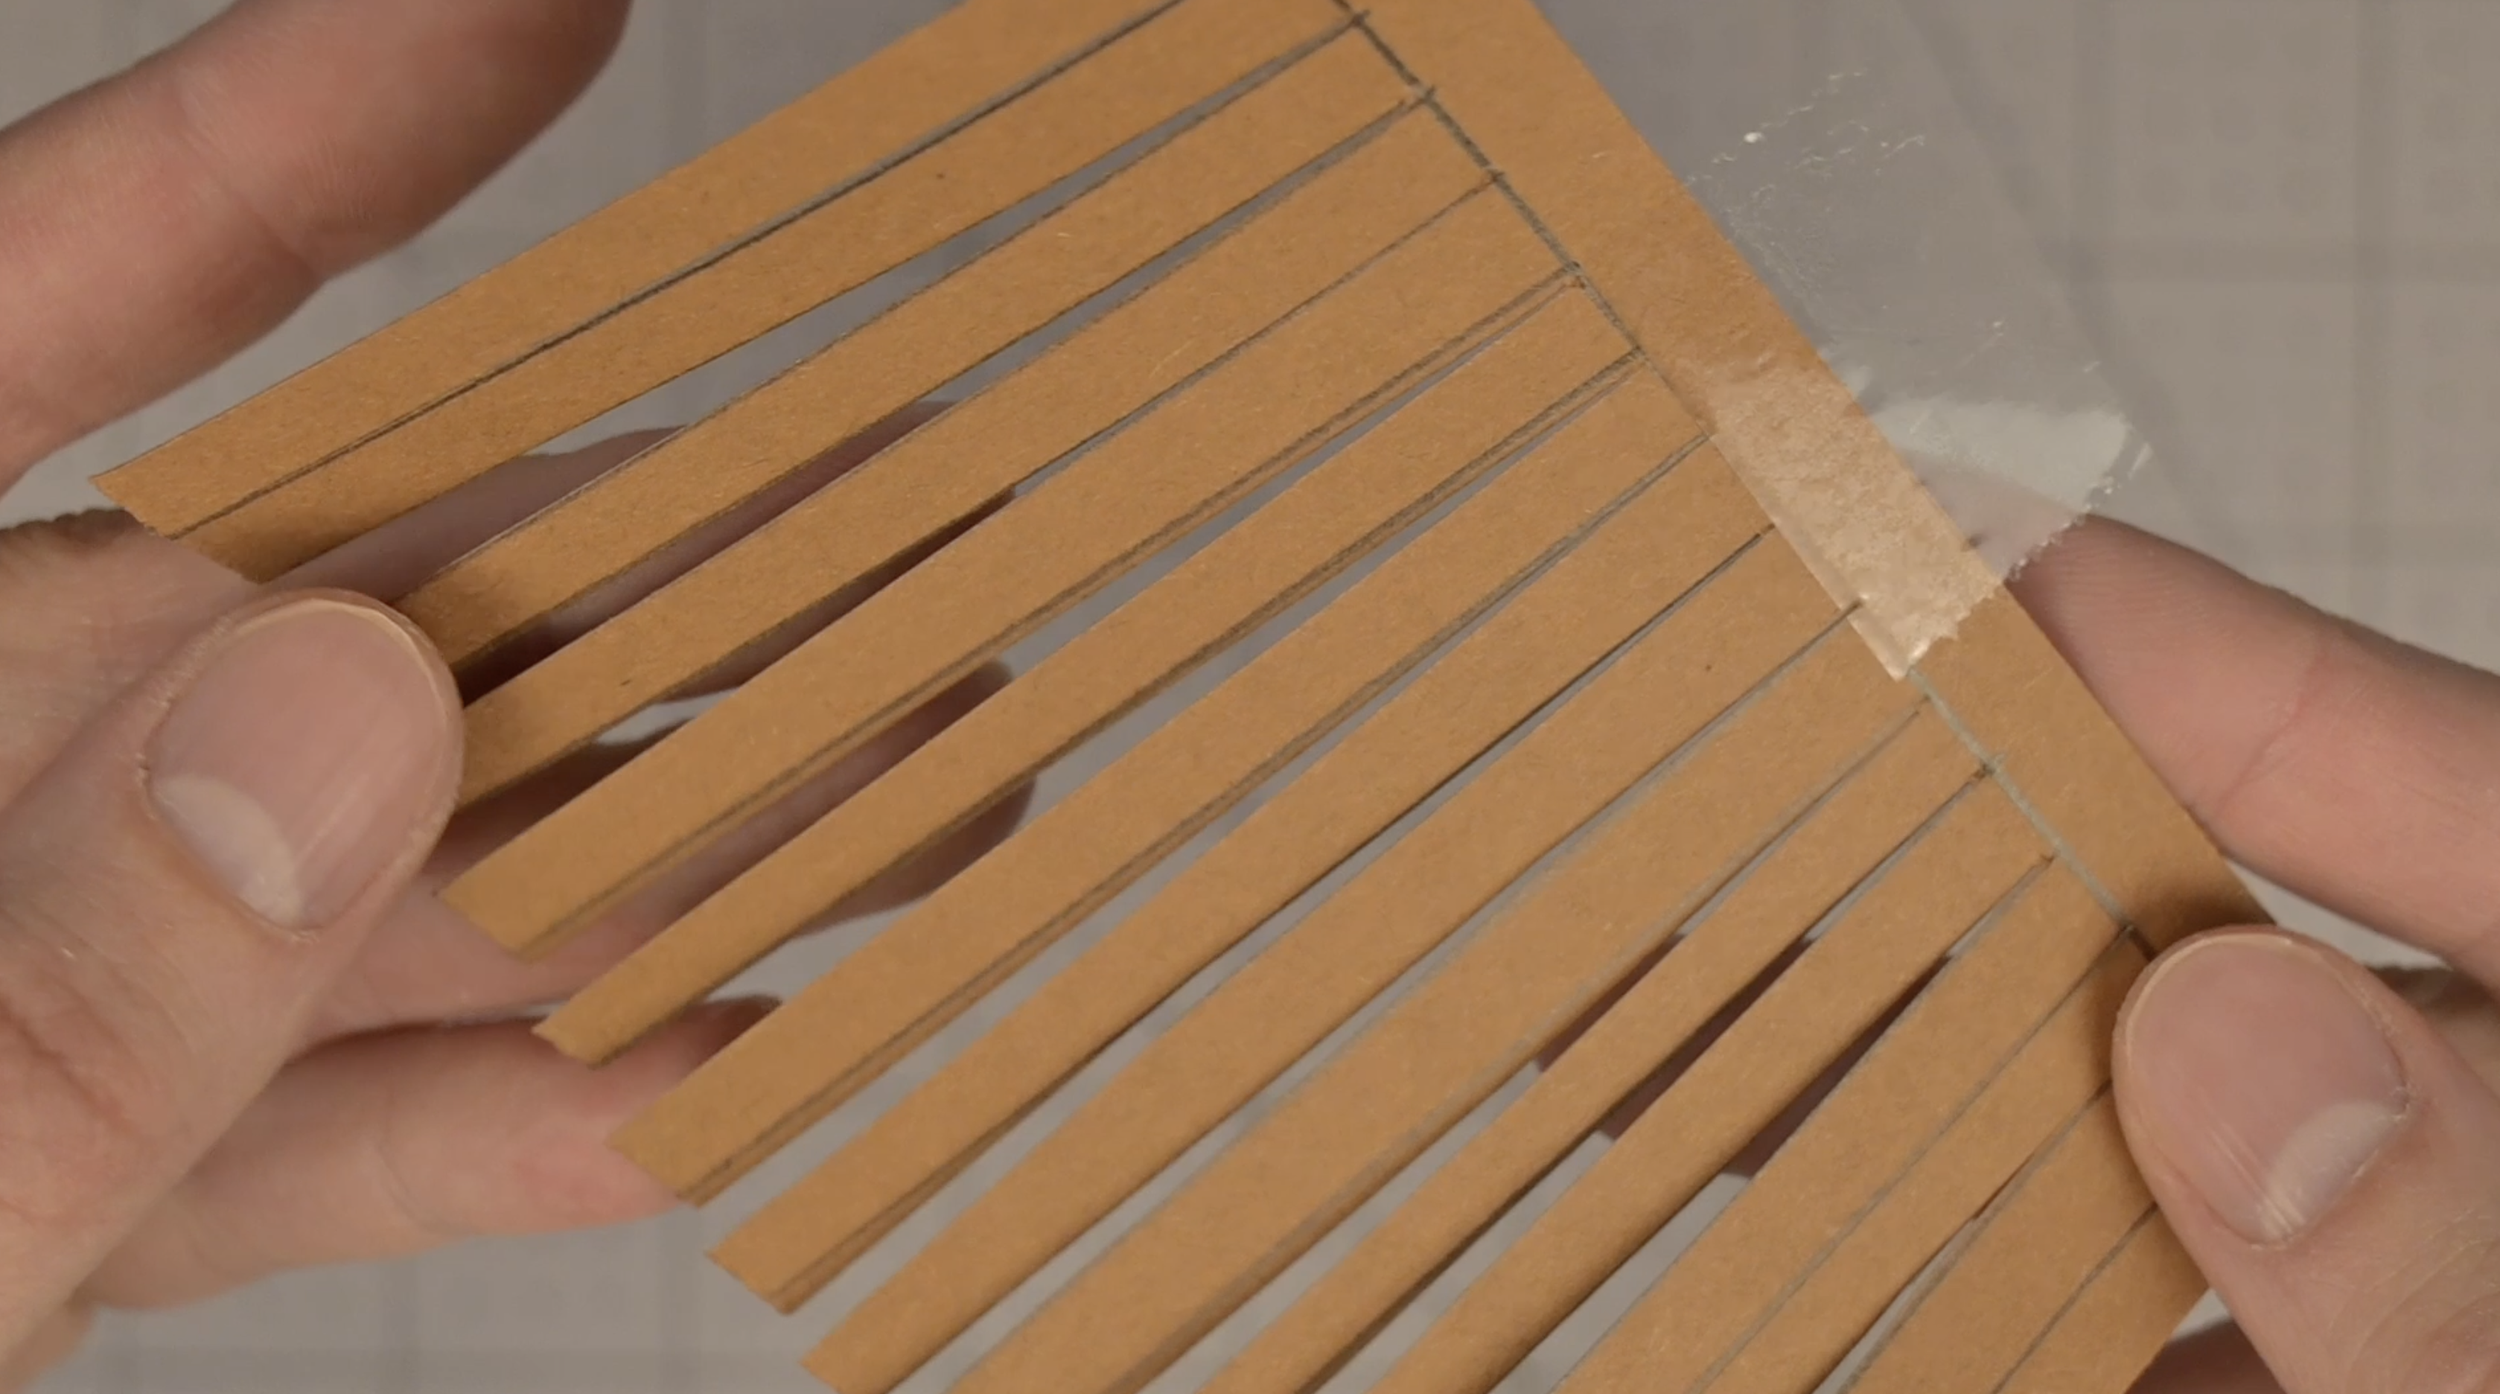
Using a scissors or craft knife, cut along these vertical line
Important: Do not cut past the horizontal guideline you drew! This keeps your strips connected on one side
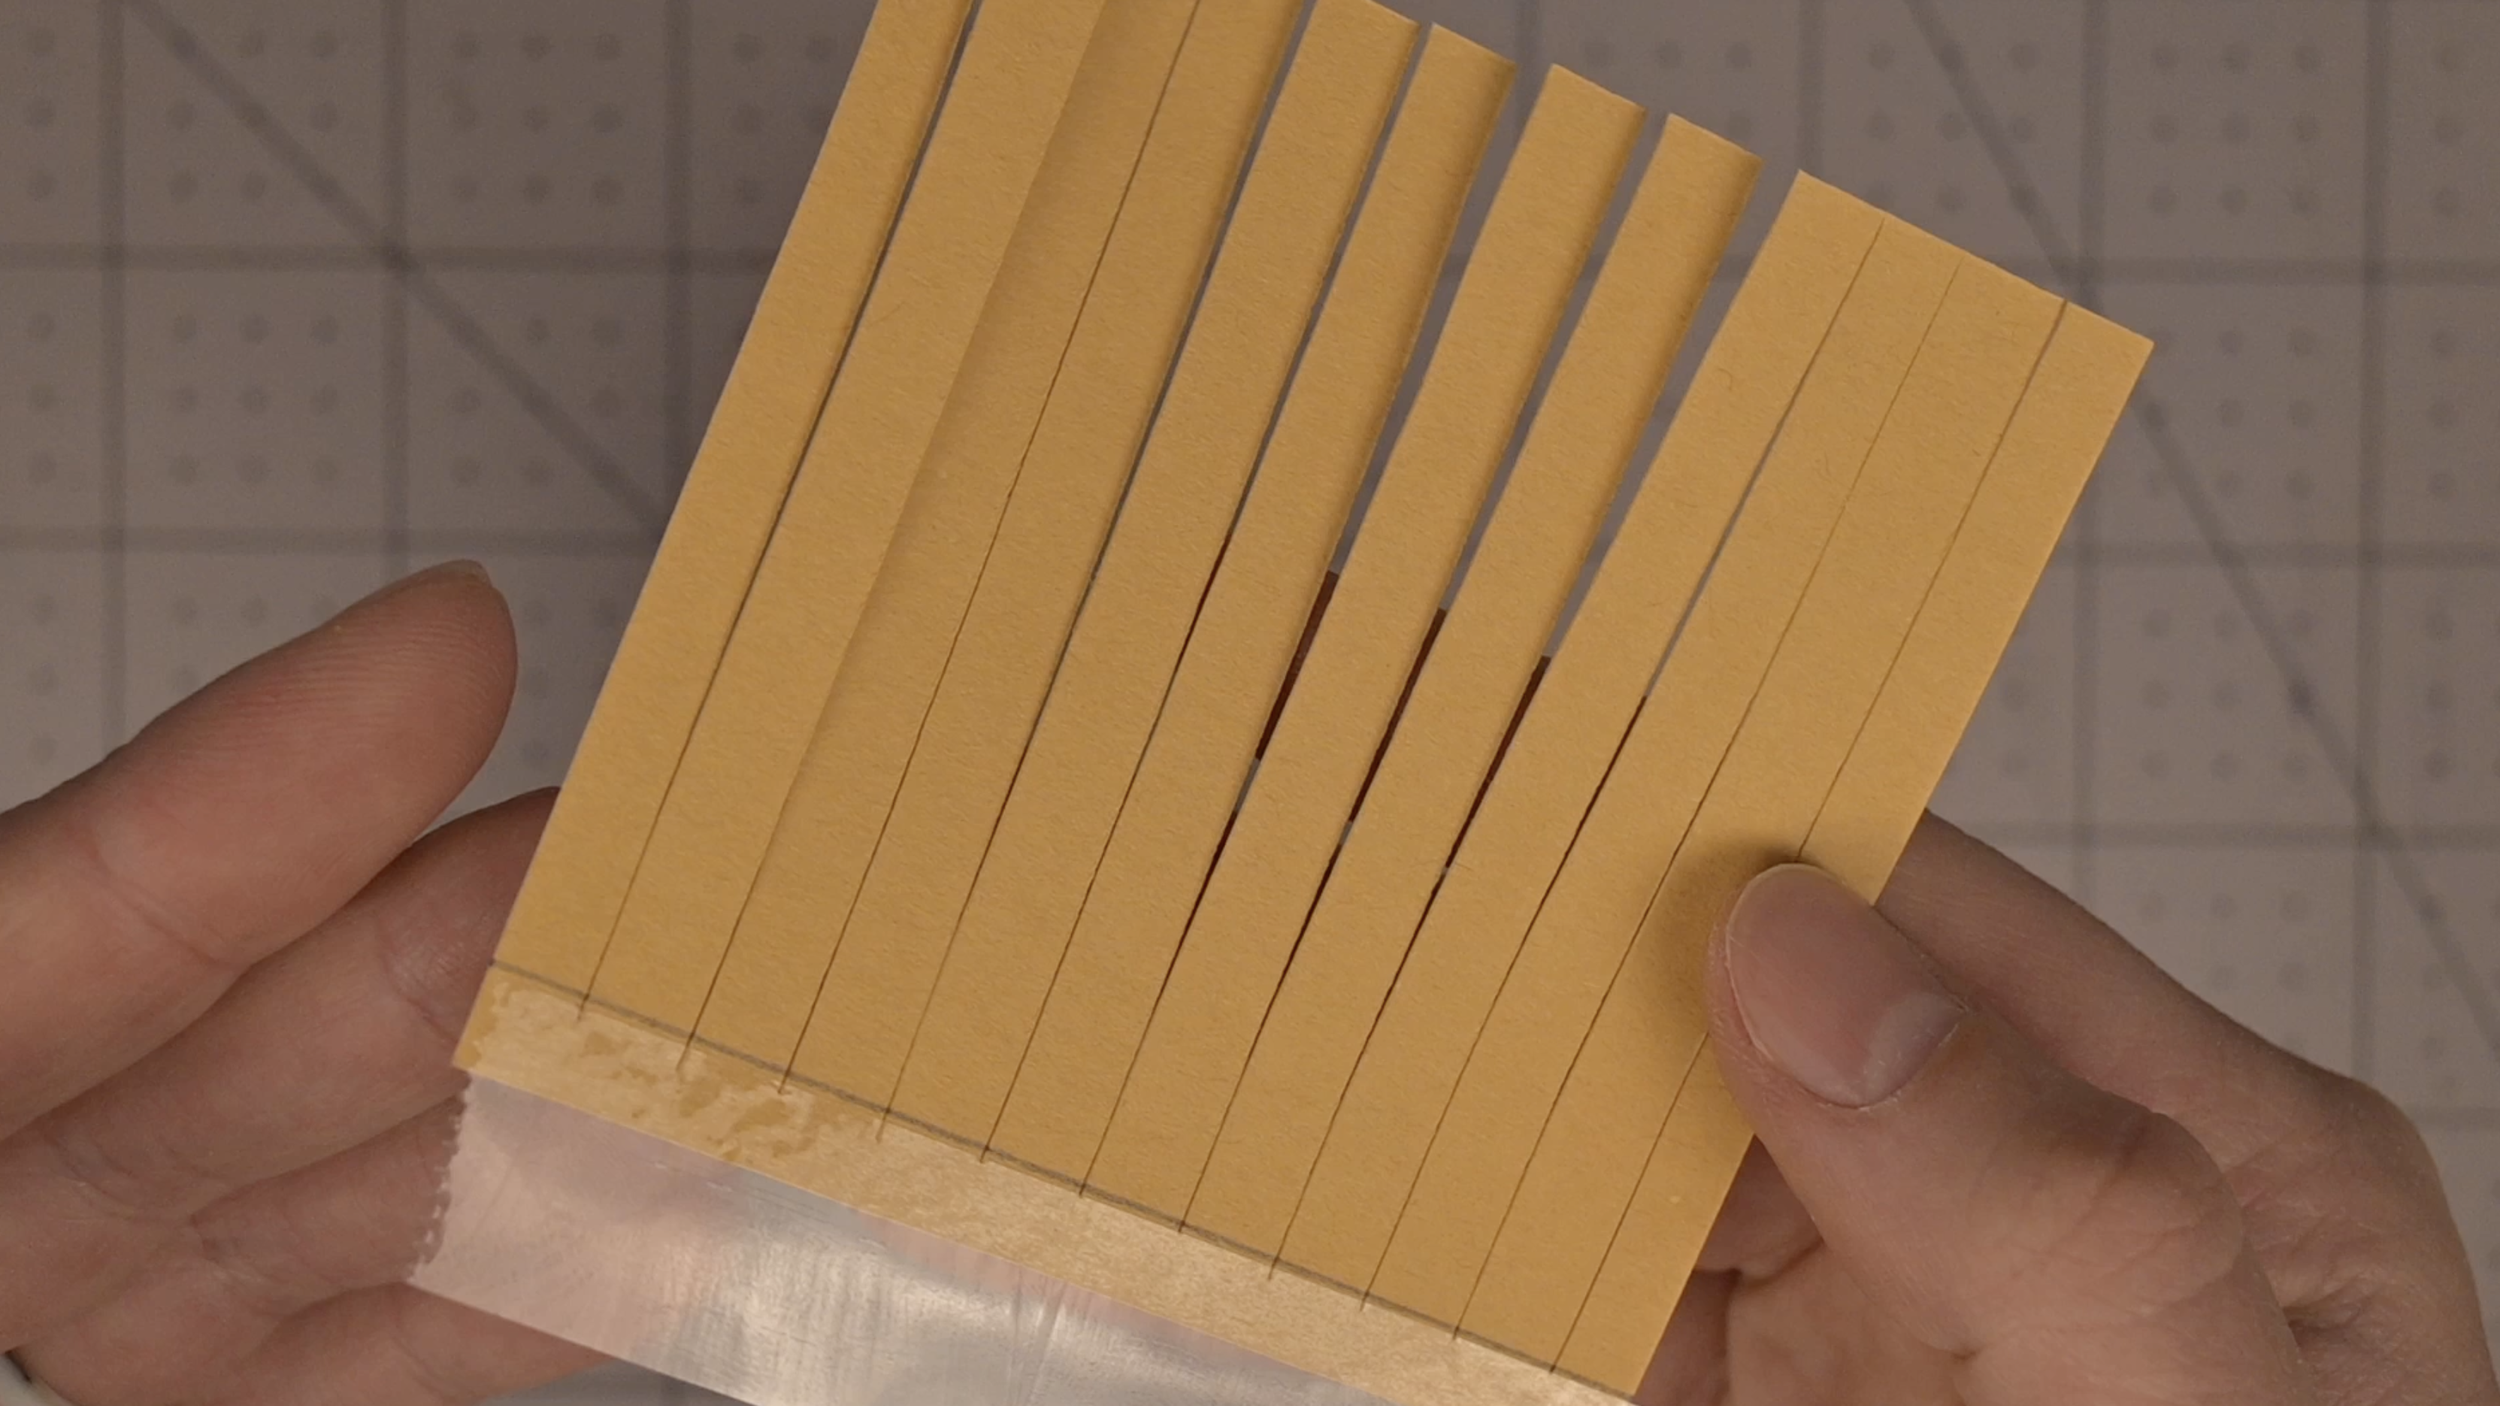
Repeat this process on one of the acorn base pieces
Step 4: Prepare the Weaving Strip for Weaving
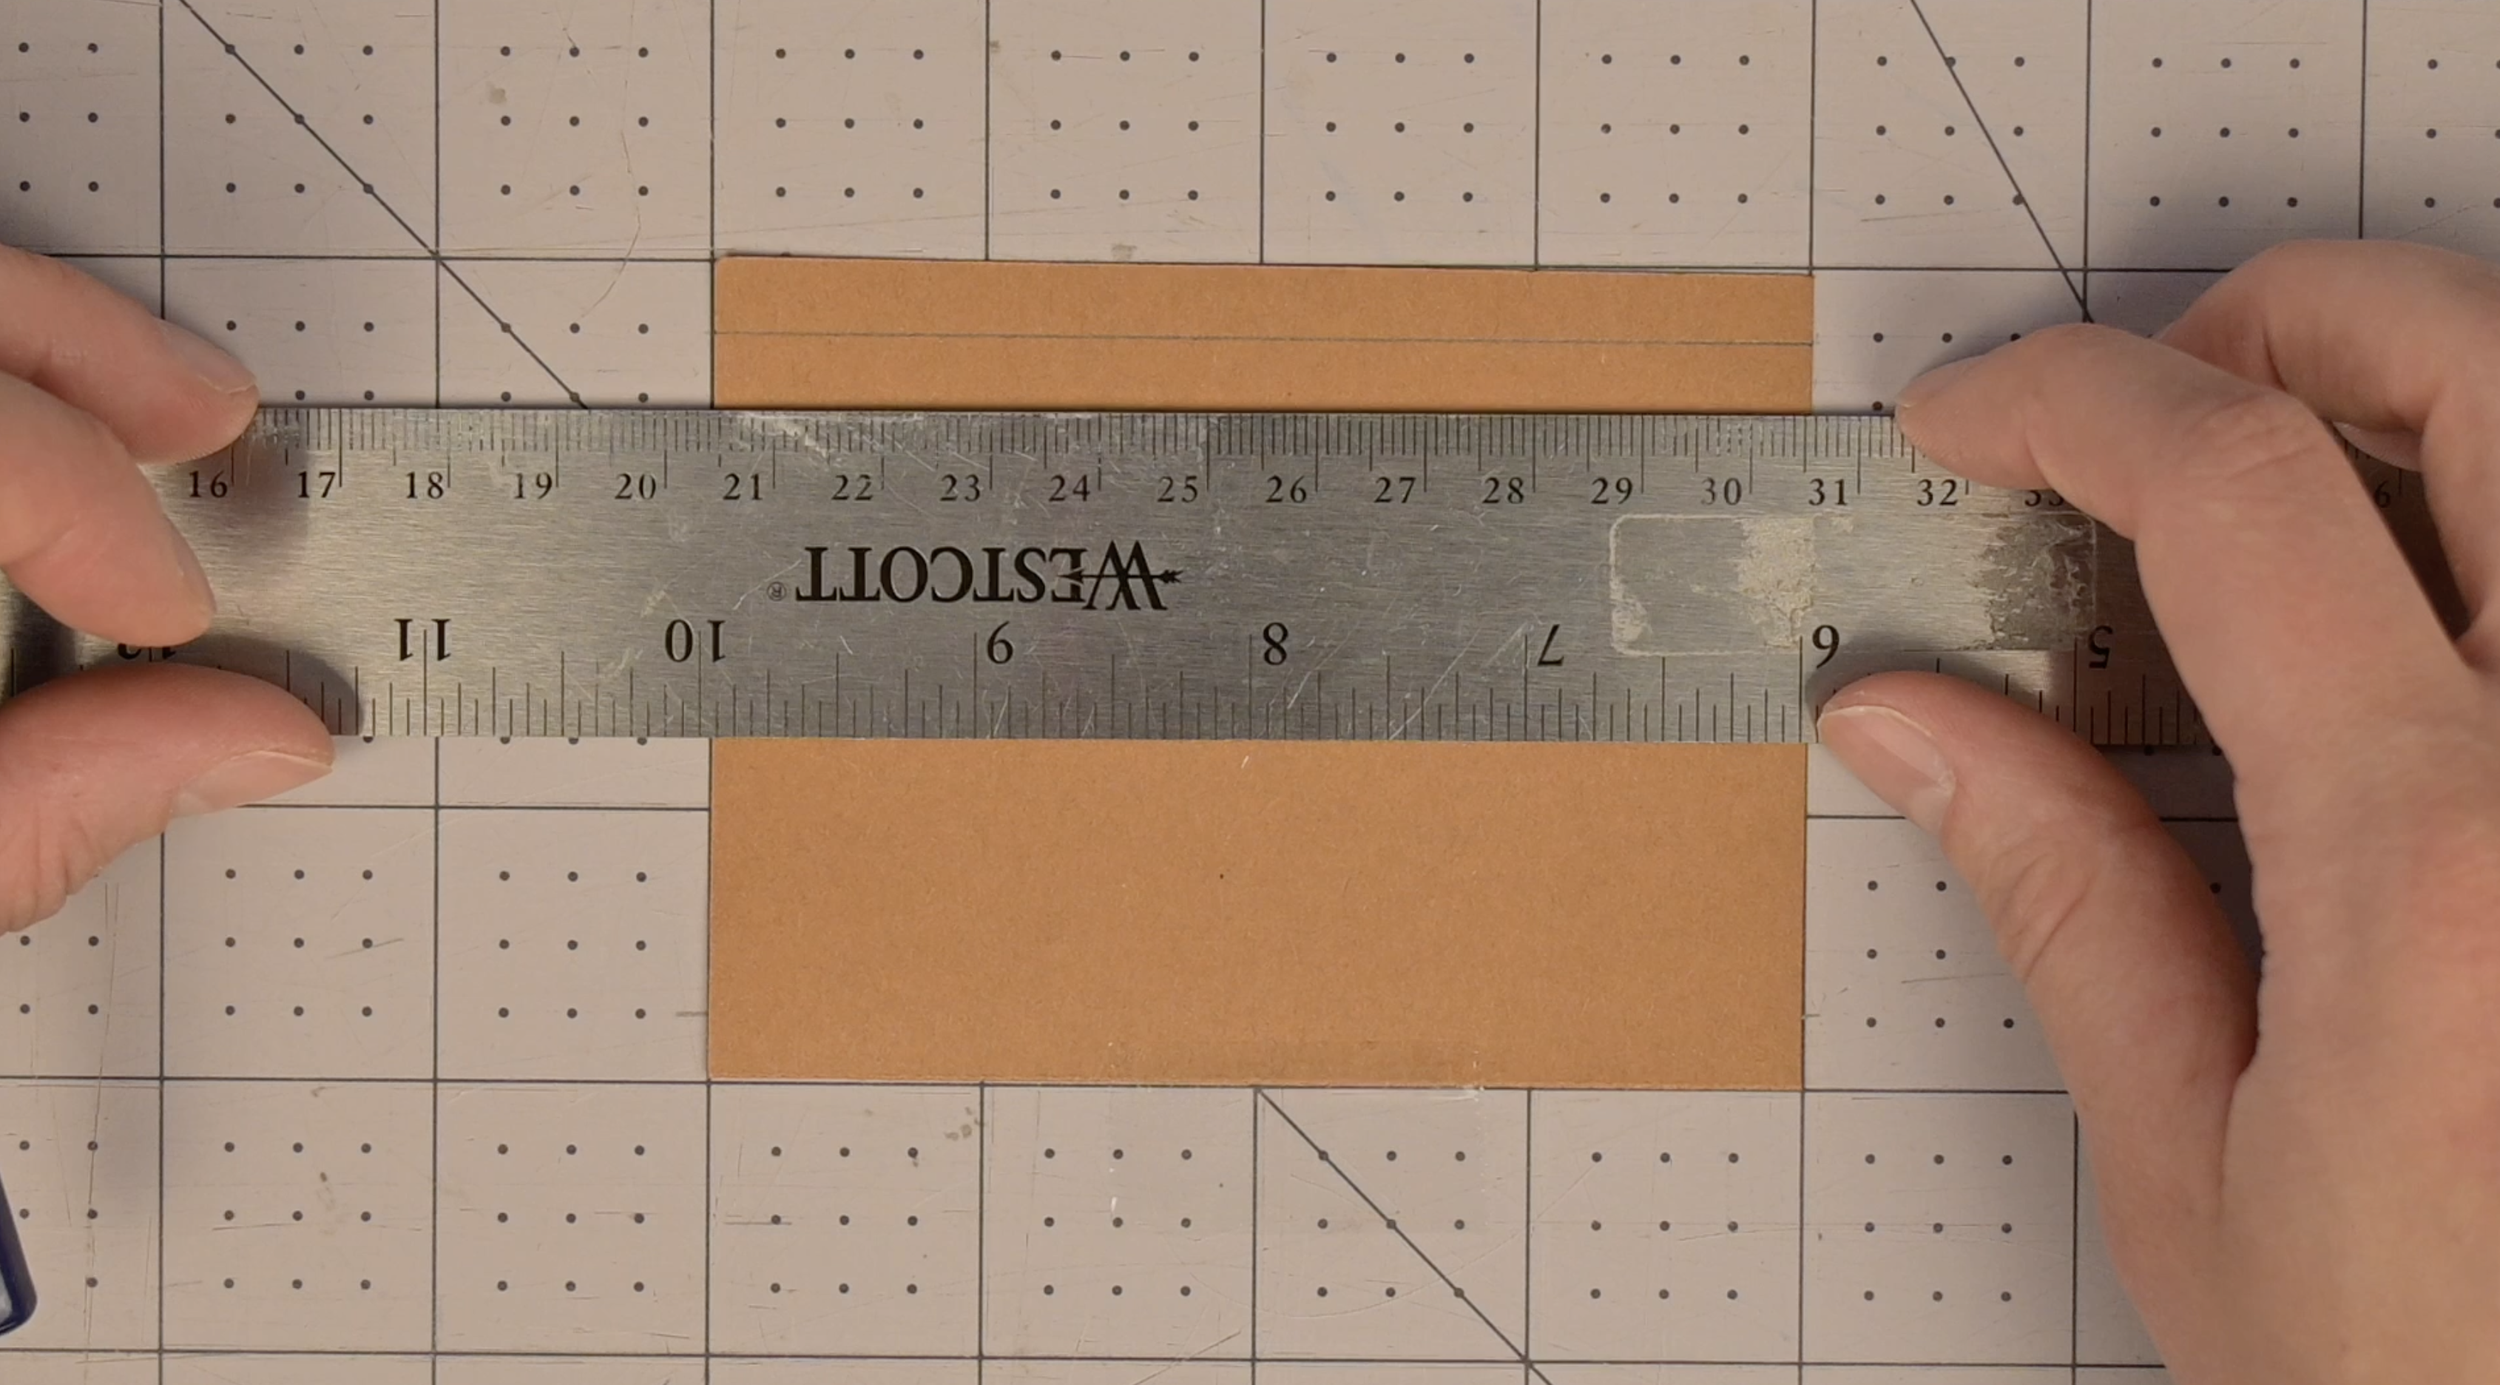
Take the other acorn top pieces measure in and mark every .25 inches
Repeat on the other side of the paper
Connect the corresponding lines
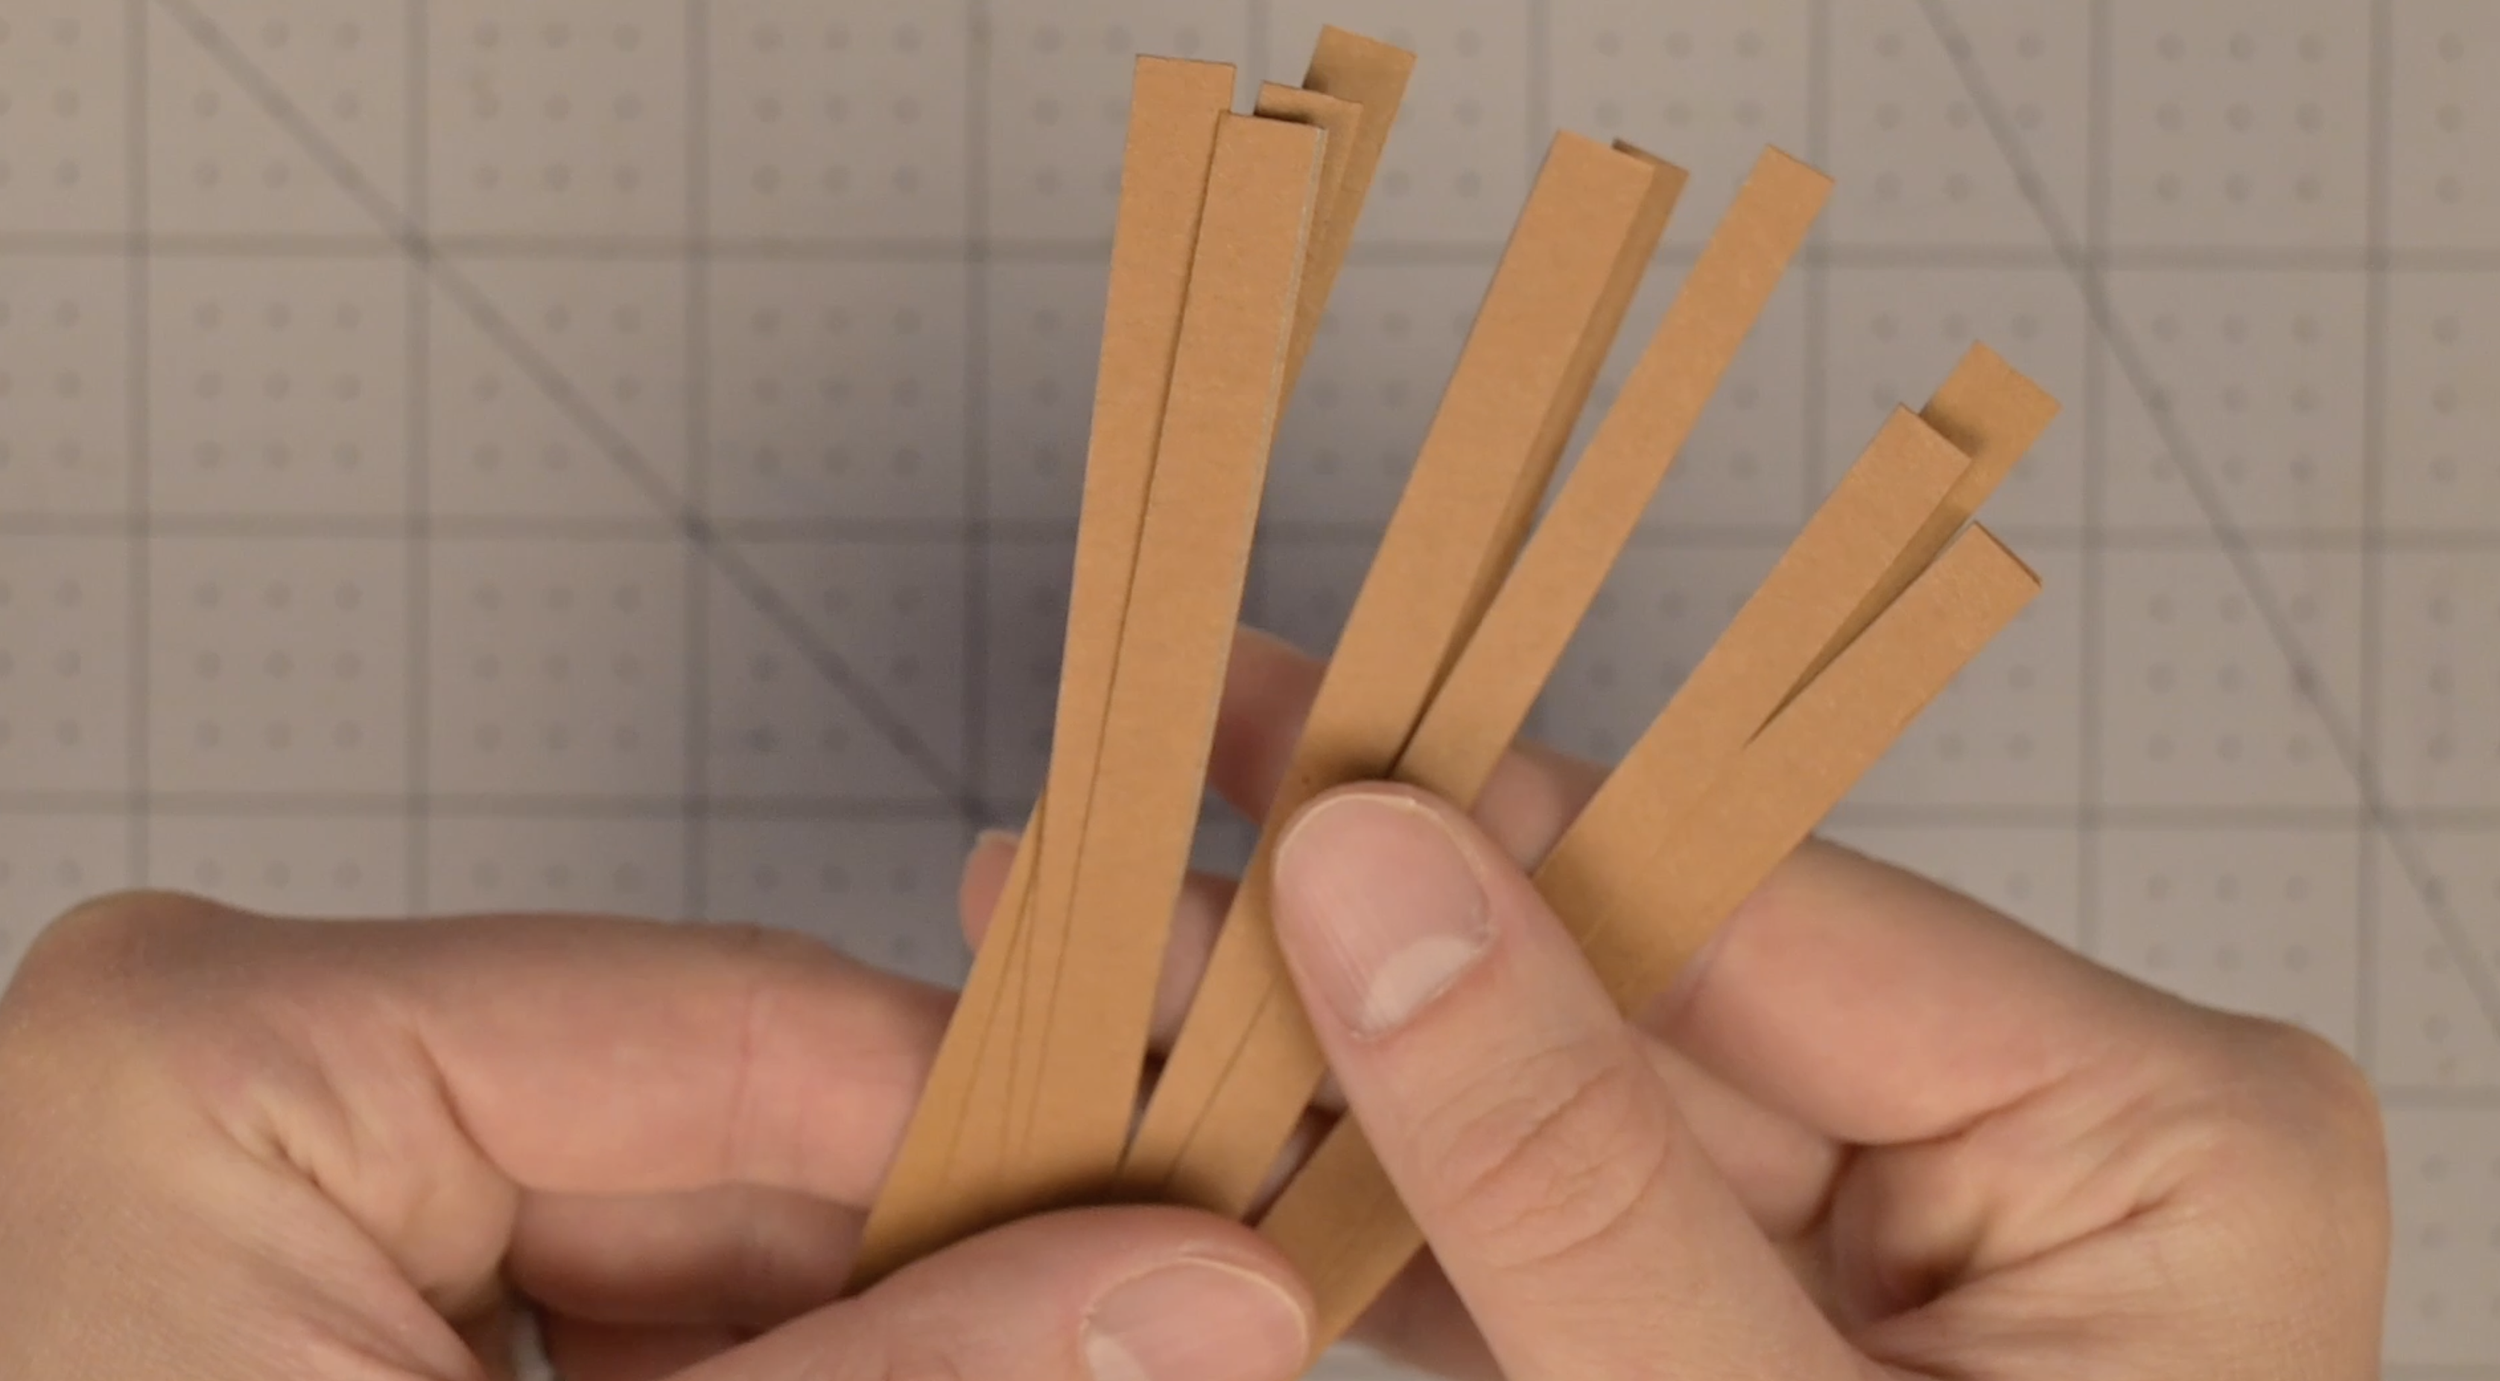
Using a scissors or craft knife, cut along the vertical lines
Repeat this process on the other acorn base piece
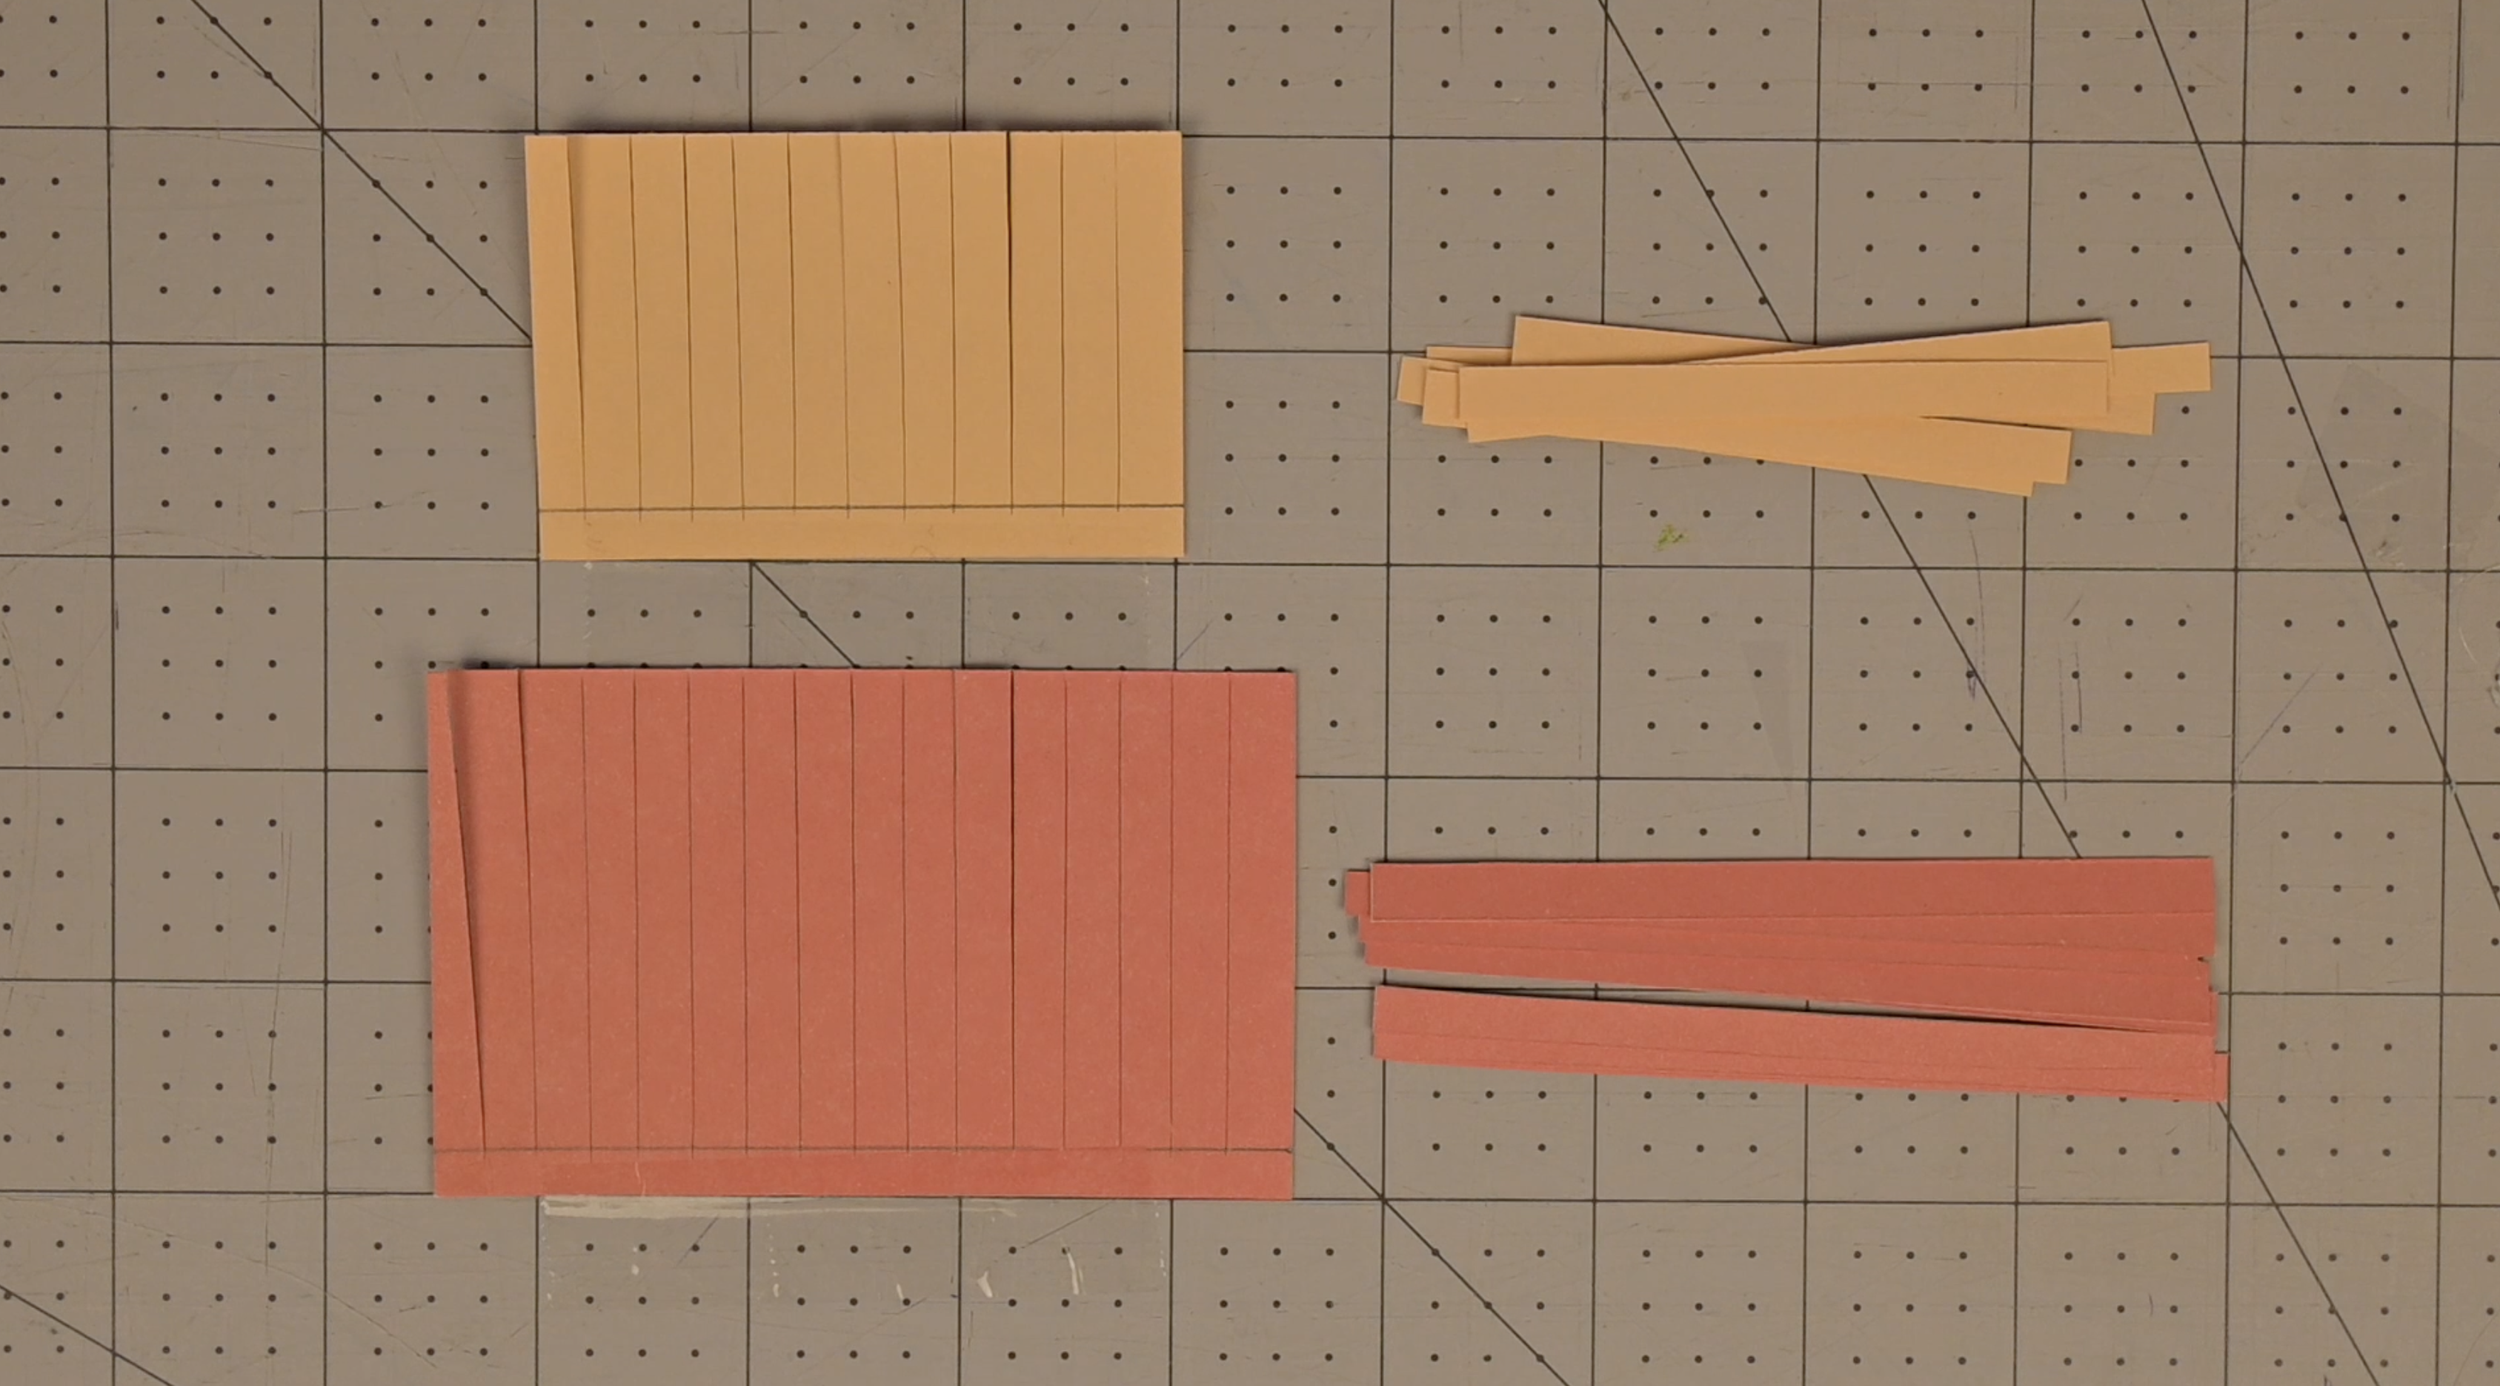
Update: Mushroom Progress
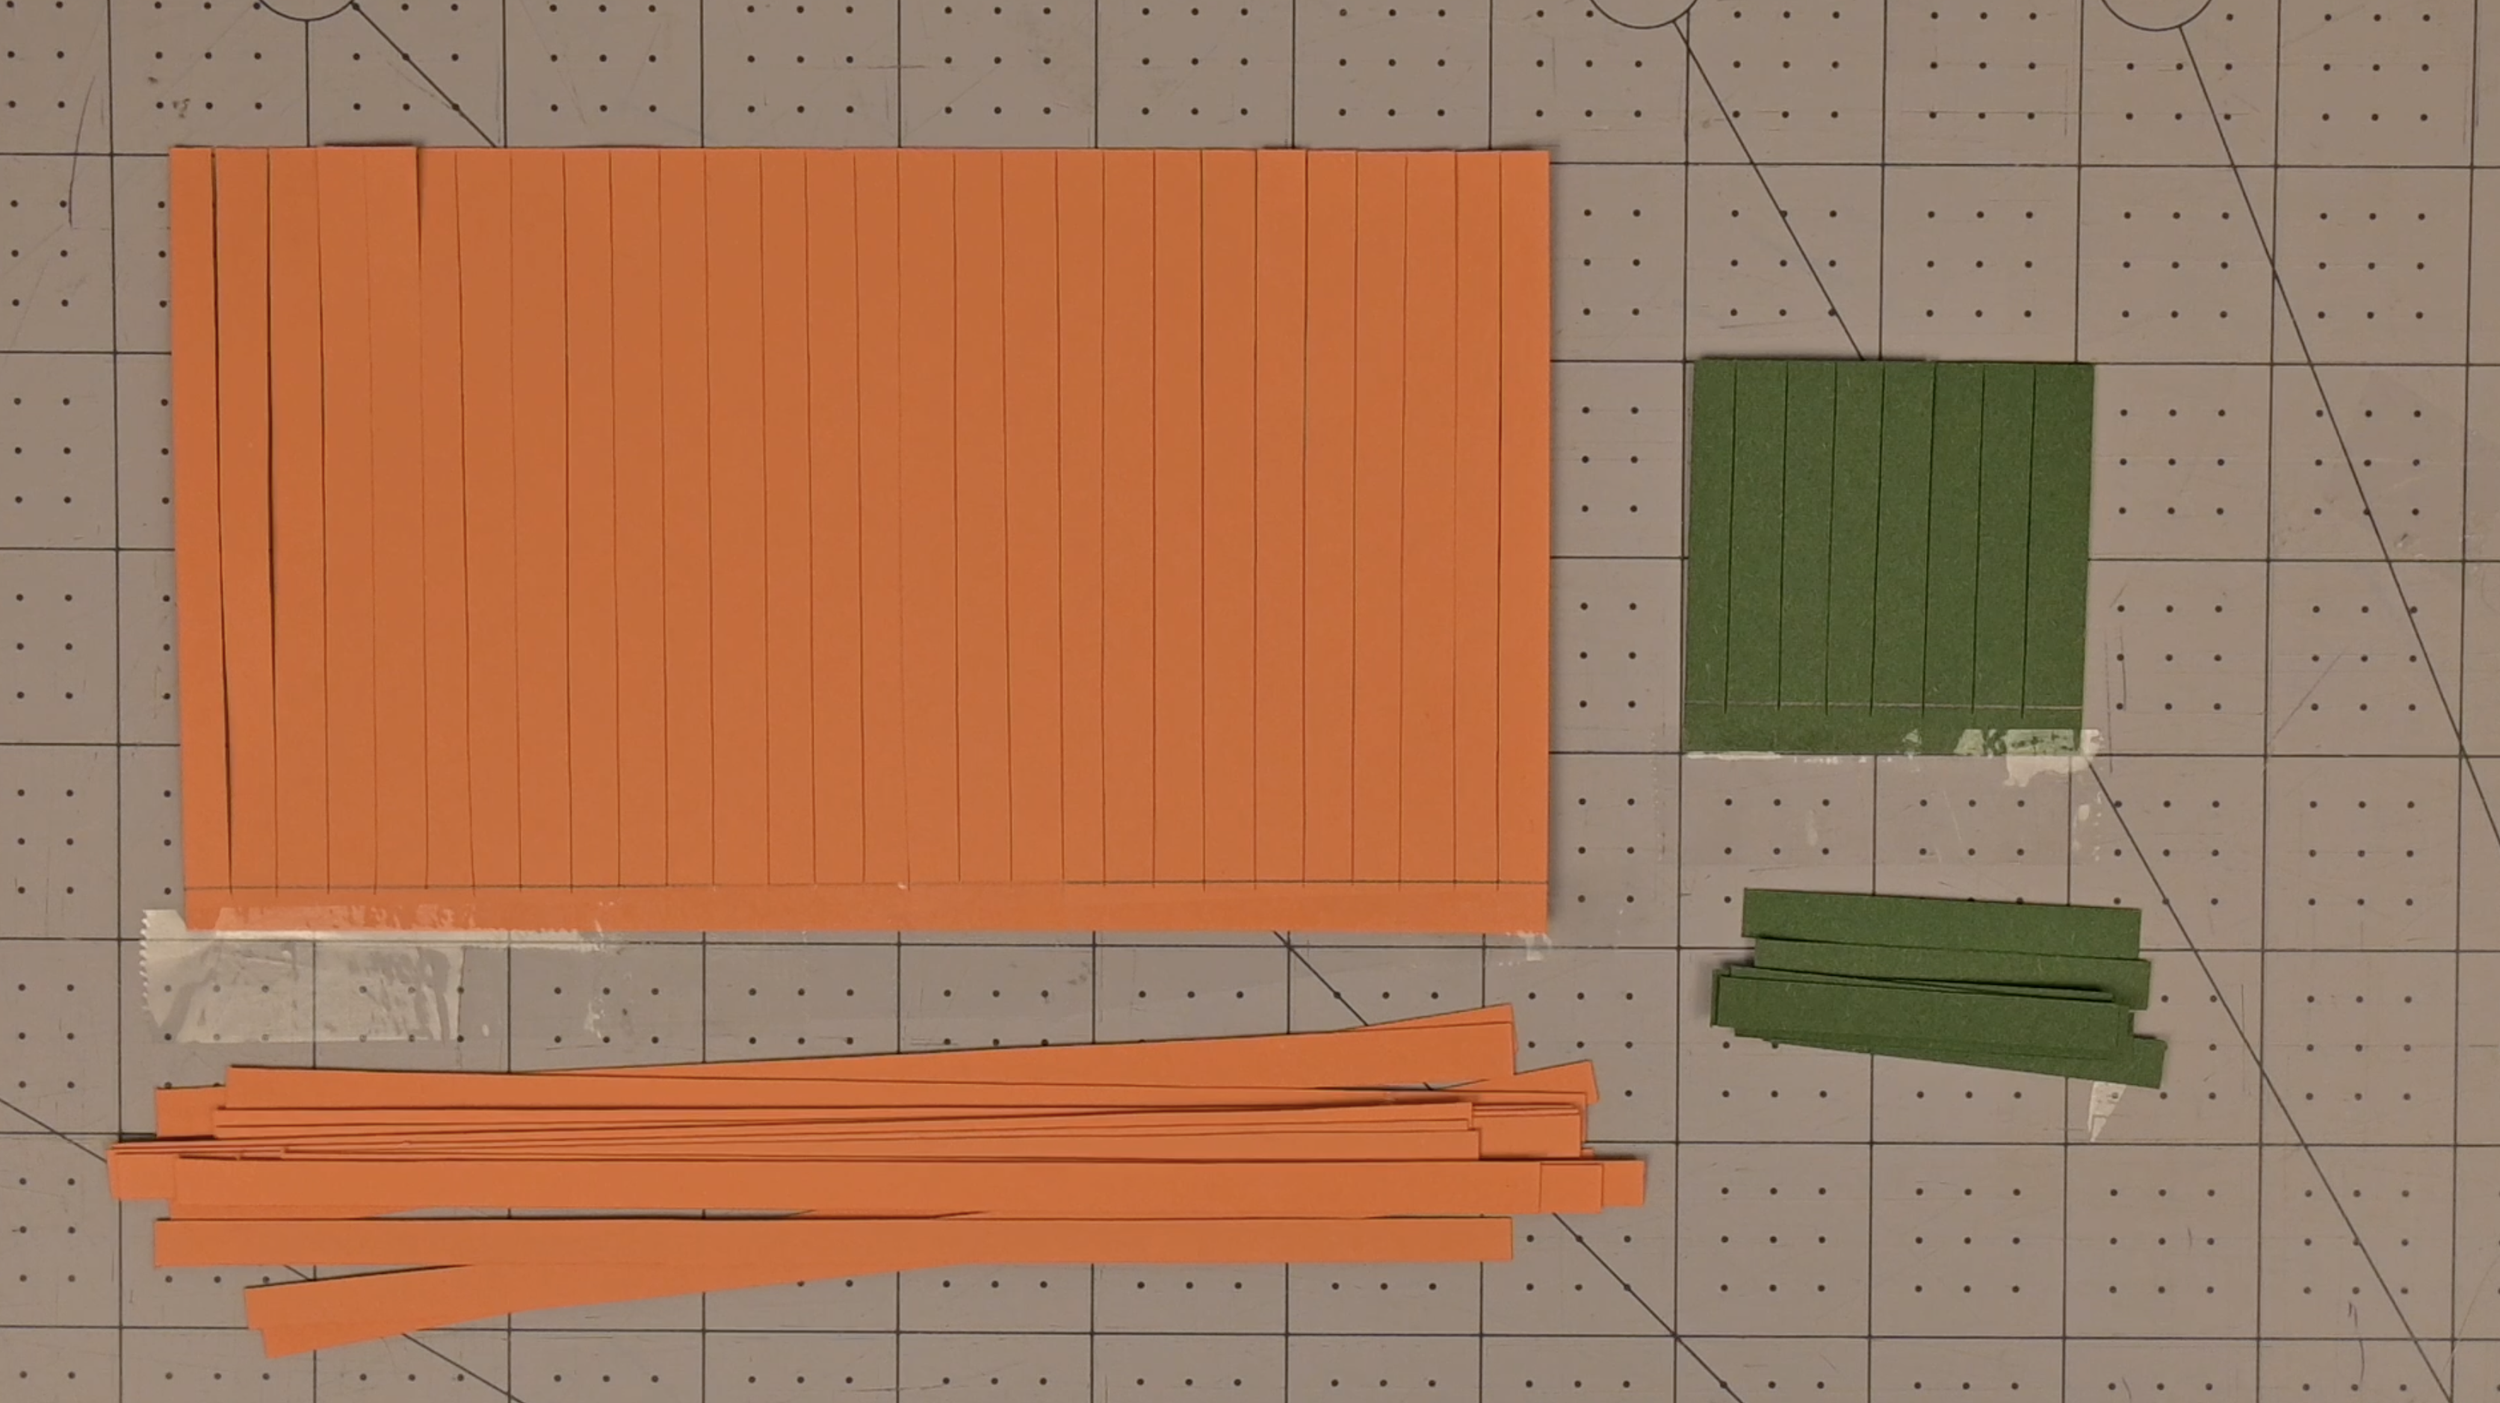
Update: Pumpkin Progress
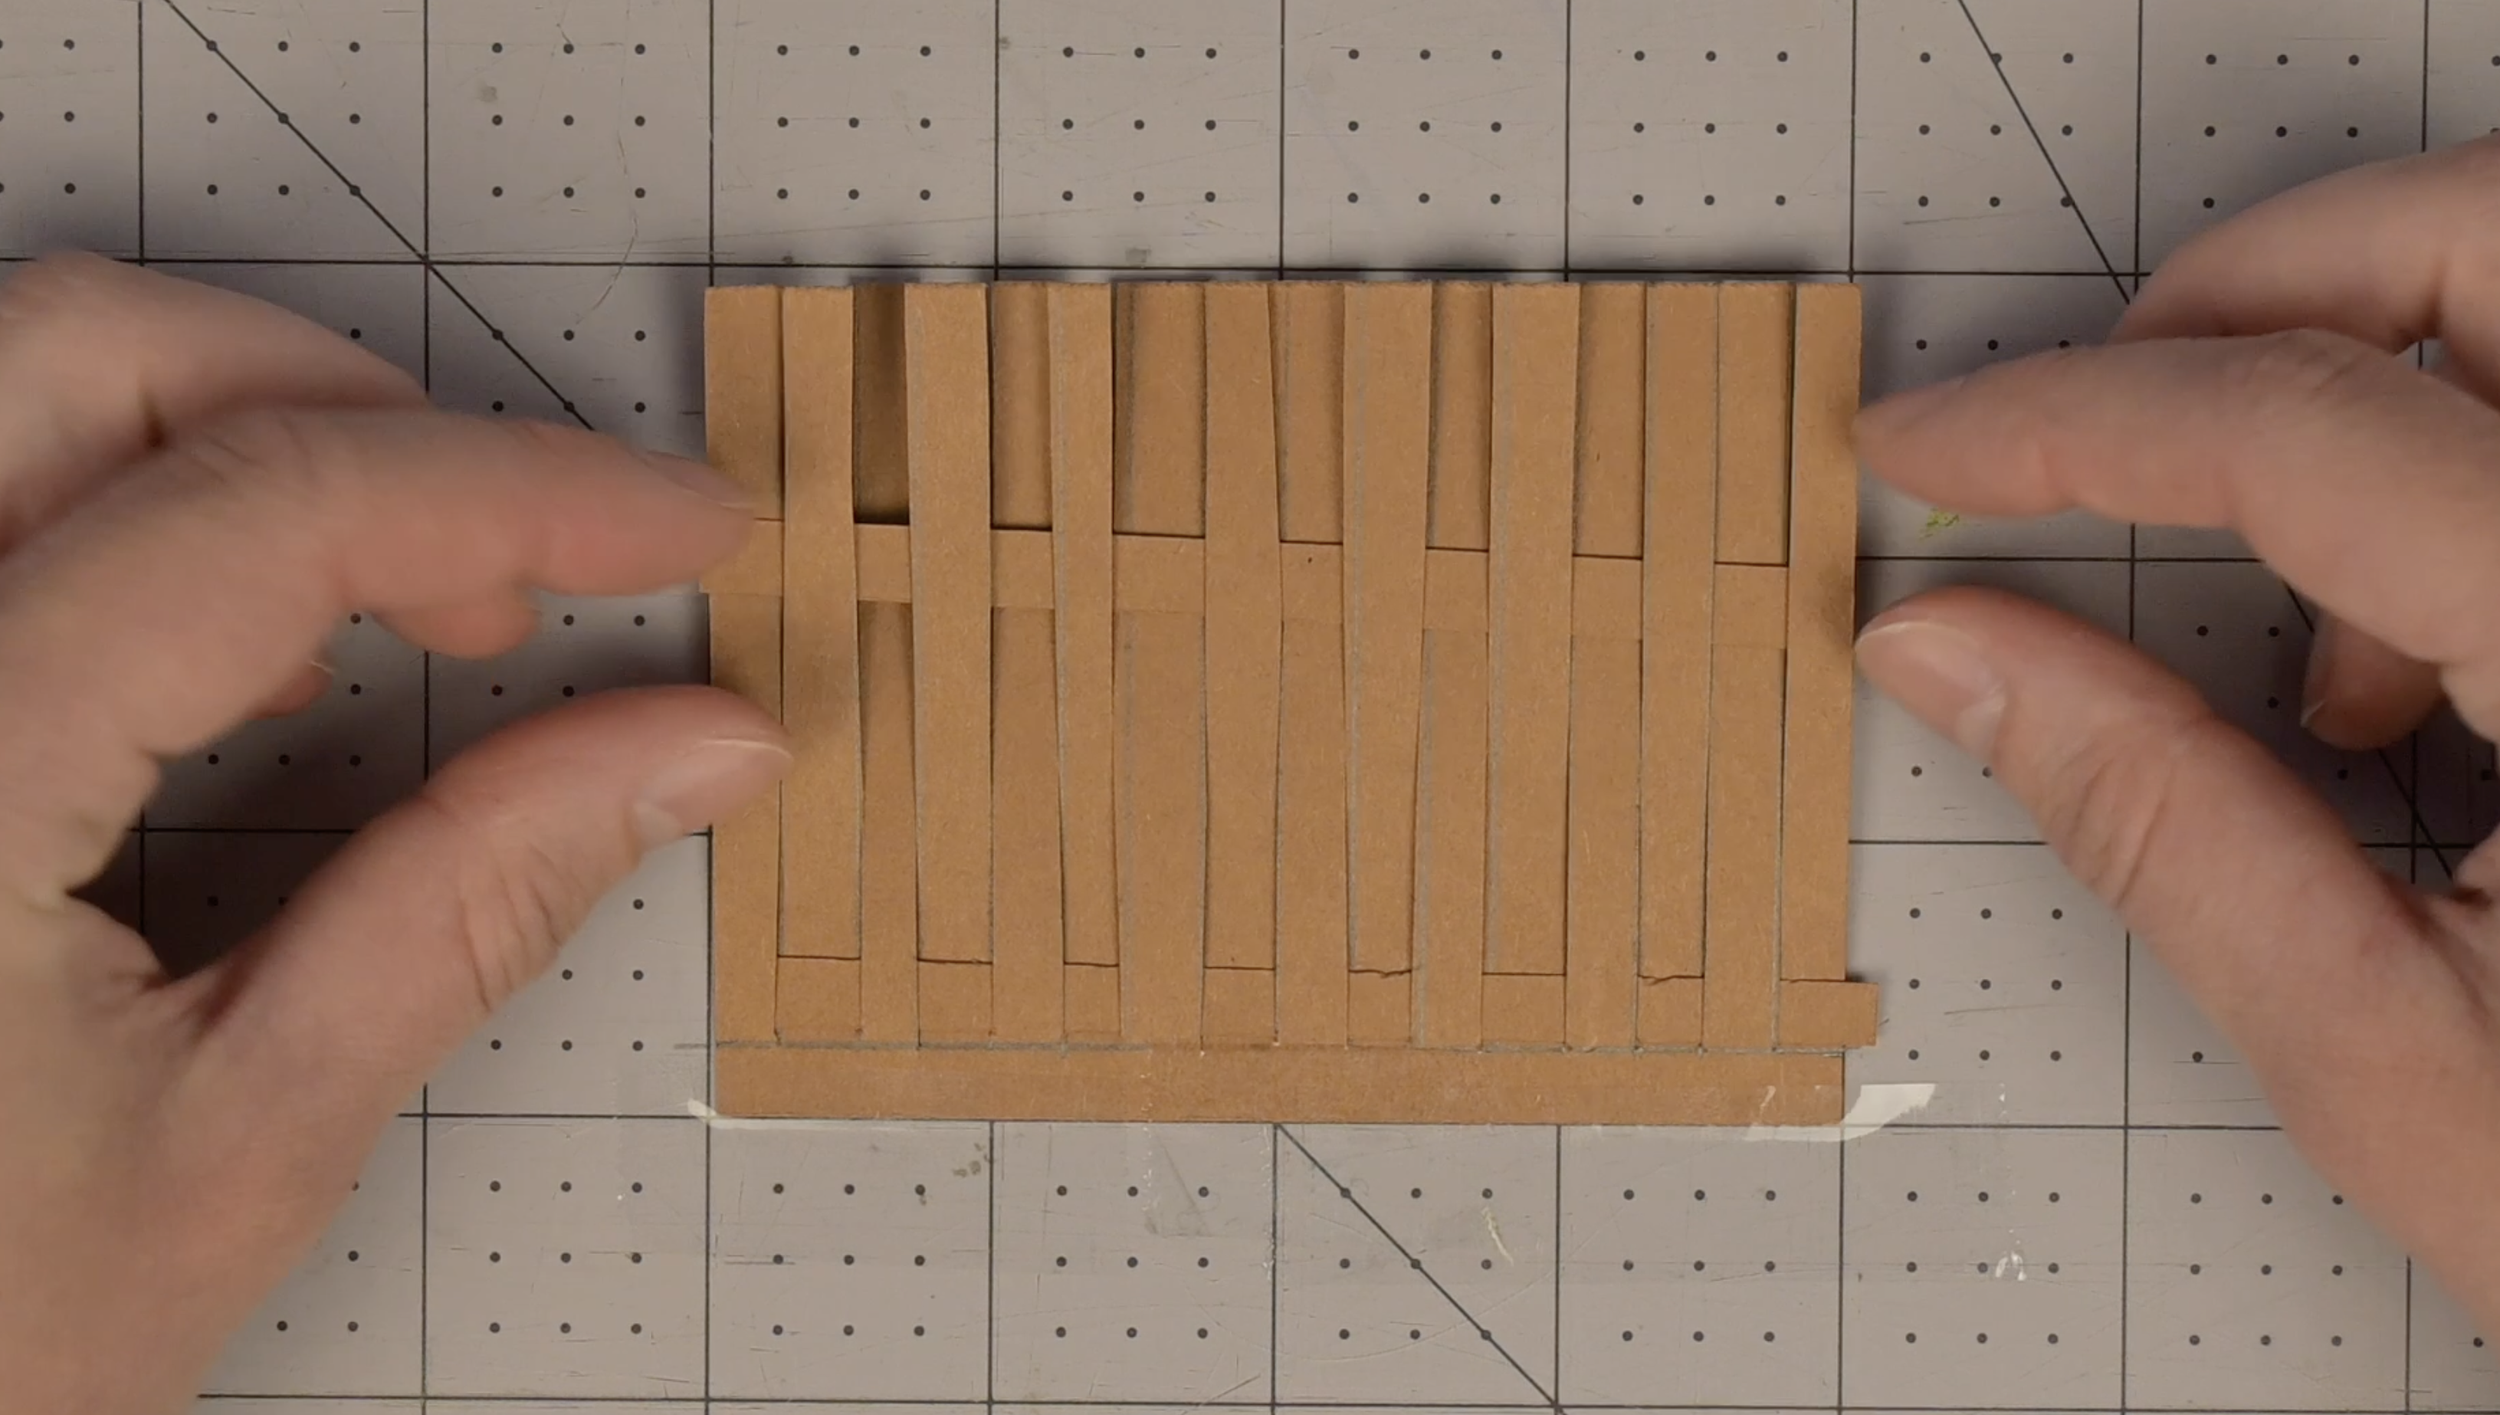
Step 5: Weave the Paper
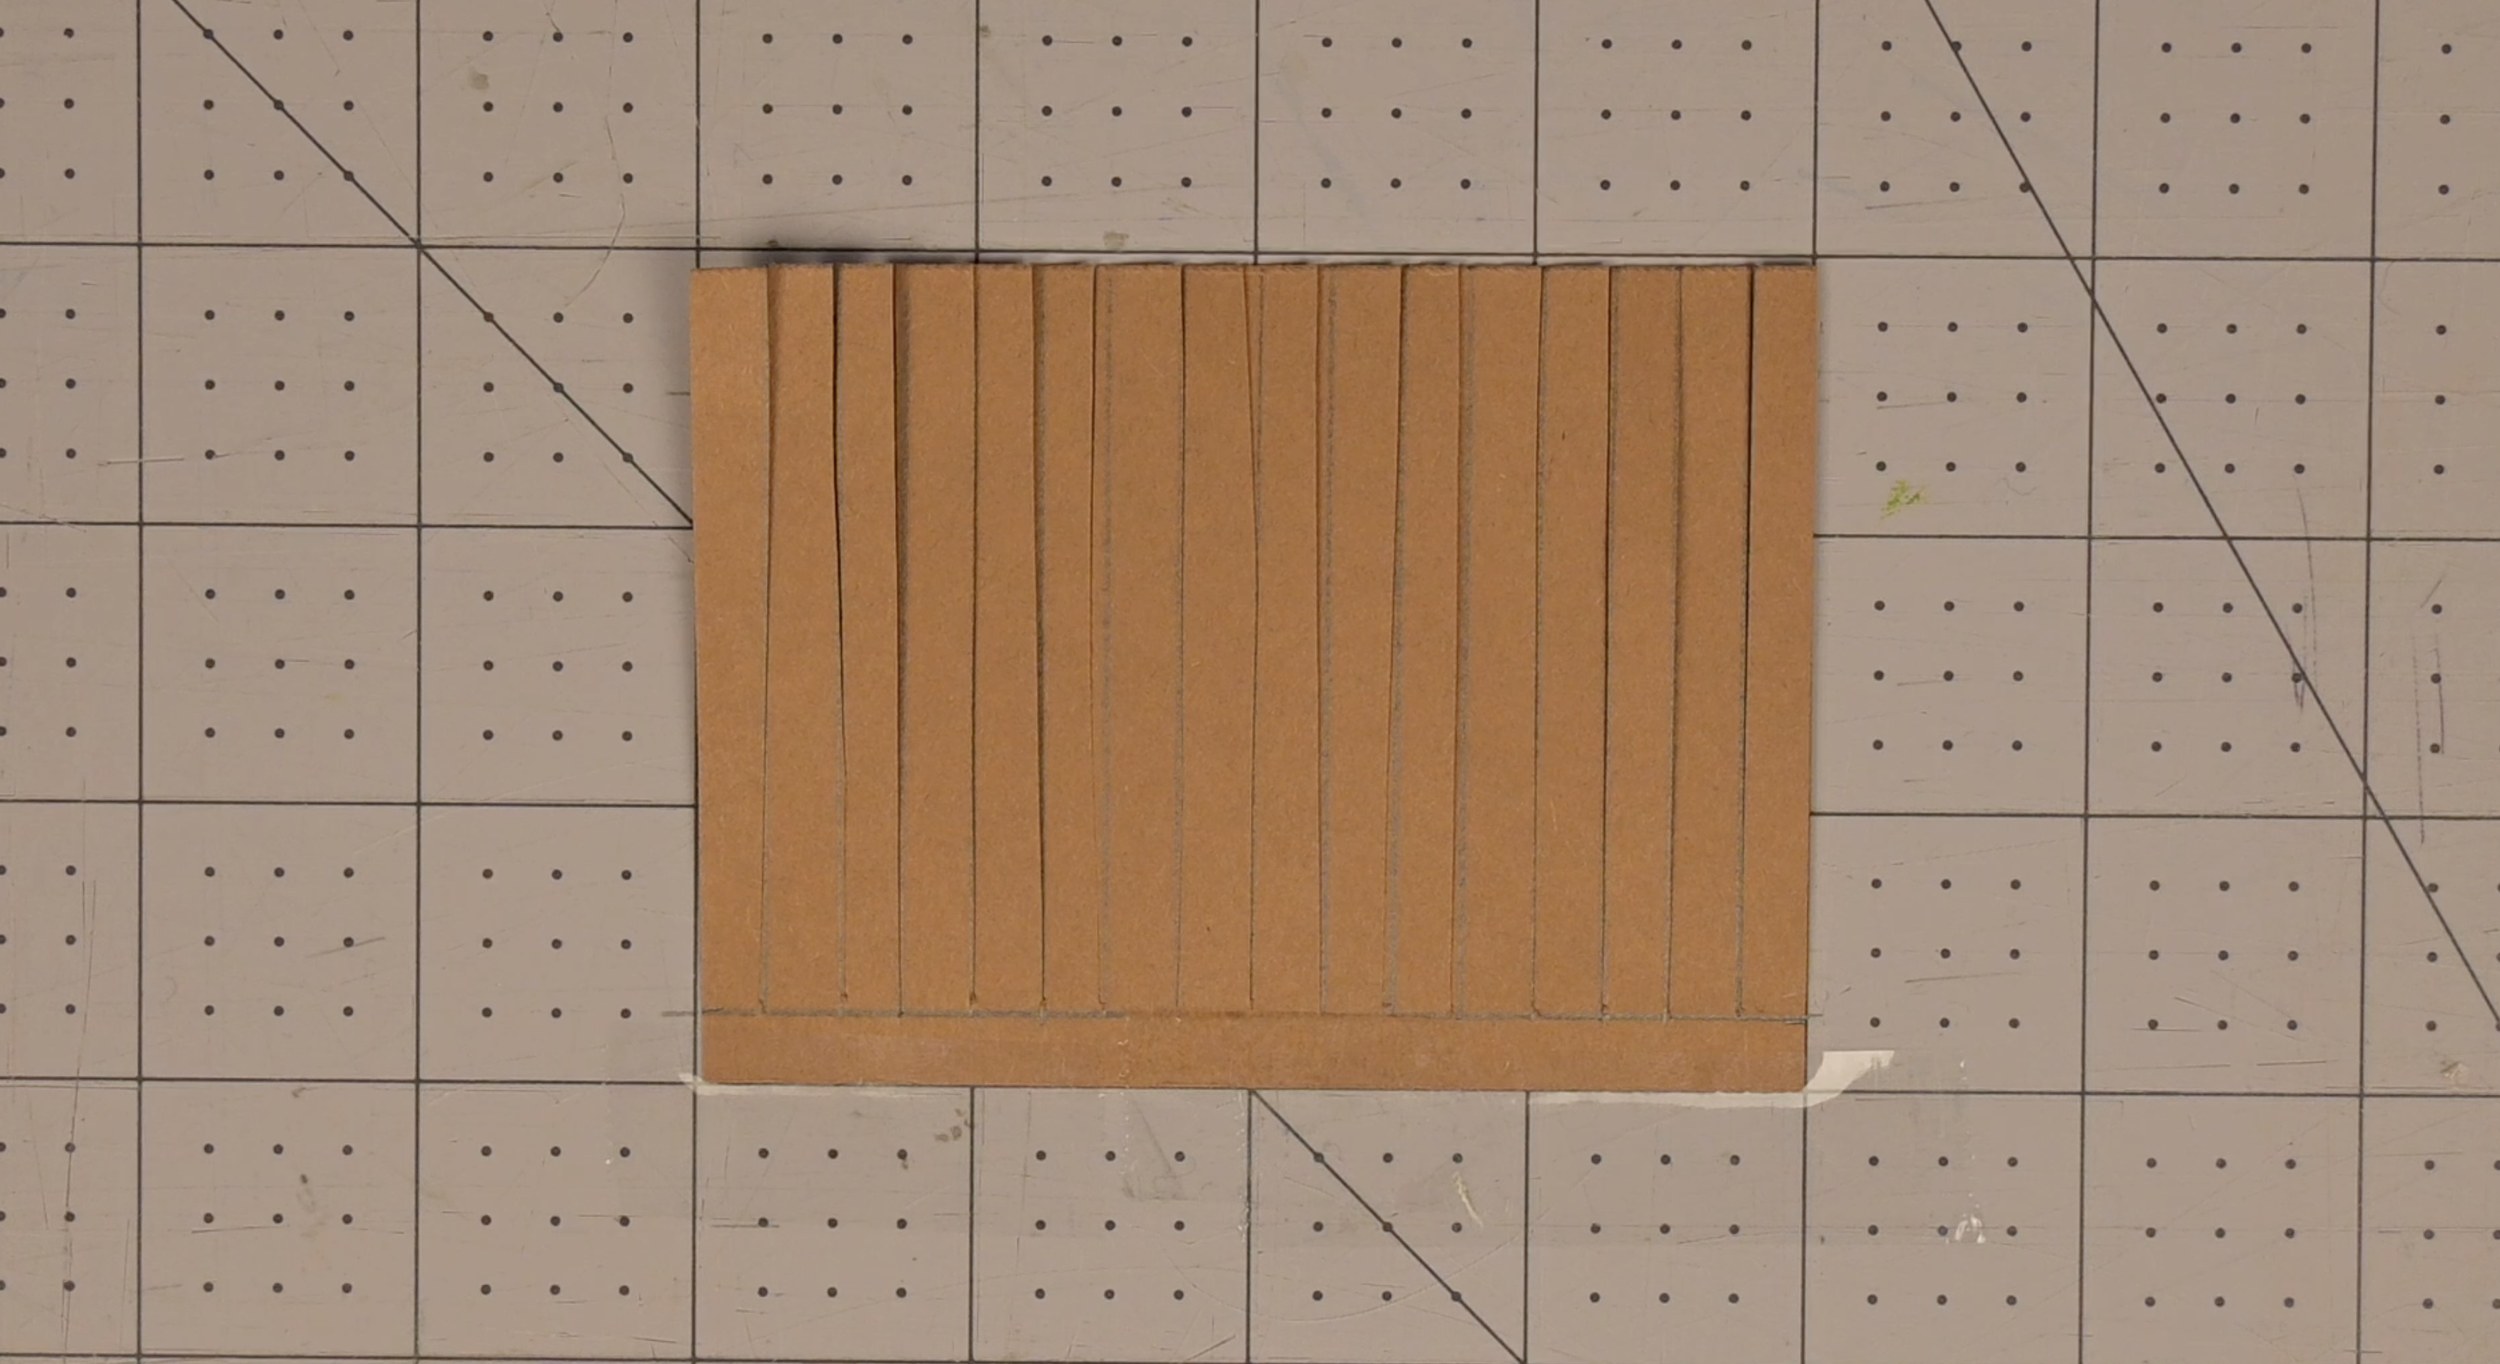
Place the piece of paper that has the connected strips in front of you
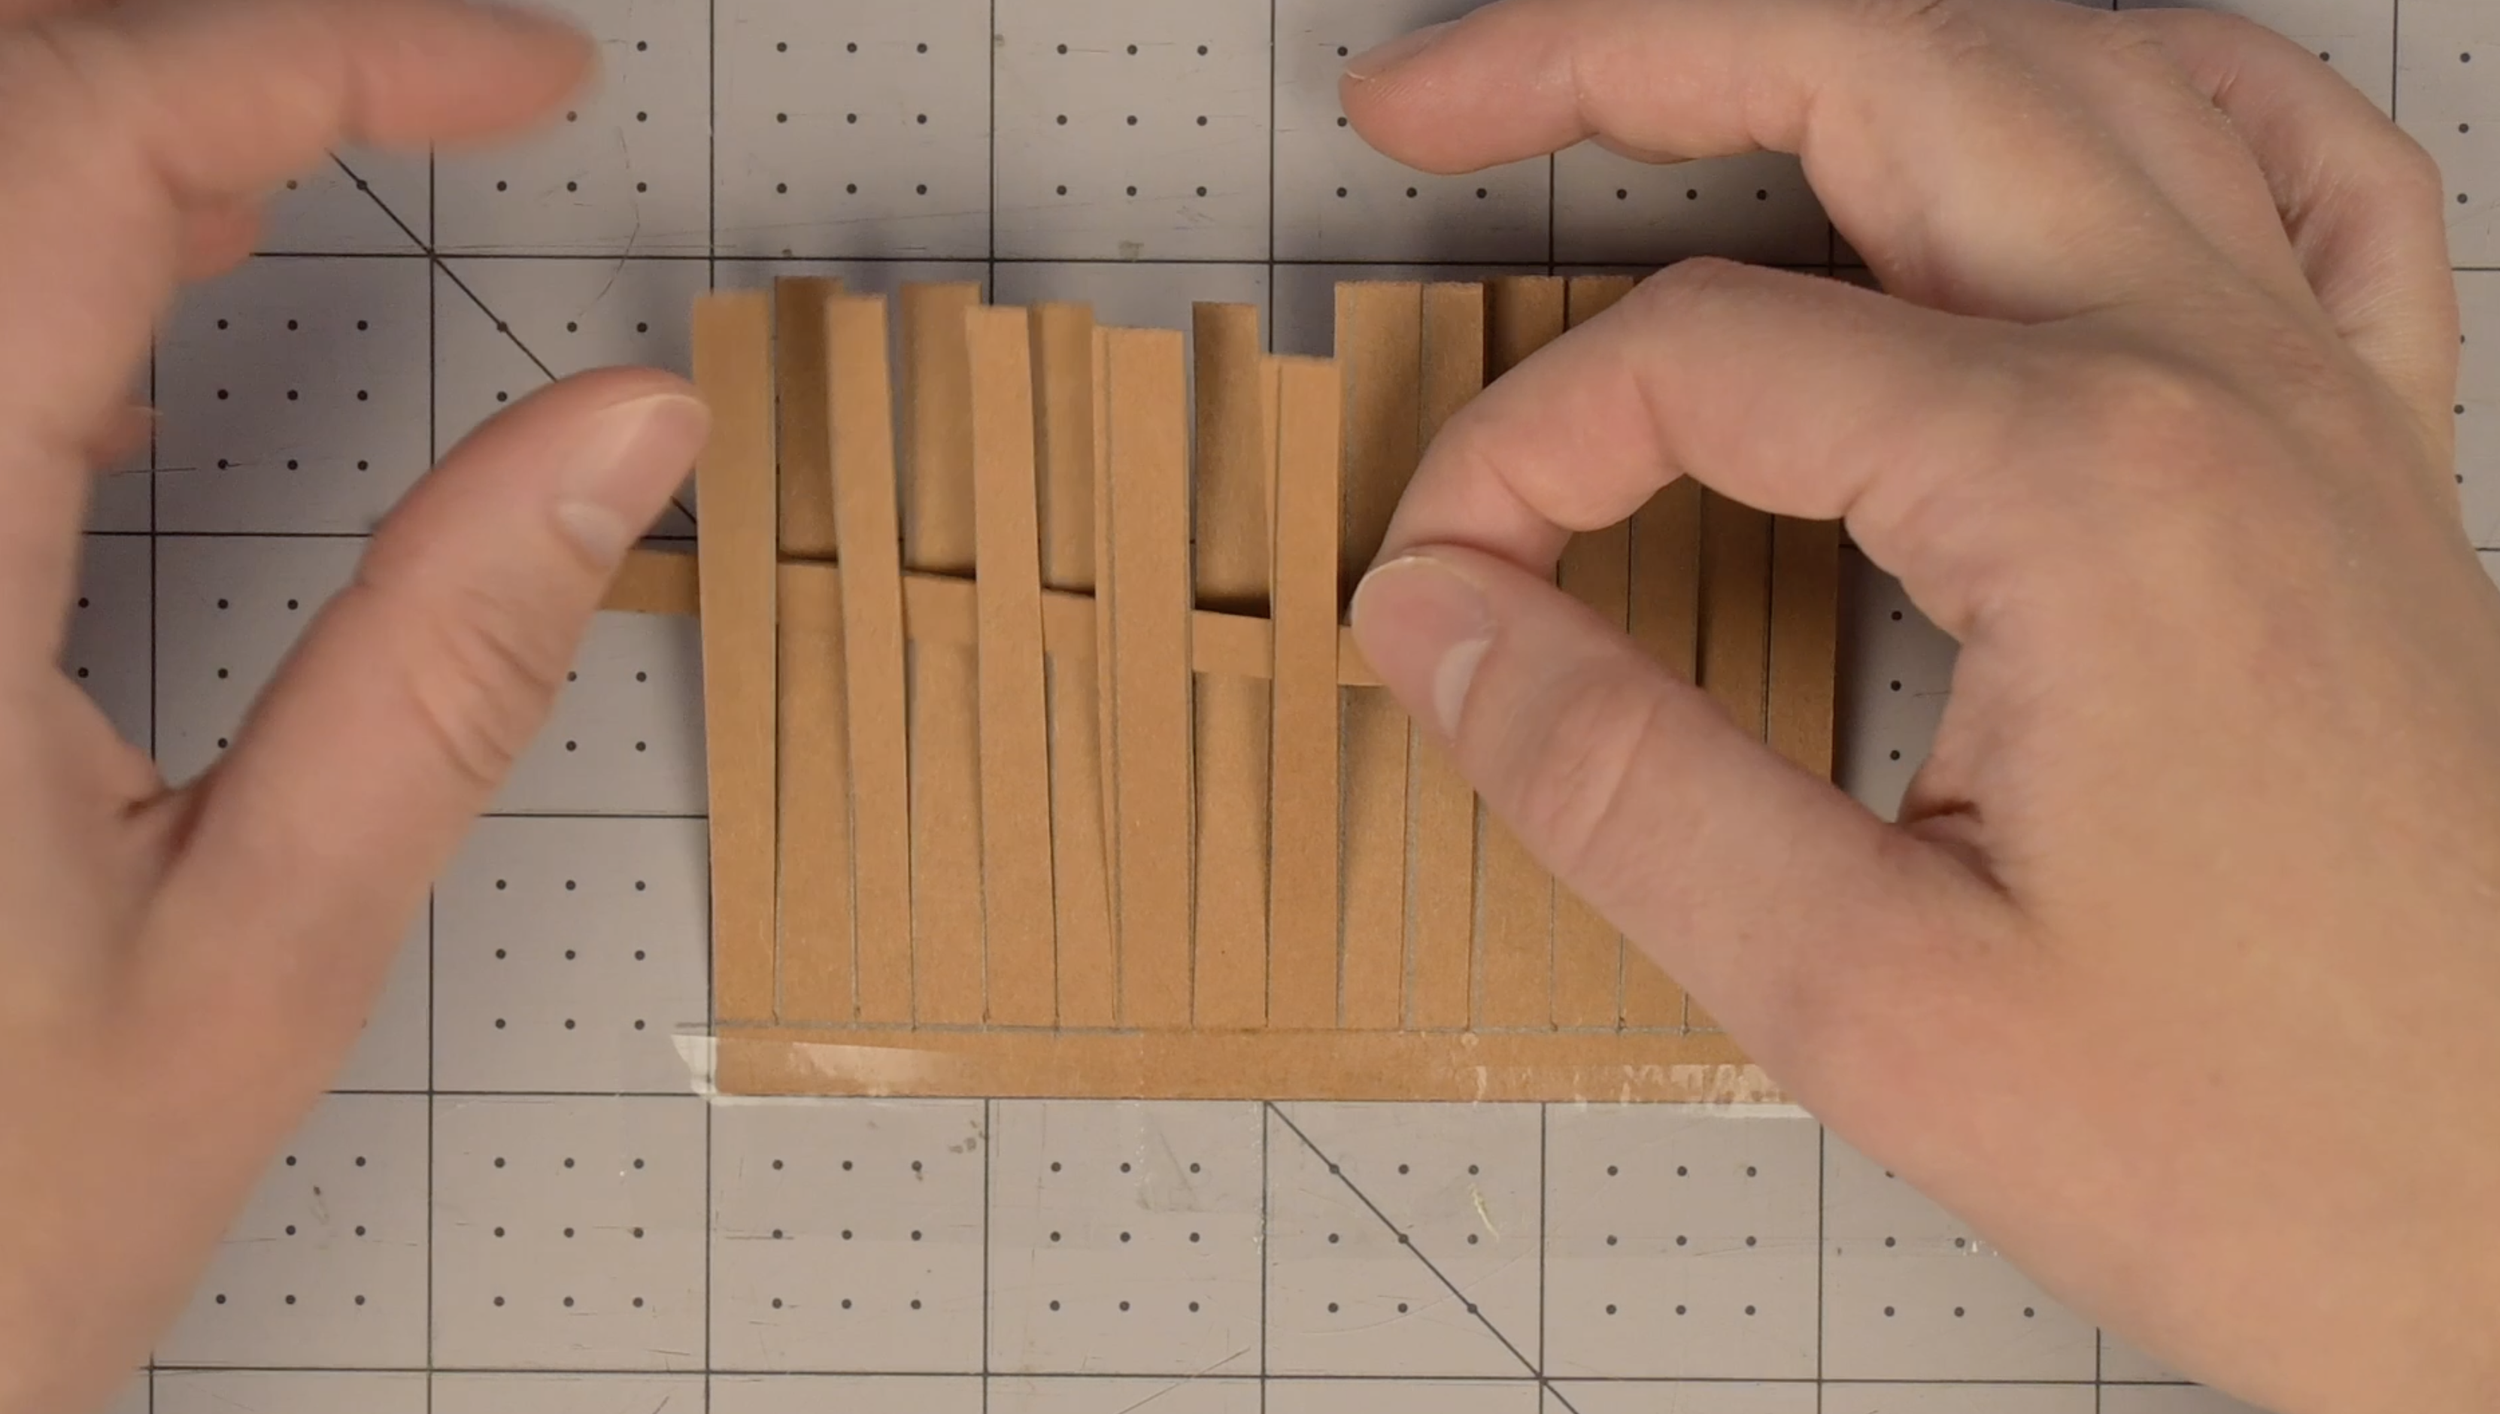
Begin weaving the strips following the over, under, over under weaving technique. Ensure to rotate to under, over, under, over every other row
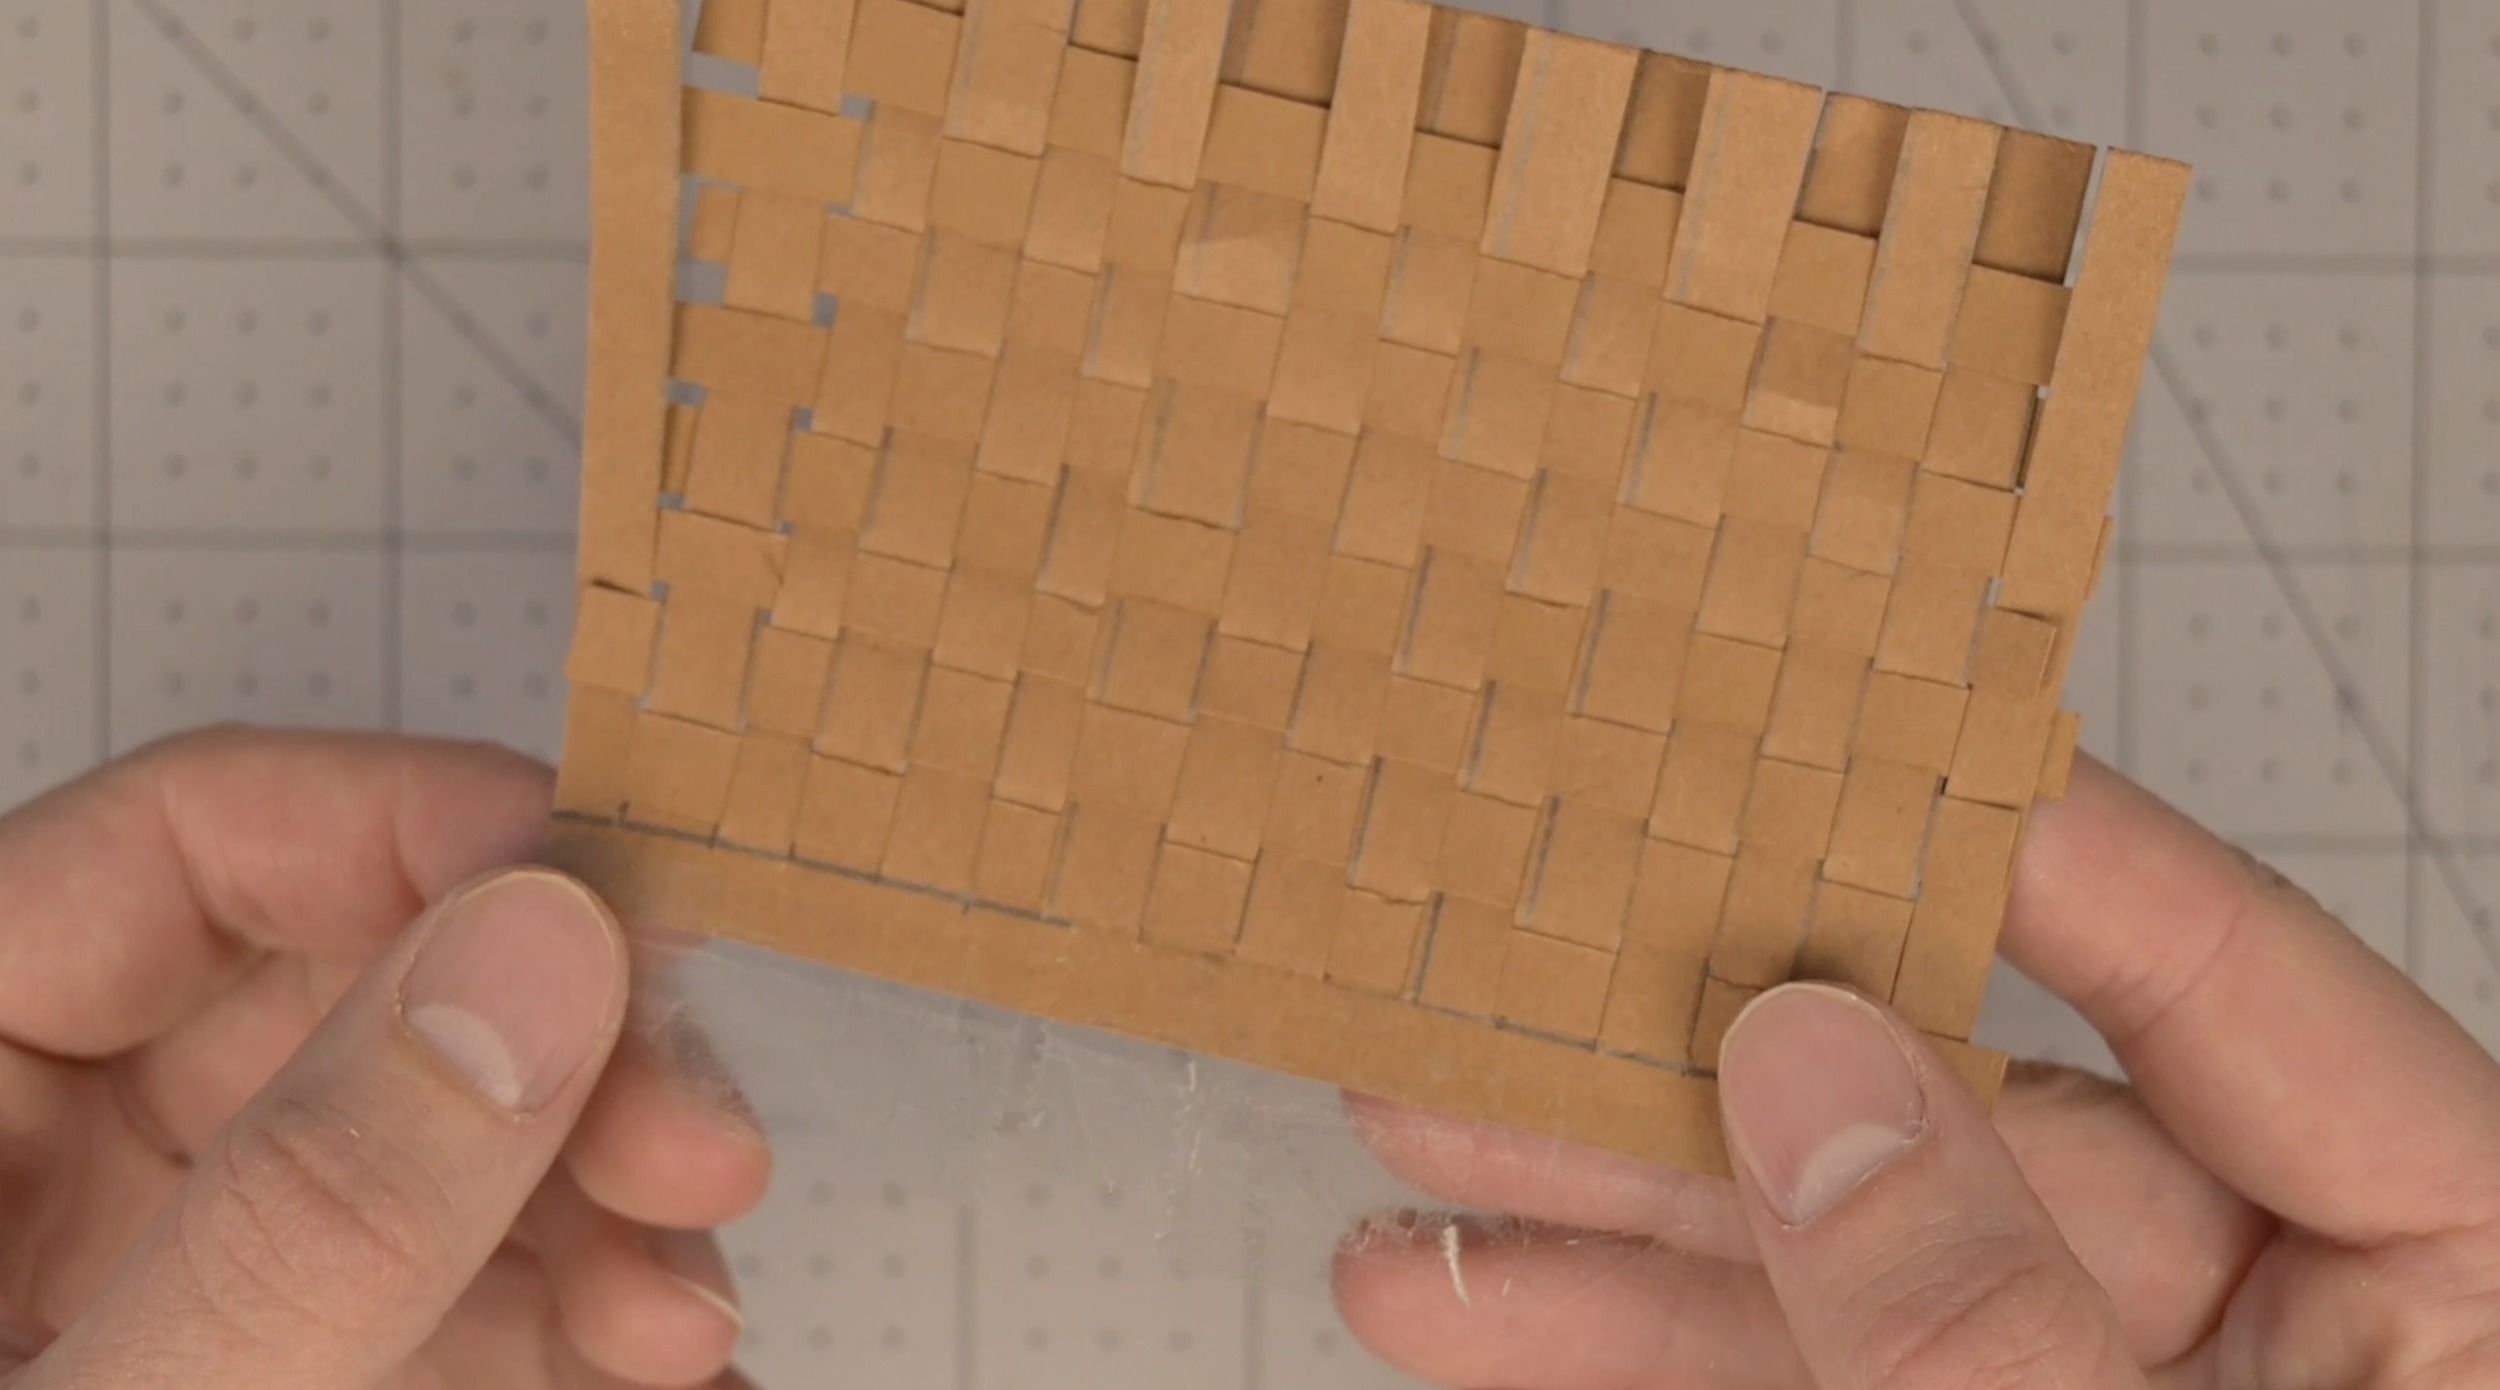
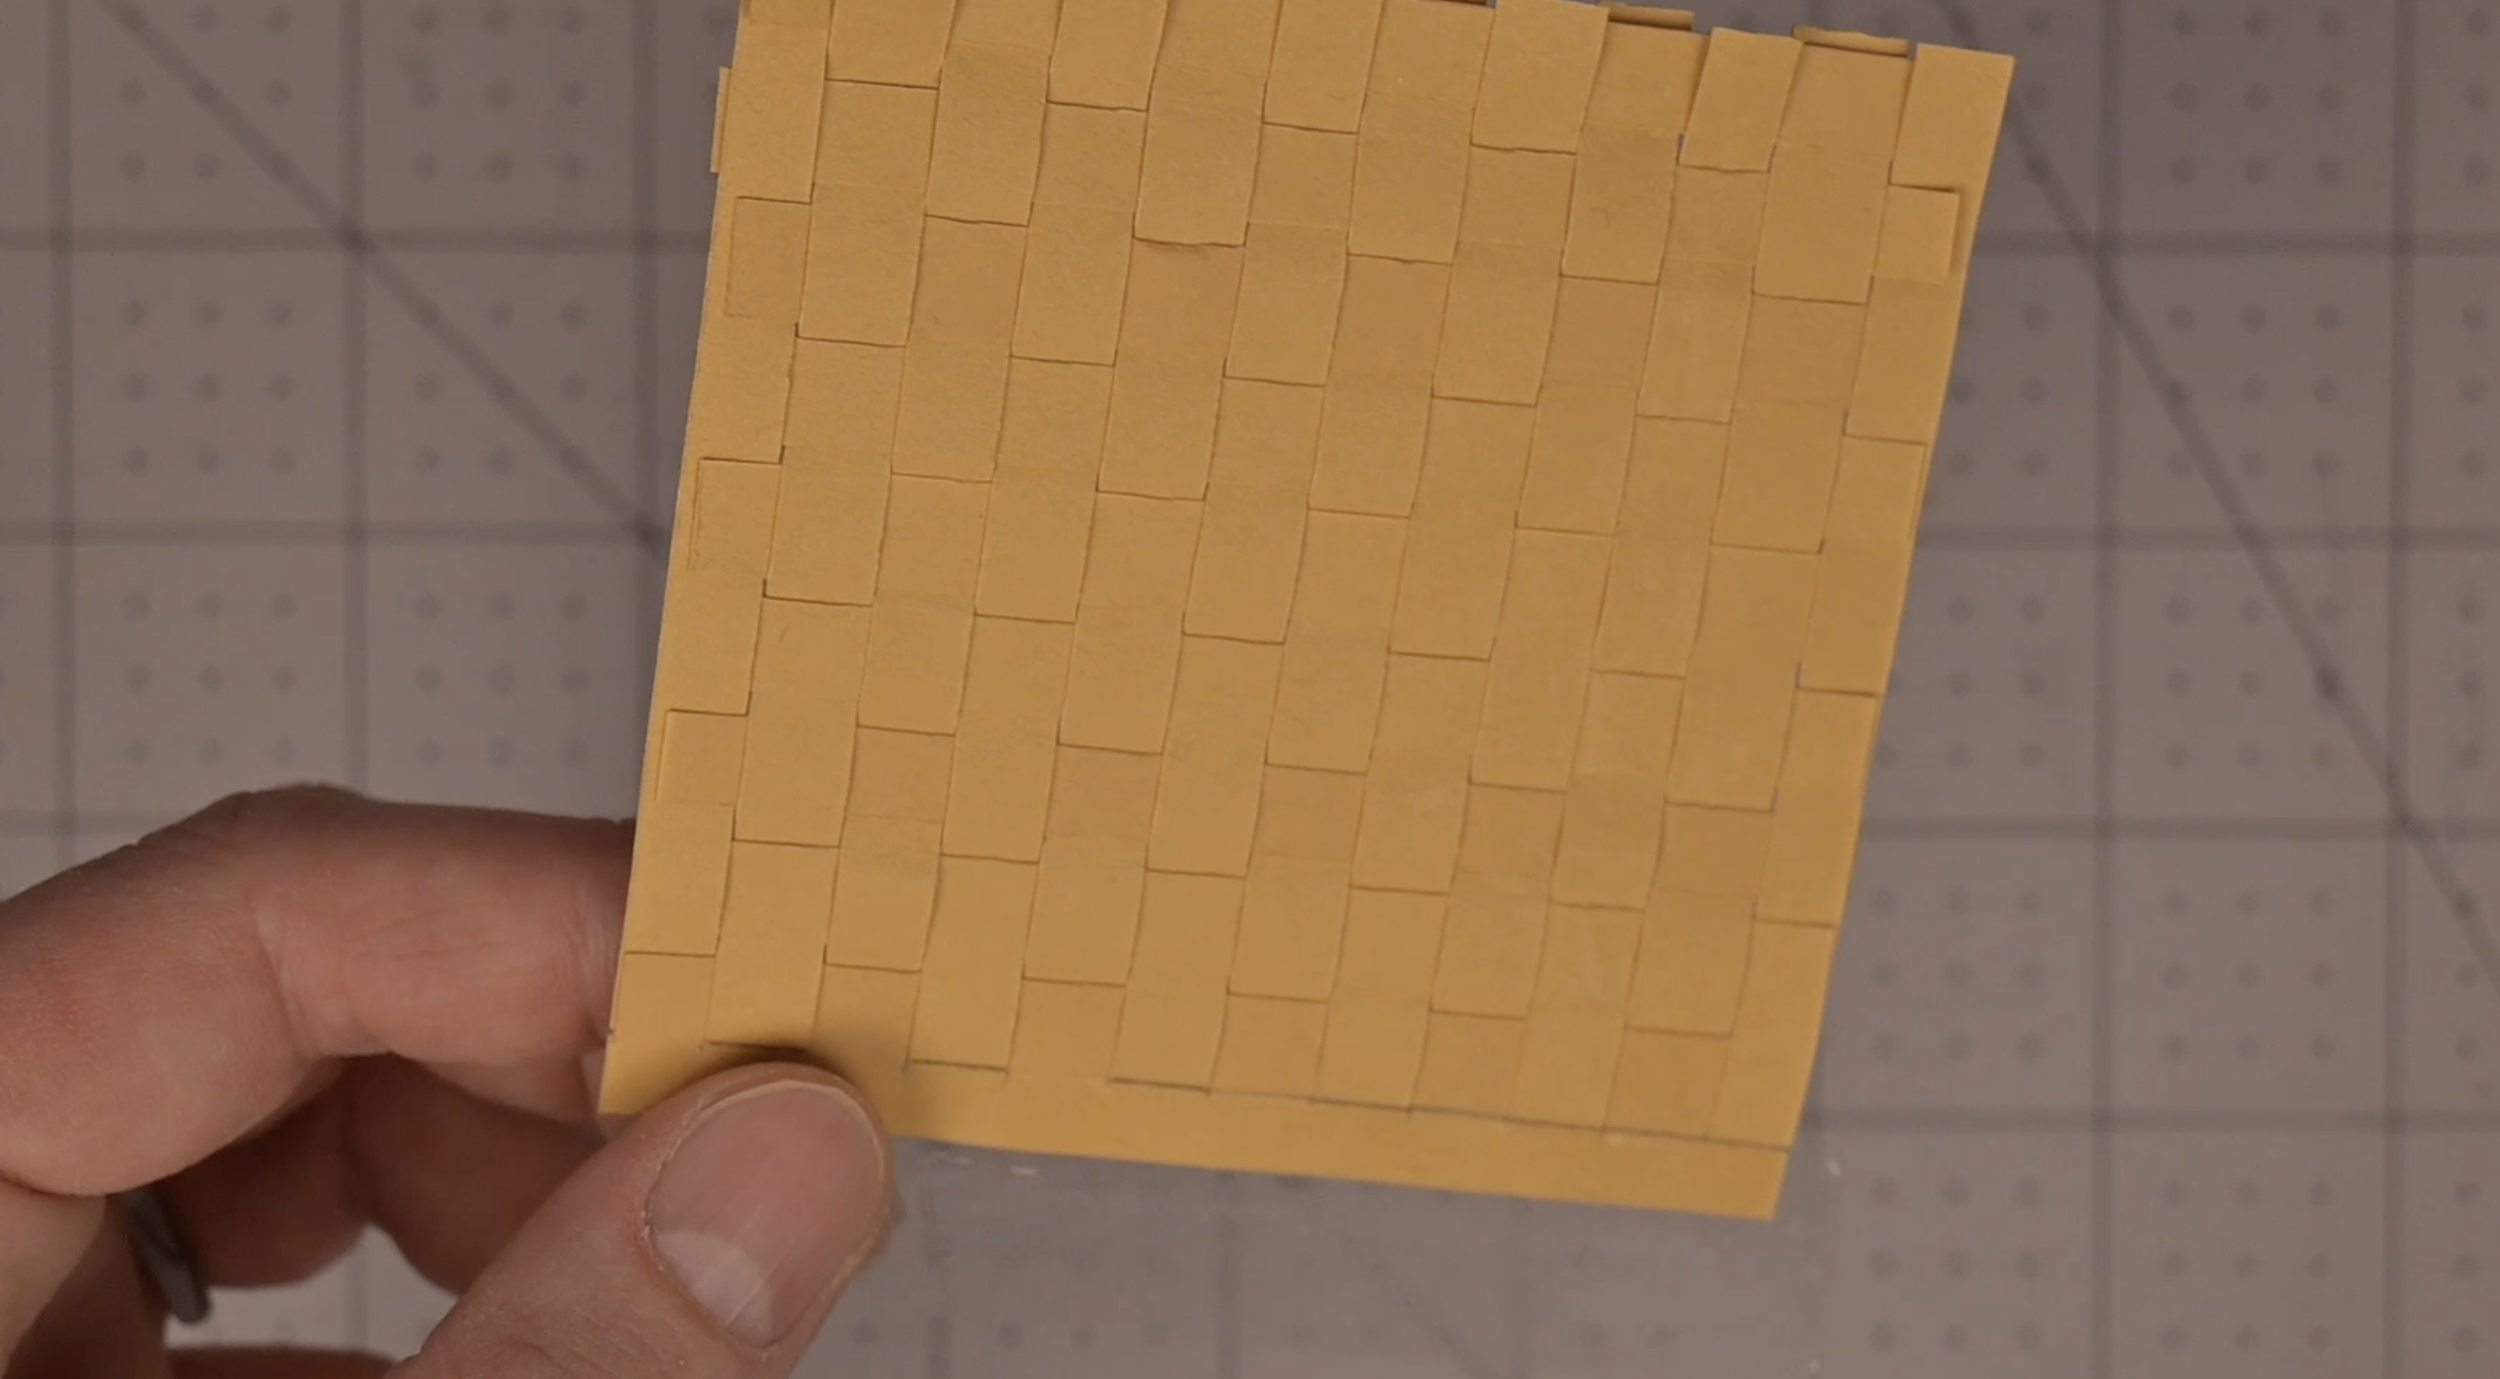
Step 6: Secure the Weave
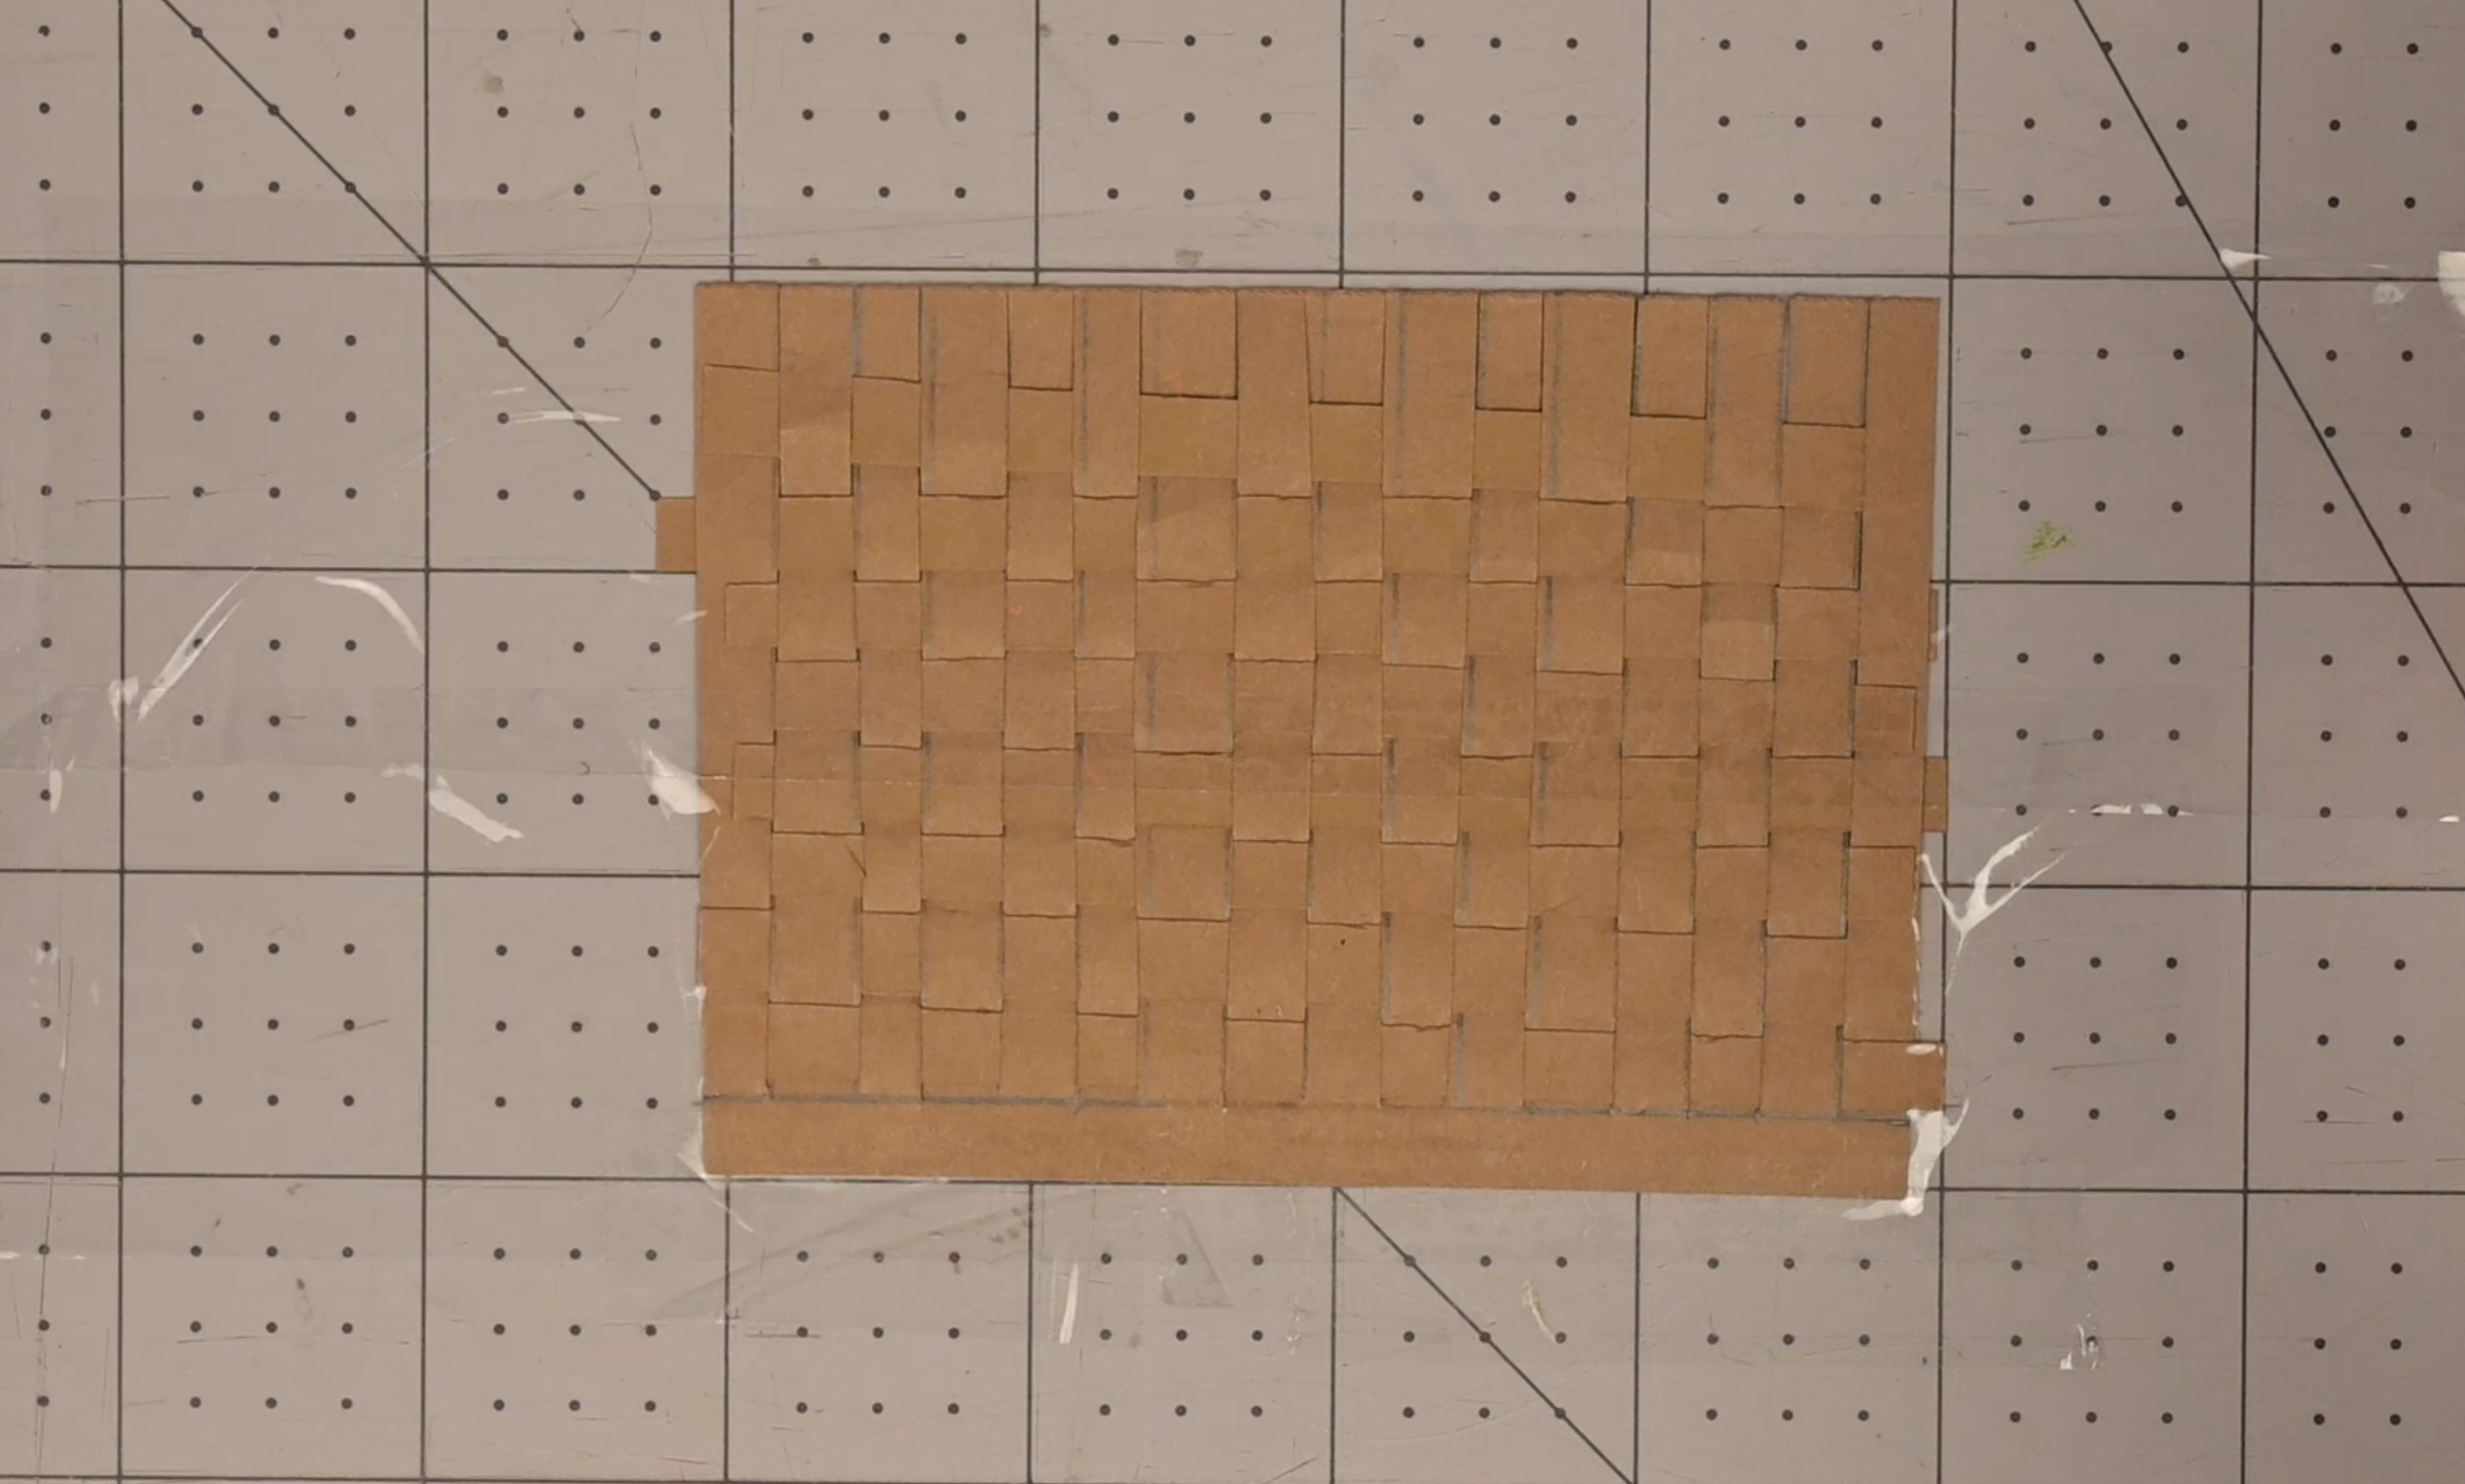
Using clear tape, cover the back of the weave completely in tape
This will secure the weave and allow it to be cut into any shape without it coming apart
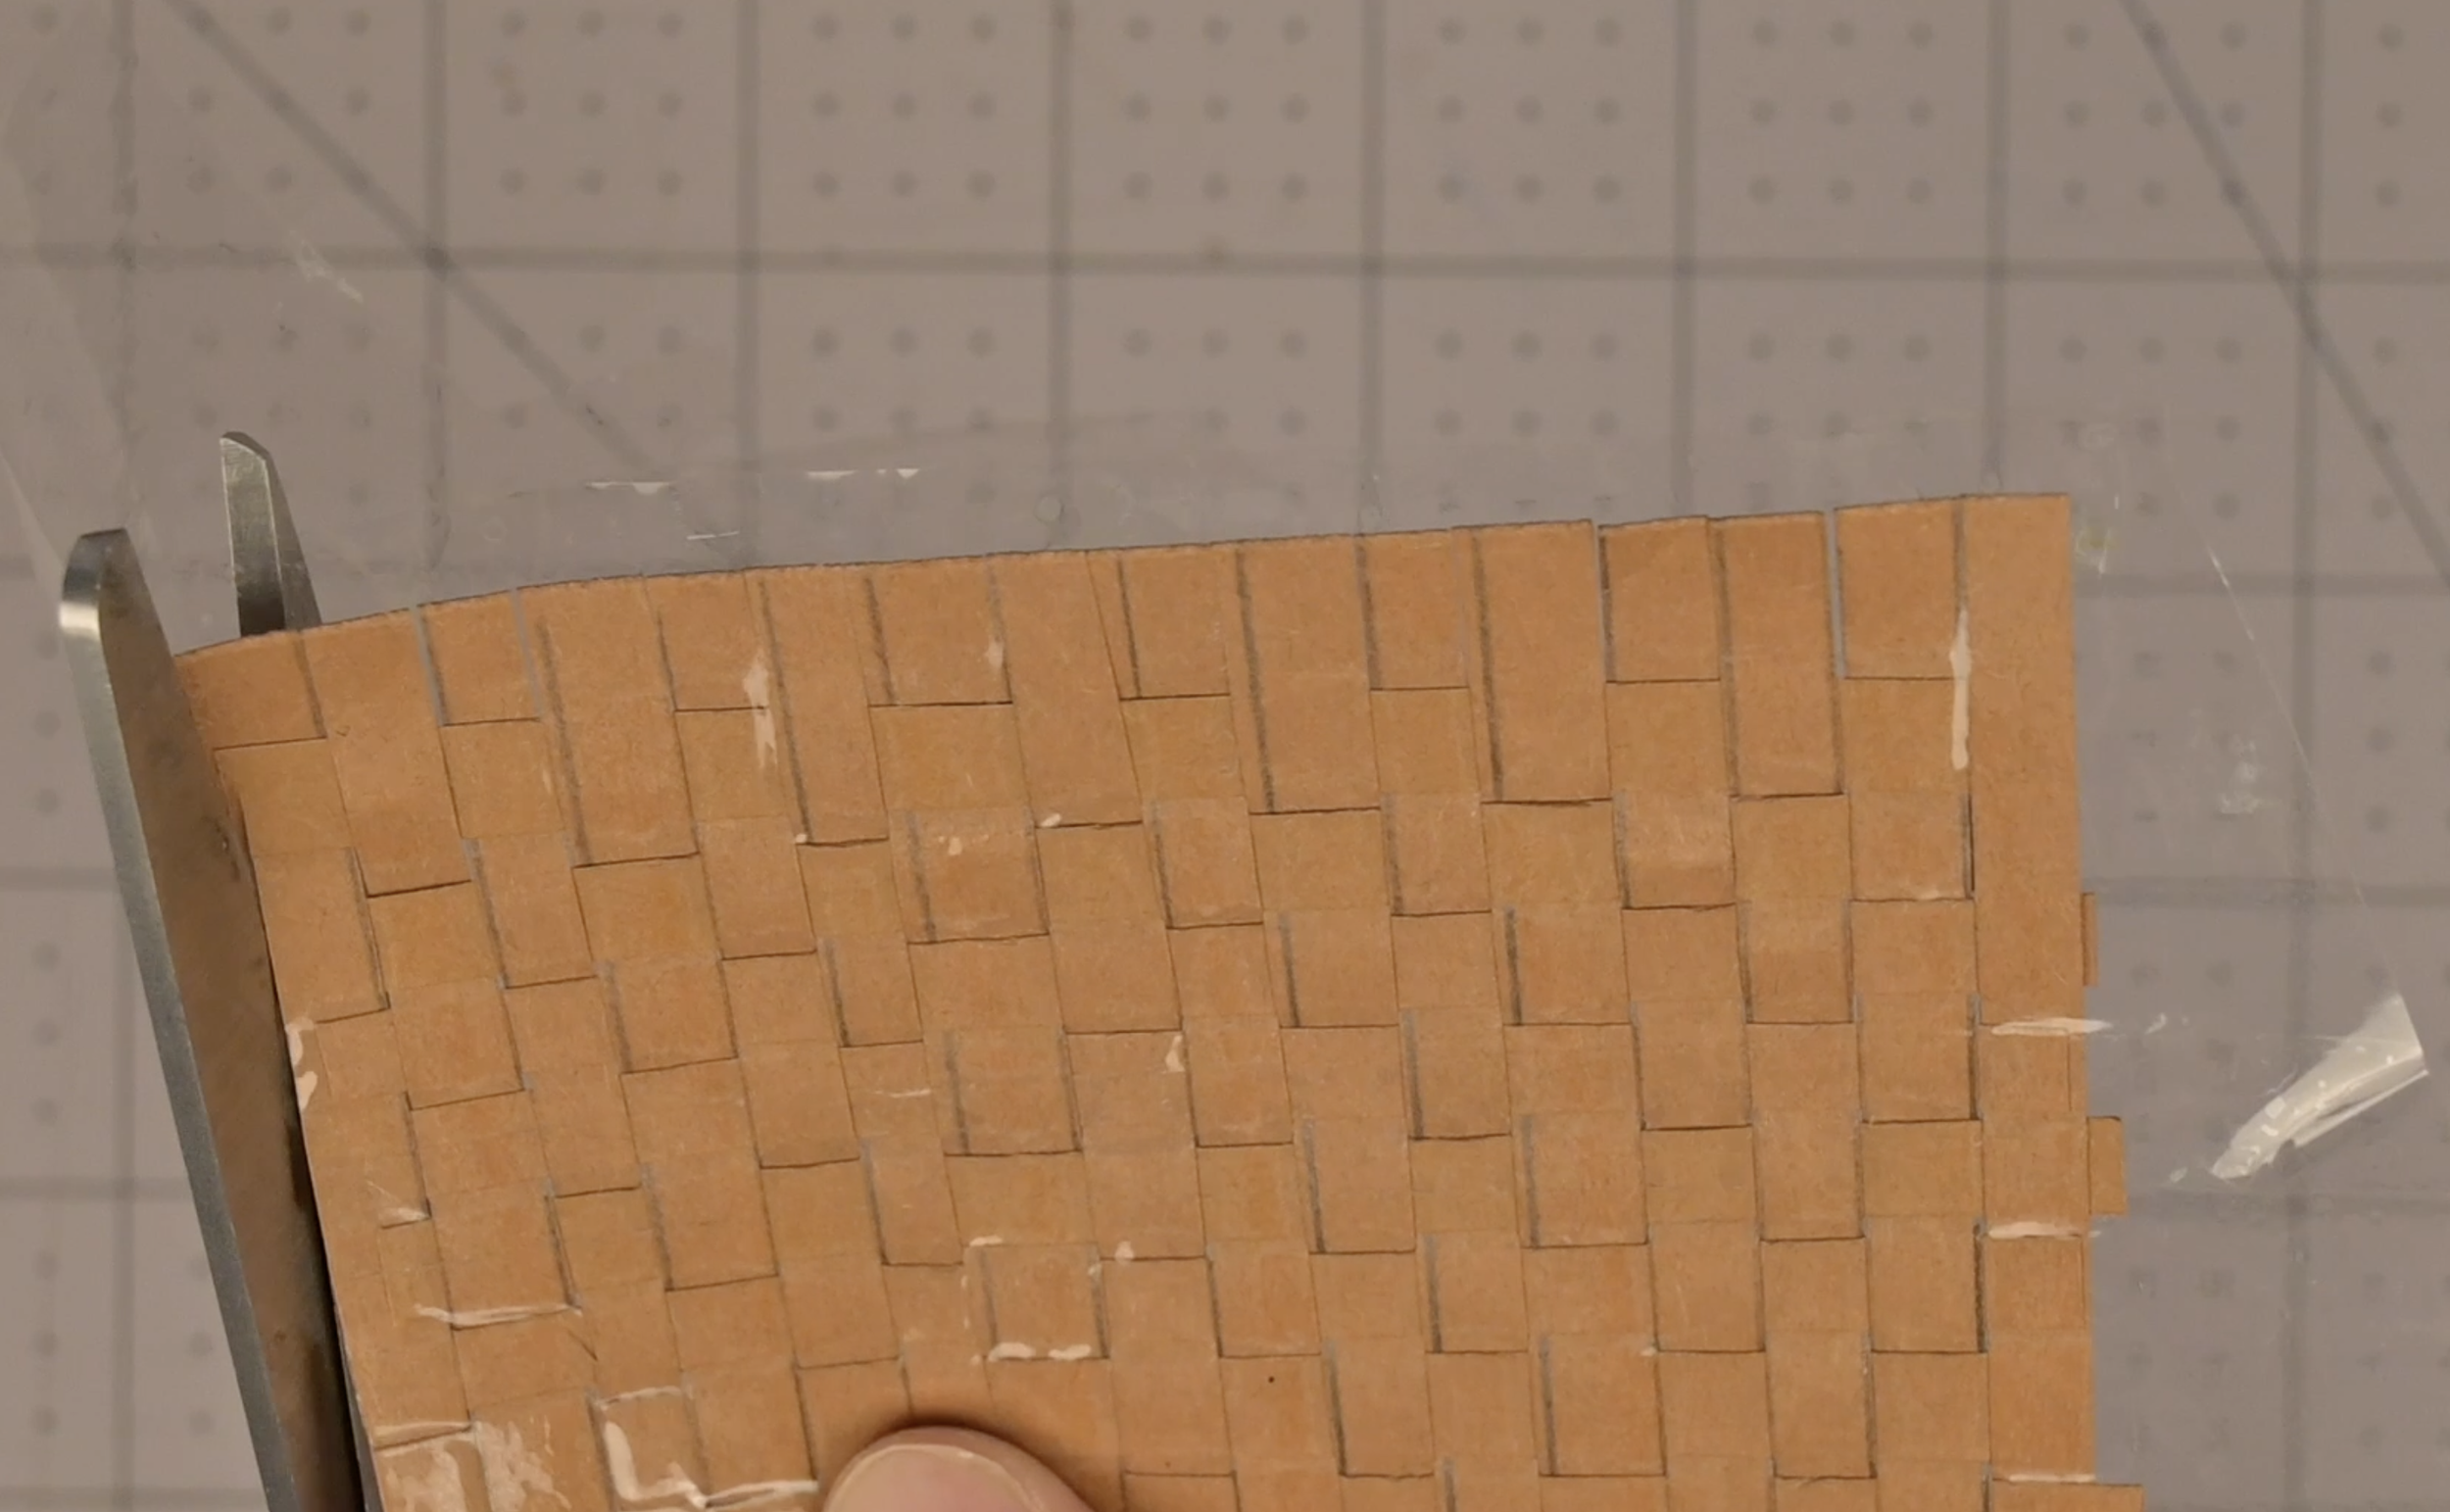
Cut off the extra tape with a craft knife or scissors
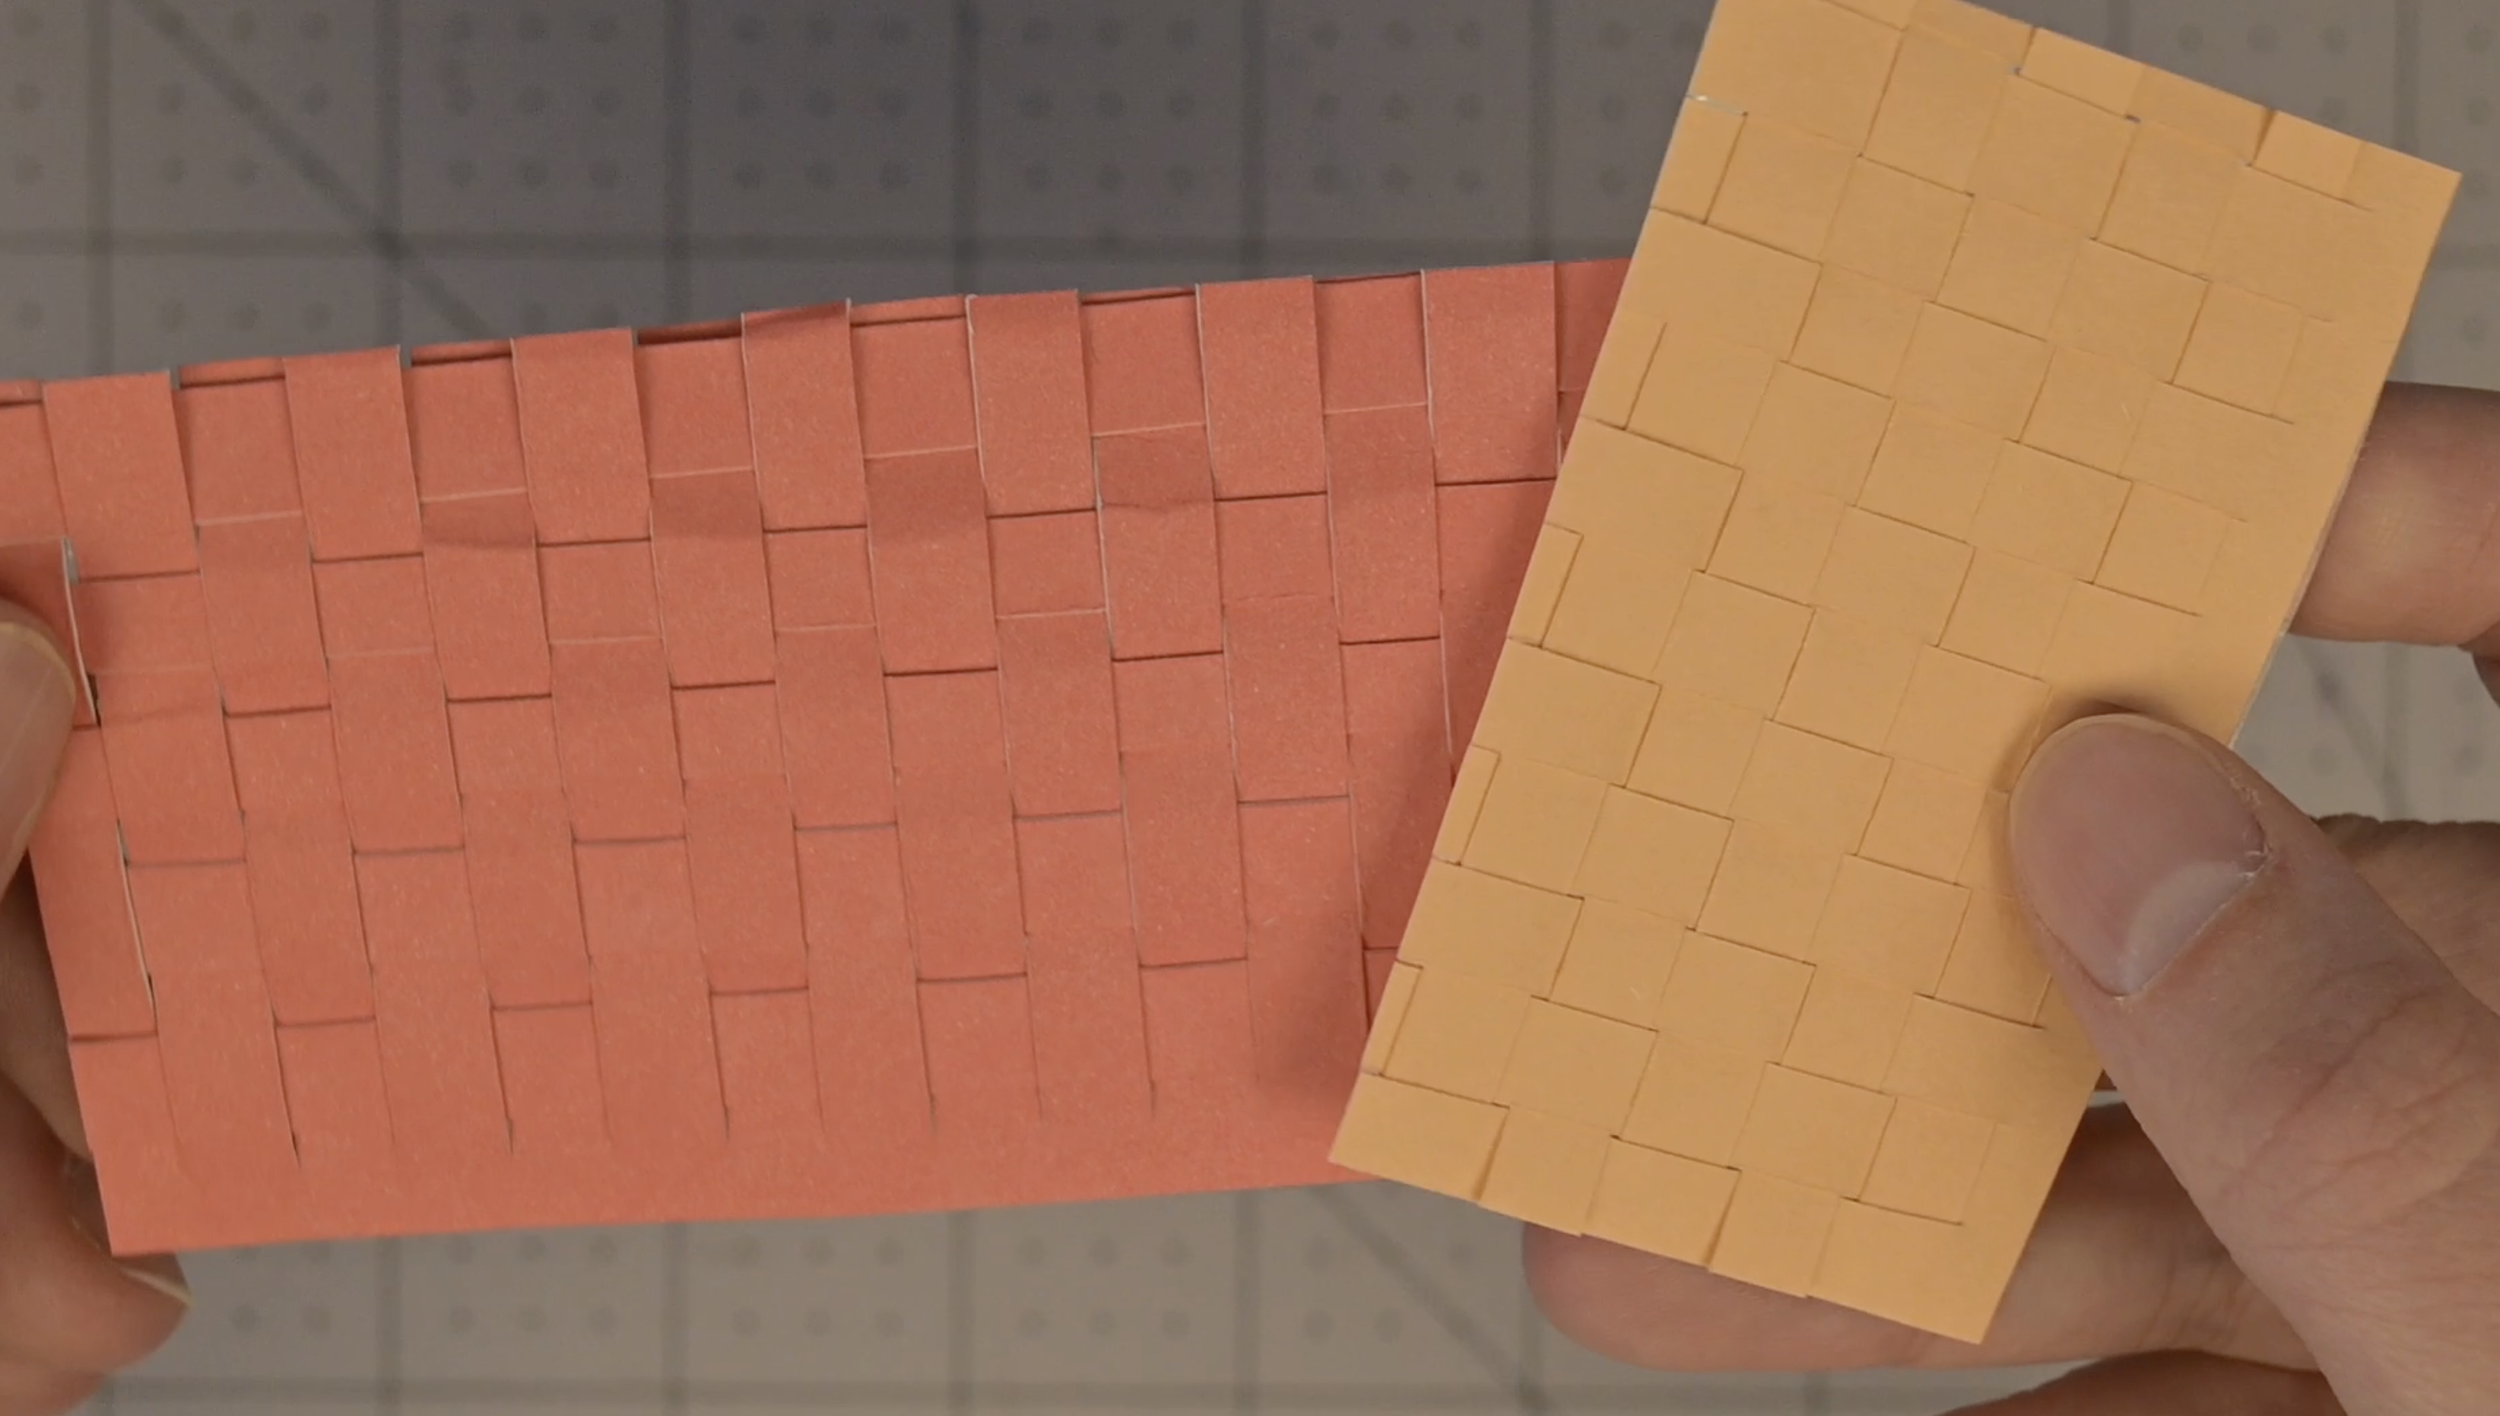
Update: Mushroom Progress
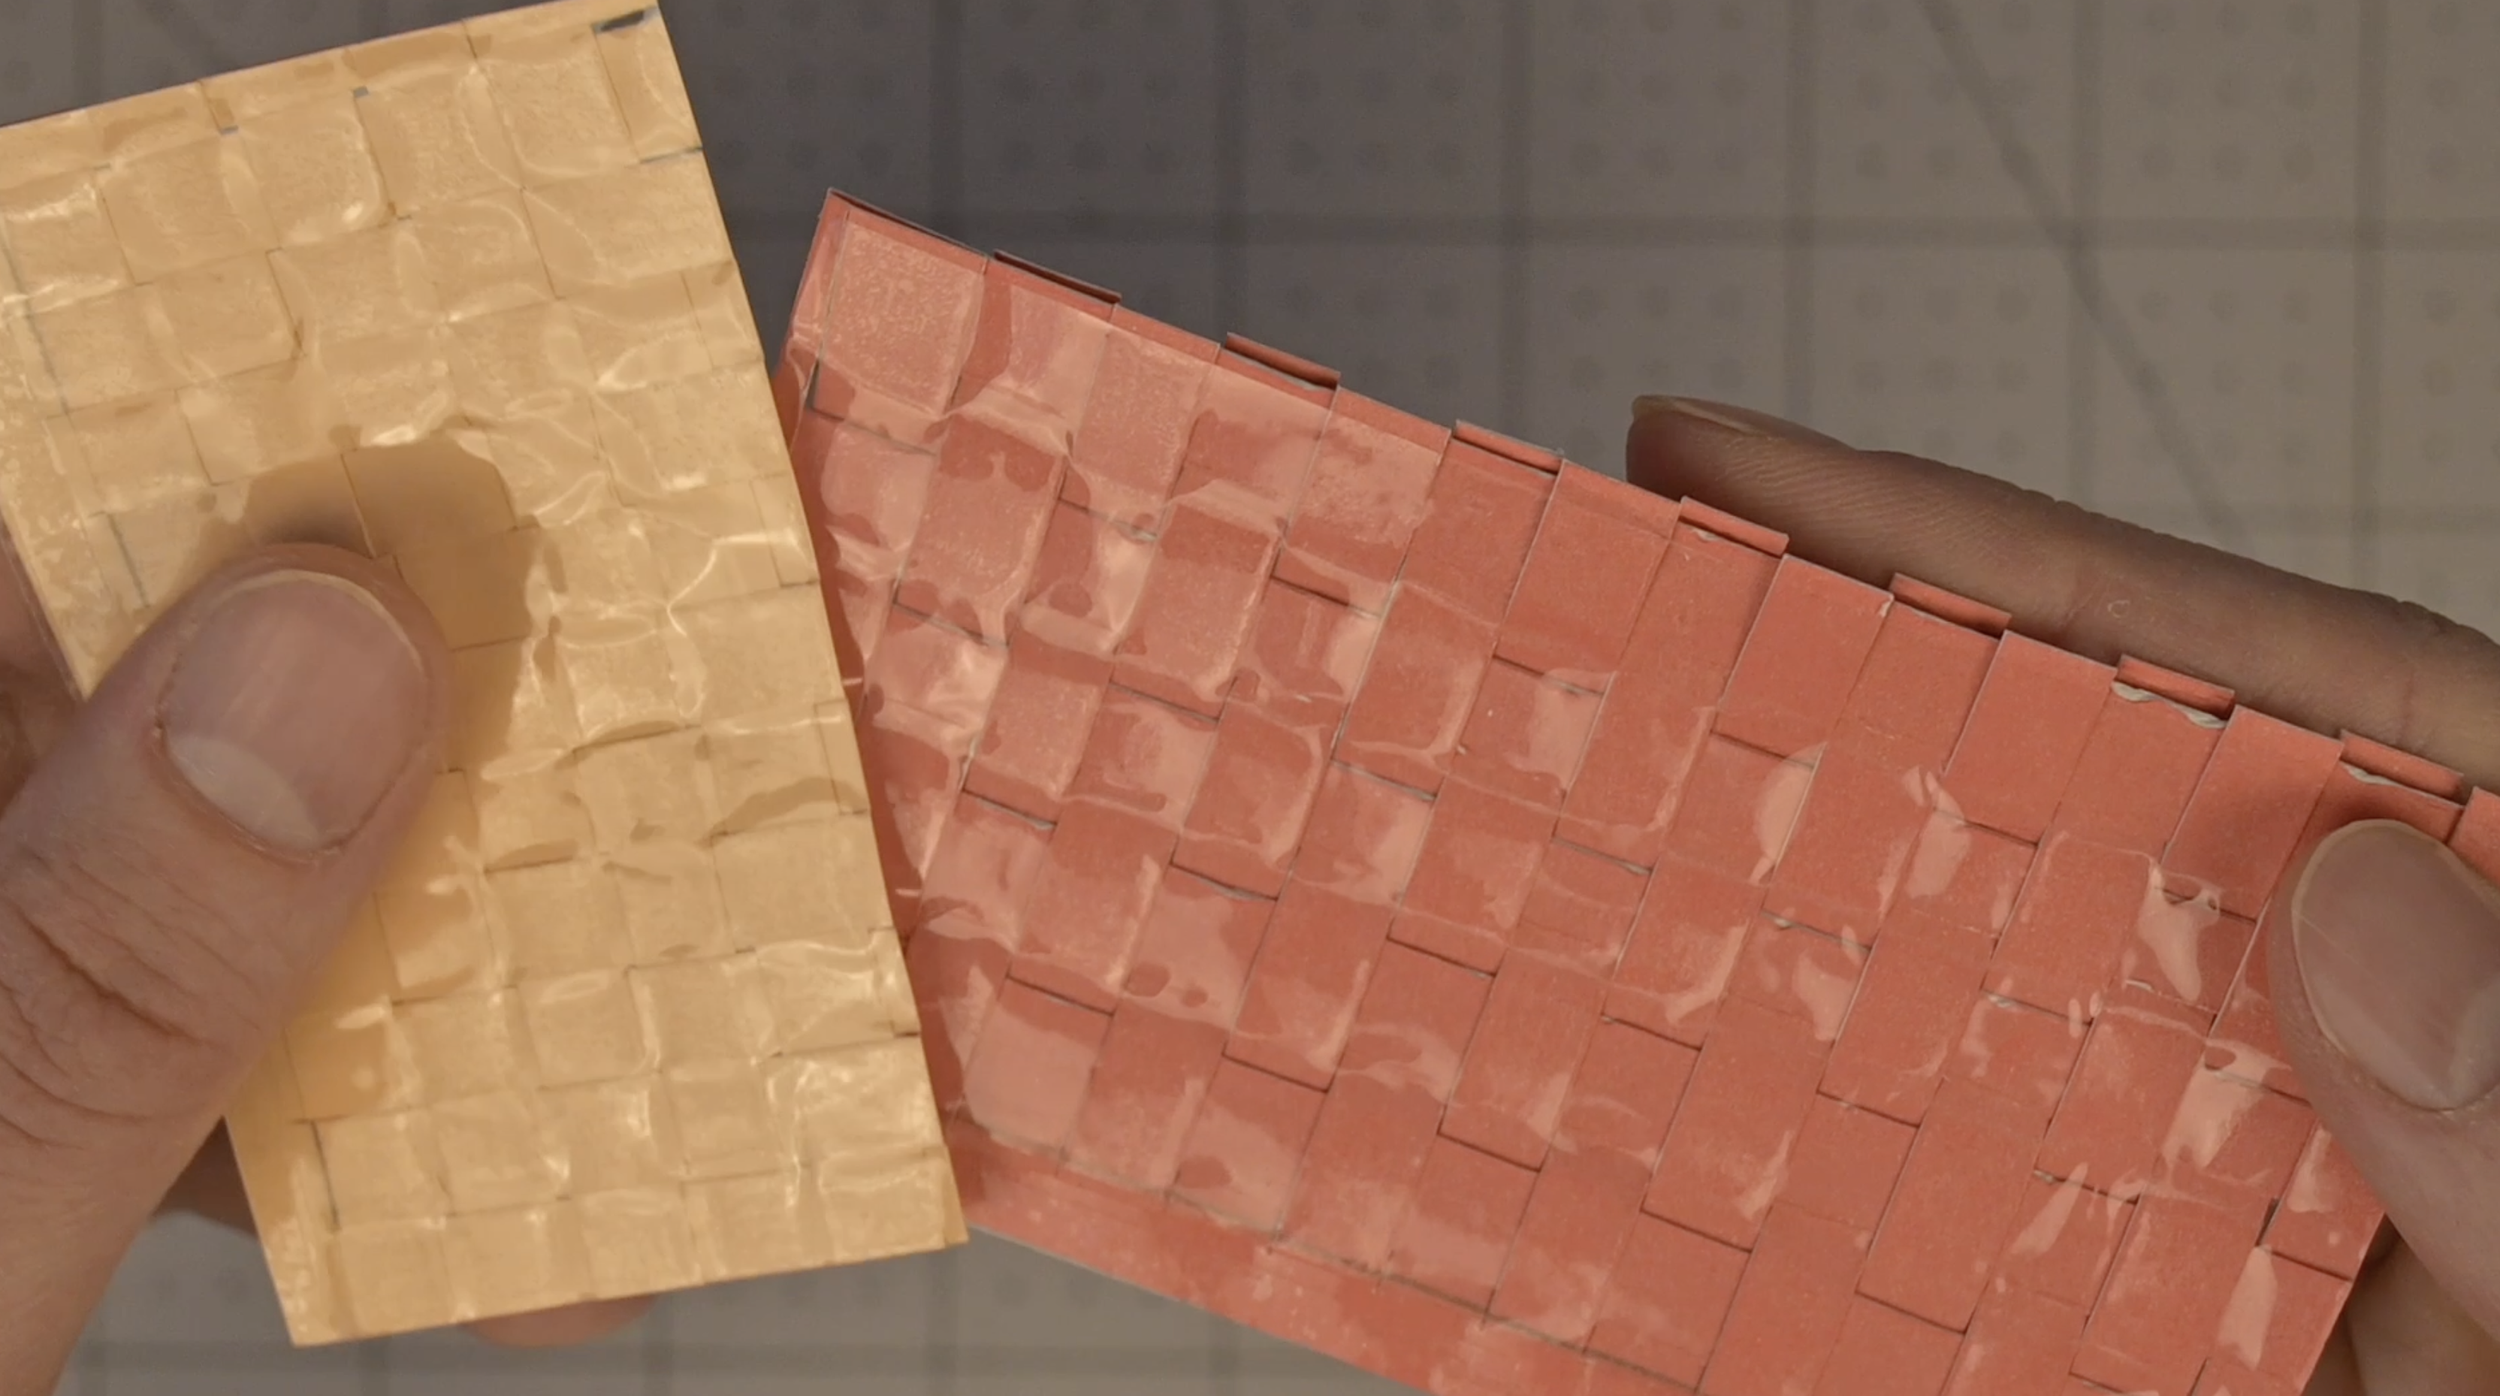
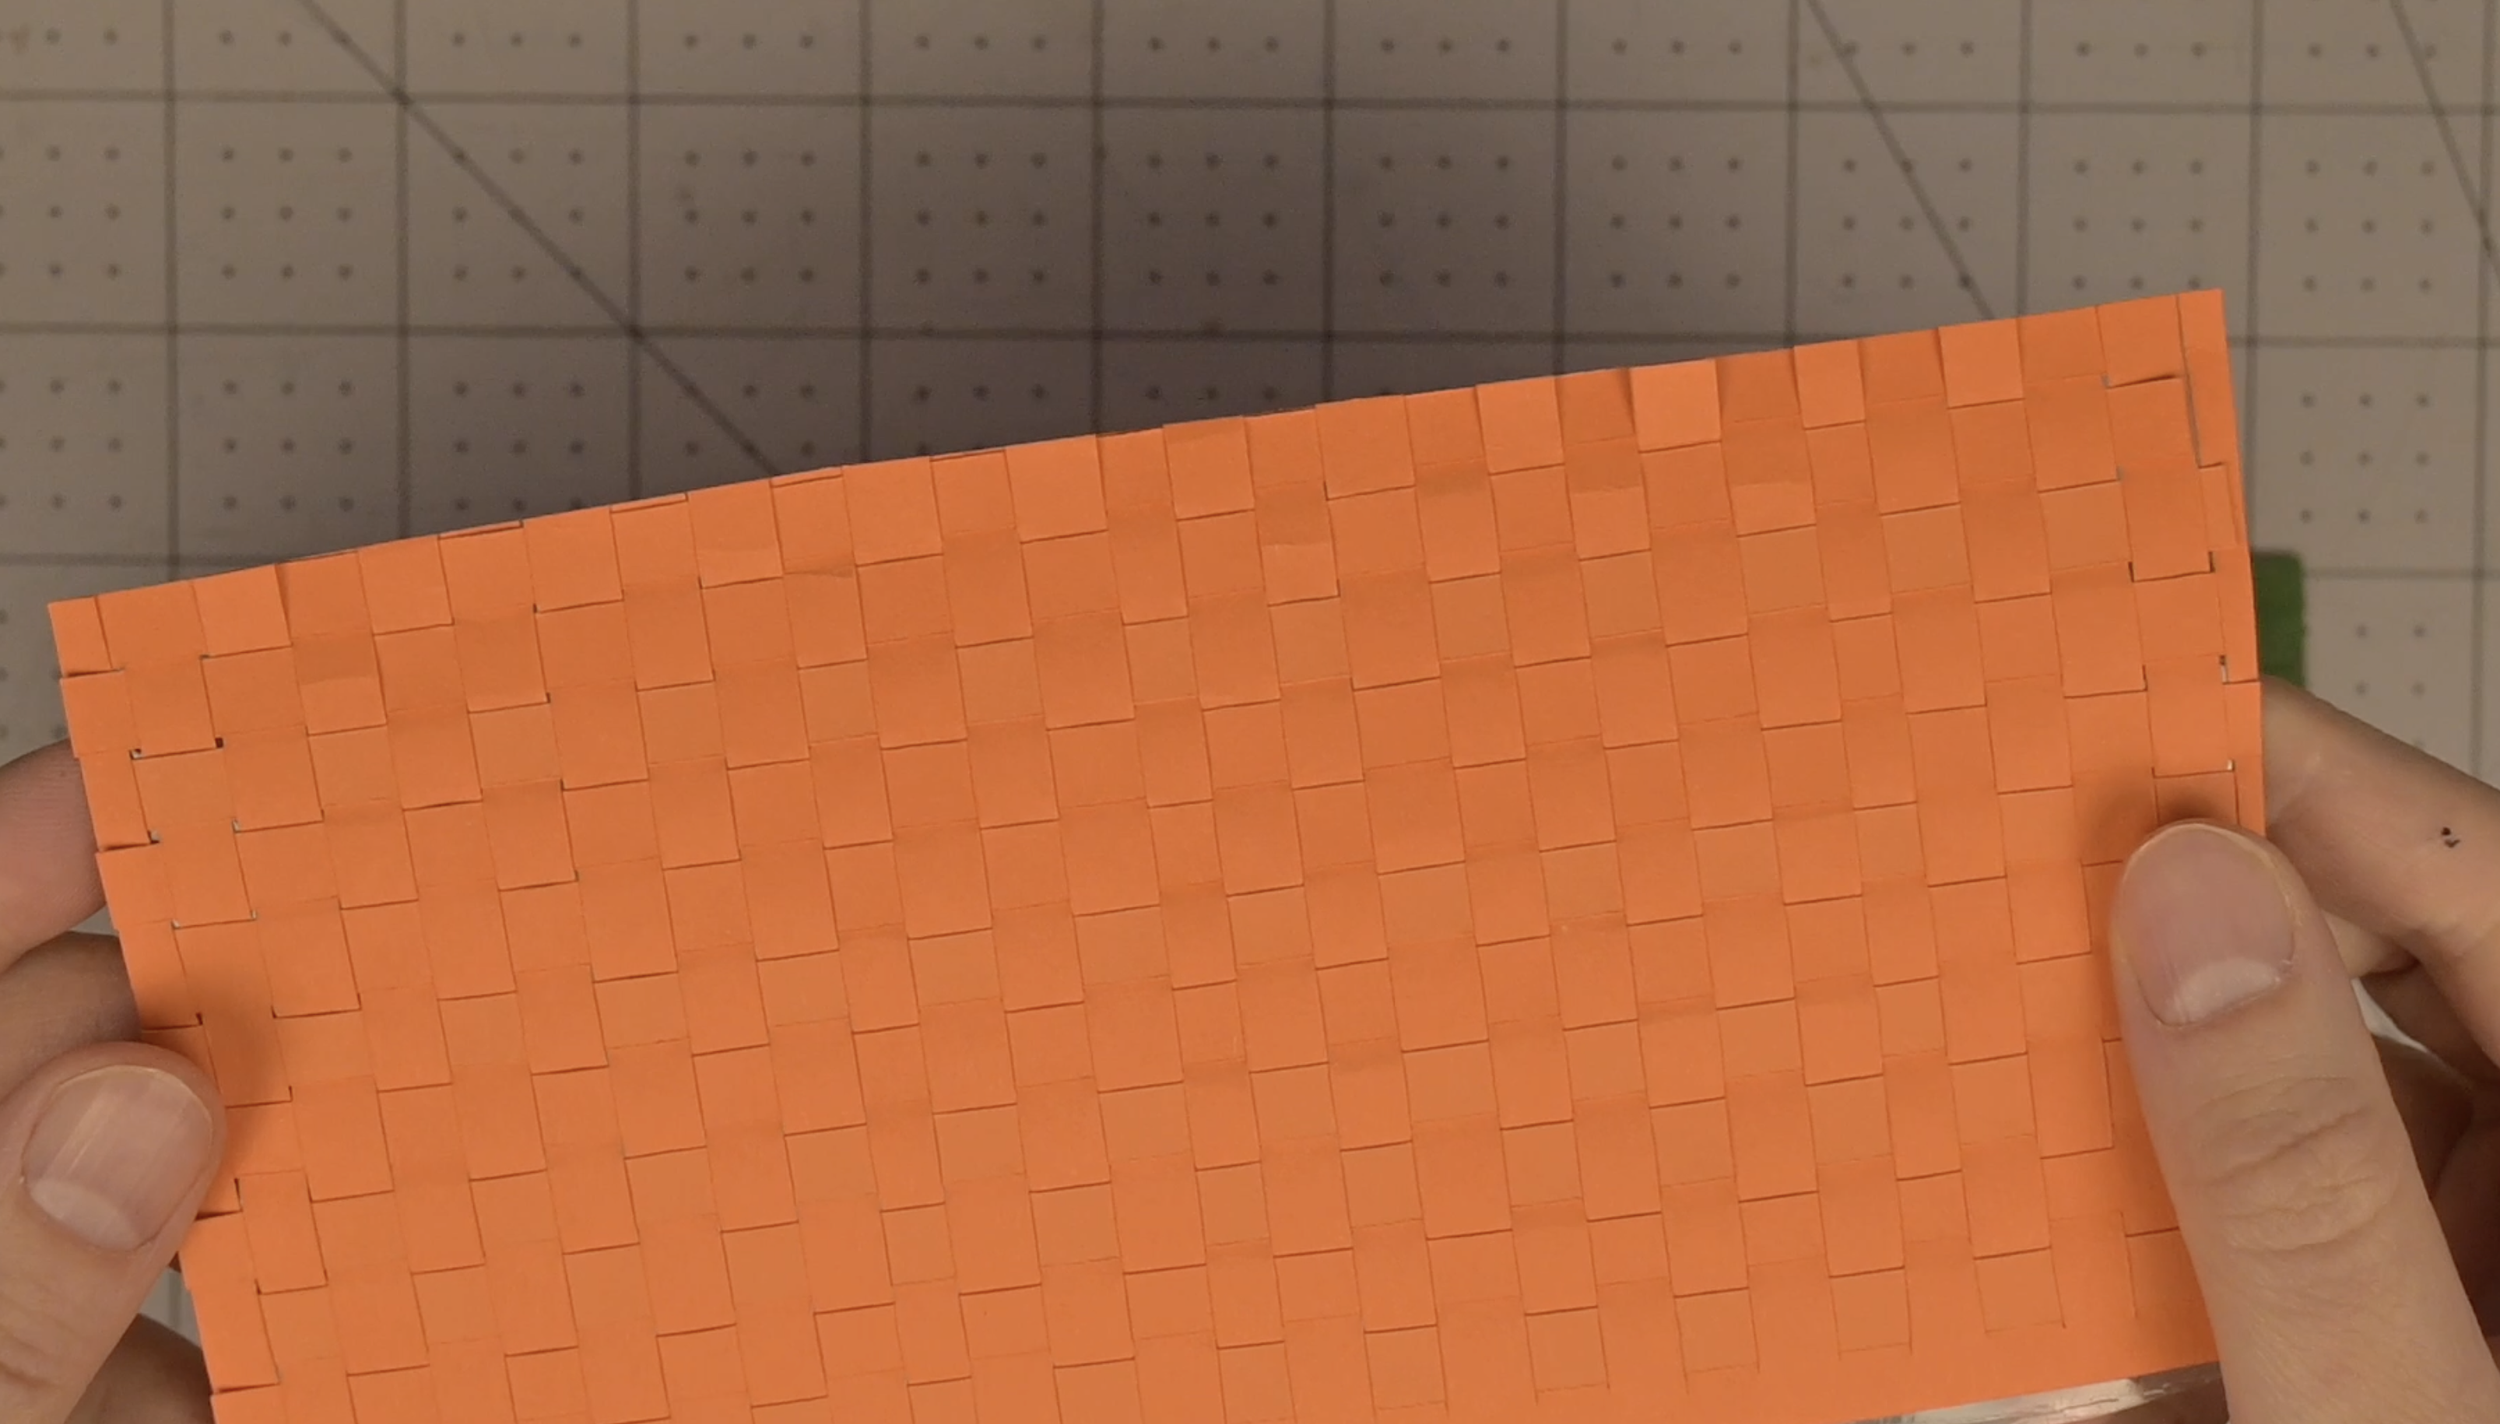
Update: Pumpkin Progress
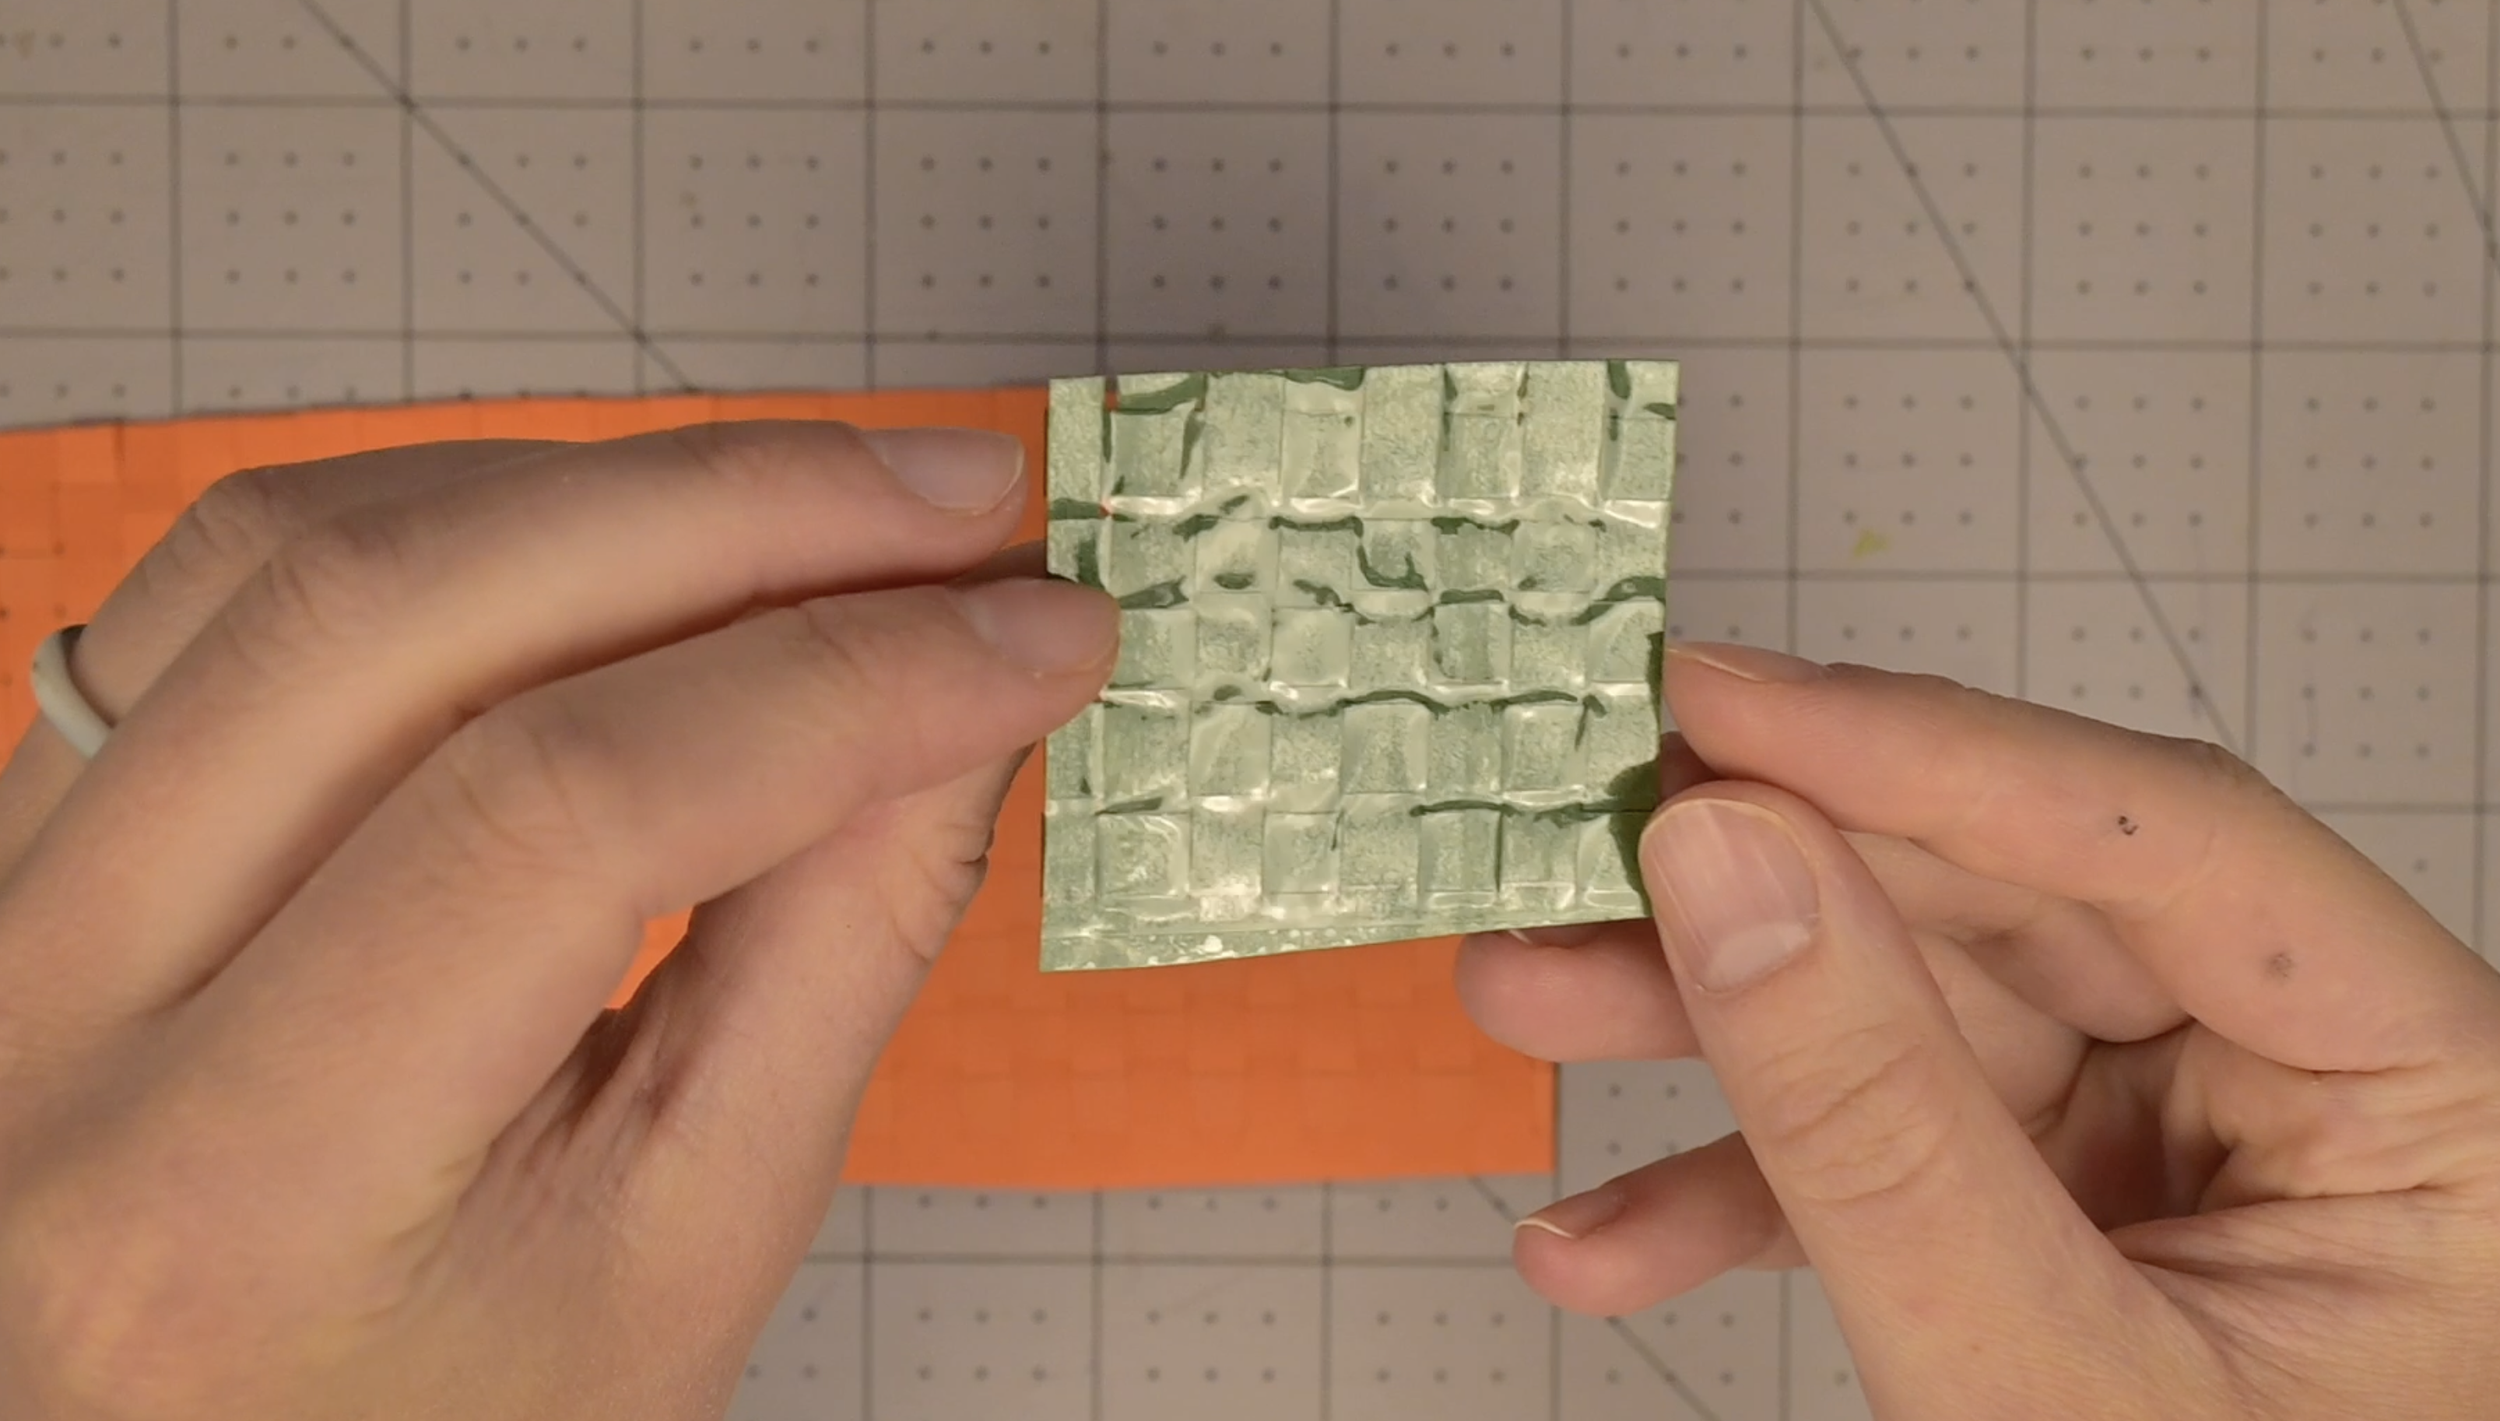
Step 7: Using the Templates
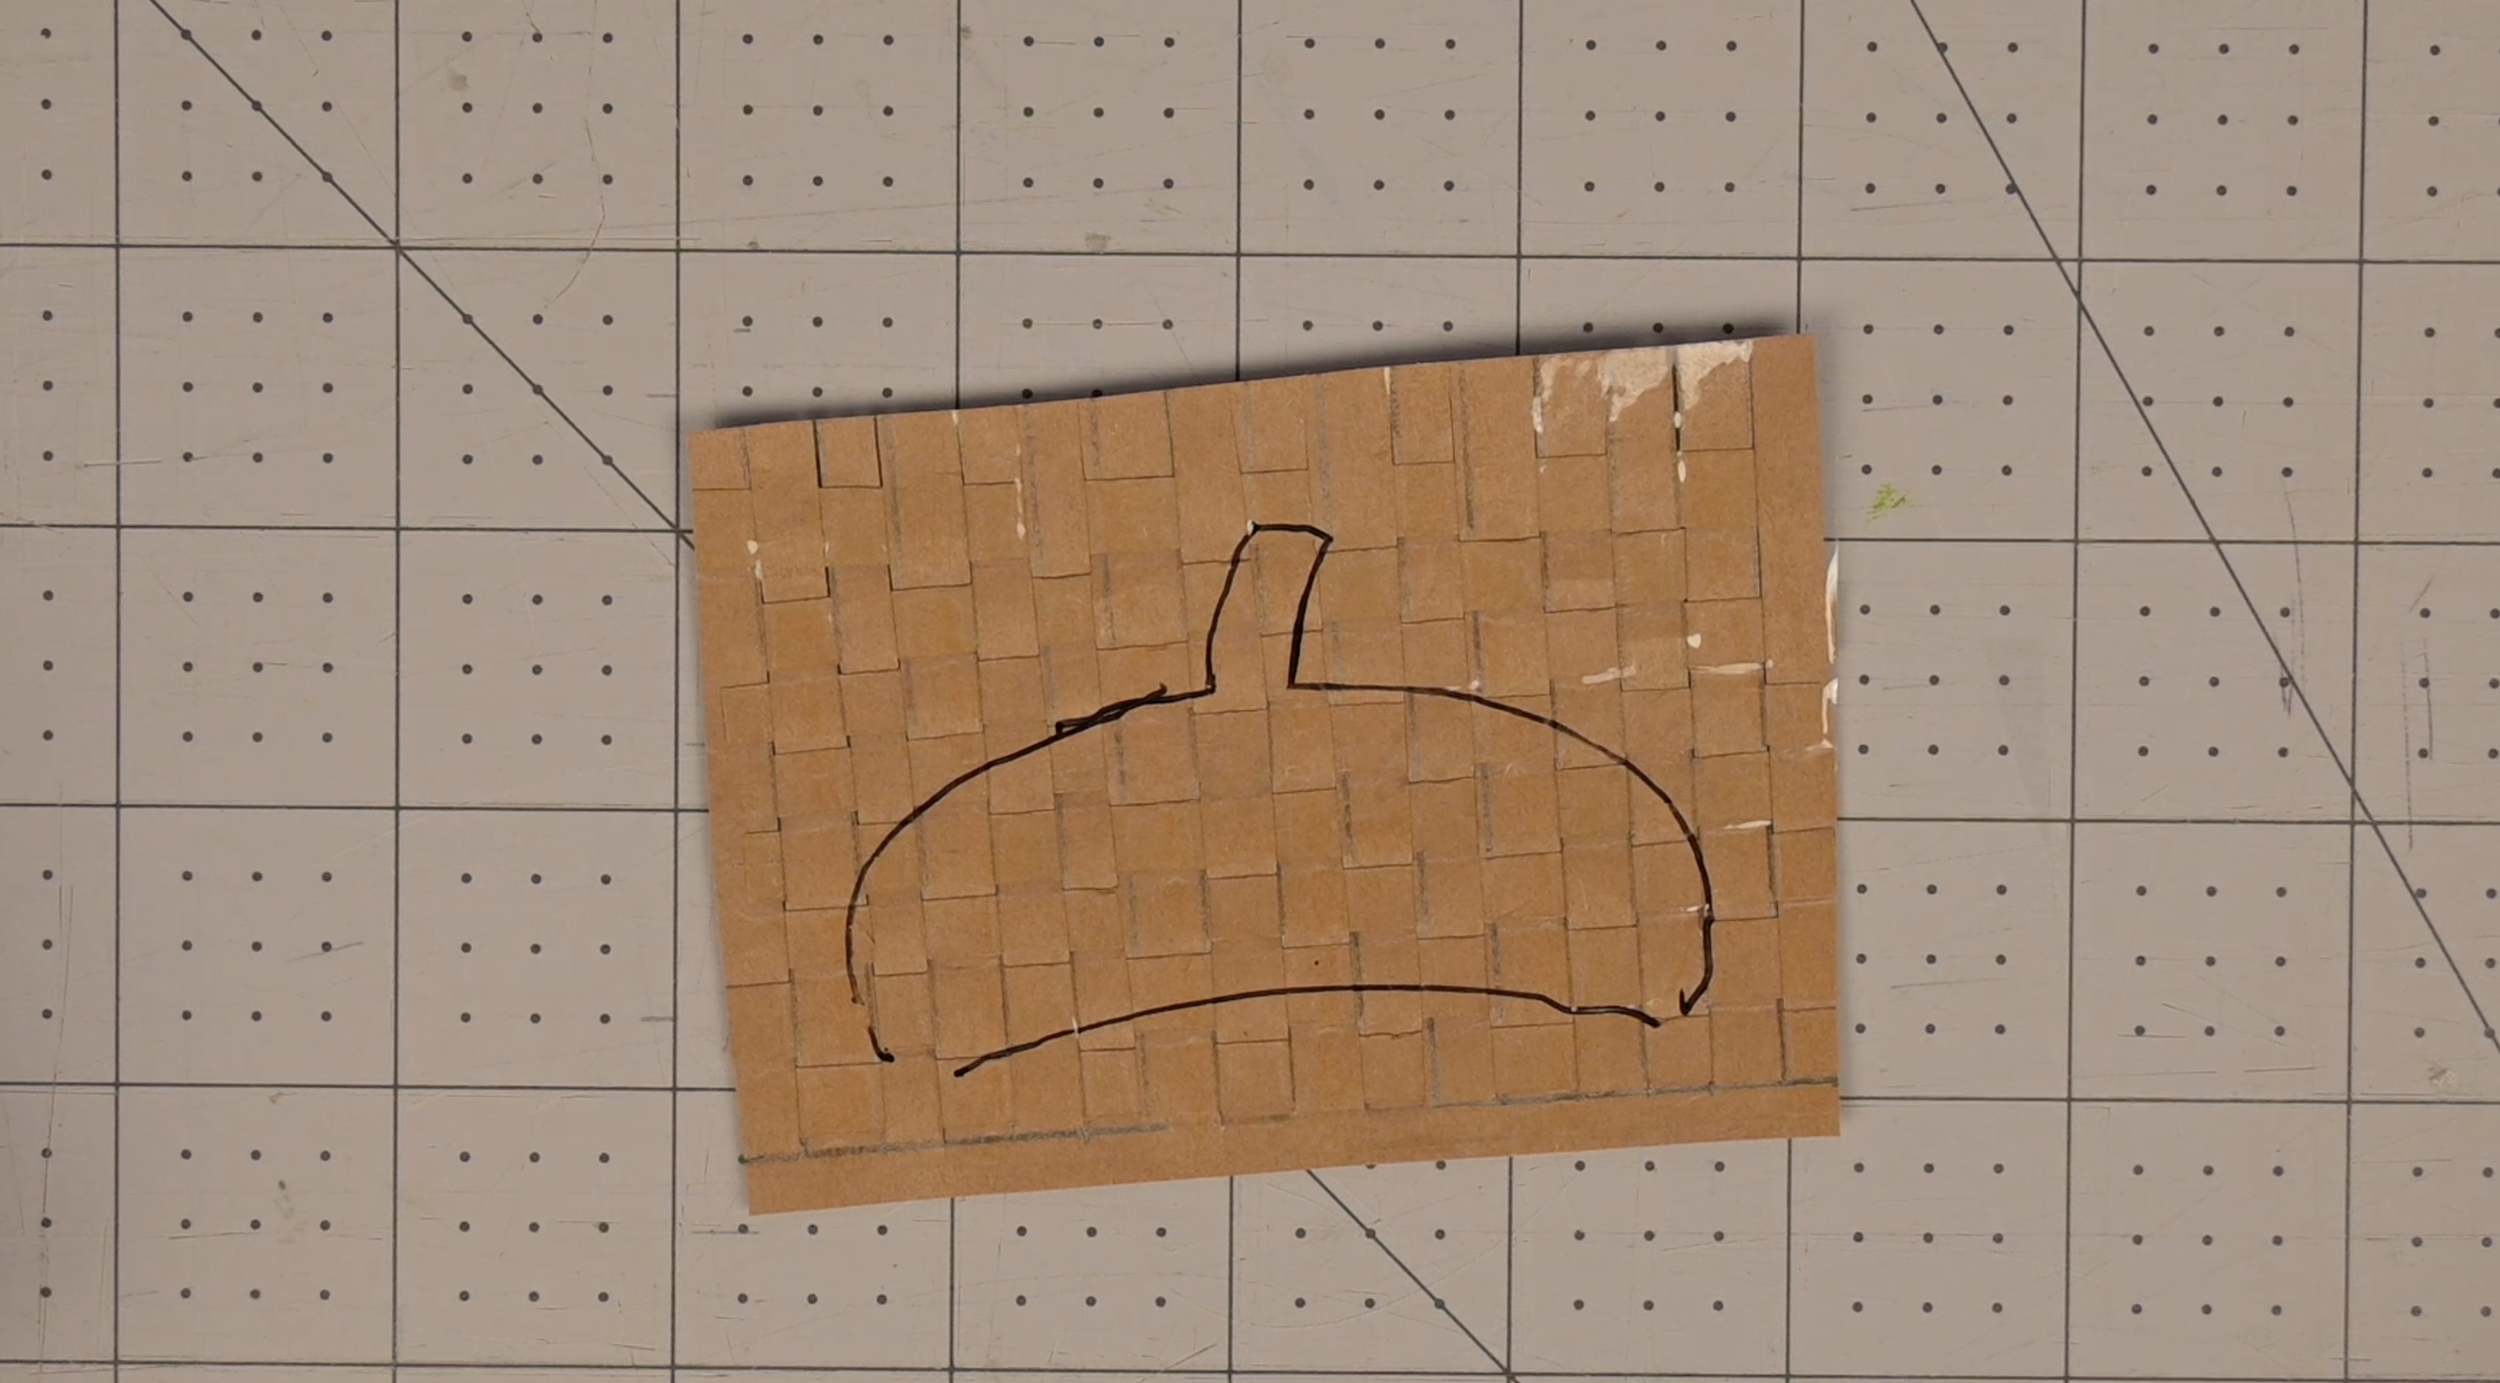
Trace each template piece onto its designated woven piece
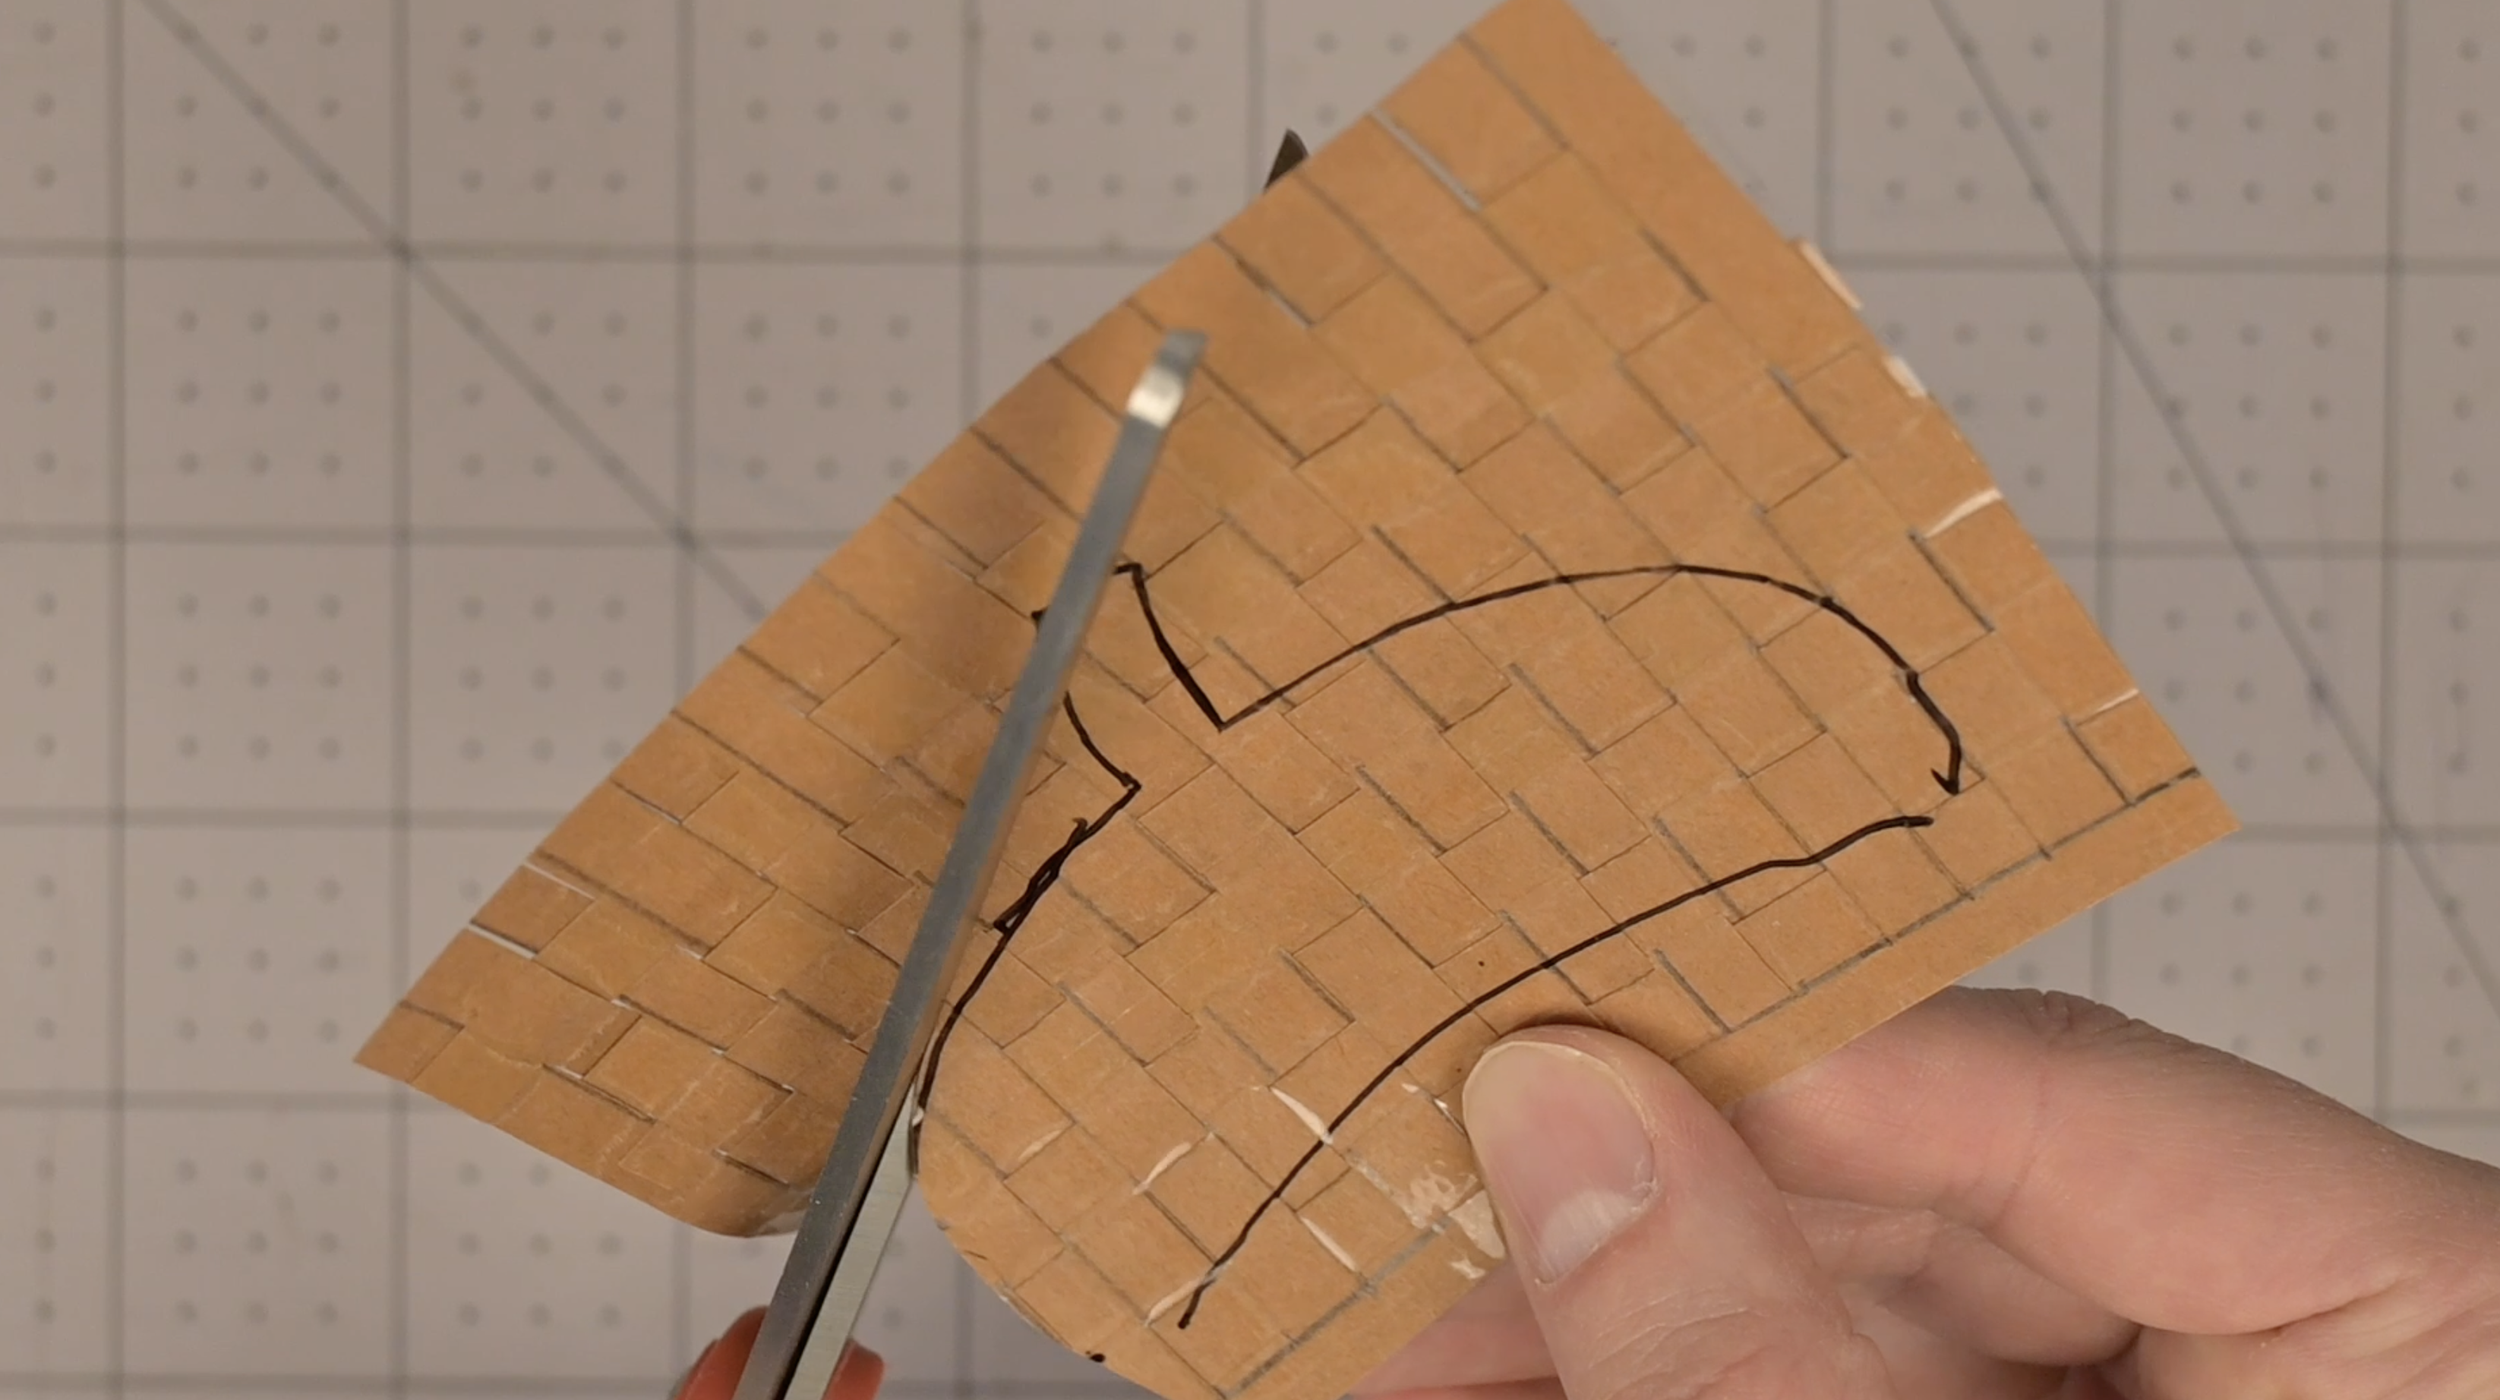
Using a scissors or craft knife, cut on the traced line
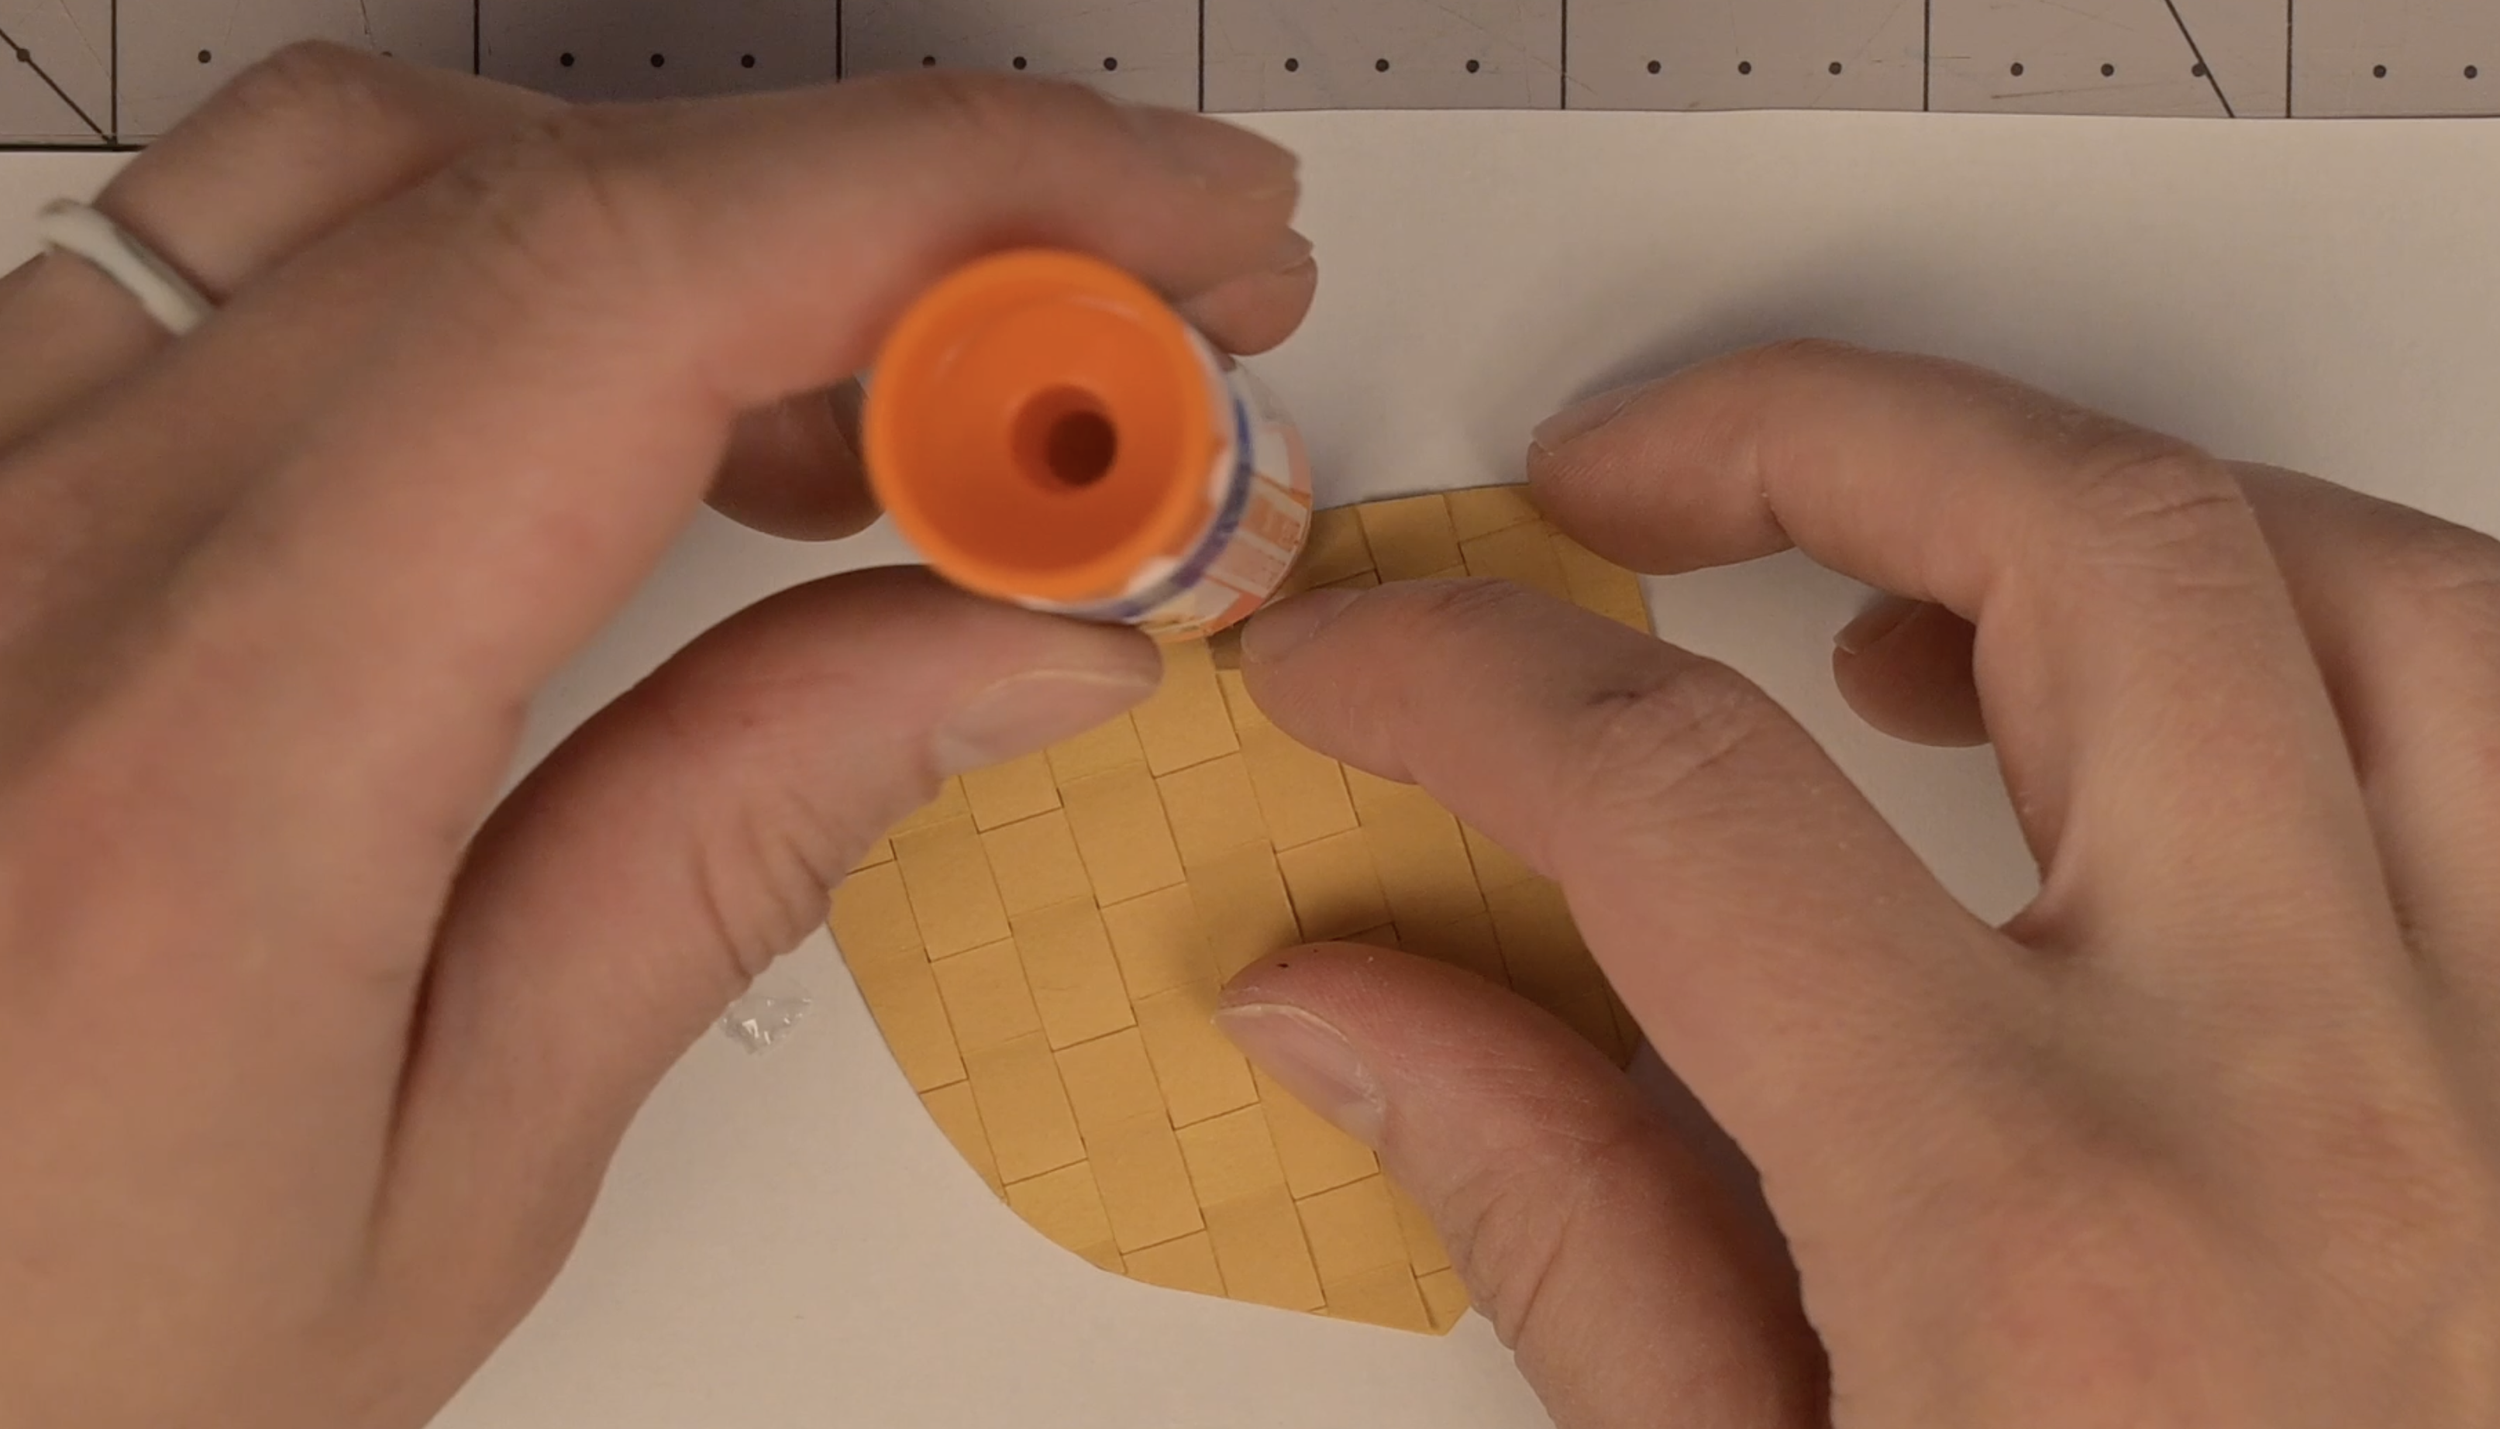
(Optional) Using a glue stick, glue down the ends of the weave strips that may fold up
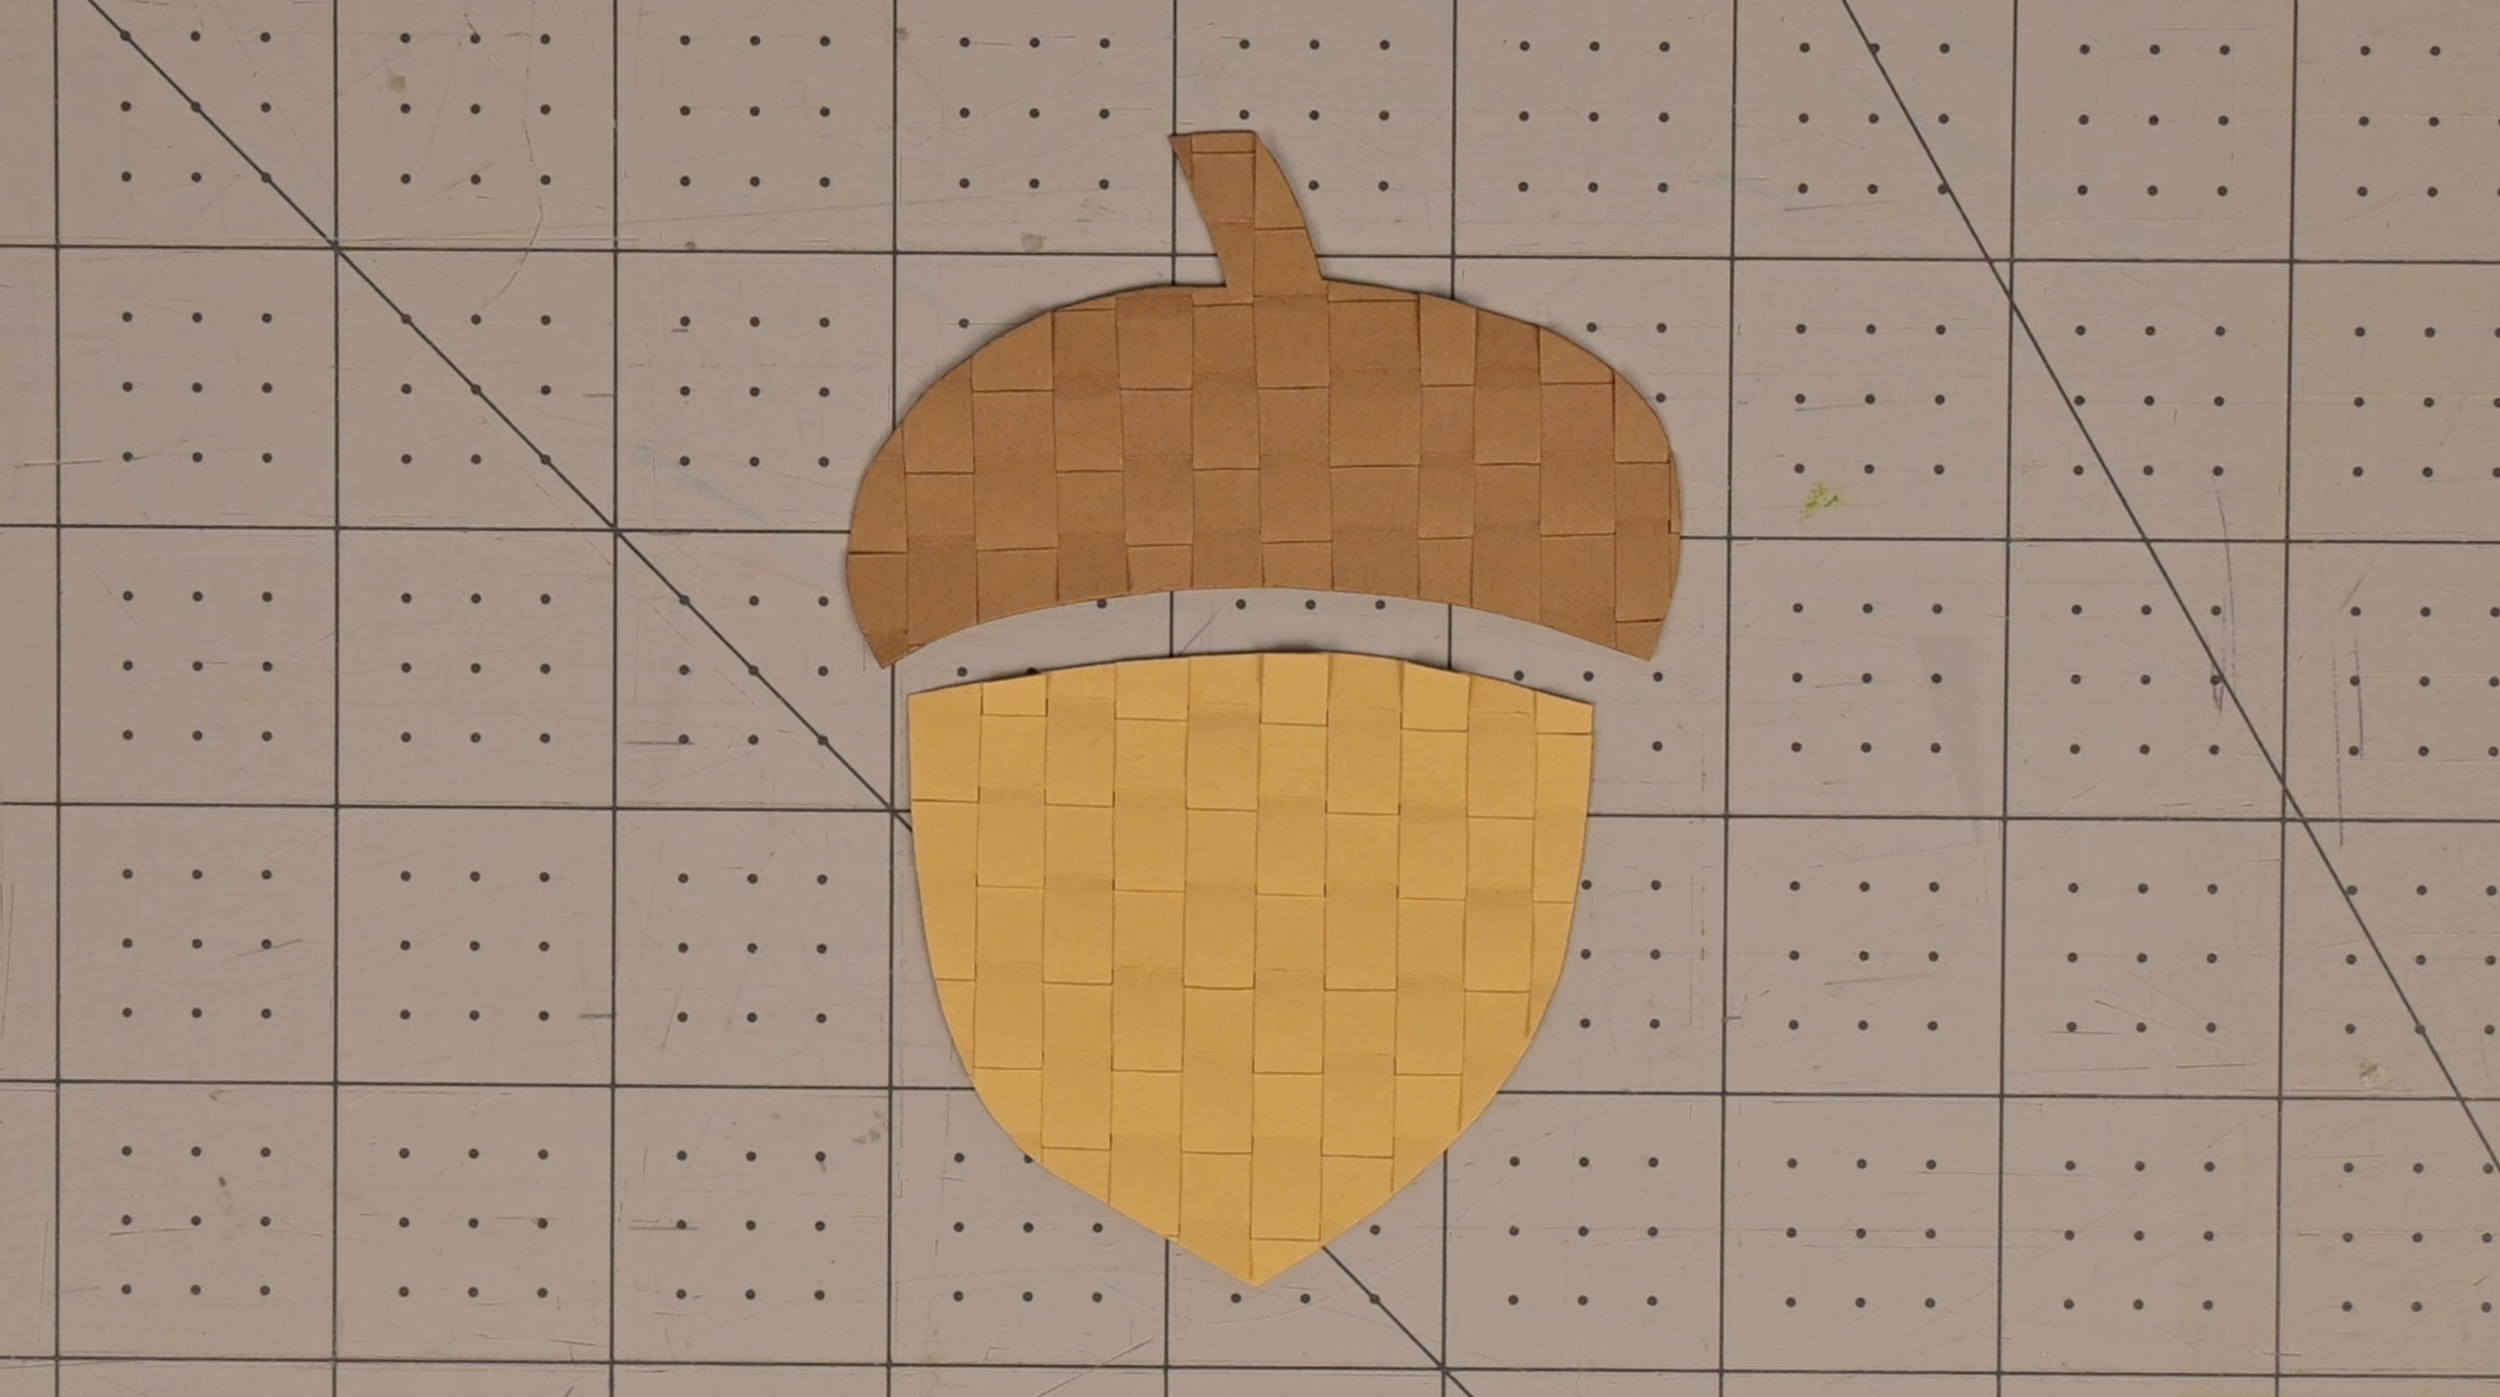
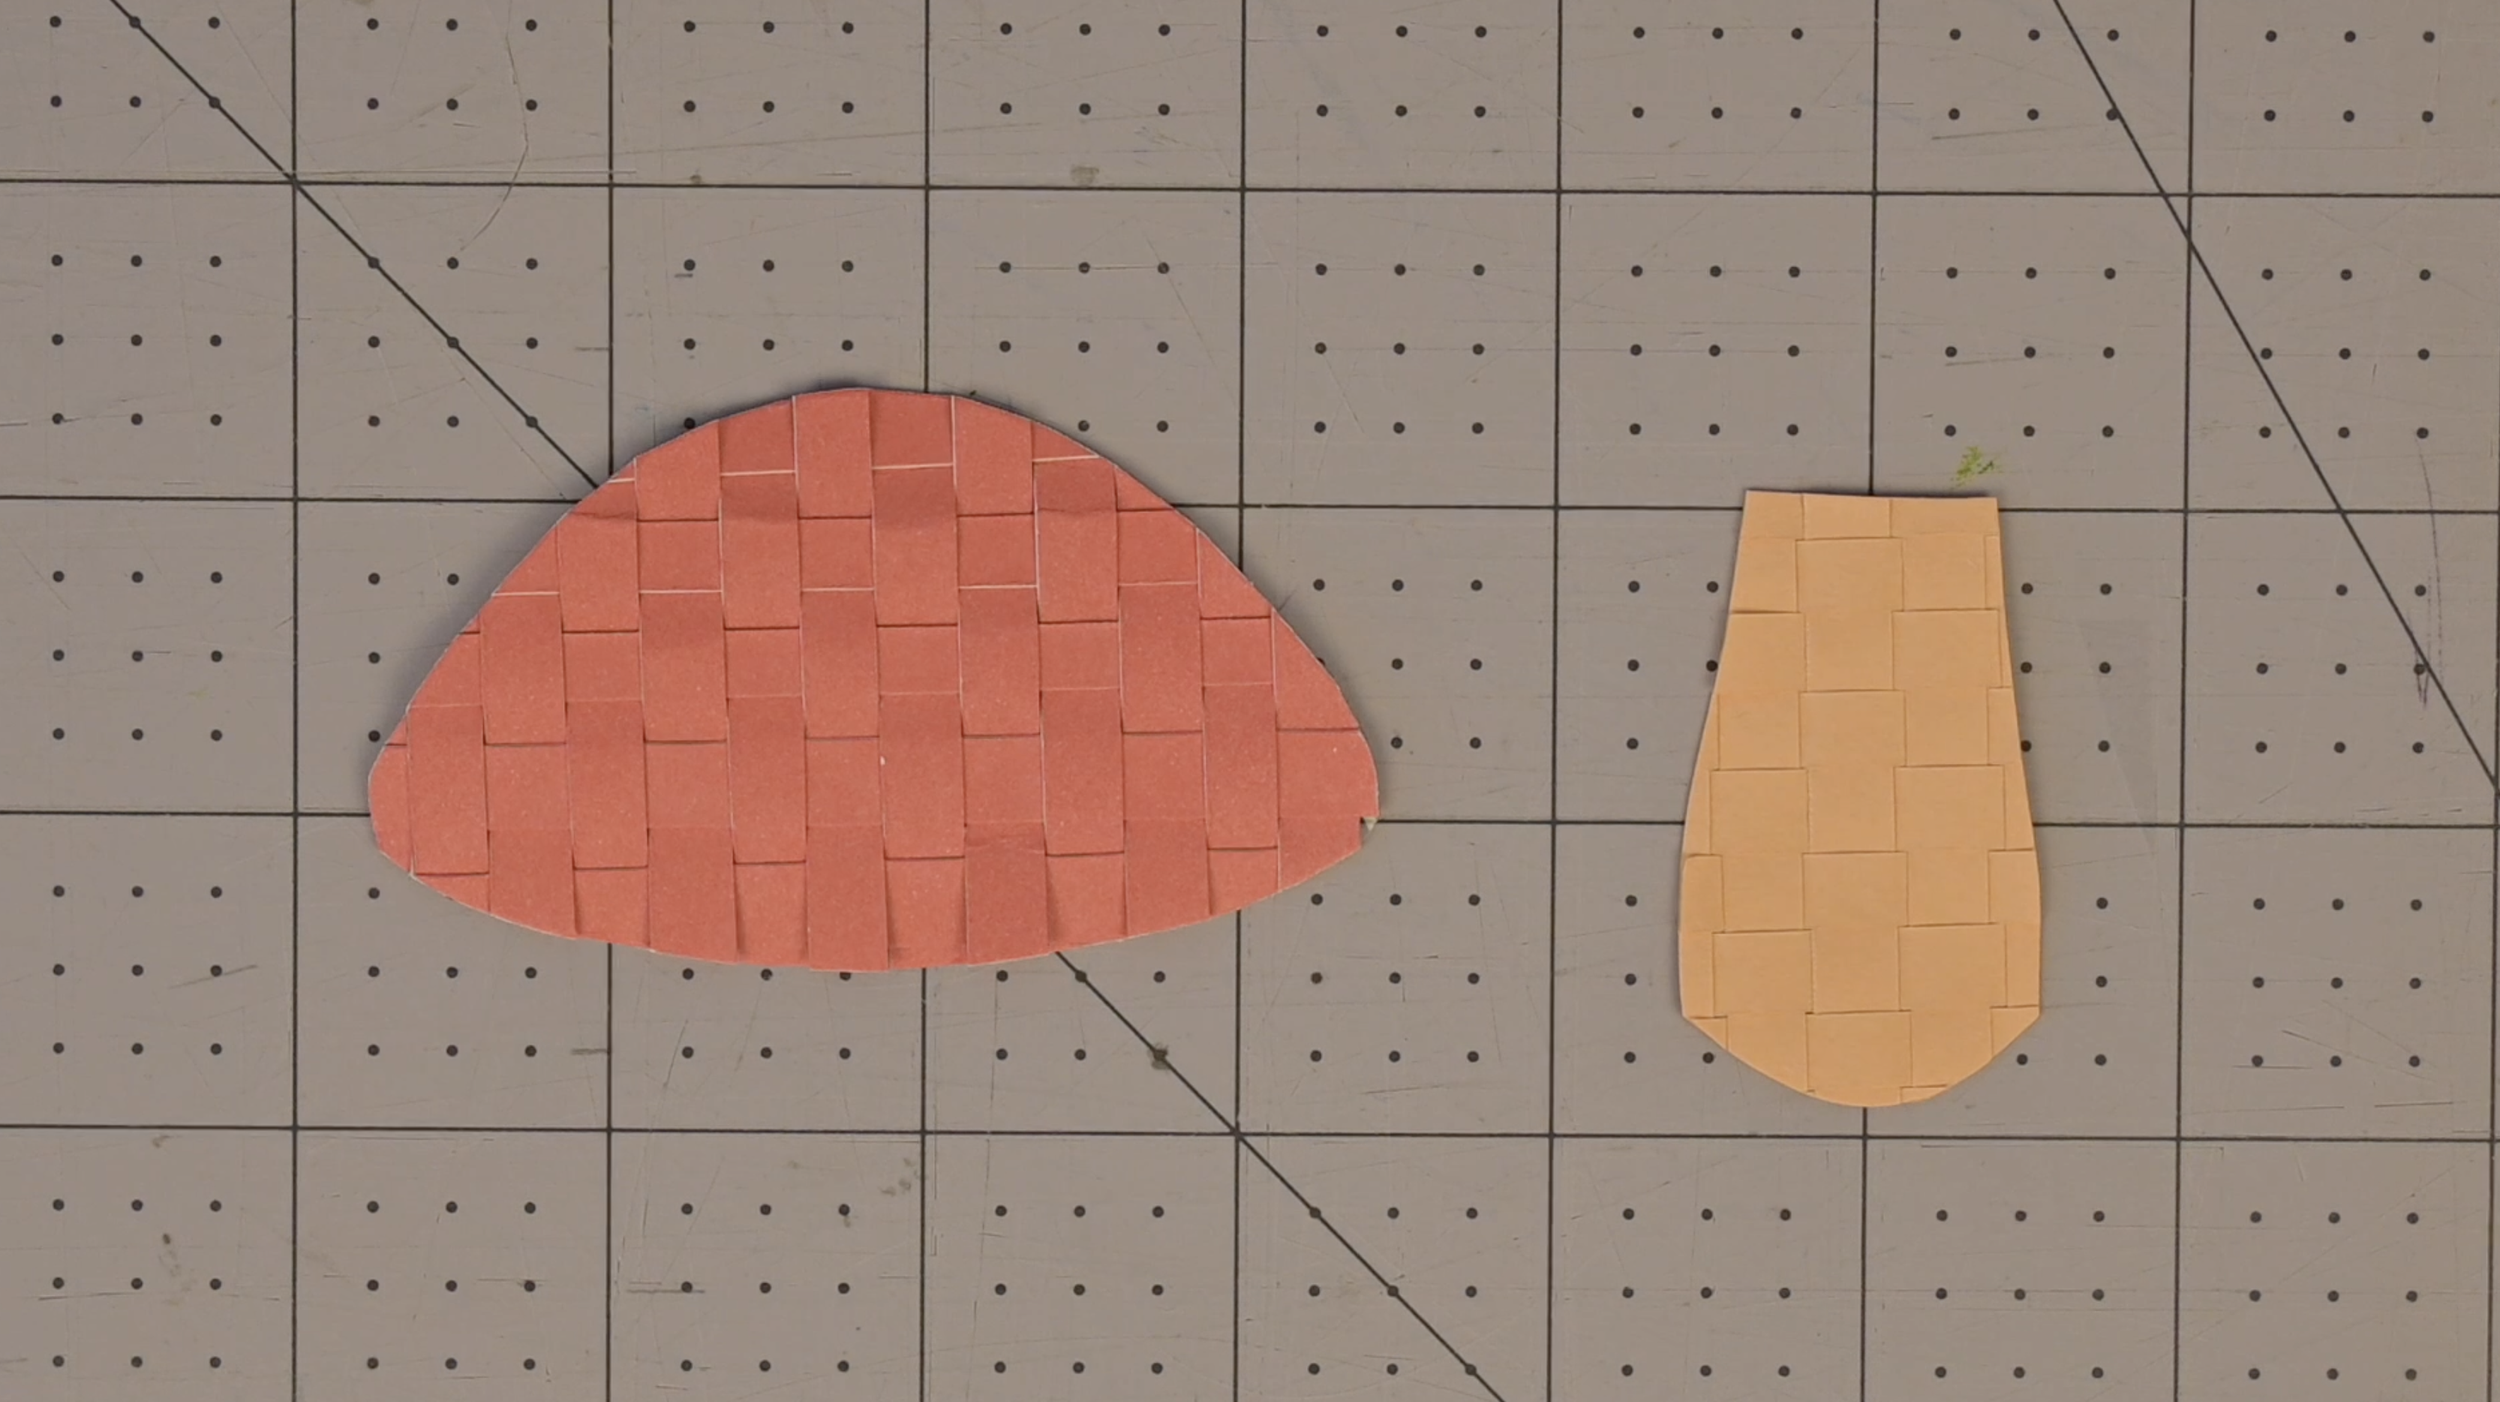
Update: Mushroom Progress
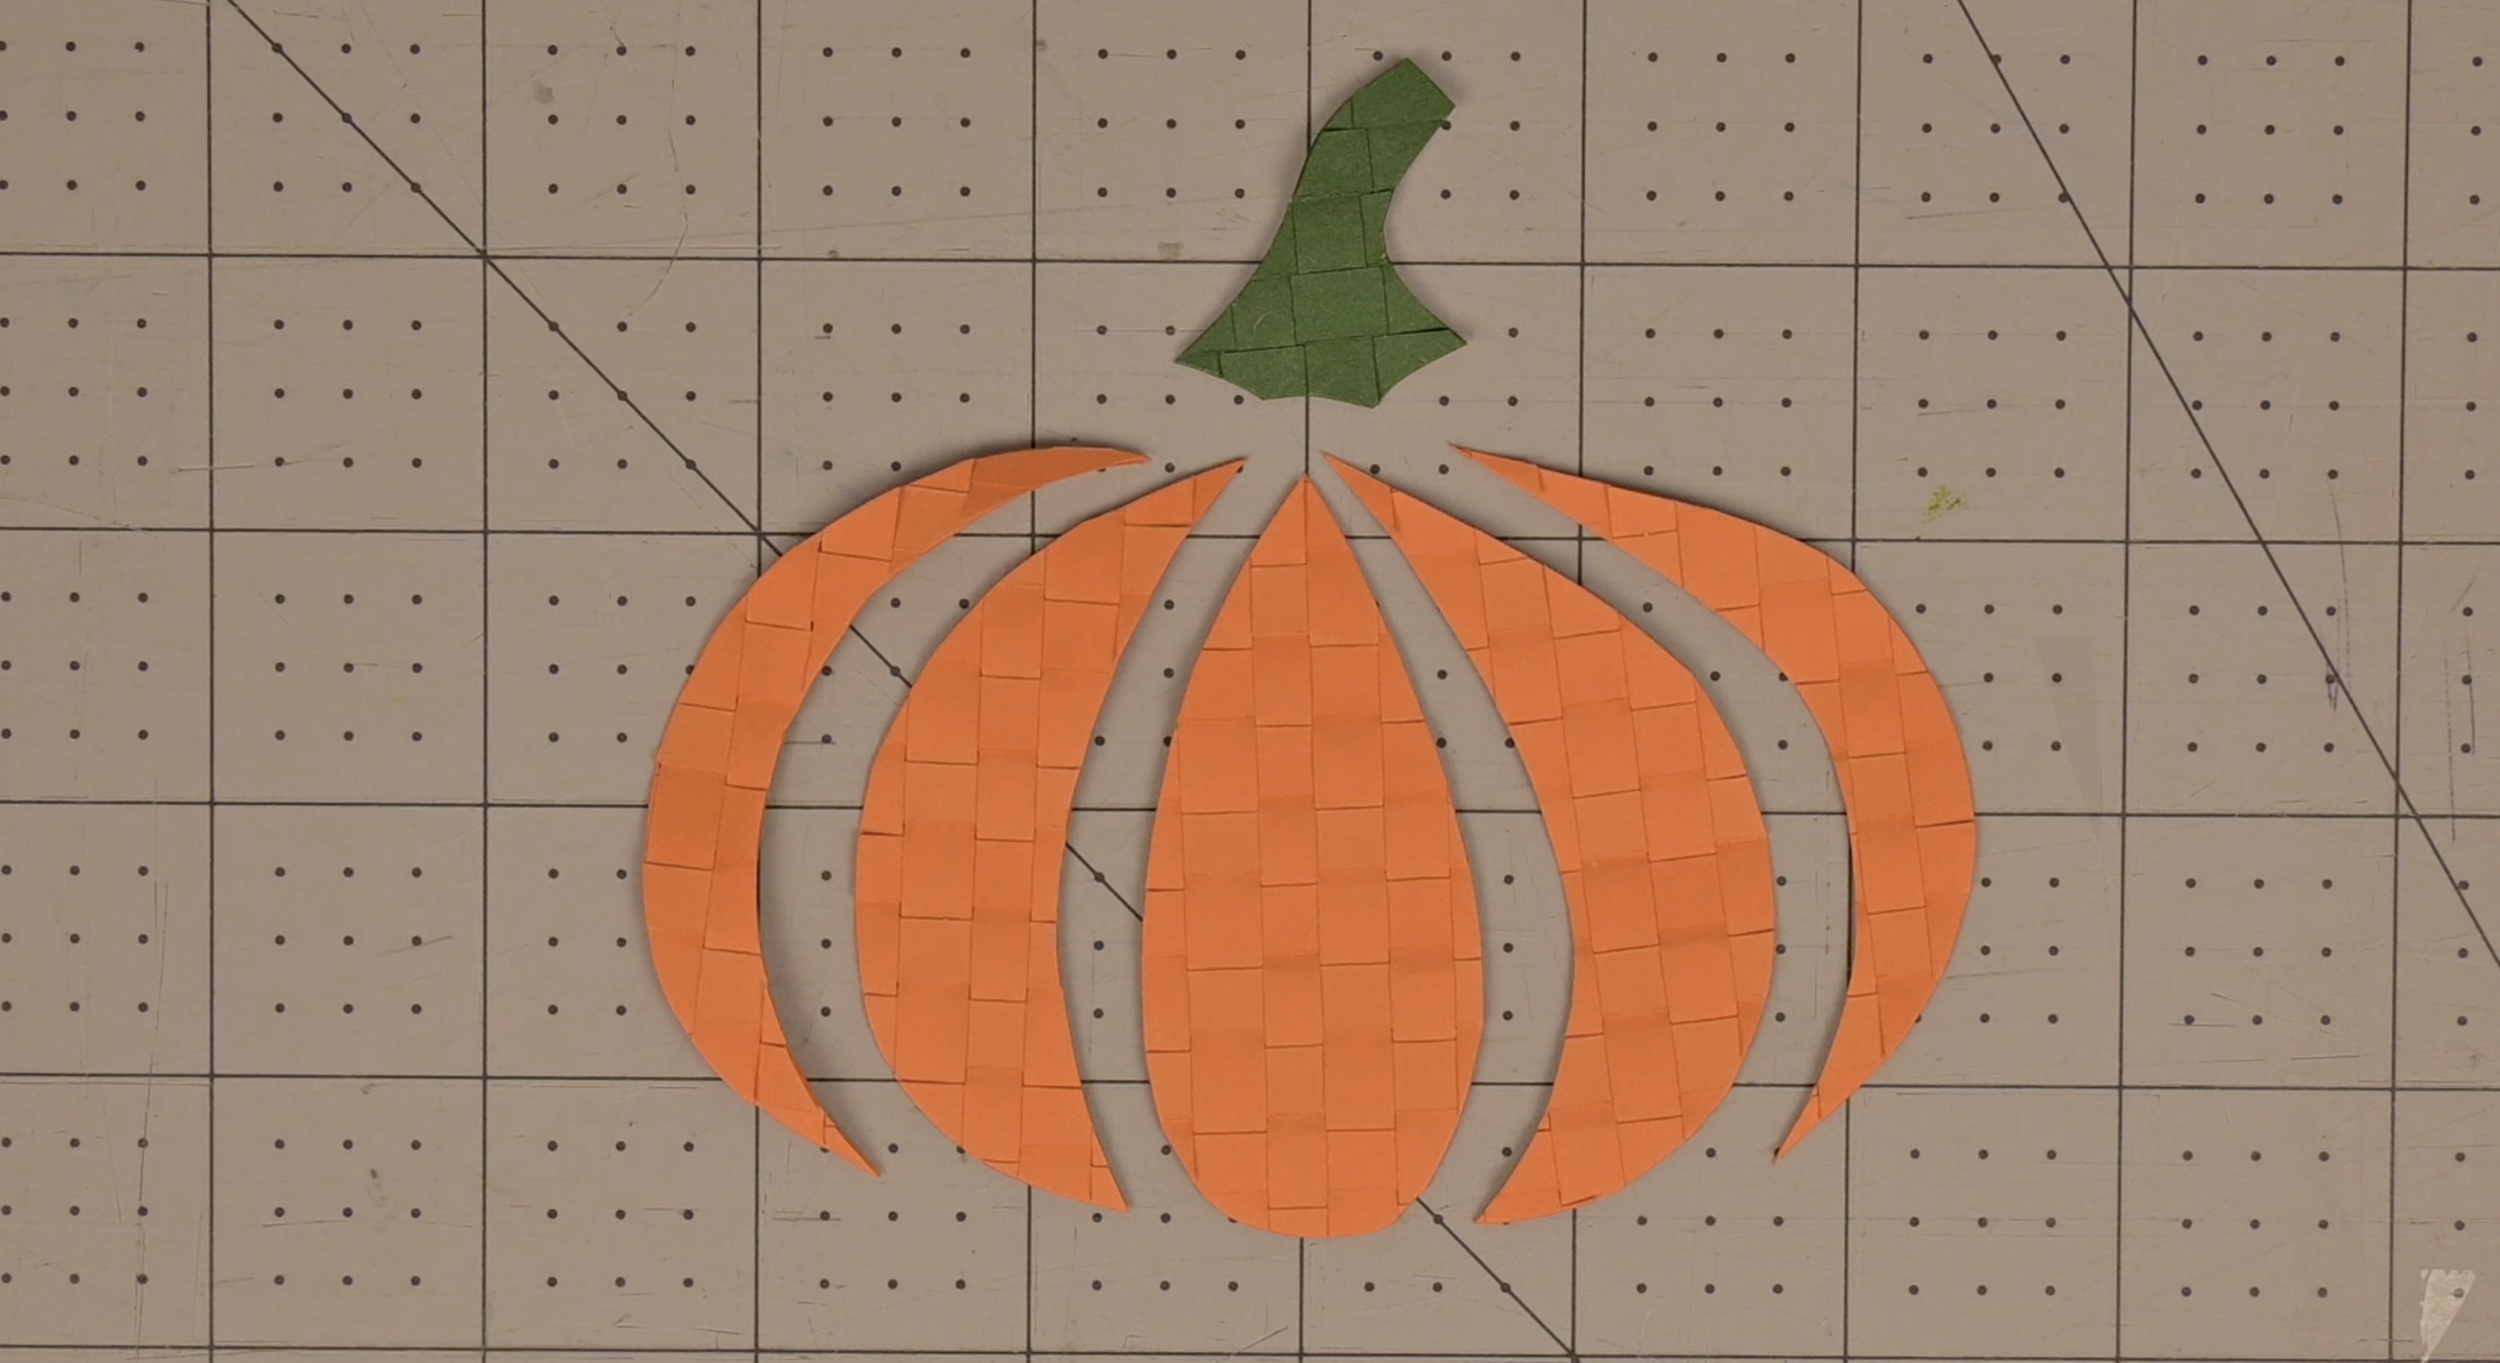
Update: Pumpkin Progress
Step 8: Adding Borders
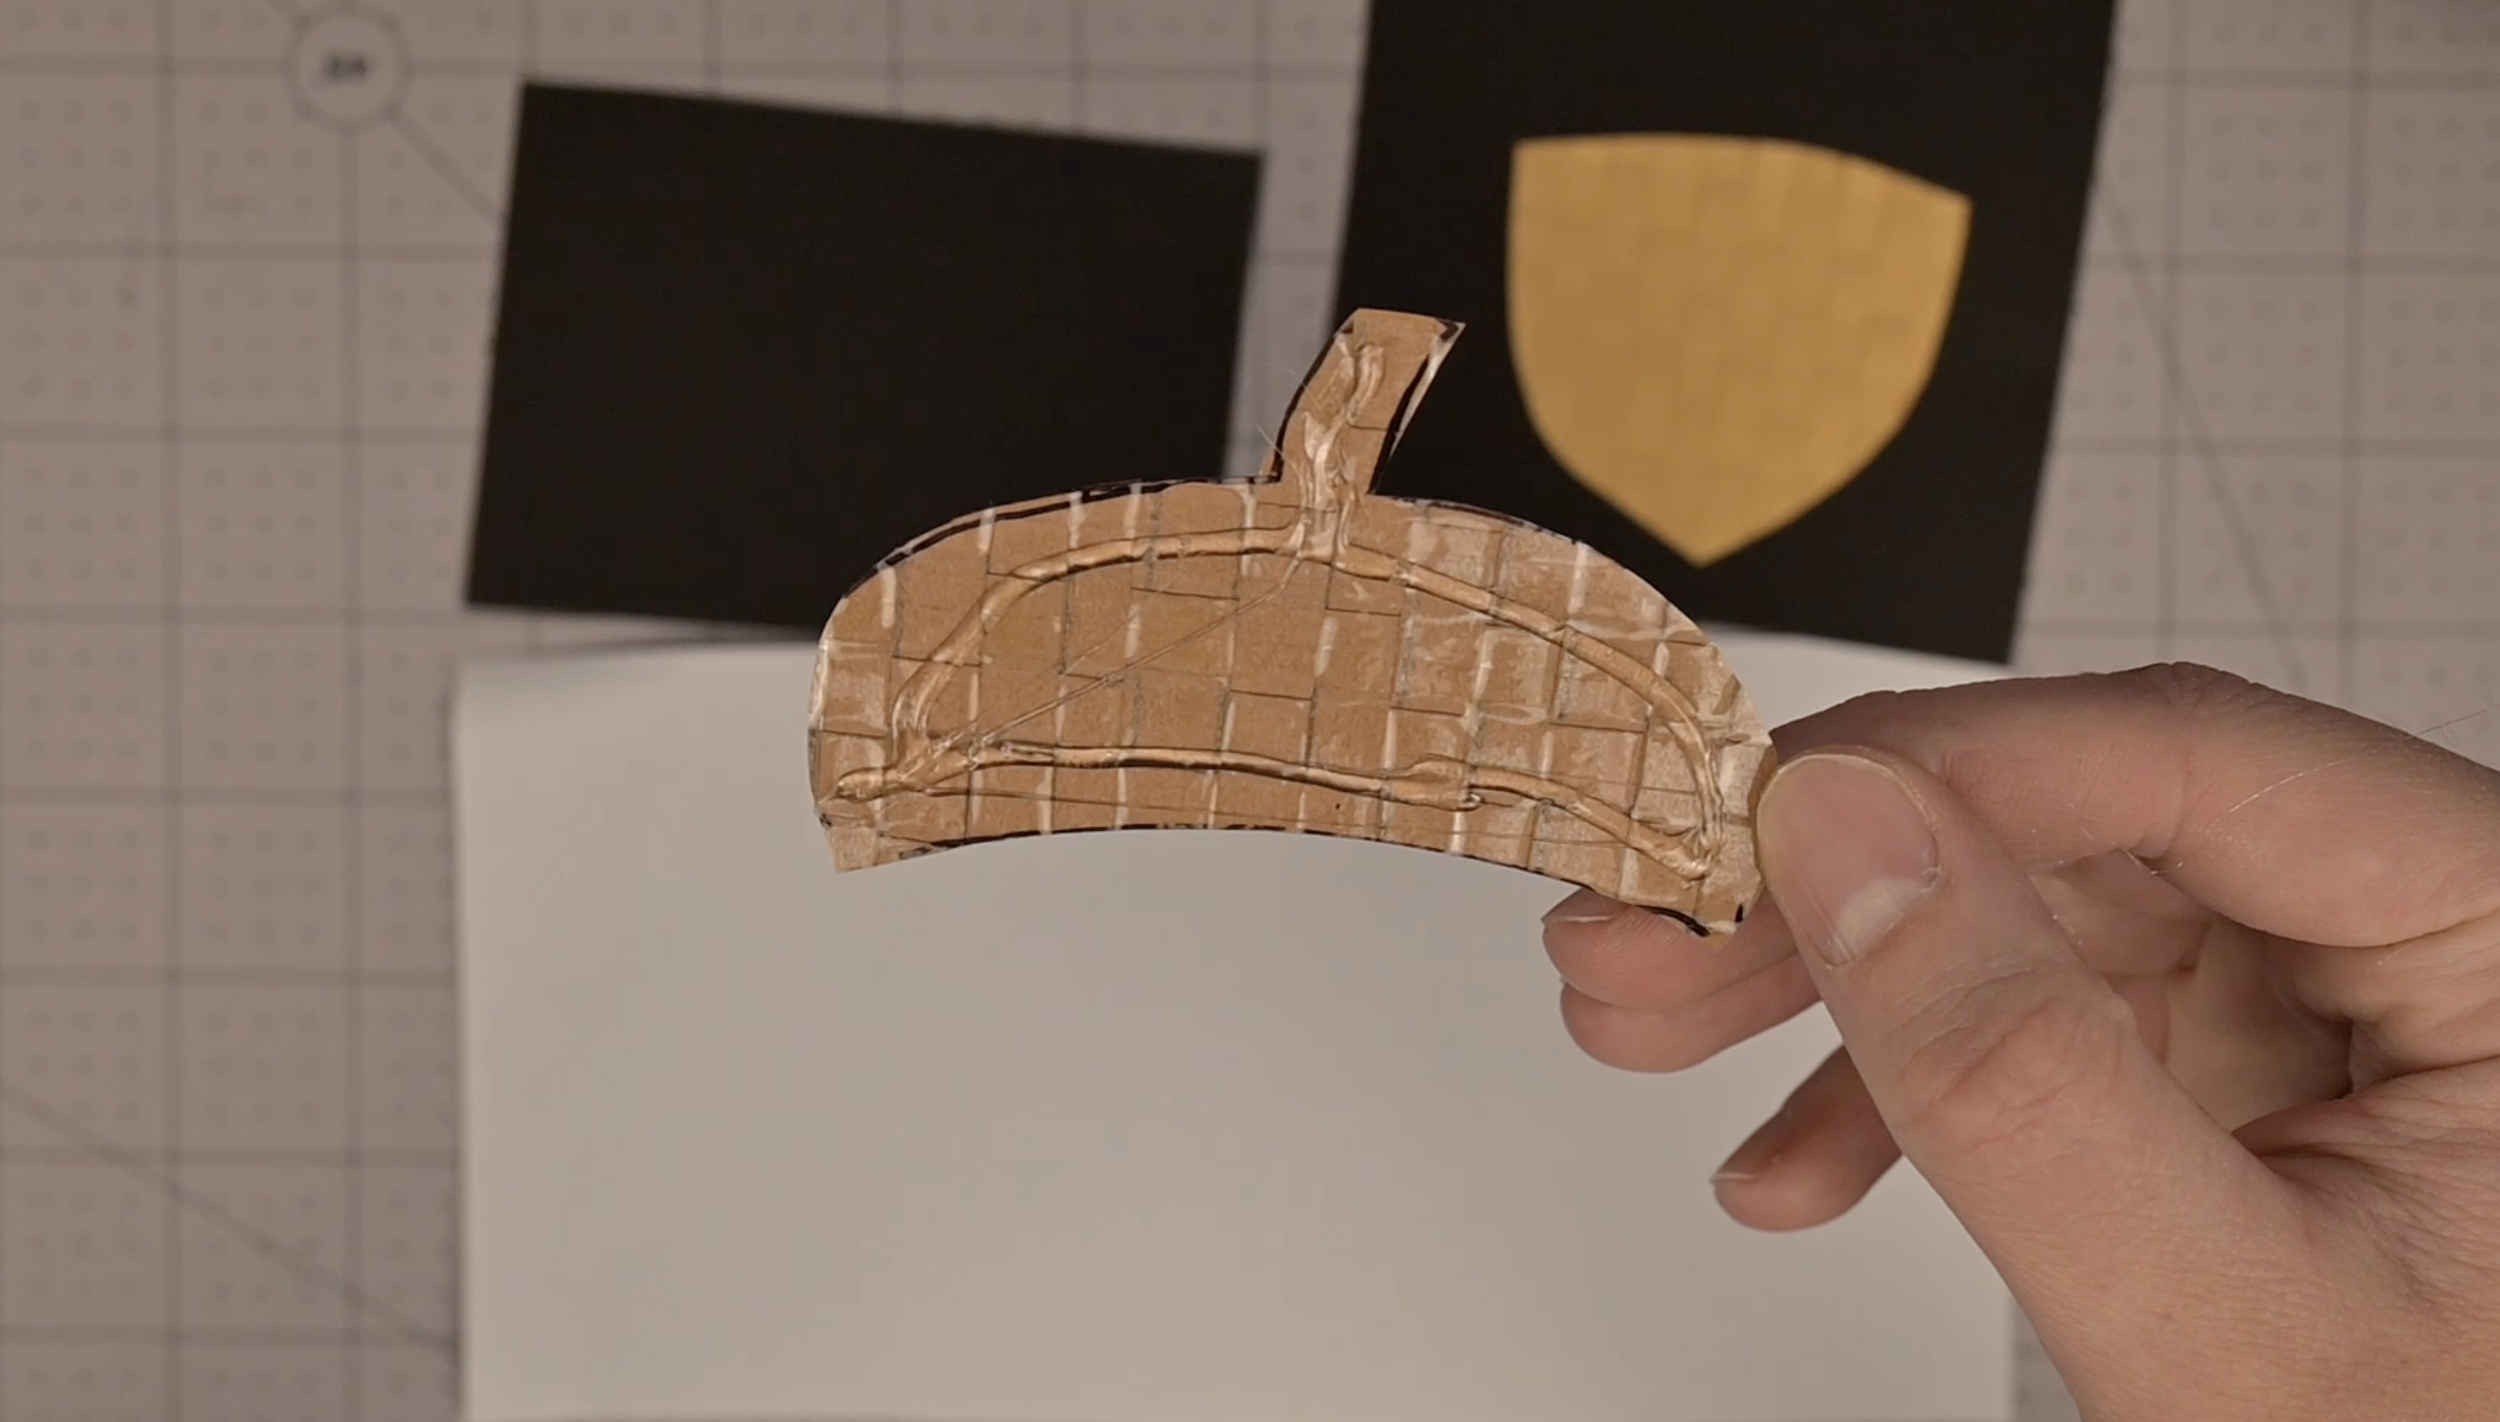
On the back of each woven cut piece, apply hot glue around the edge
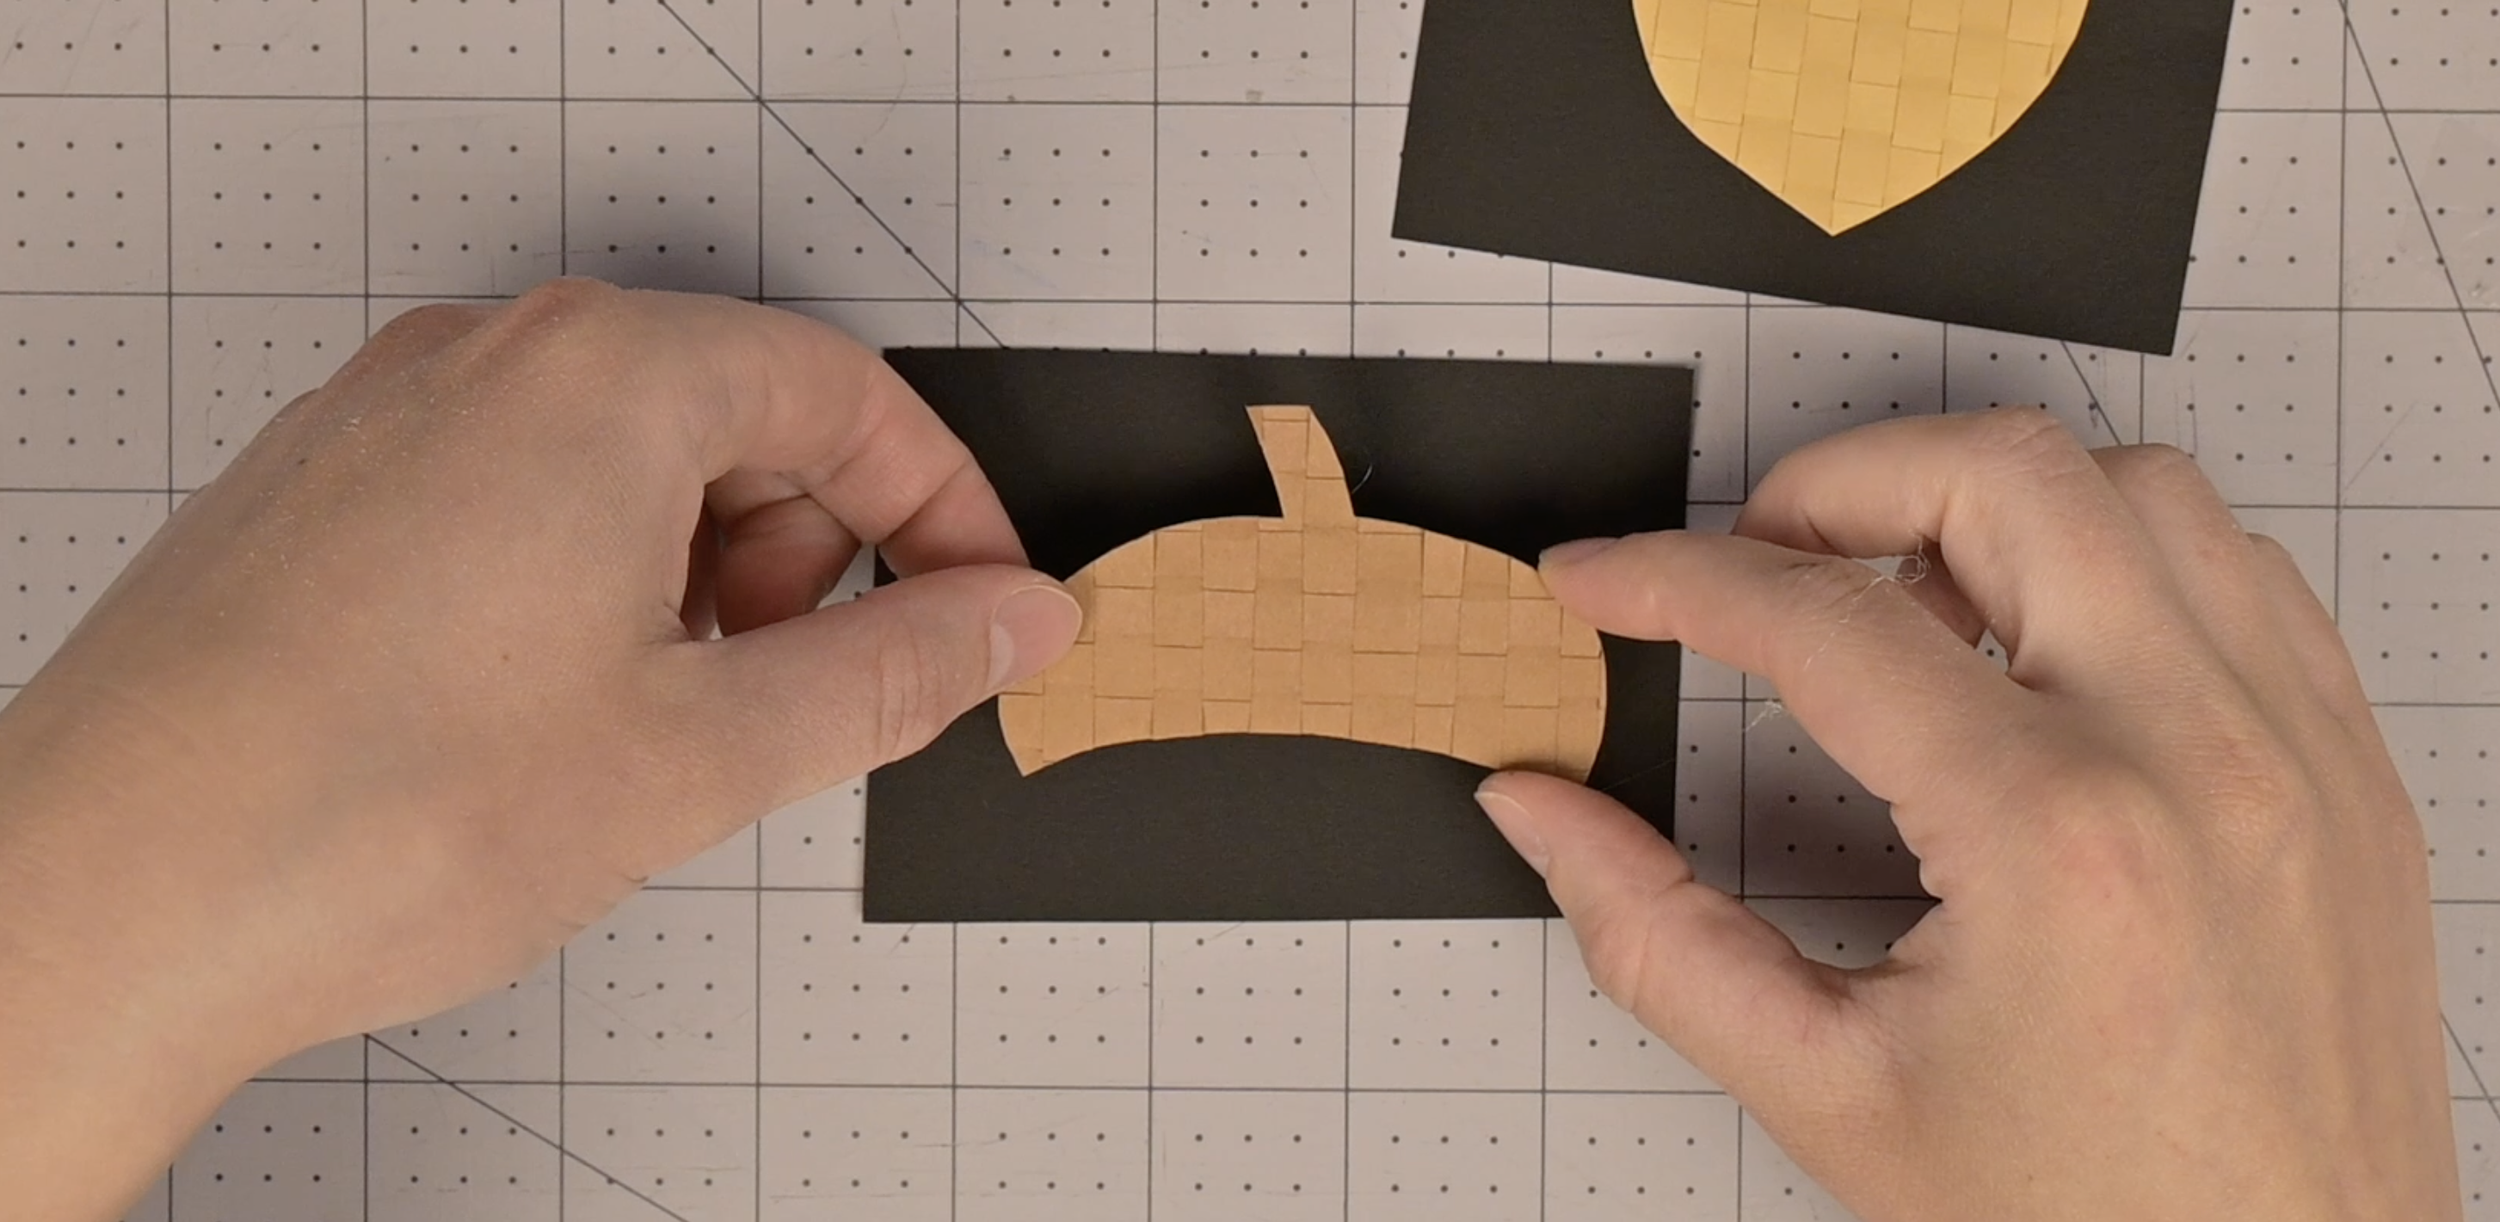
Stick to a full piece of paper of the border color of your choice
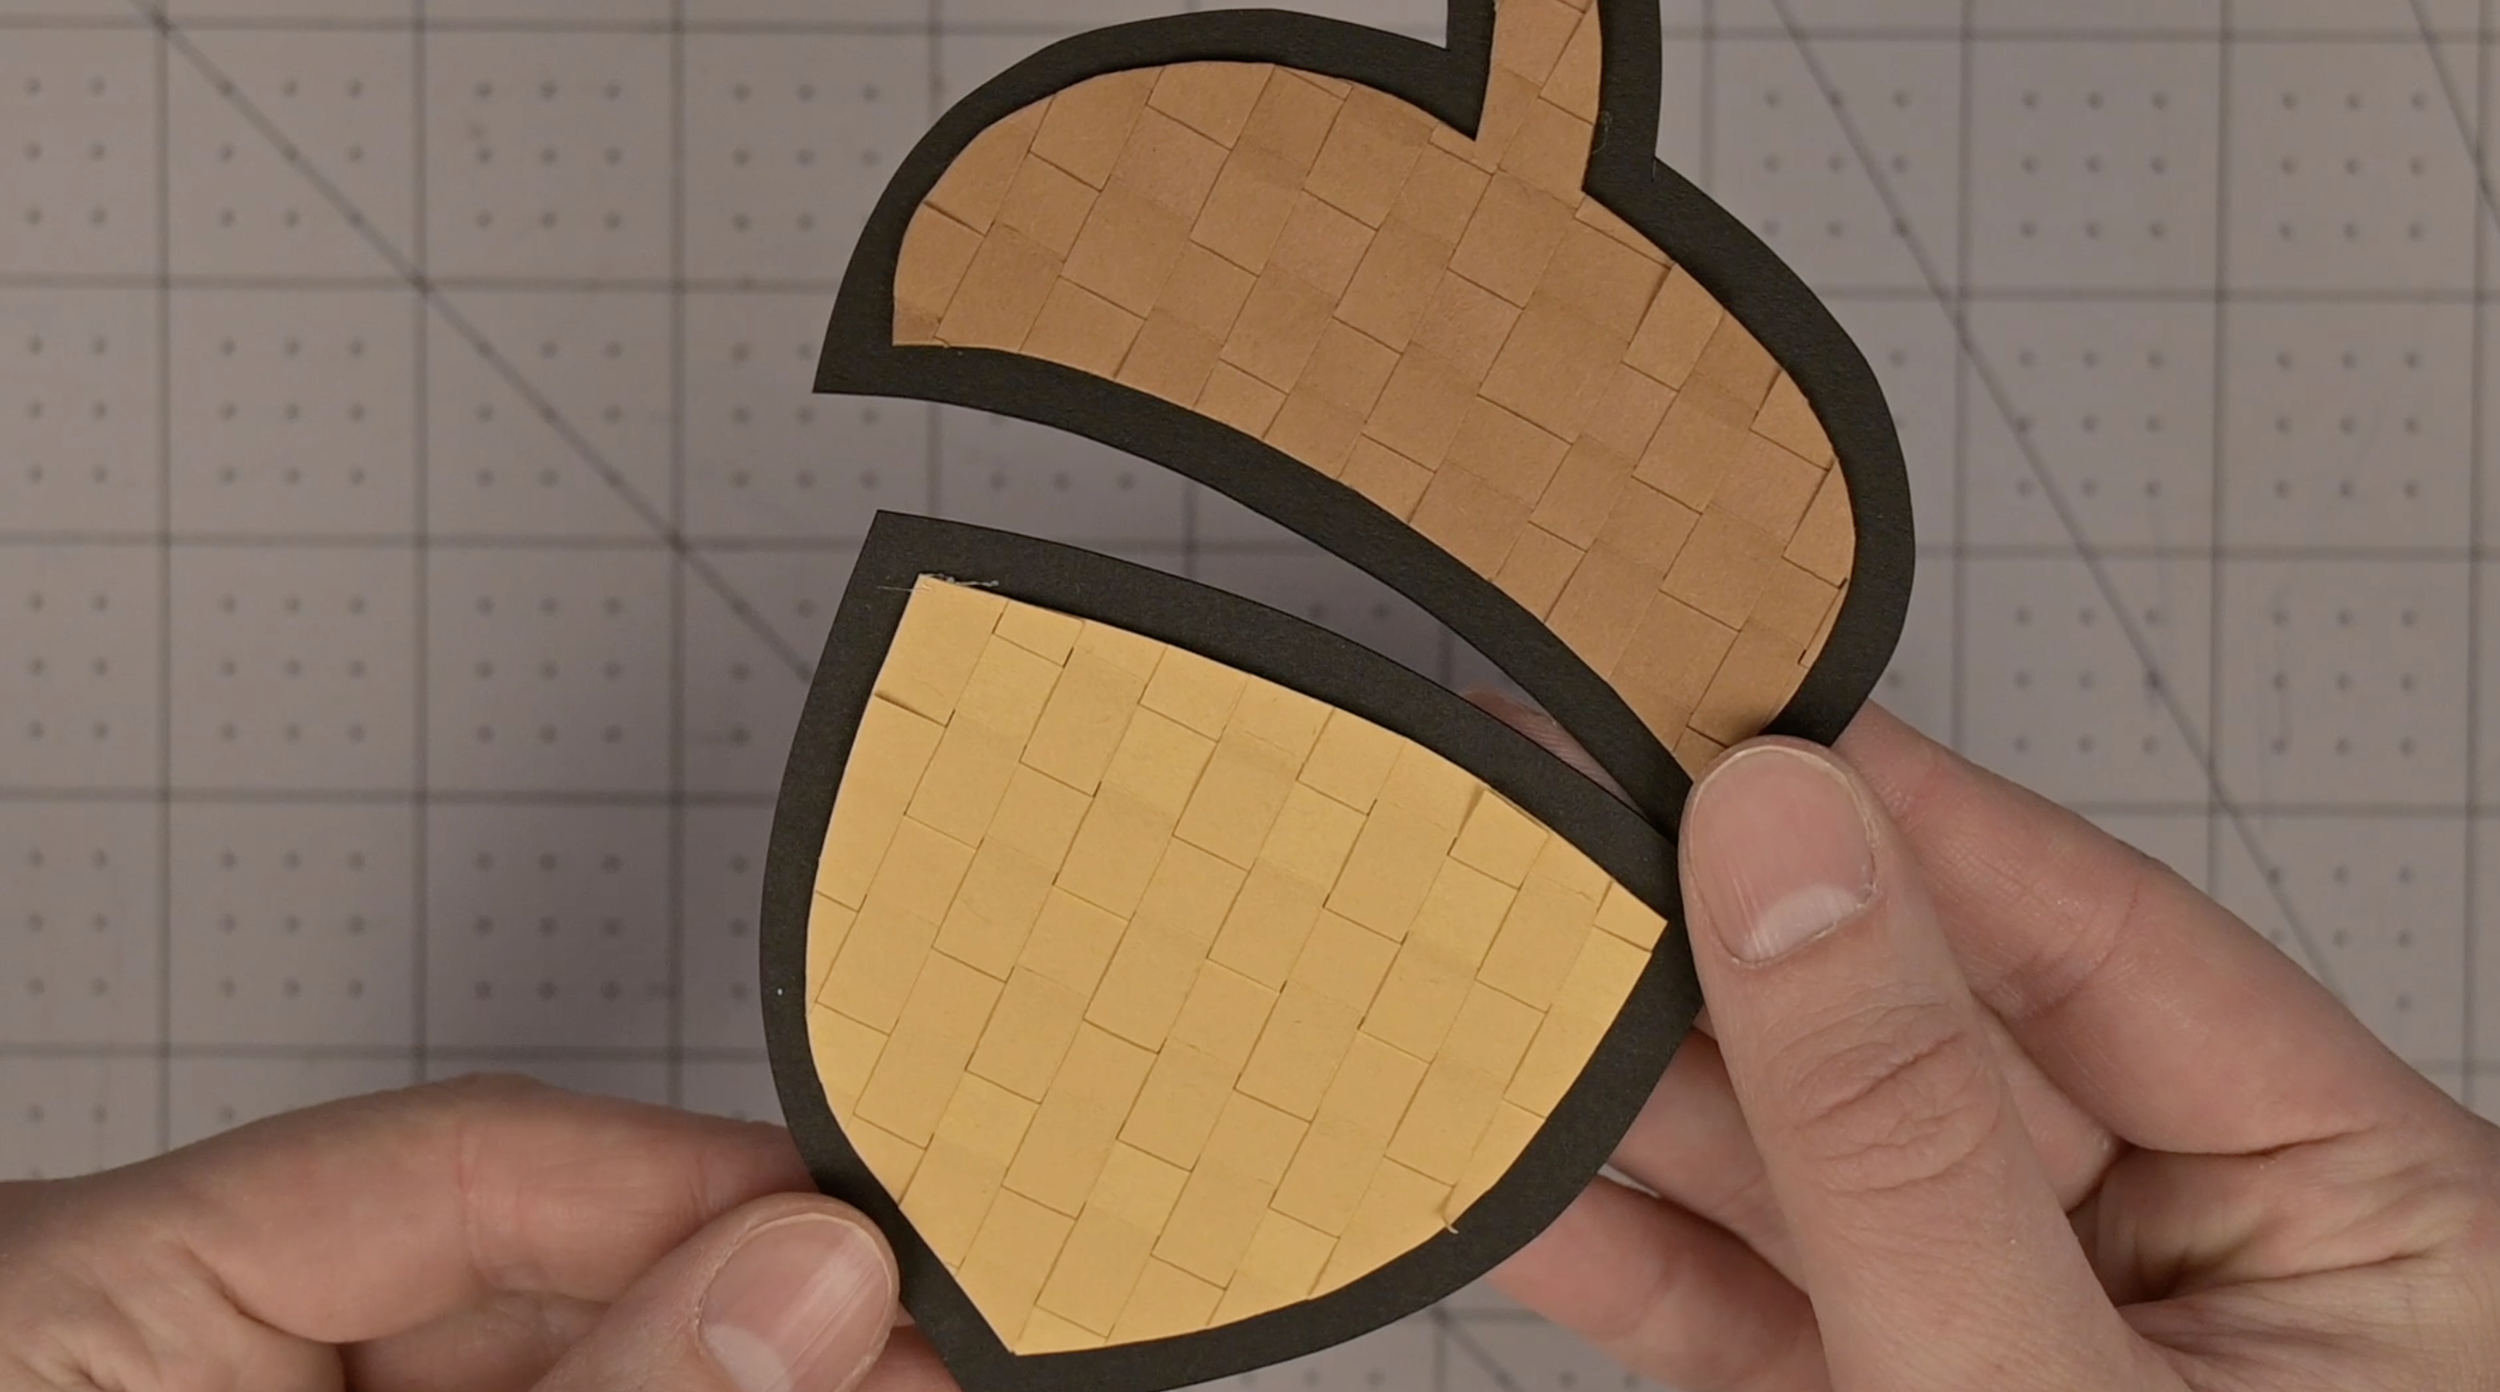
Using a scissors or craft knife, cut a .25 inch border around the woven cut piece
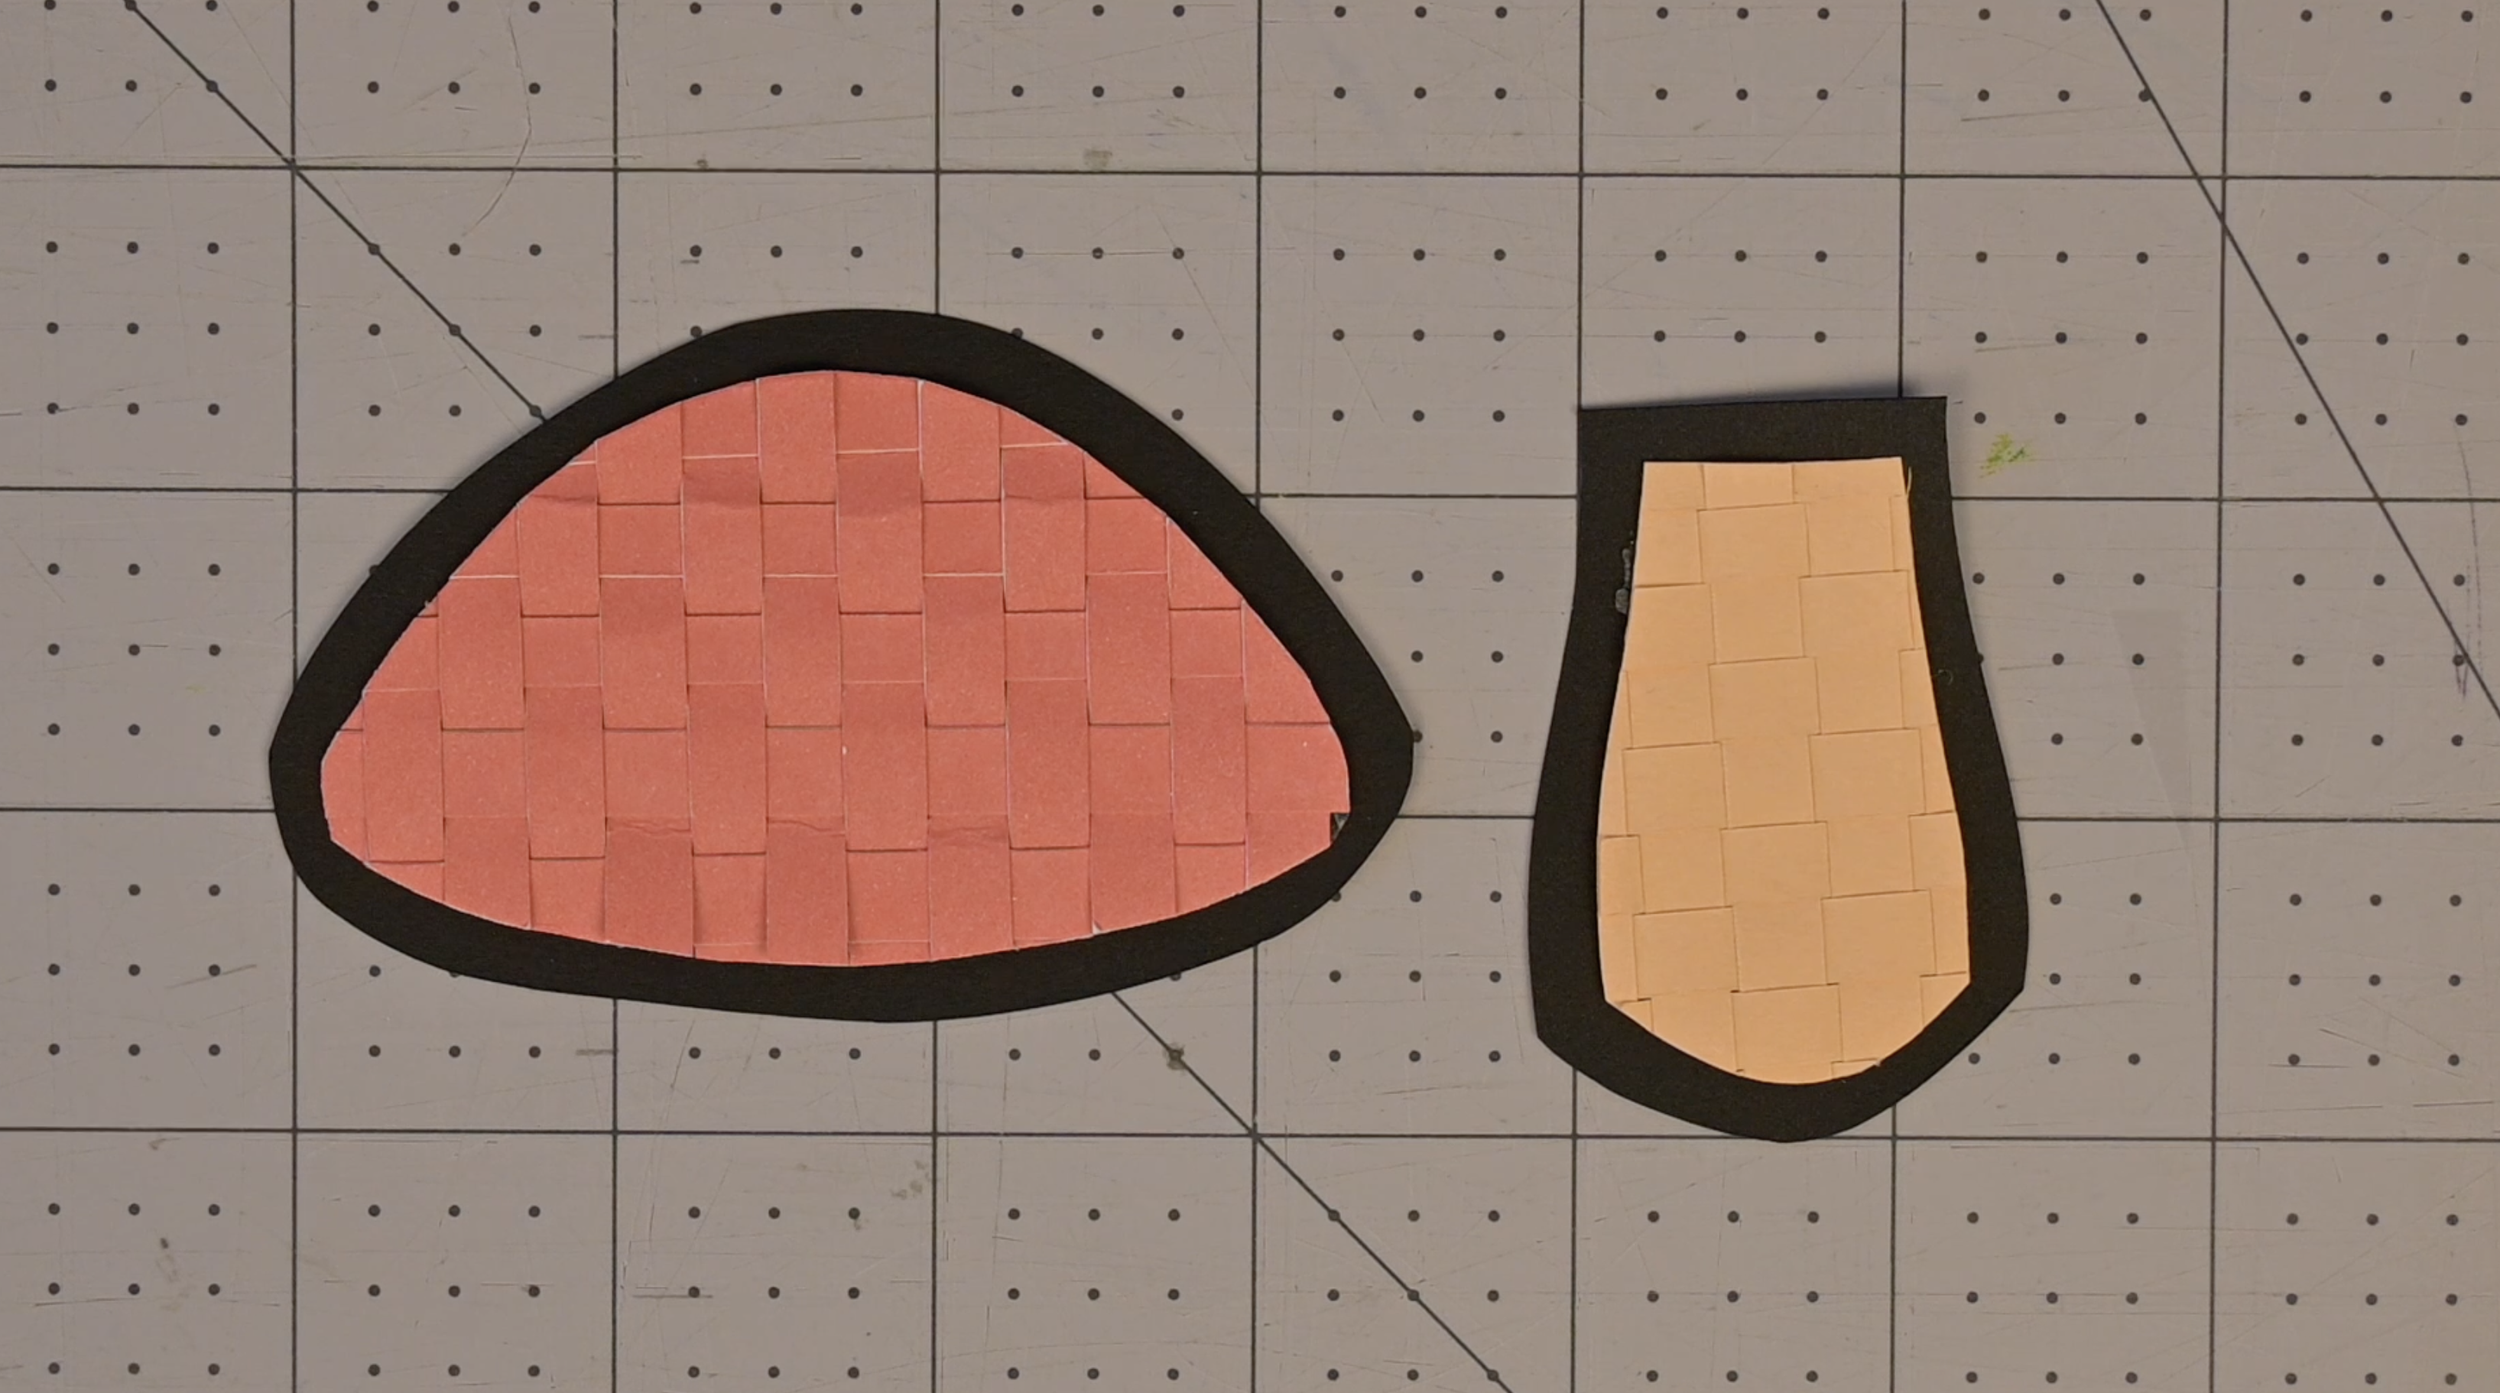
Update: Mushroom Progress
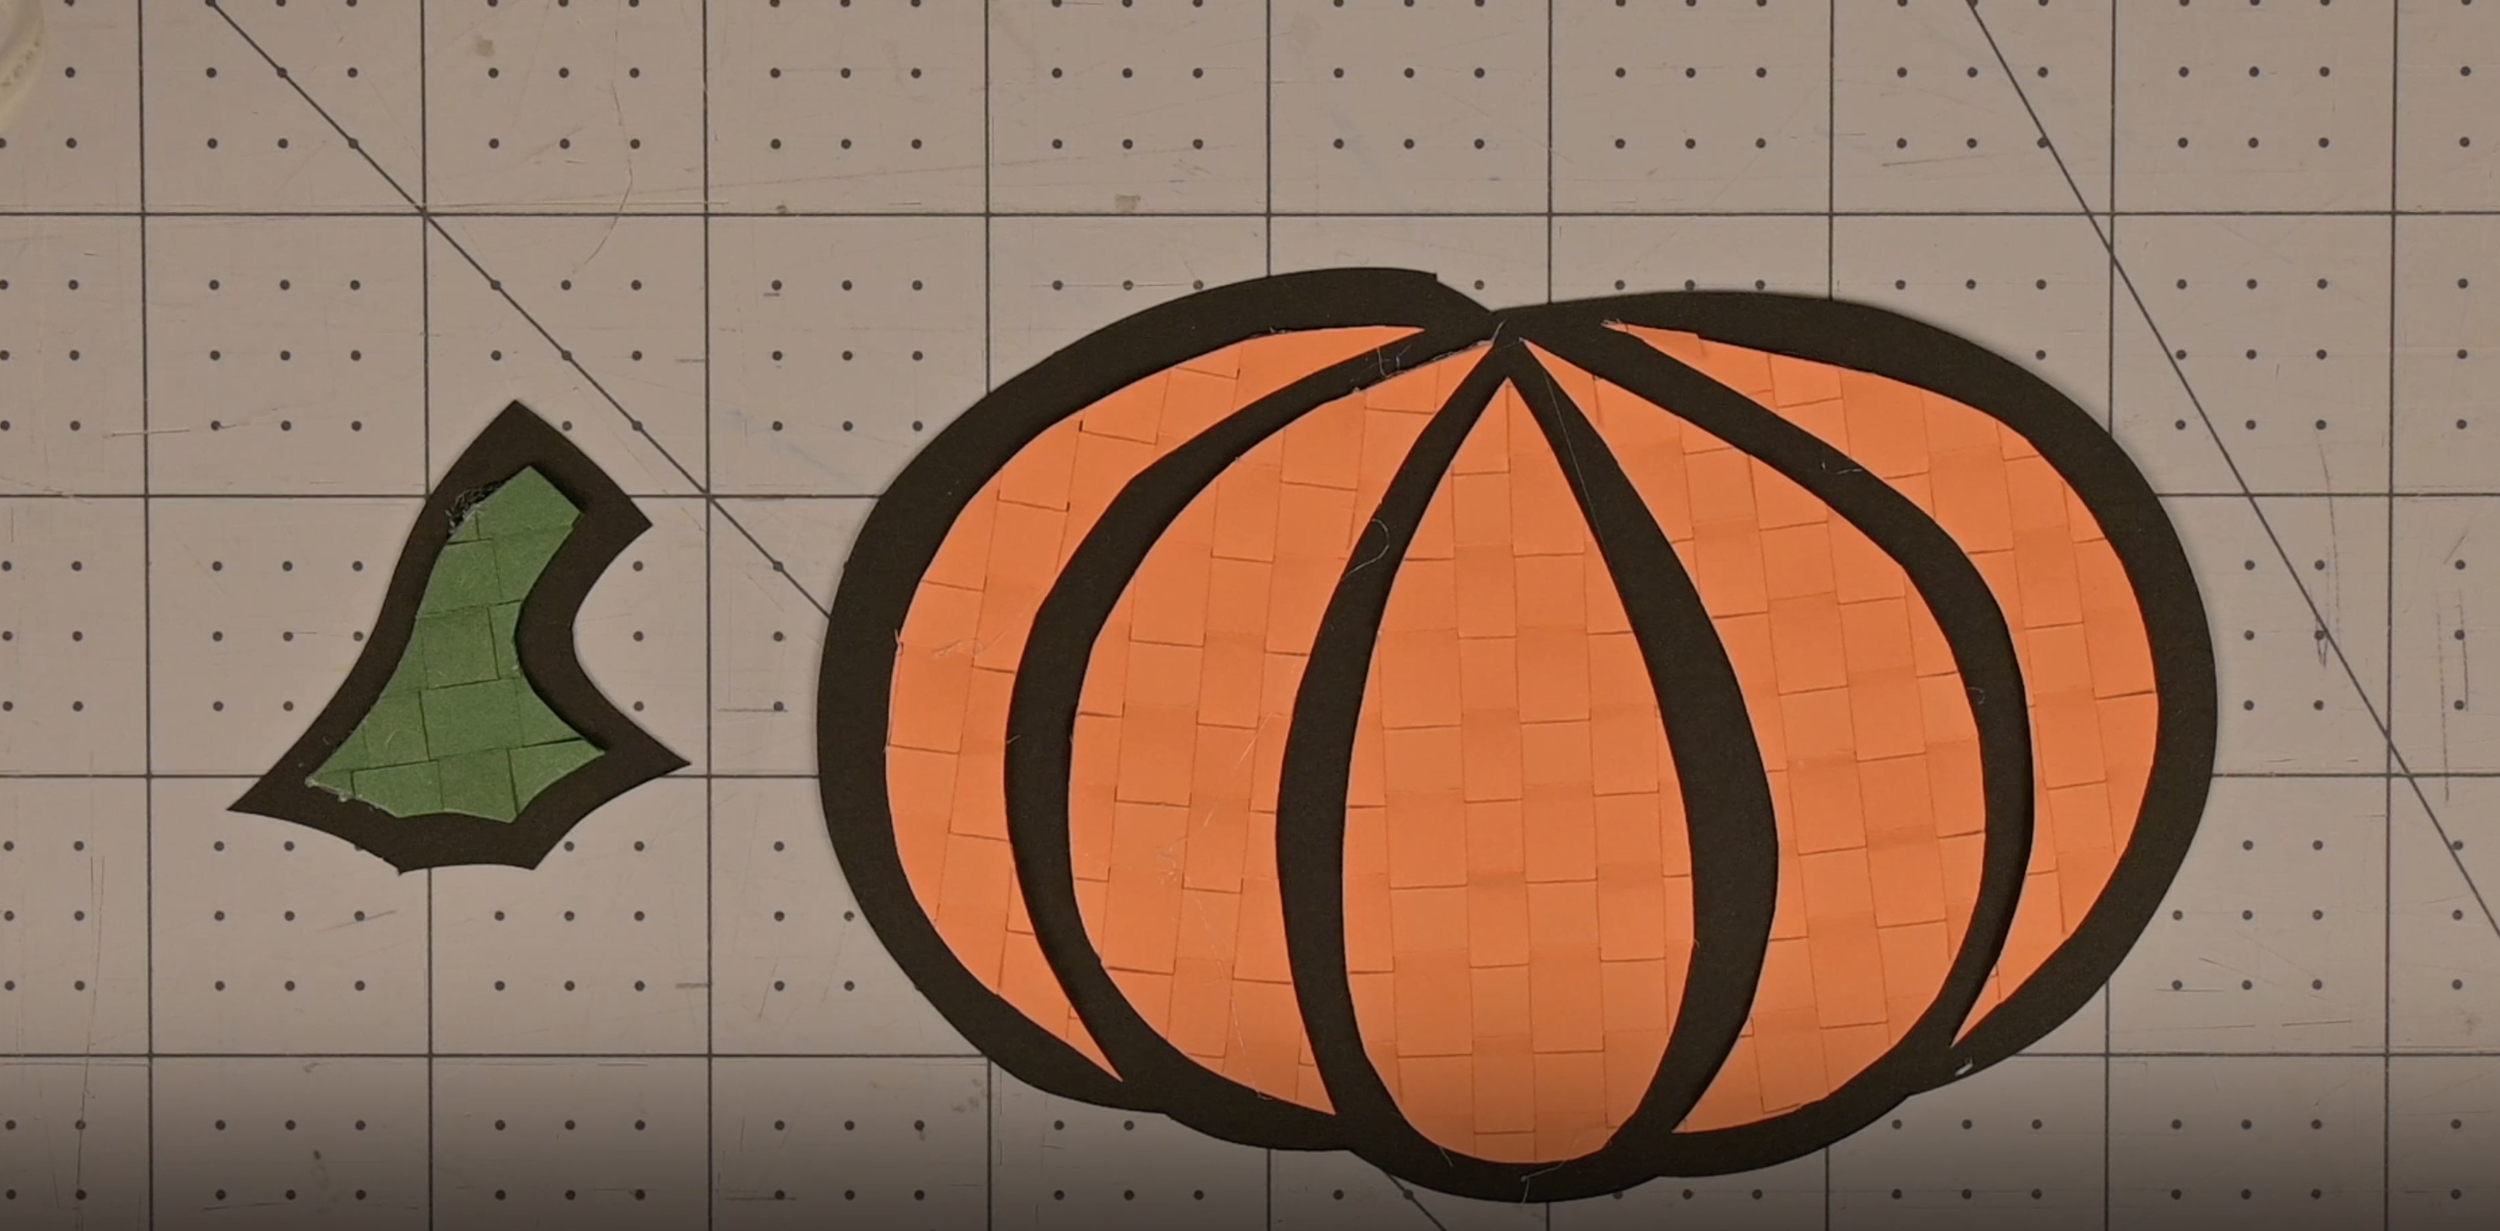
Update: Pumpkin Progress
Create a slight gap between pattern pieces 6-10 when glueing each piece. This will create an outline between each piece
Step 9: Assemble
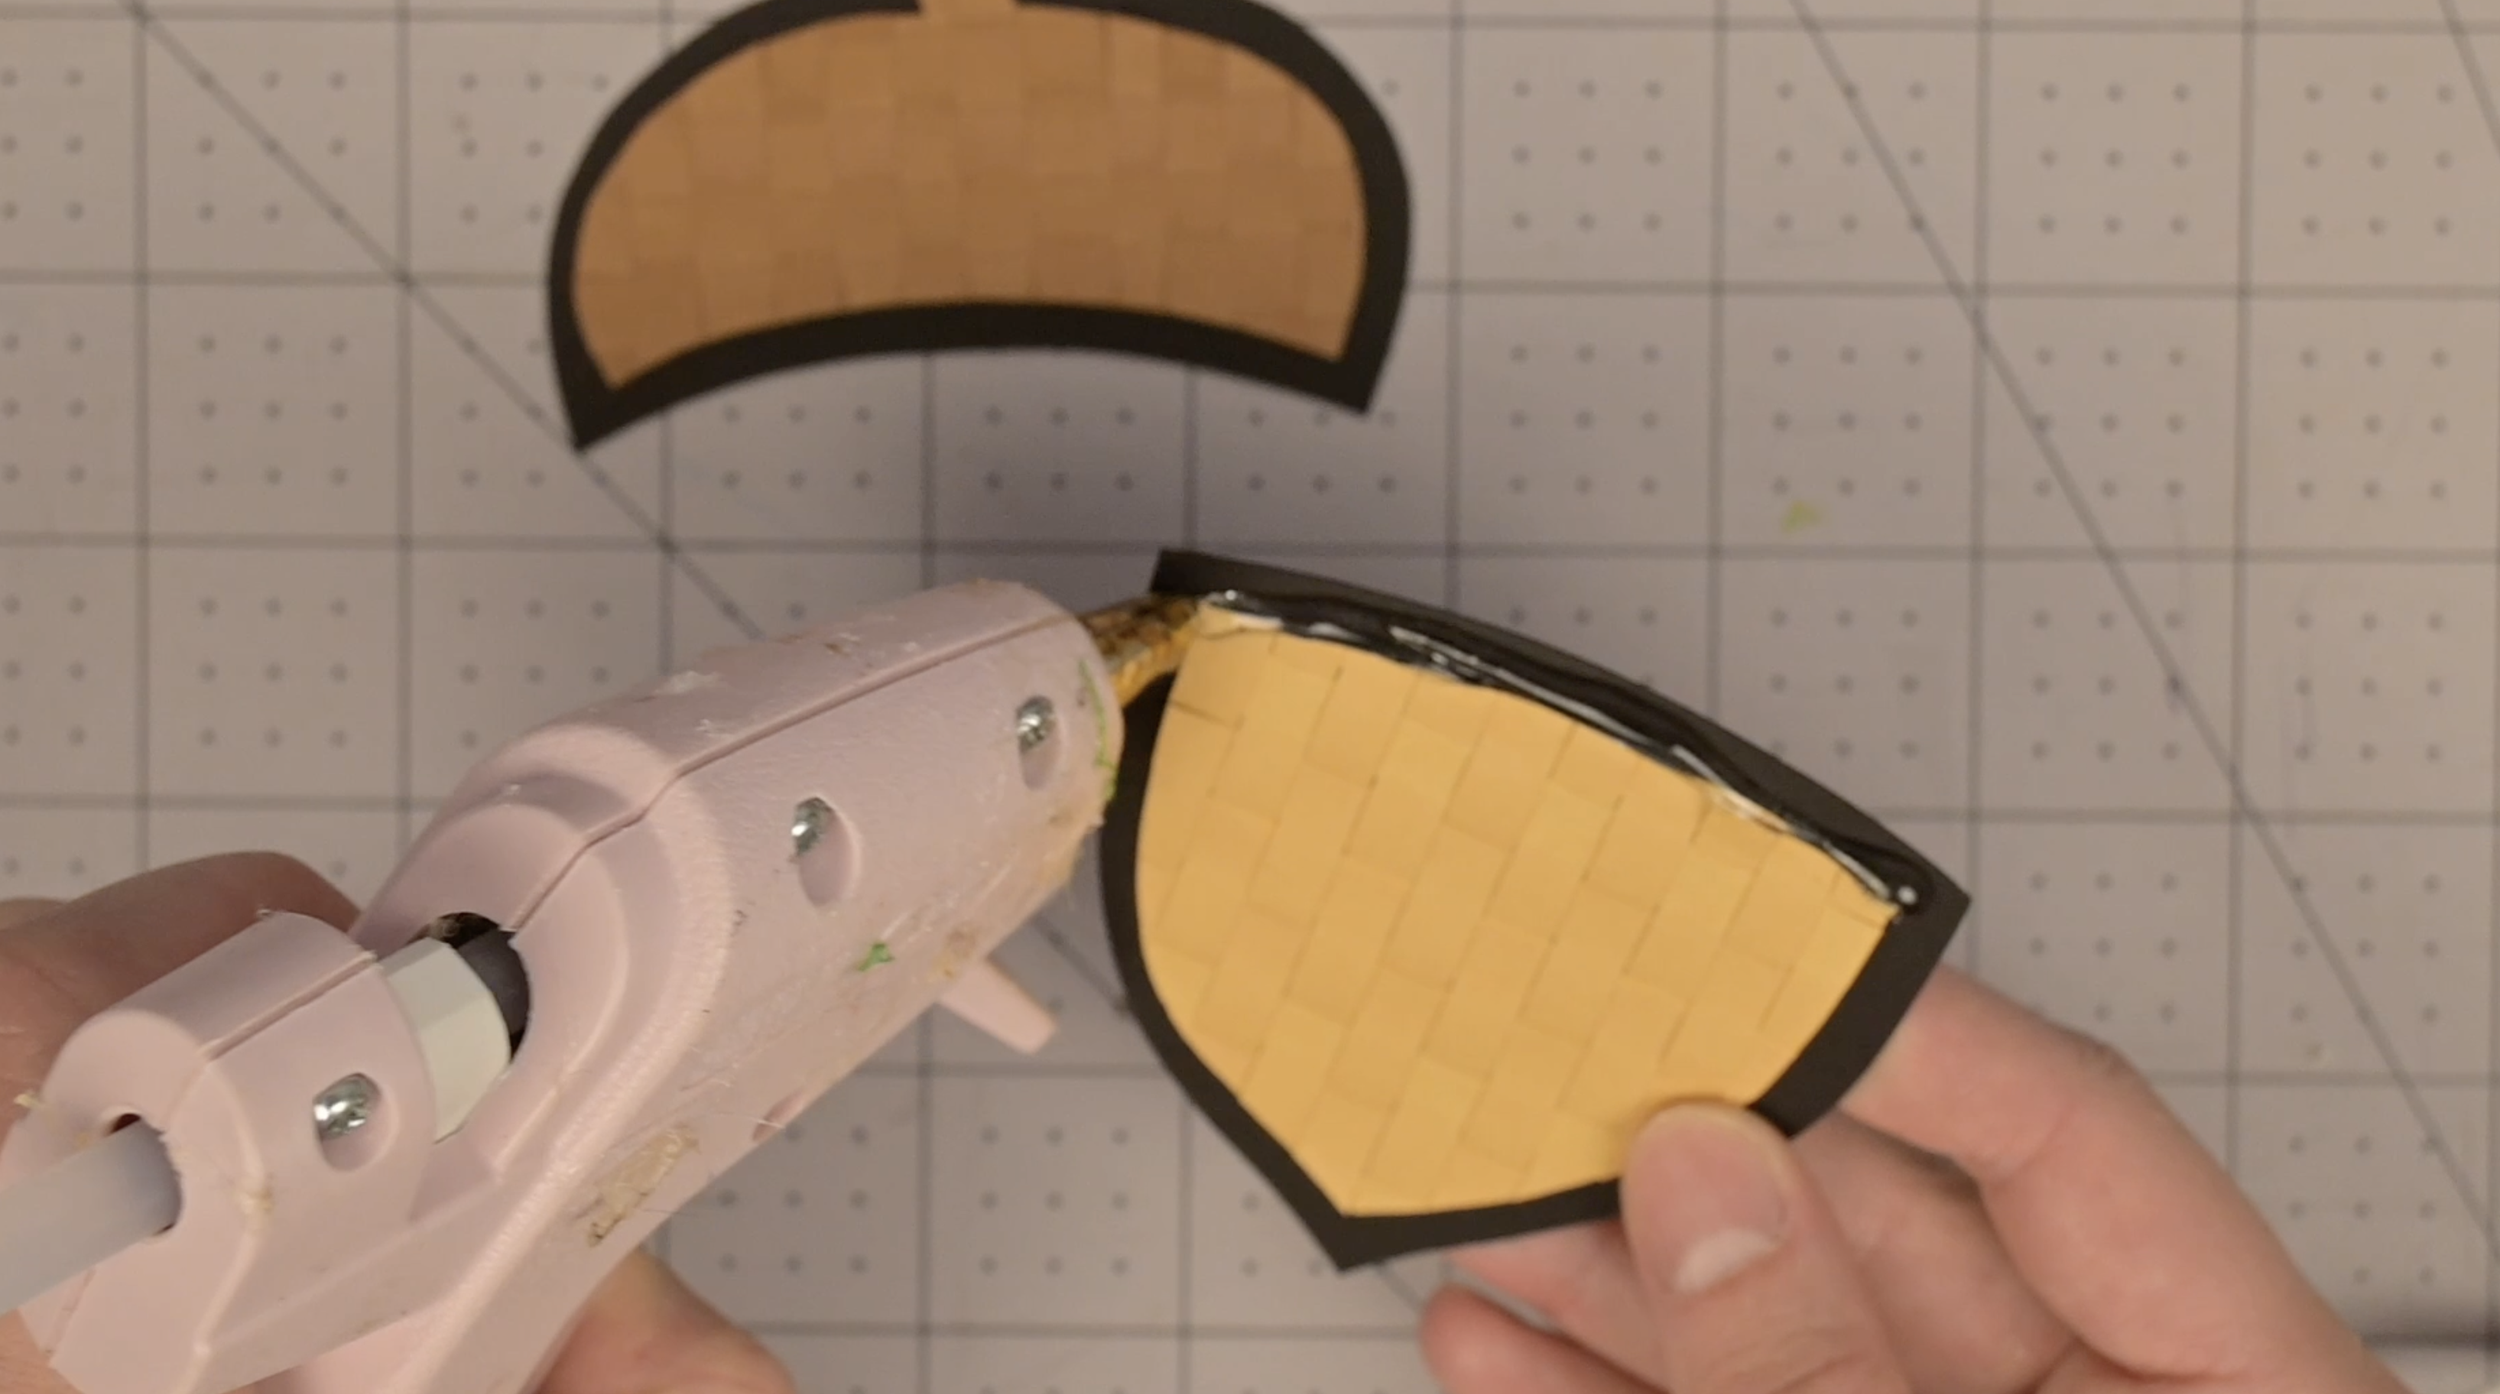
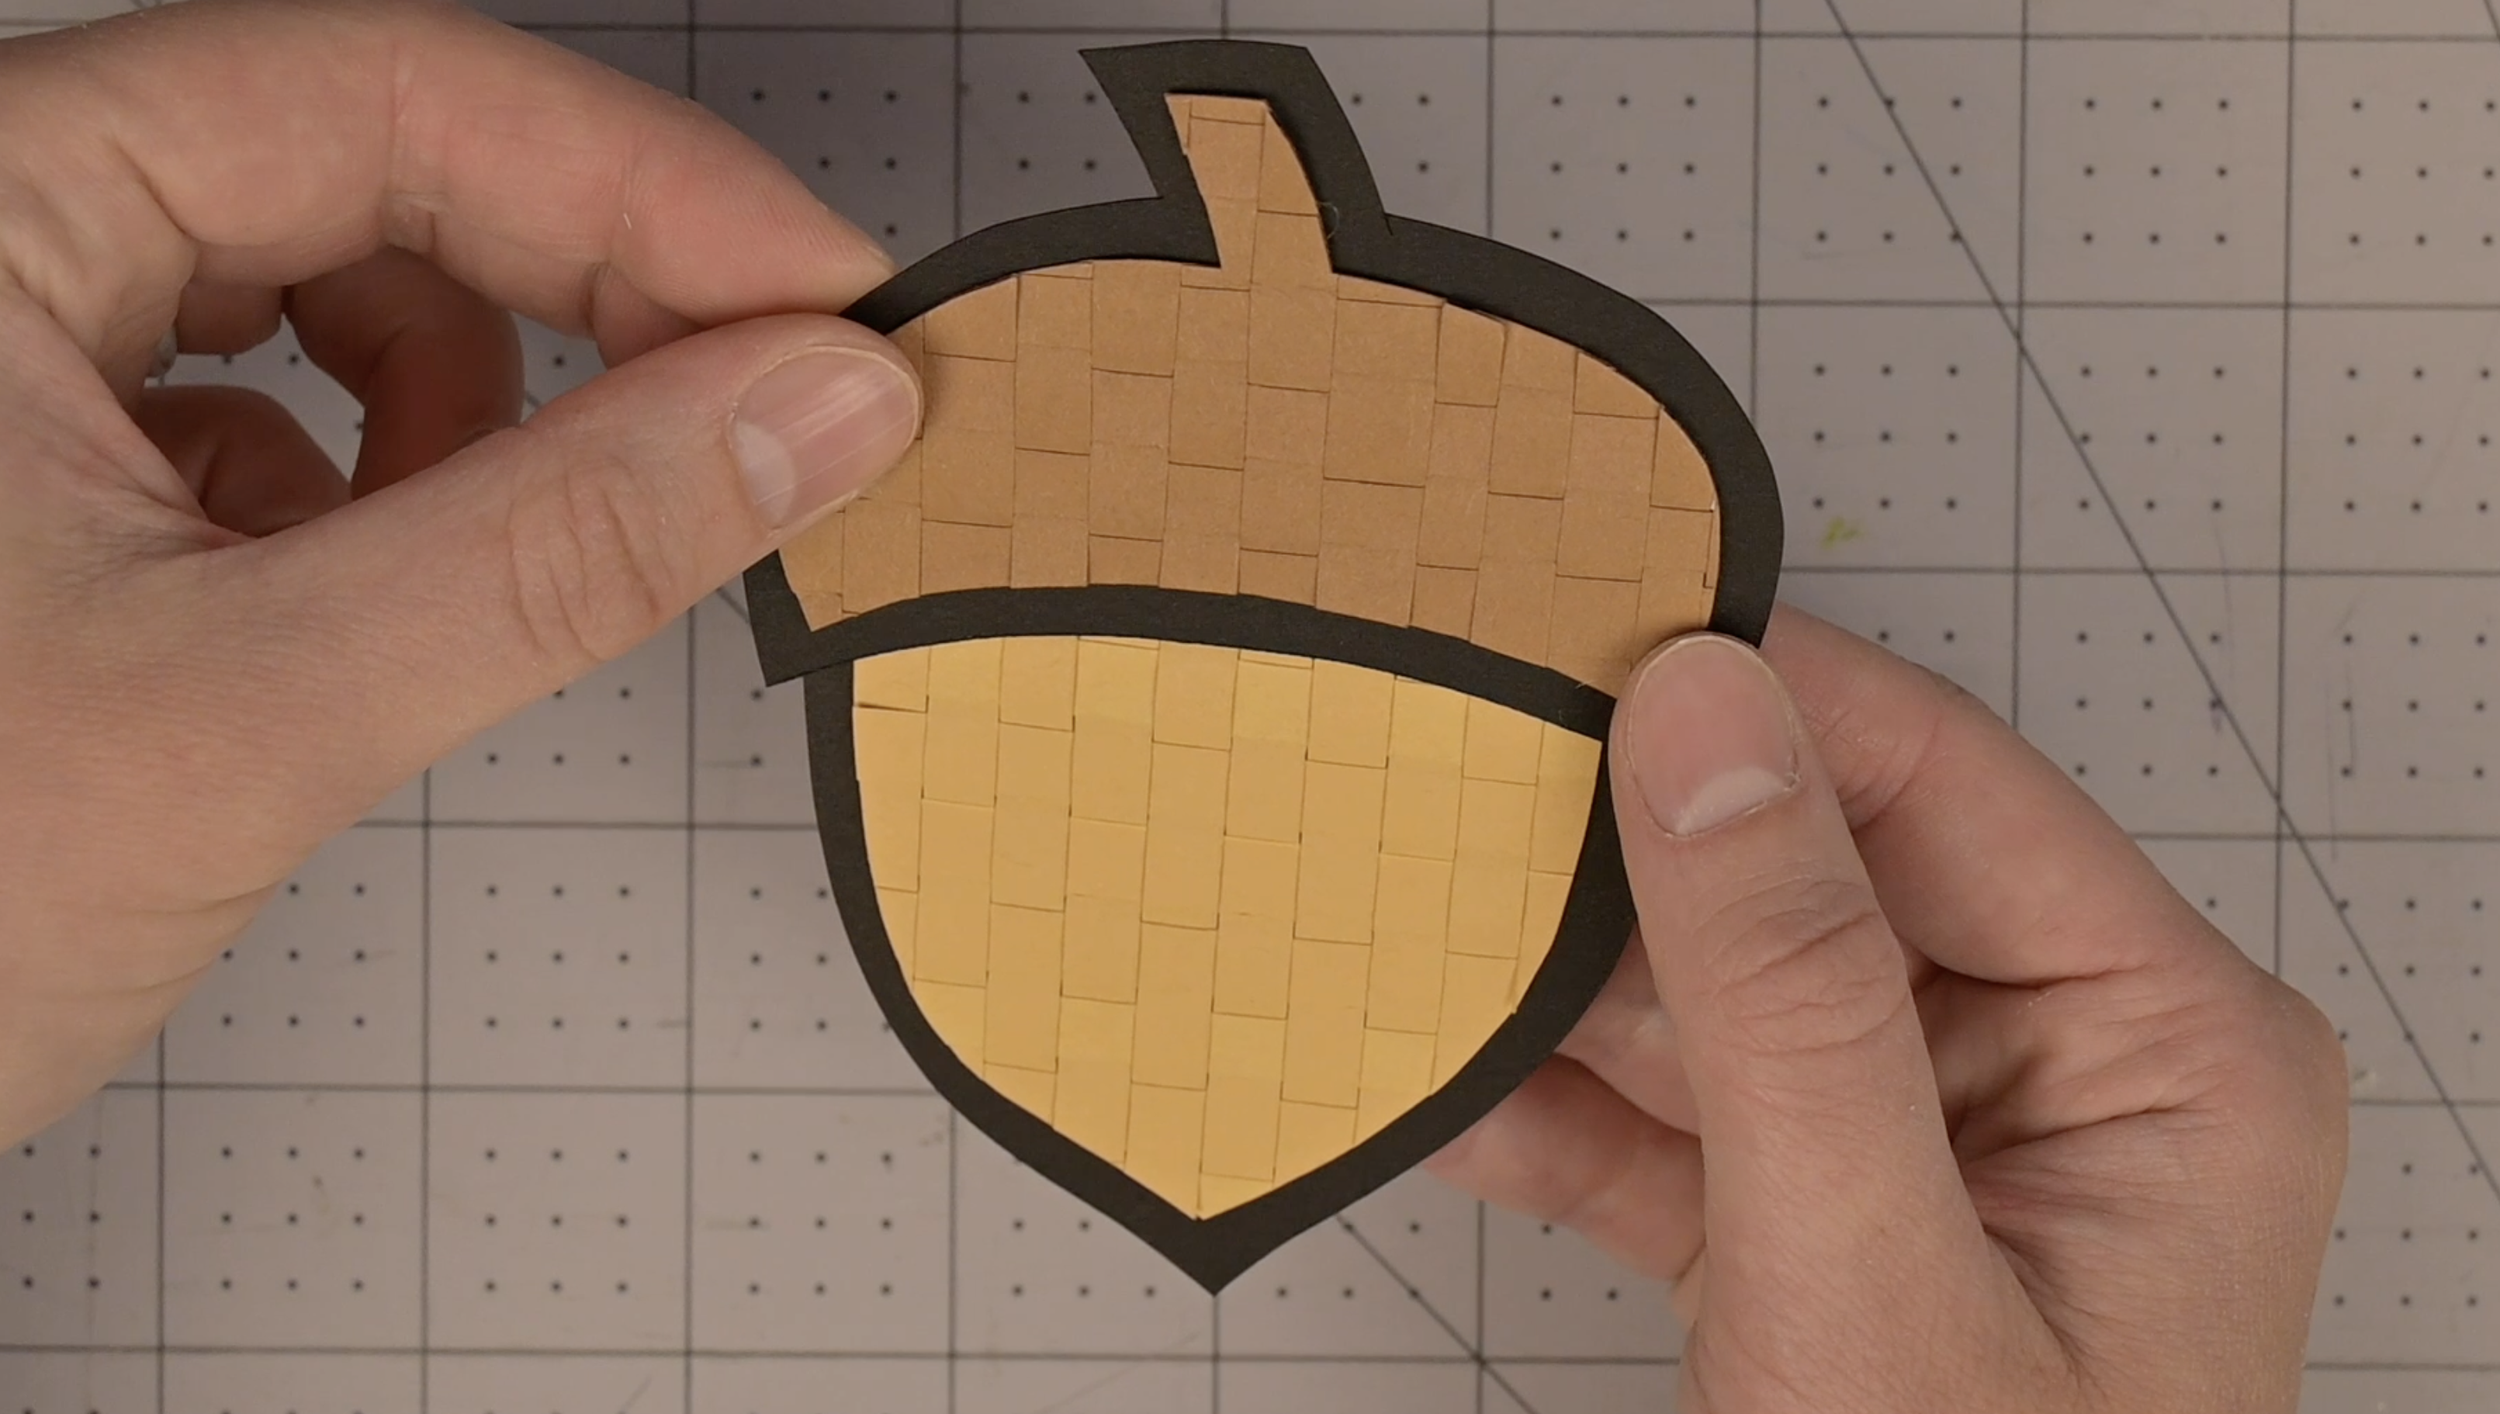
Using the adhesive of your choice, attach each cut piece together to complete the fall-themed woven item
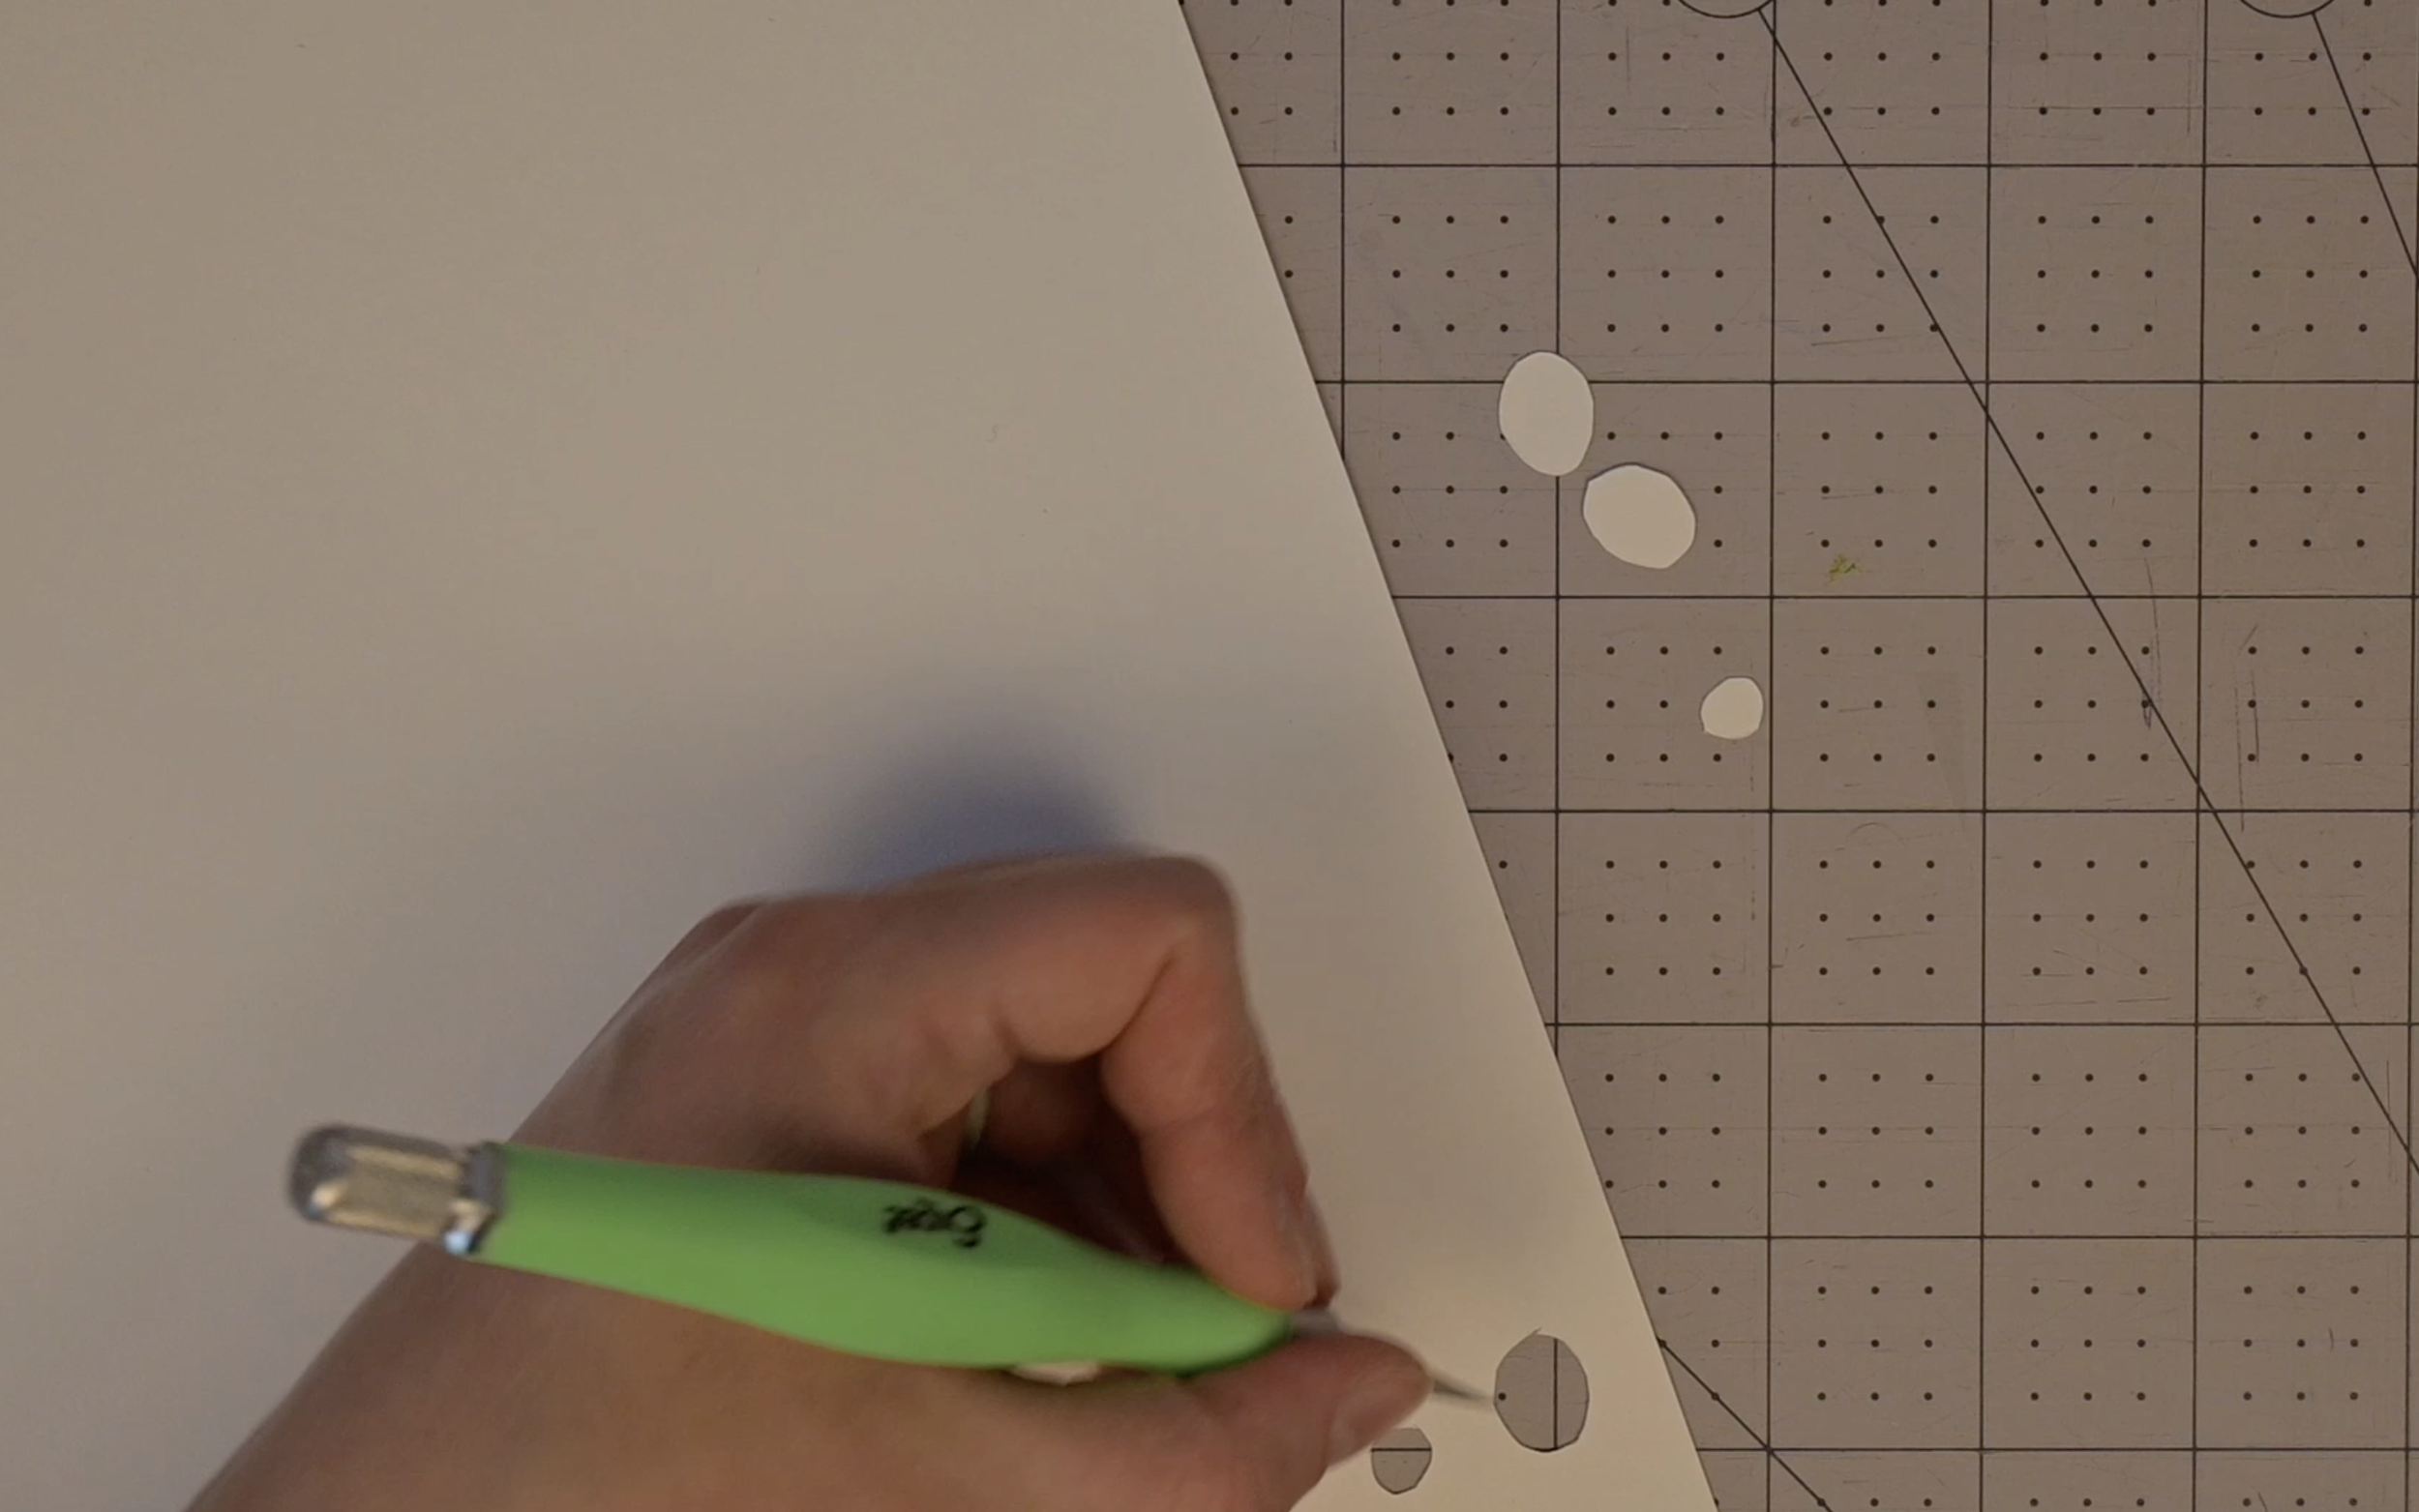
If making the mushroom, cut circles out of the paper and glue in place on the mushroom top
All Done!
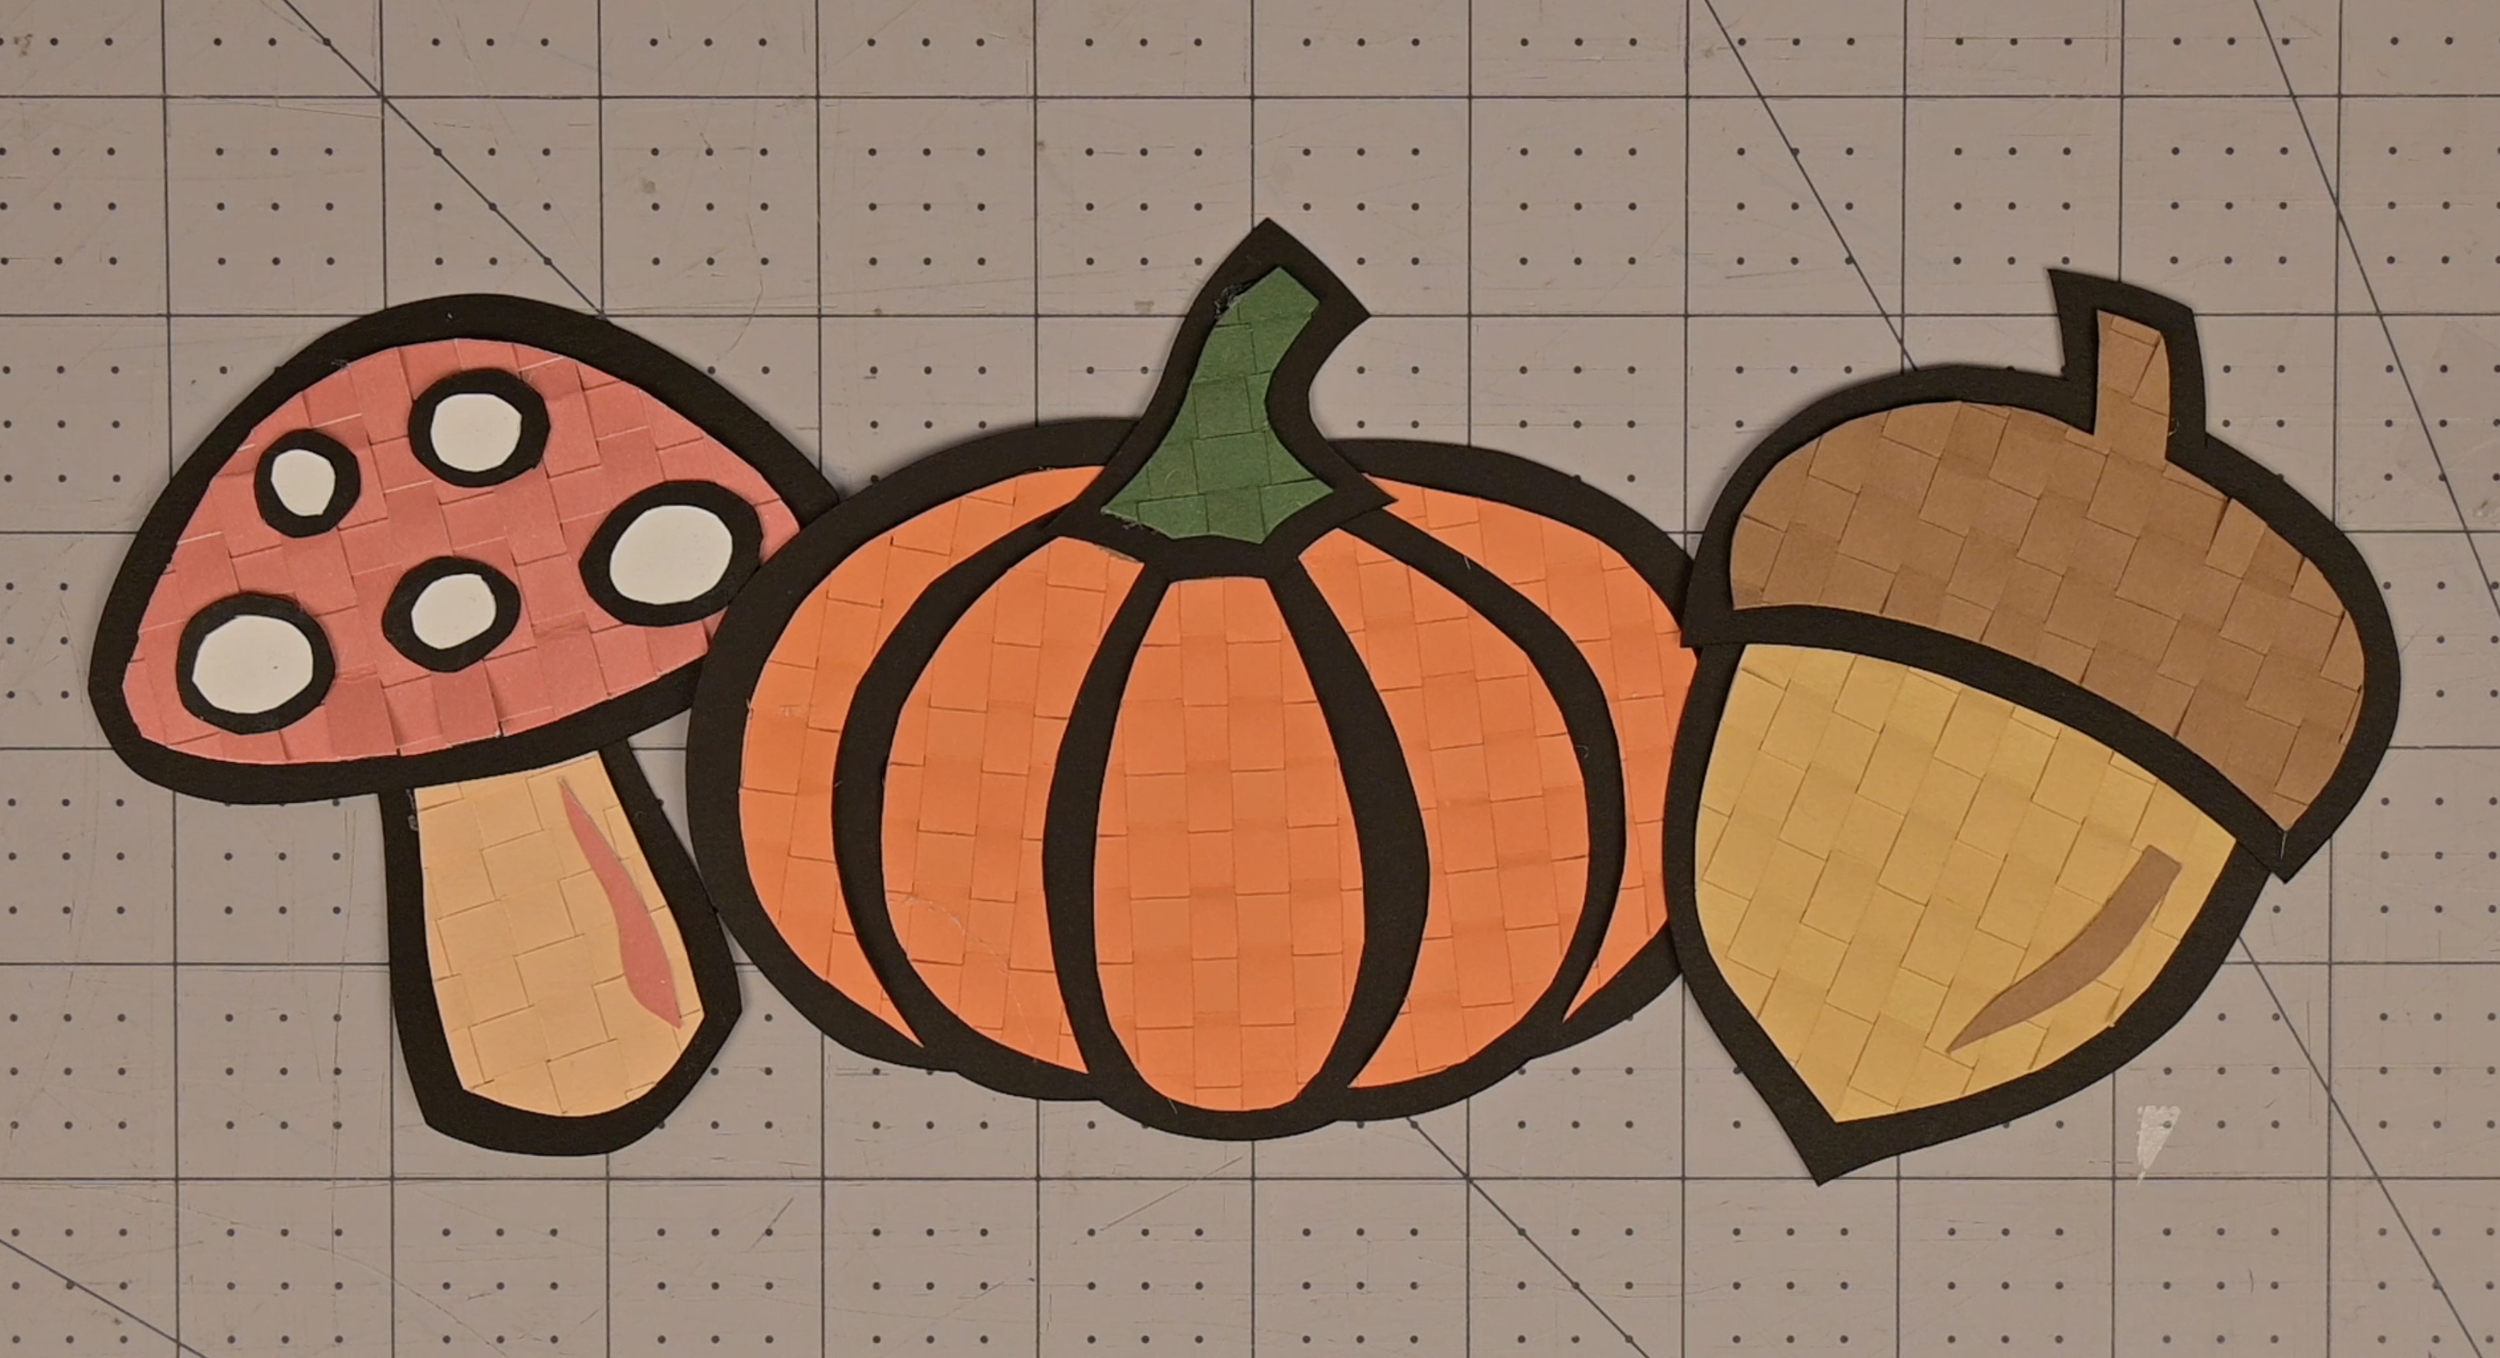
Display Option: Garland
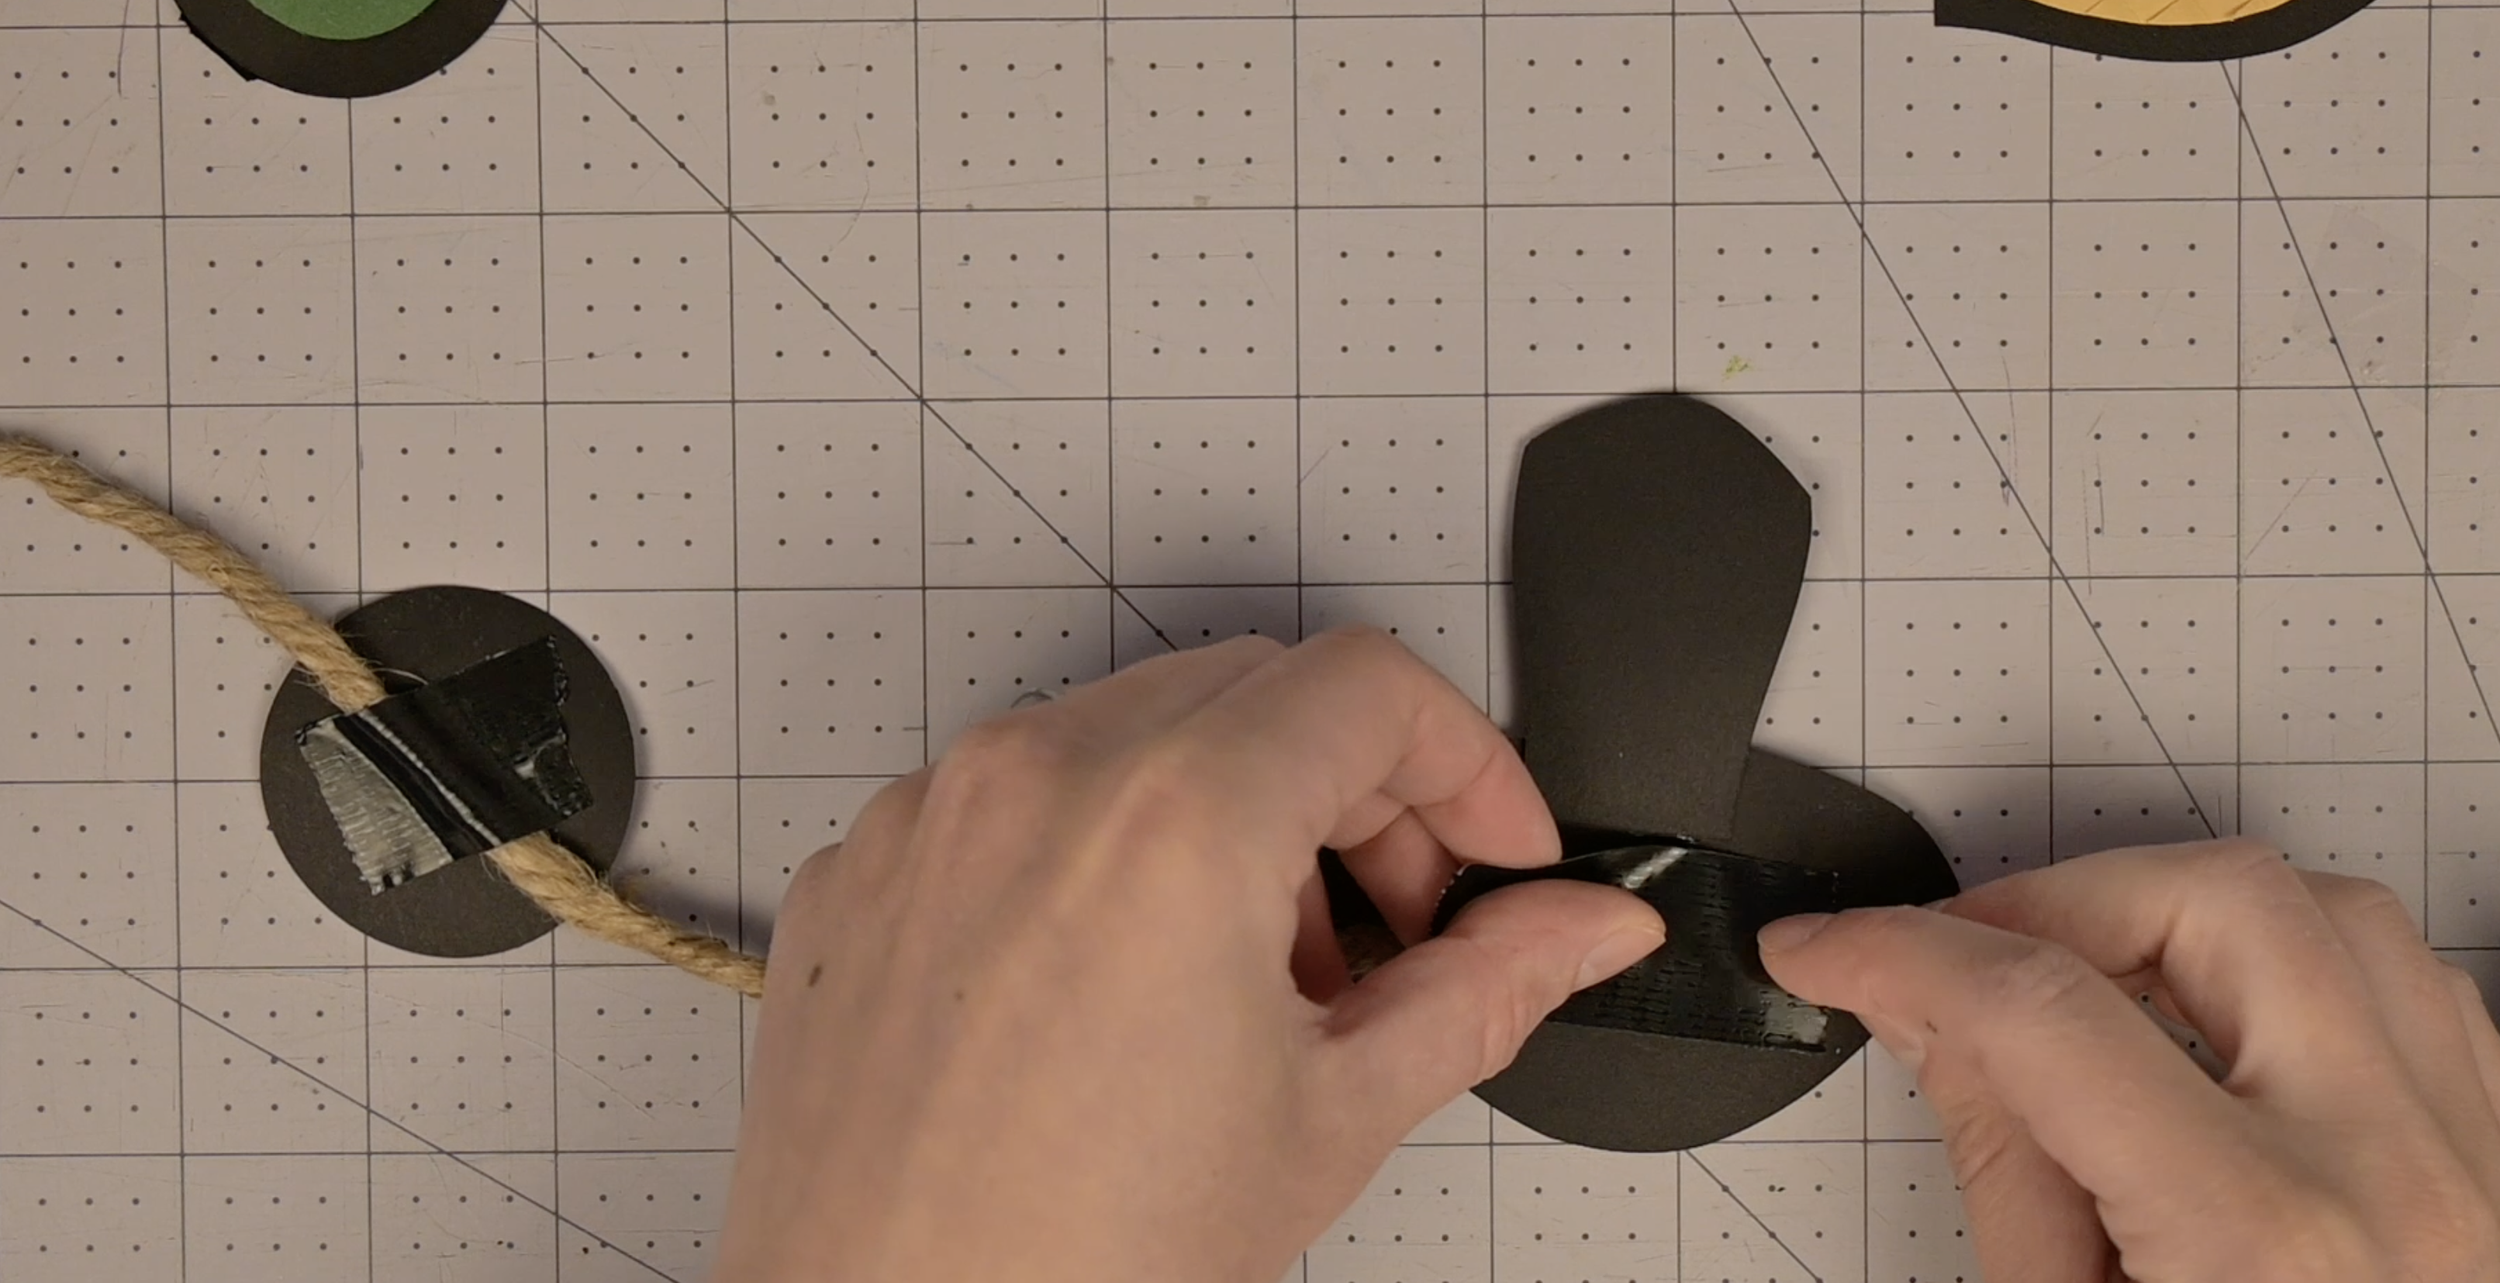
If you would like to turn these 3 fall paper weaves into garland, tape or glue each weave to twine
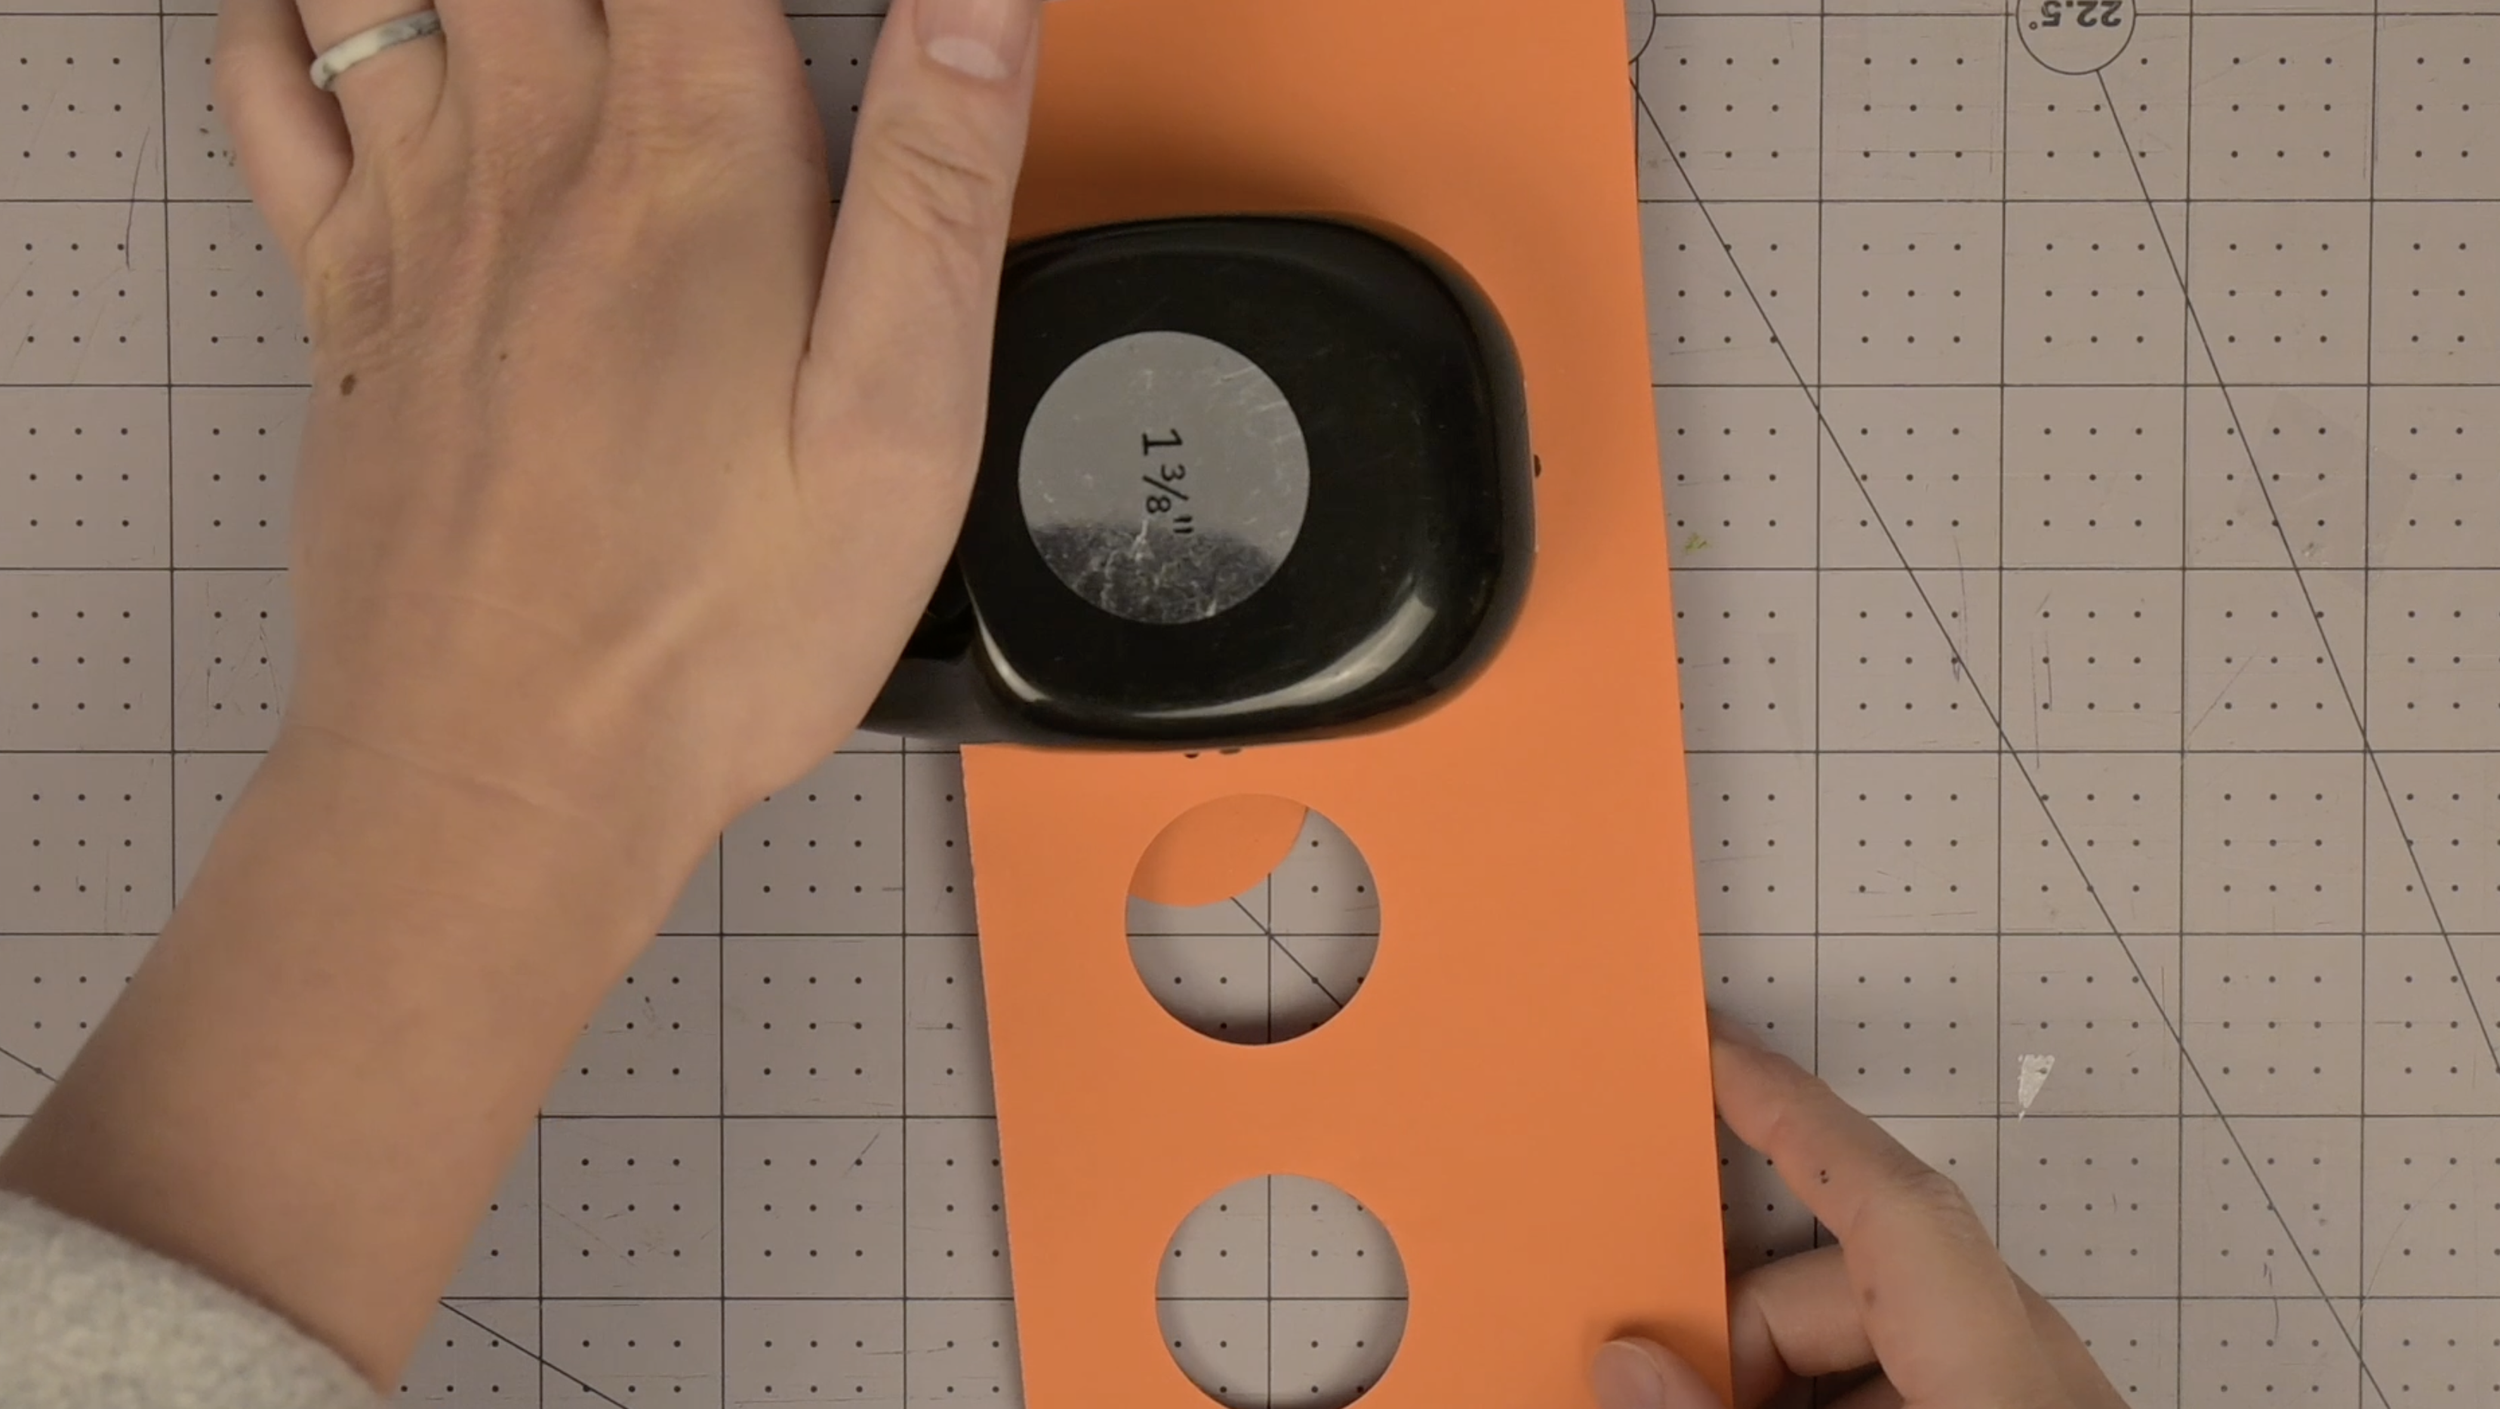
To add more depth, I used a large circle hole punch to create spacers in between the paper weaves
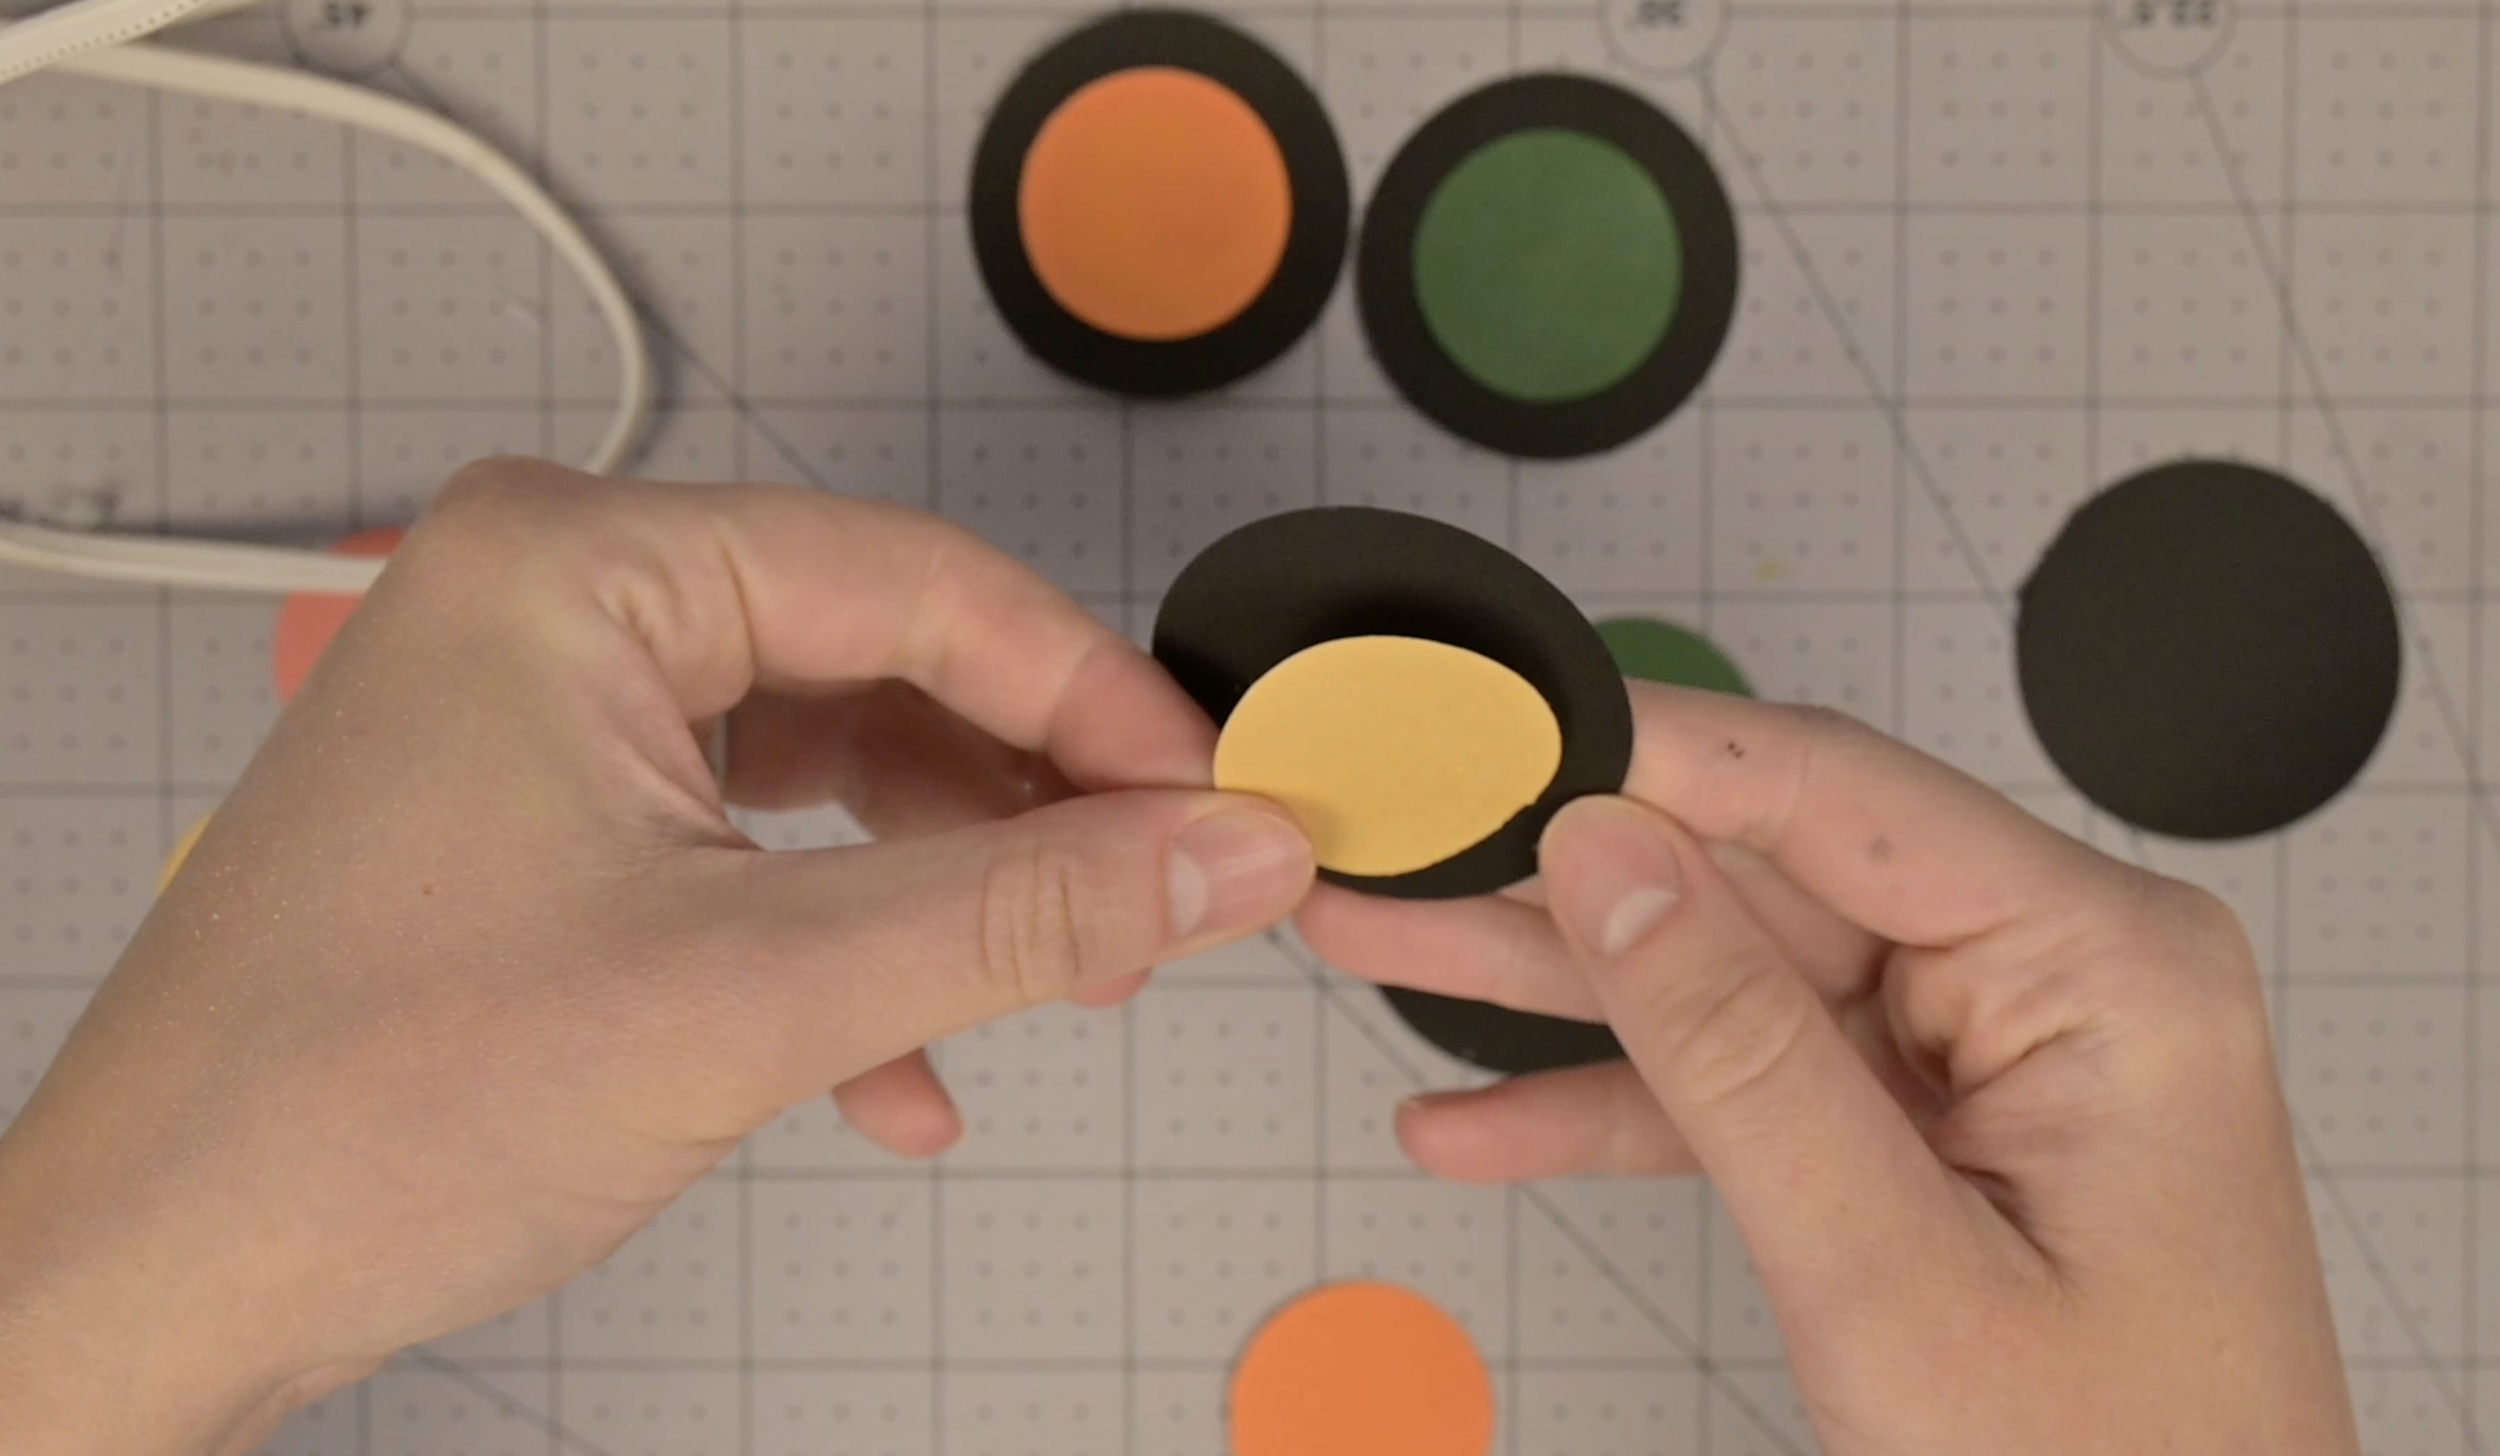
.