
Elastic Keychain Pouch Step-by-Step Tutorial / Beginner-Friendly Sewing (No Zipper, Buttons, or Snaps)
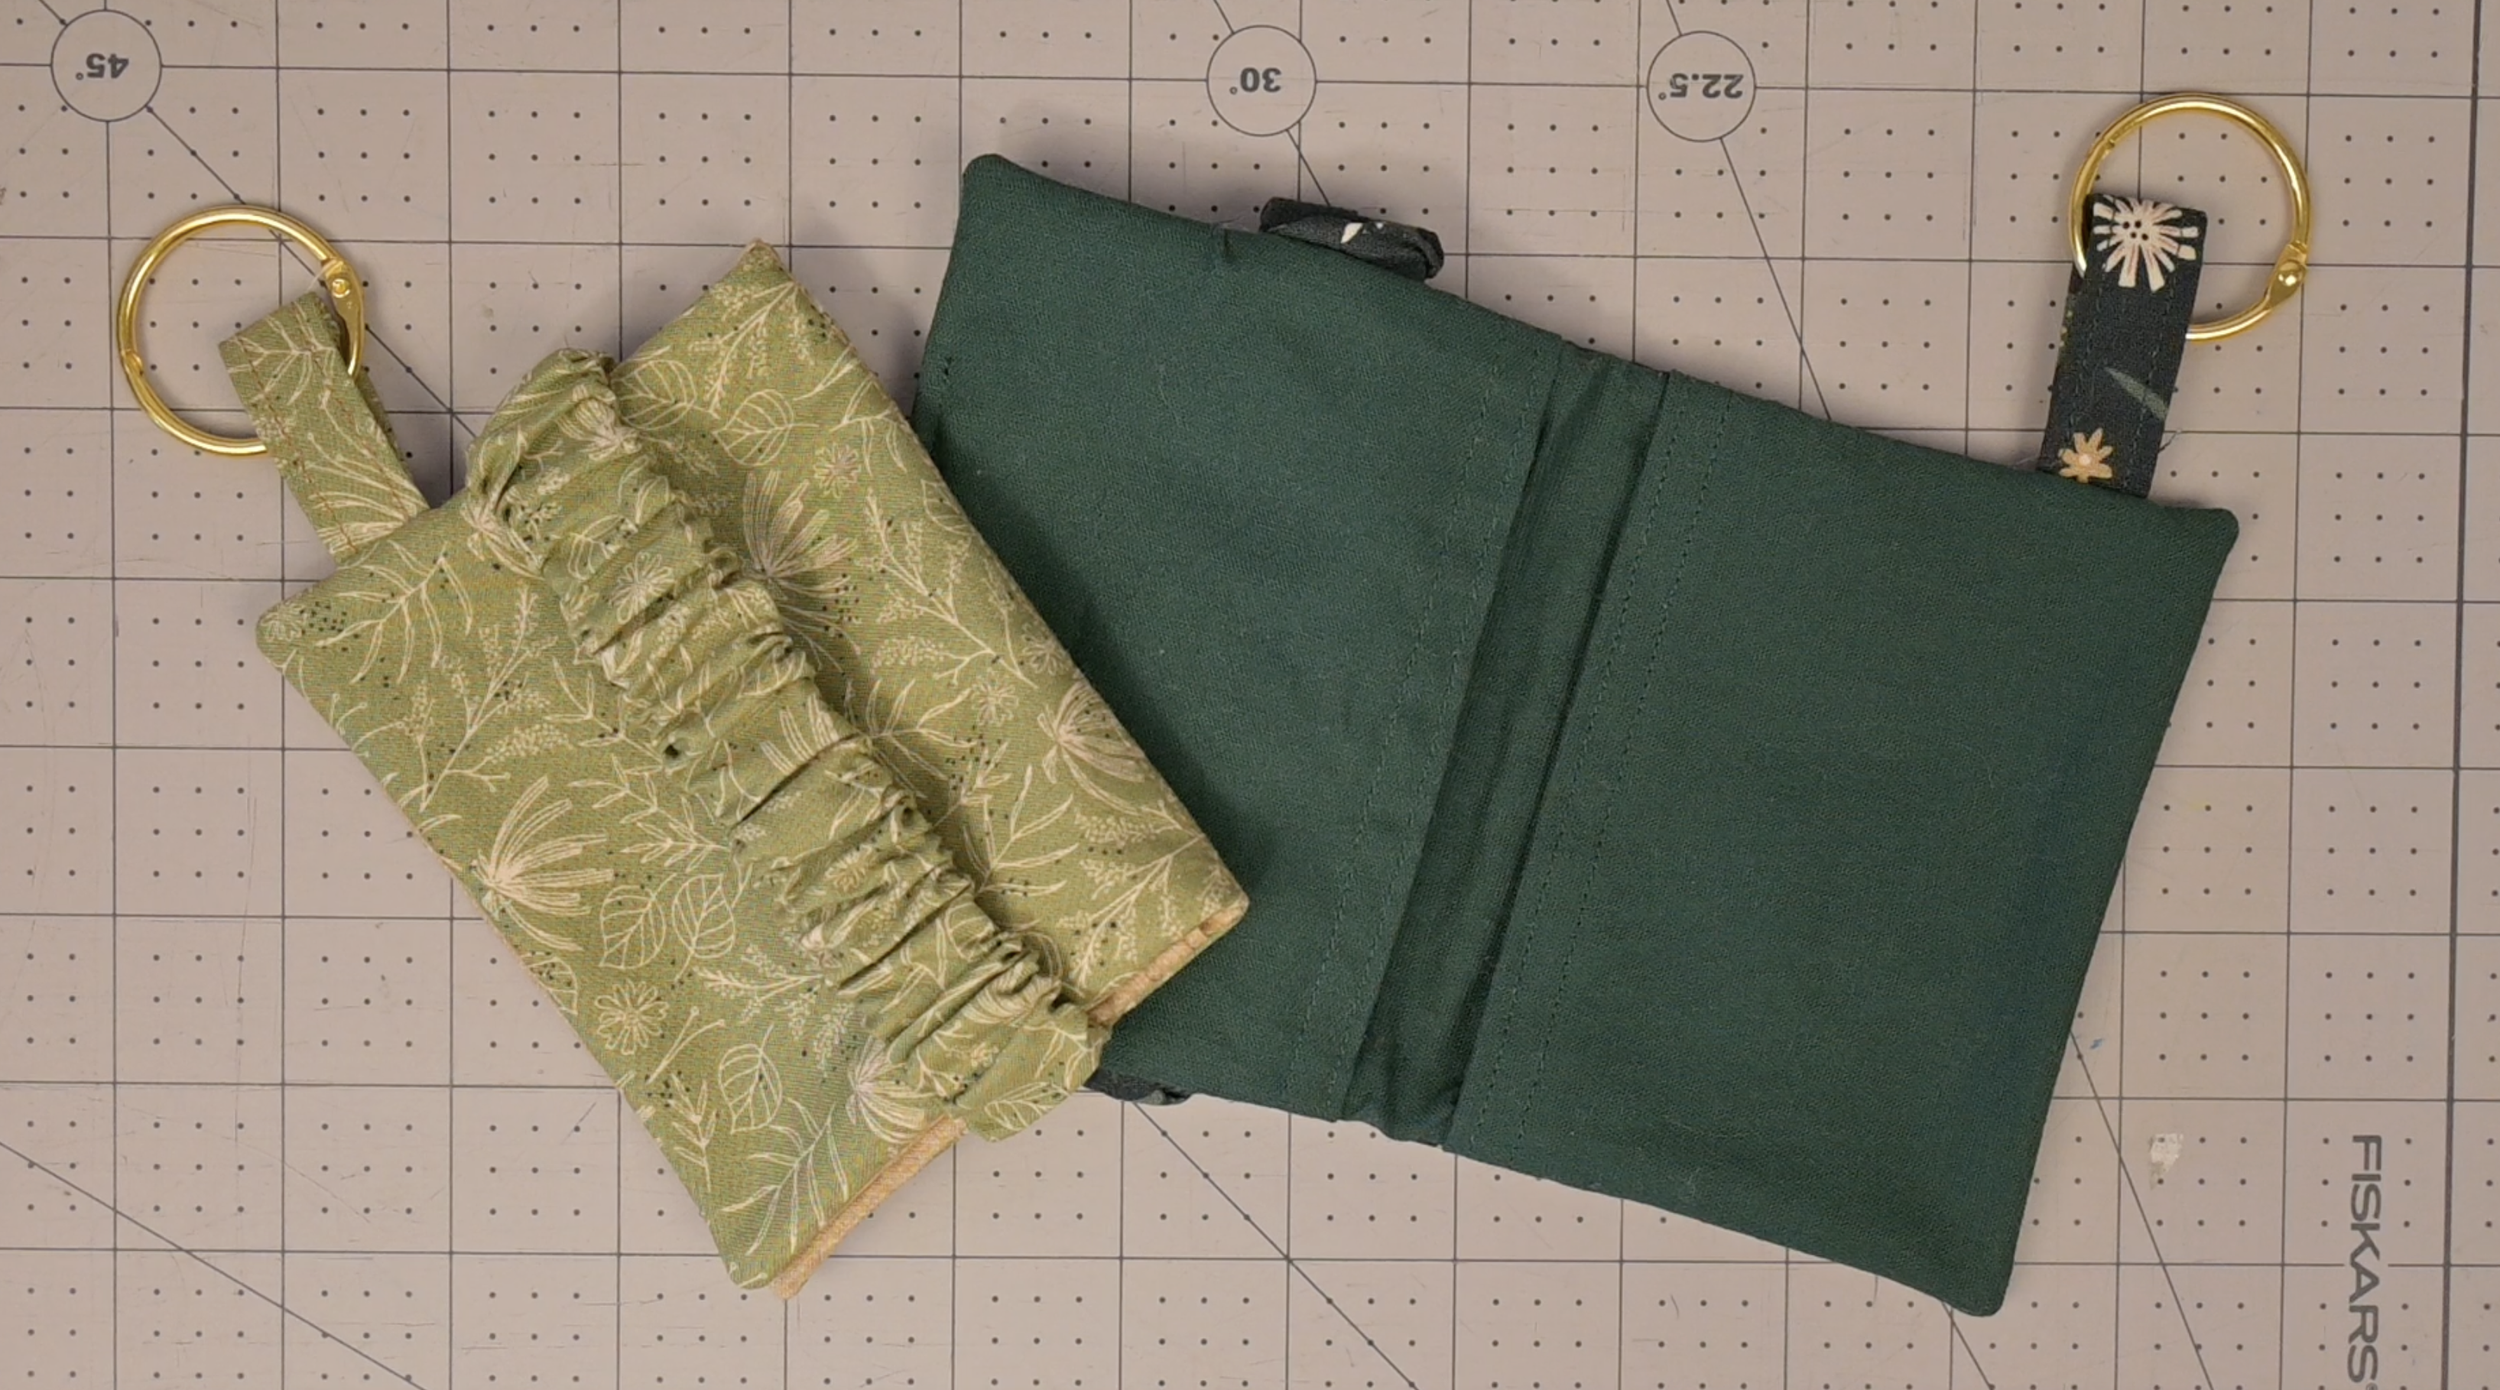
Ready for a fast and fun sewing project? Learn how to make a beginner-friendly elastic keychain! It's perfect for using up fabric scraps and clipping onto your bag to hold tissues, loose change, or hair ties. Plus, it makes a great handmade gift!
Materials Needed (As an Amazon Associate I earn from qualifying purchases):
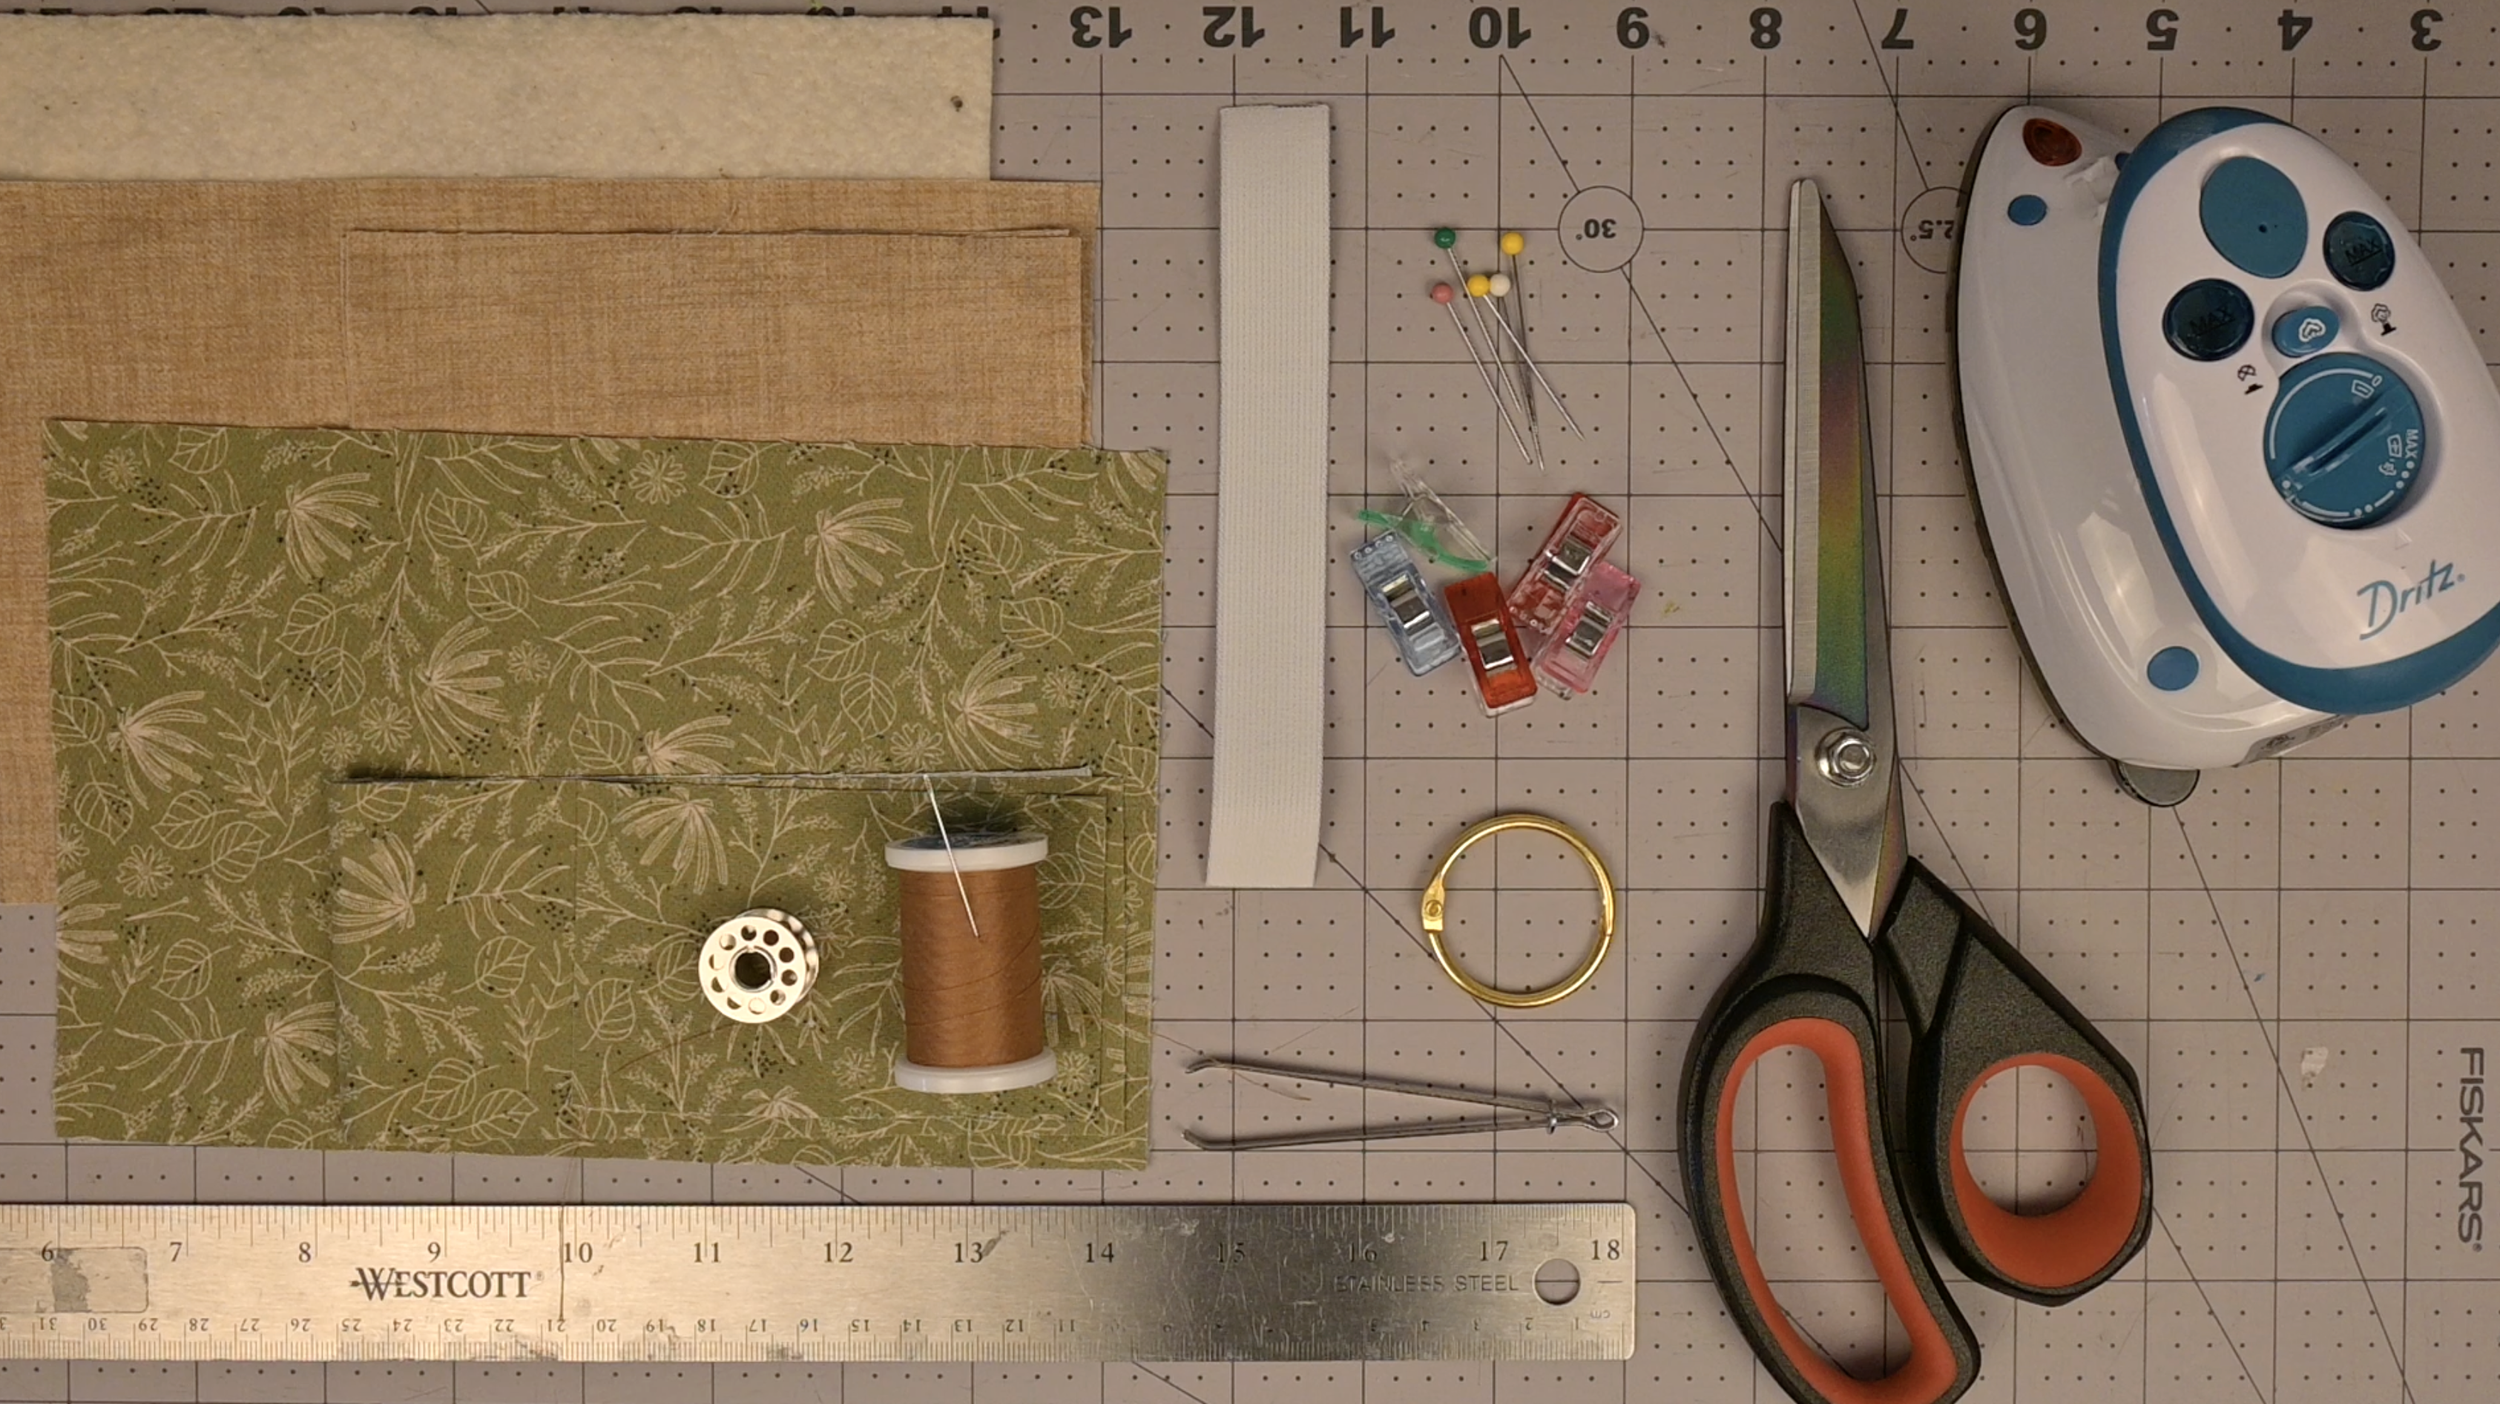
Main fabric (also used for the elastic cover and keychain loop)
Lining fabric (also used for the pockets)
Ring clip
Thread
Sewing machine and/or needle
Pins and/or sewing clips
Scissors and/or rotary cutter
Ironing board
Step 1: Cut the Fabric
Using a scissors or rotary cutter, cut the fabric into the following dimensions:
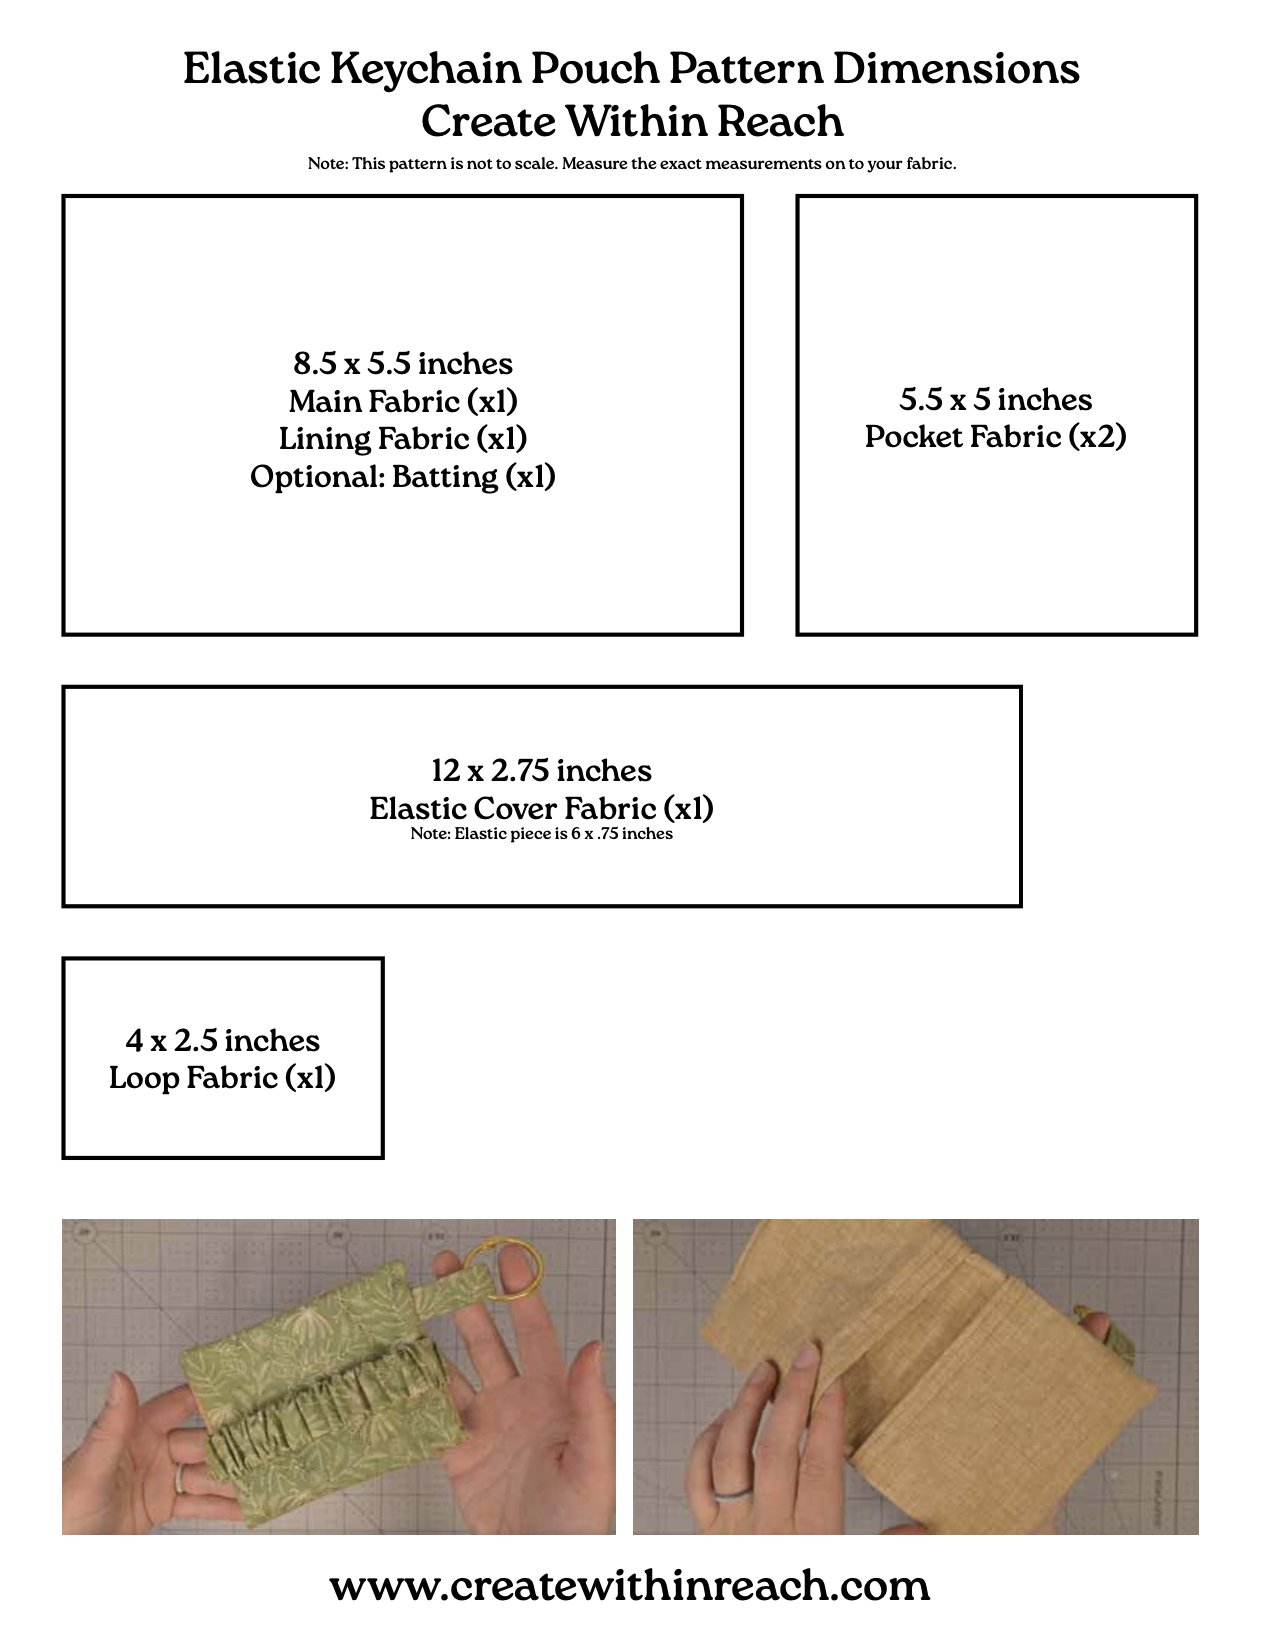
The Downloadable Dimension Pattern
Linked below is the free downloadable file:
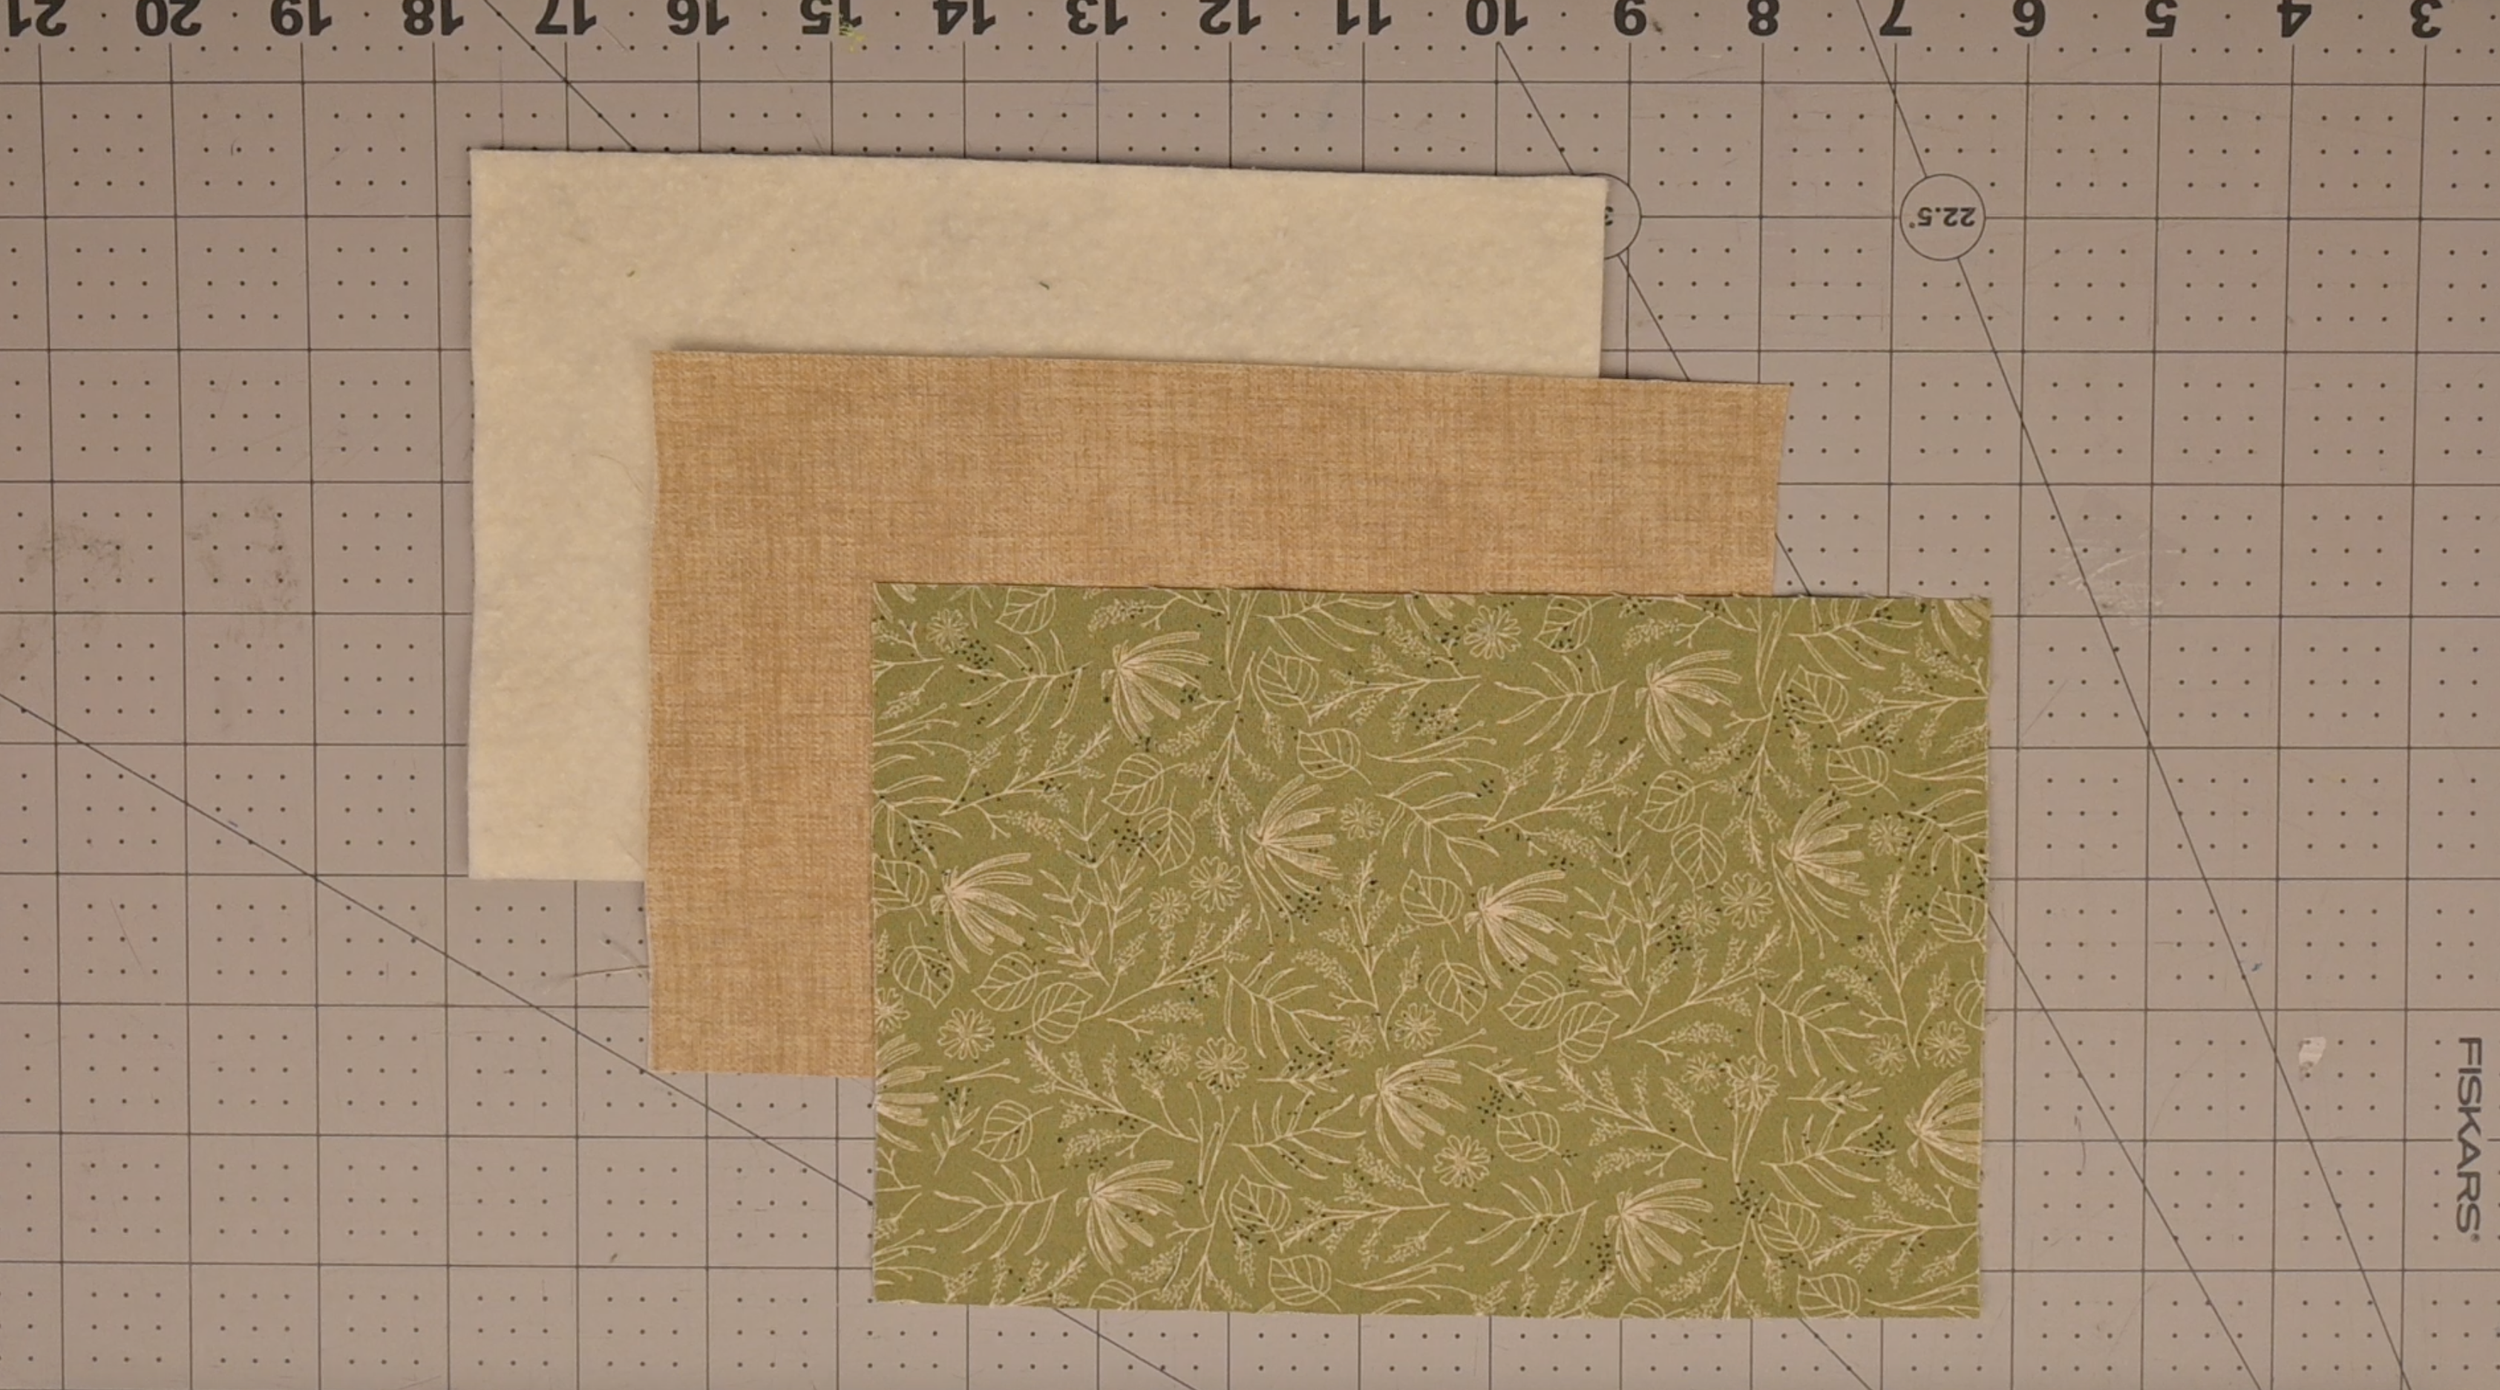
The Cut Pieces:
Main fabric: 8.5 x 5.5 inches (x1)
Lining fabric: 8.5 x 5.5 inches (x1)
Batting (optional): 8.5 x 5.5 inches (x1)
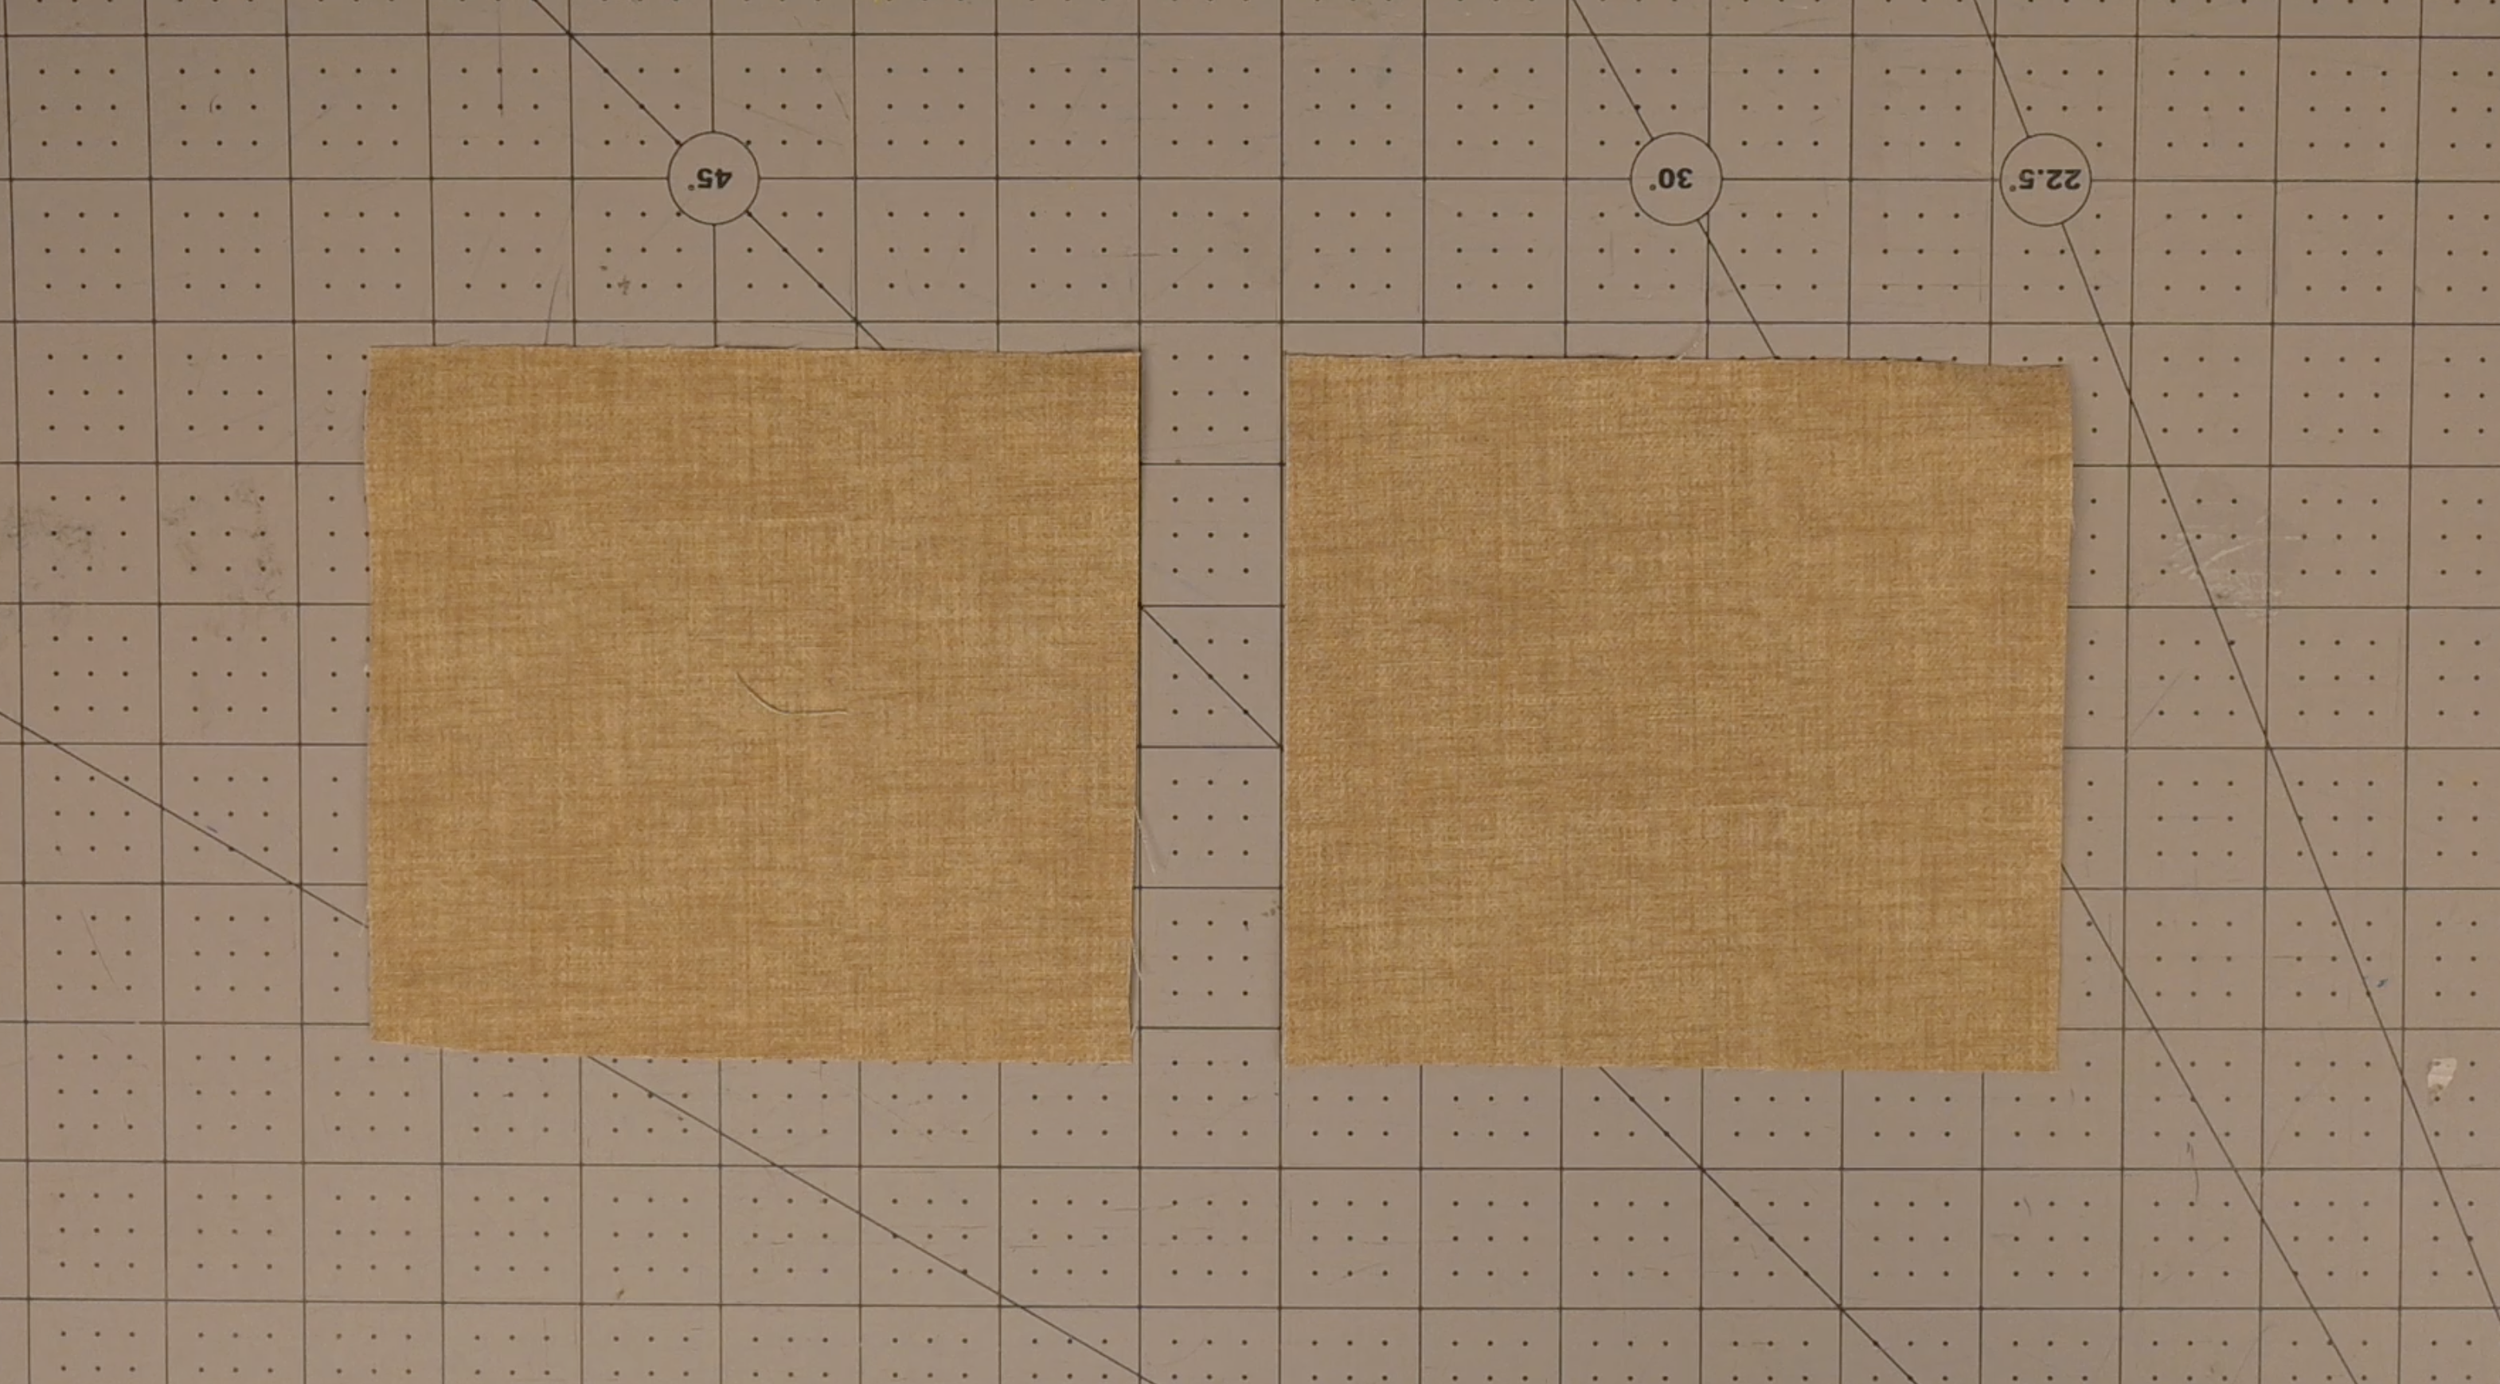
Pocket fabric: 5.5 x 5 inches (x2)
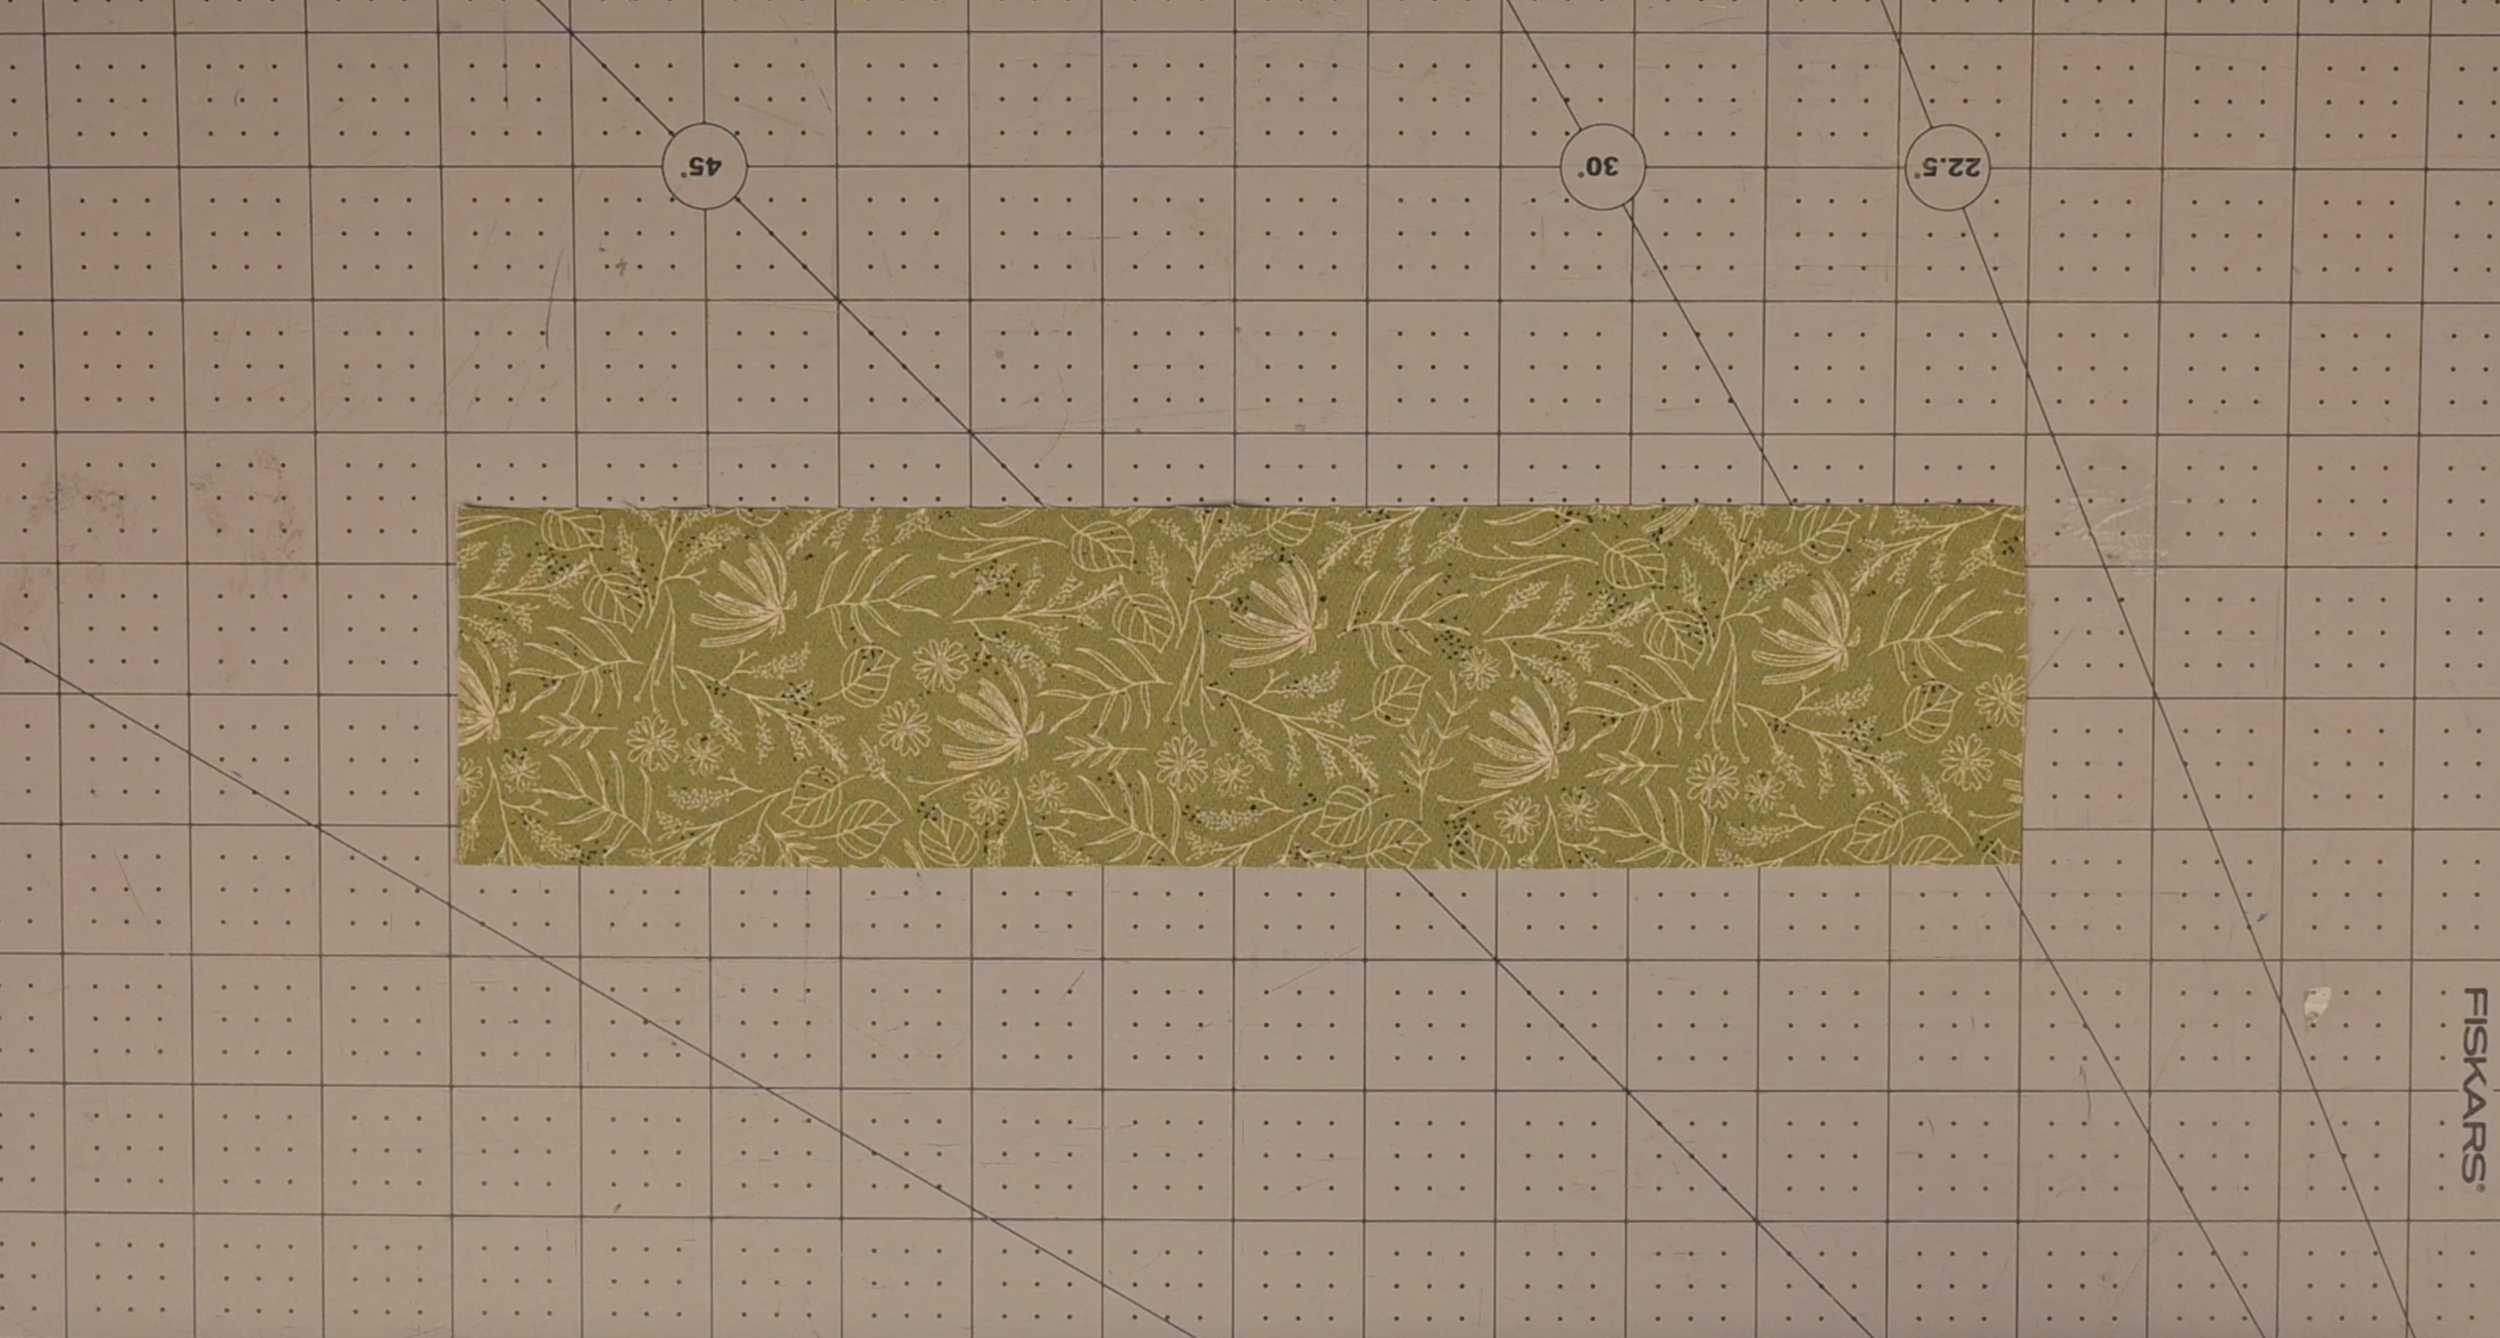
Elastic cover fabric: 12 x 2.75 inches (x1)
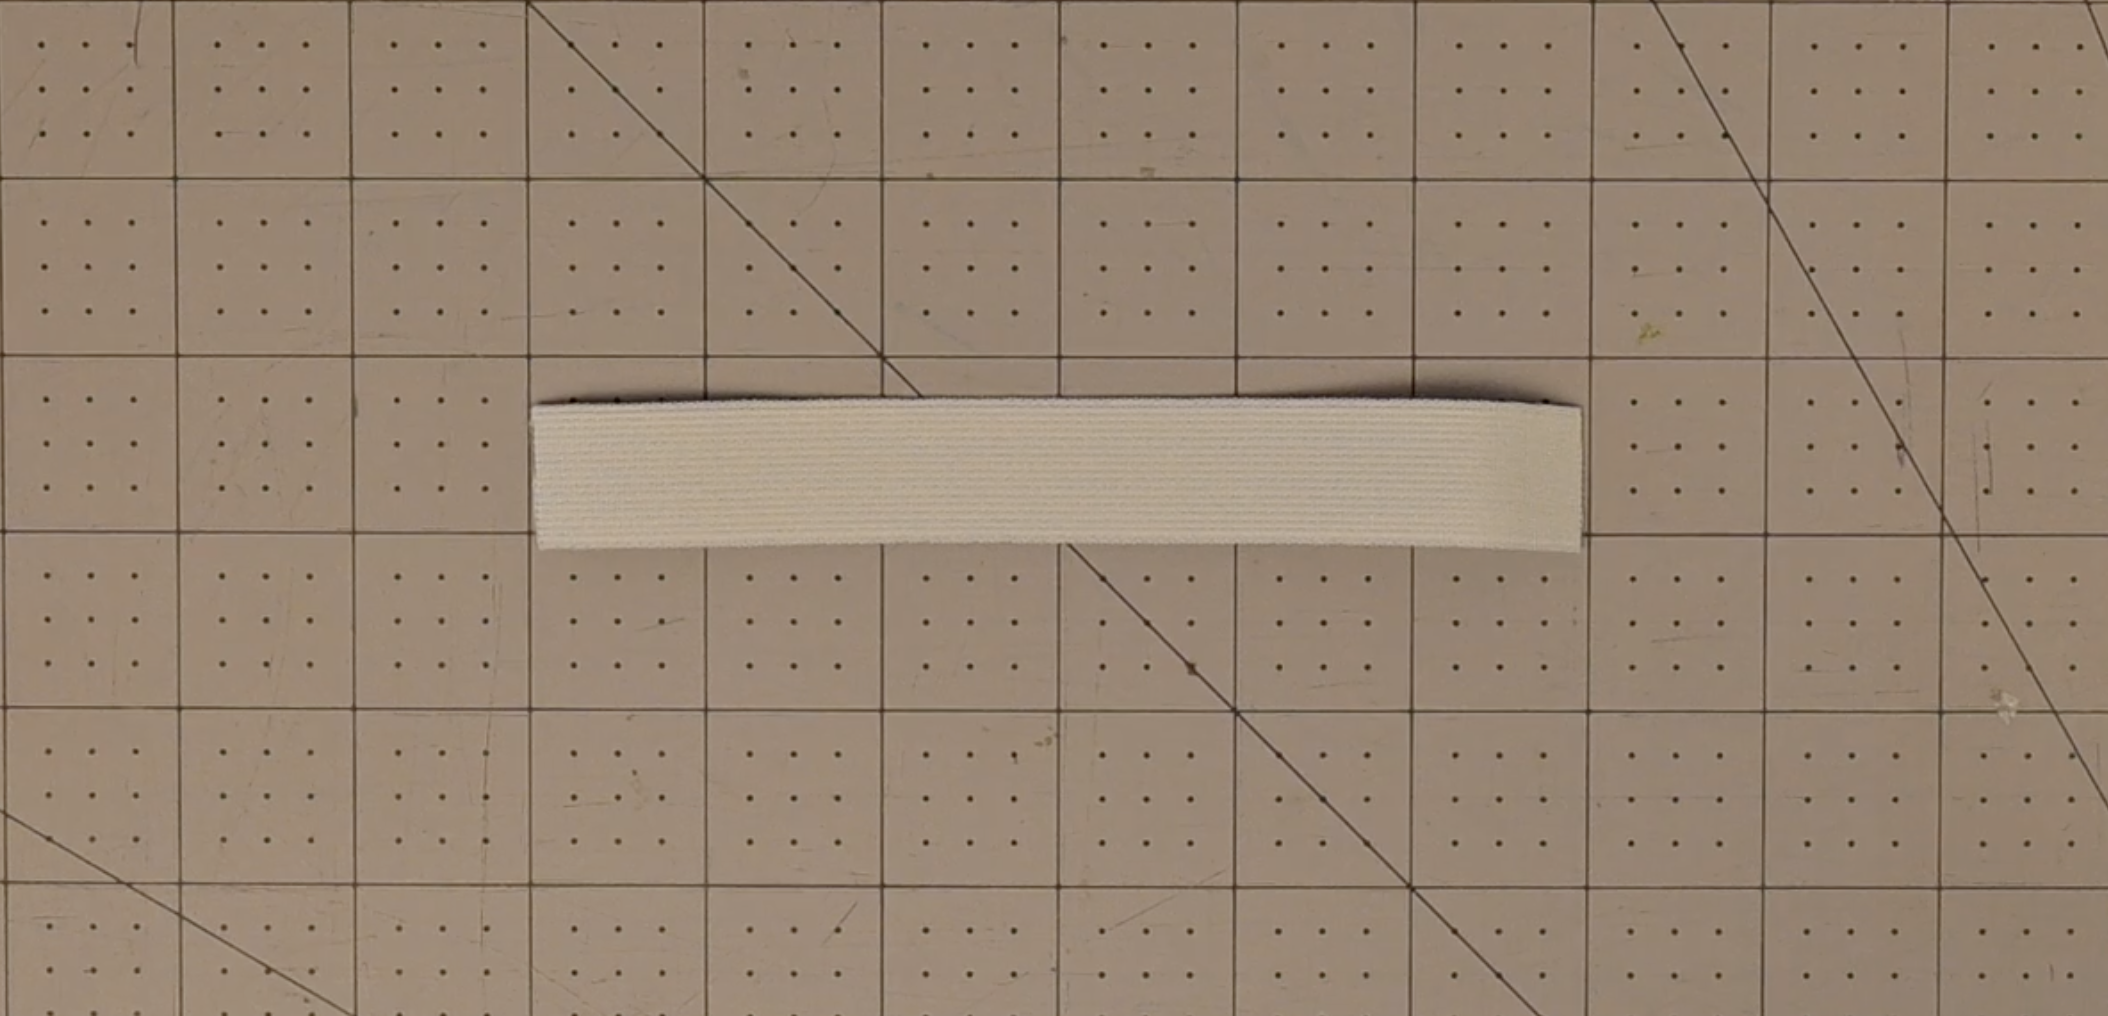
Elastic piece: 6 x .75 inches (x1)
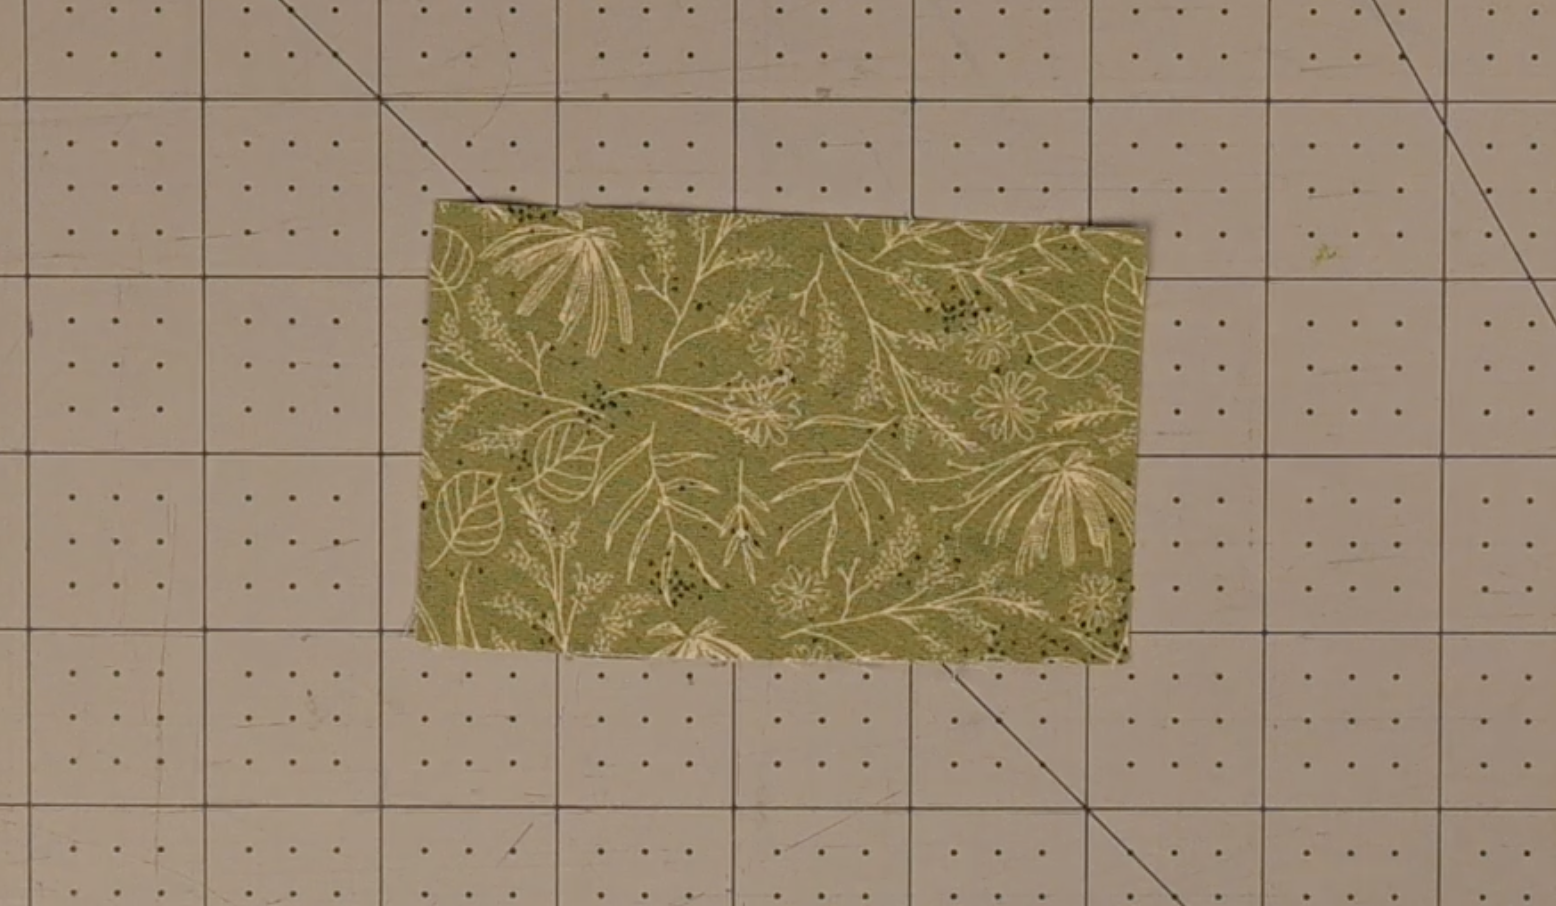
Keychain loop fabric: 4 x 2.5 inches (x1)
Step 2: Make the Keychain Loop
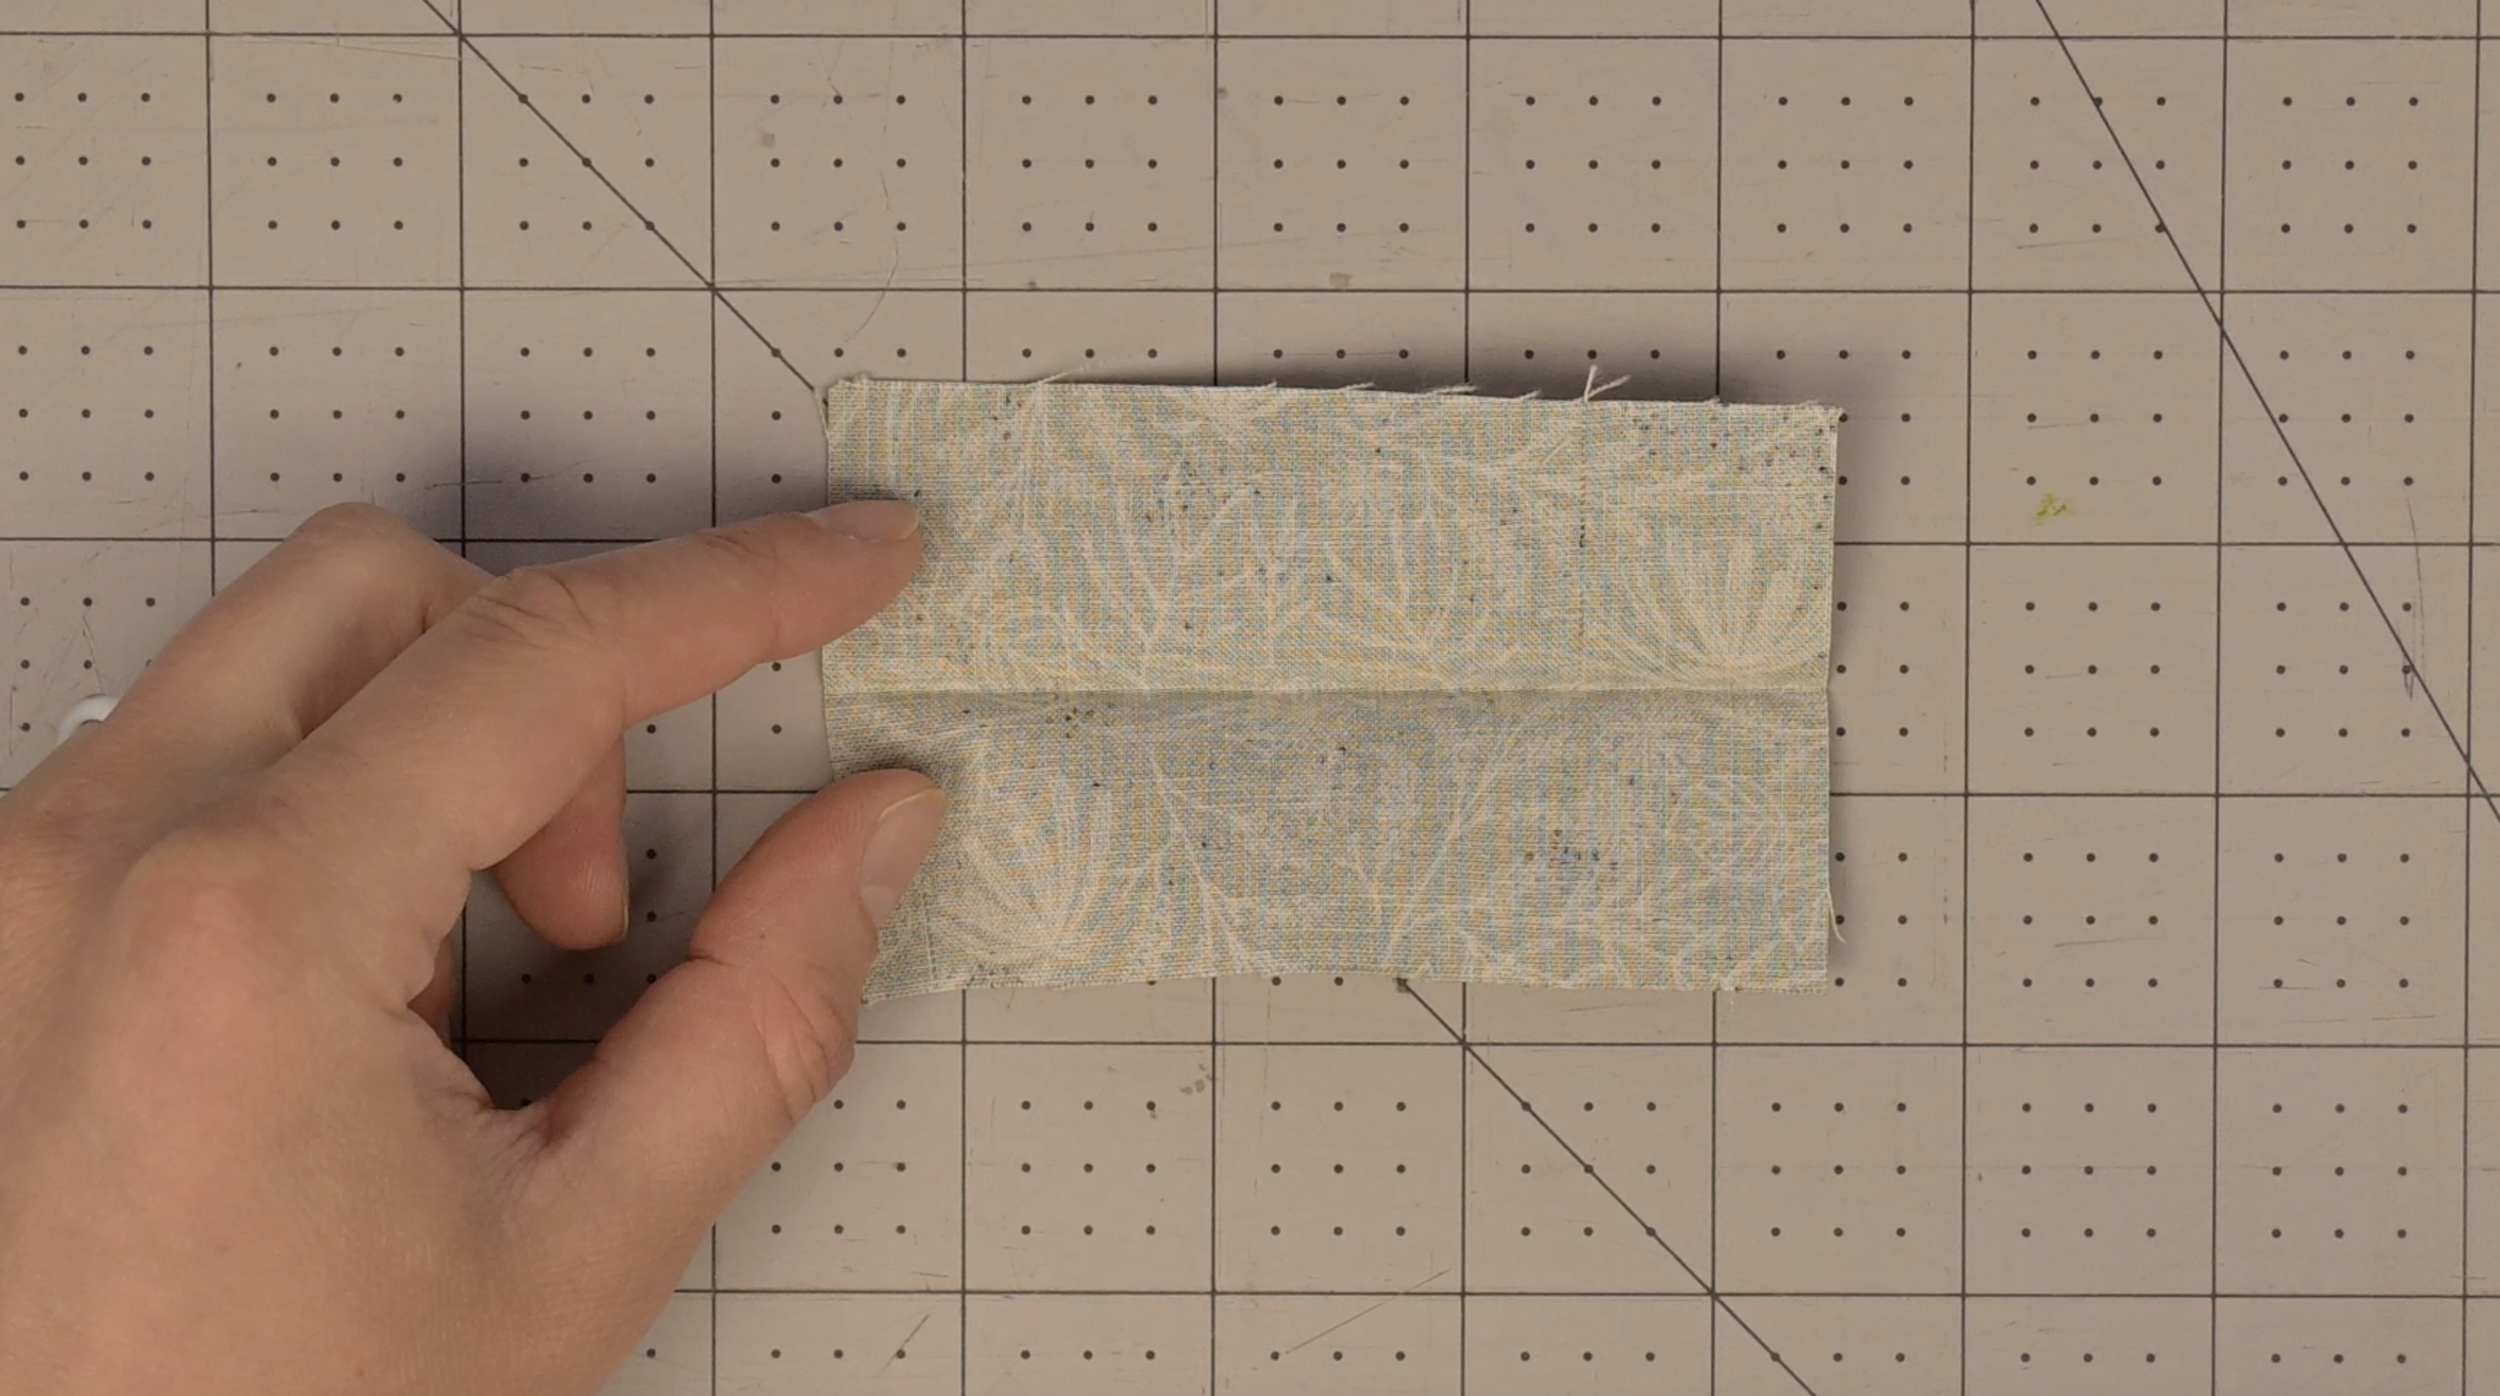
Fold the small rectangle in half lengthwise (right sides out) and iron a center crease
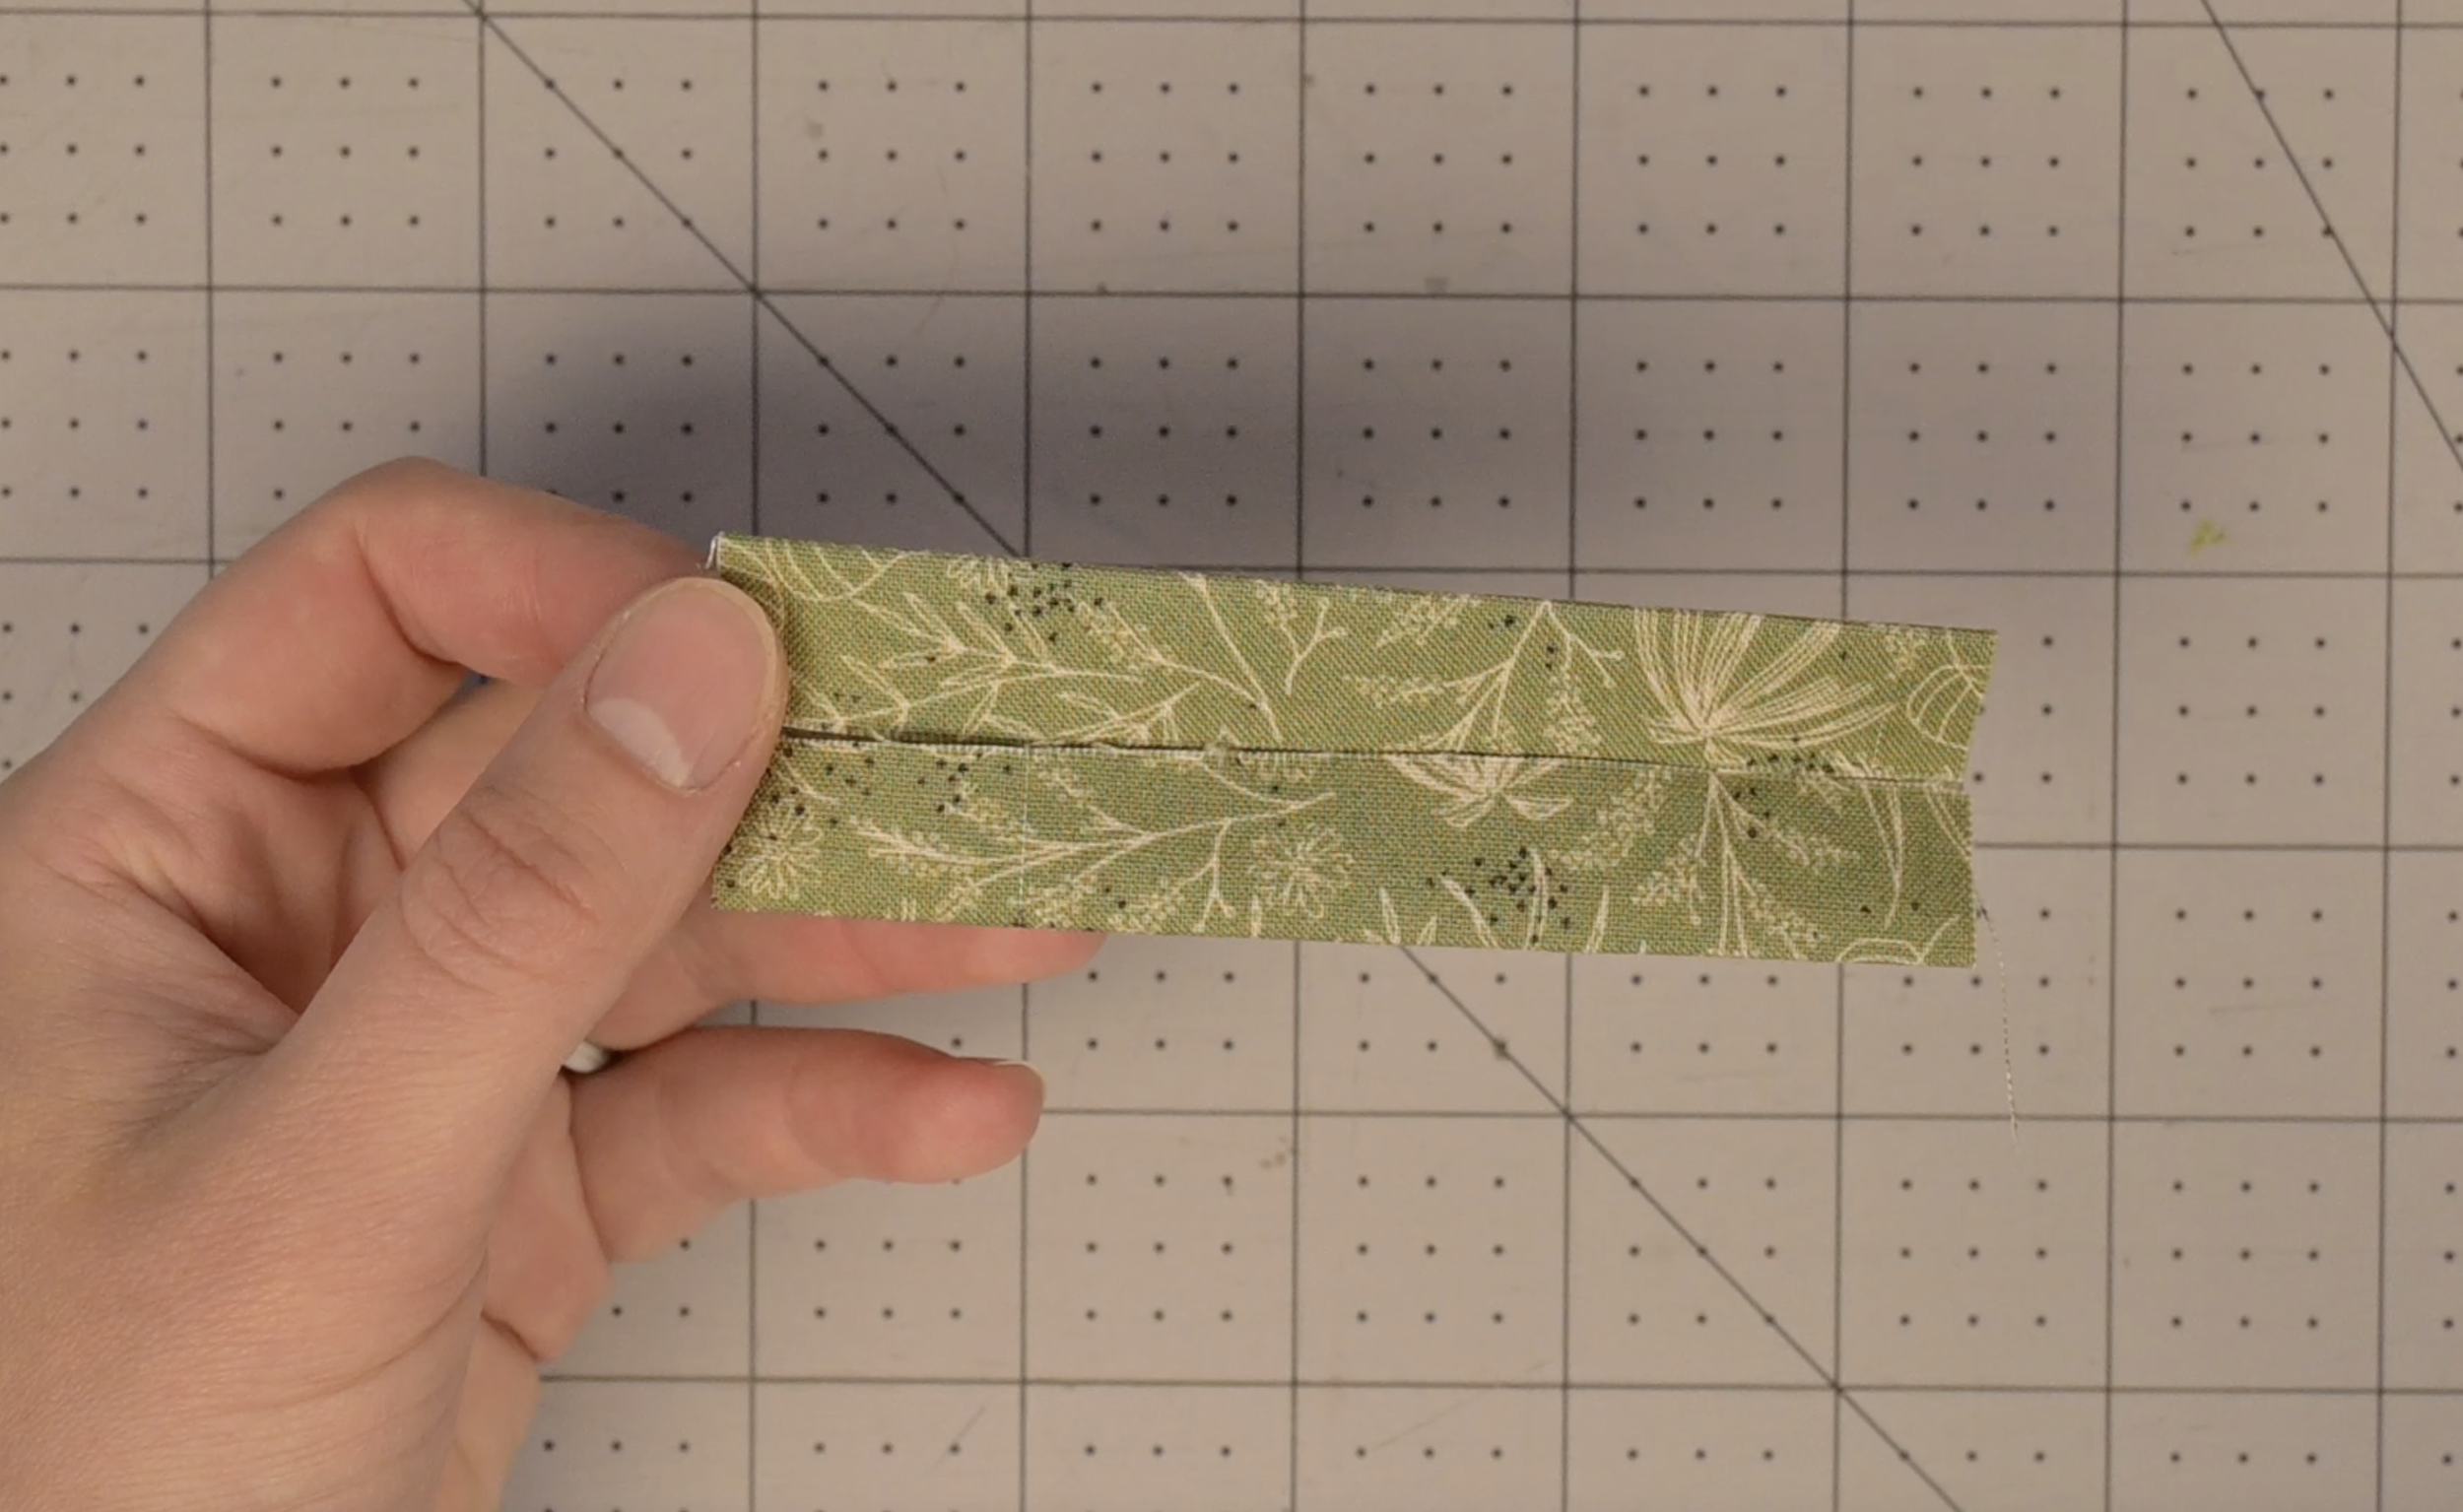
Open it up and fold both long raw edges inward to meet that center crease
Iron flat
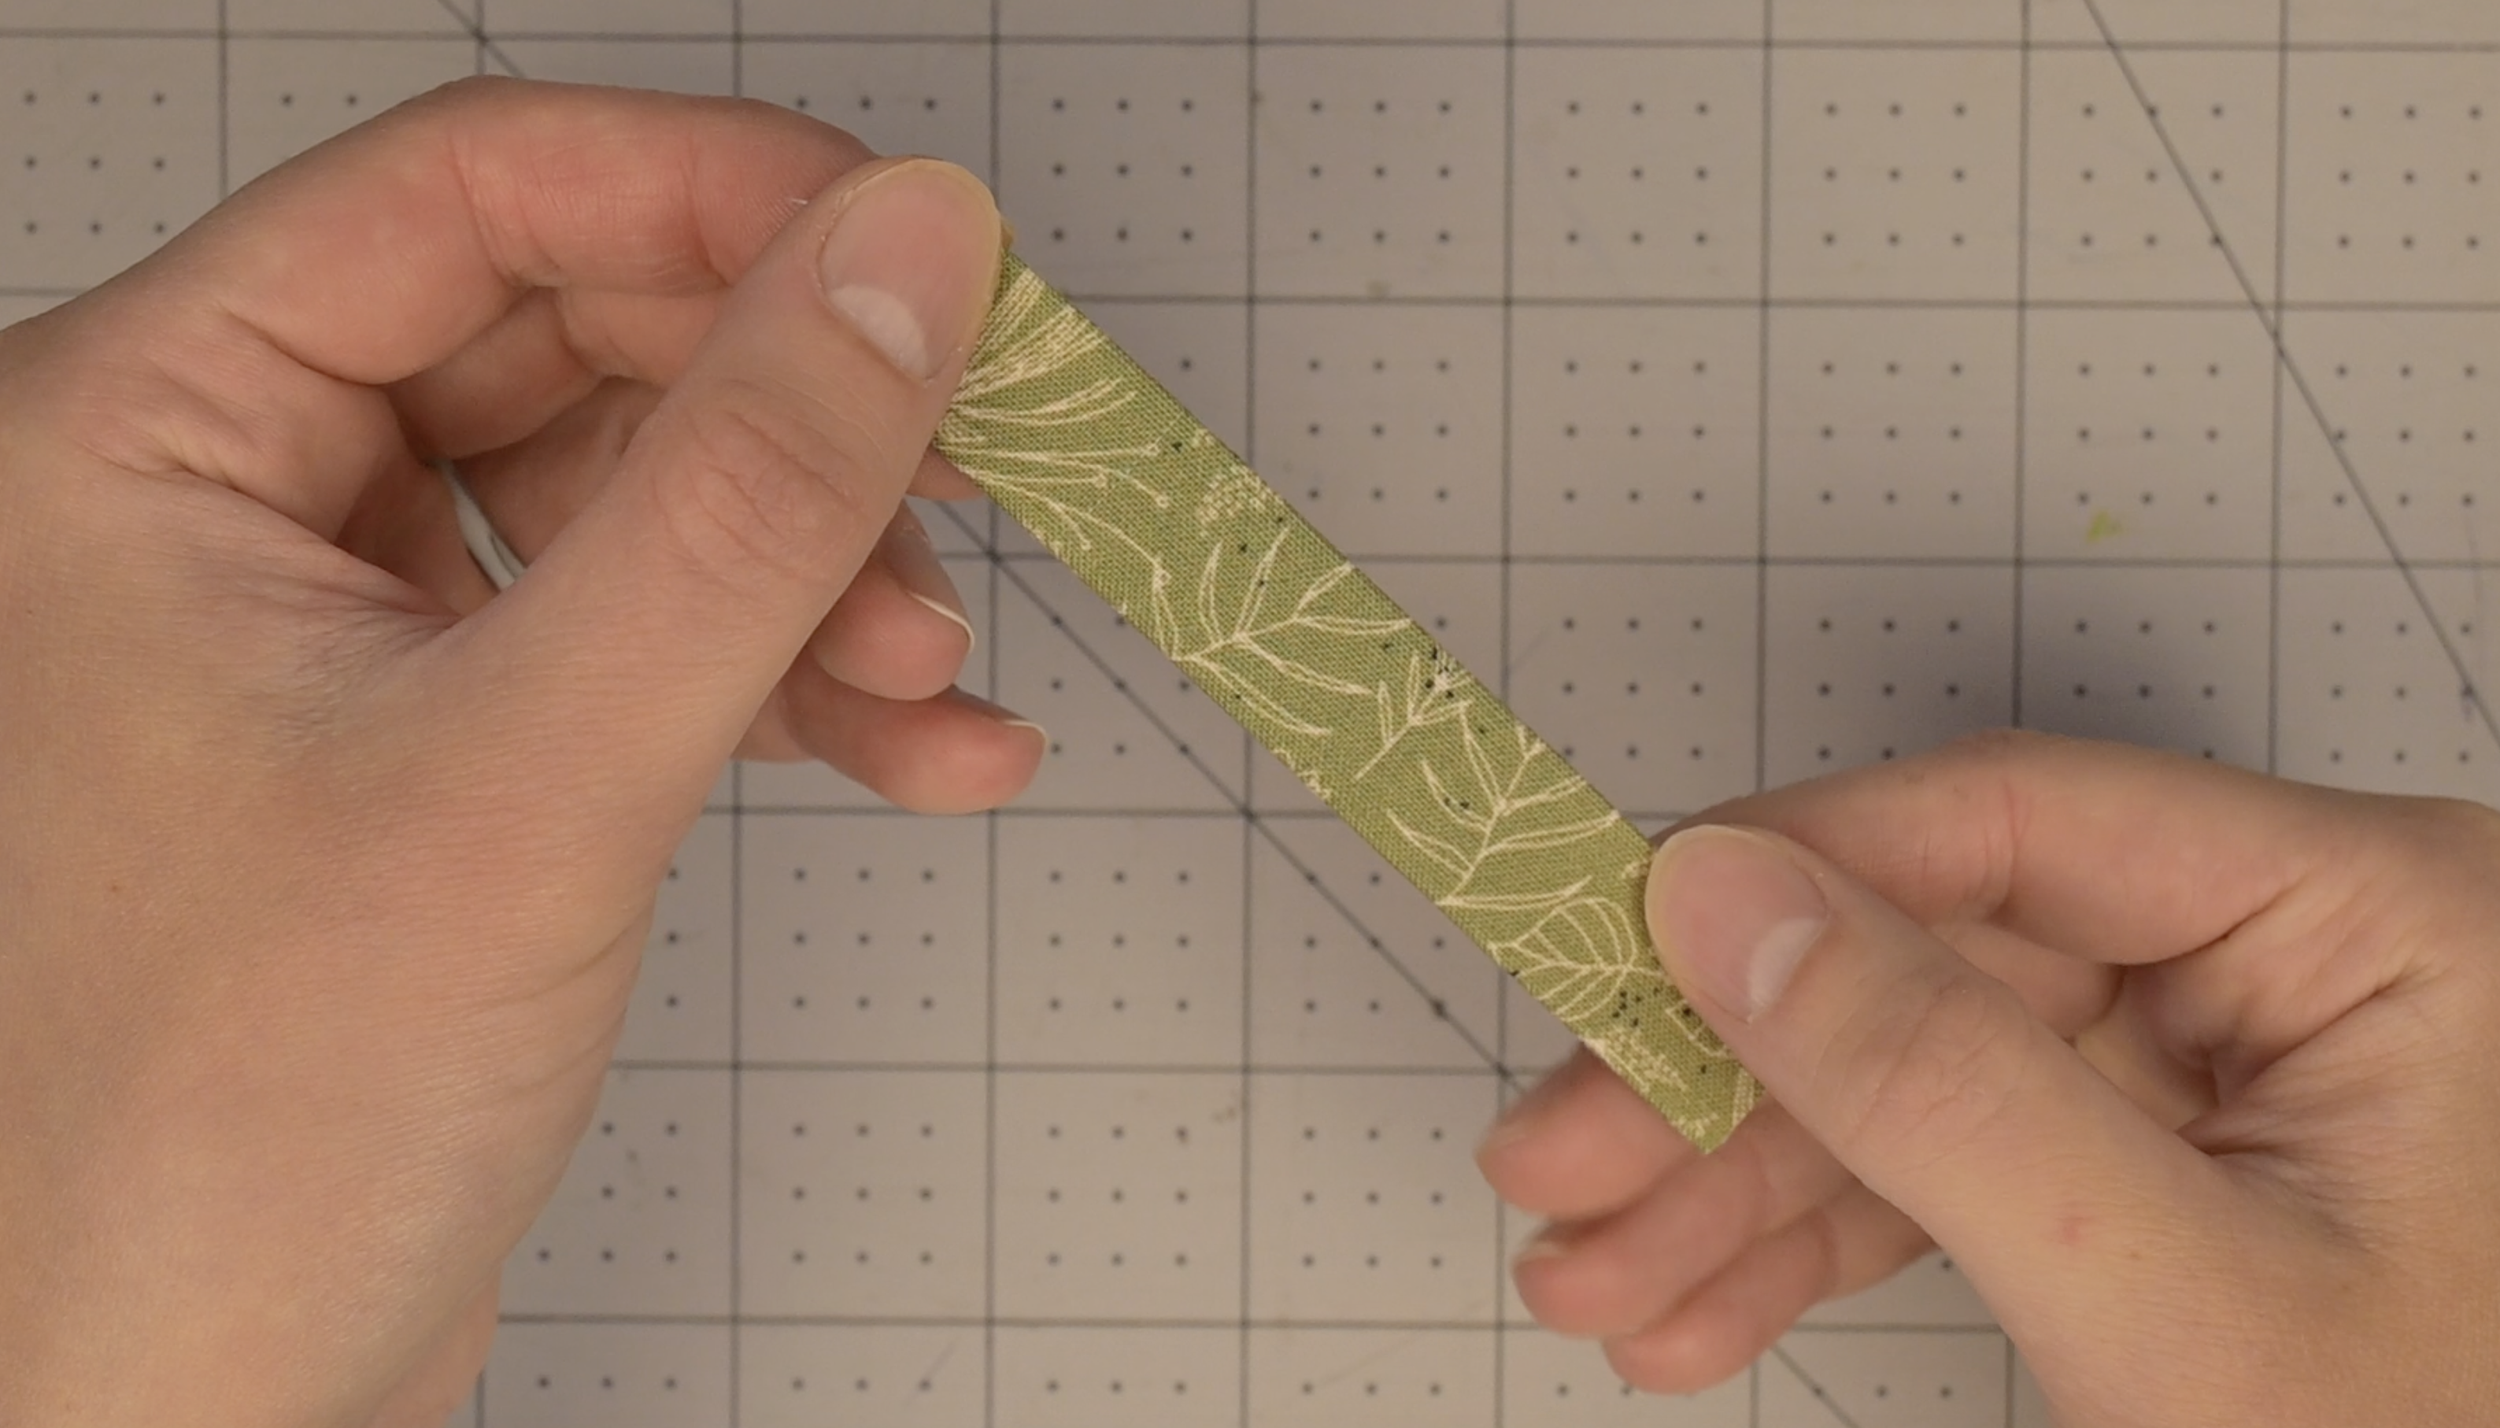
Fold the piece in half again along the original center crease and iron
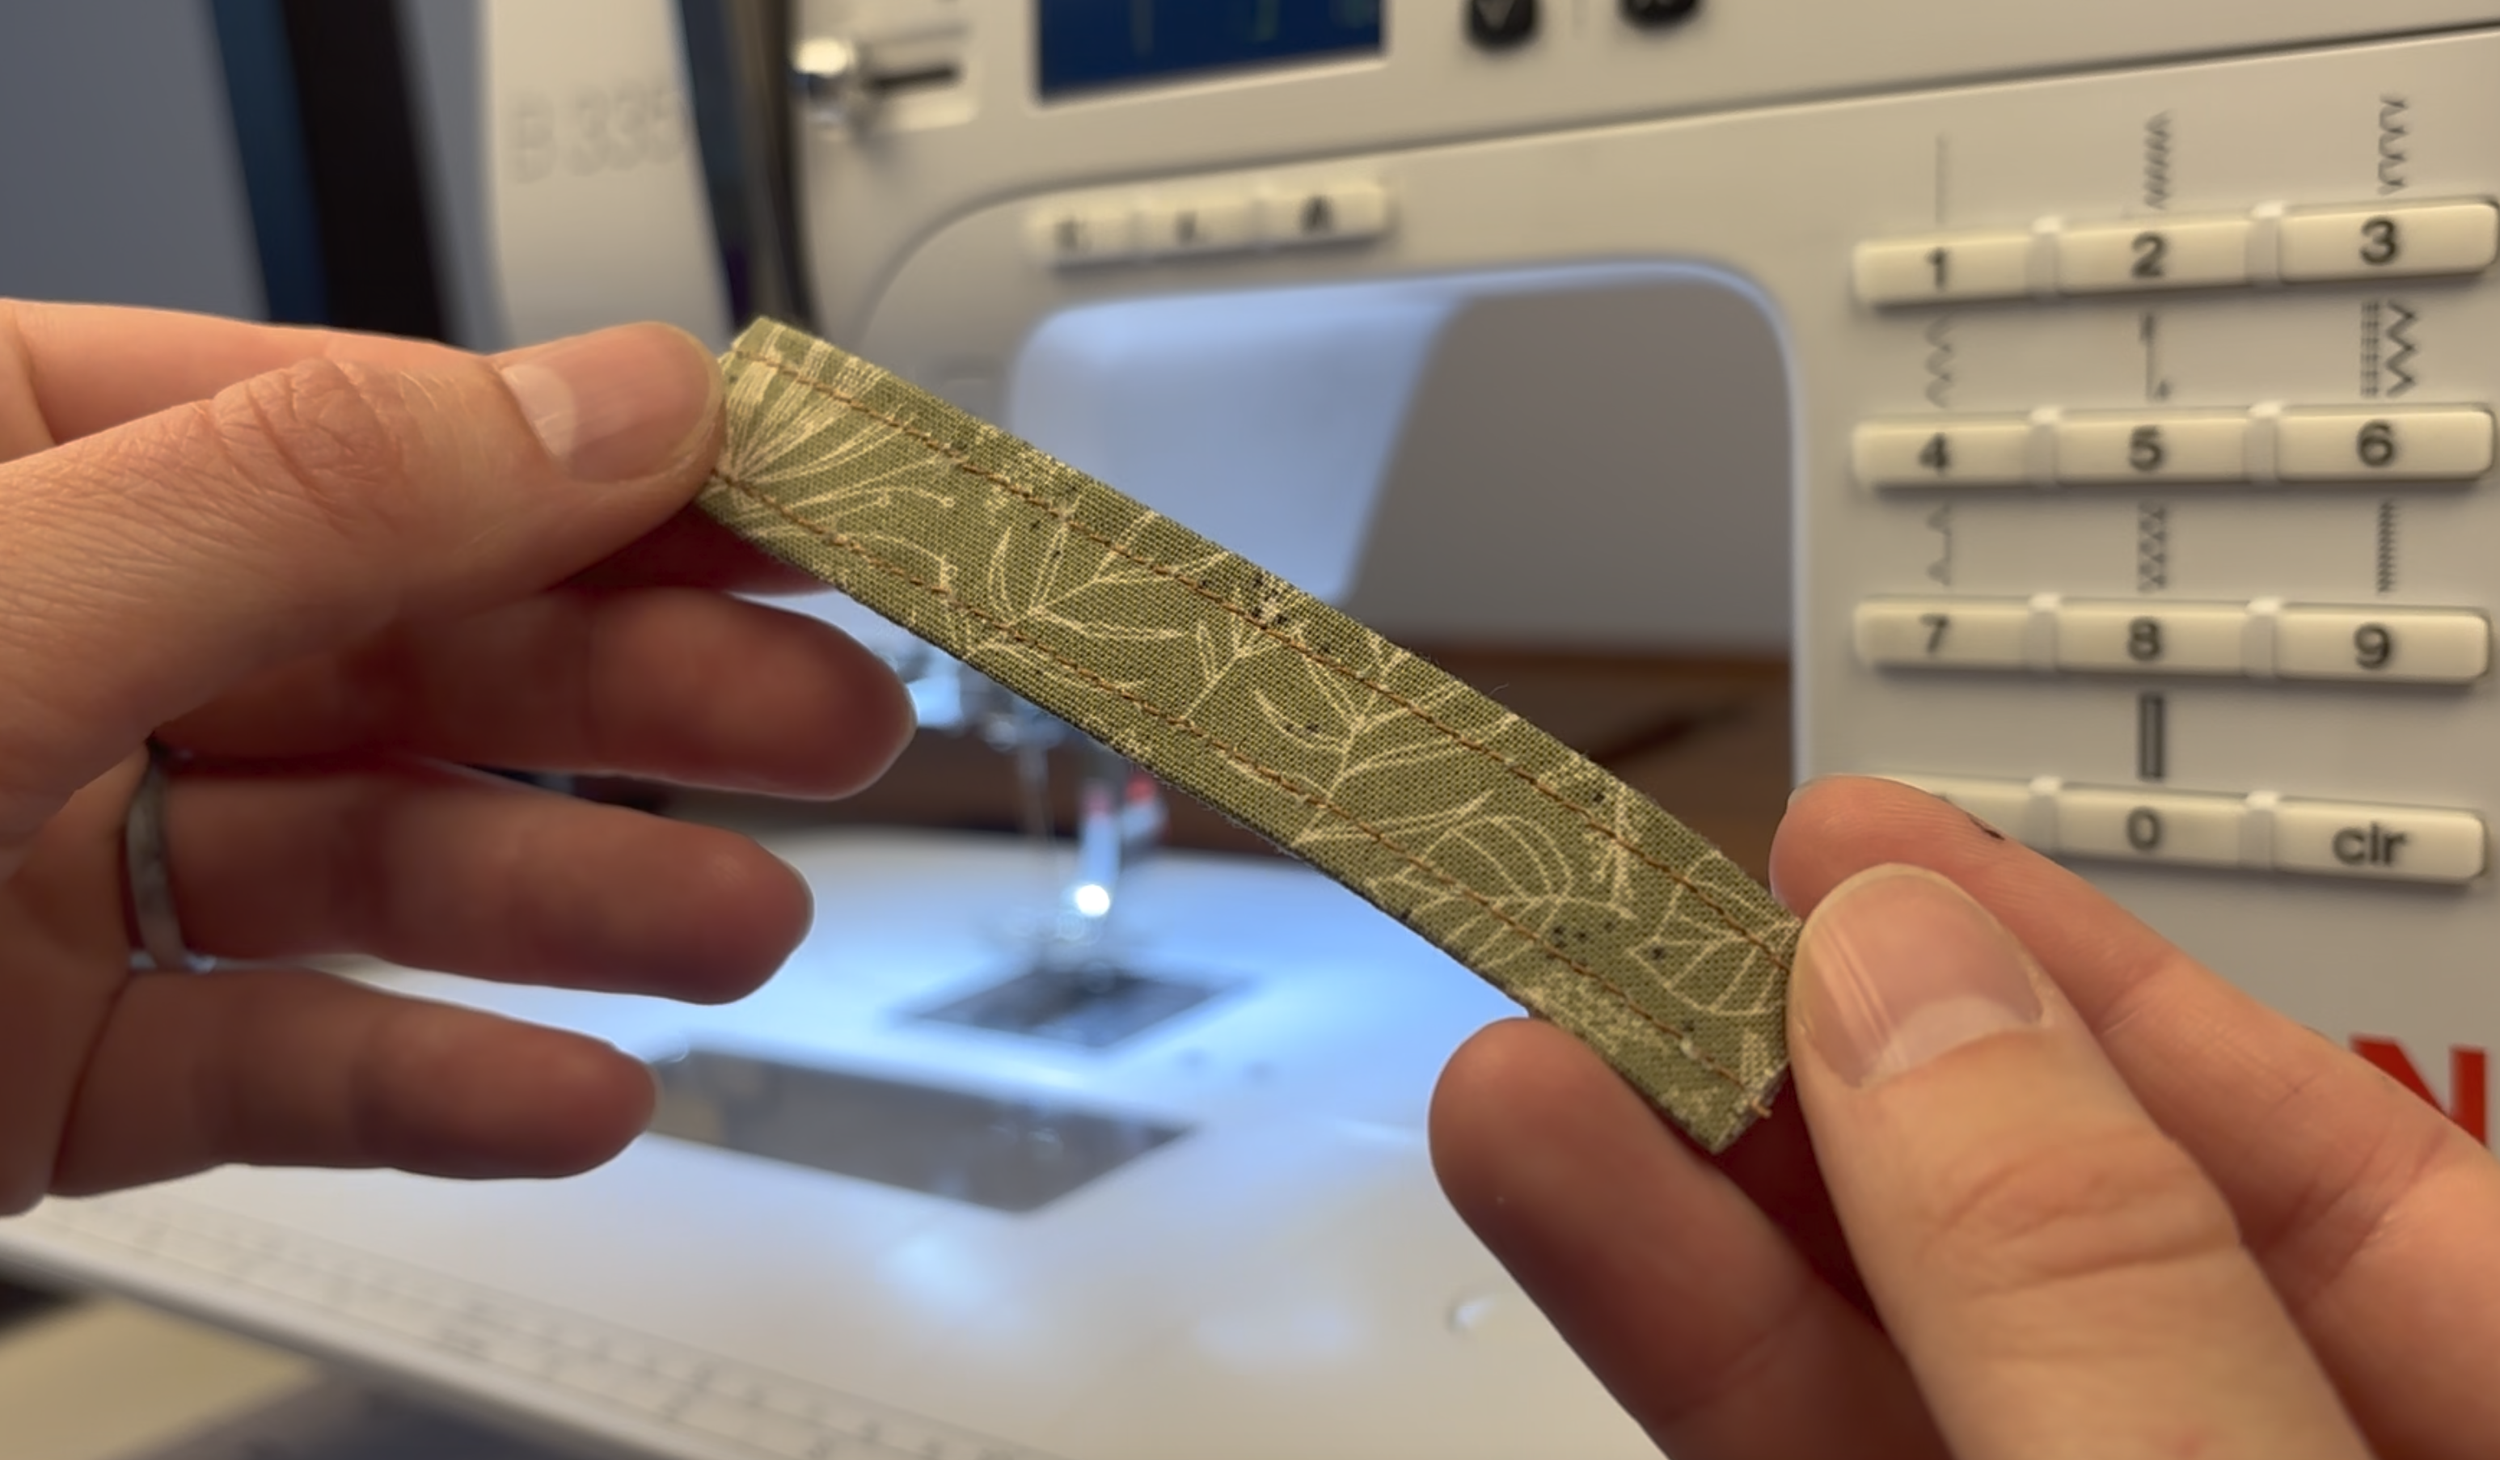
Topstitch down both long sides to close the loop
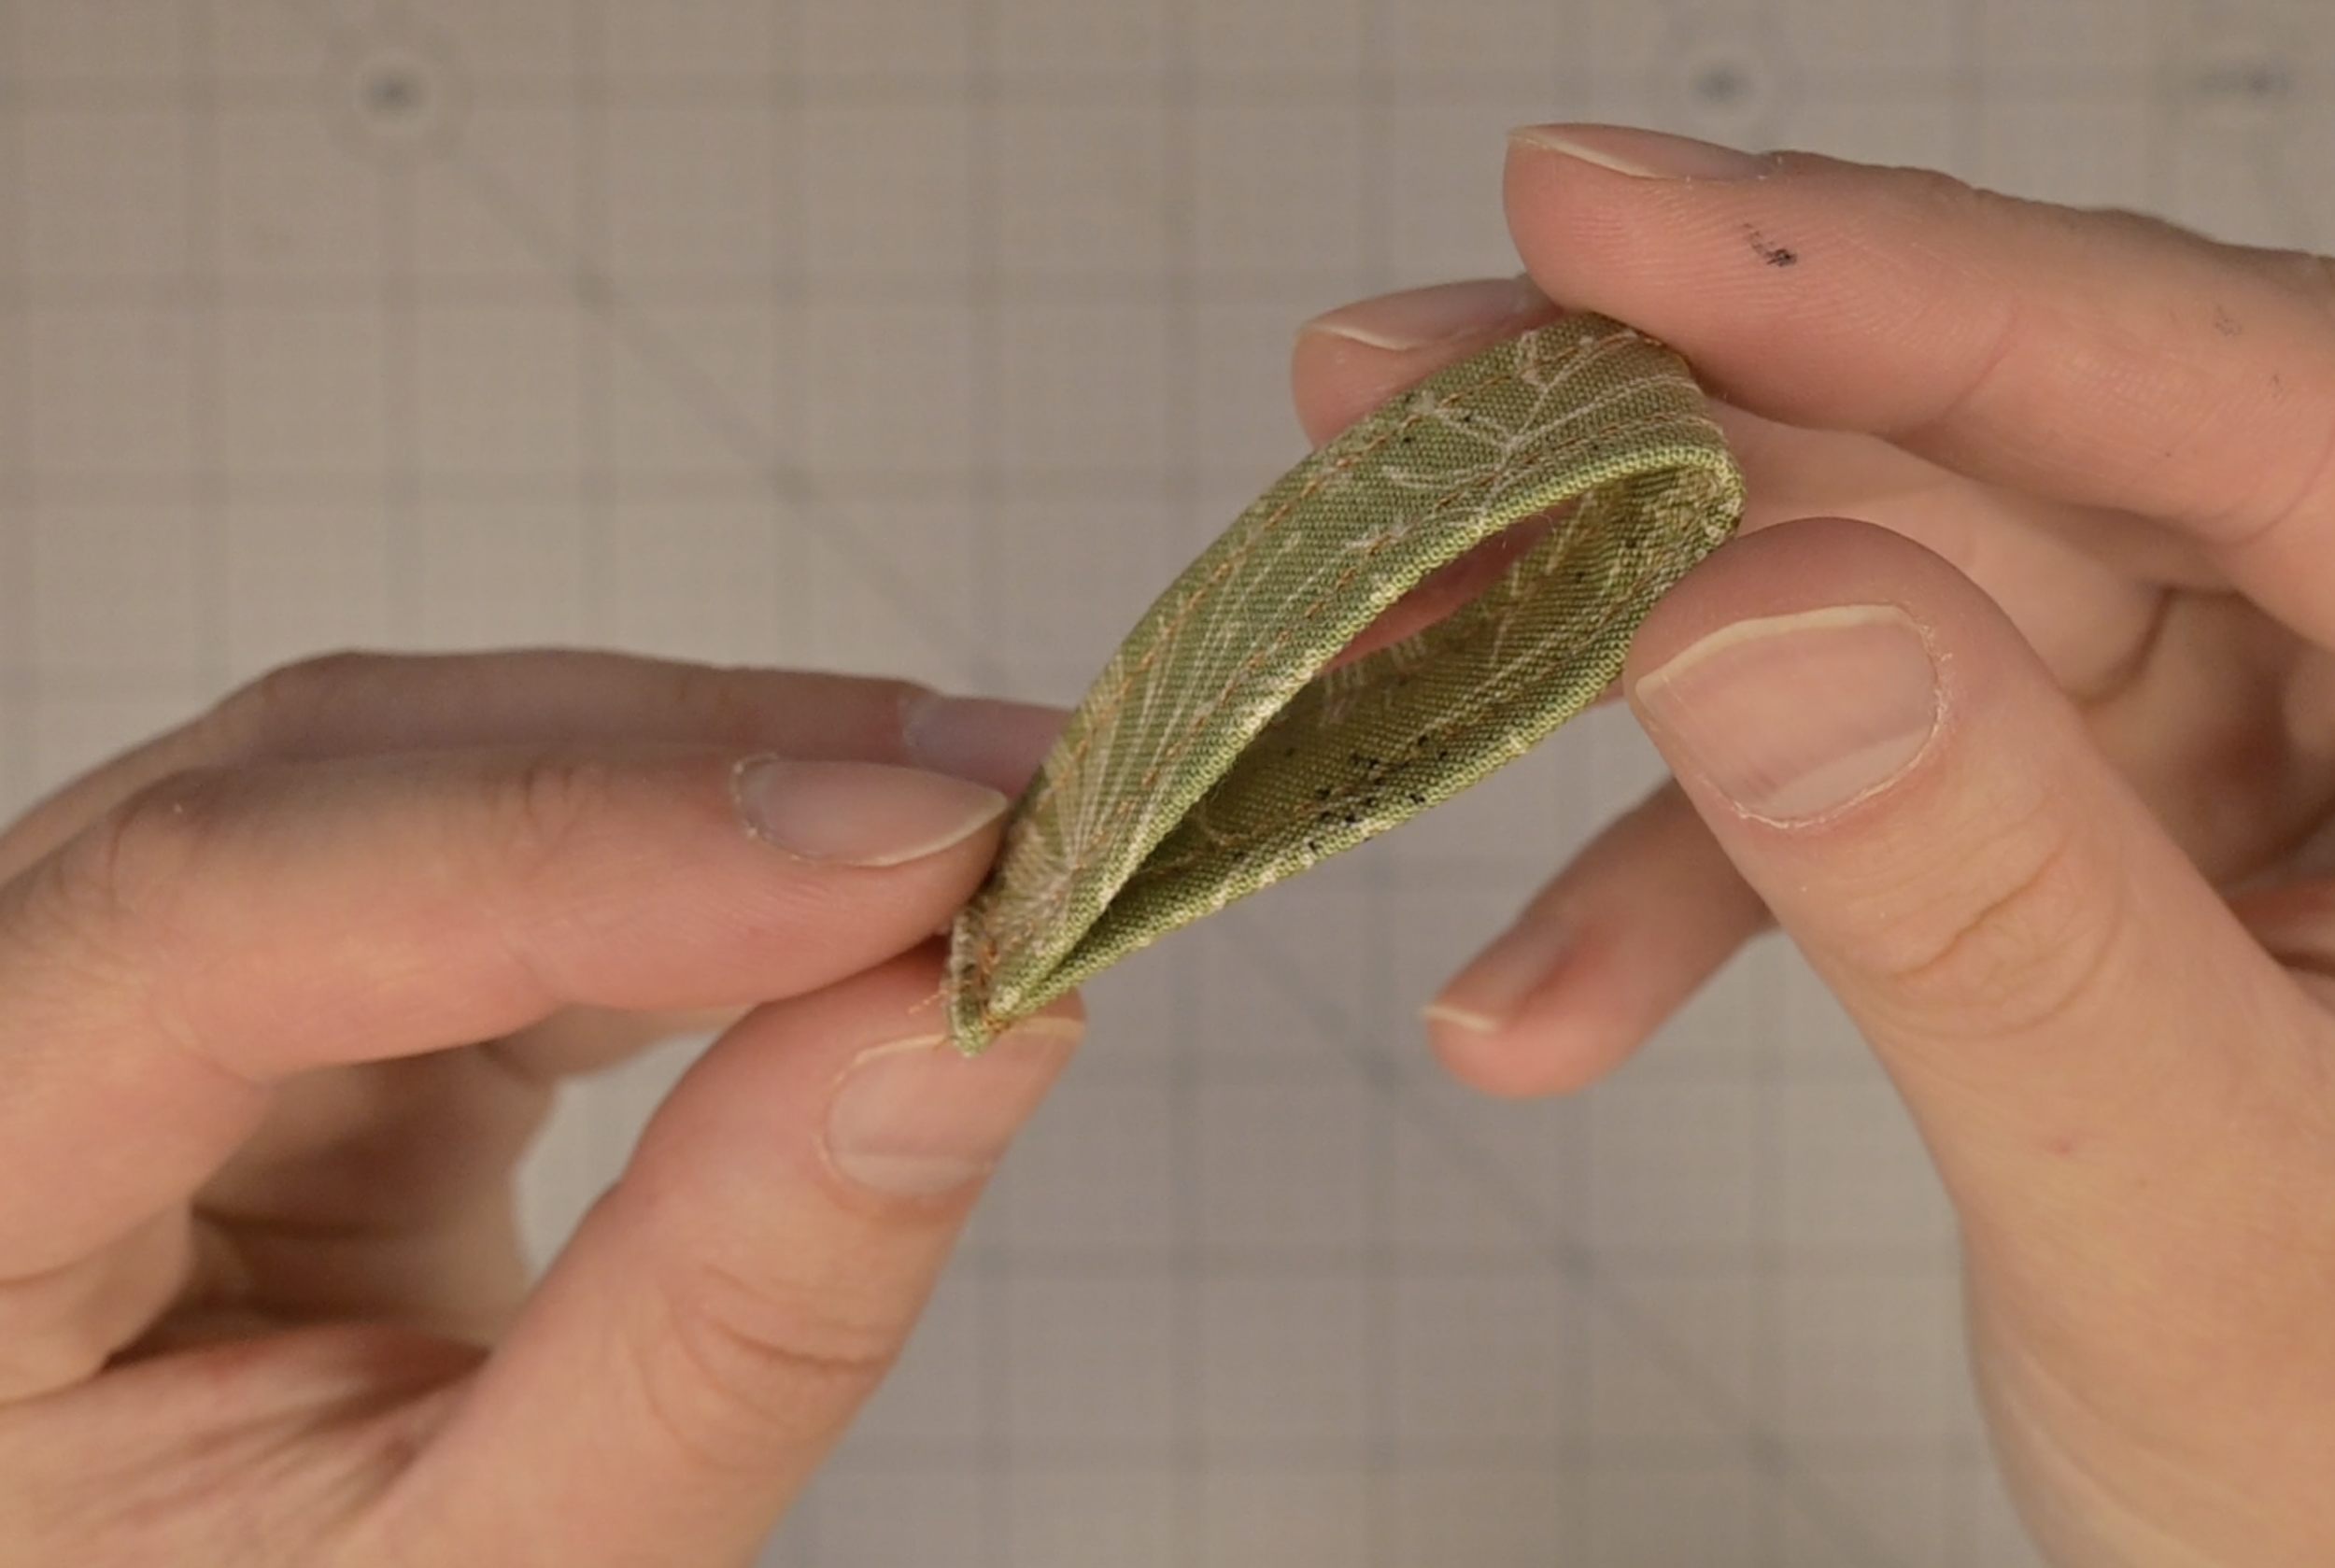
Fold the strip in half and sew the raw ends together to form a loop
Step 3: Make the Elastic Cover
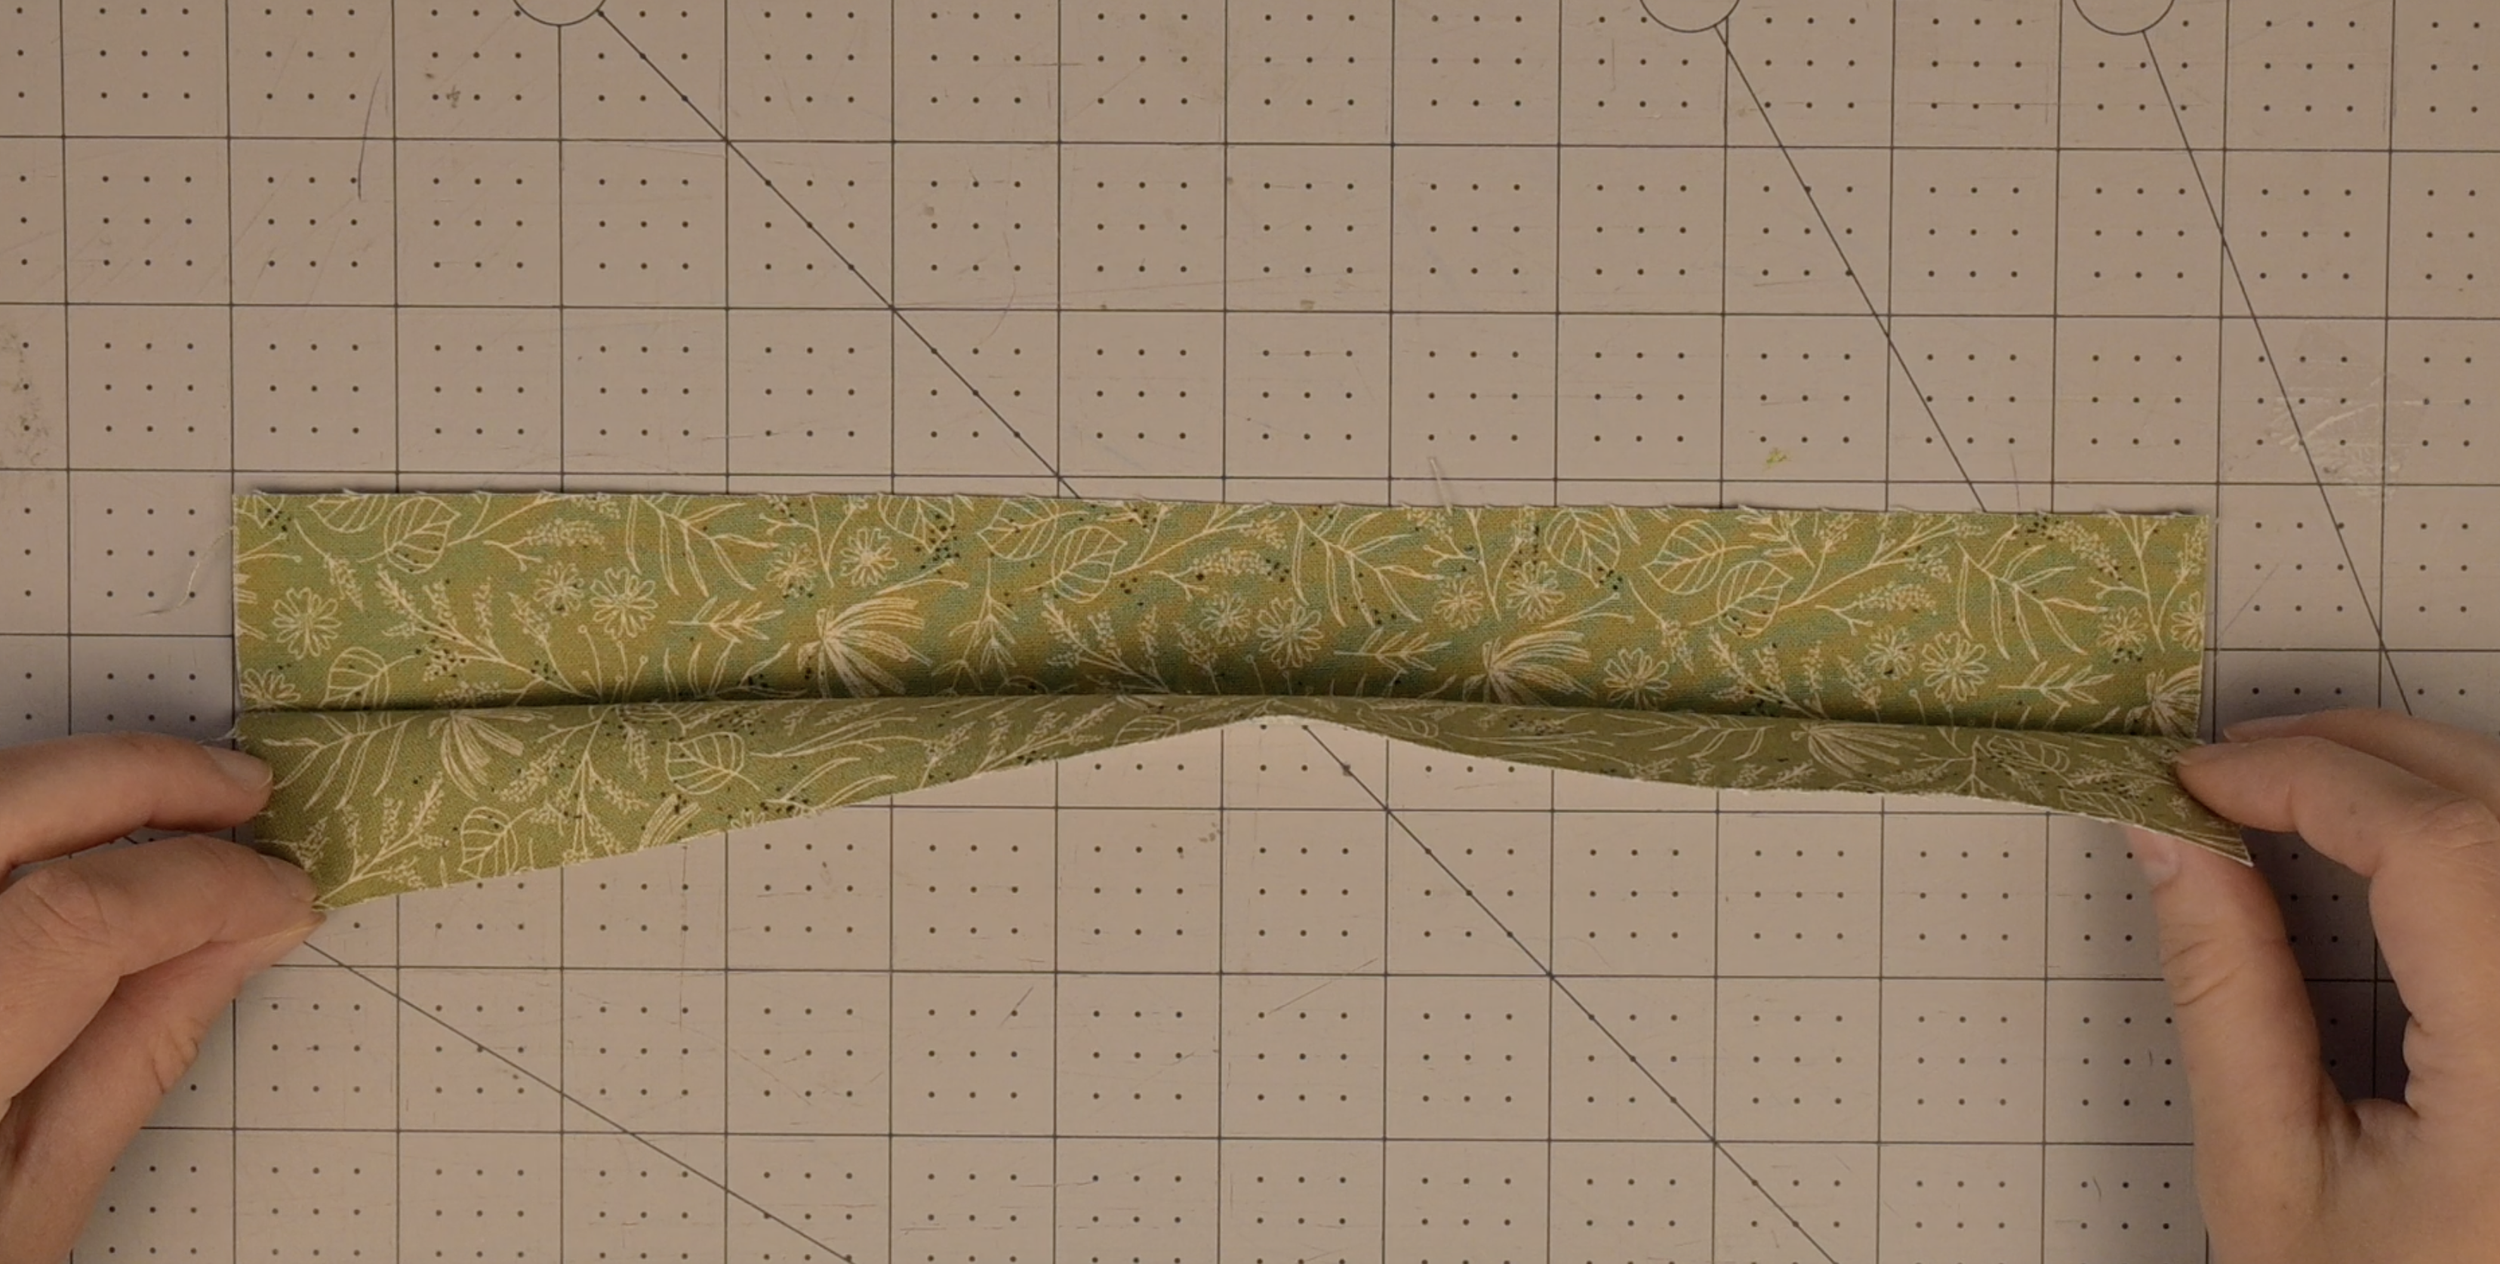
Fold the elastic cover fabric in half lengthwise (right sides inward) and iron a center crease
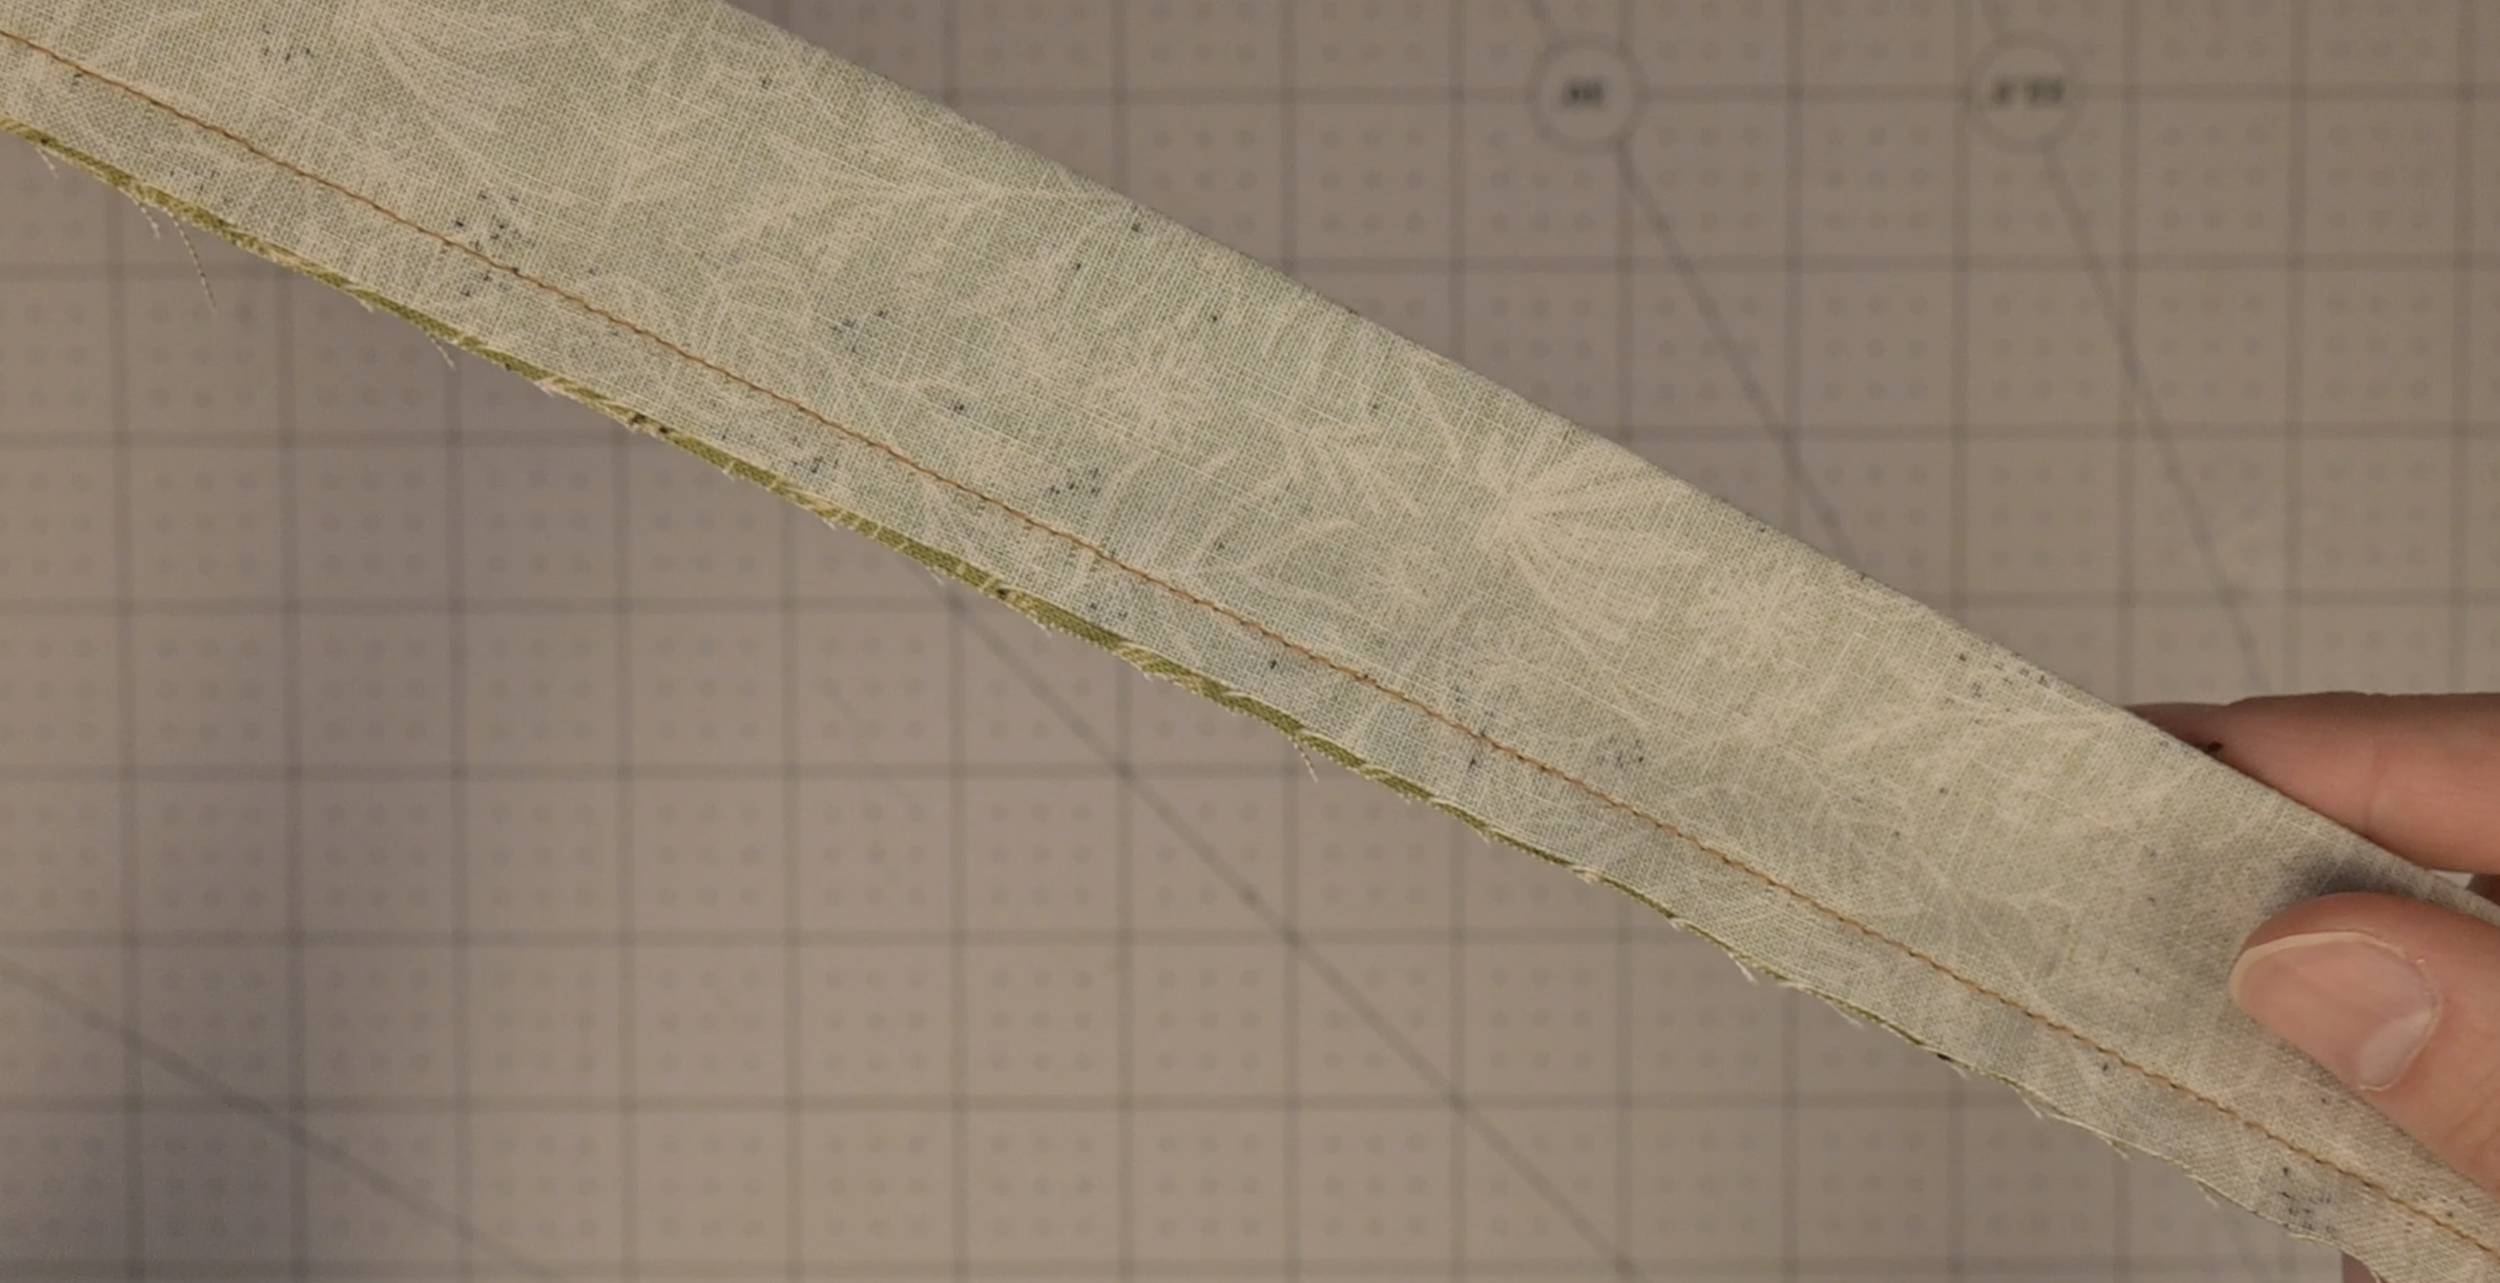
Sew the long side opening closed
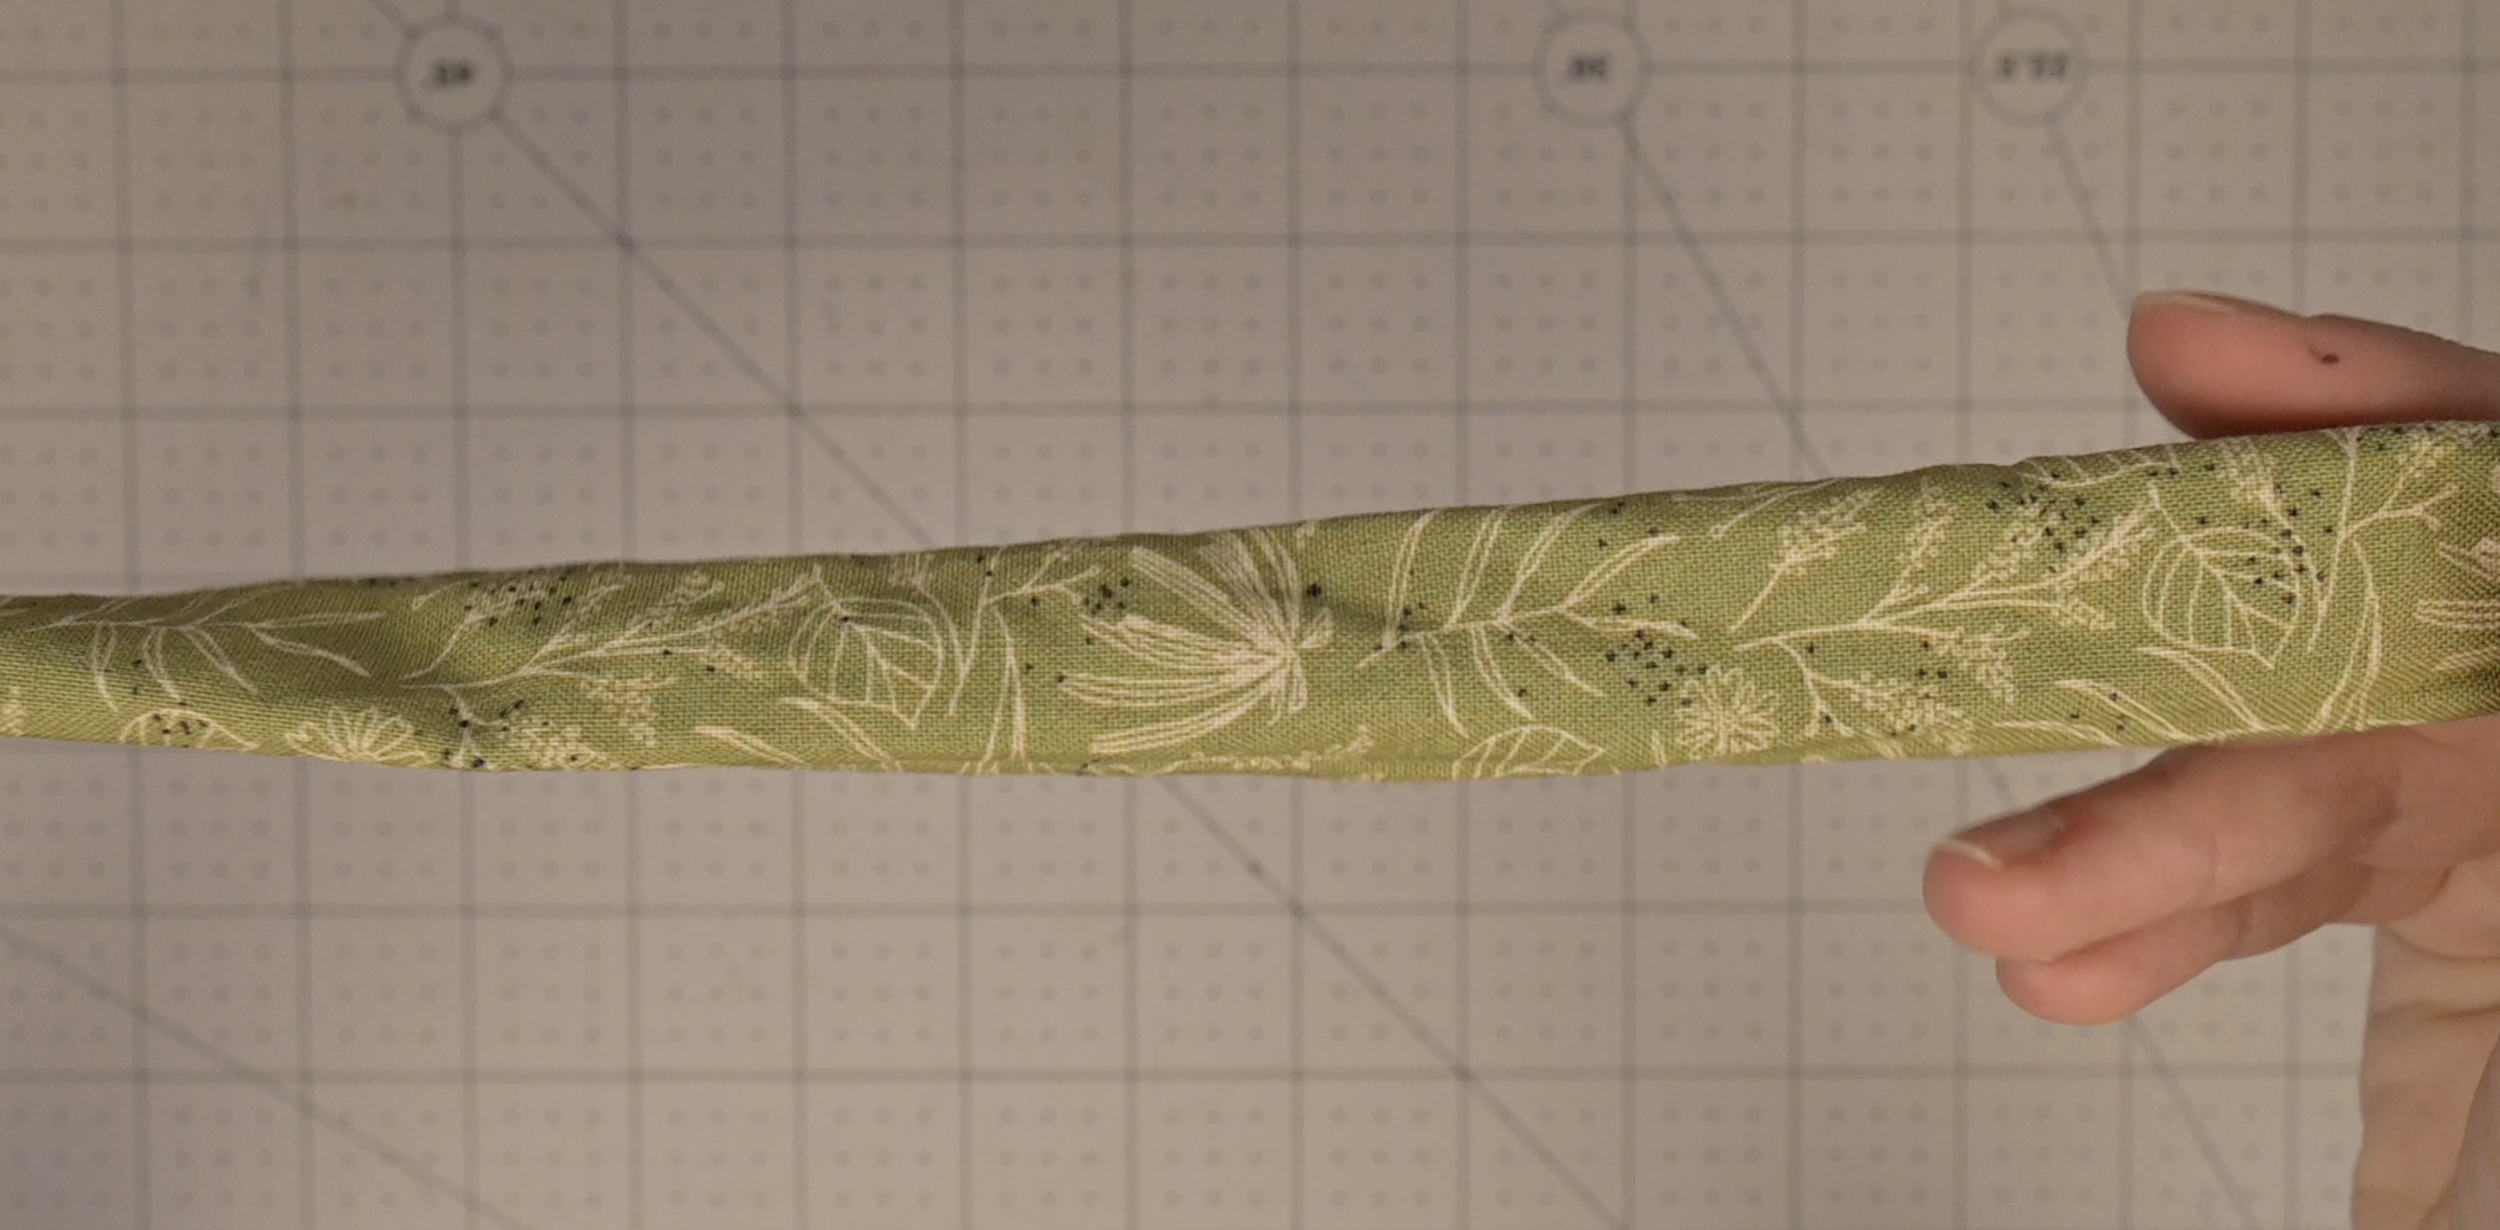
Turn inside out
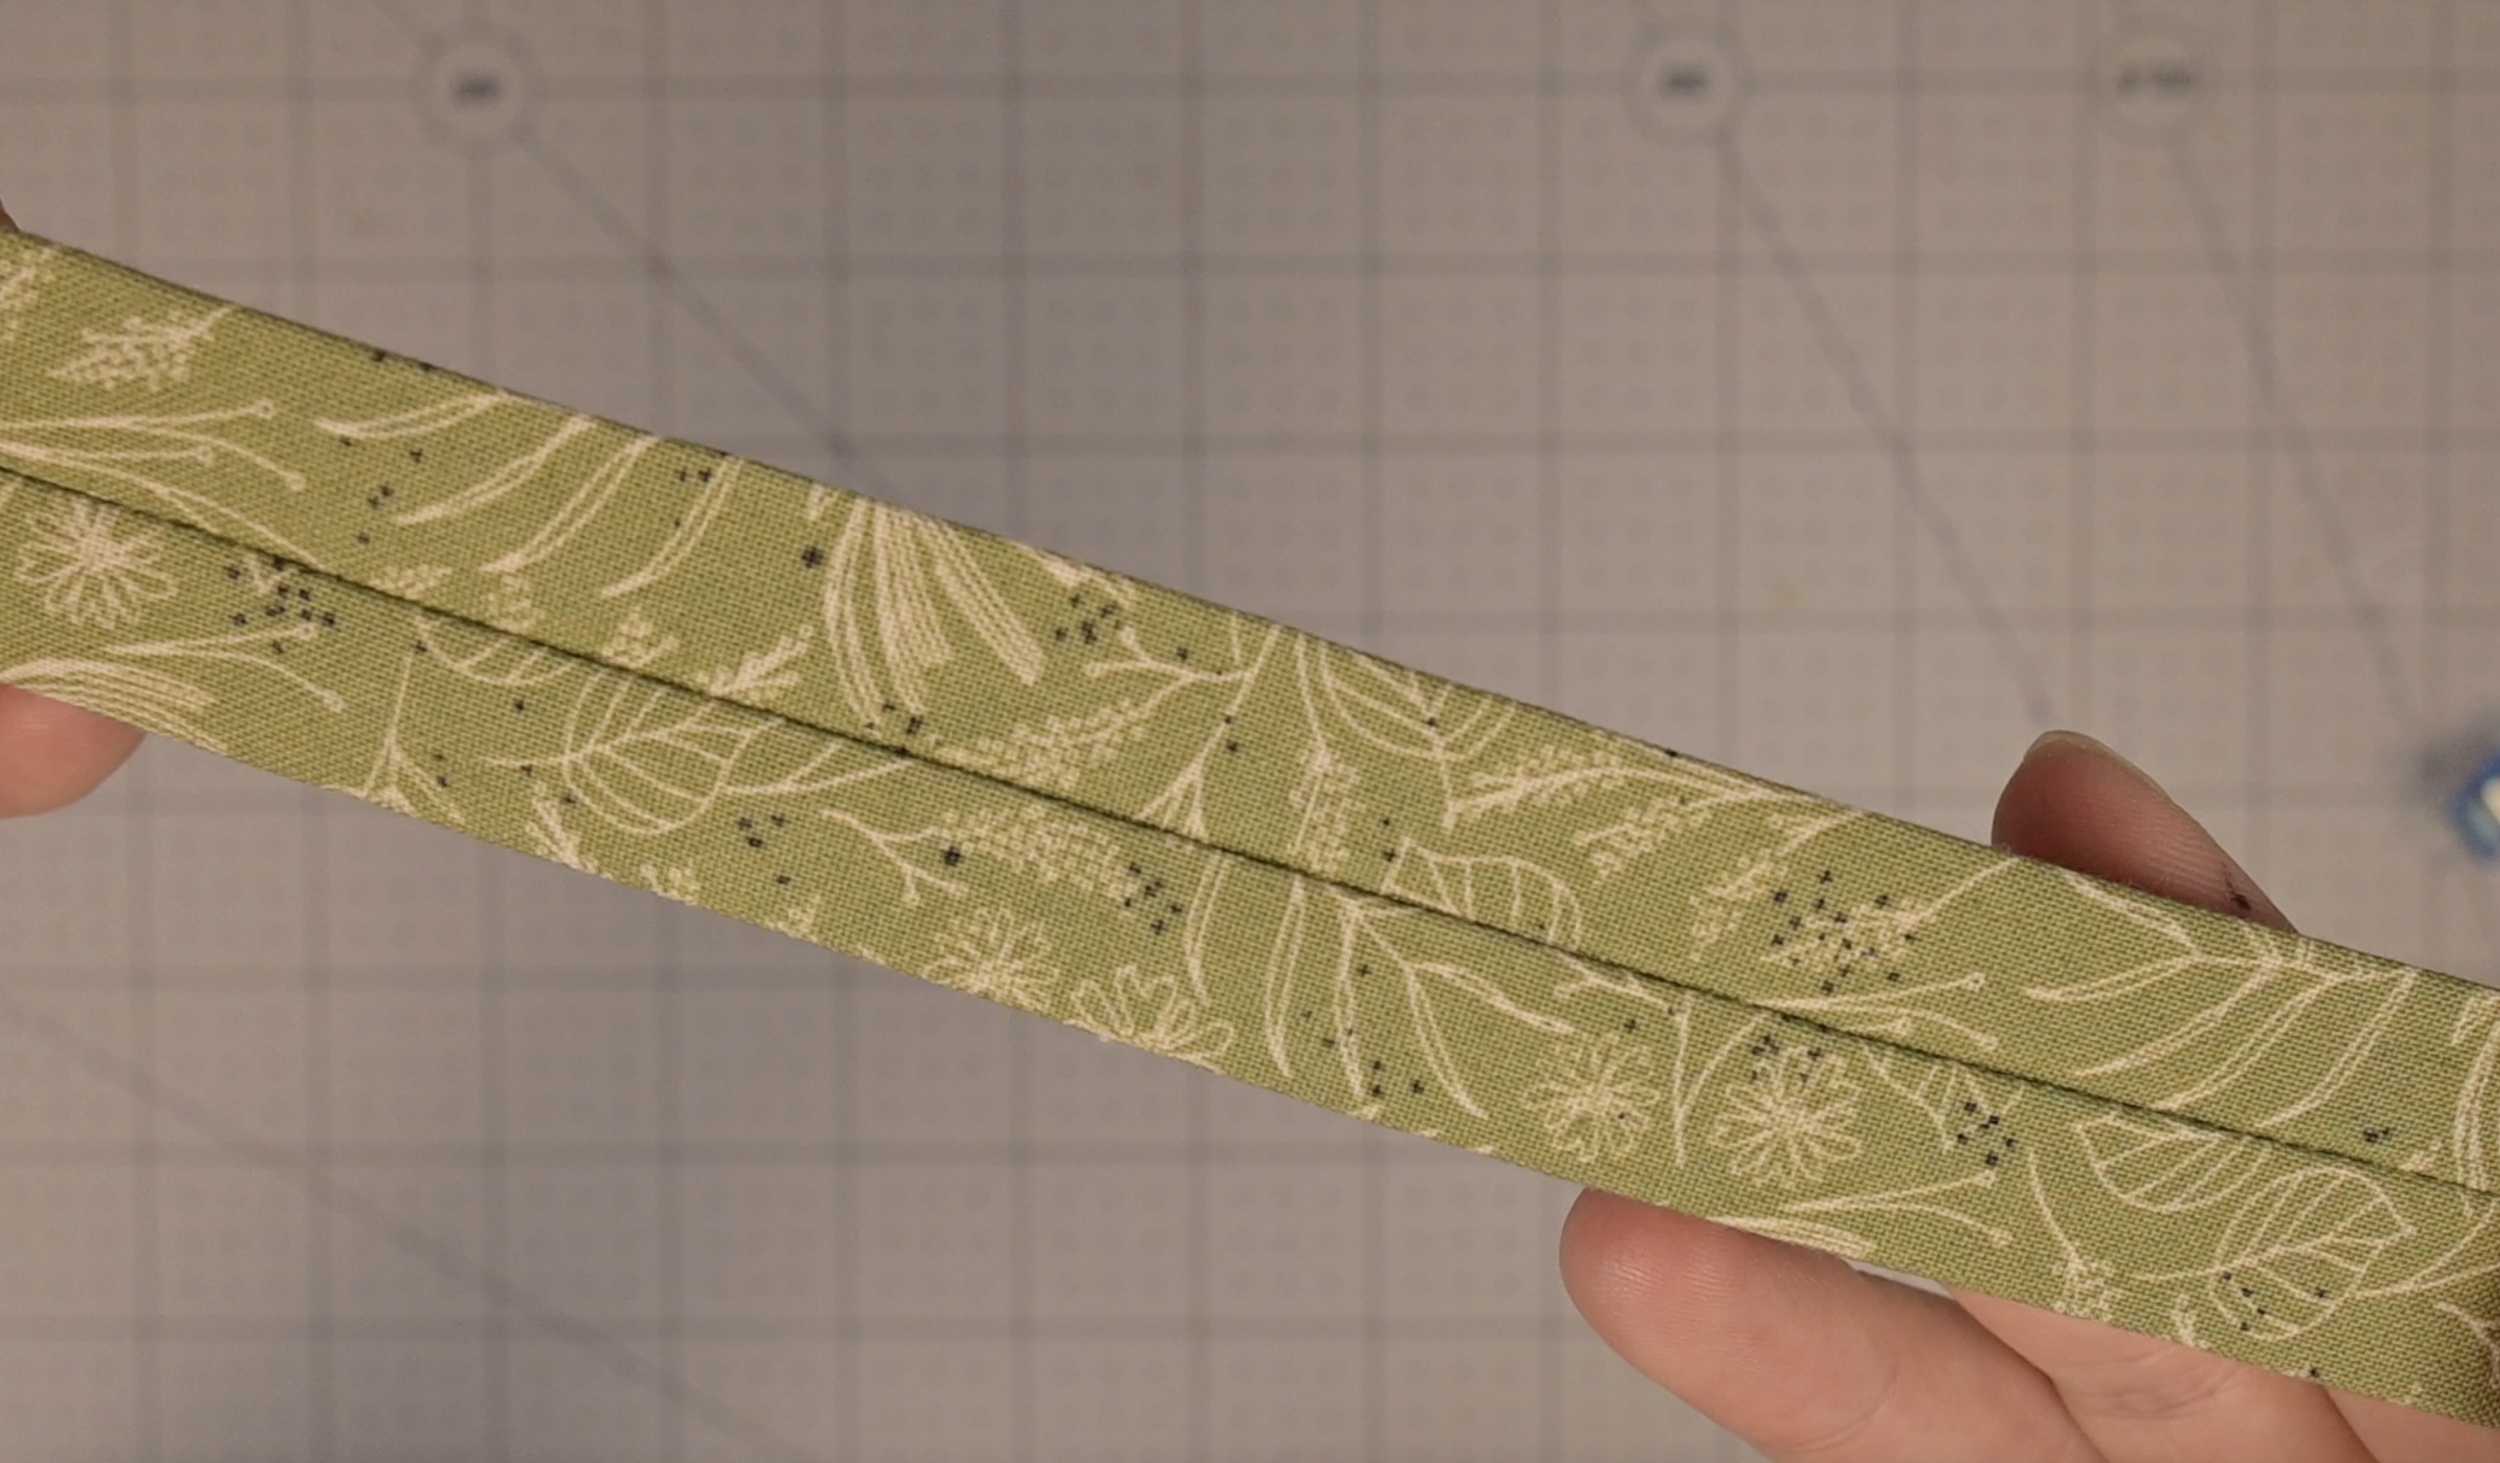
Iron the fabric tube so that the seam is centered on one side
Step 4: Attaching the Elastic to the Elastic Cover
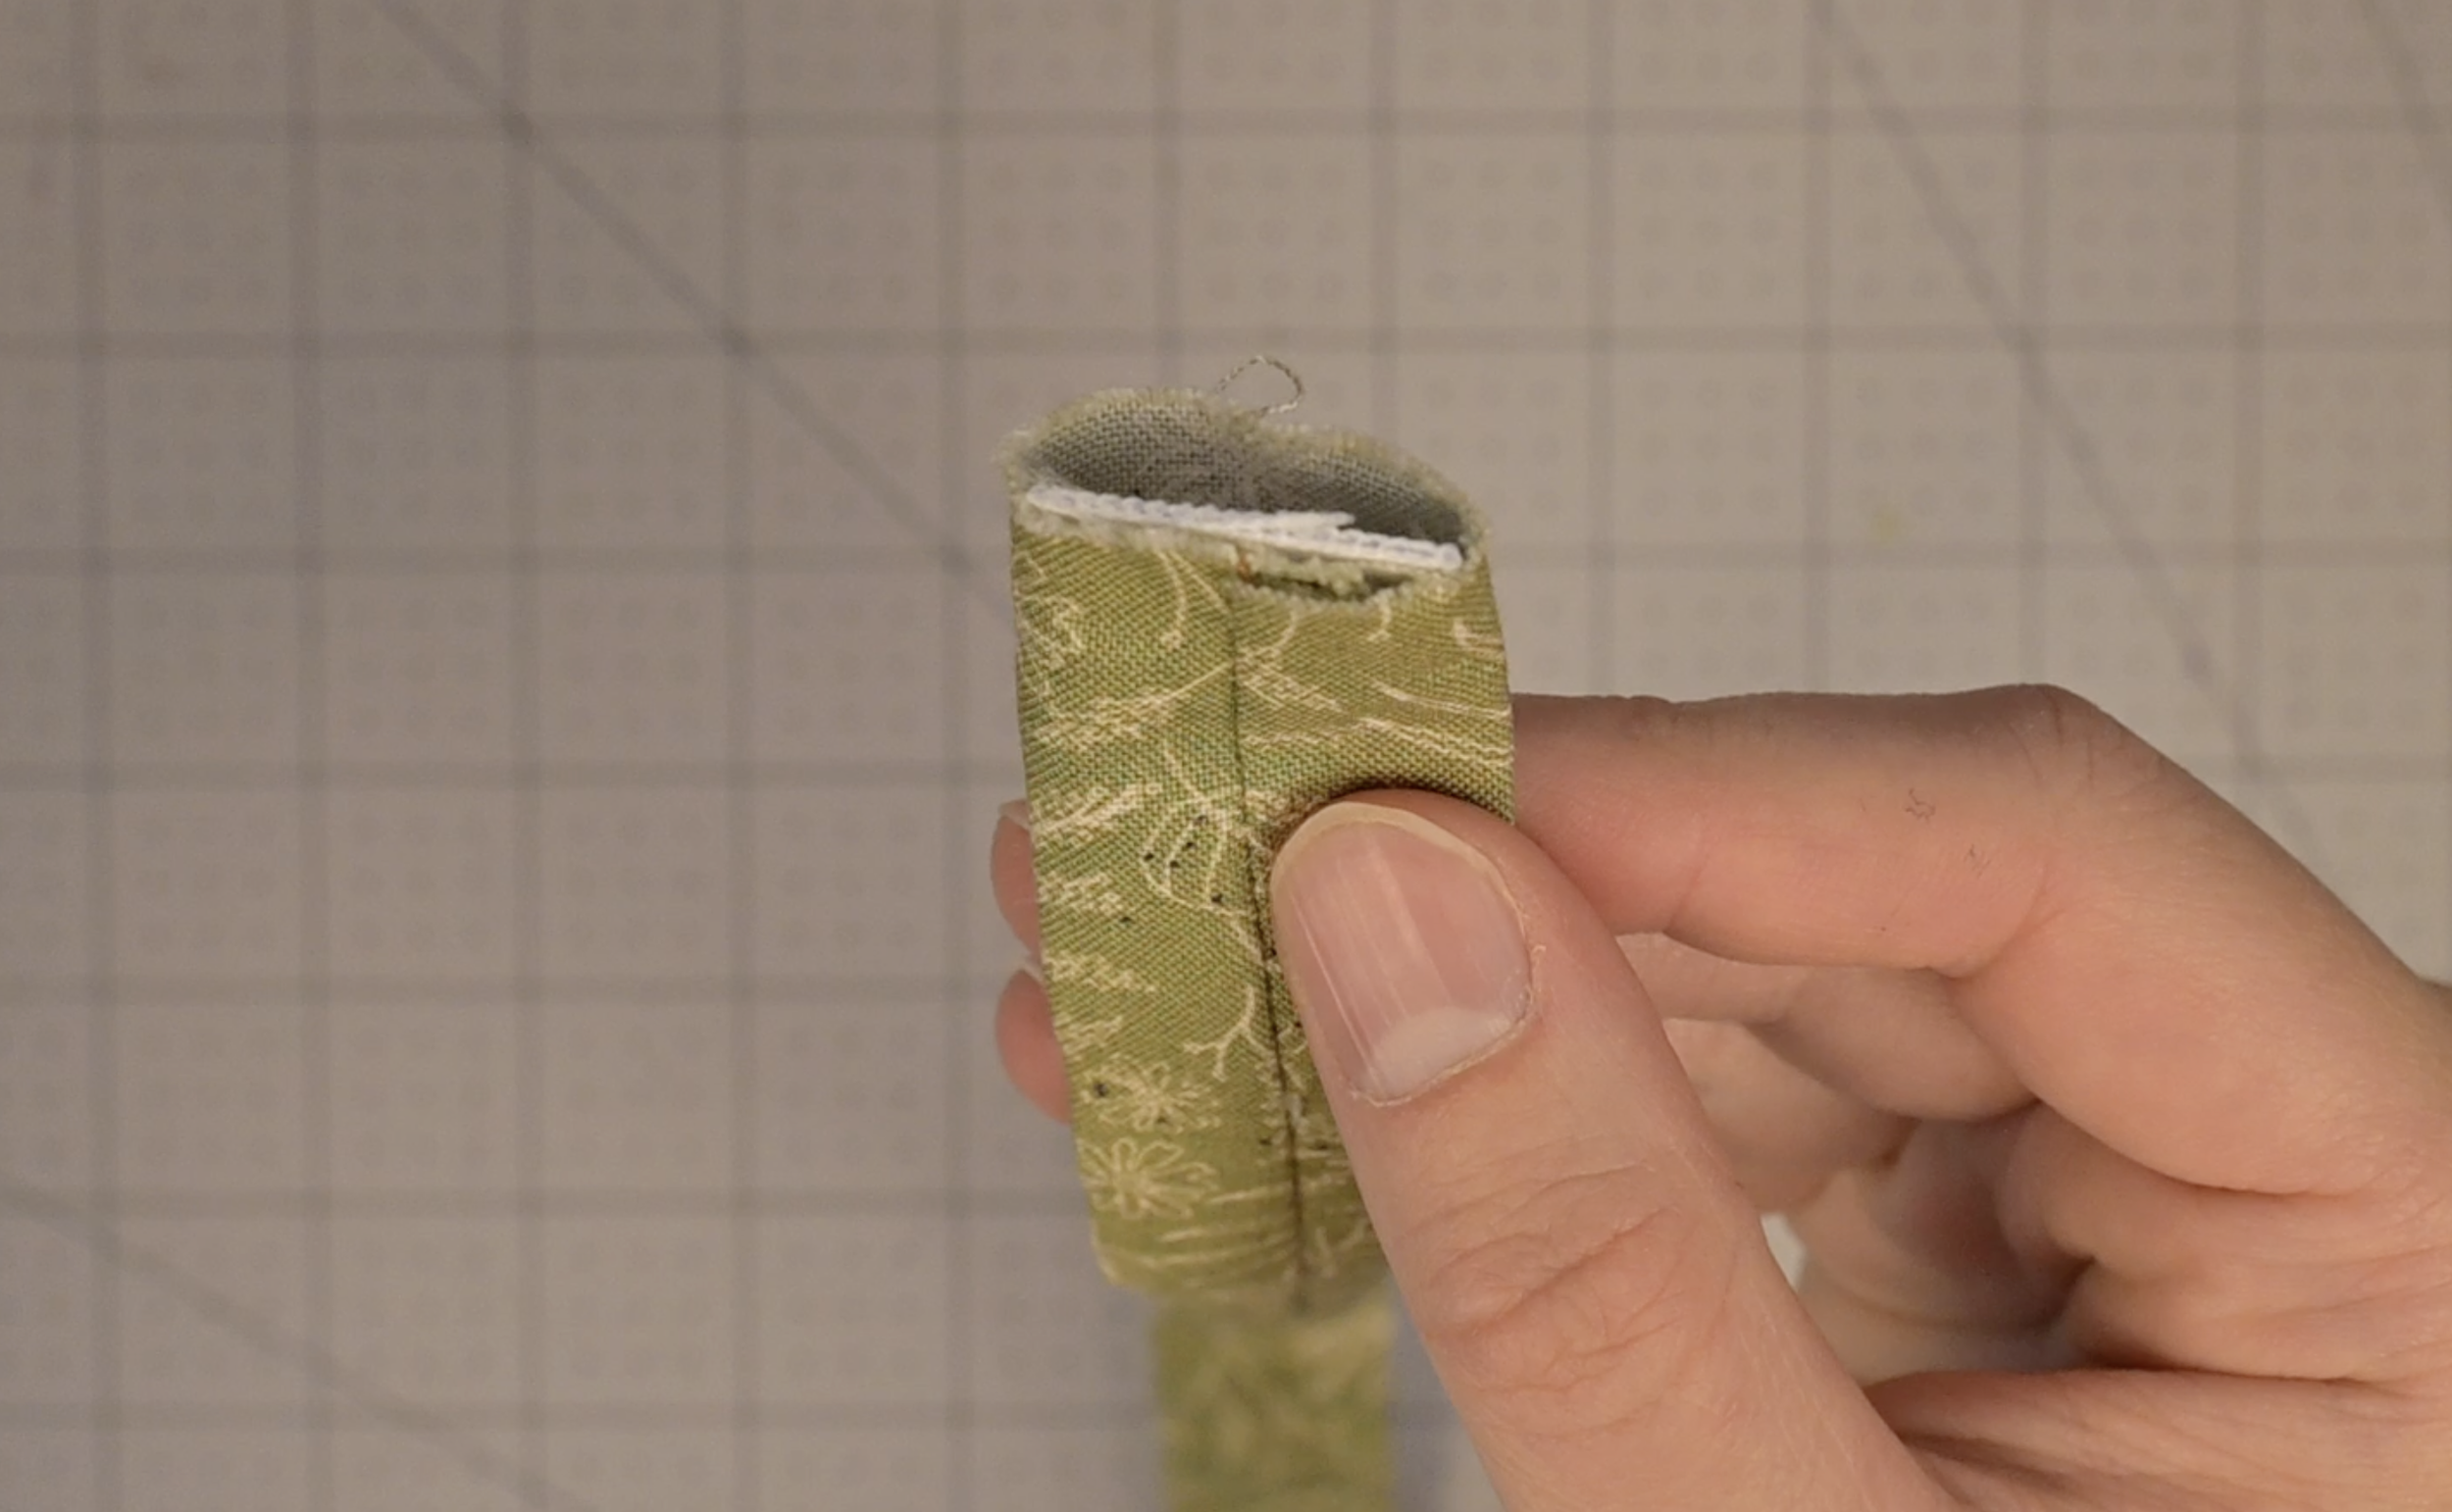
Feed the elastic into the elastic cover
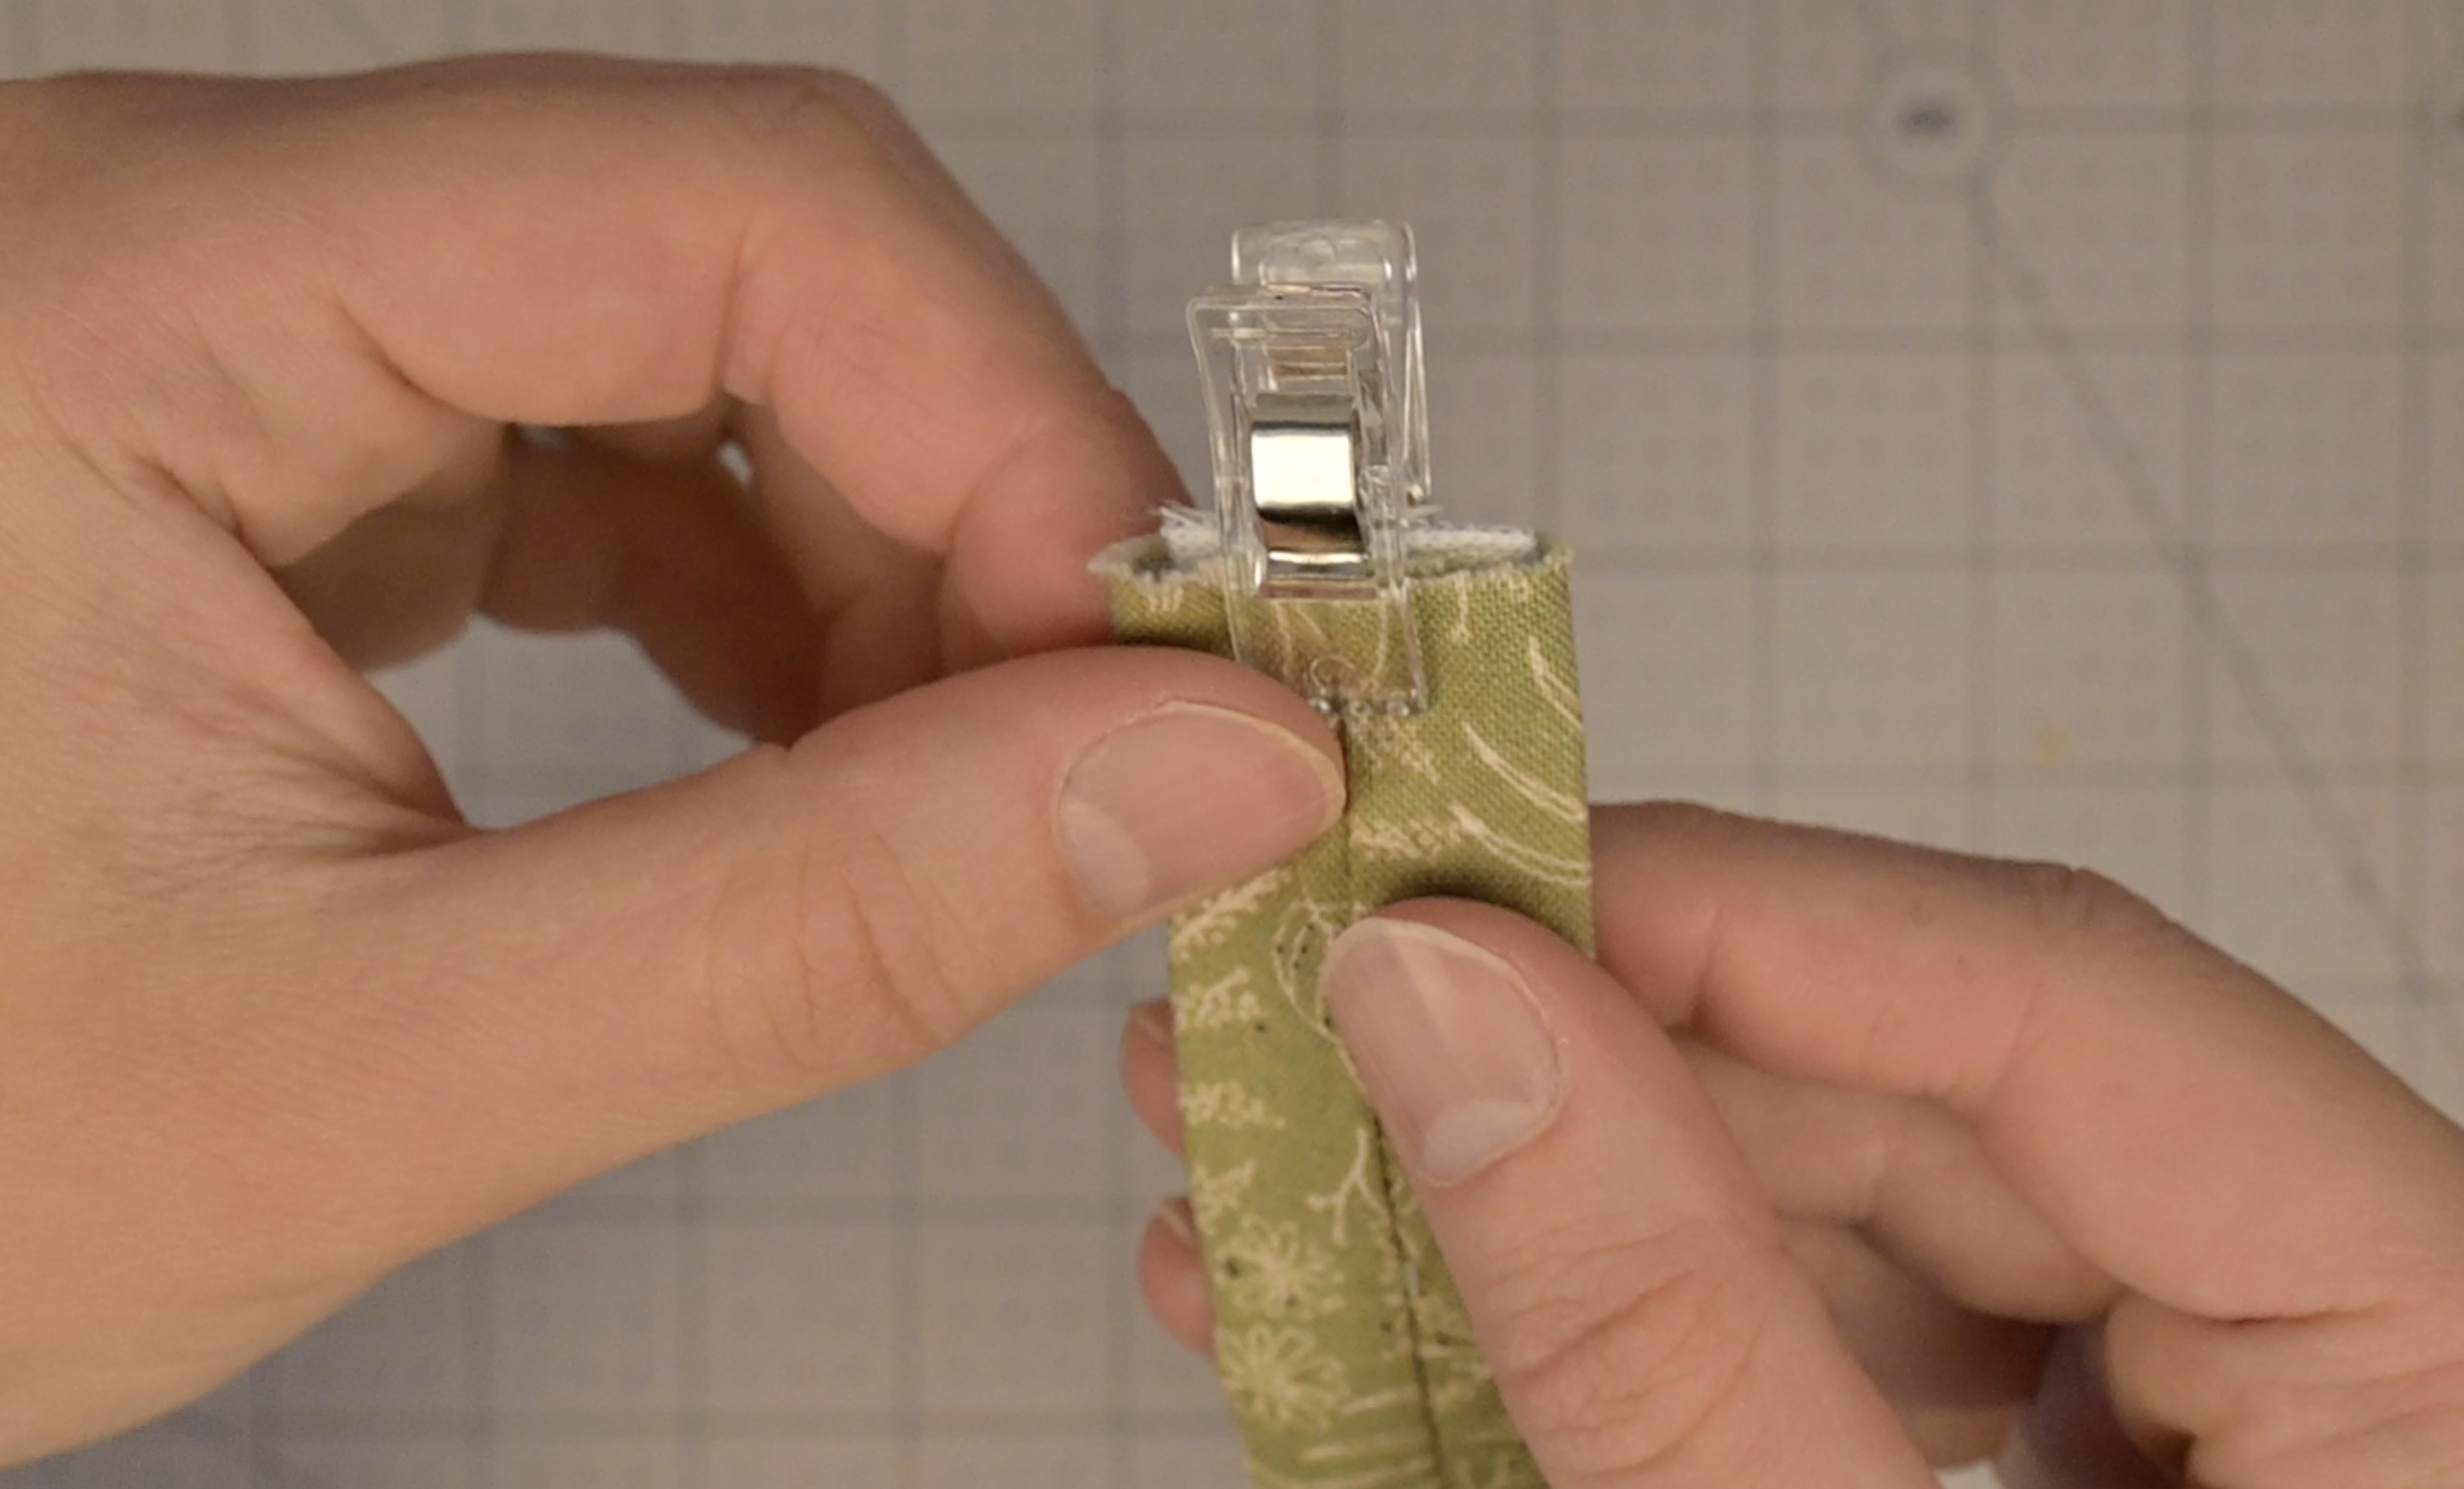
Clip the ends of the elastic and elastic cover together
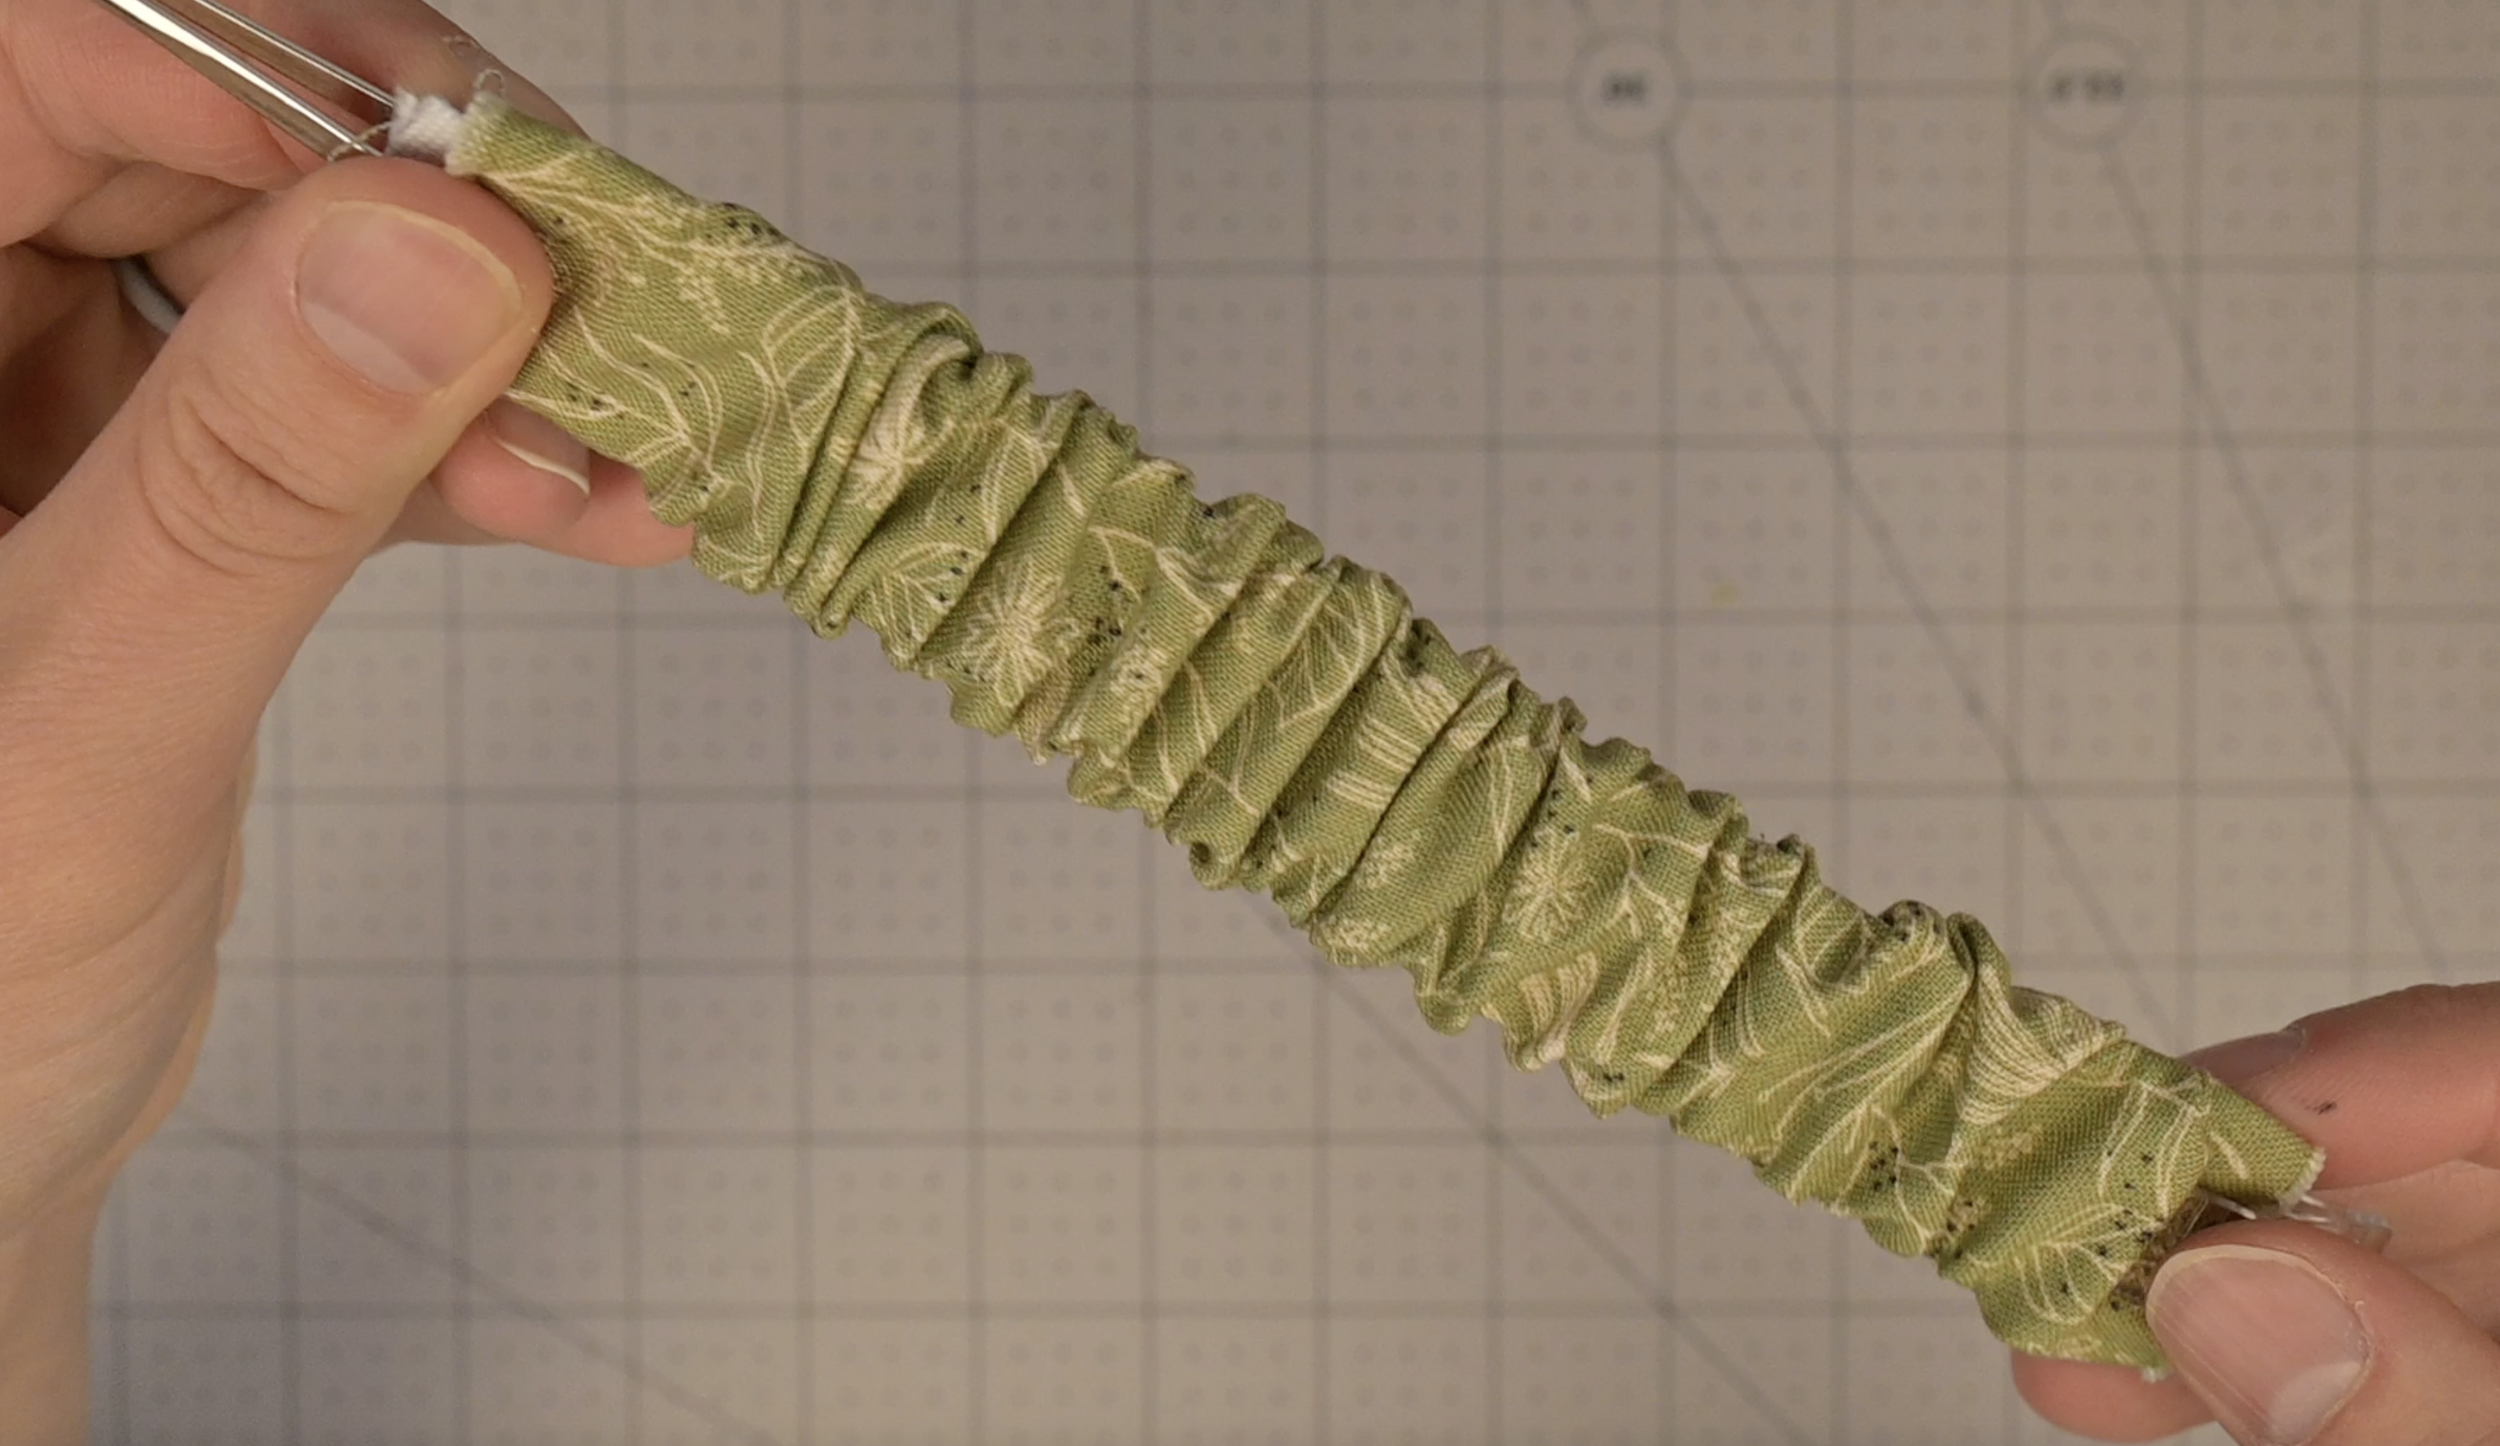
Scrunch the elastic cover evenly onto the elastic
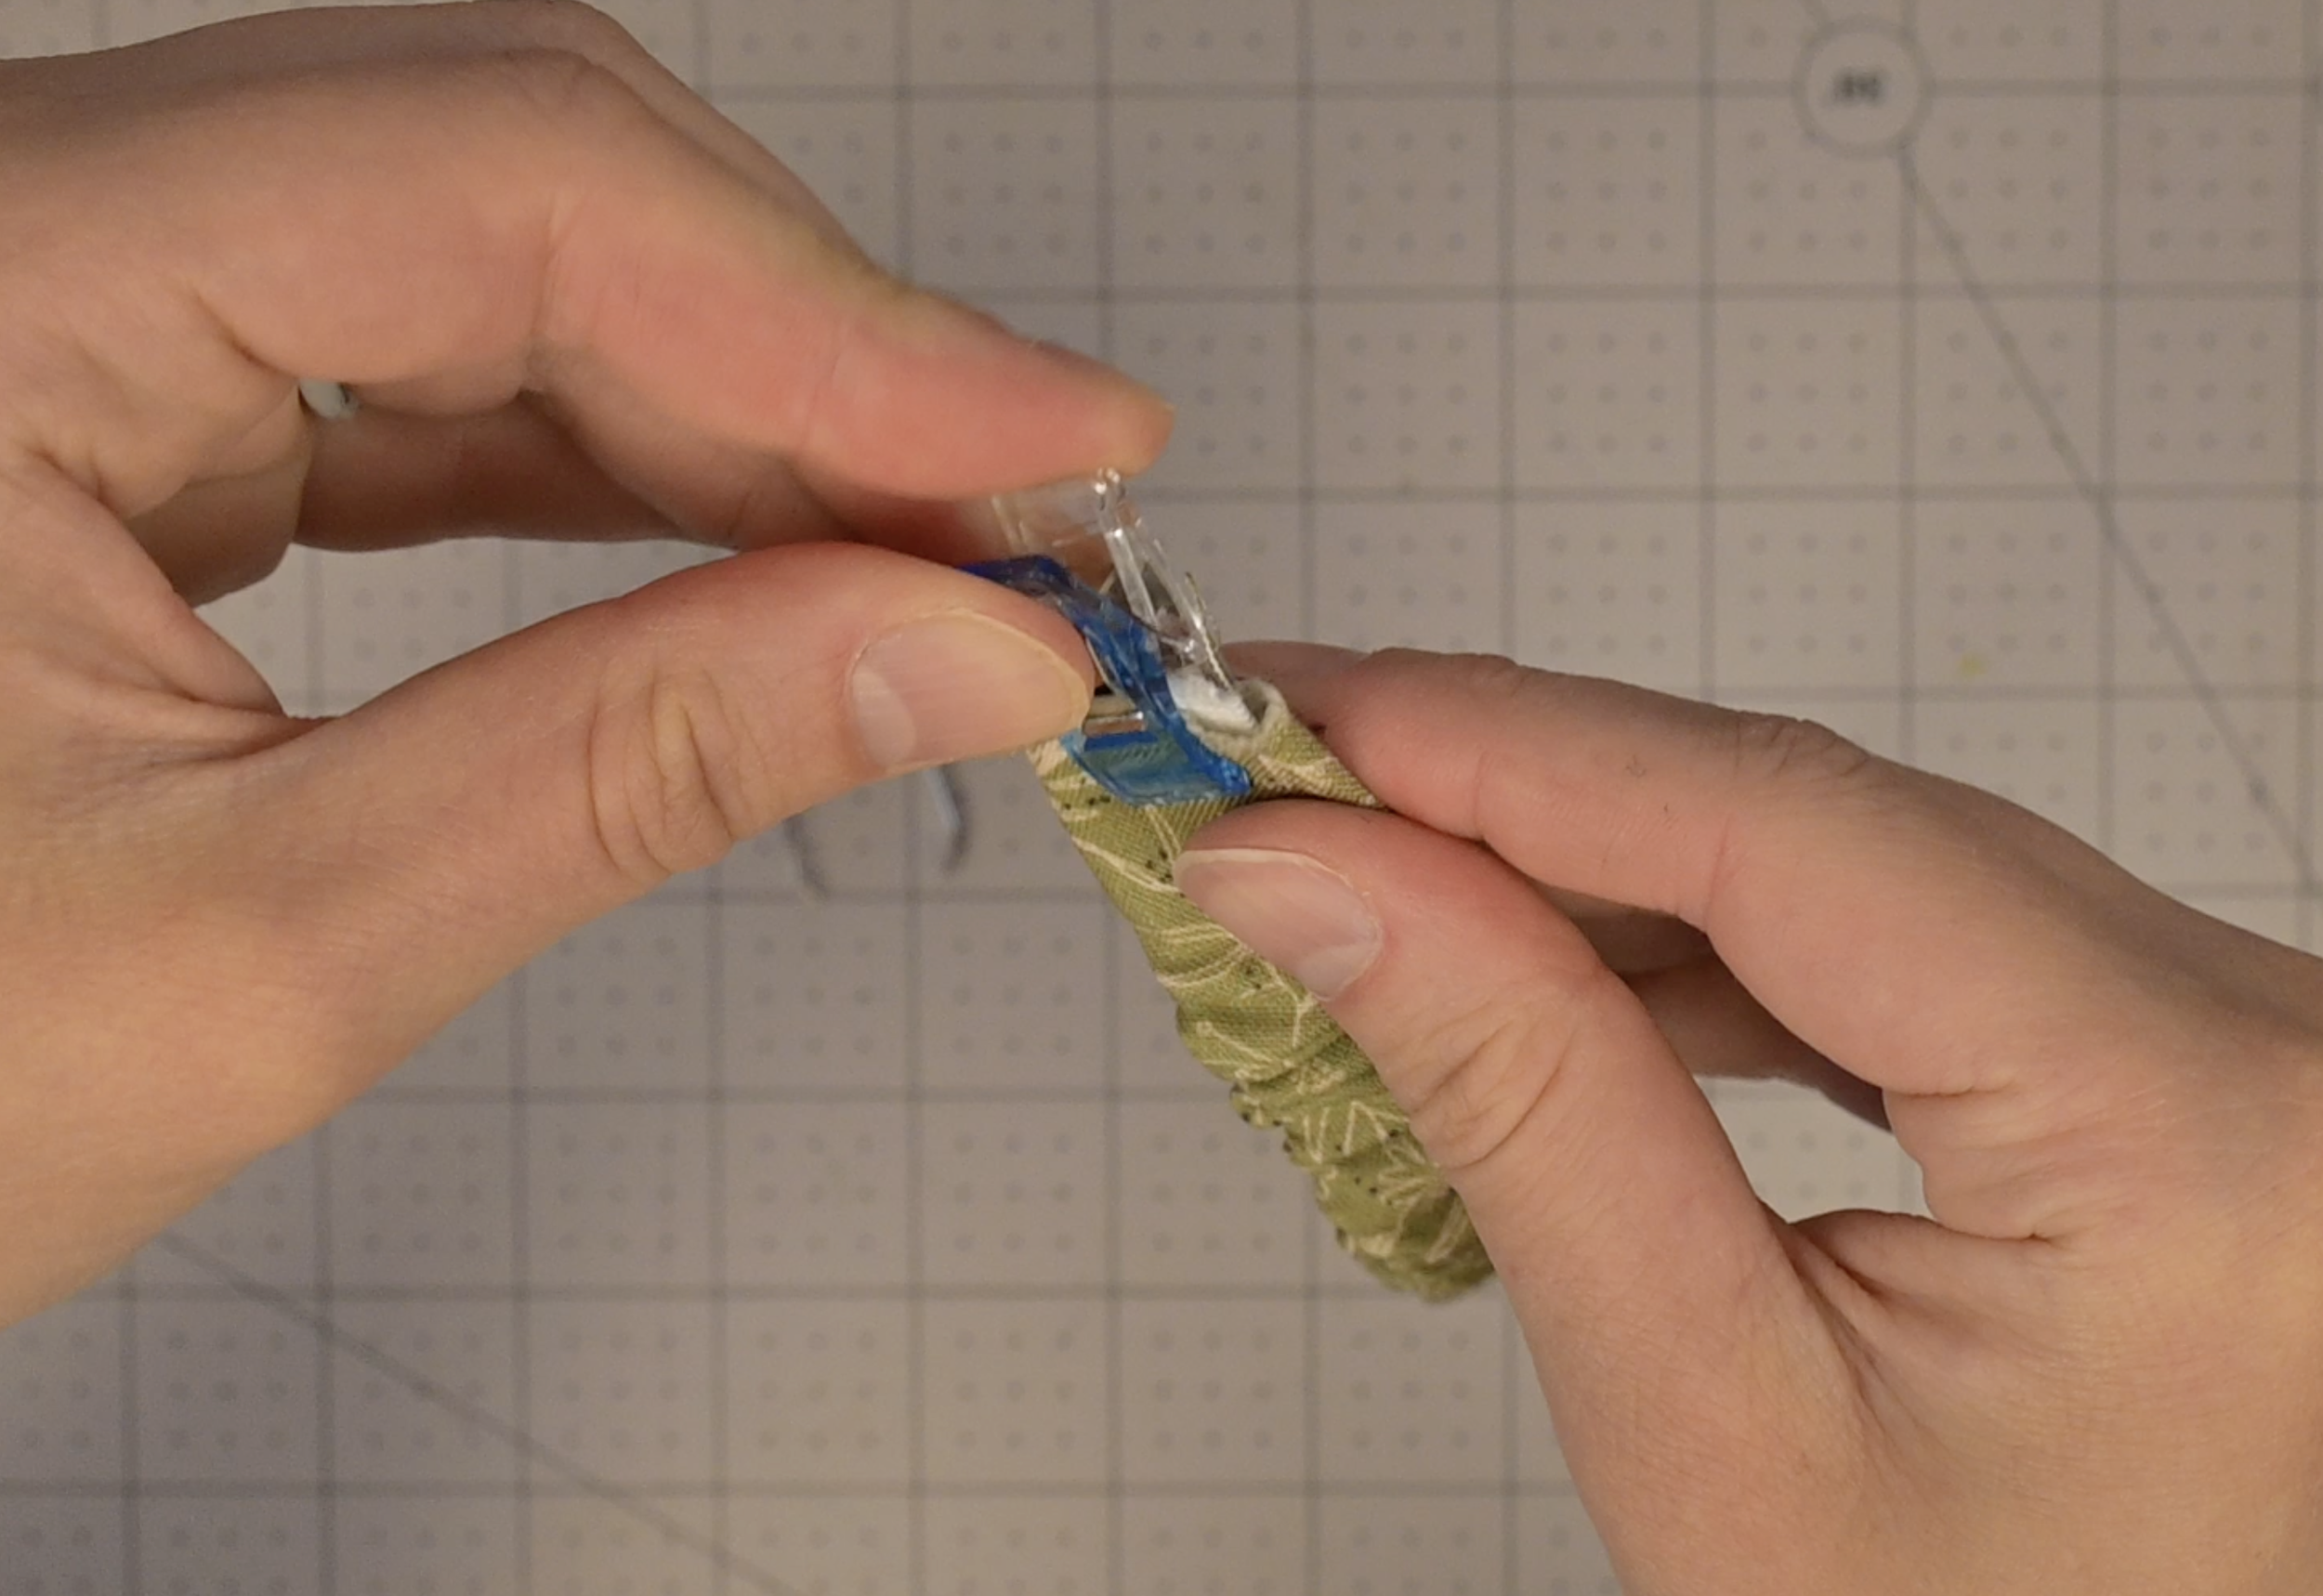
Clip the tops of the elastic and elastic cover together
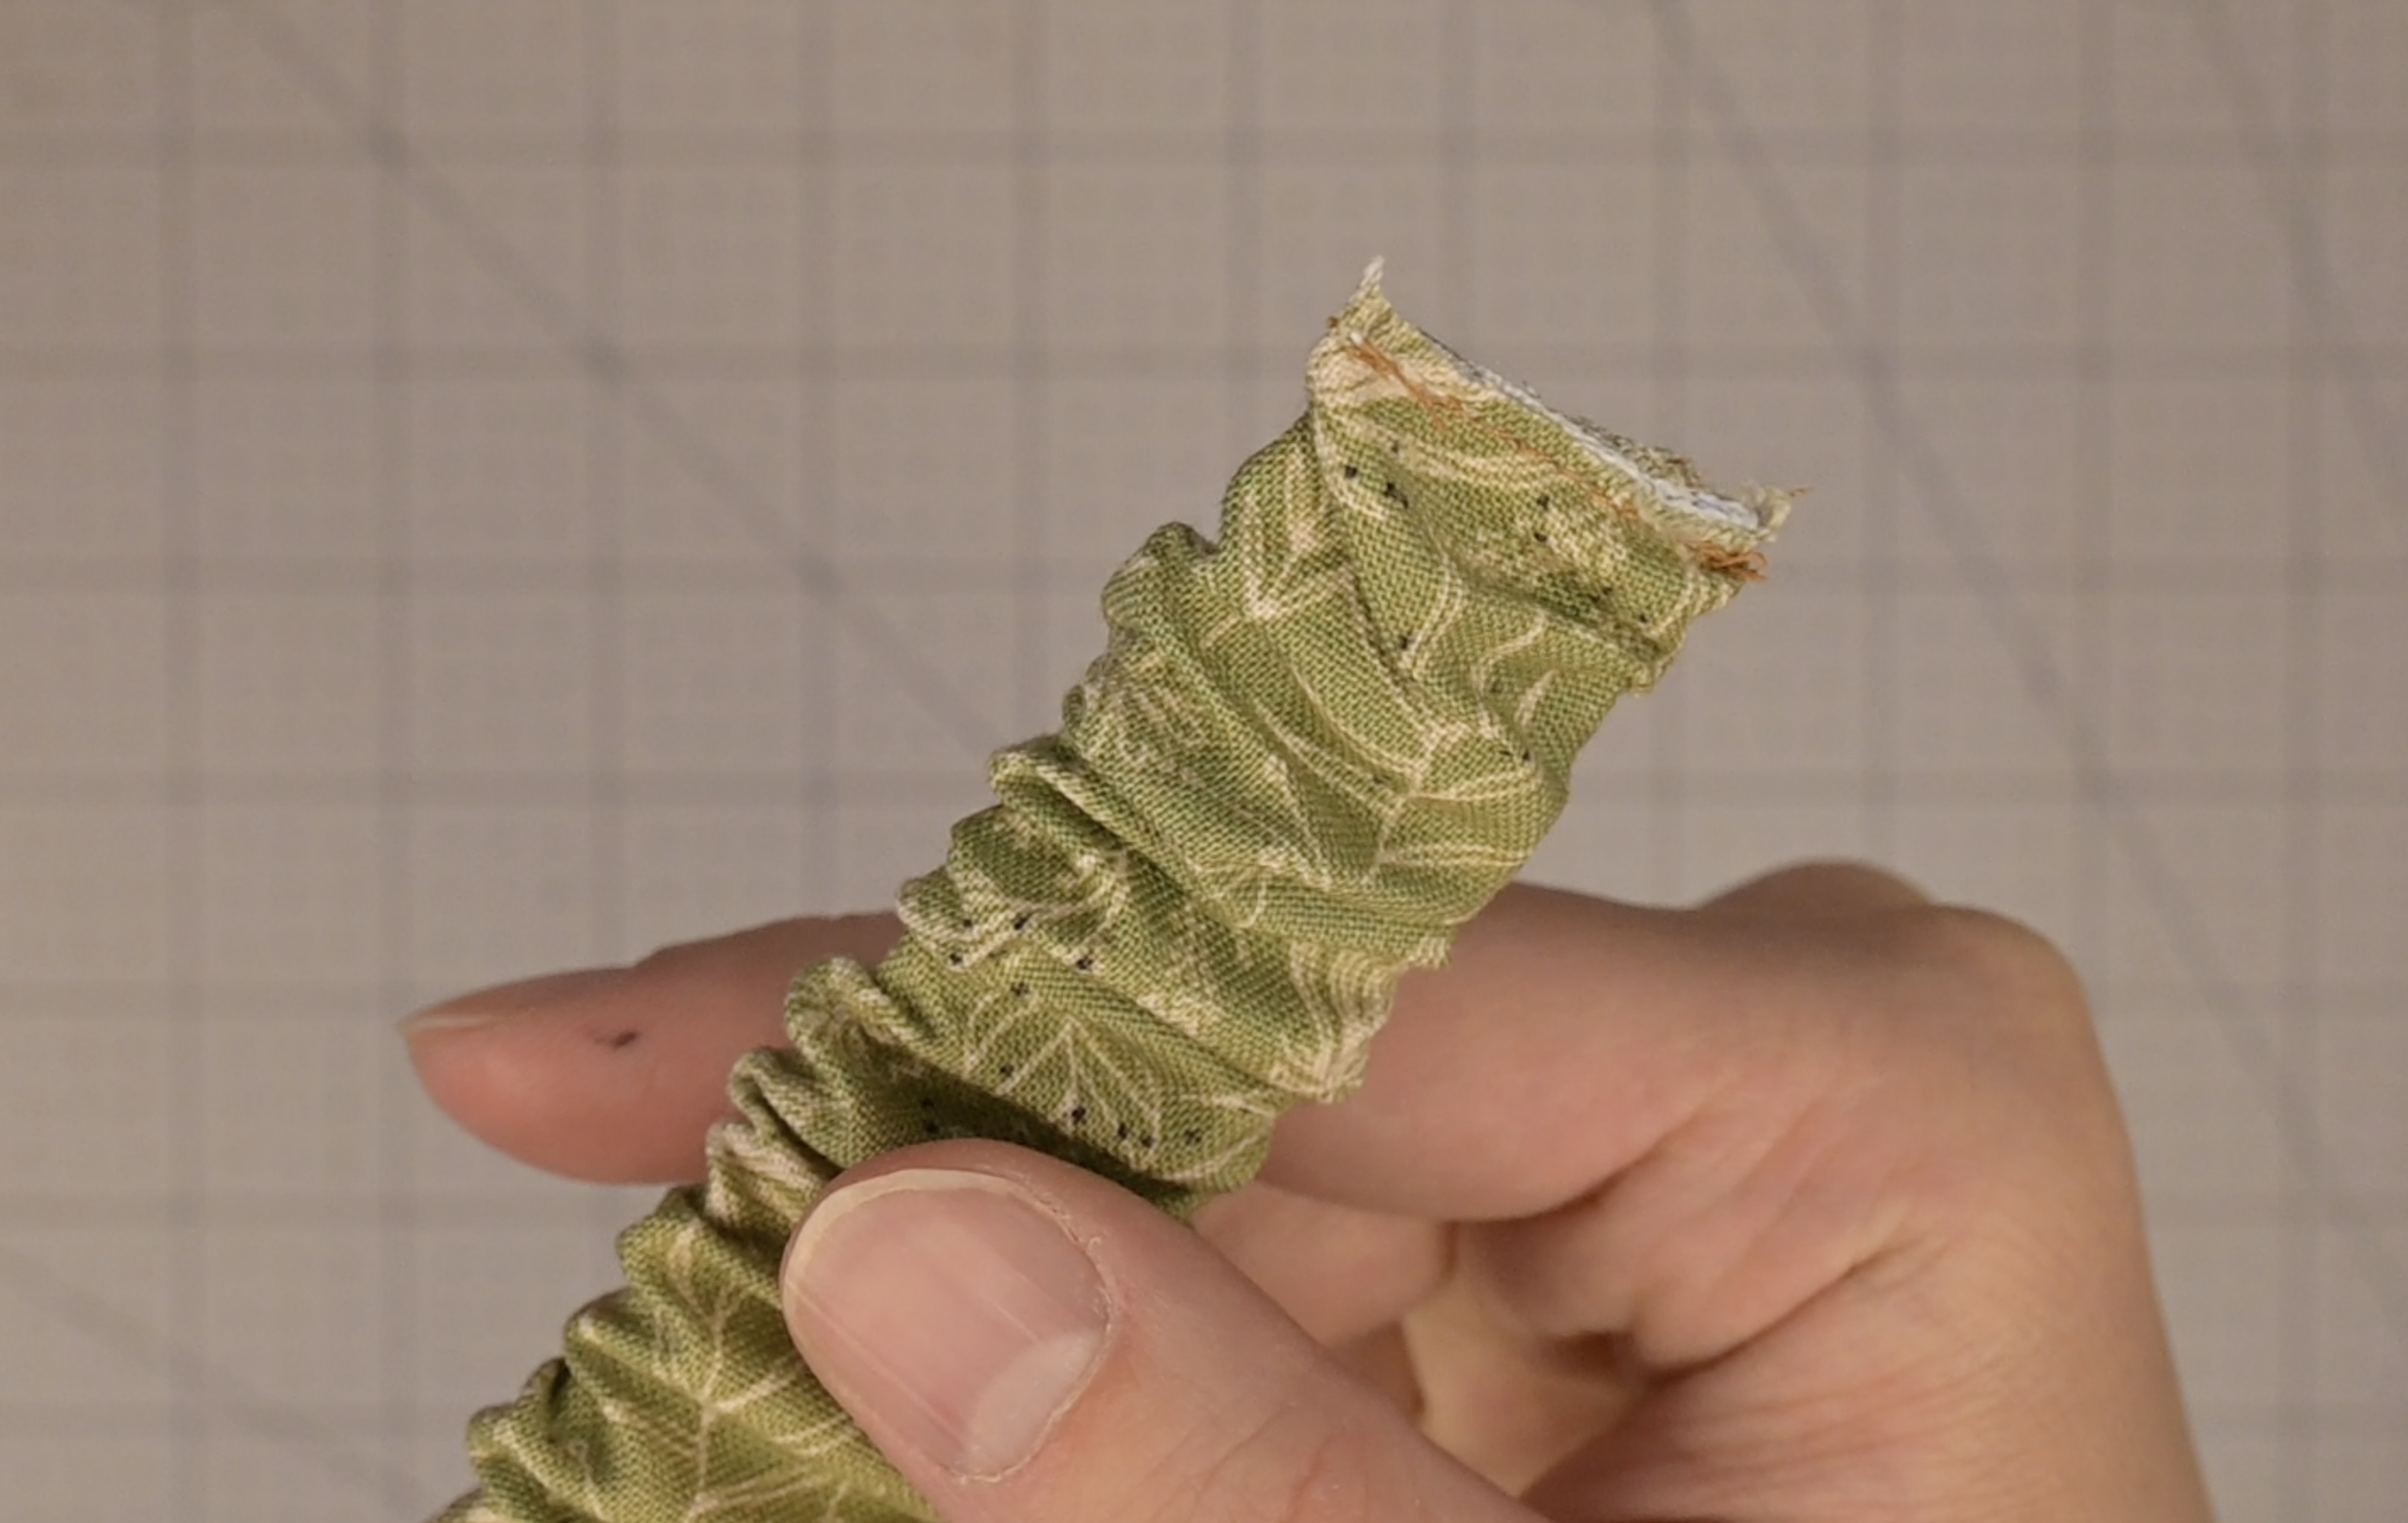
Sew where the clips are, securing the elastic to the elastic cover
Step 5: The Pocket Edge
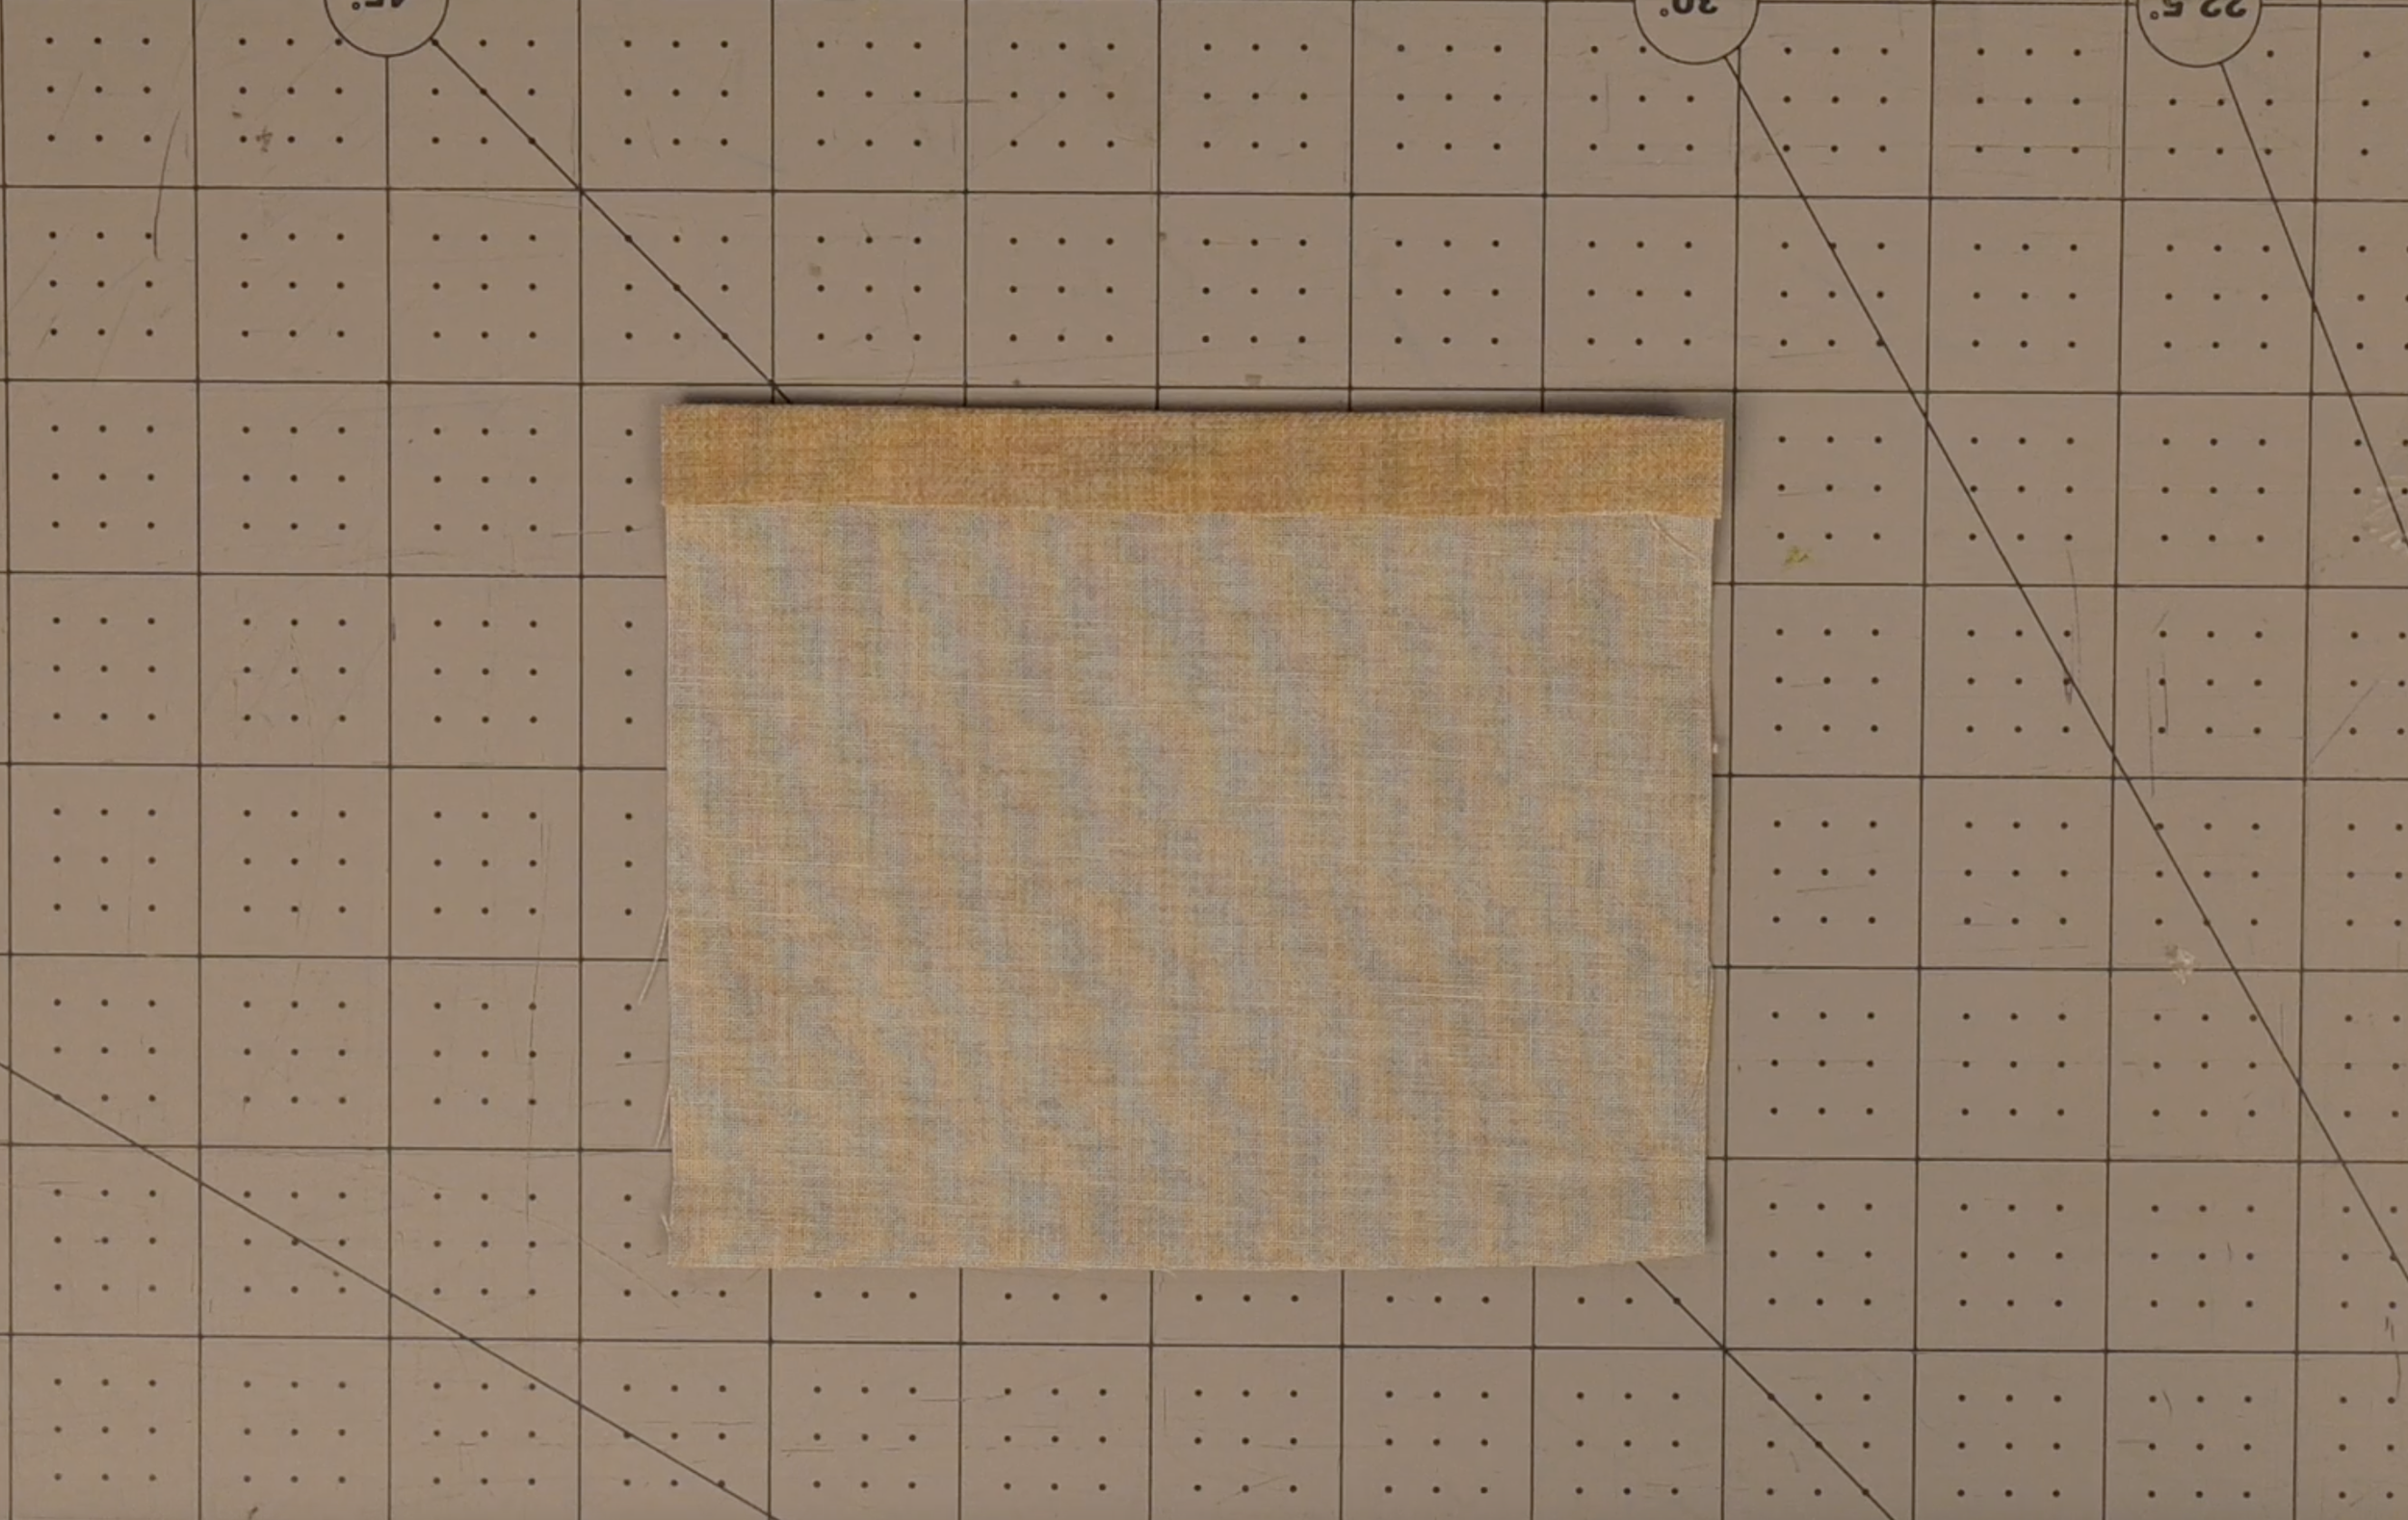
On one long edge of the pocket fabric, fold the raw edge inward .5 inch
Iron flat
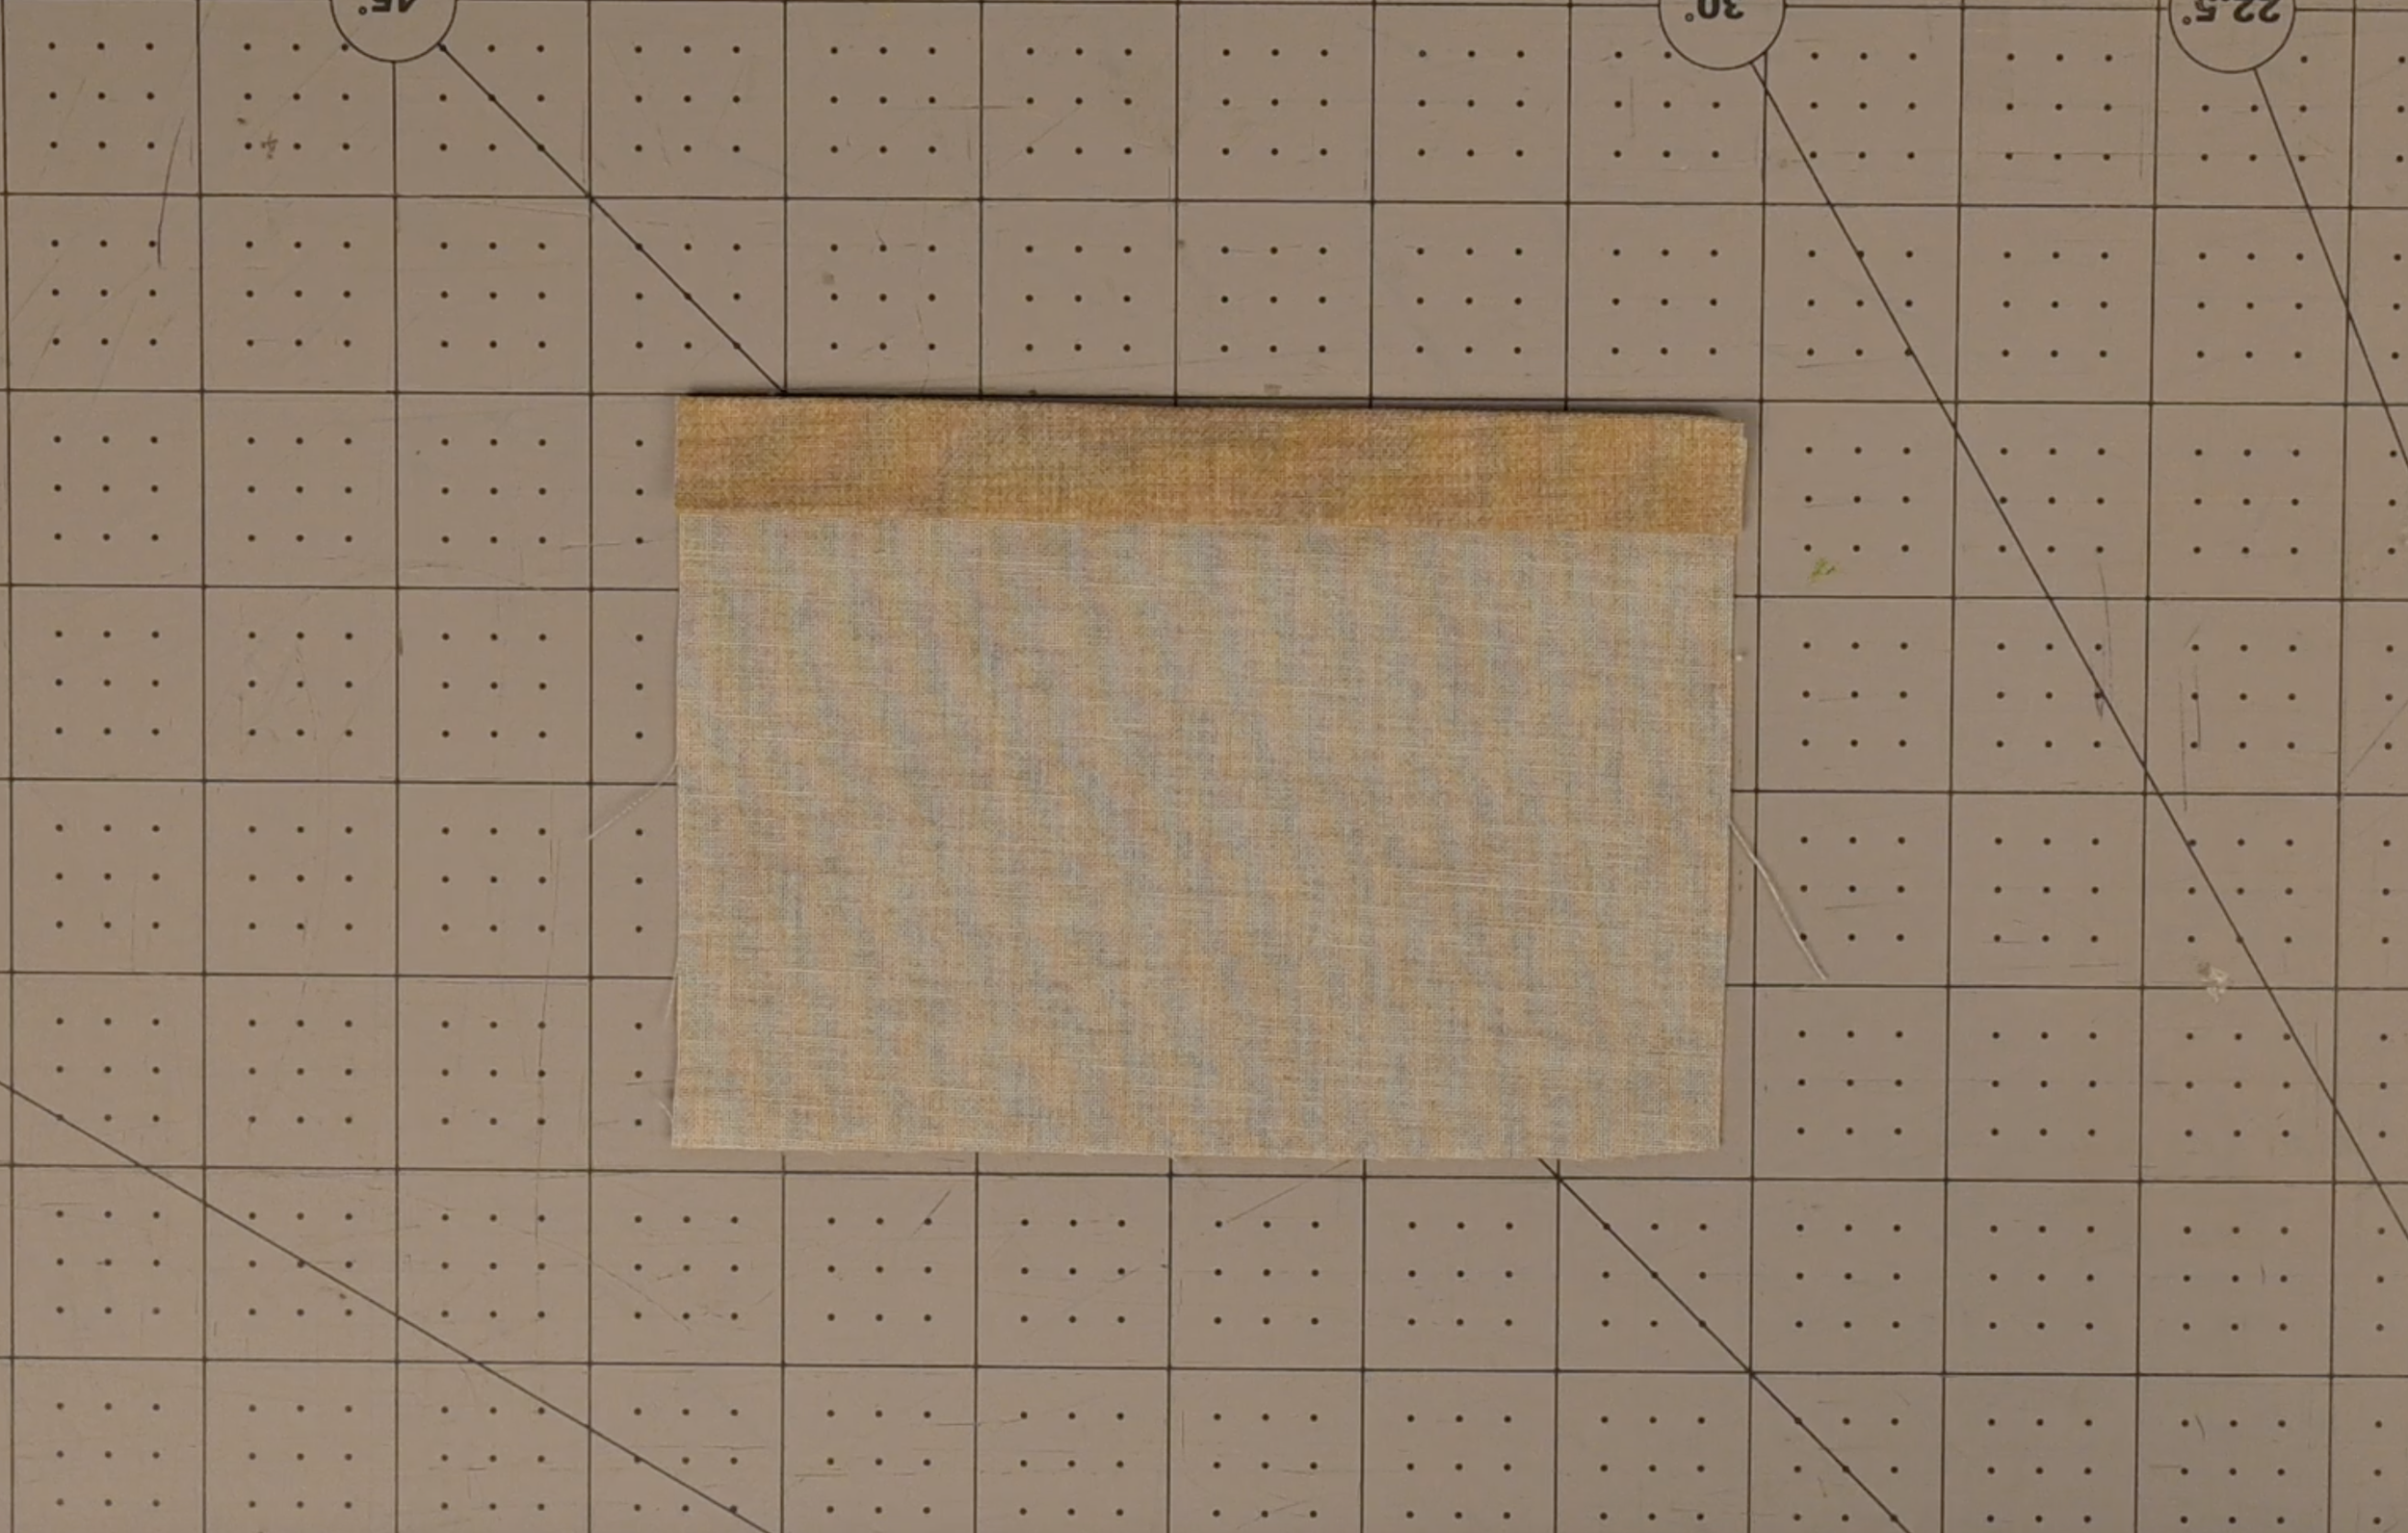
Fold over the same edge one more time by another .5 inch
Iron flat
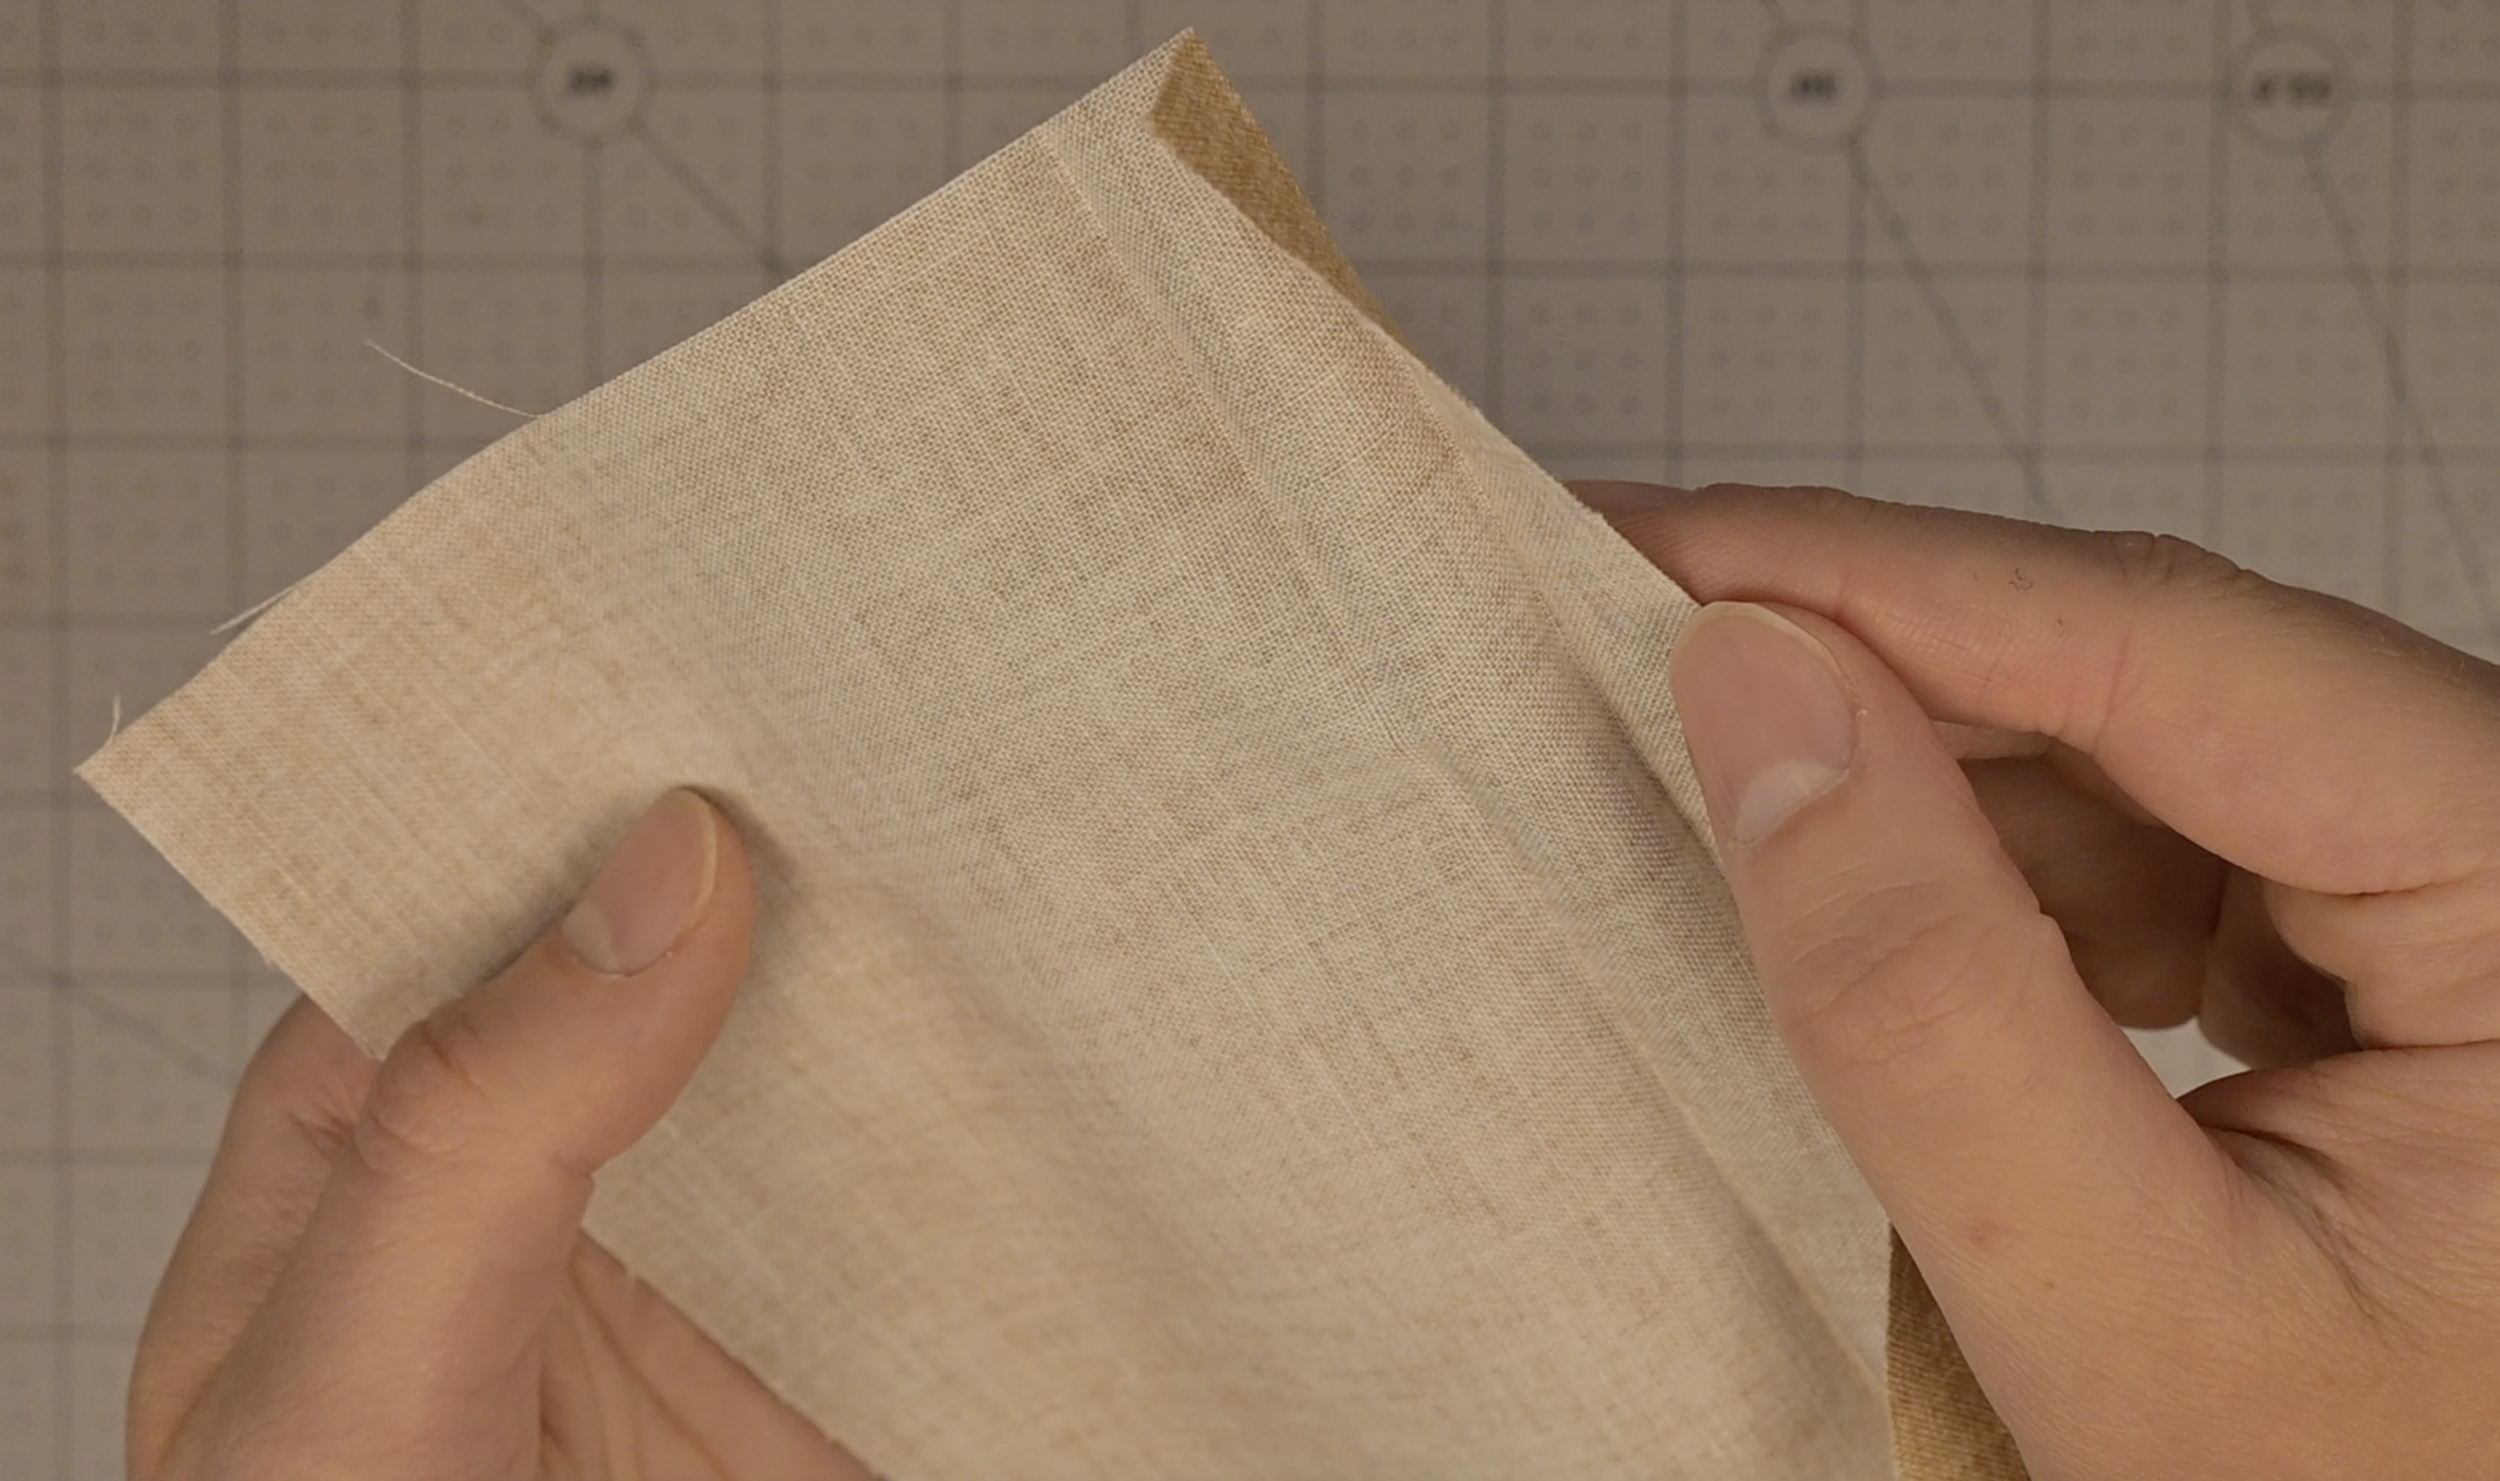
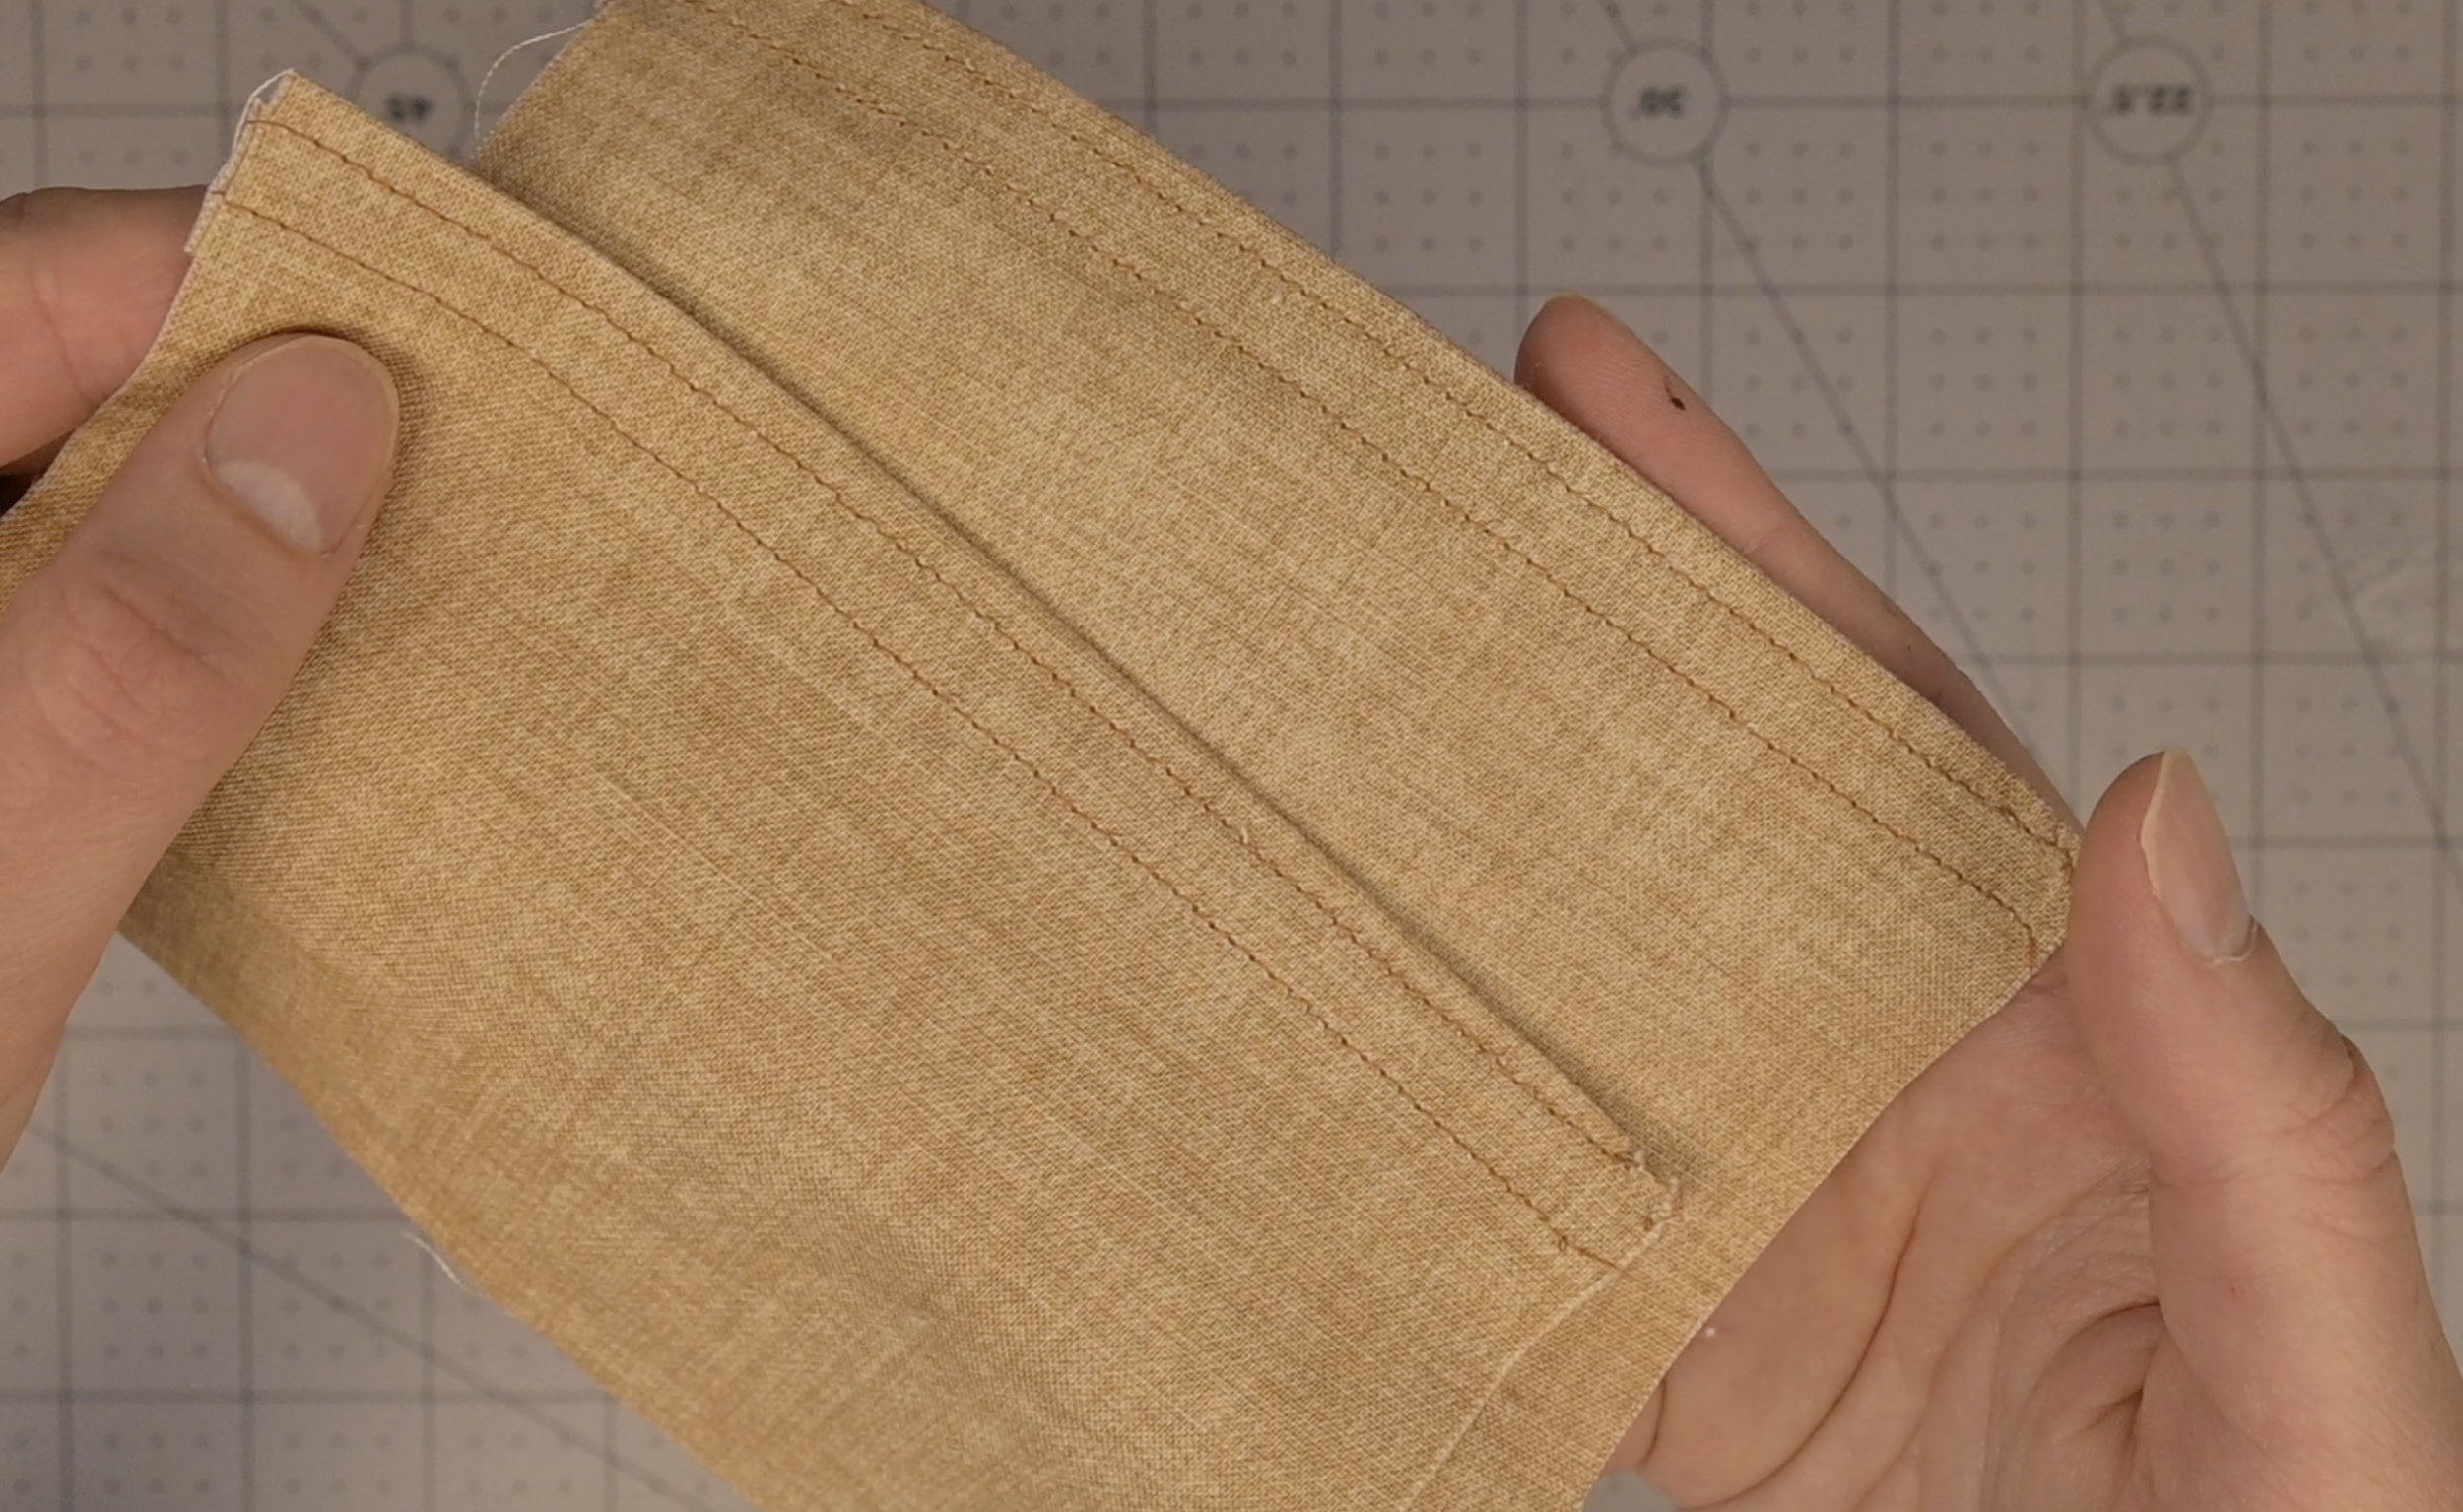
Sew a straight stitch to secure in place
Repeat with the other pocket fabric
Optional: Add an additional decorative stitch
Step 6: Add the Batting (Optional)
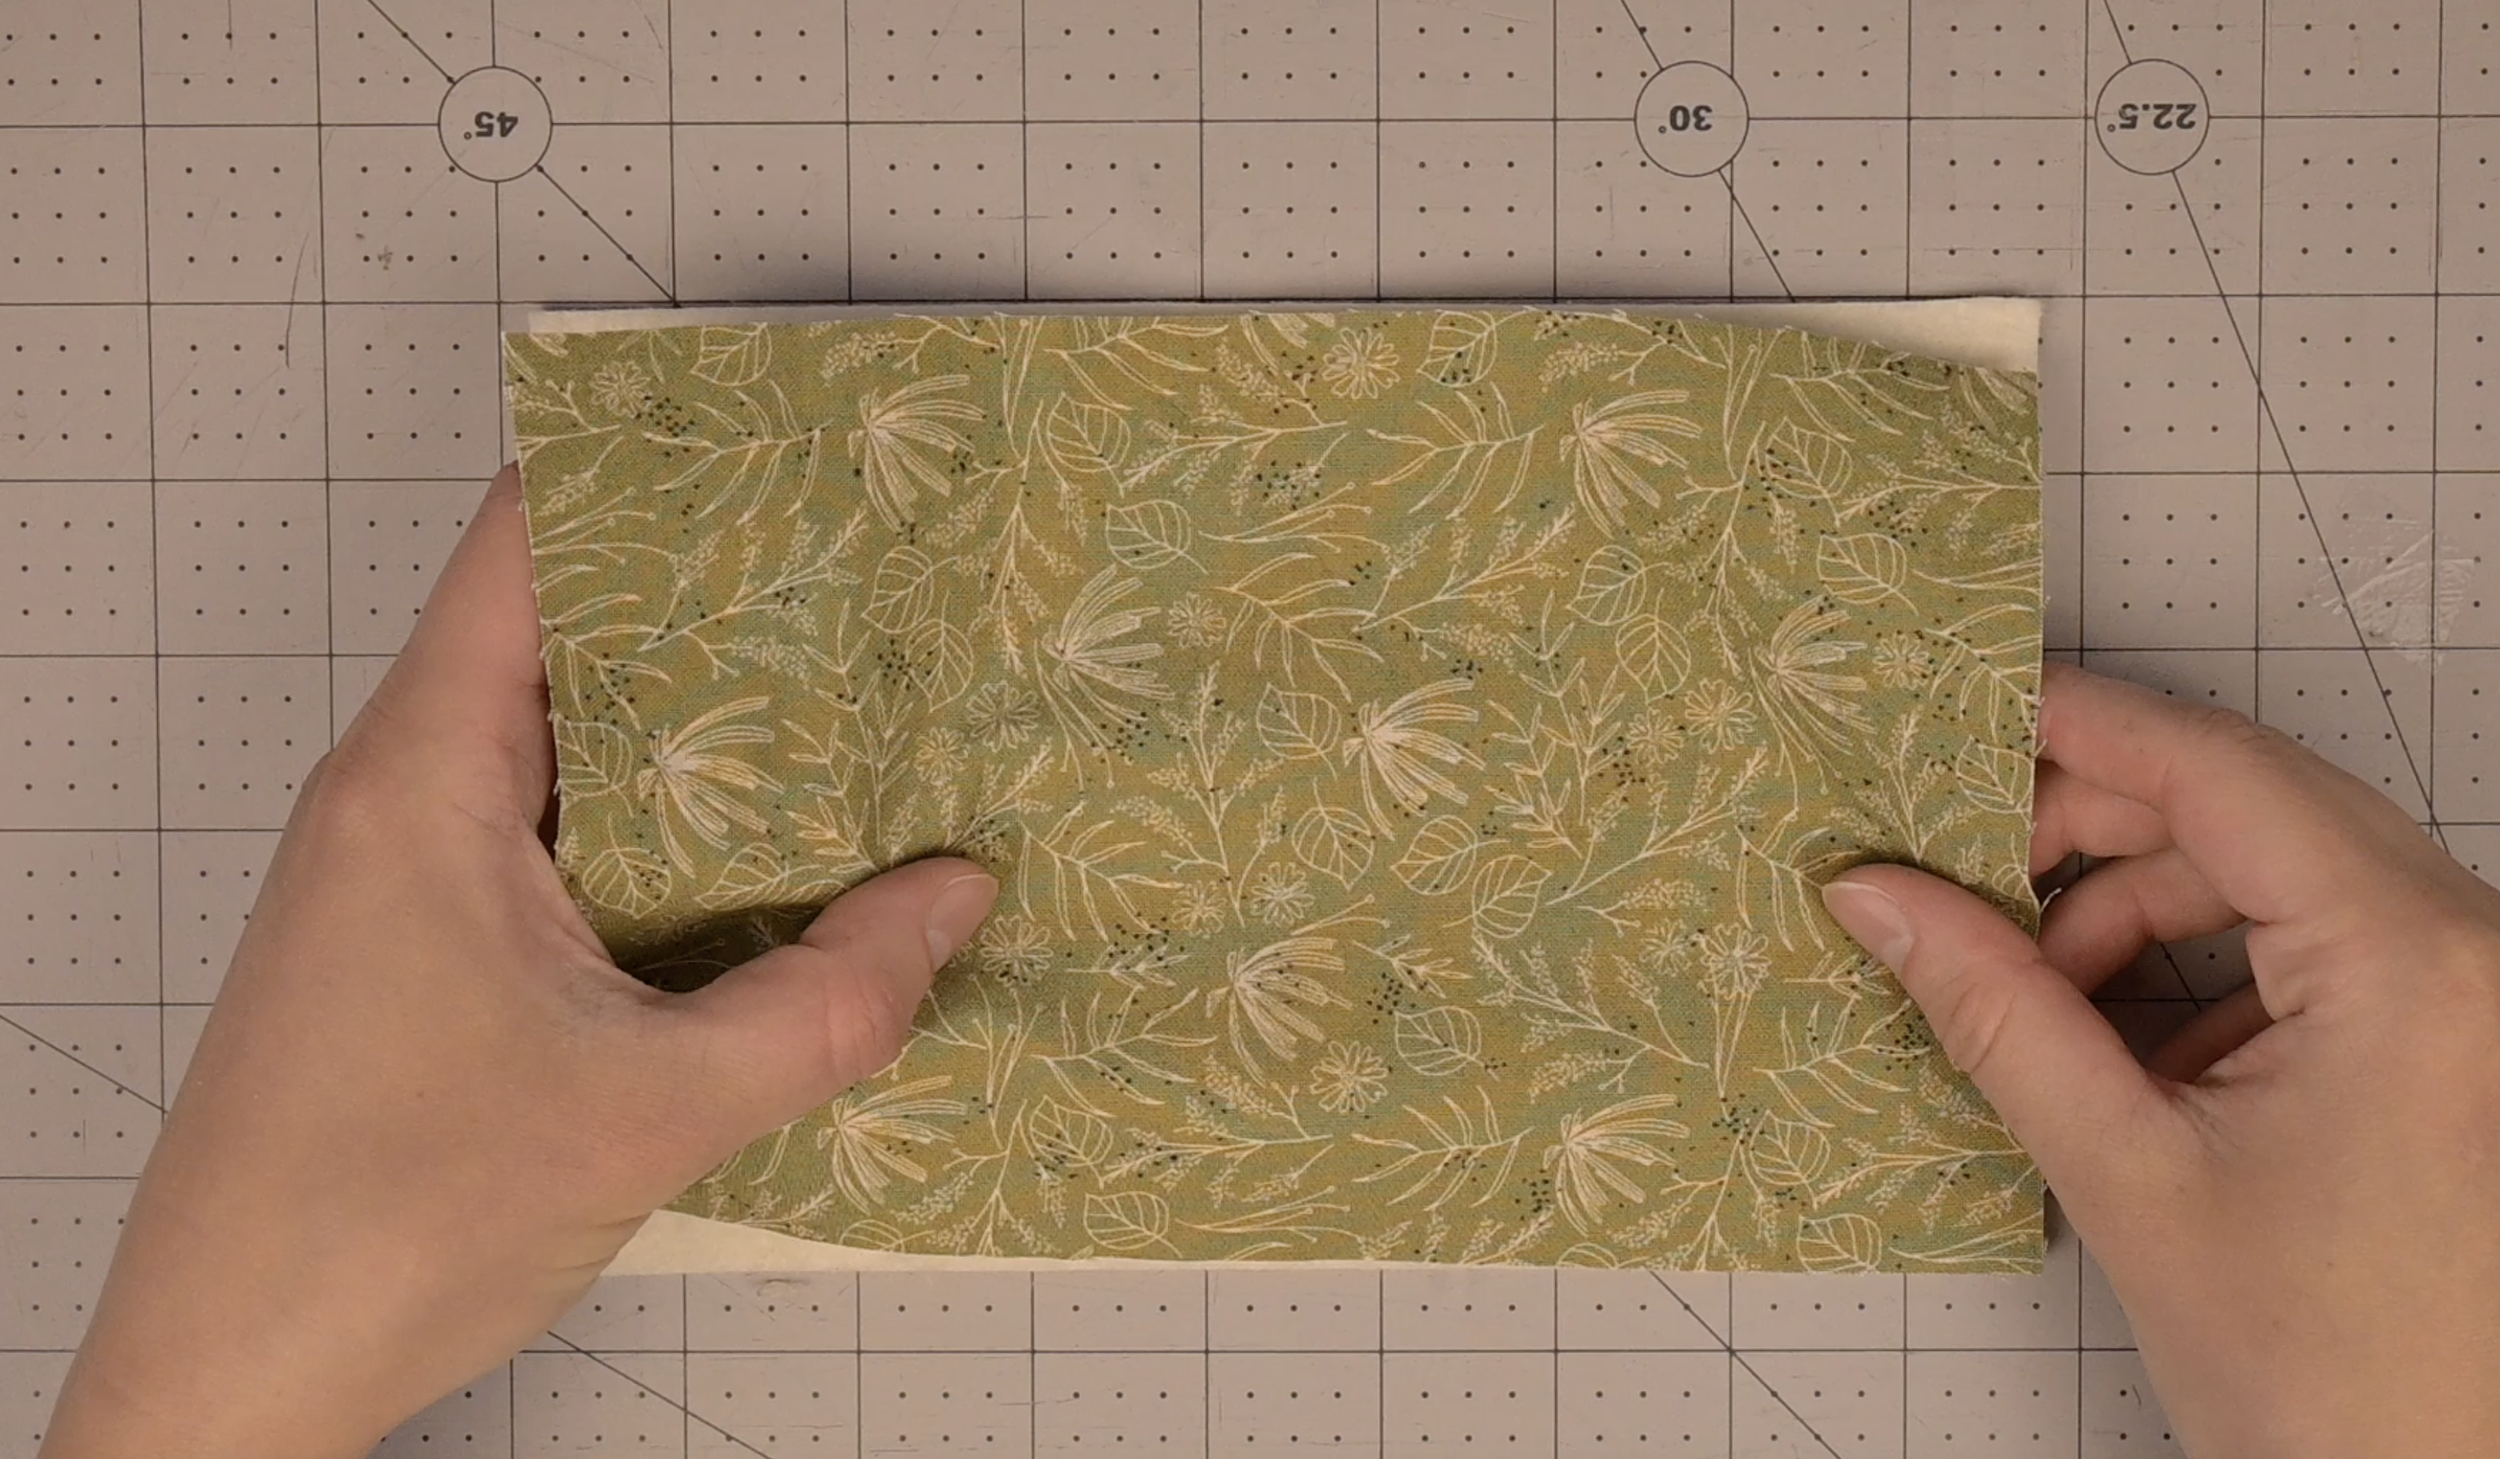
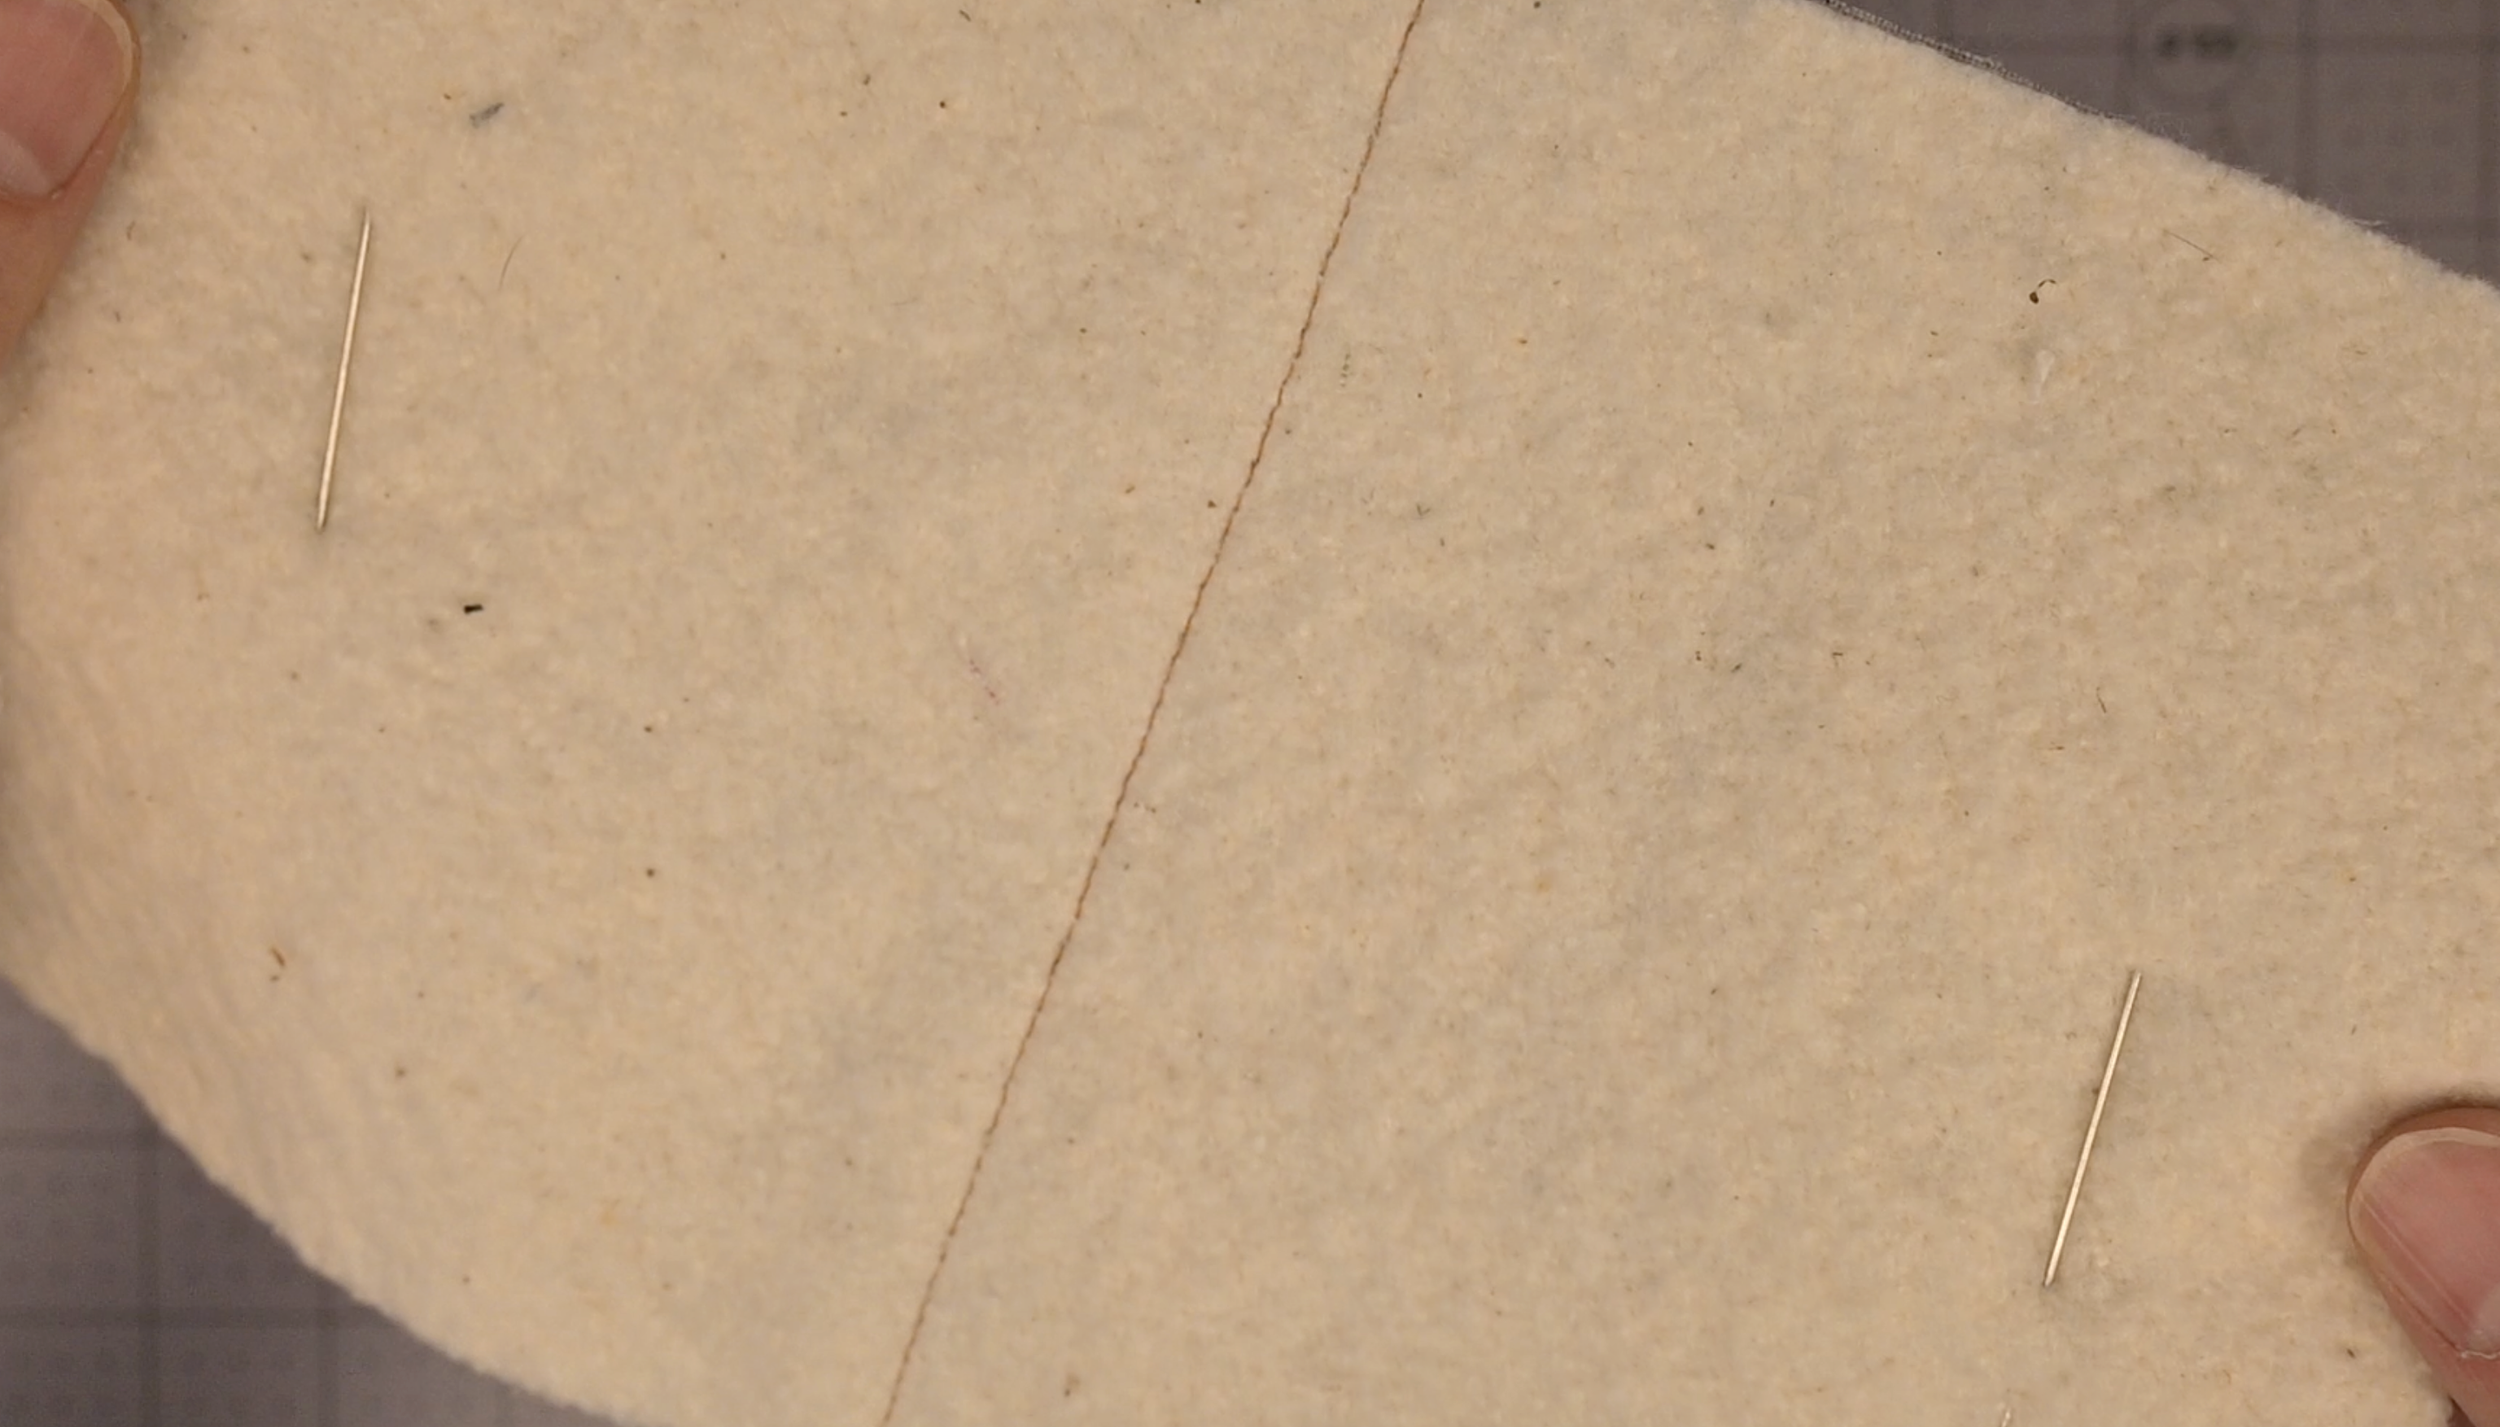
Place the main fabric on top of the batting fabric with the right side facing out
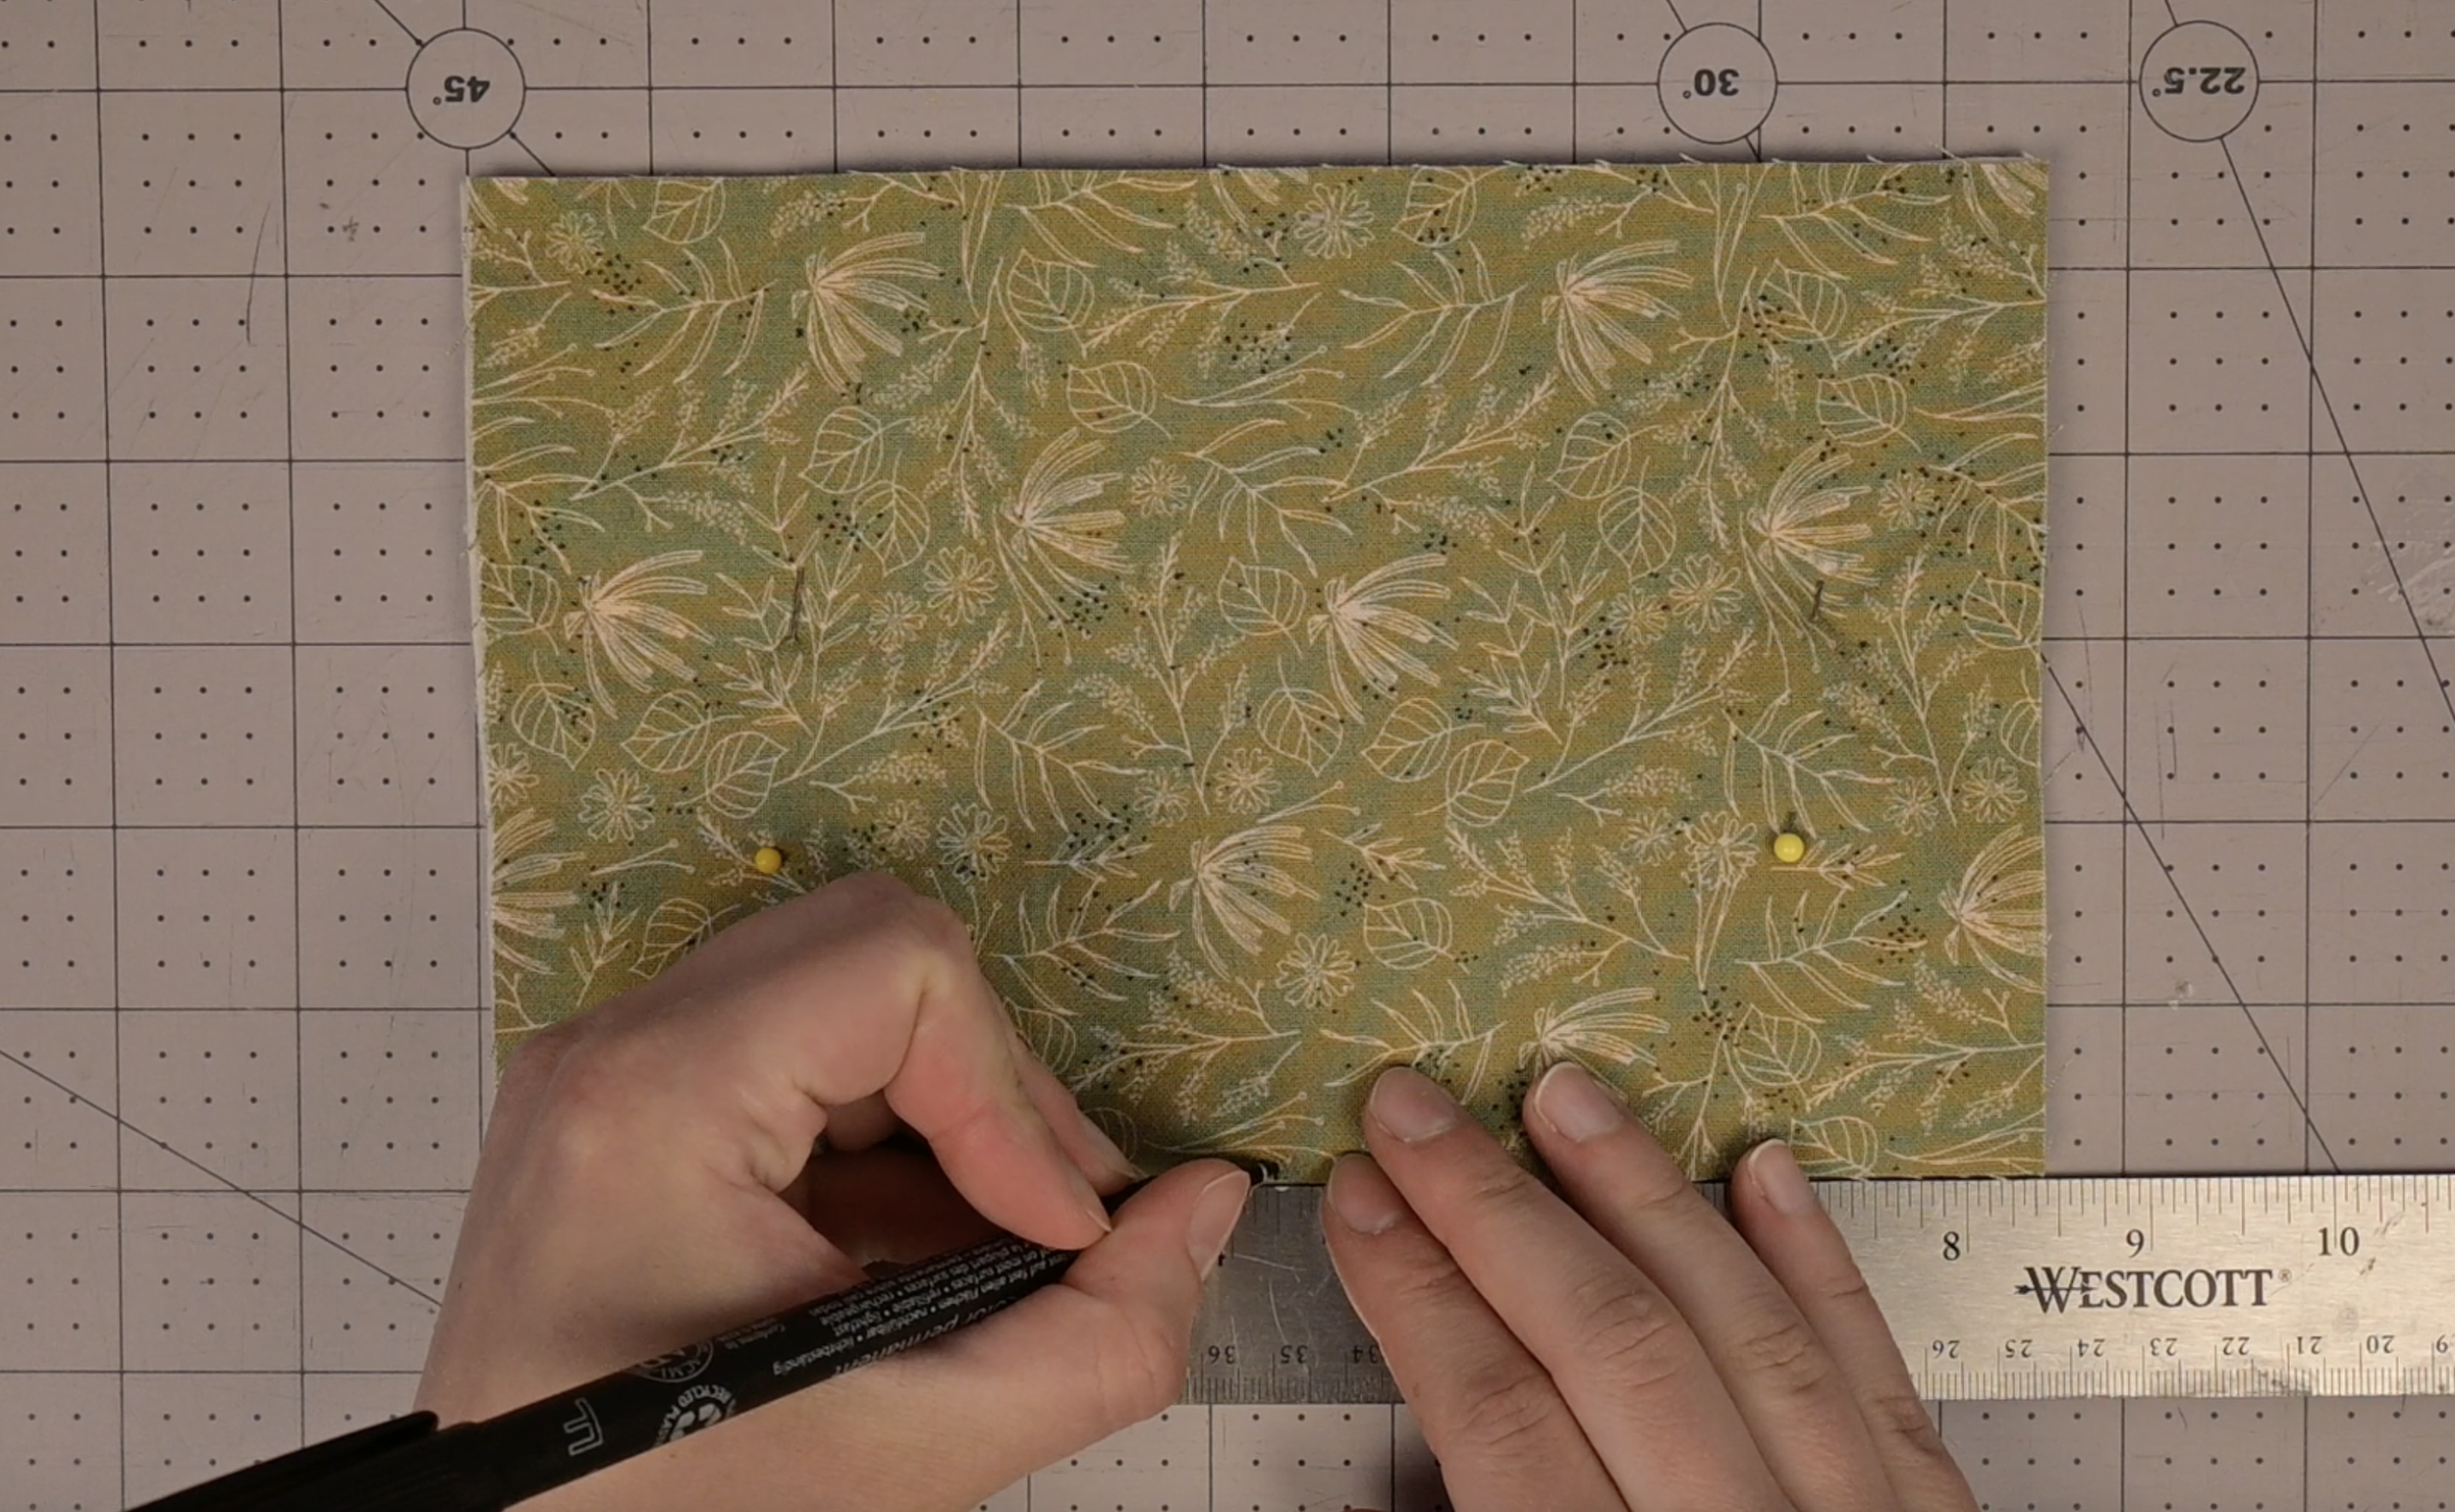
On each long edge, make a mark 4.25 inches in (the half way point)
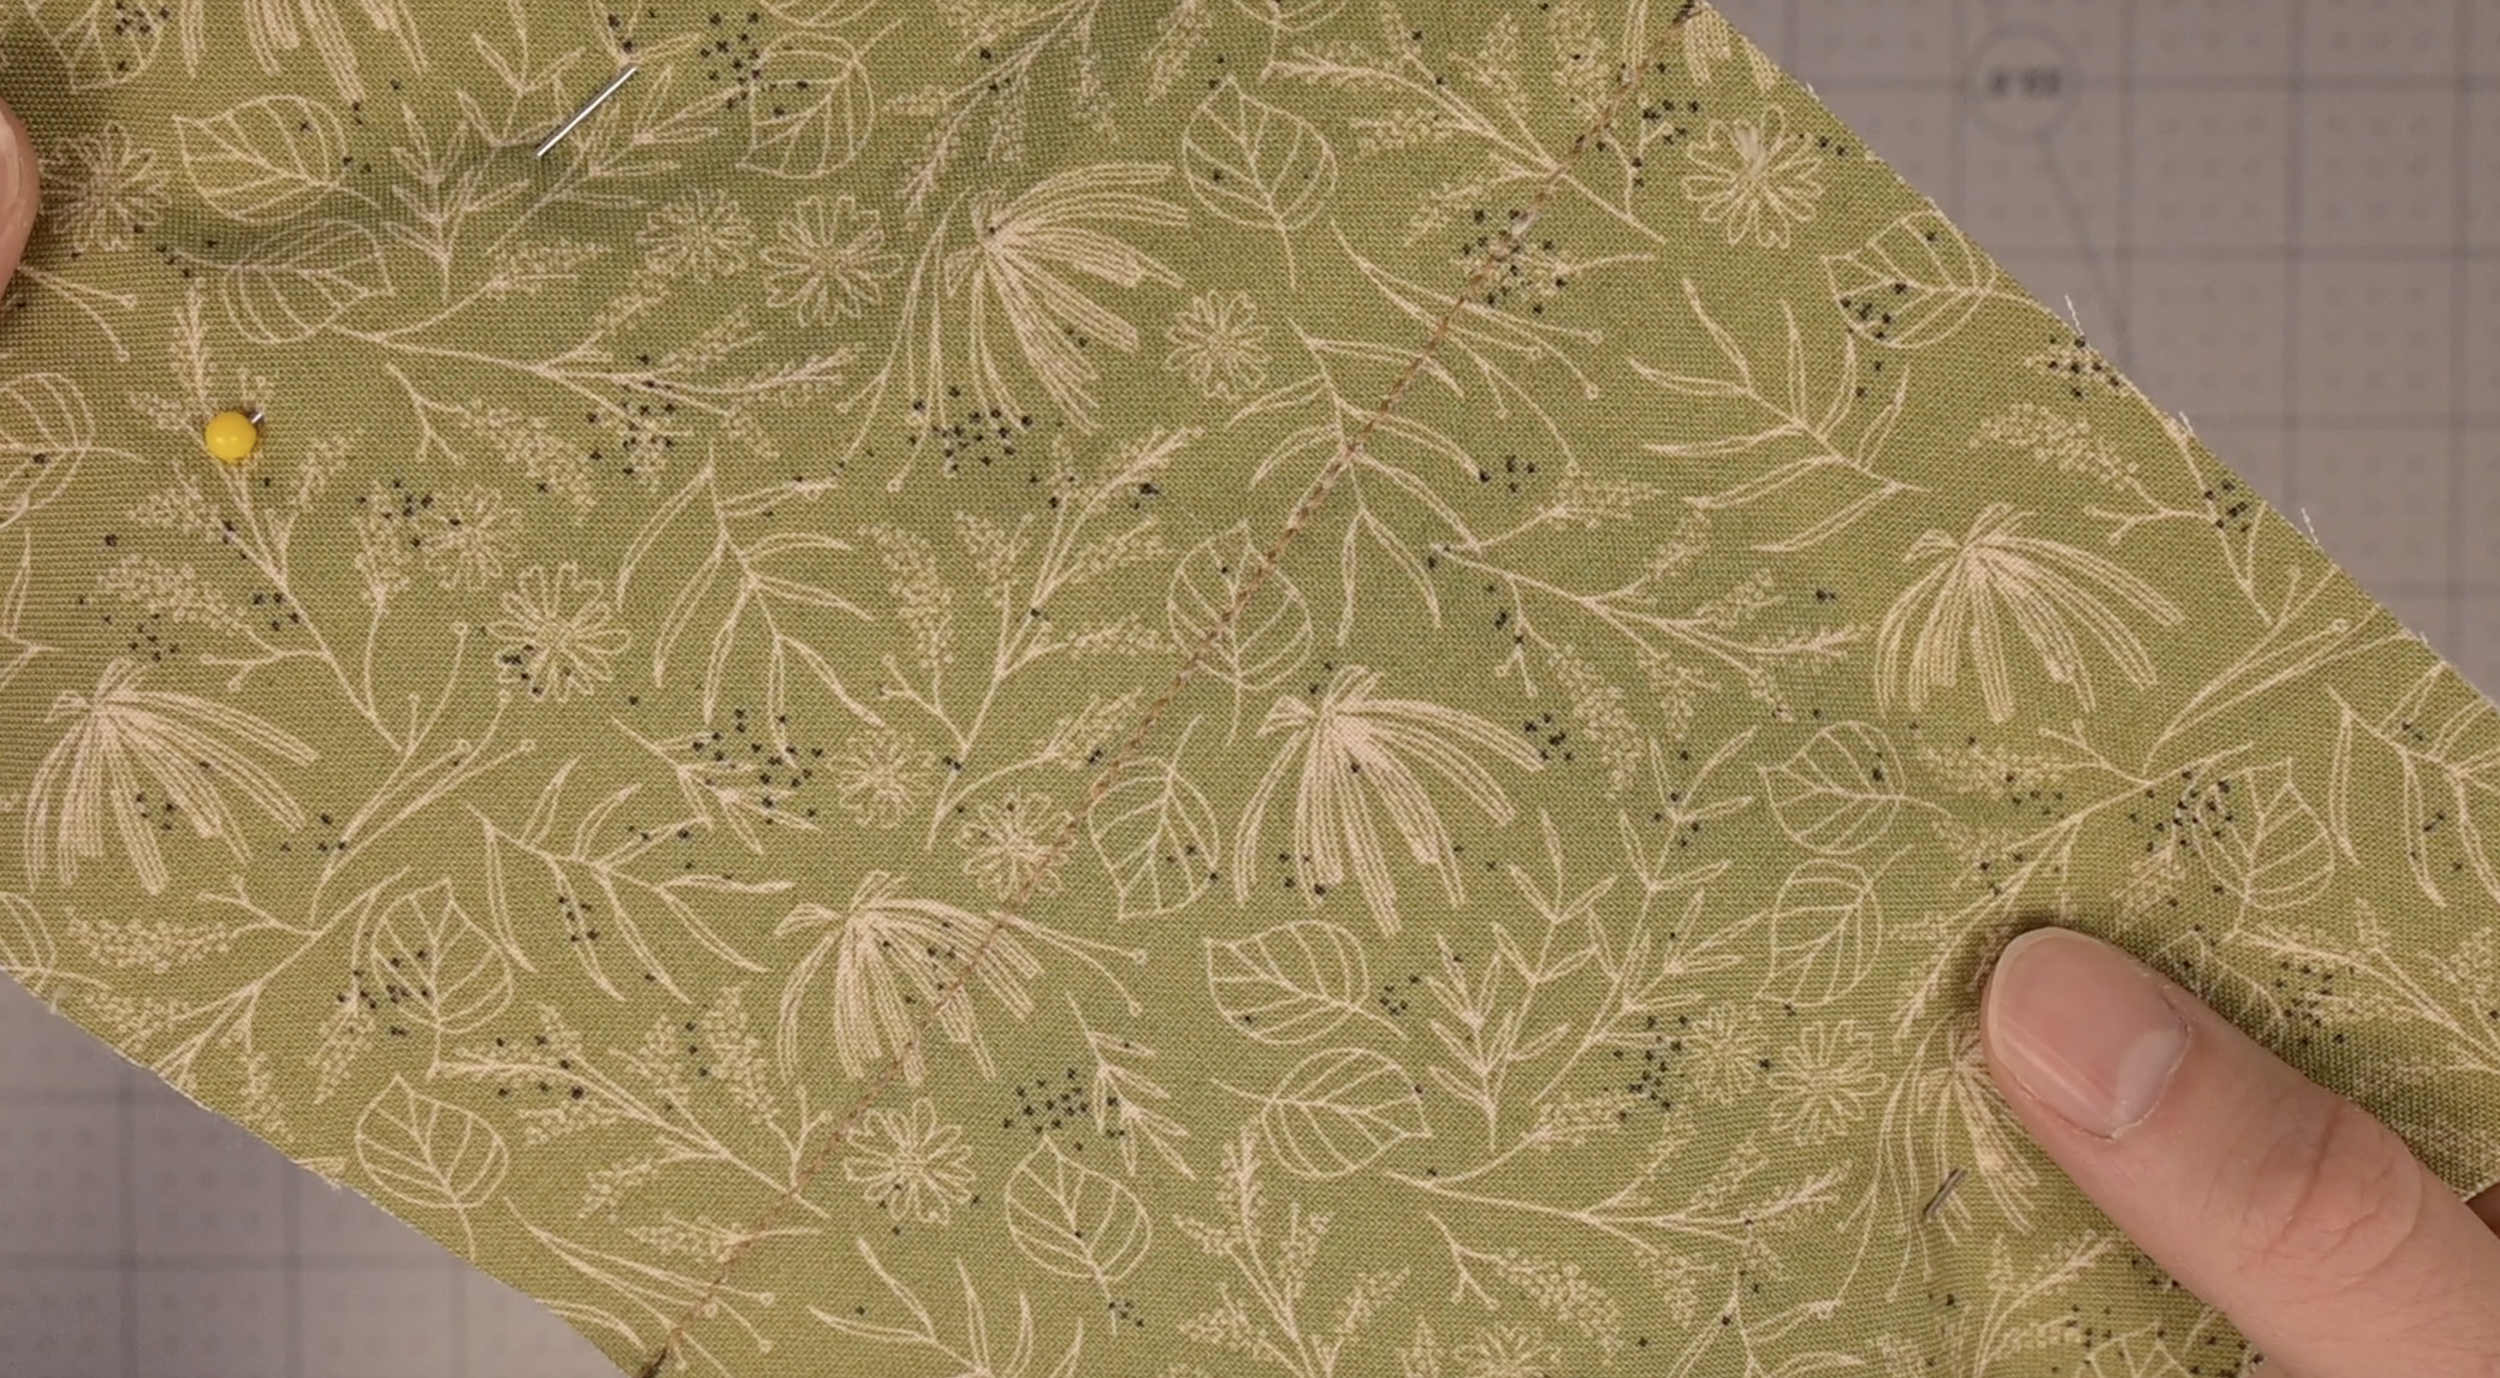
Sew a straight line connecting the marks to secure the batting to the main fabric
Step 7: Assemble
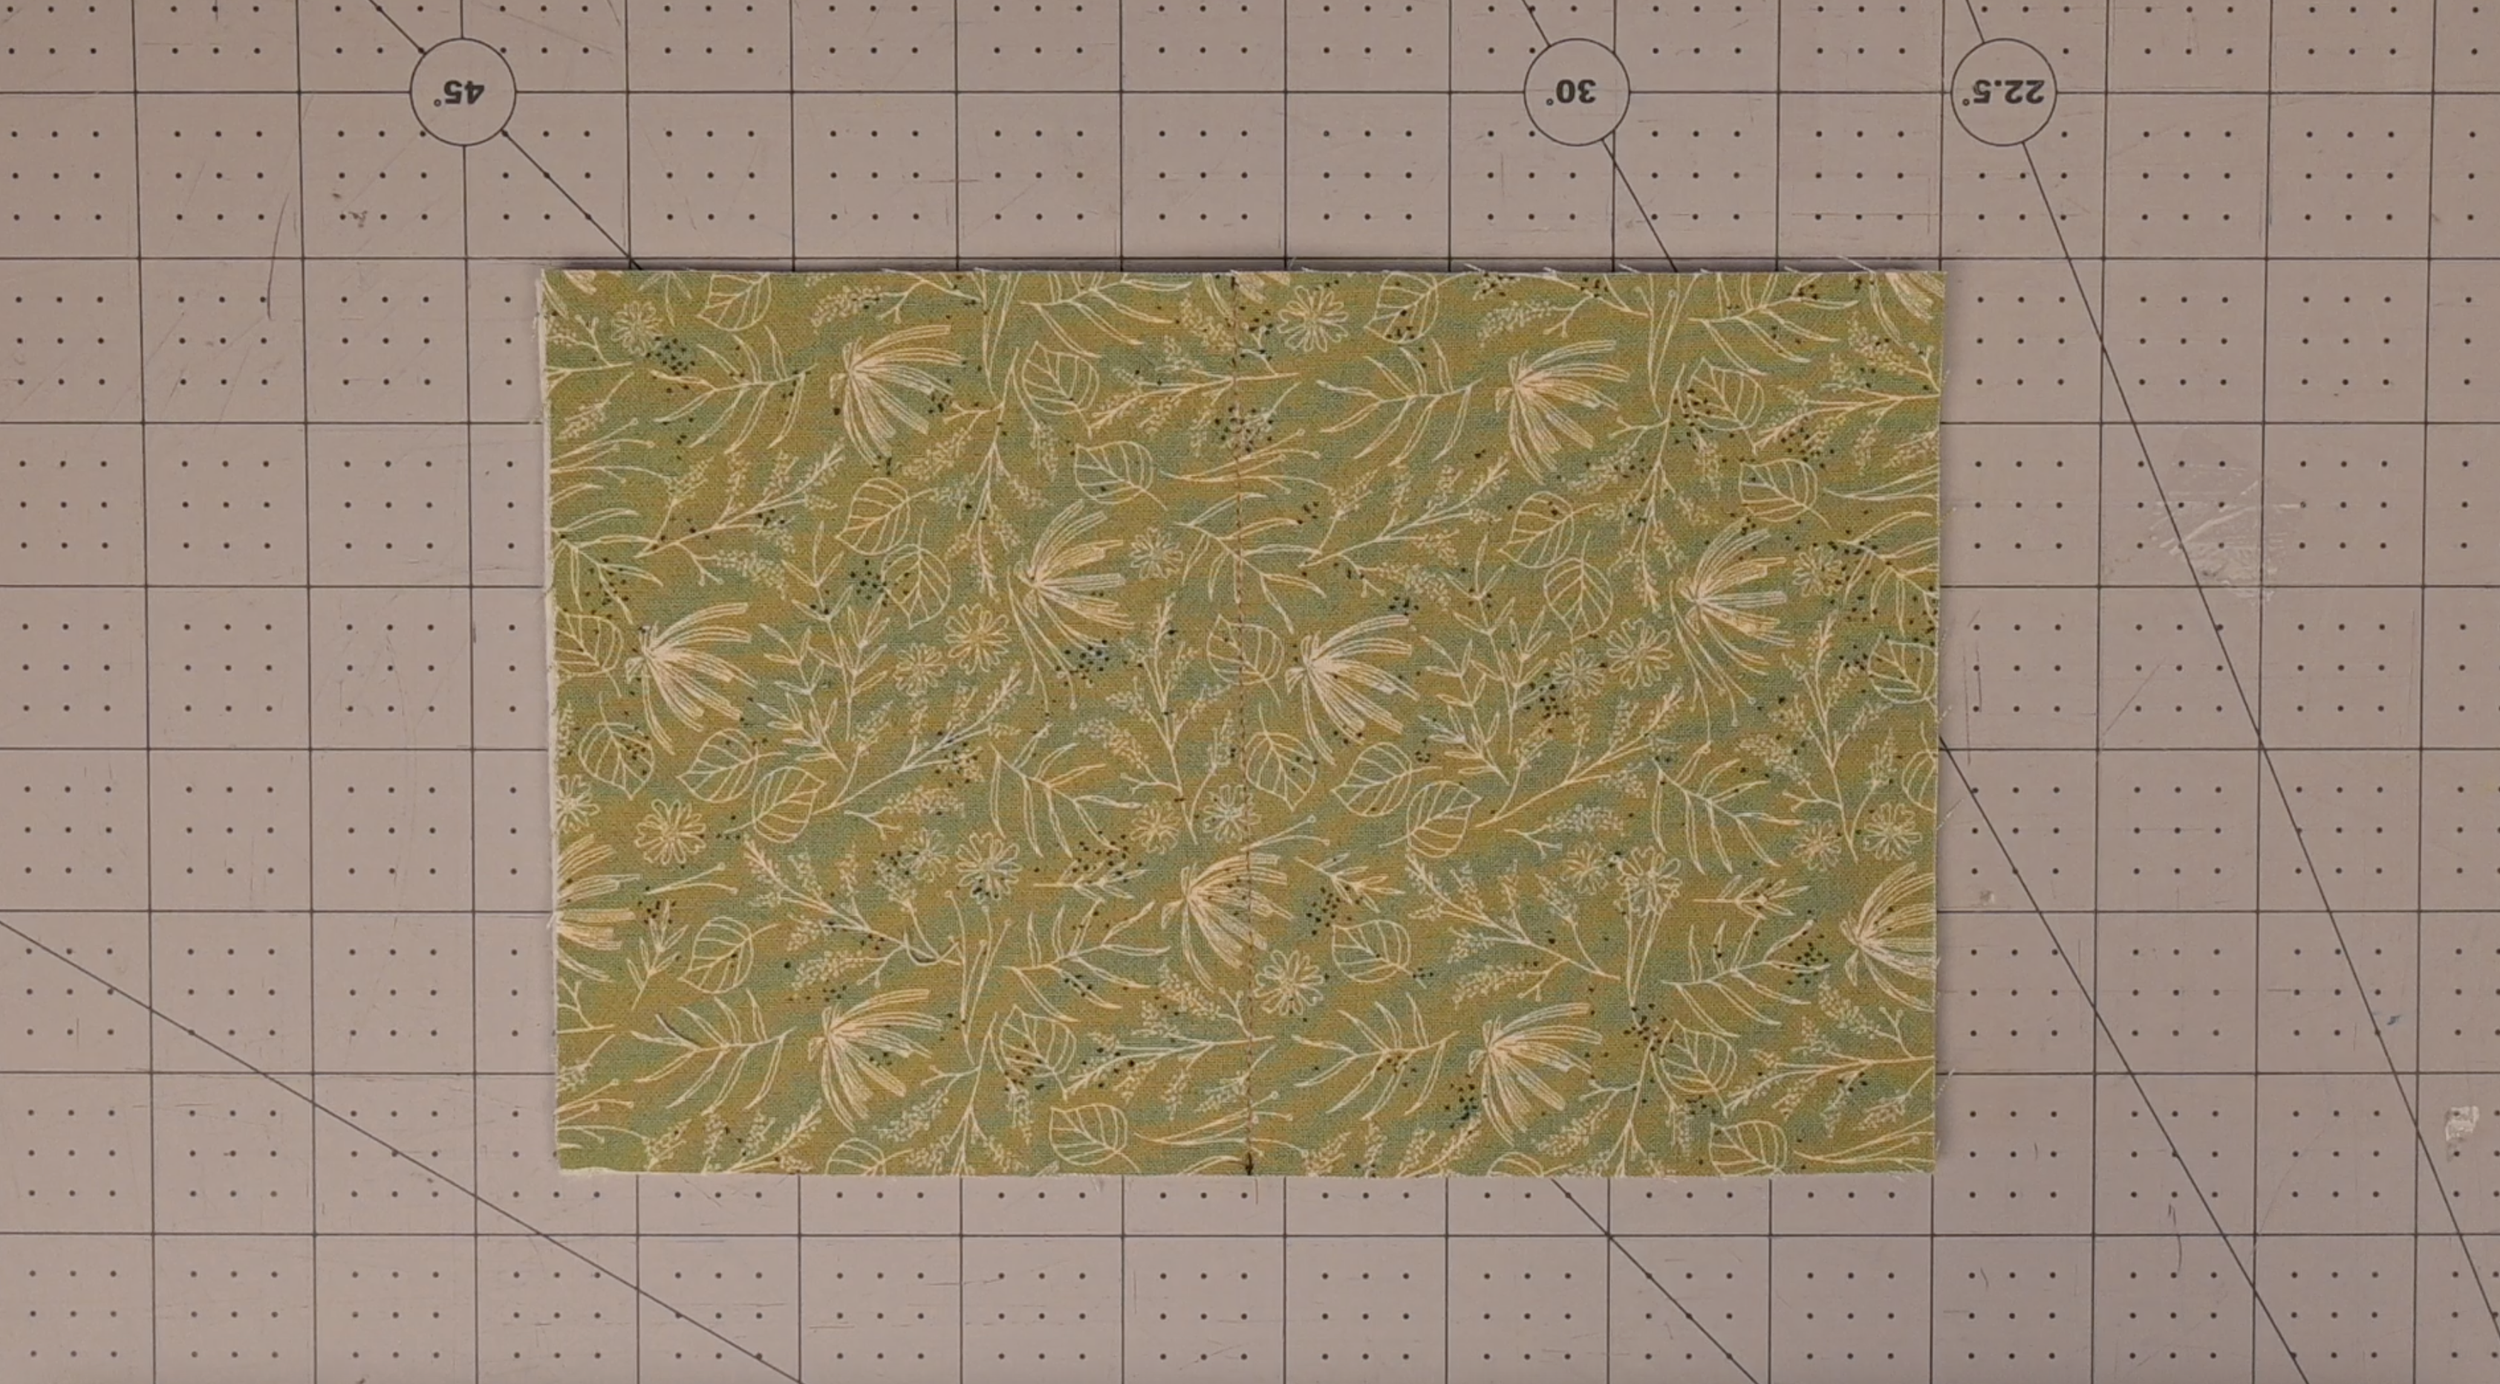
Lay the main fabric attached to the batting in front of you
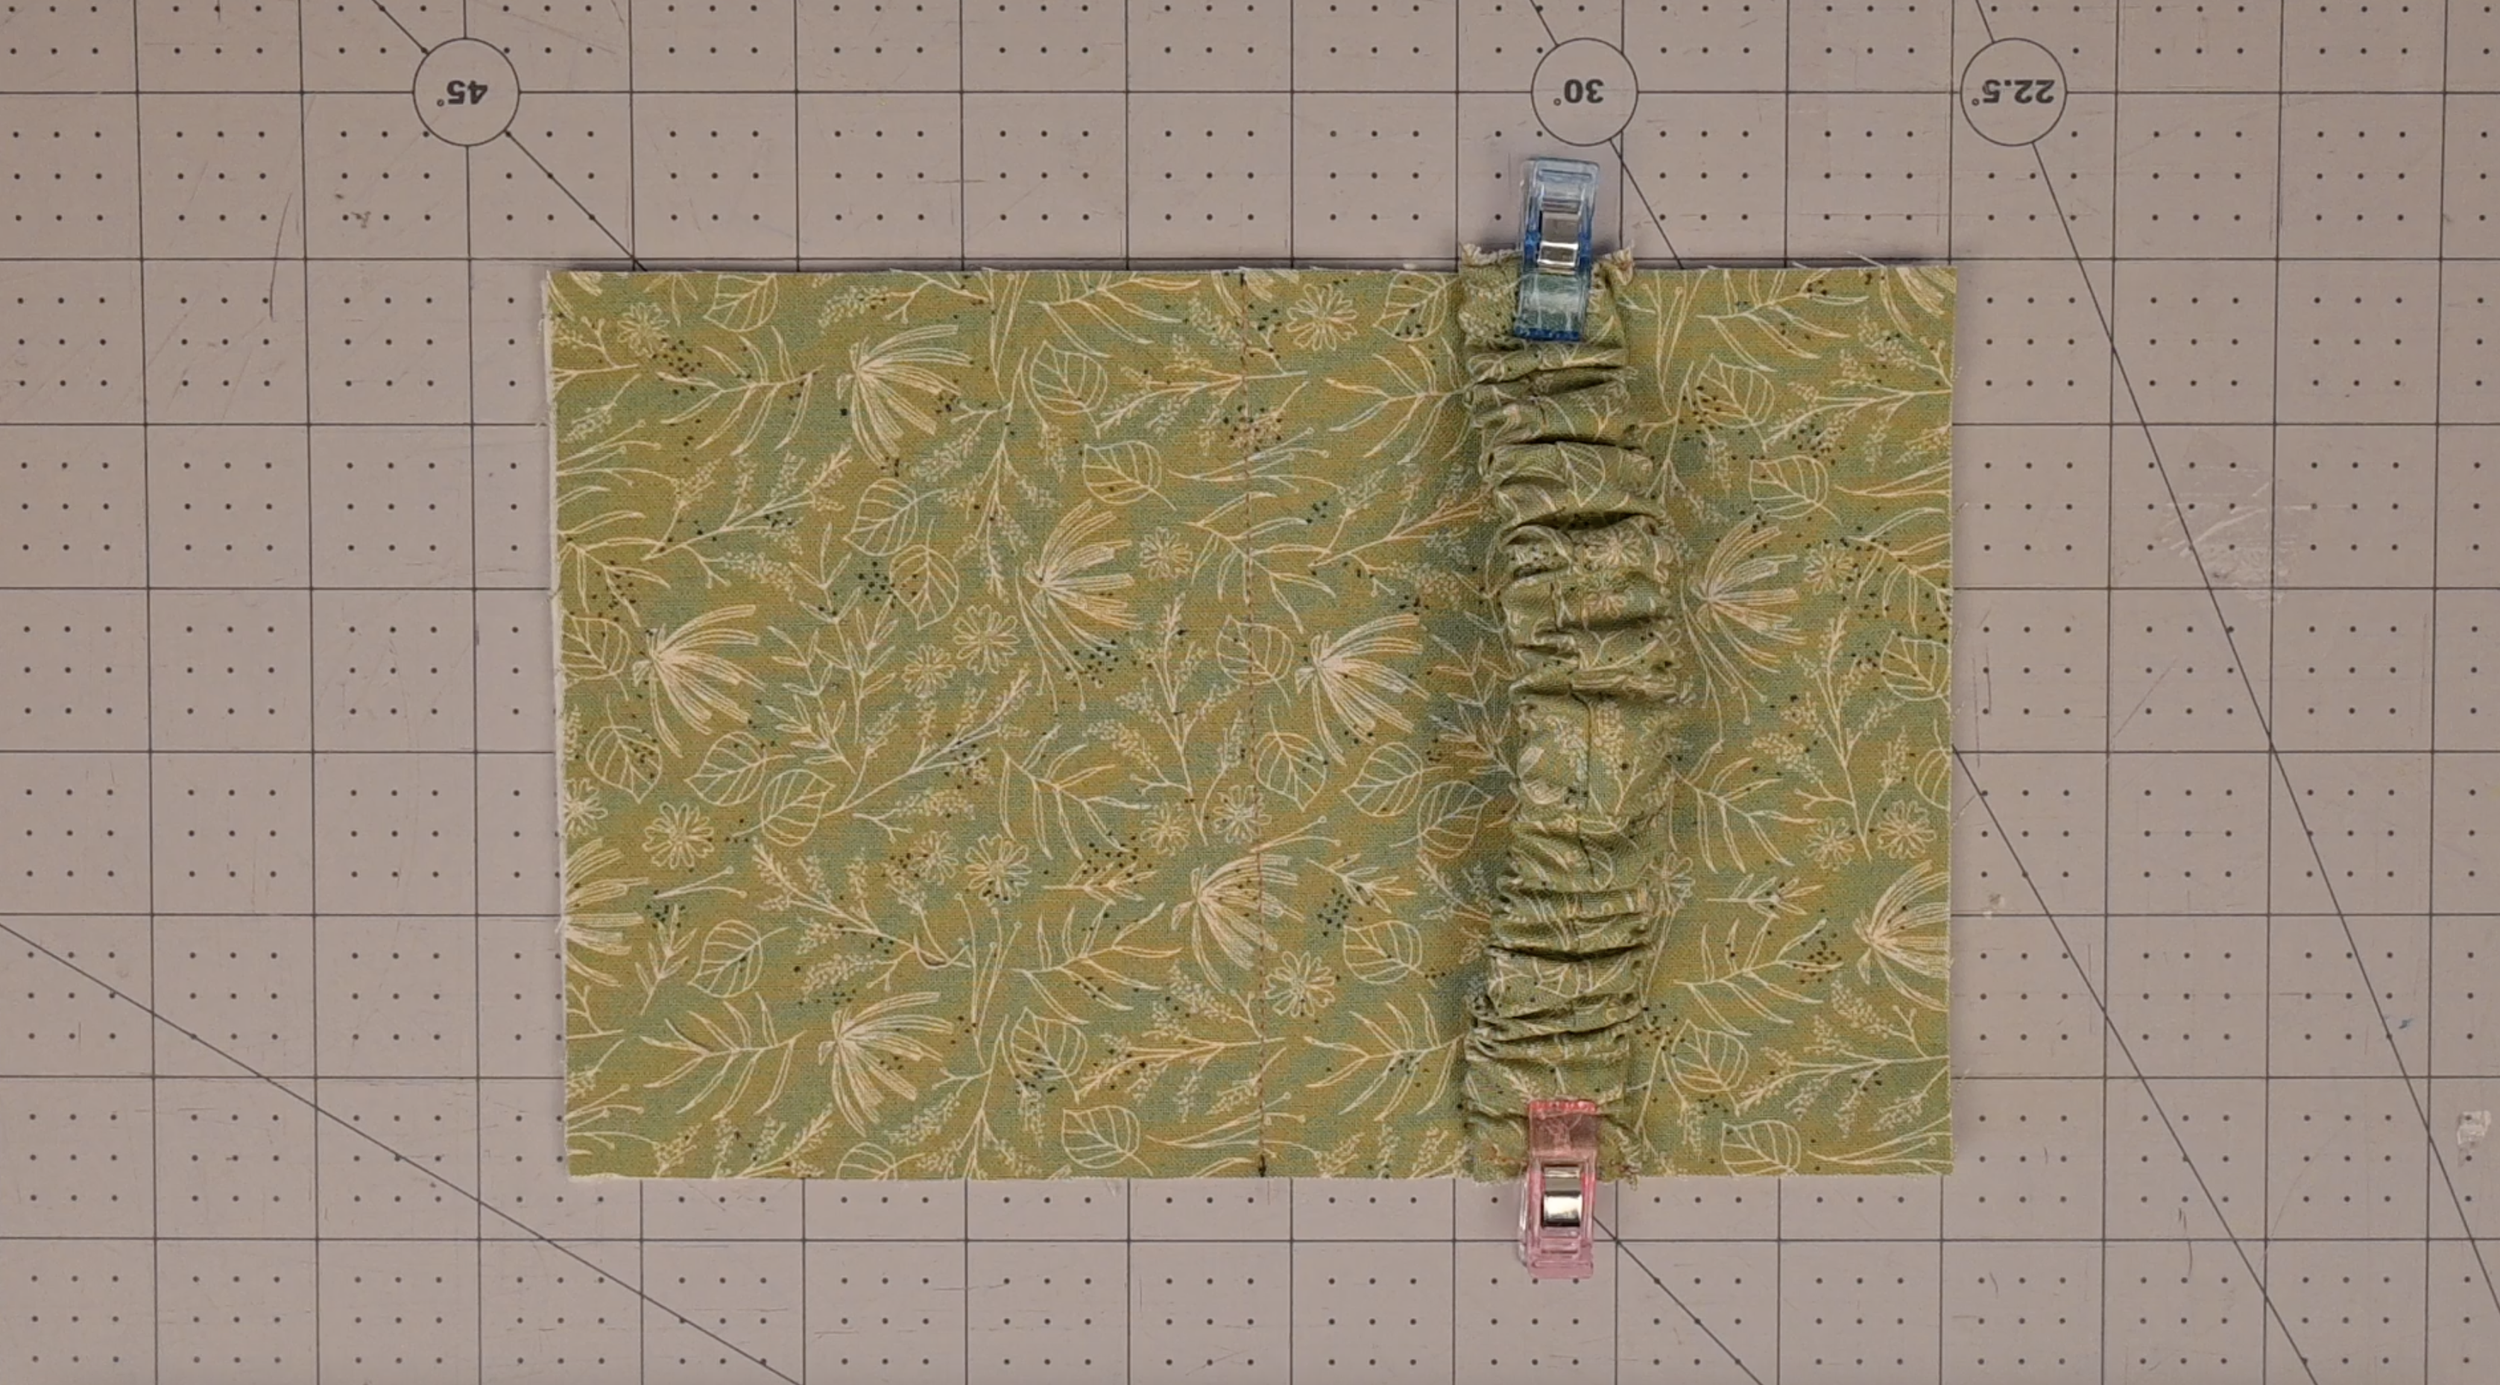
Measure inward 2 inches from the right on both long sides
Pin and/or clip the elastic in place on both sides with the seam side facing up. The elastic edges will be in line with the edge of the main fabric
It will not overhang
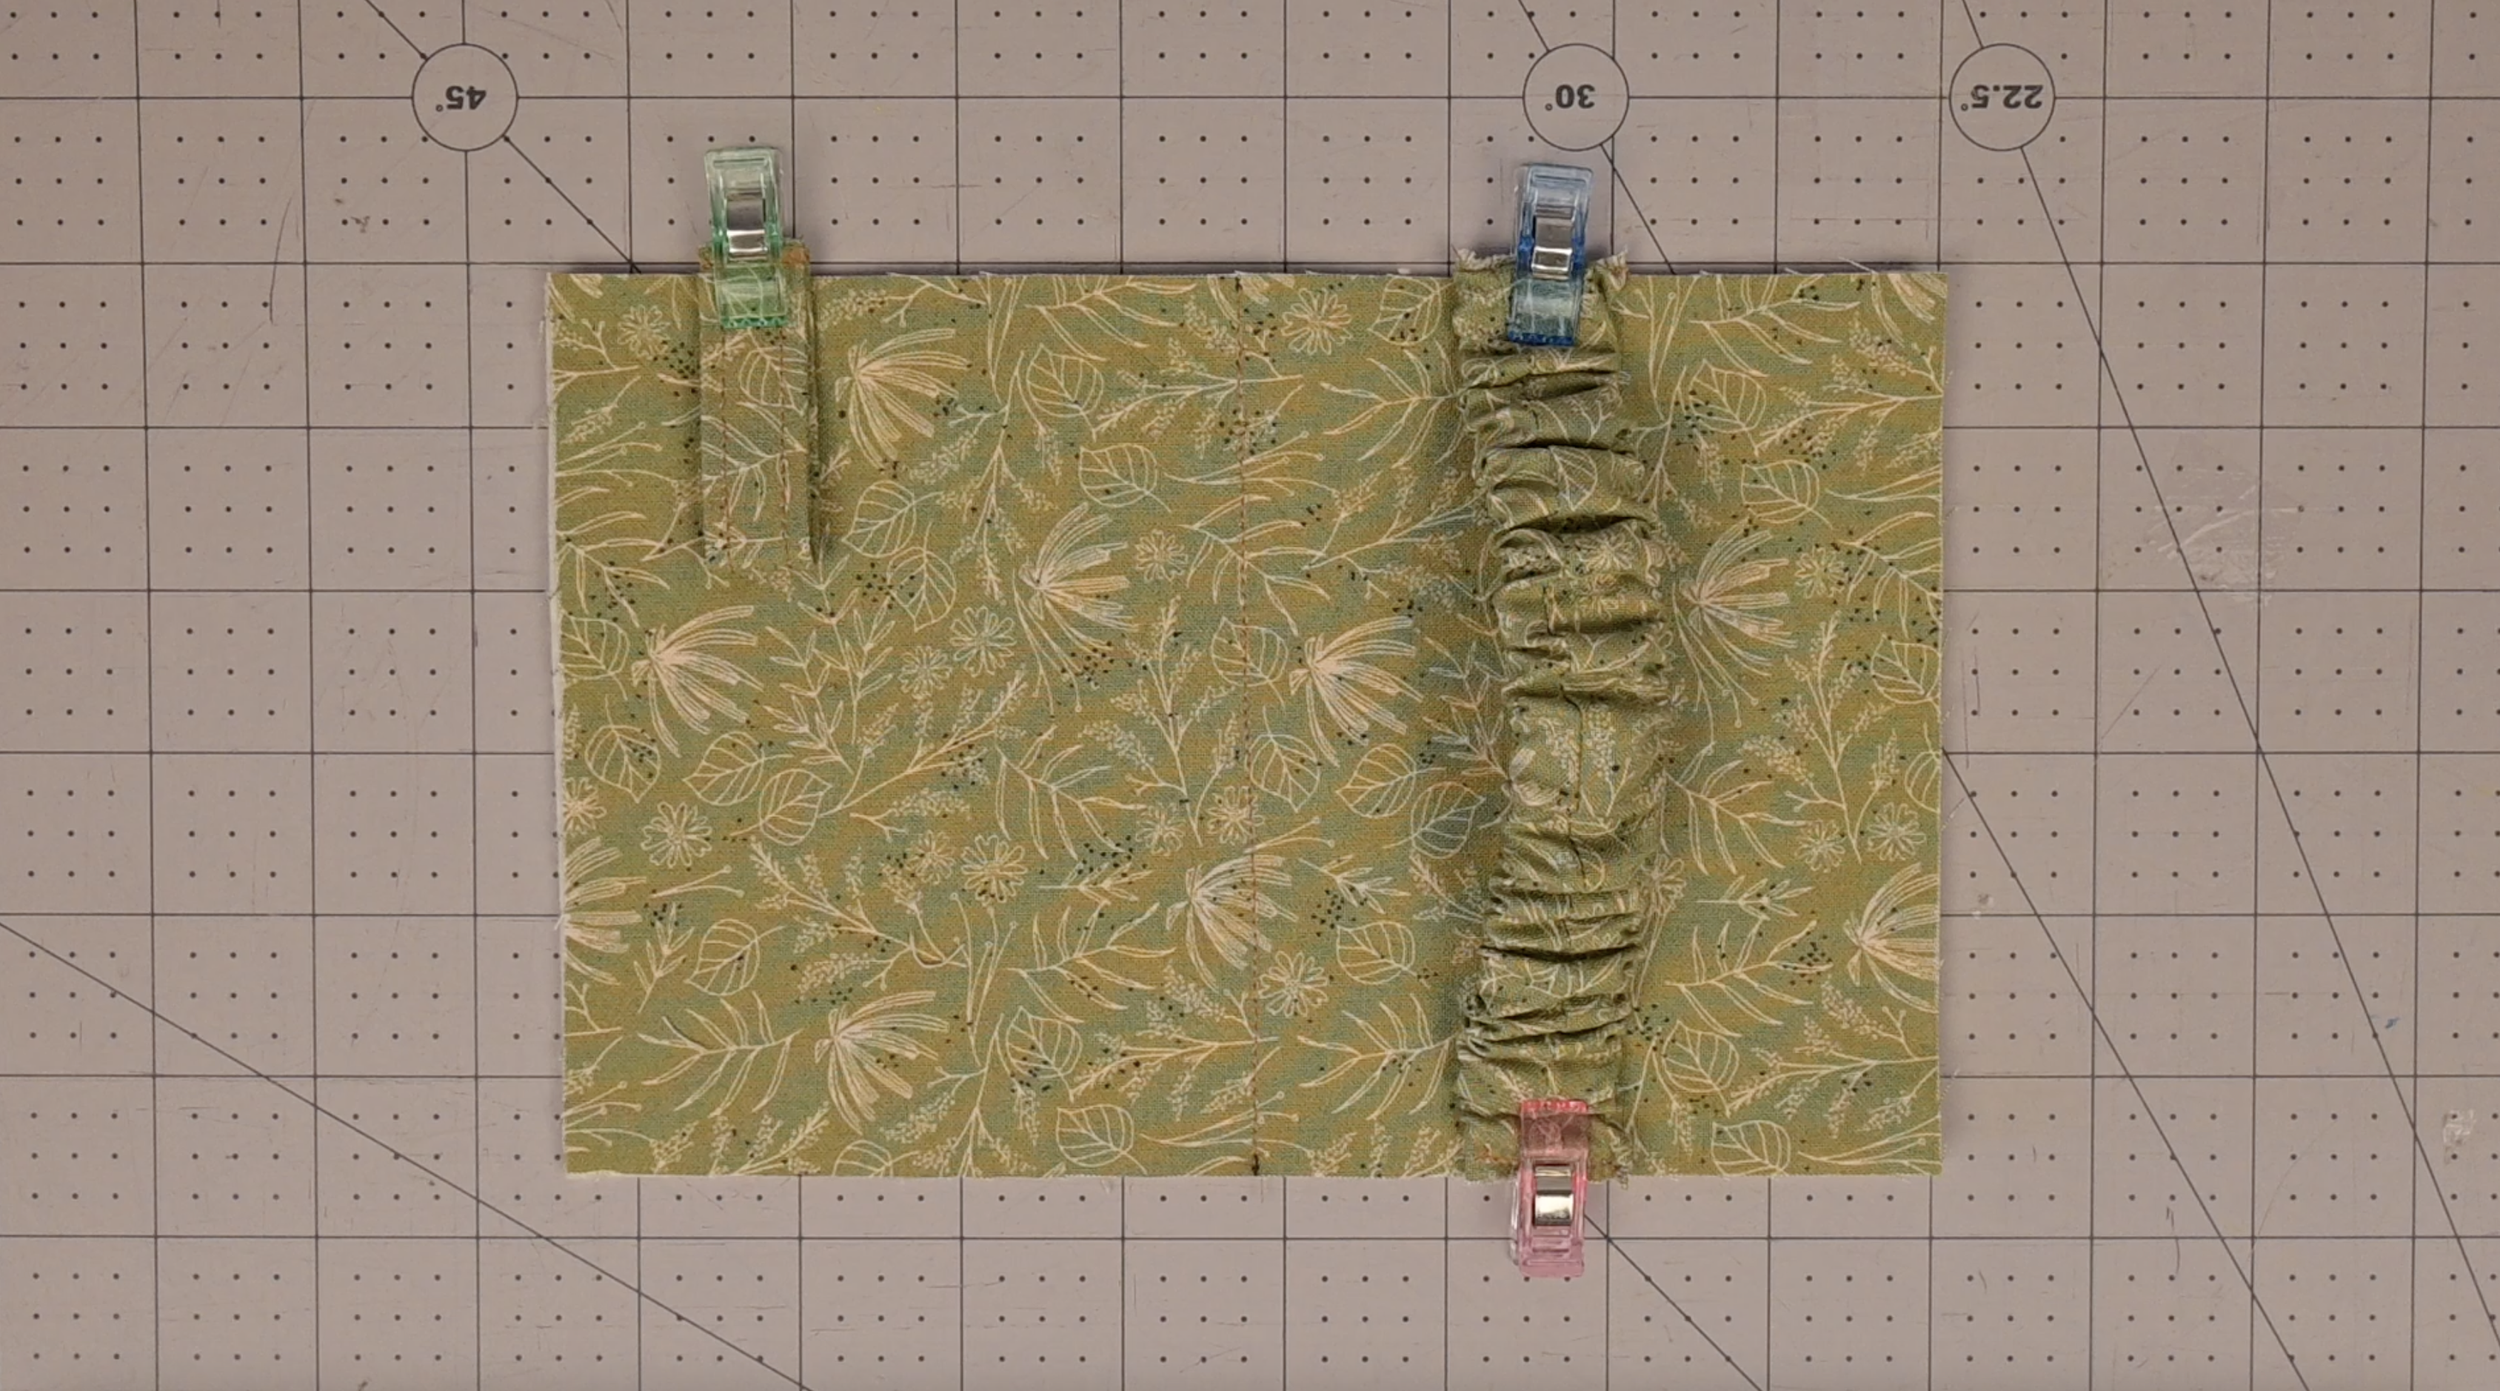
Pin and/or clip the keychain loop in place, loop facing downward
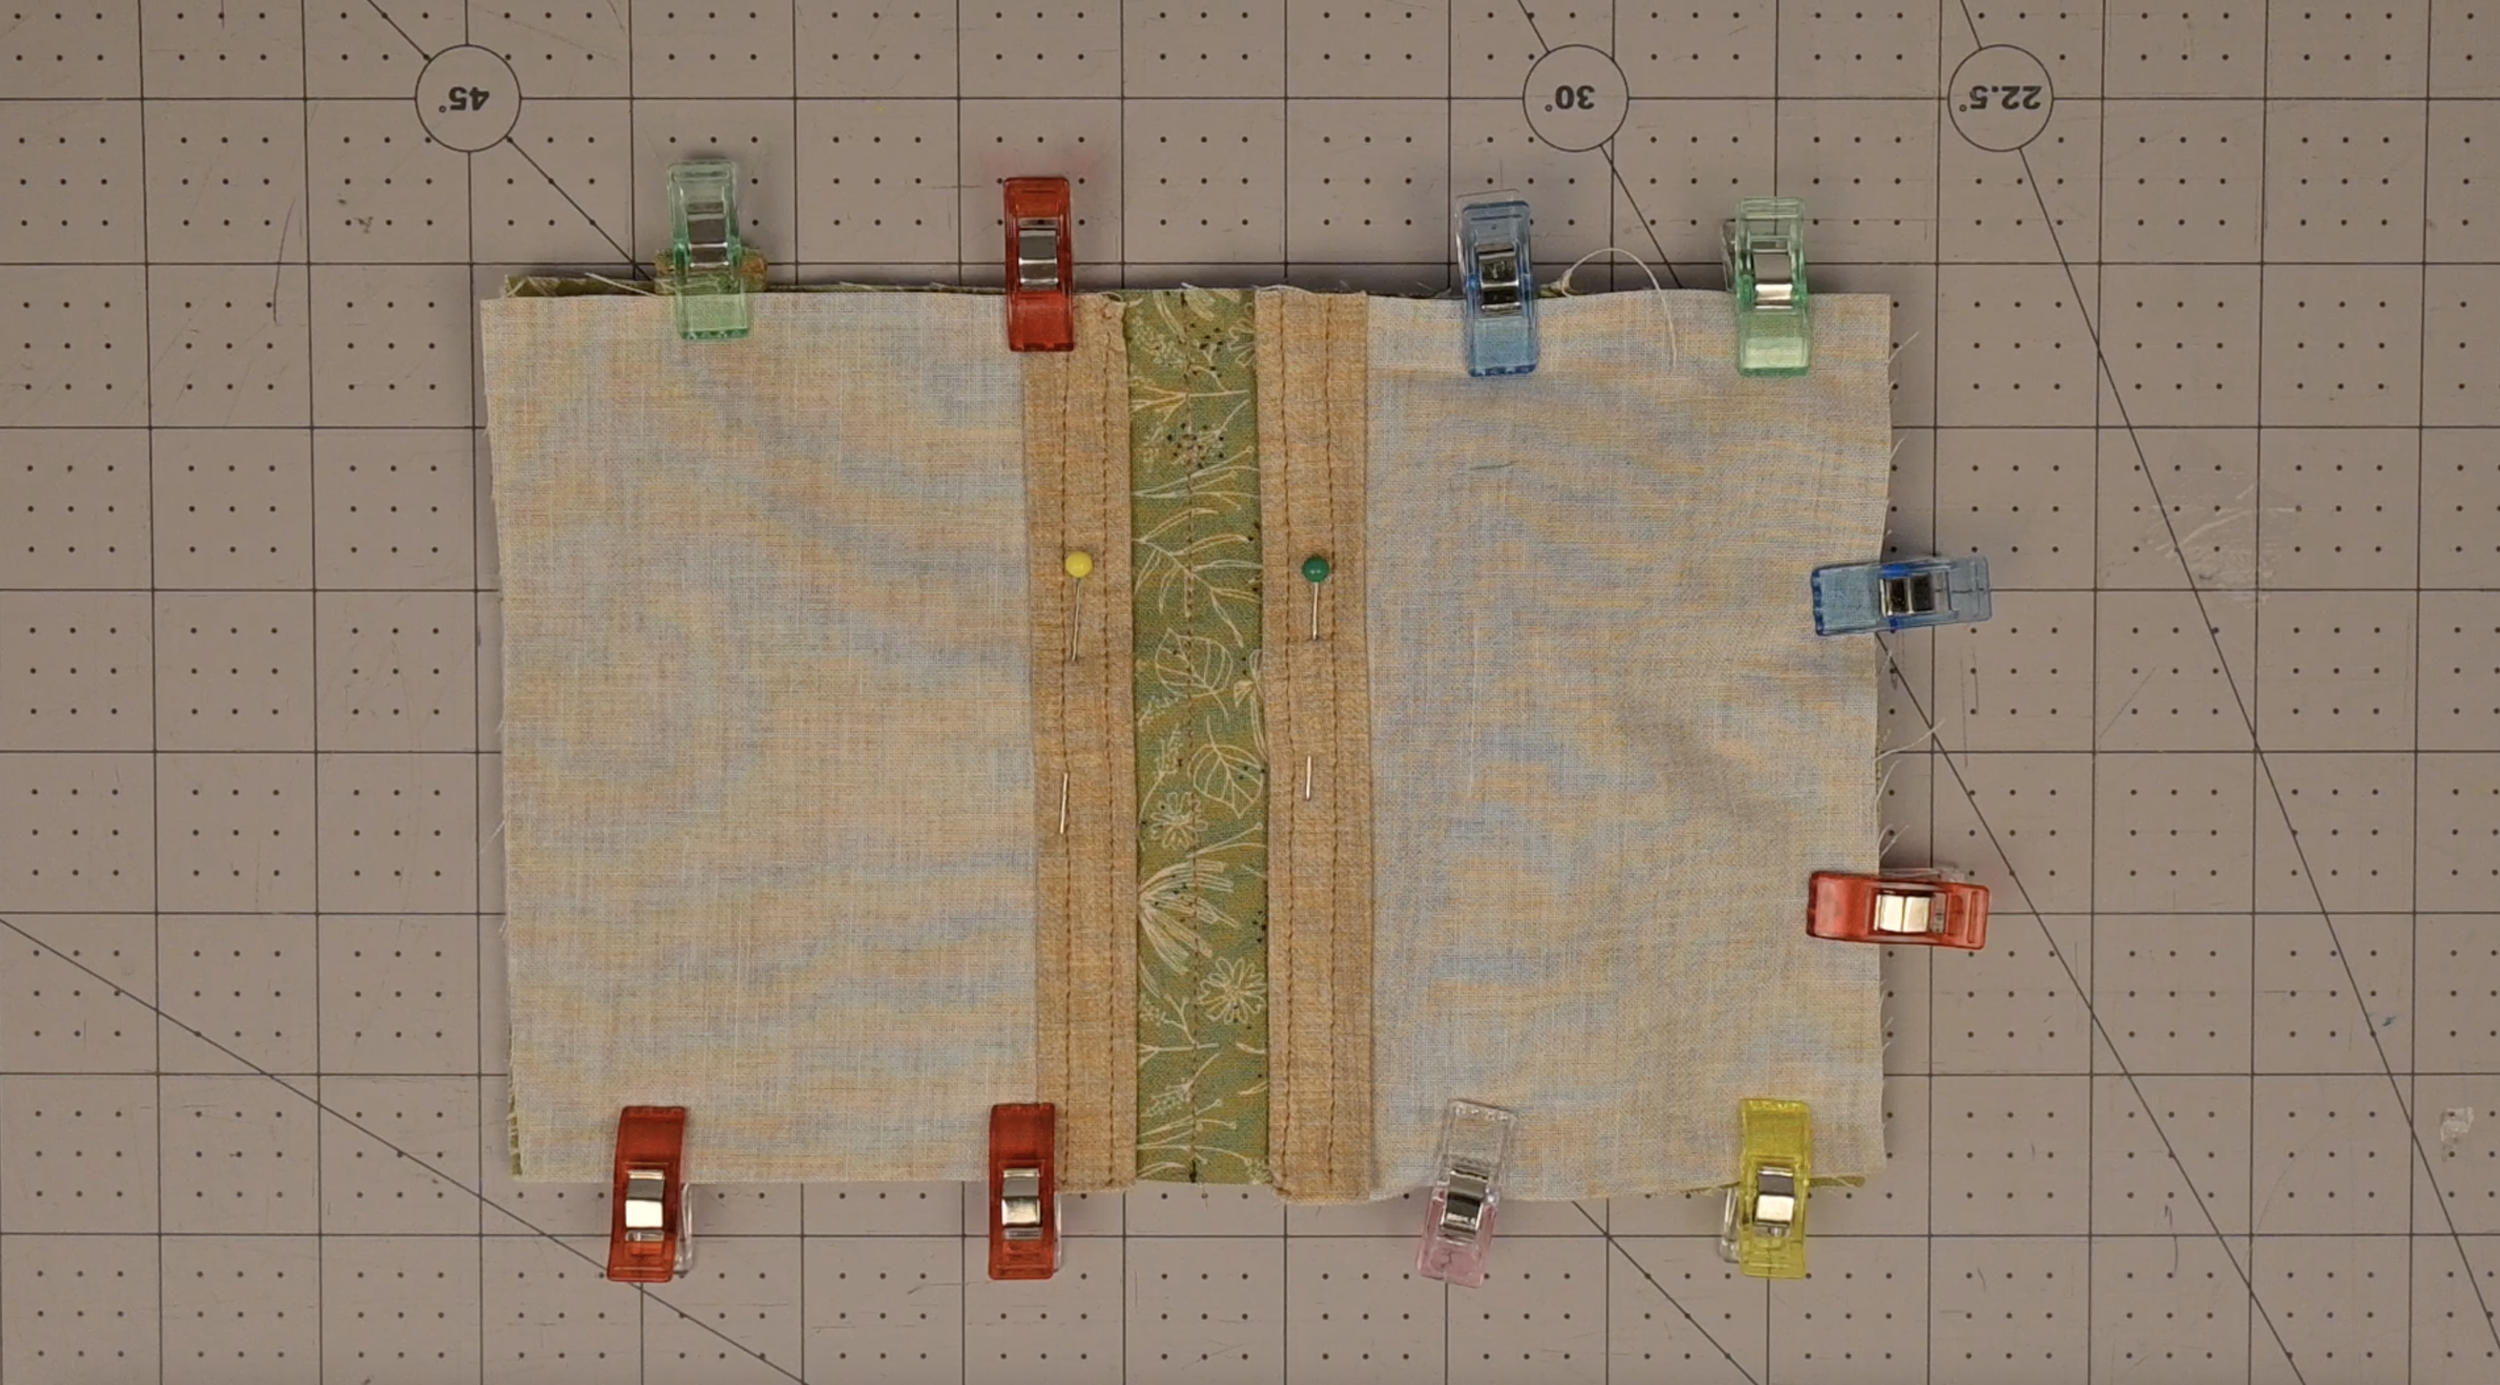
Pin and/or clip the pockets in place, with the fold facing upwards
Ensure a gap in the middle
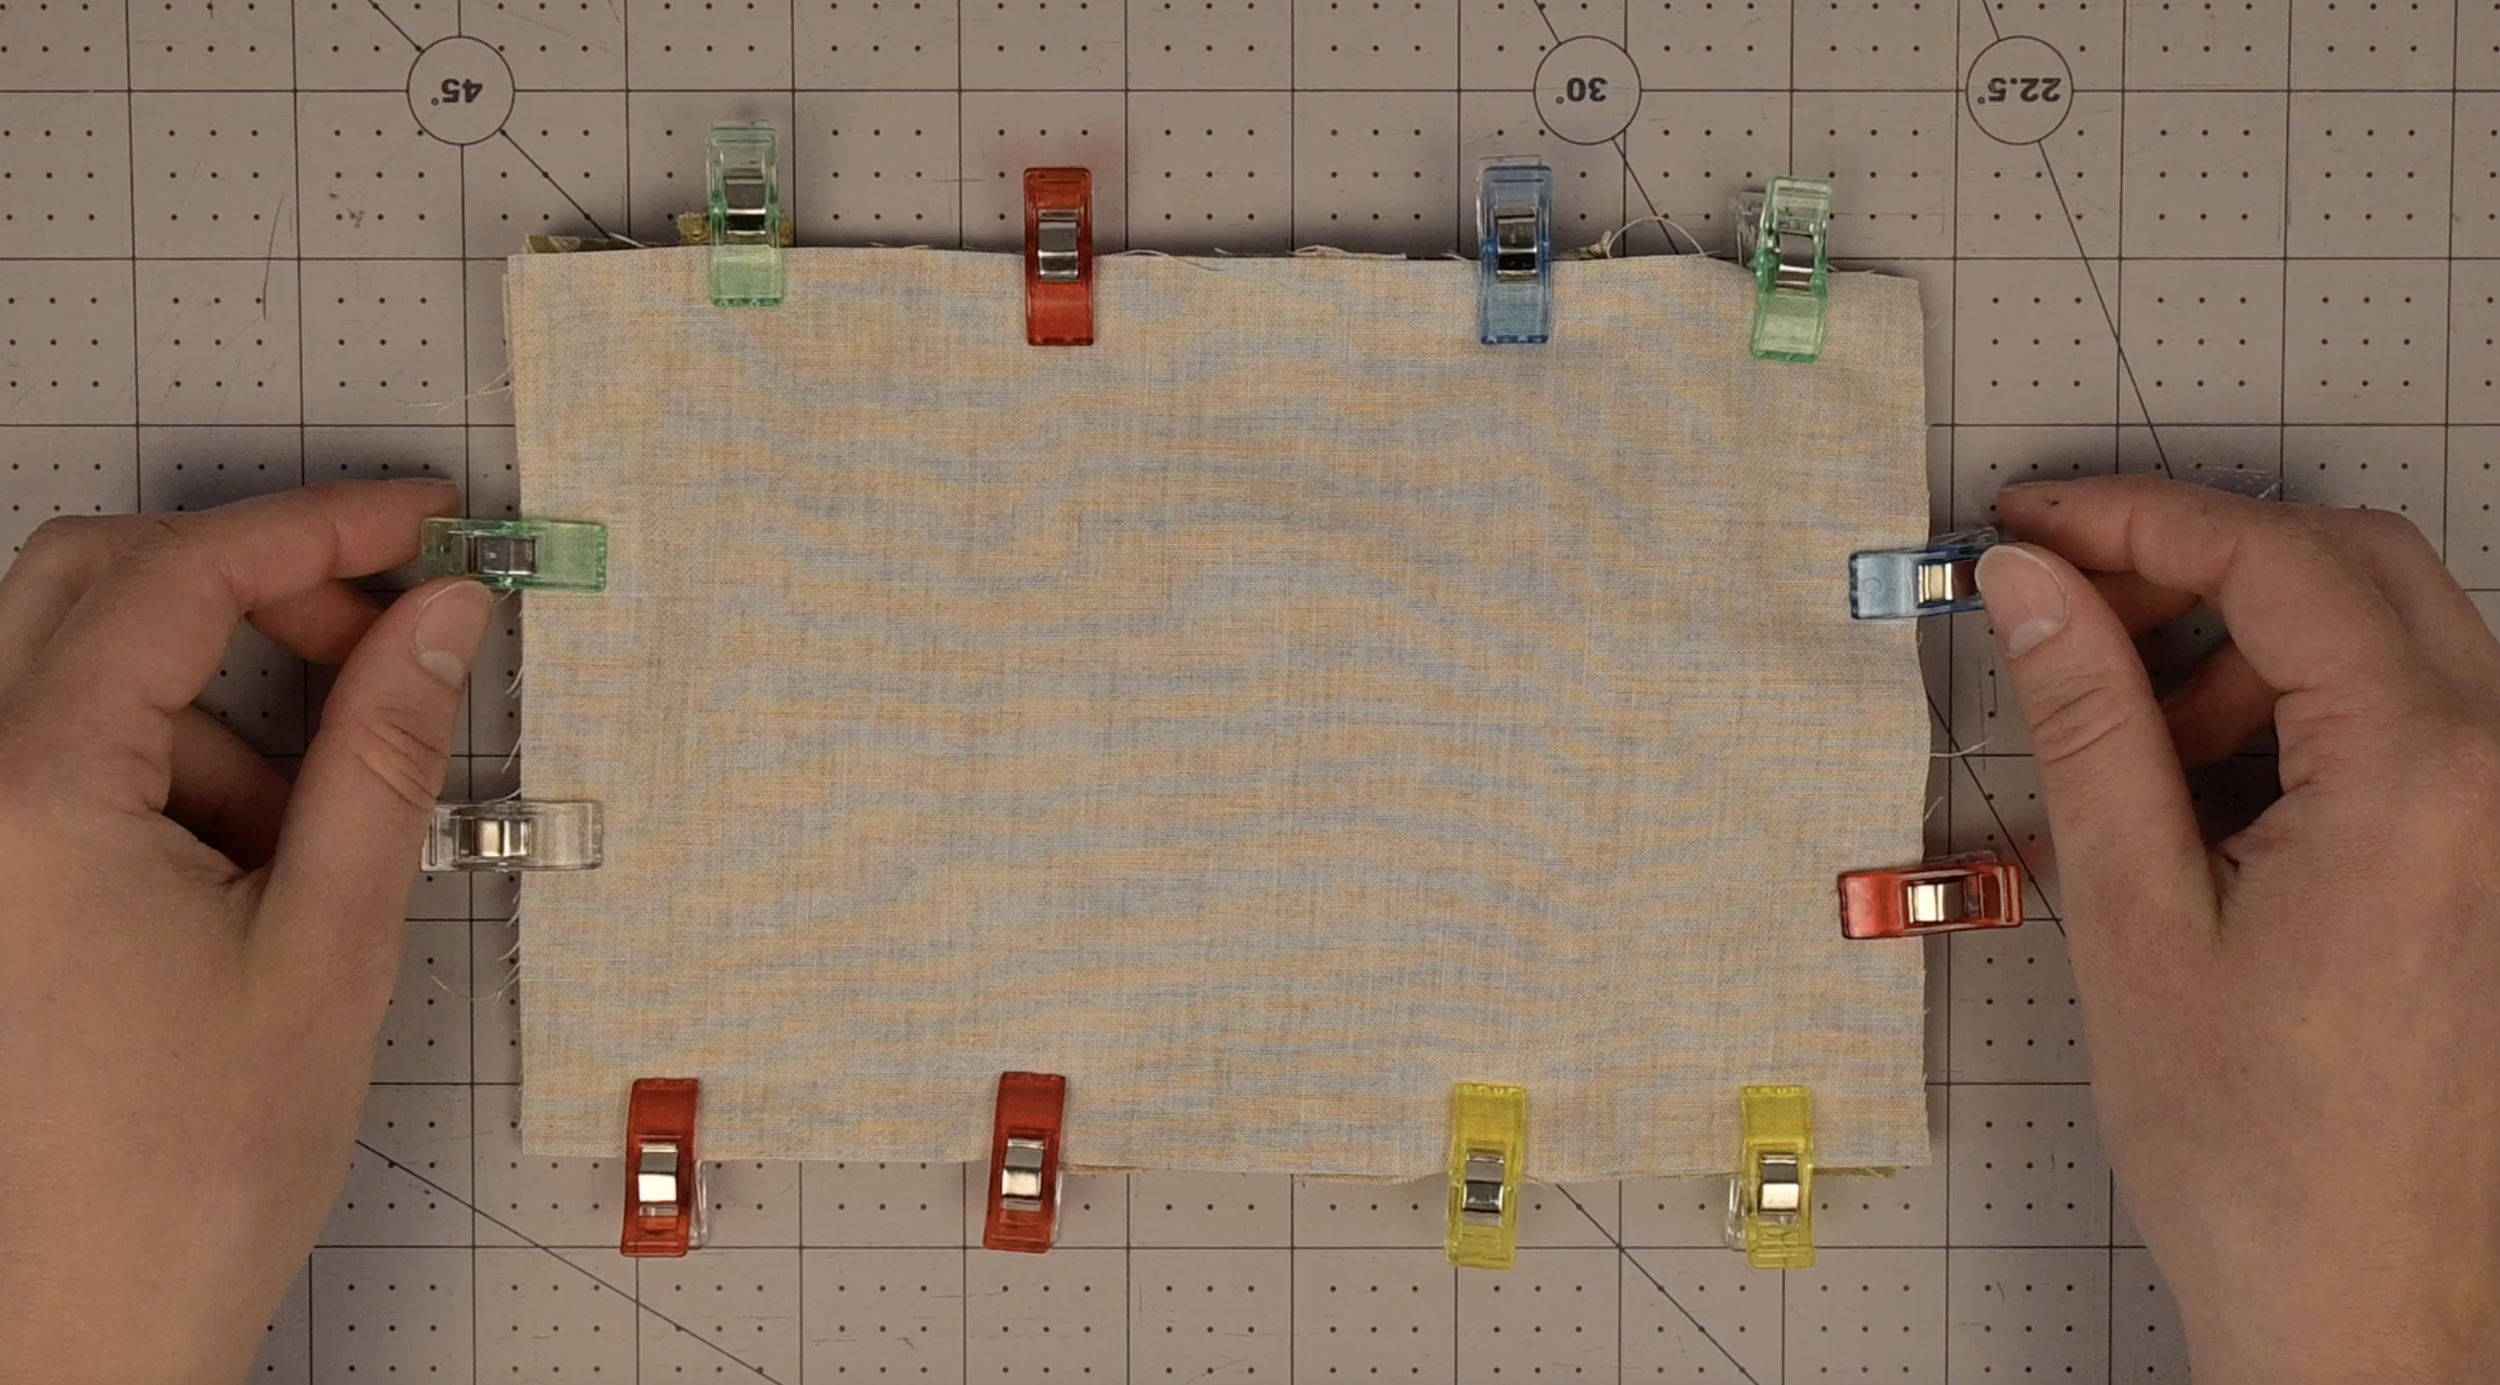
Pin and/or clip the lining fabric on top with the right side facing down
Step 8: Sew
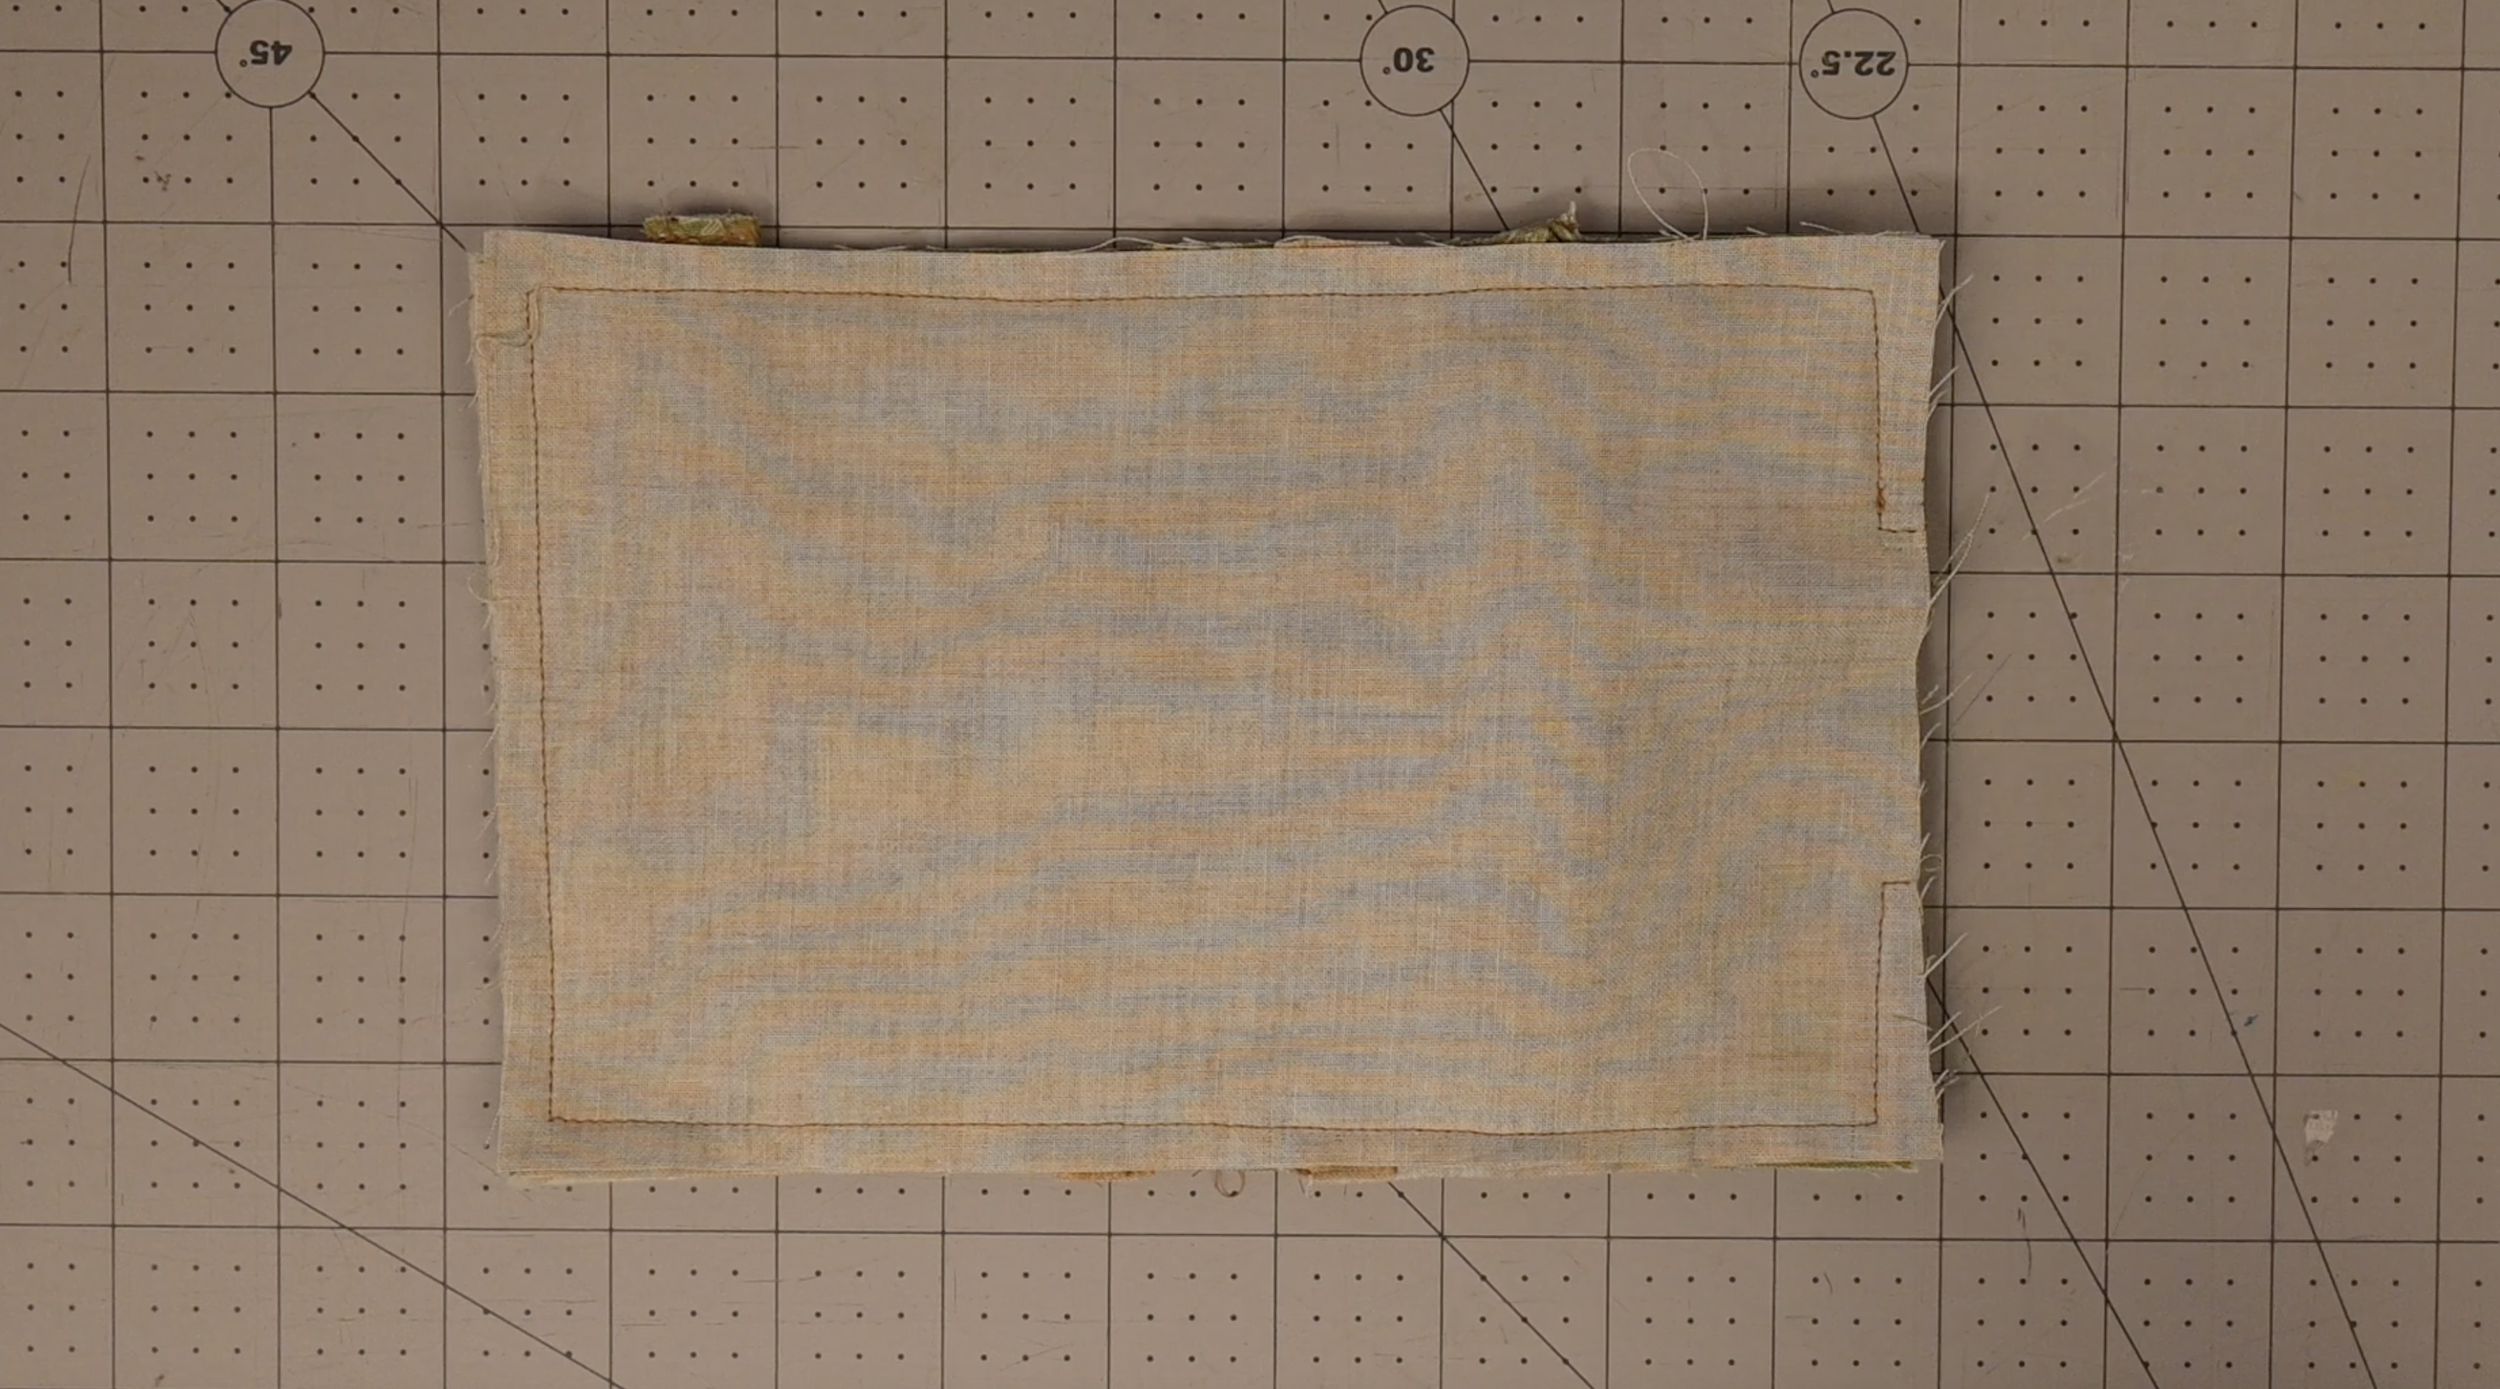
Sew alongside the outside edge
Leave a 2 inch opening on the right side (the side with the elastic) for turning
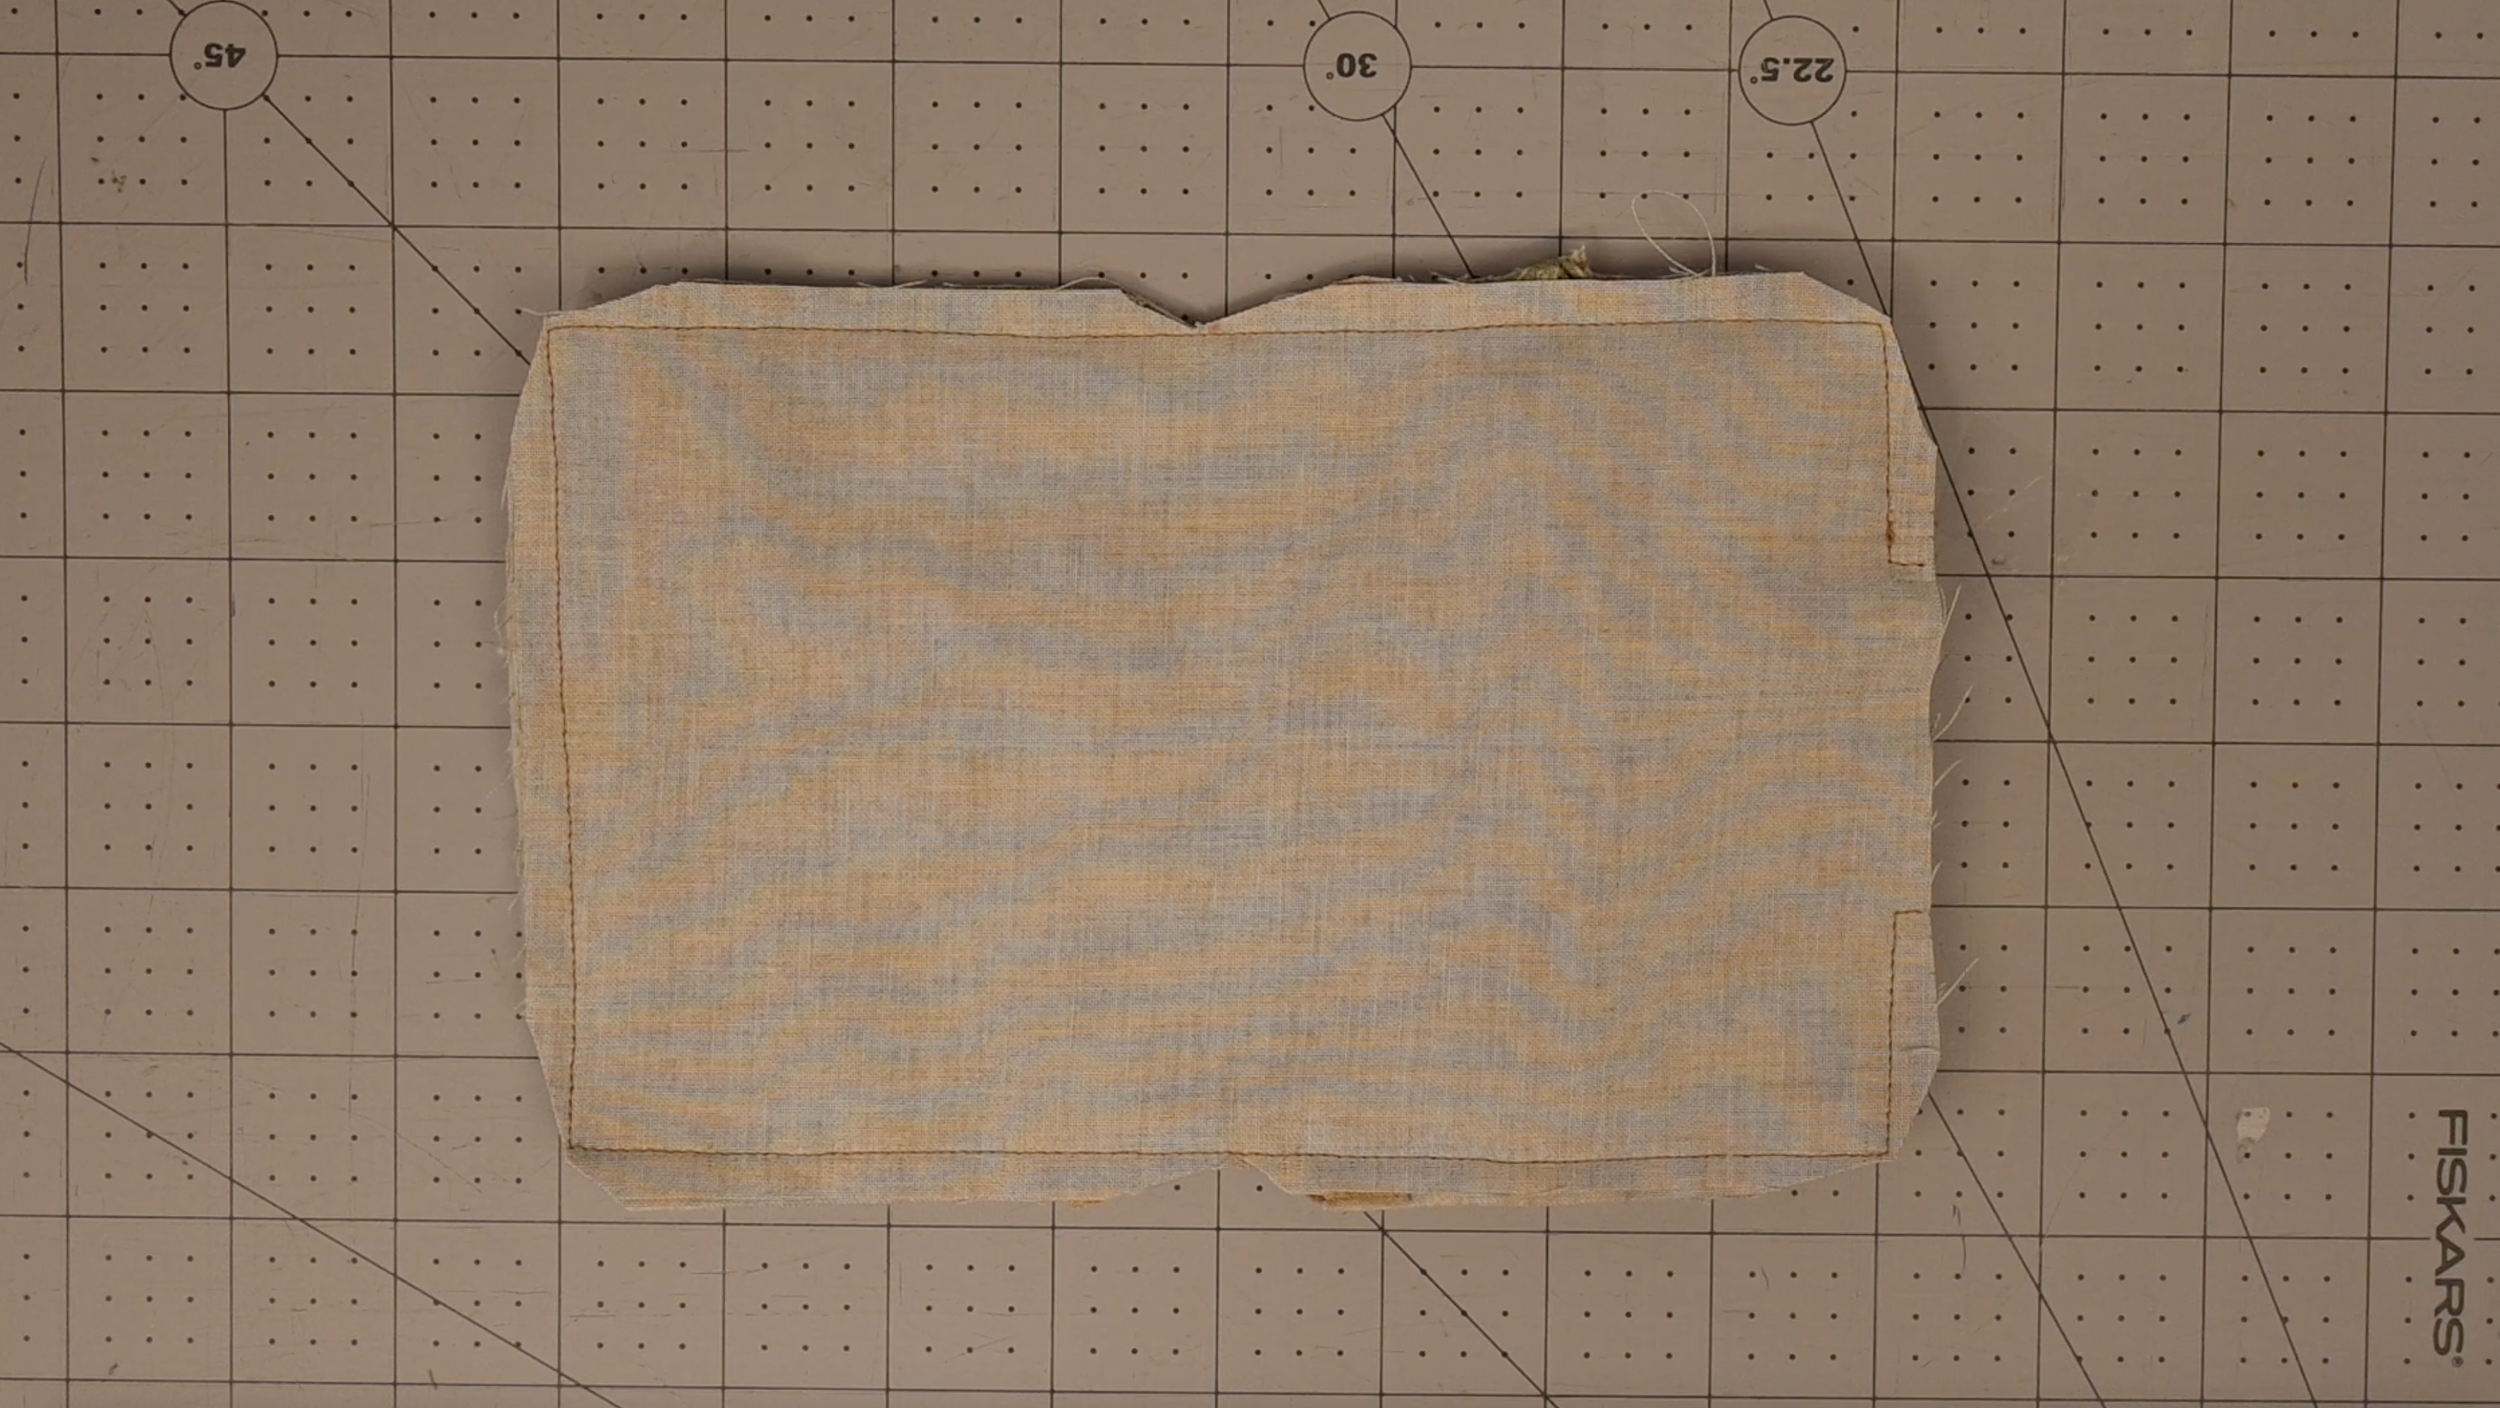
Remove the extra fabric on each corner
Remove a triangle of fabric on each side of the center stitch
Step 9: The Final Assembly
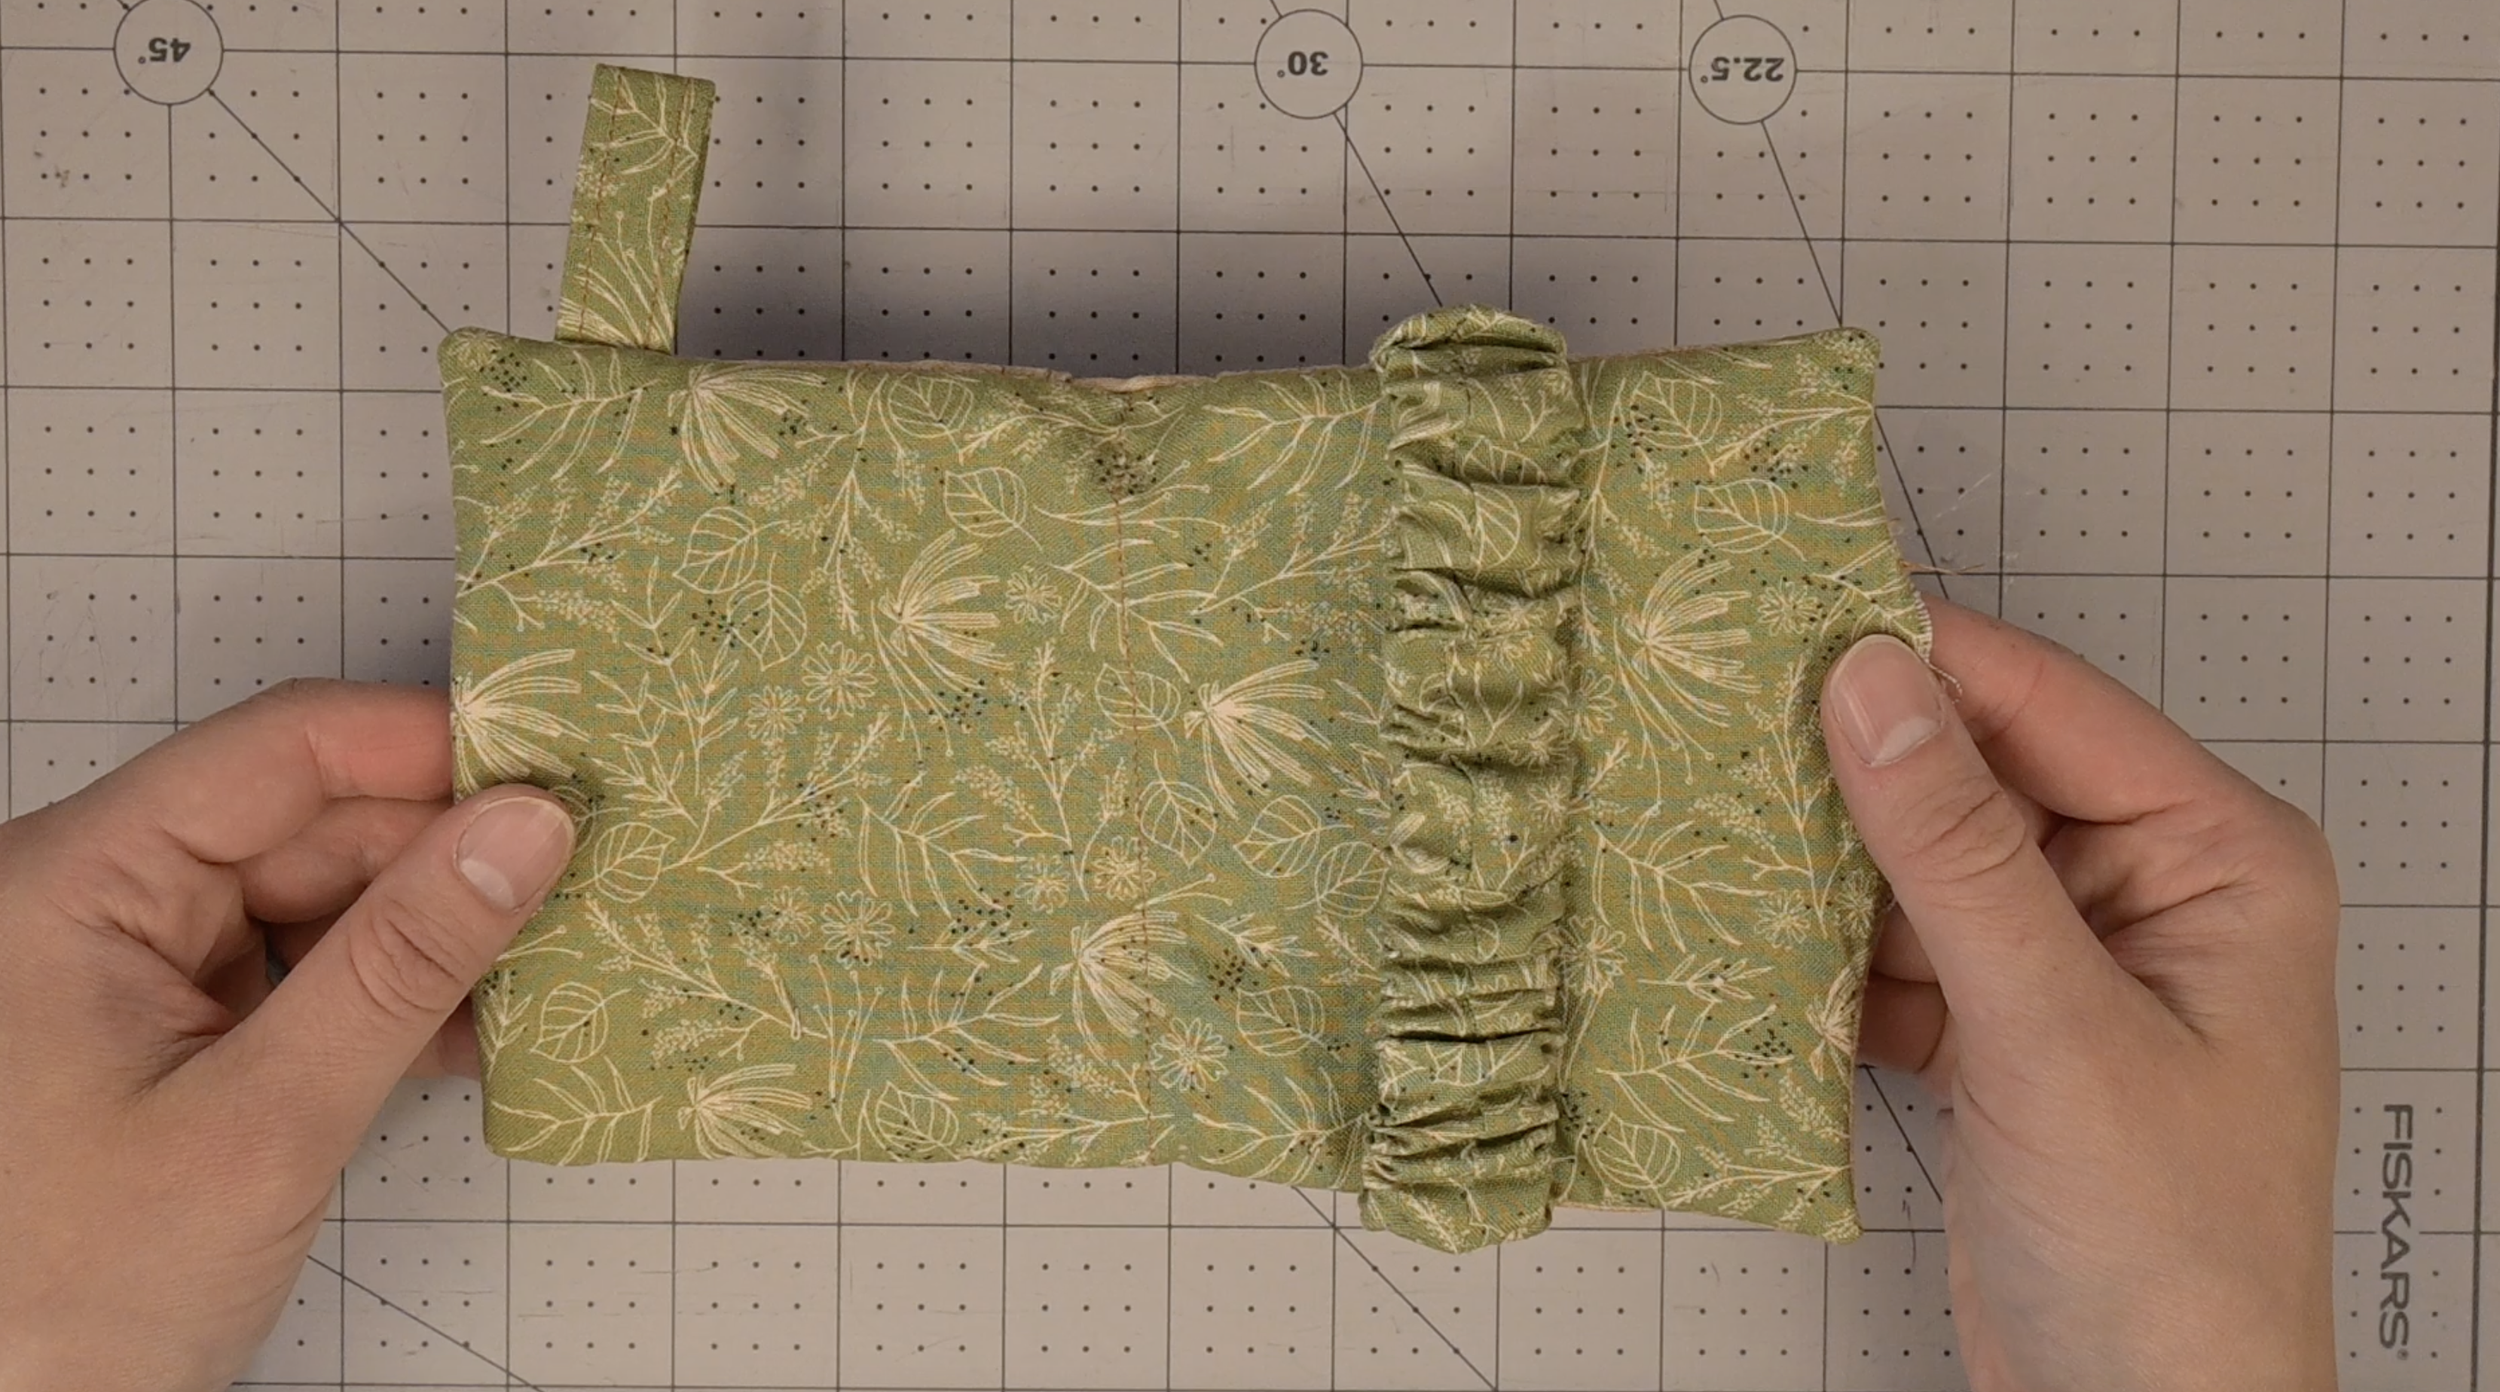
Turn the pouch rightside out through the 2 inch opening
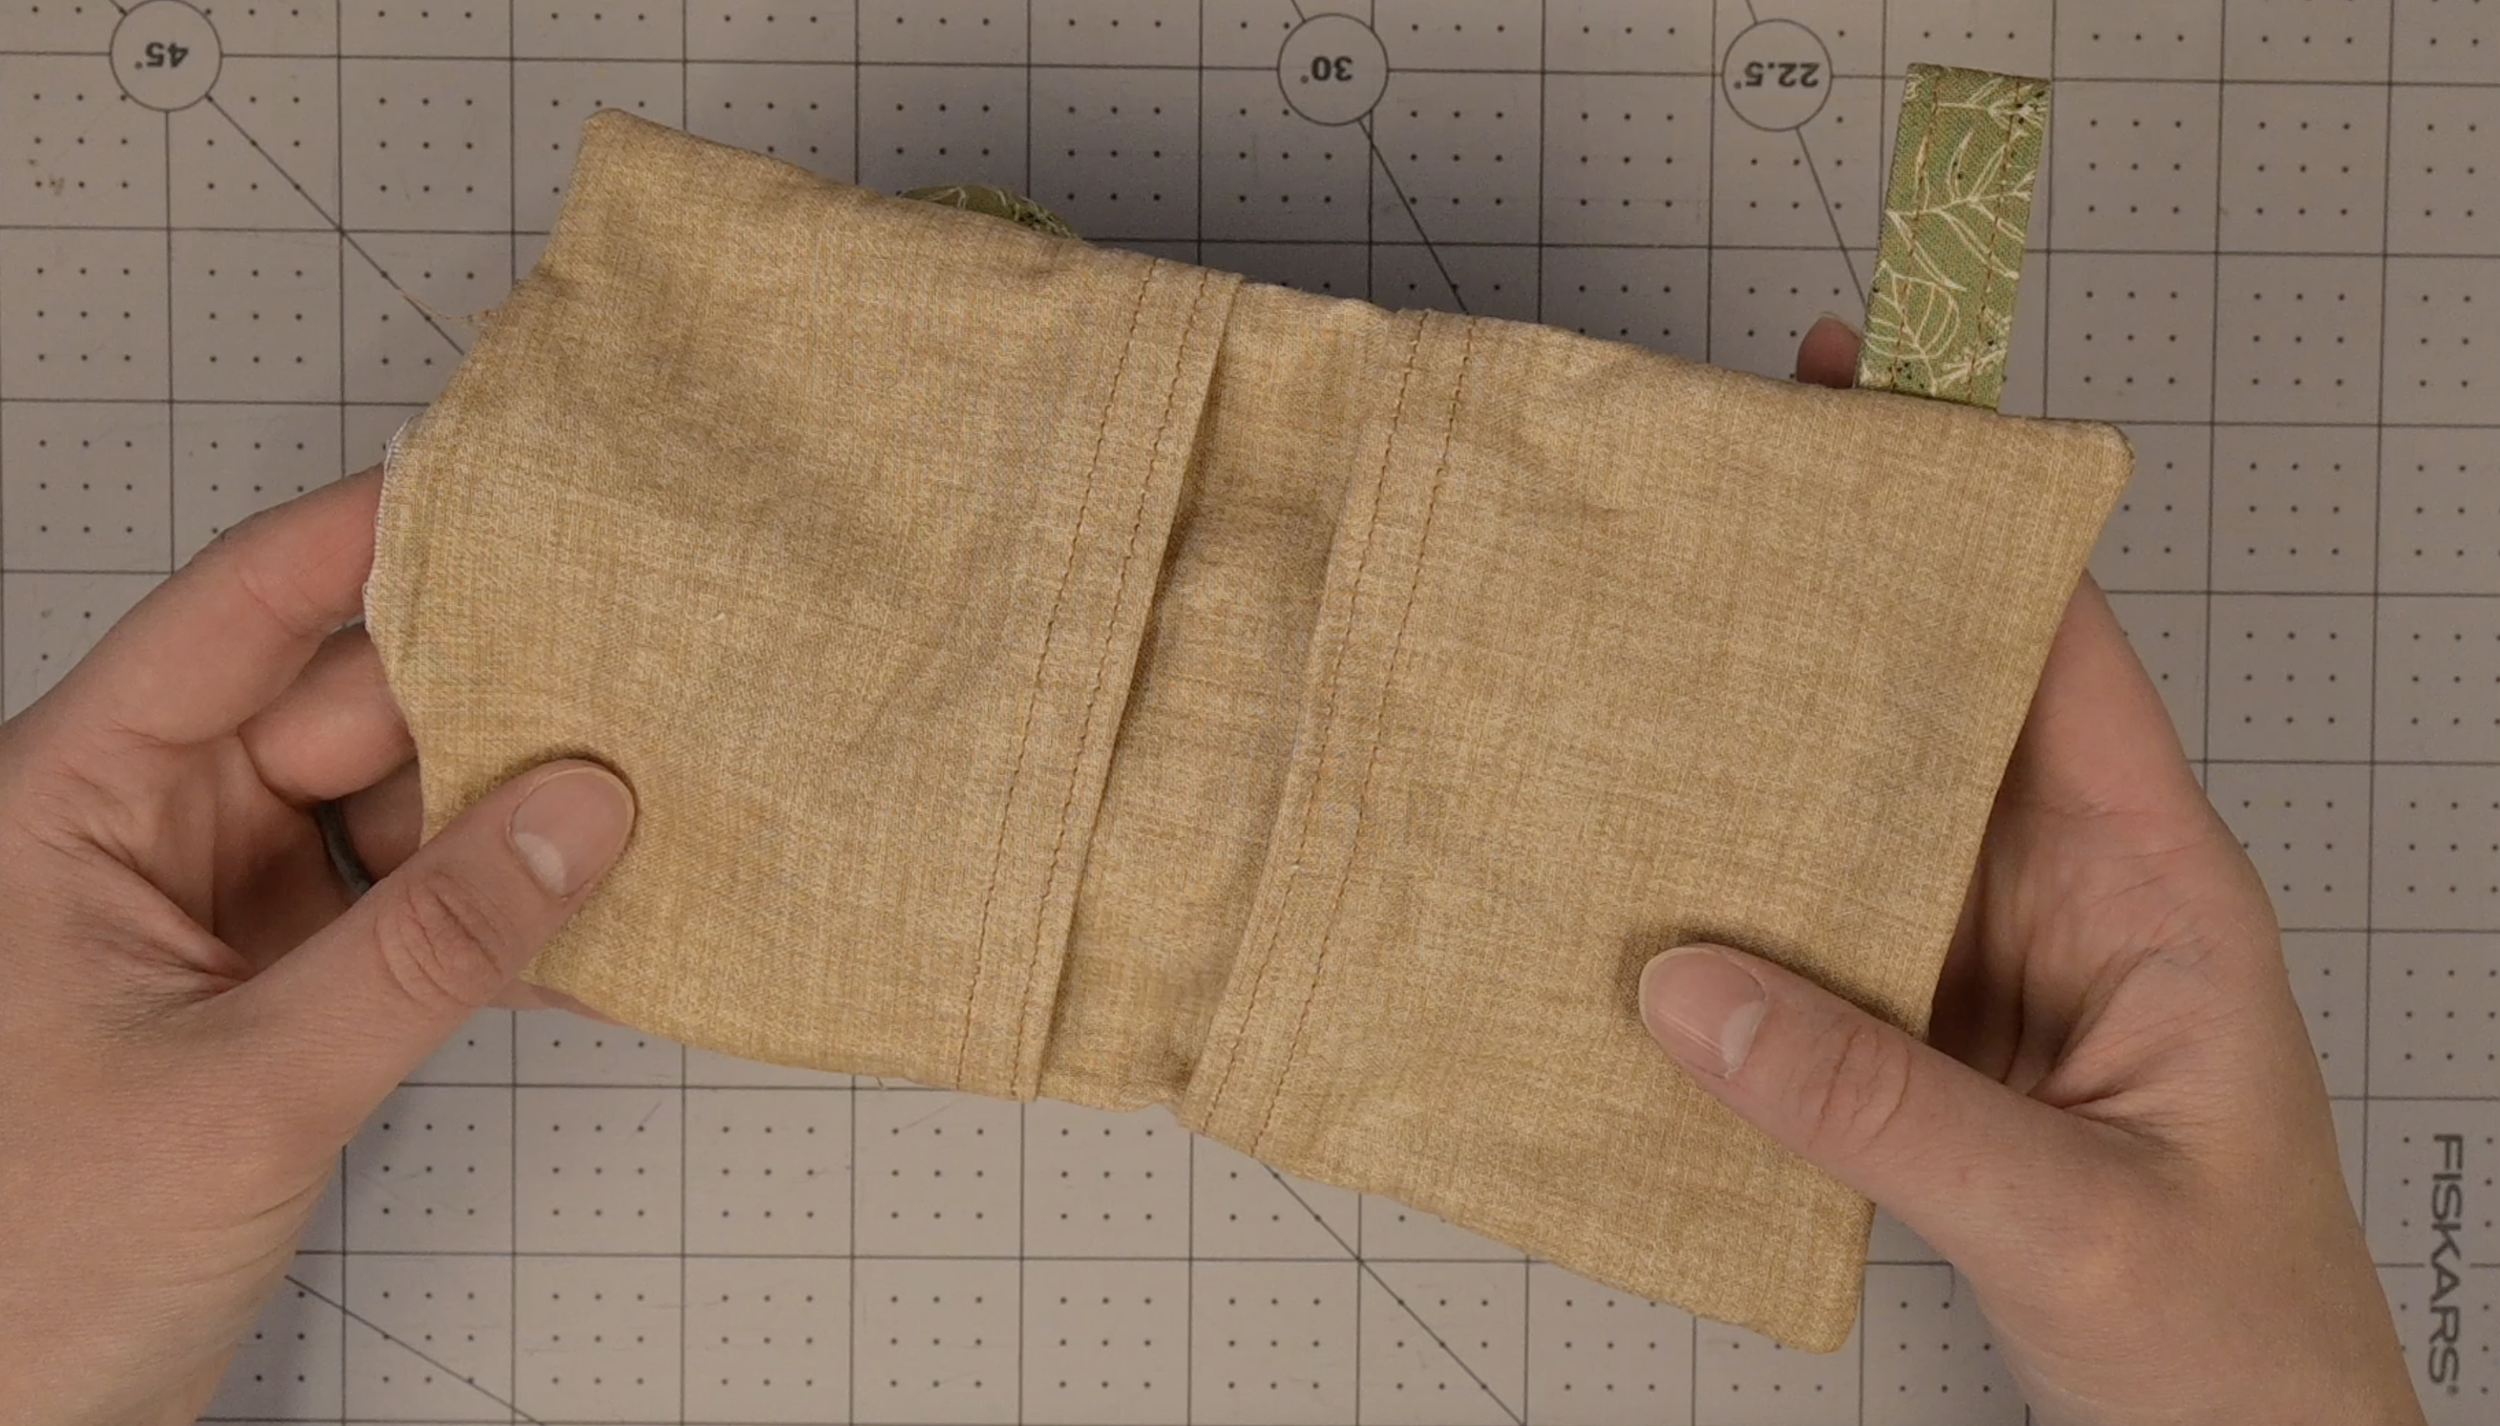
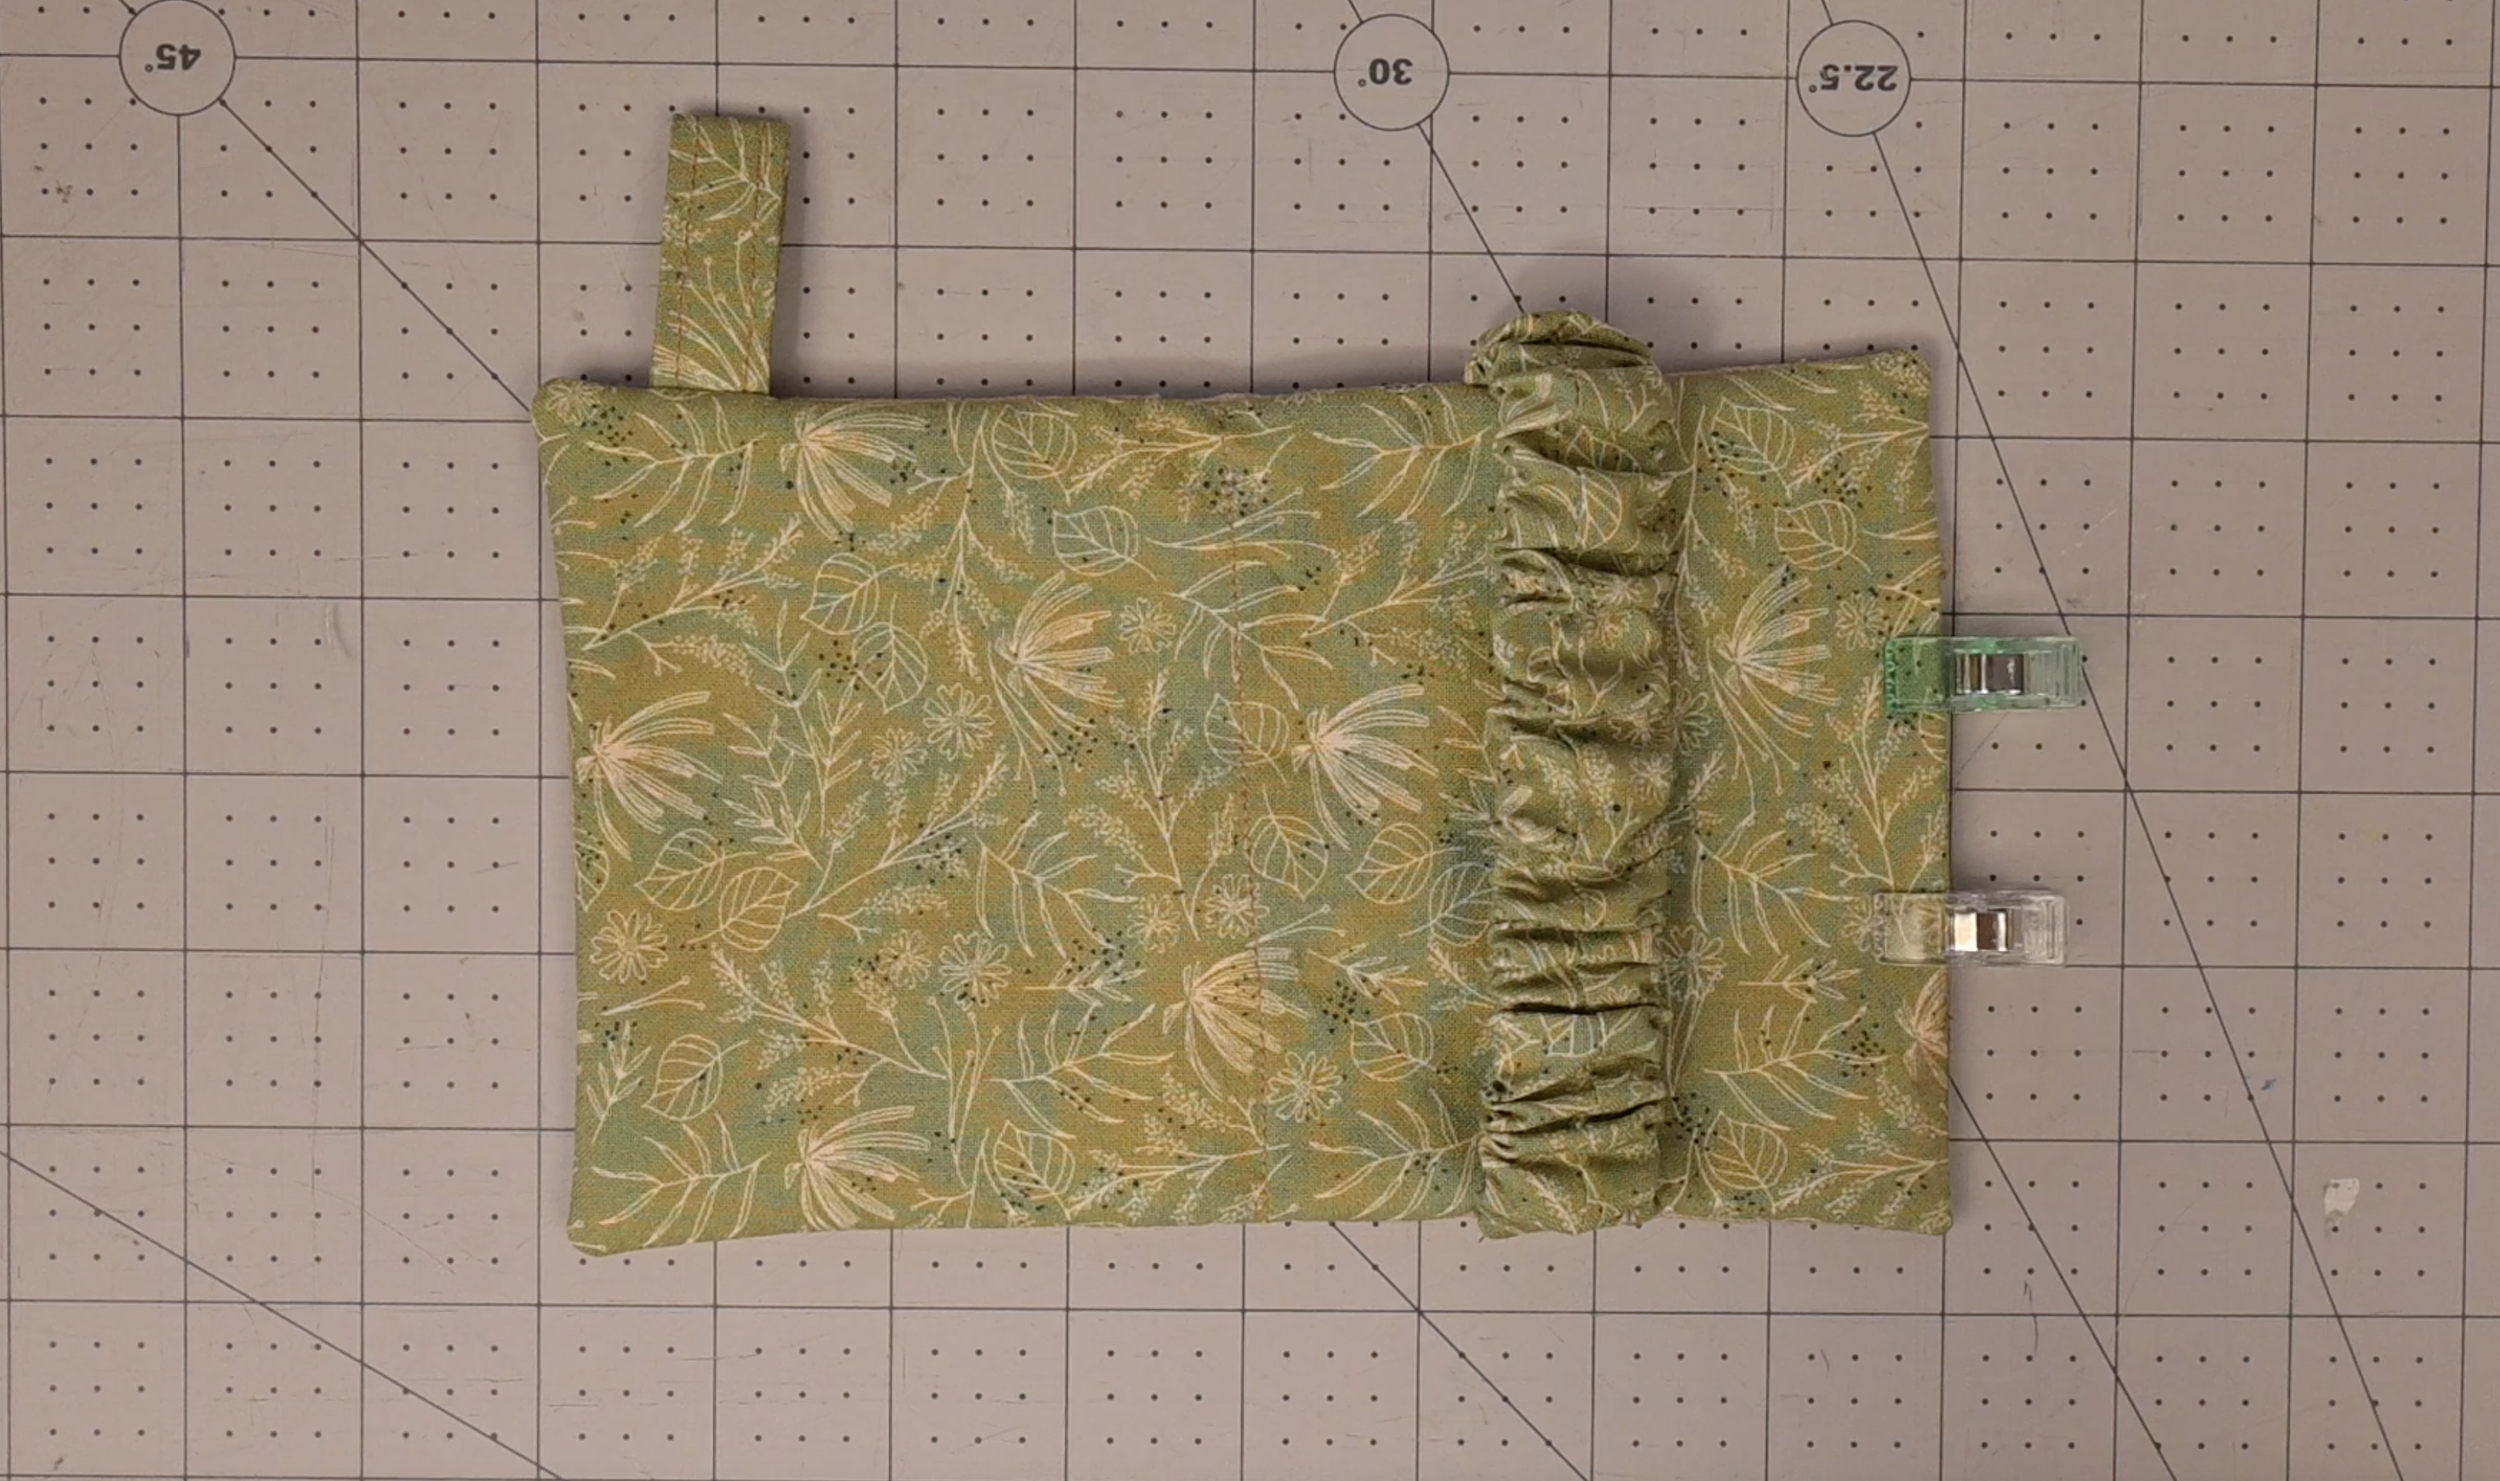
Iron the edges flat
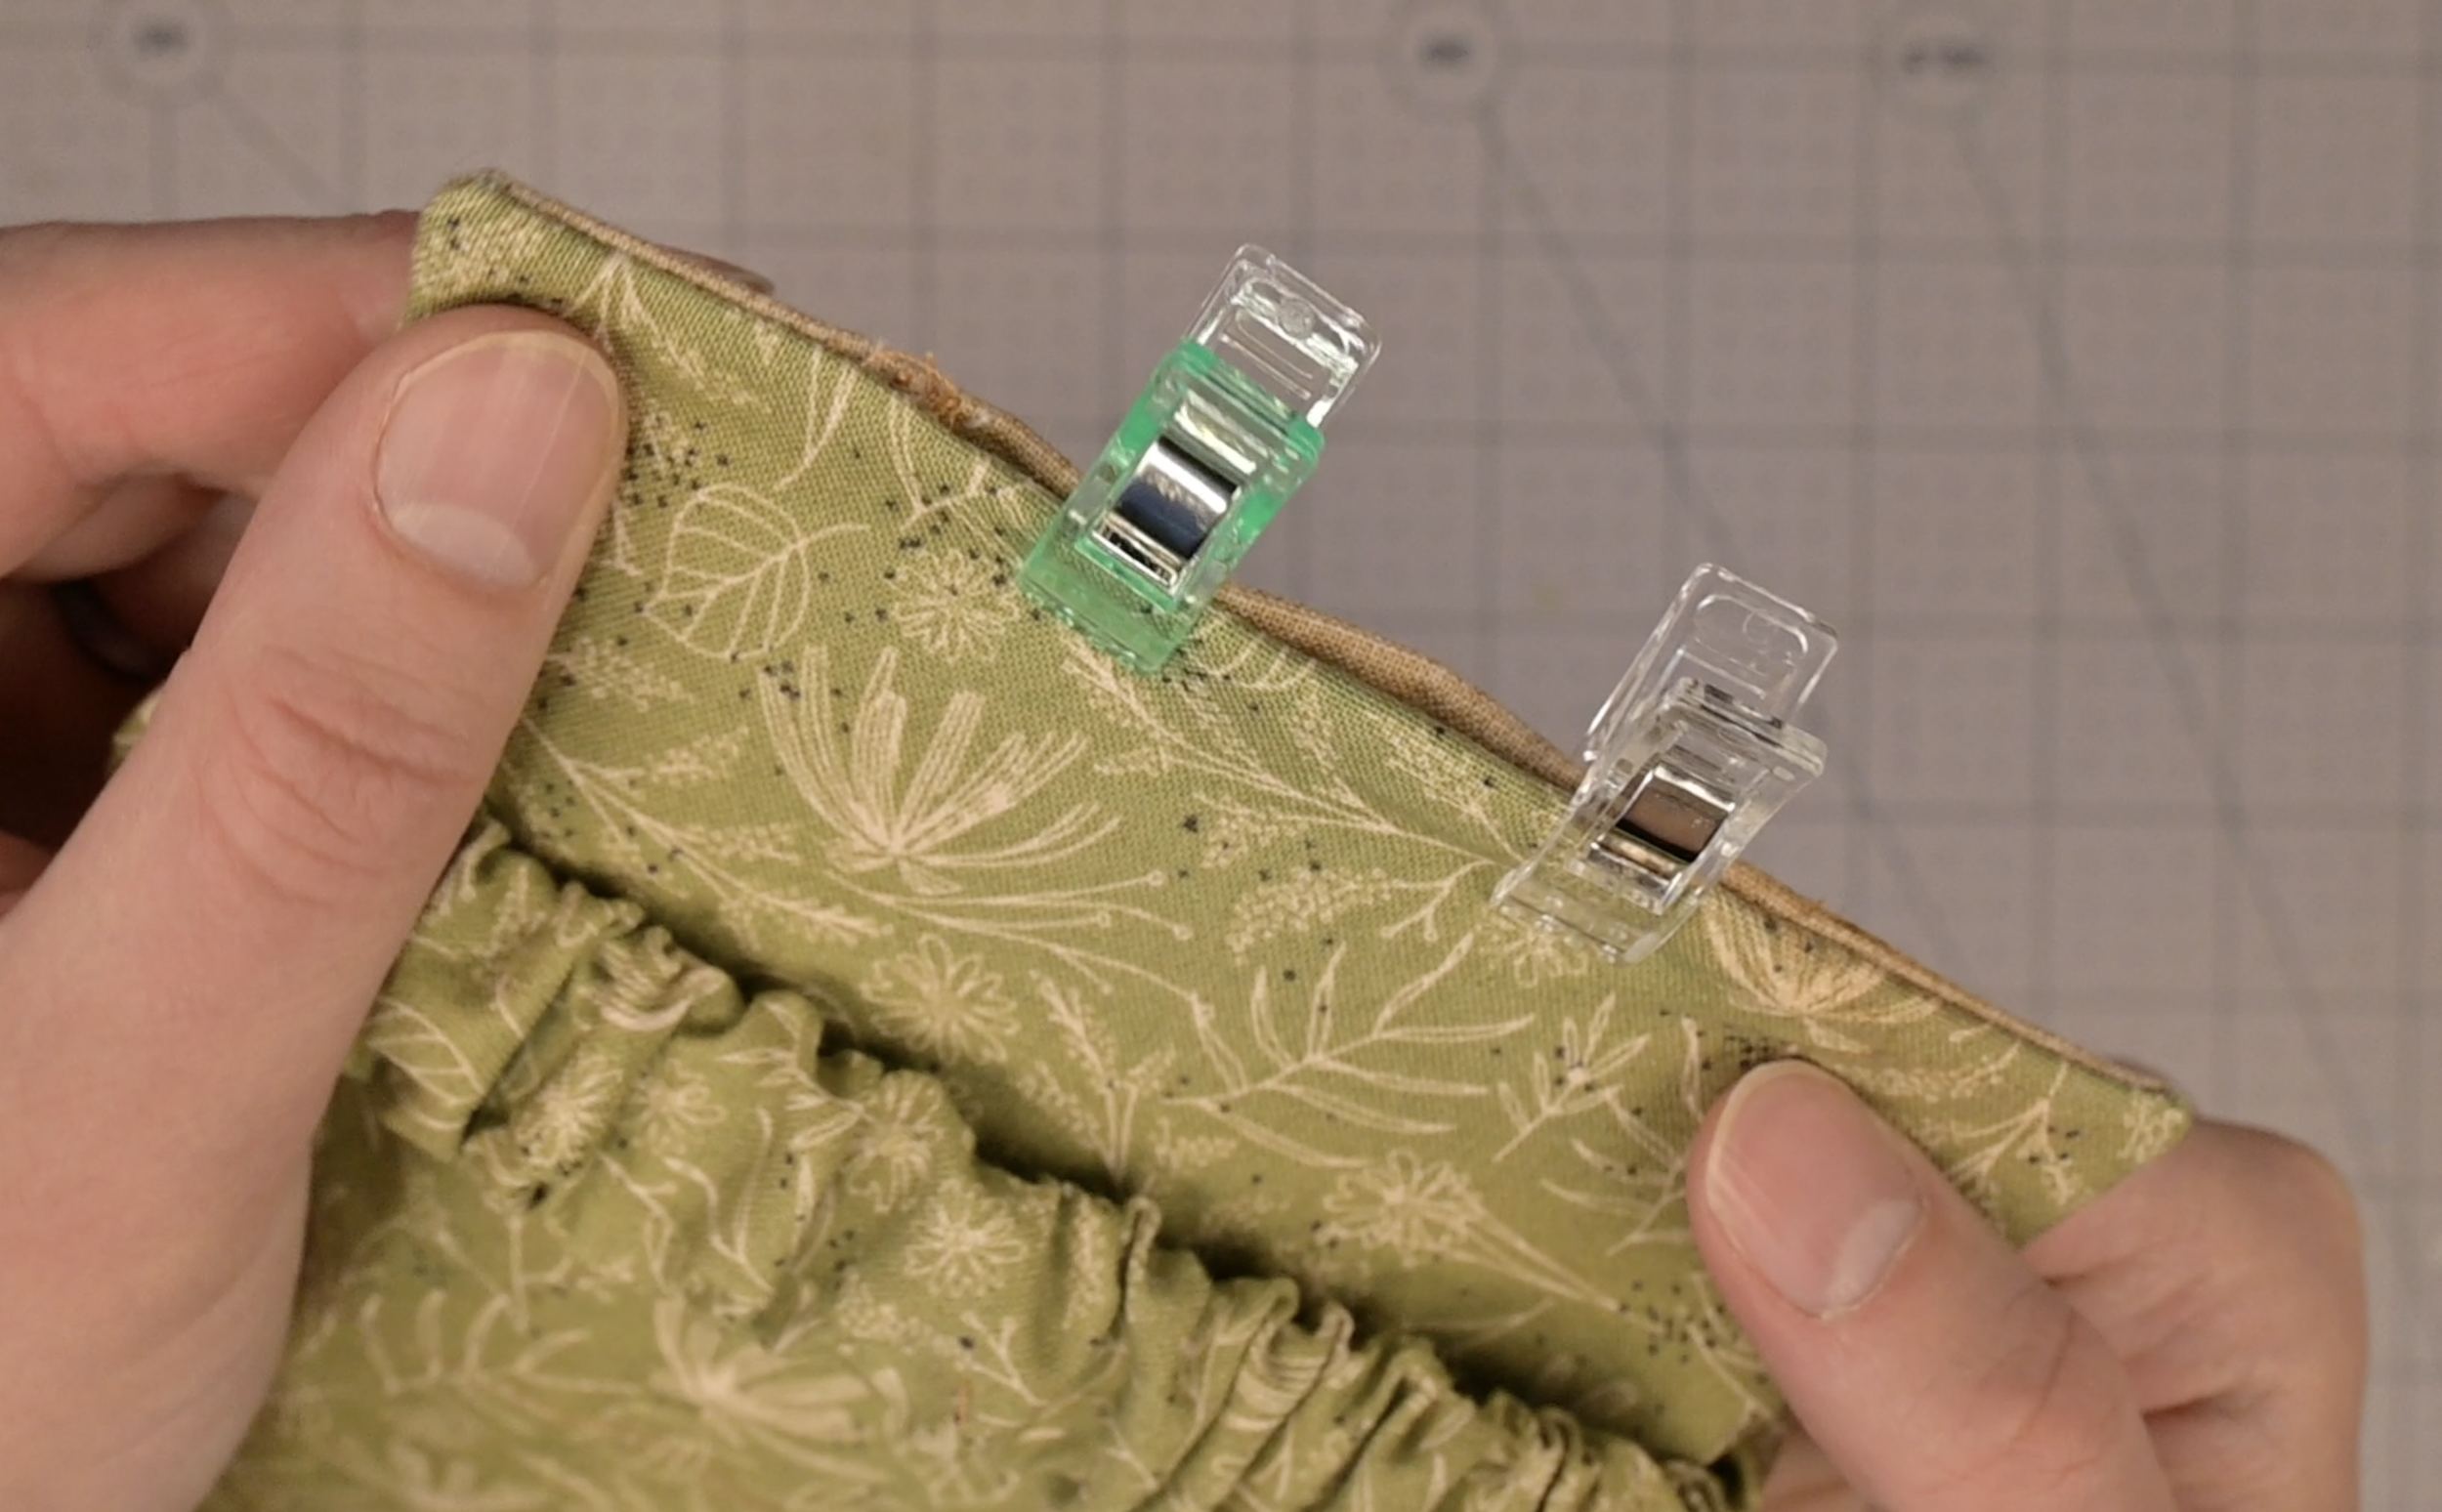
Tuck the opening fabric inwards and iron flat
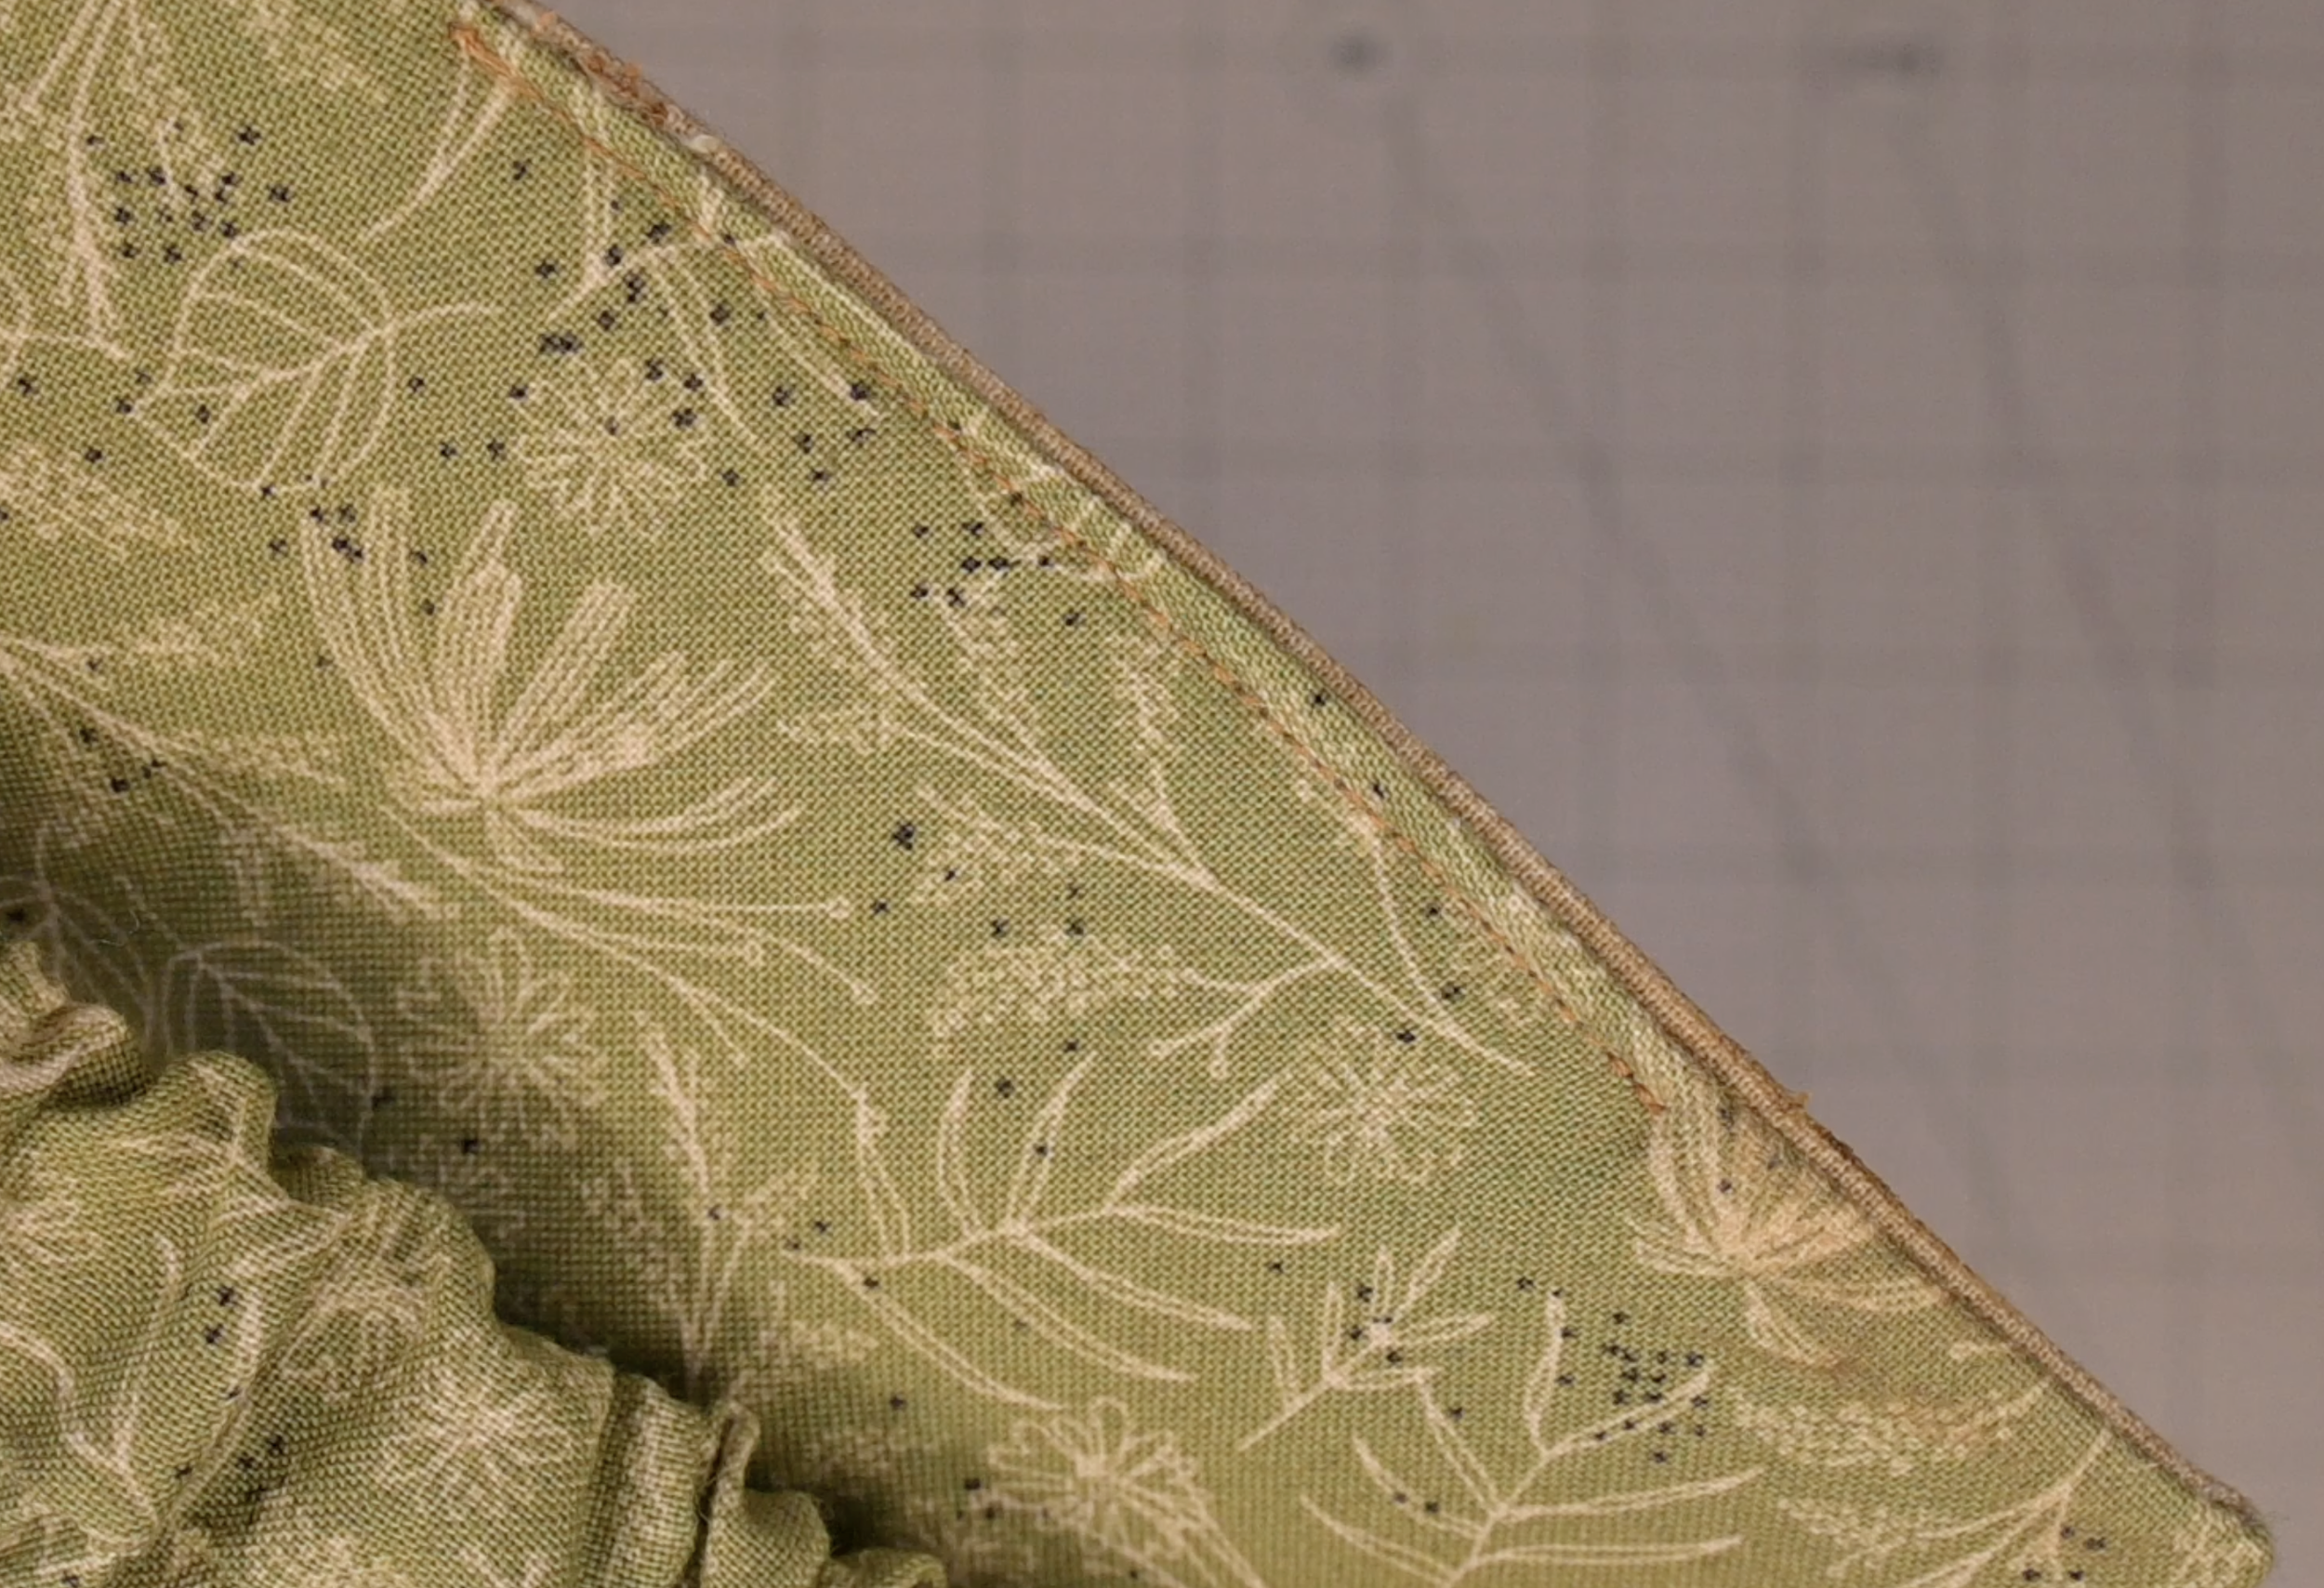
Sew the opening closed
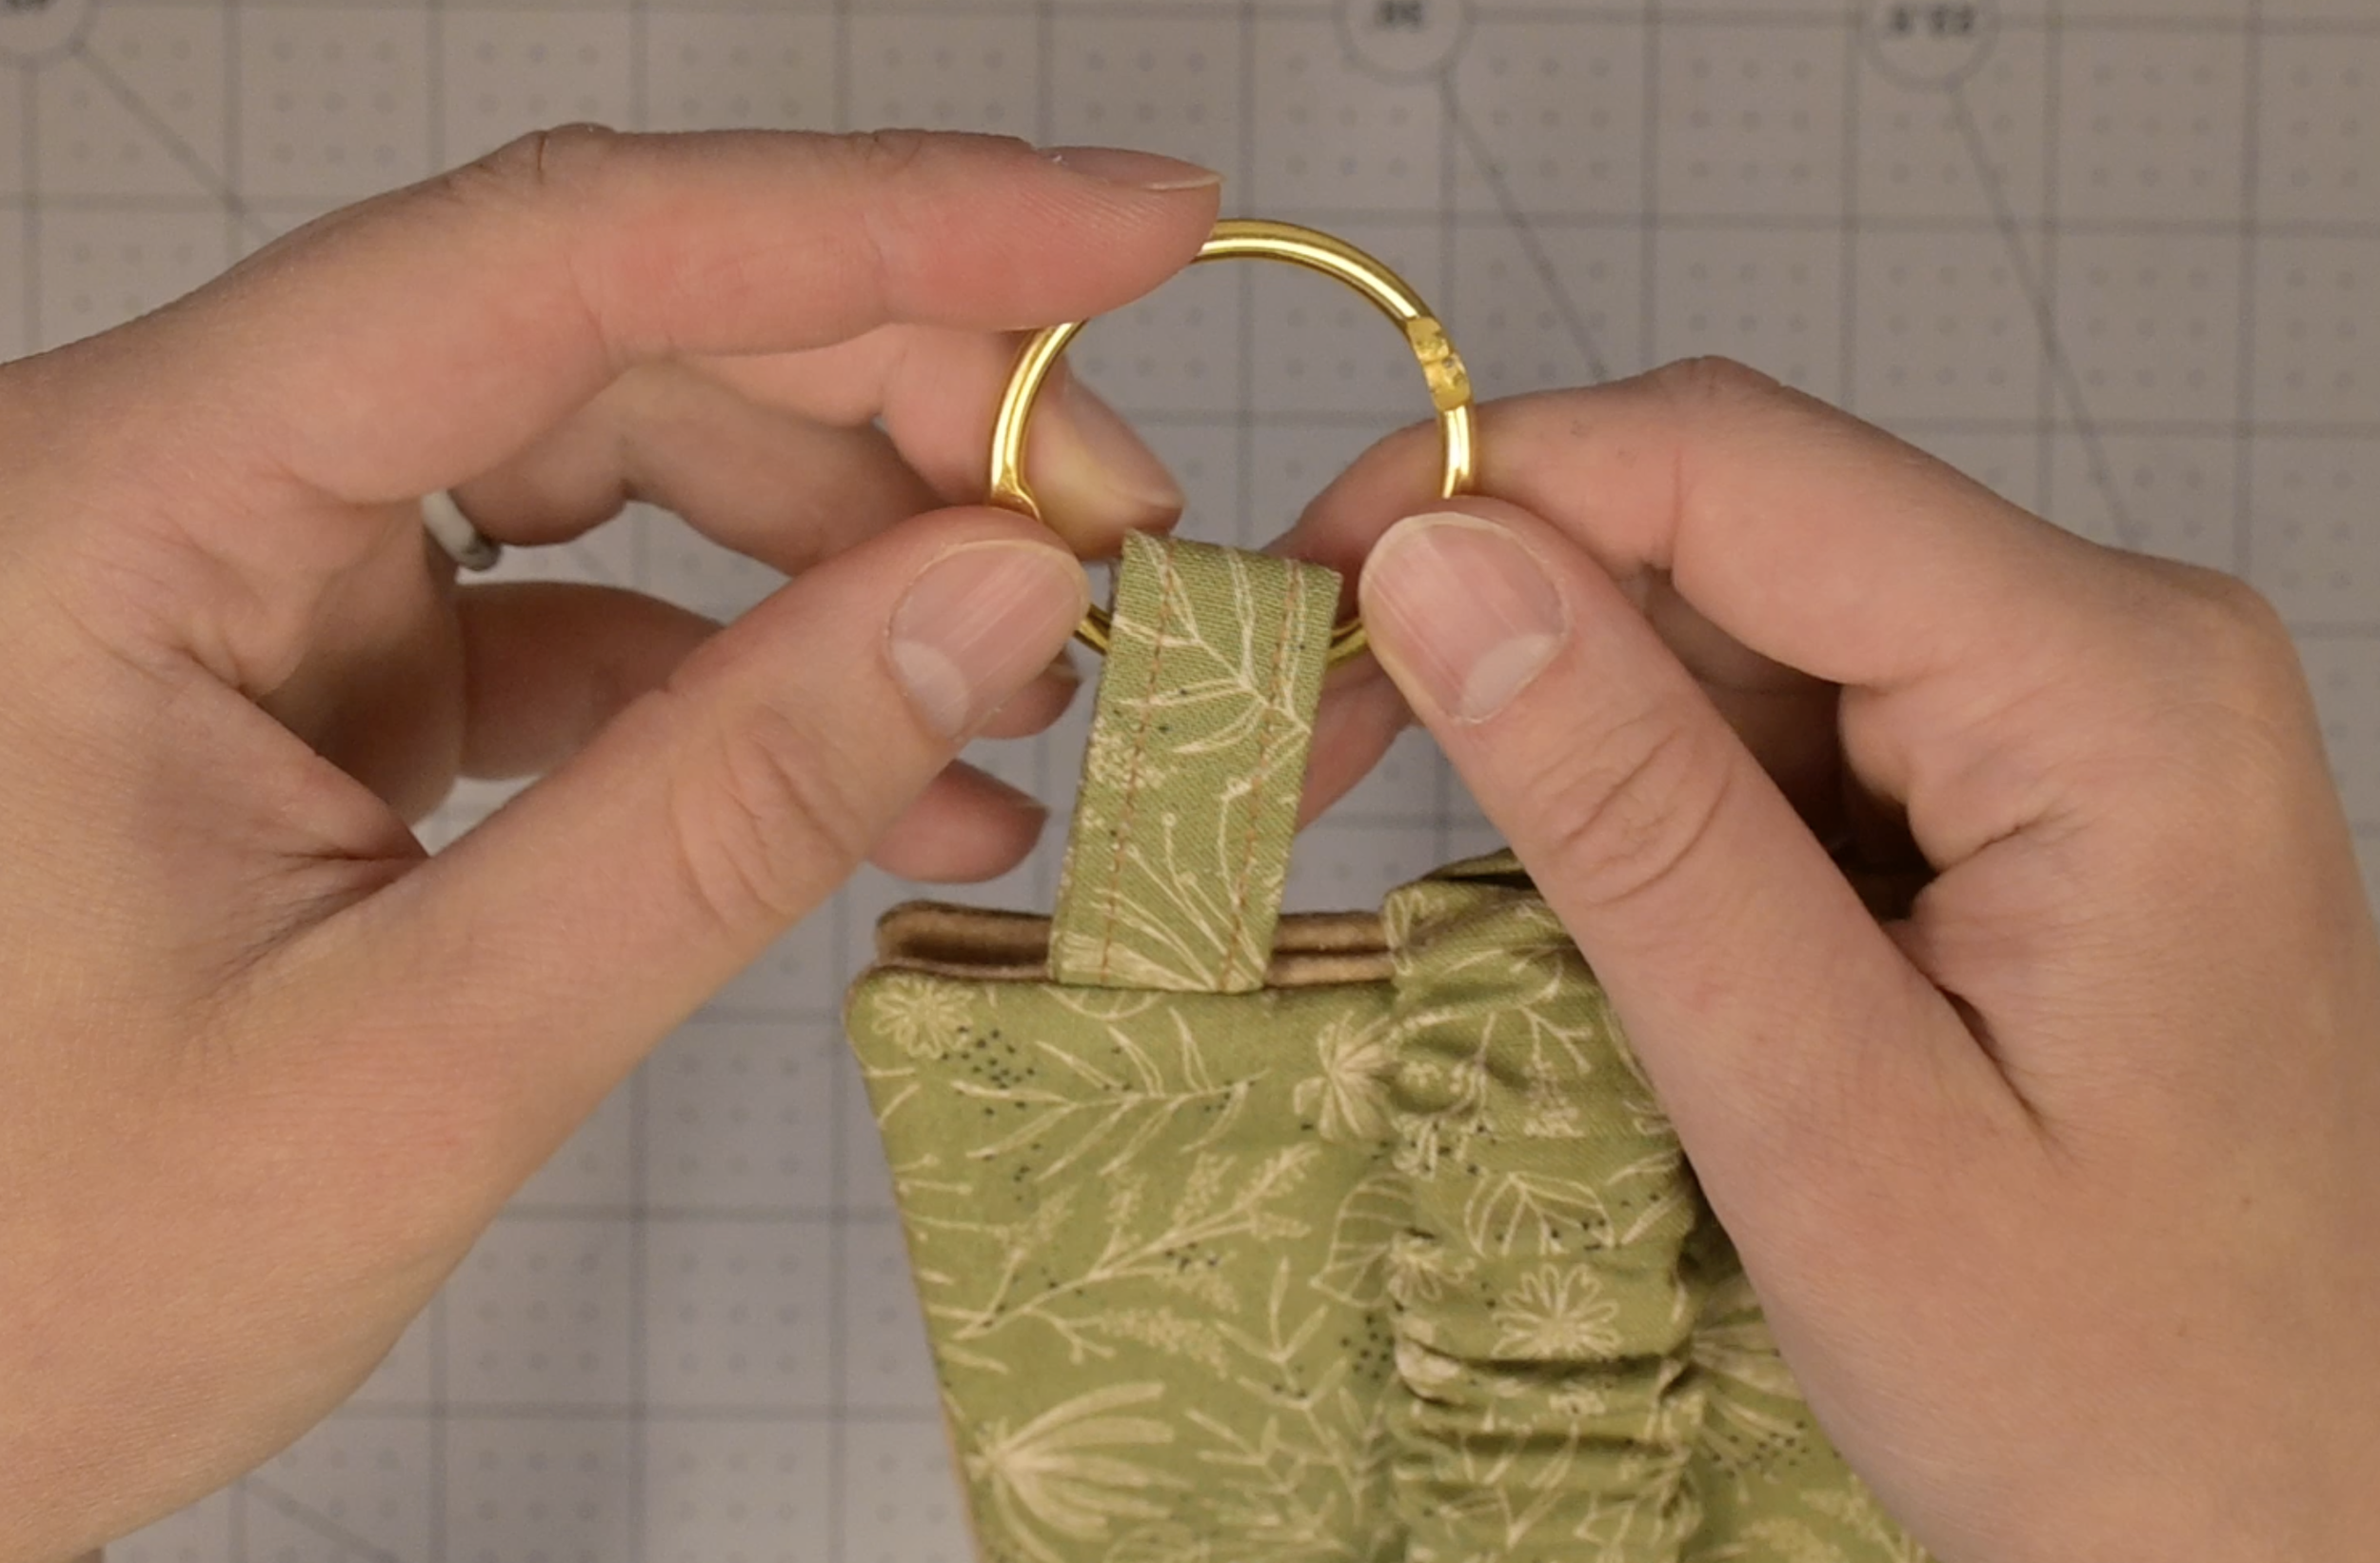
Attach the ring clip to the keychain loop
All Done!
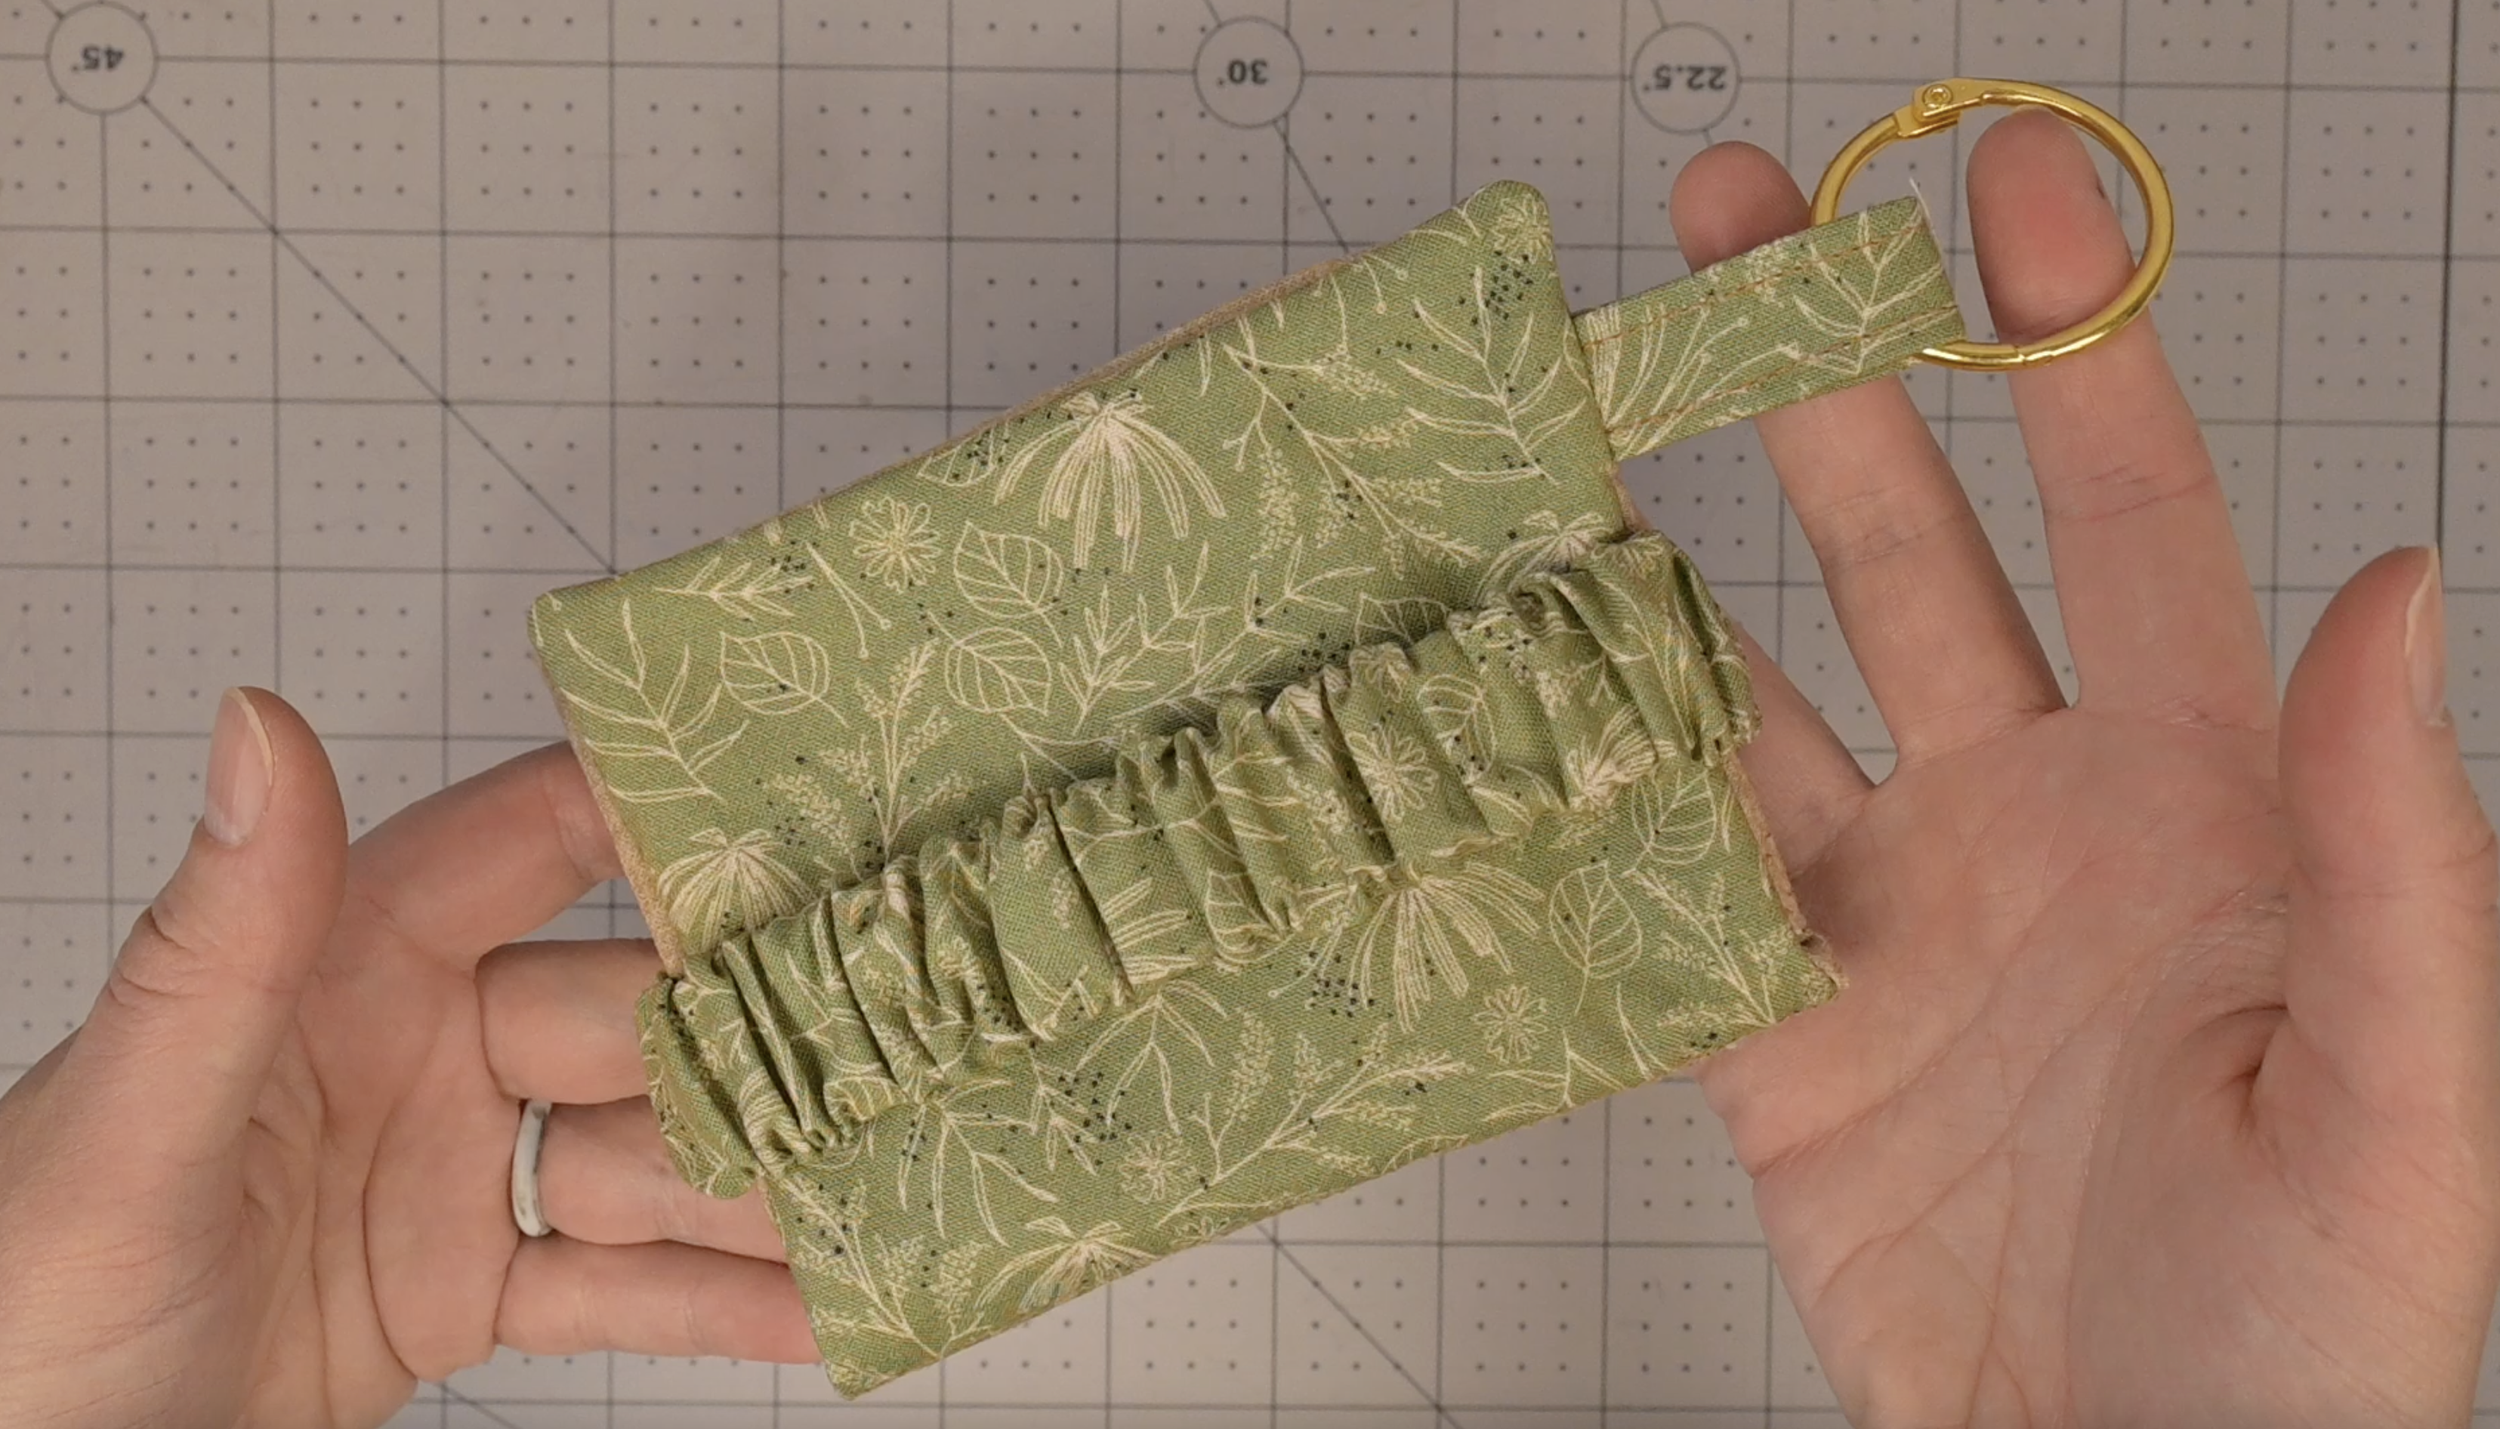
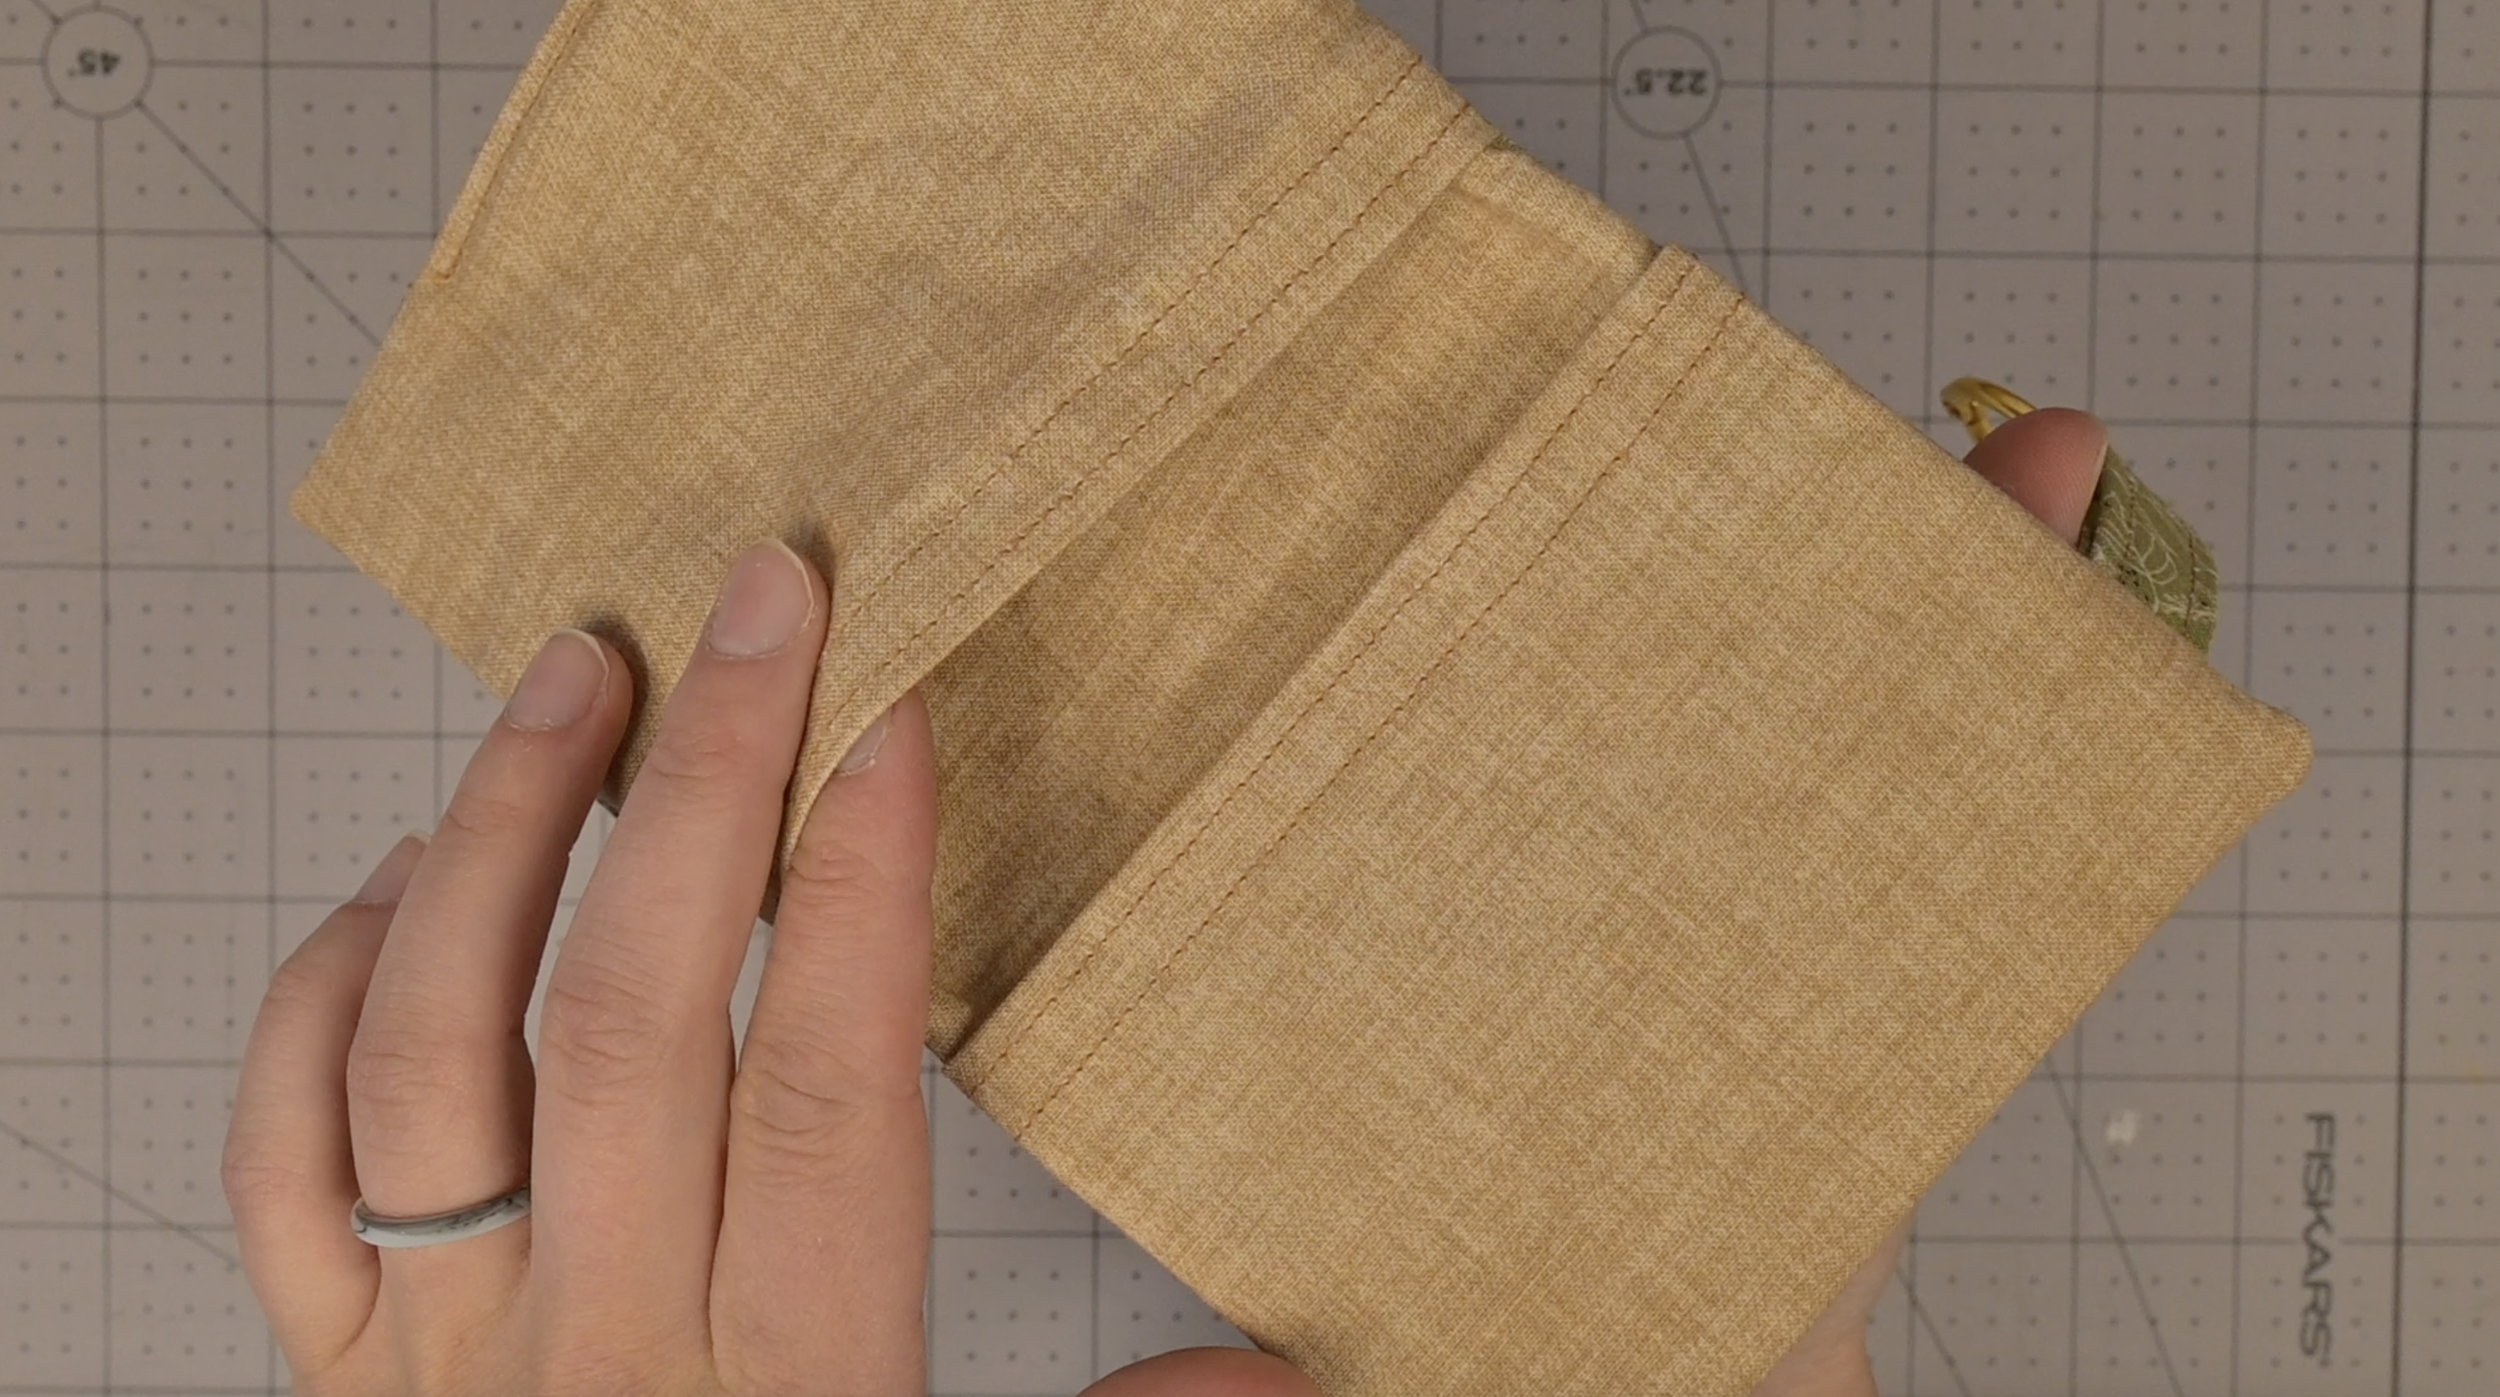
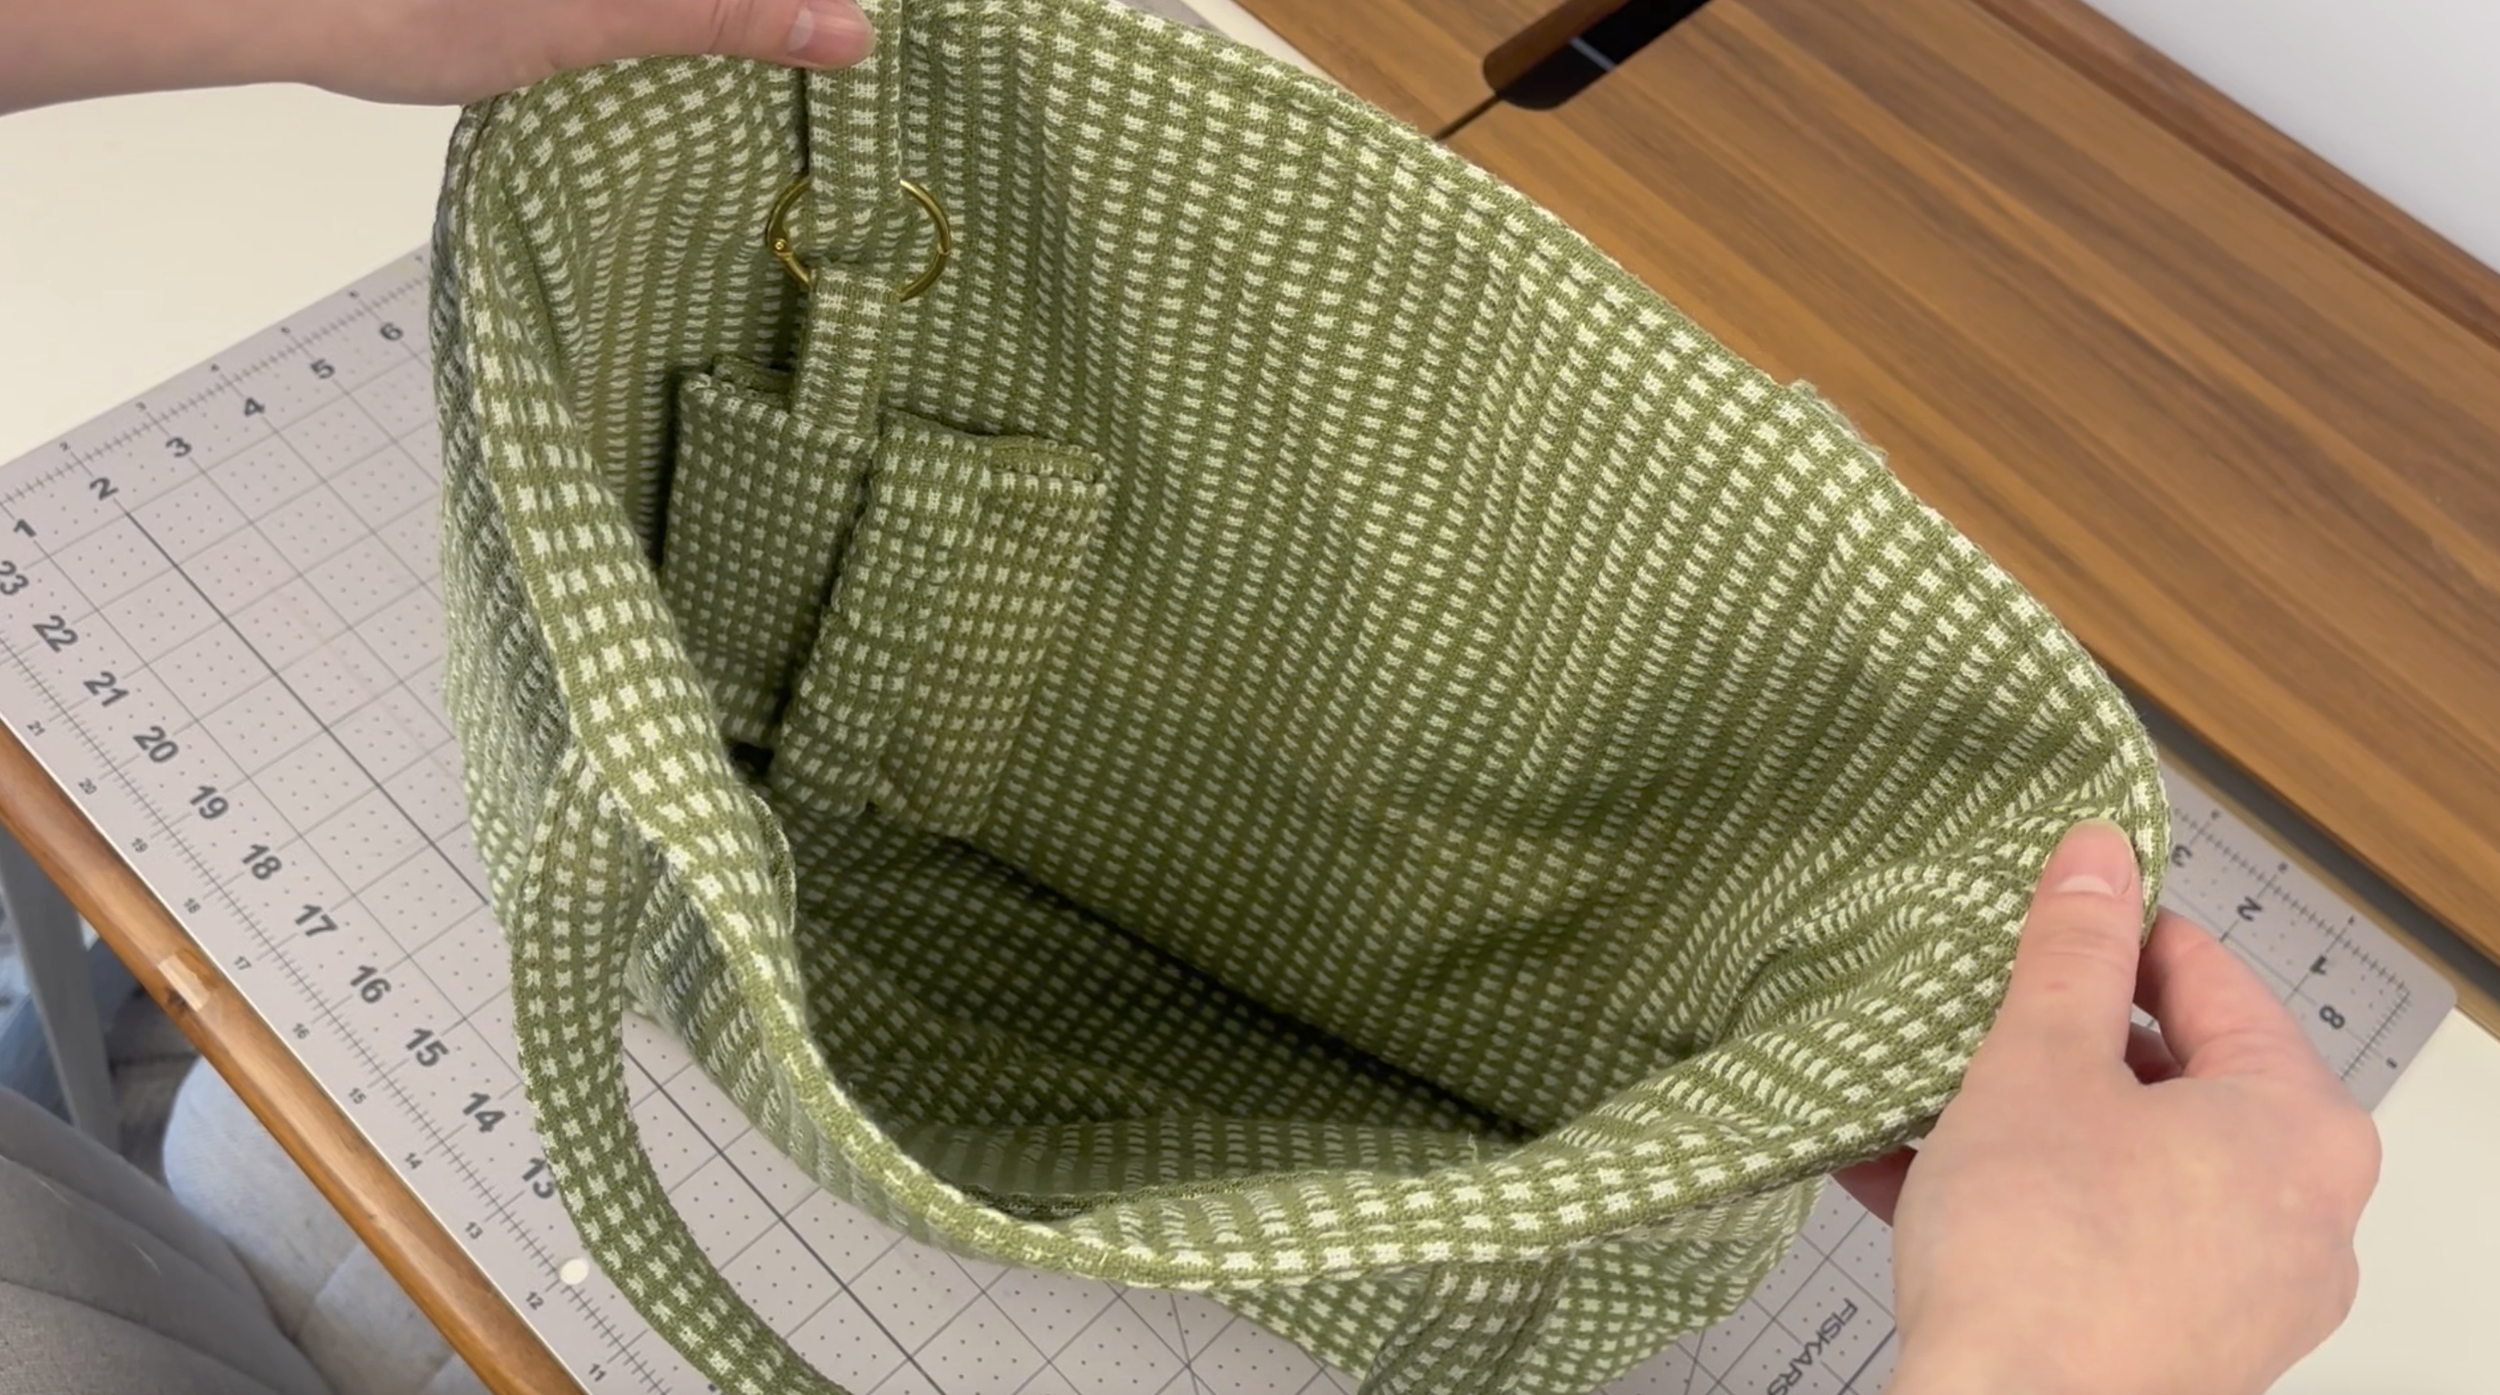
Featured in my vlog post on Youtube: Everything I Made From a Thrifted Tablecloth (Sewing Vlog!)