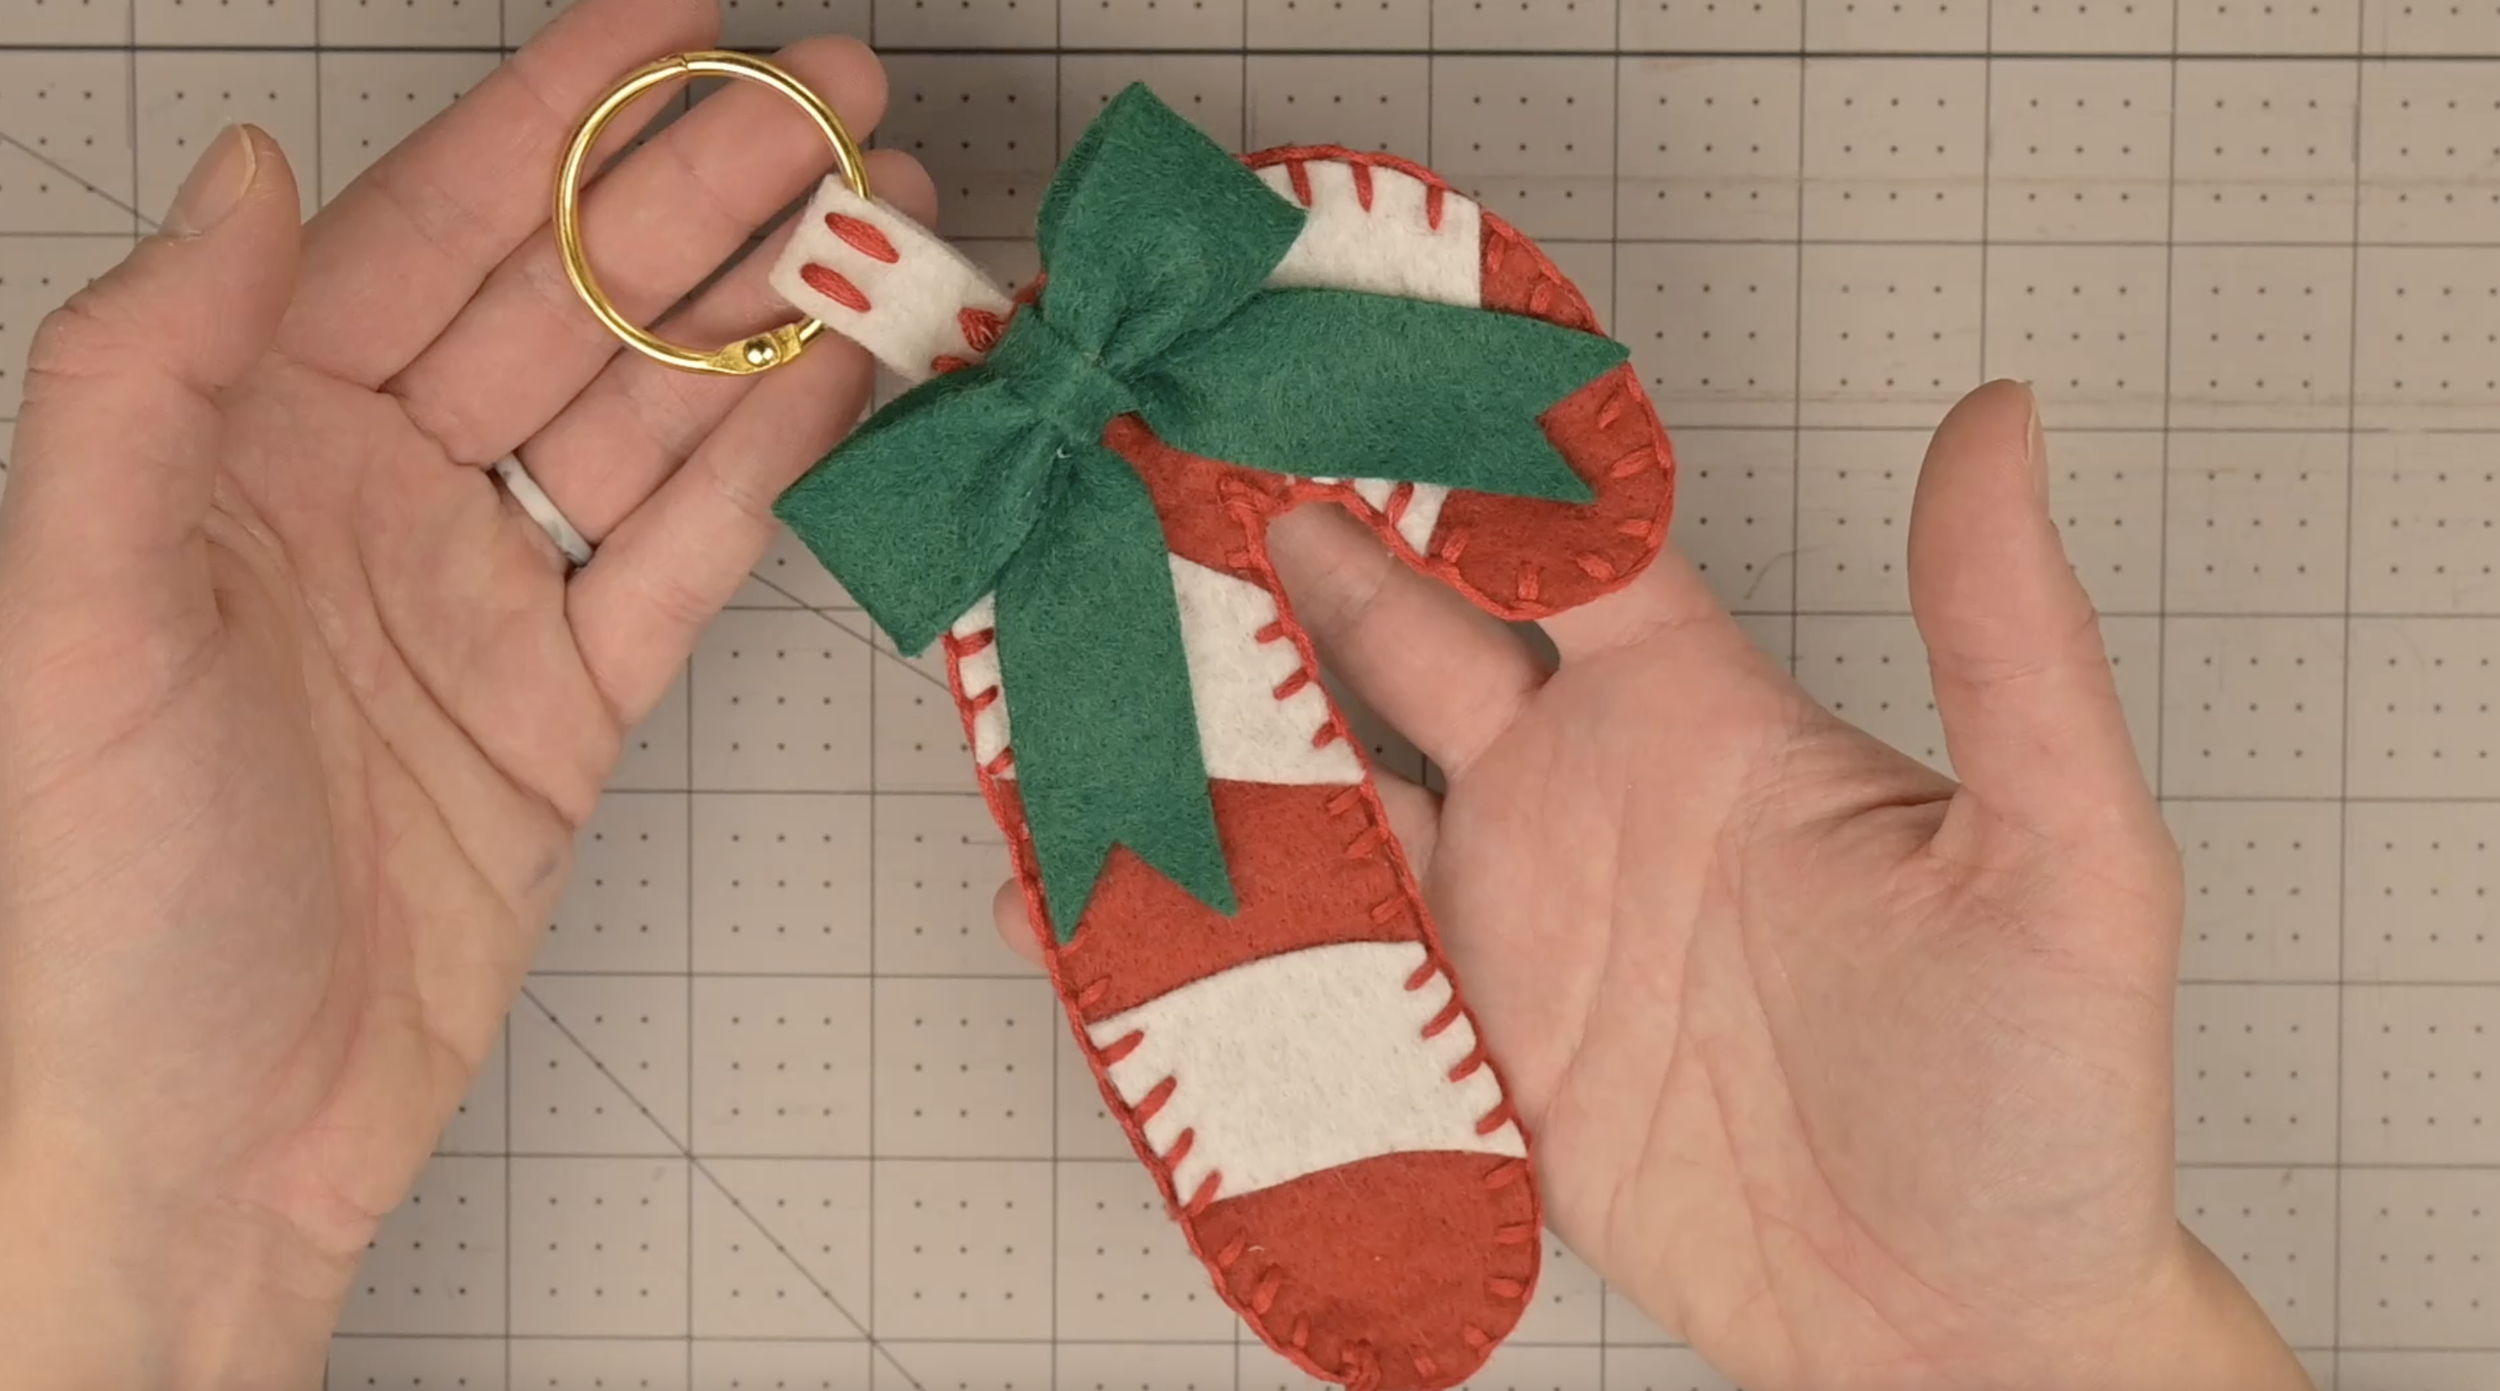
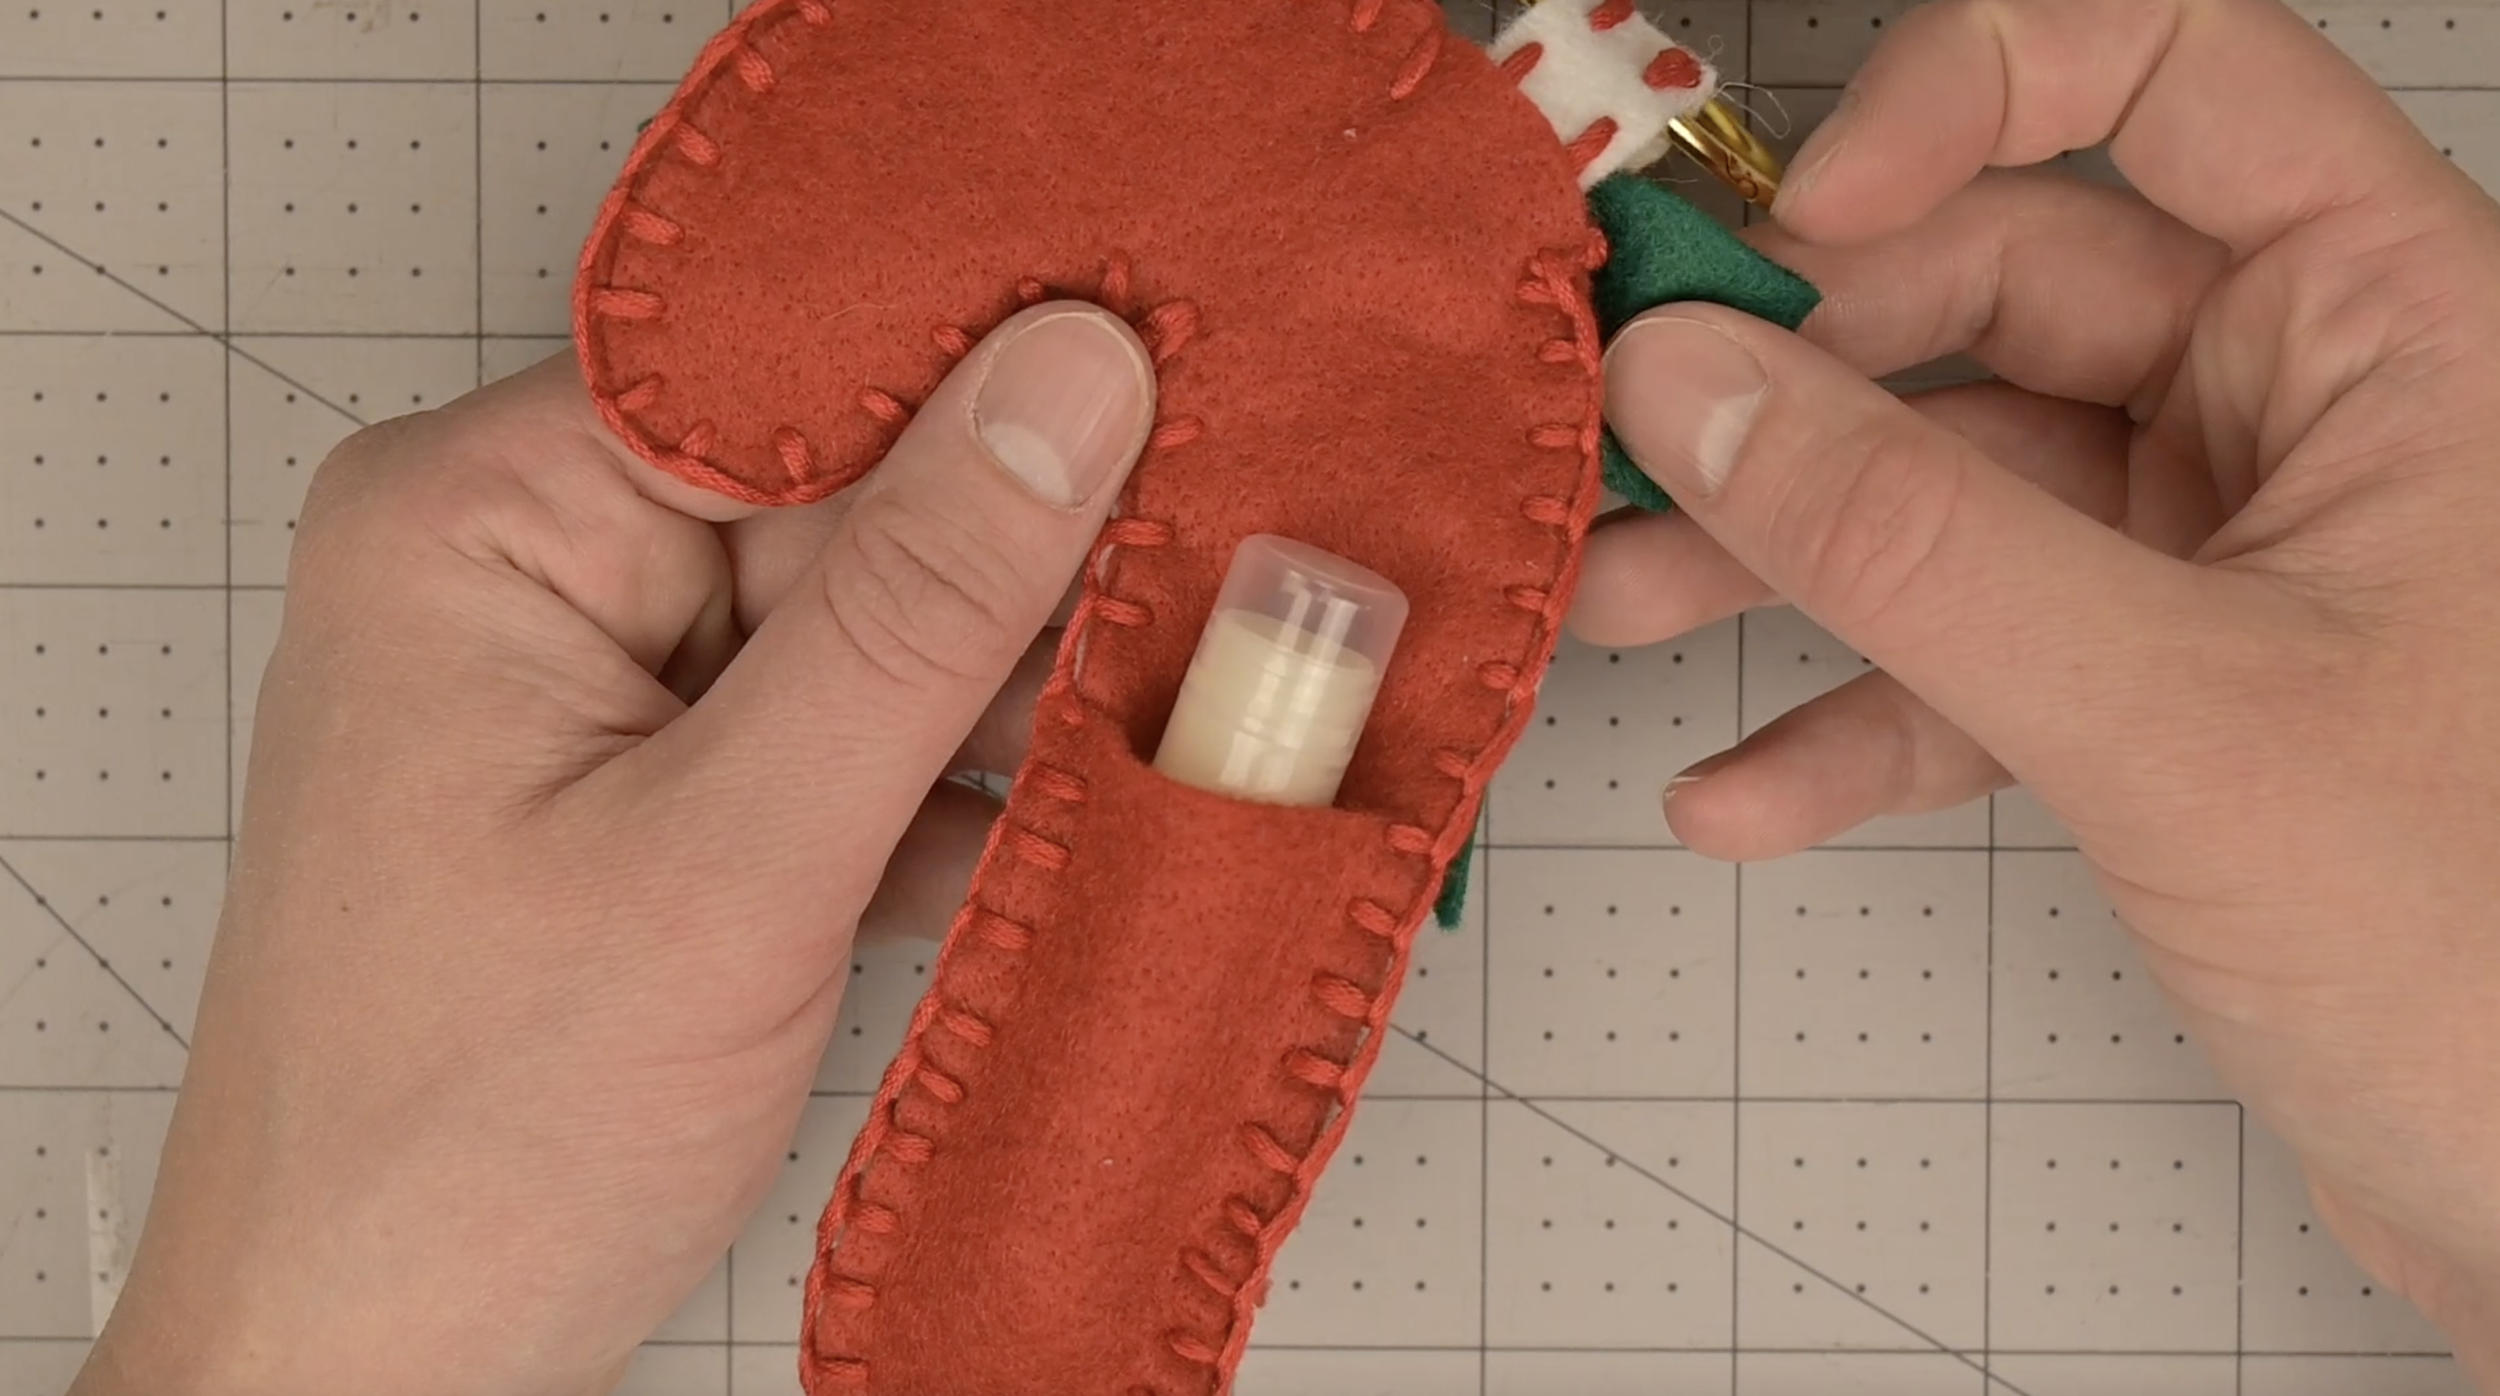
Let’s make a felt candy cane lip balm/chapstick holder keychain! This holiday-themed accessory is the perfect affordable gift to make for your friends and family. Plus, it clips right onto a gift bag or purse to help spread holiday cheer!
Materials Needed (As an Amazon Associate I earn from qualifying purchases):
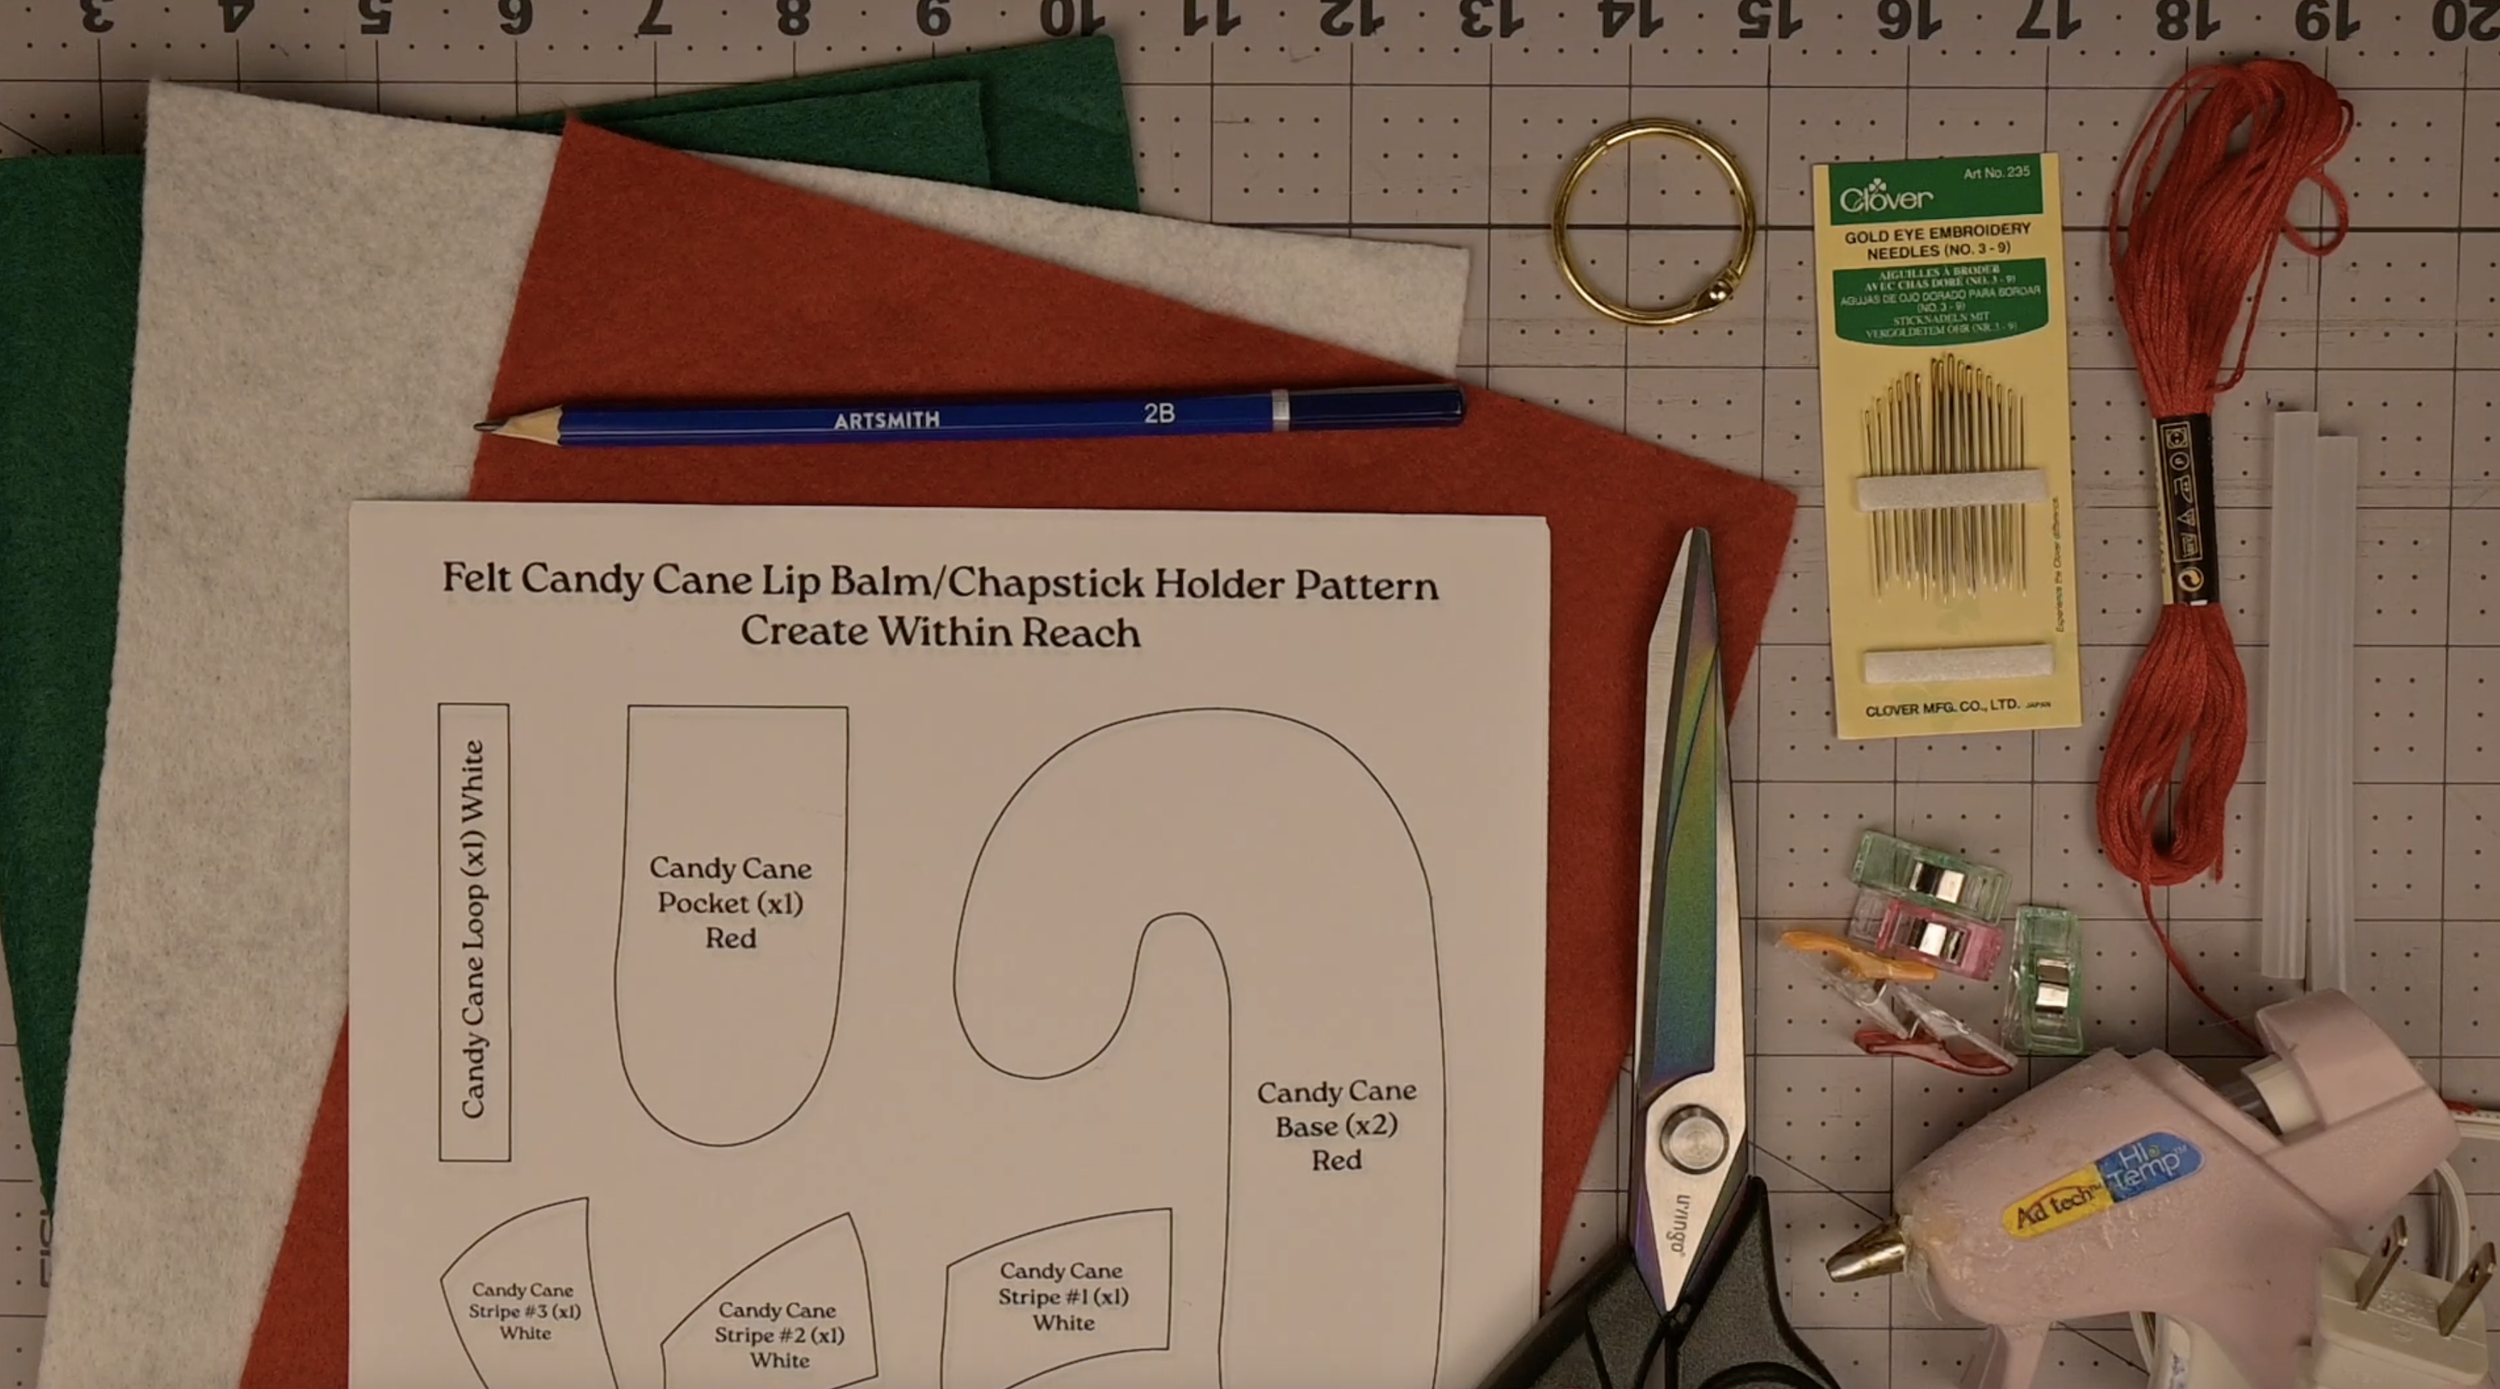
The free downloadable pattern
Ring clip
Scissors
Pencil
The Downloadable Pattern:
Linked below is the free downloadable file:
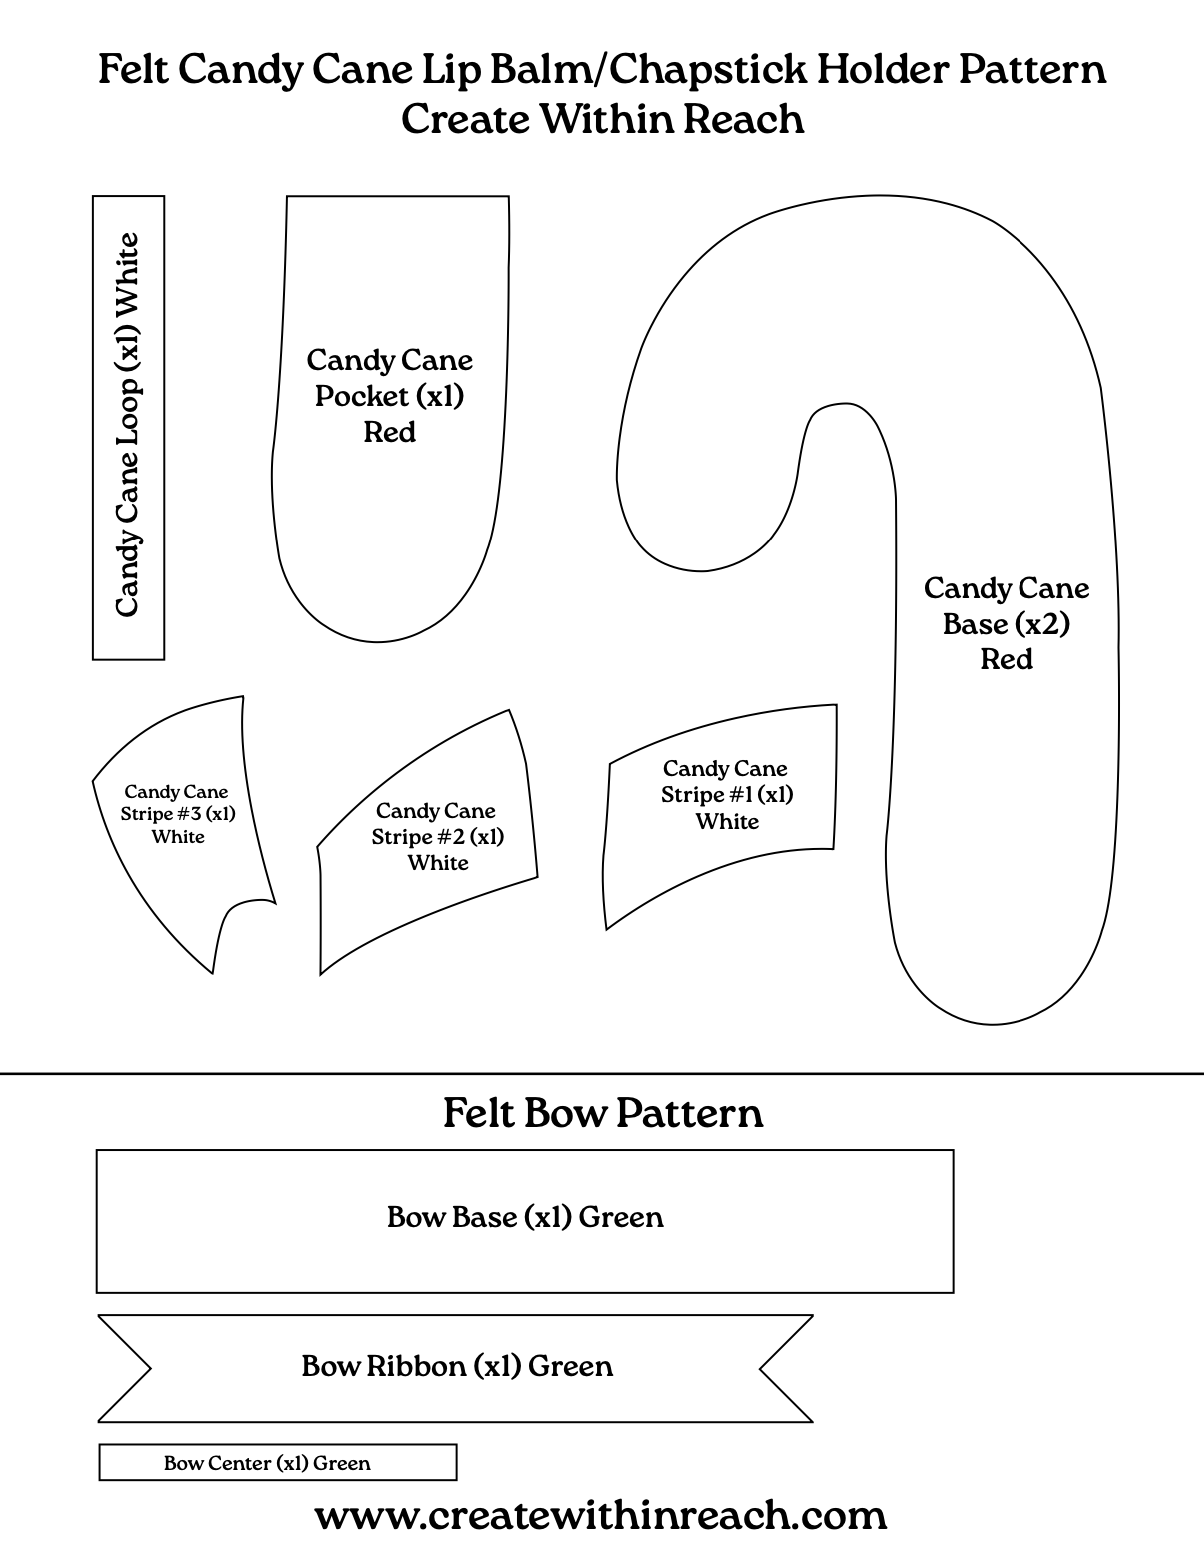
Step 1: Print the Pattern
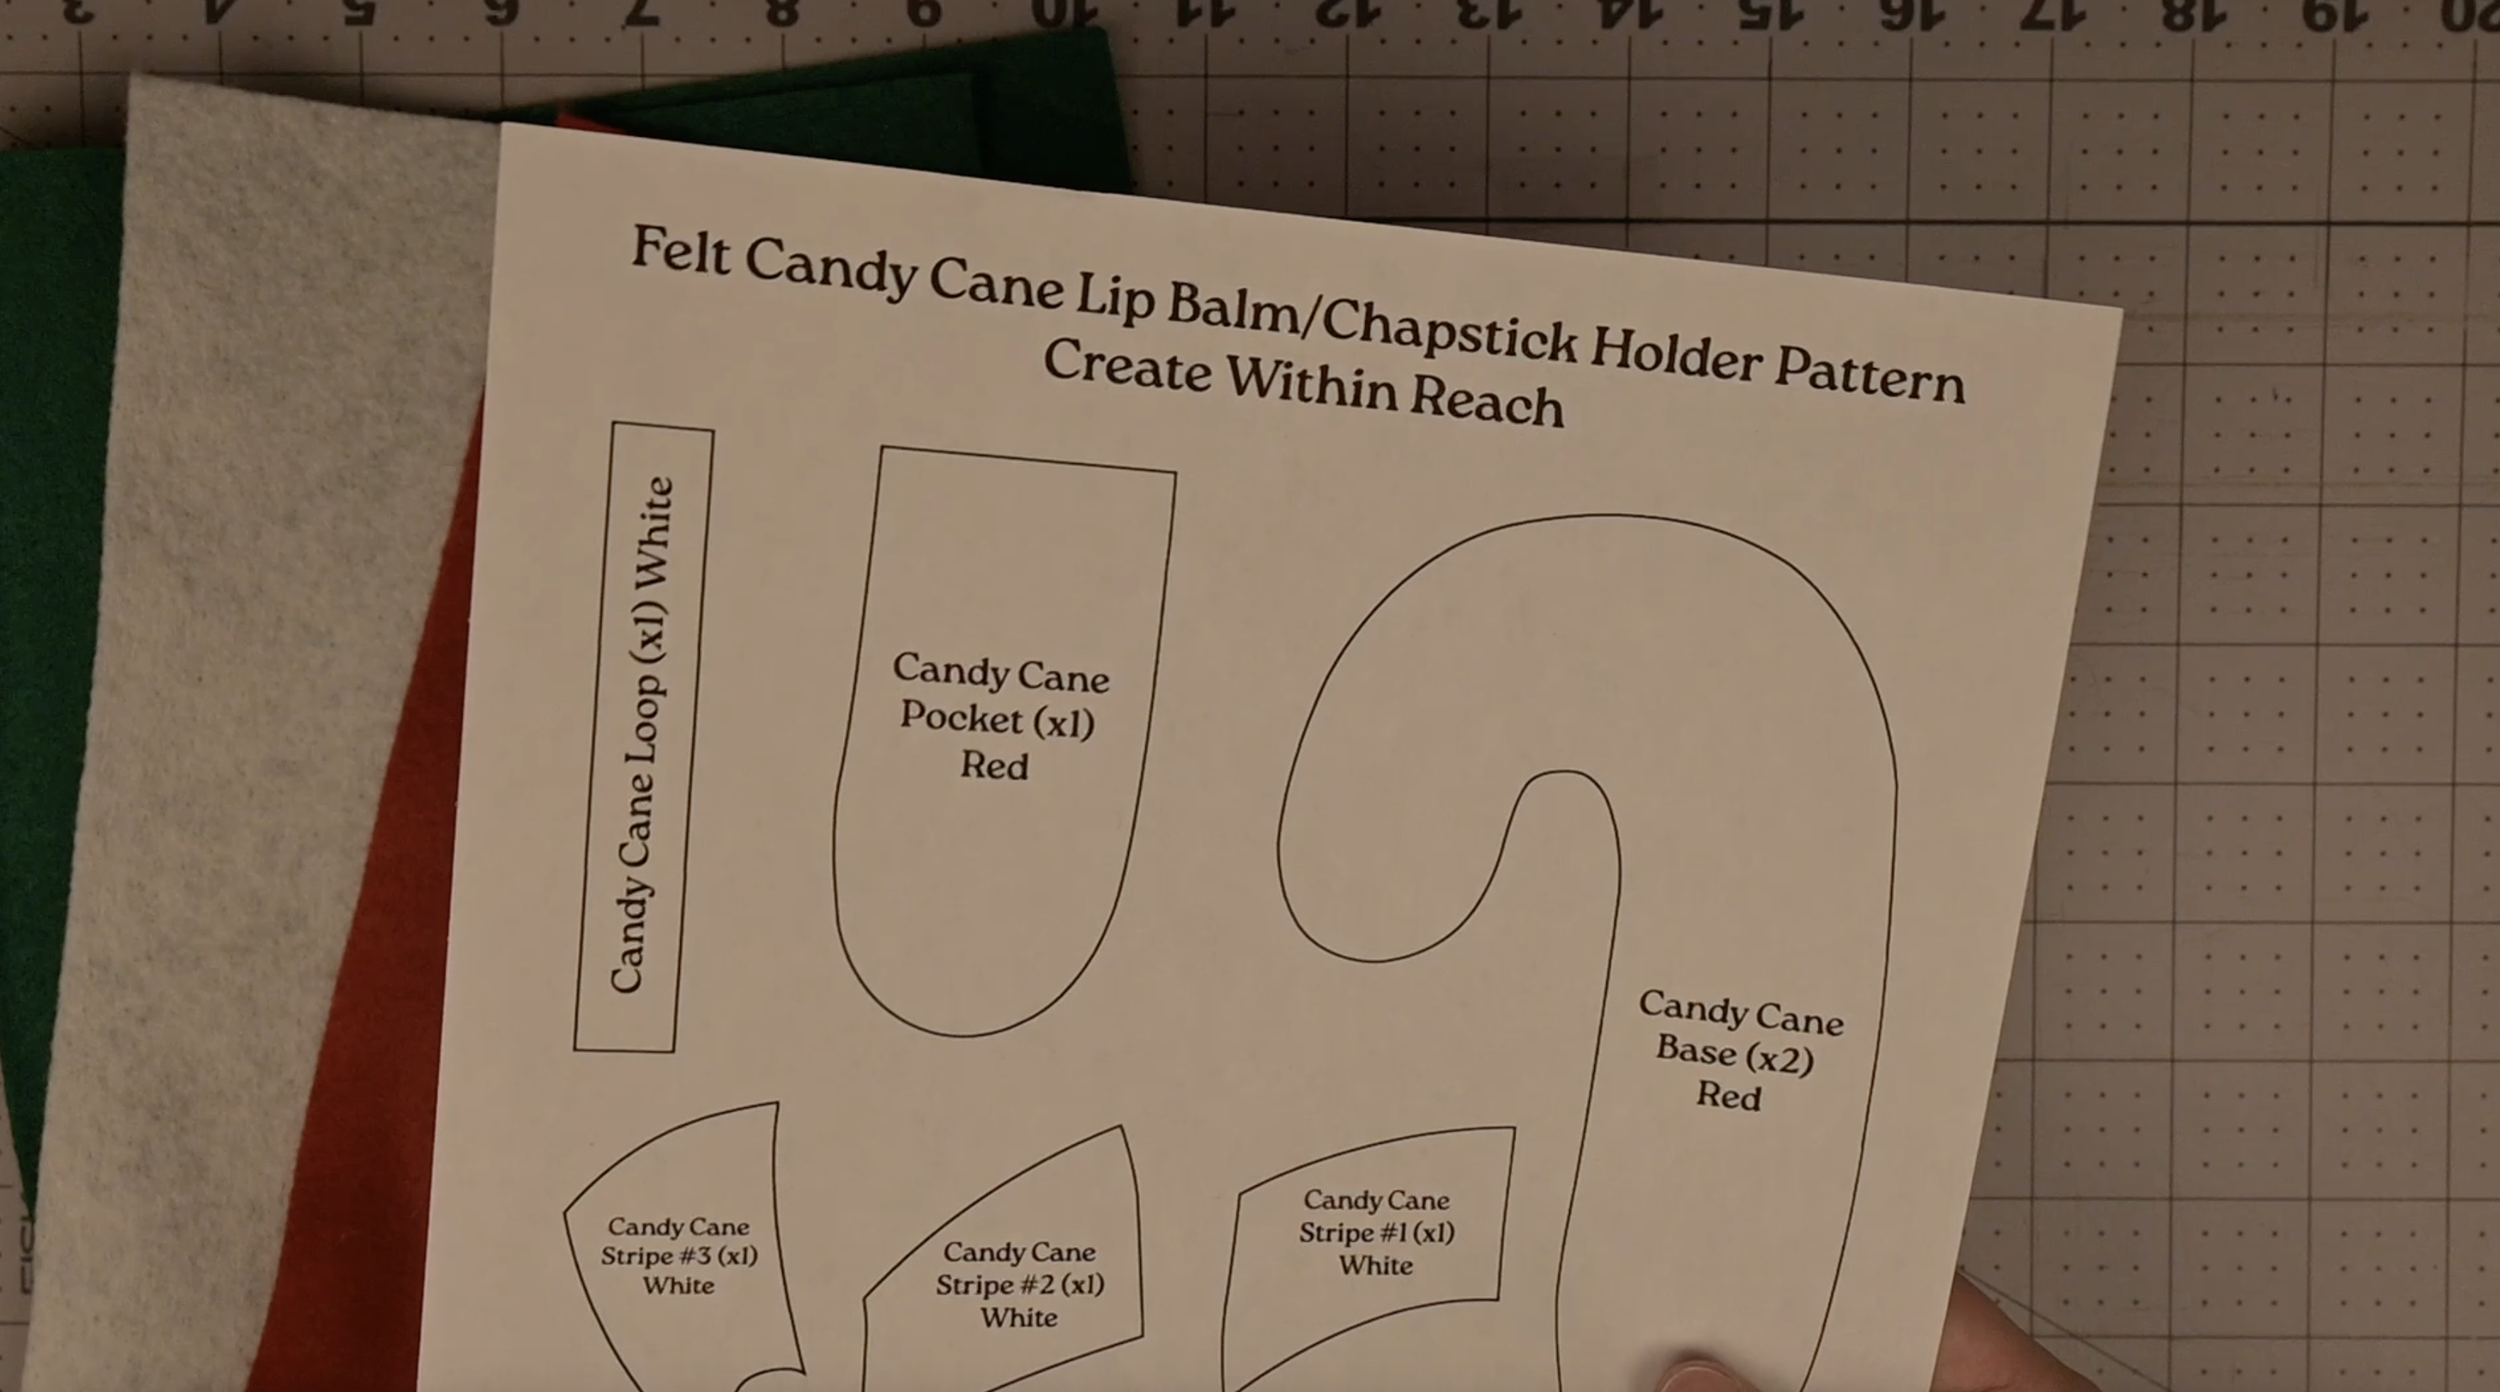
Do not resize to ensure the dimensions are correct
Print on 8.5/11 inch paper
Step 2: Transfer the Pattern
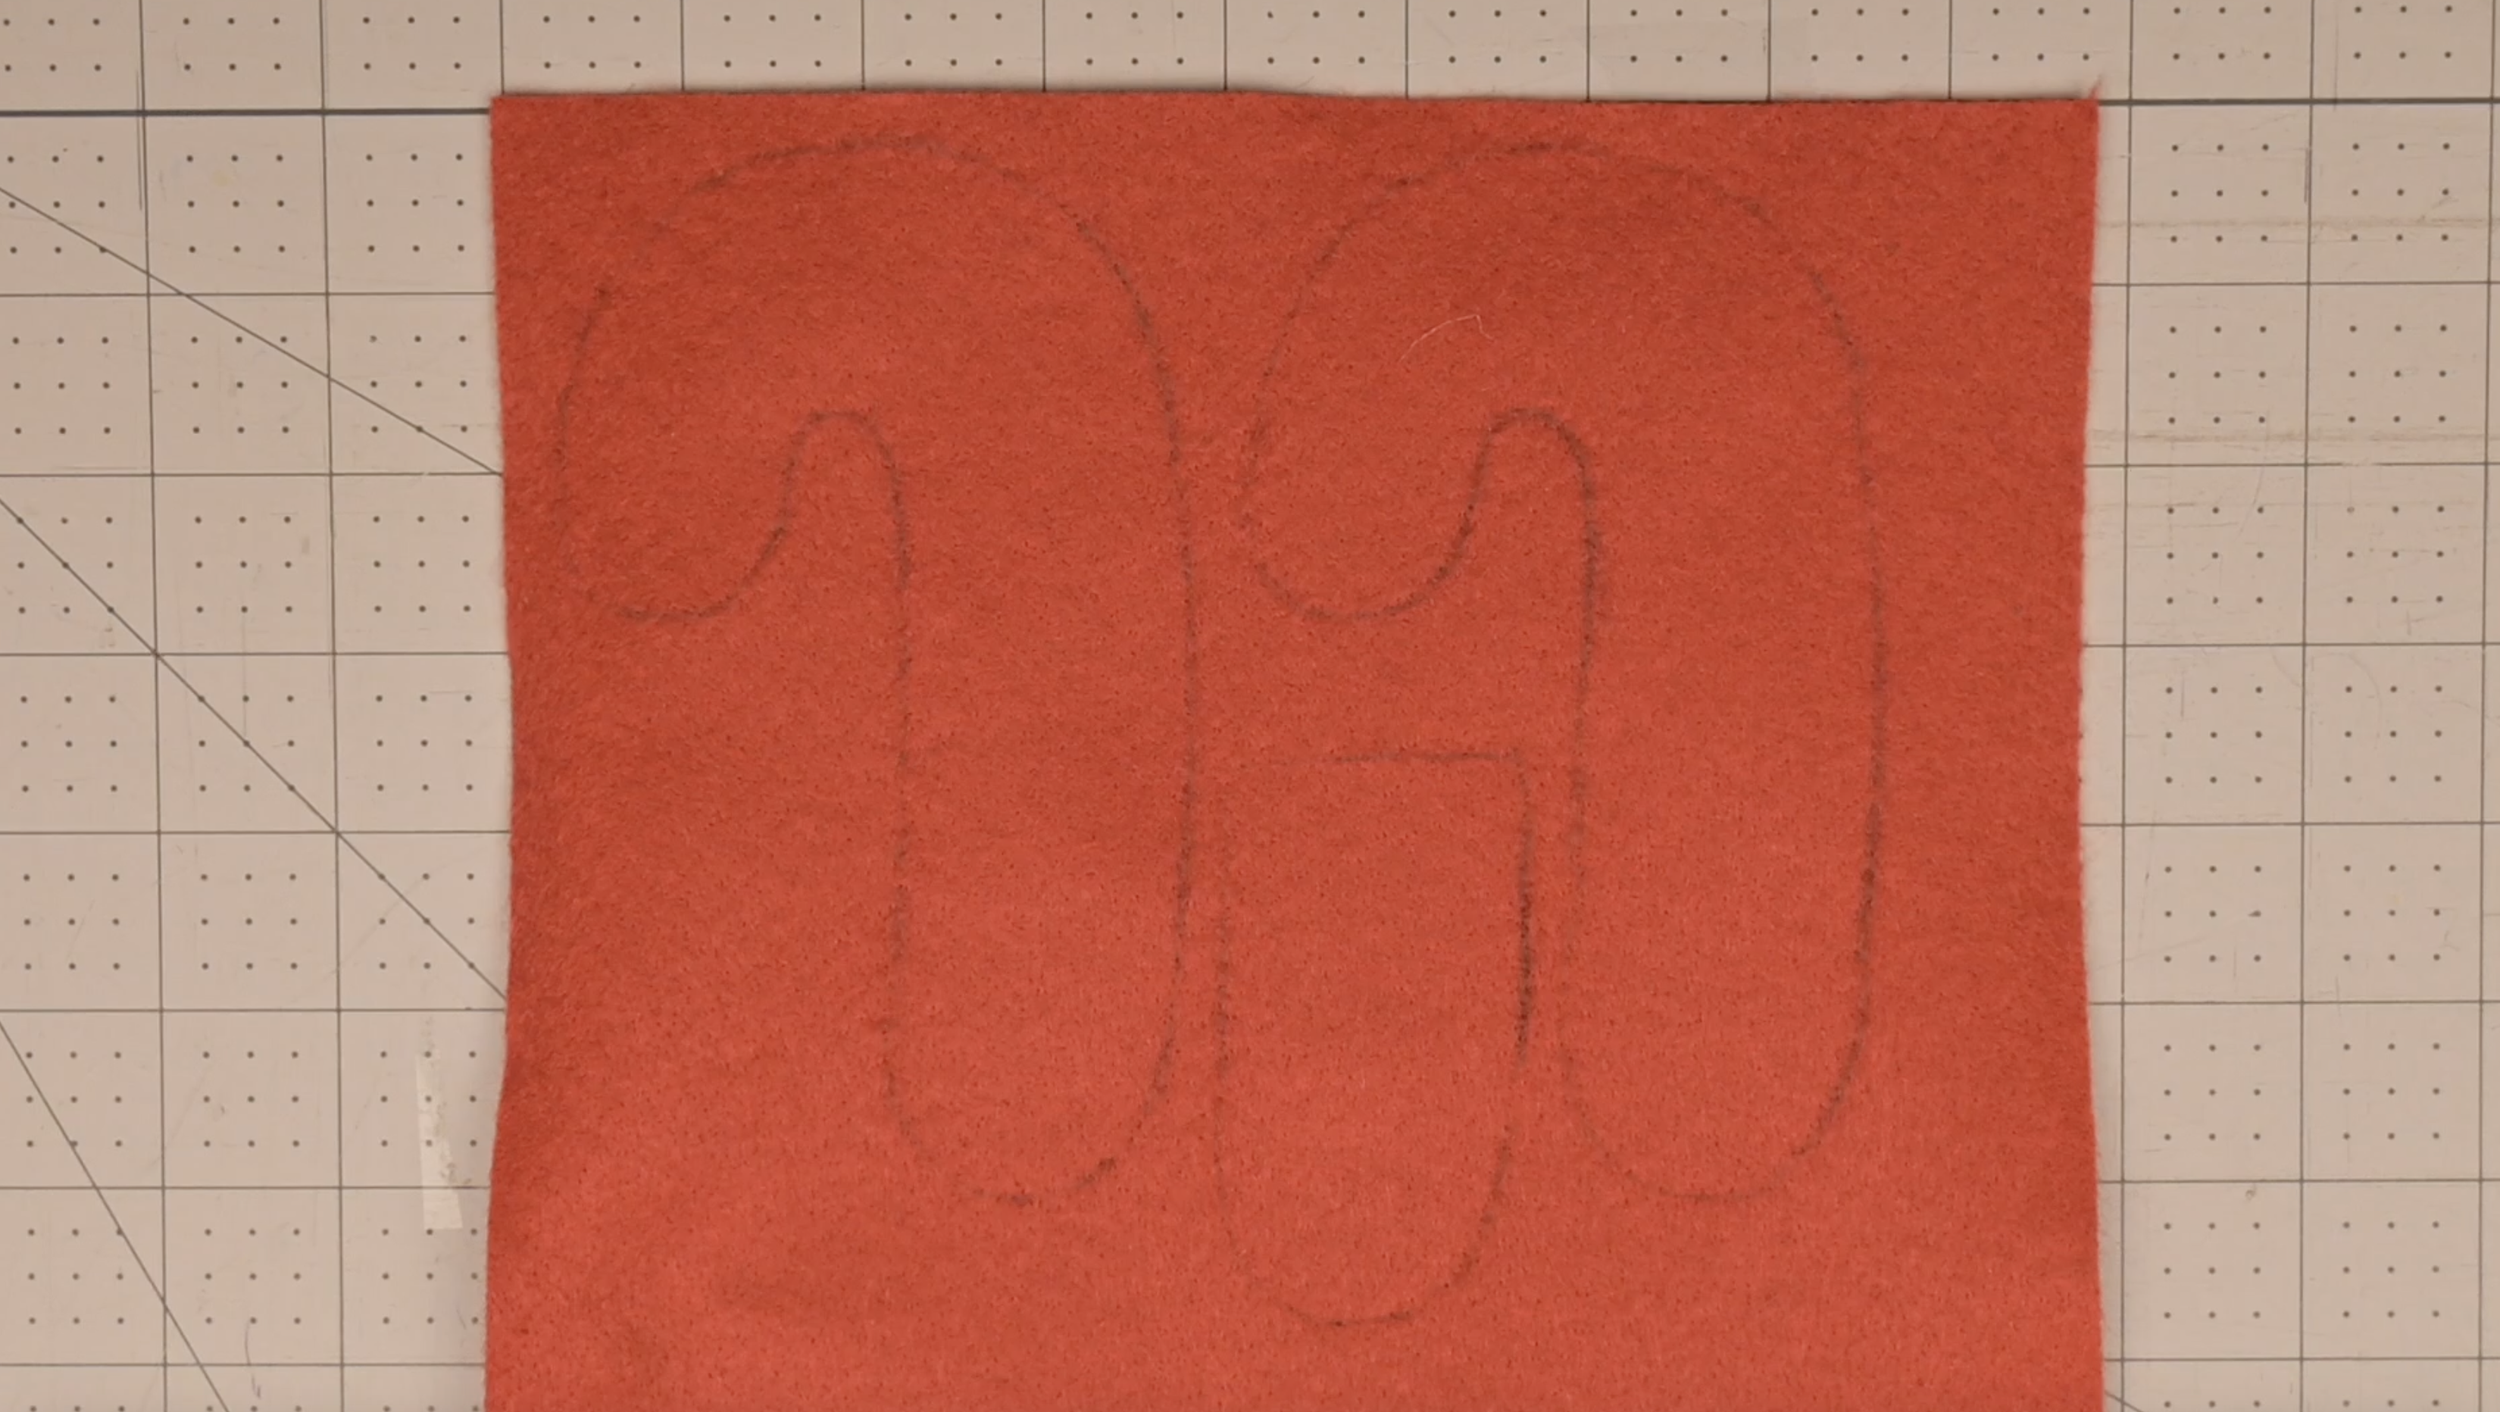
Trace each pattern section onto the designated color of felt.
You also may use pins for this step if needed
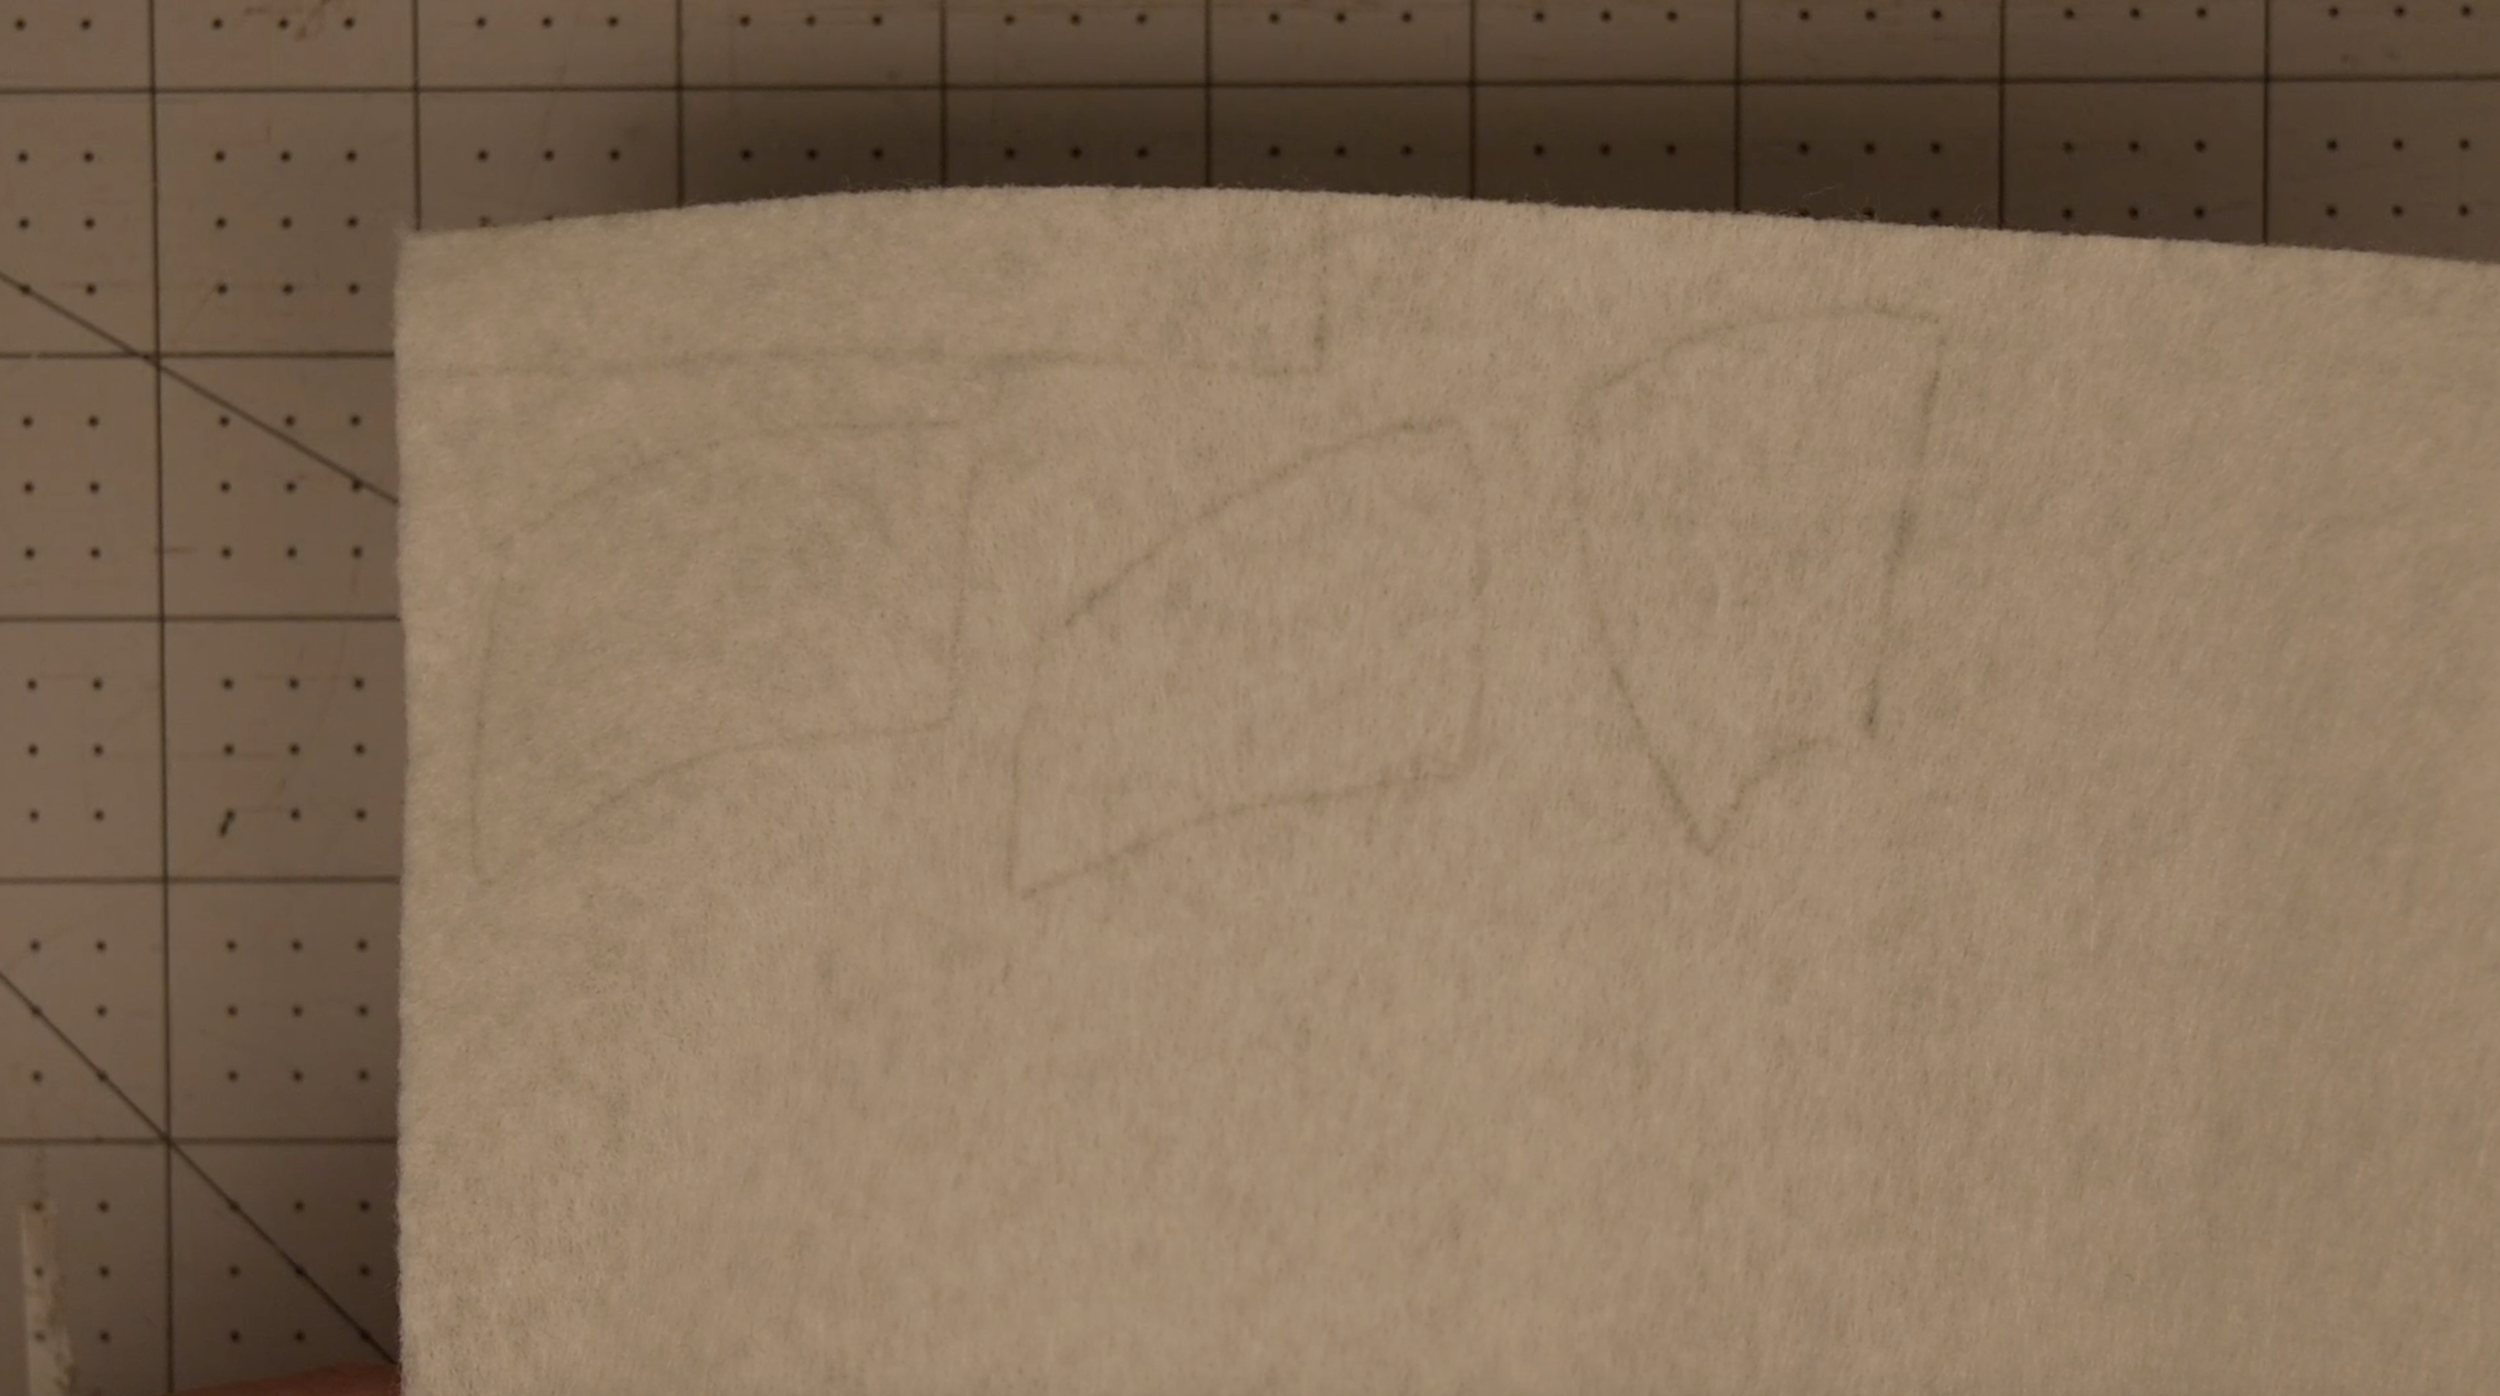
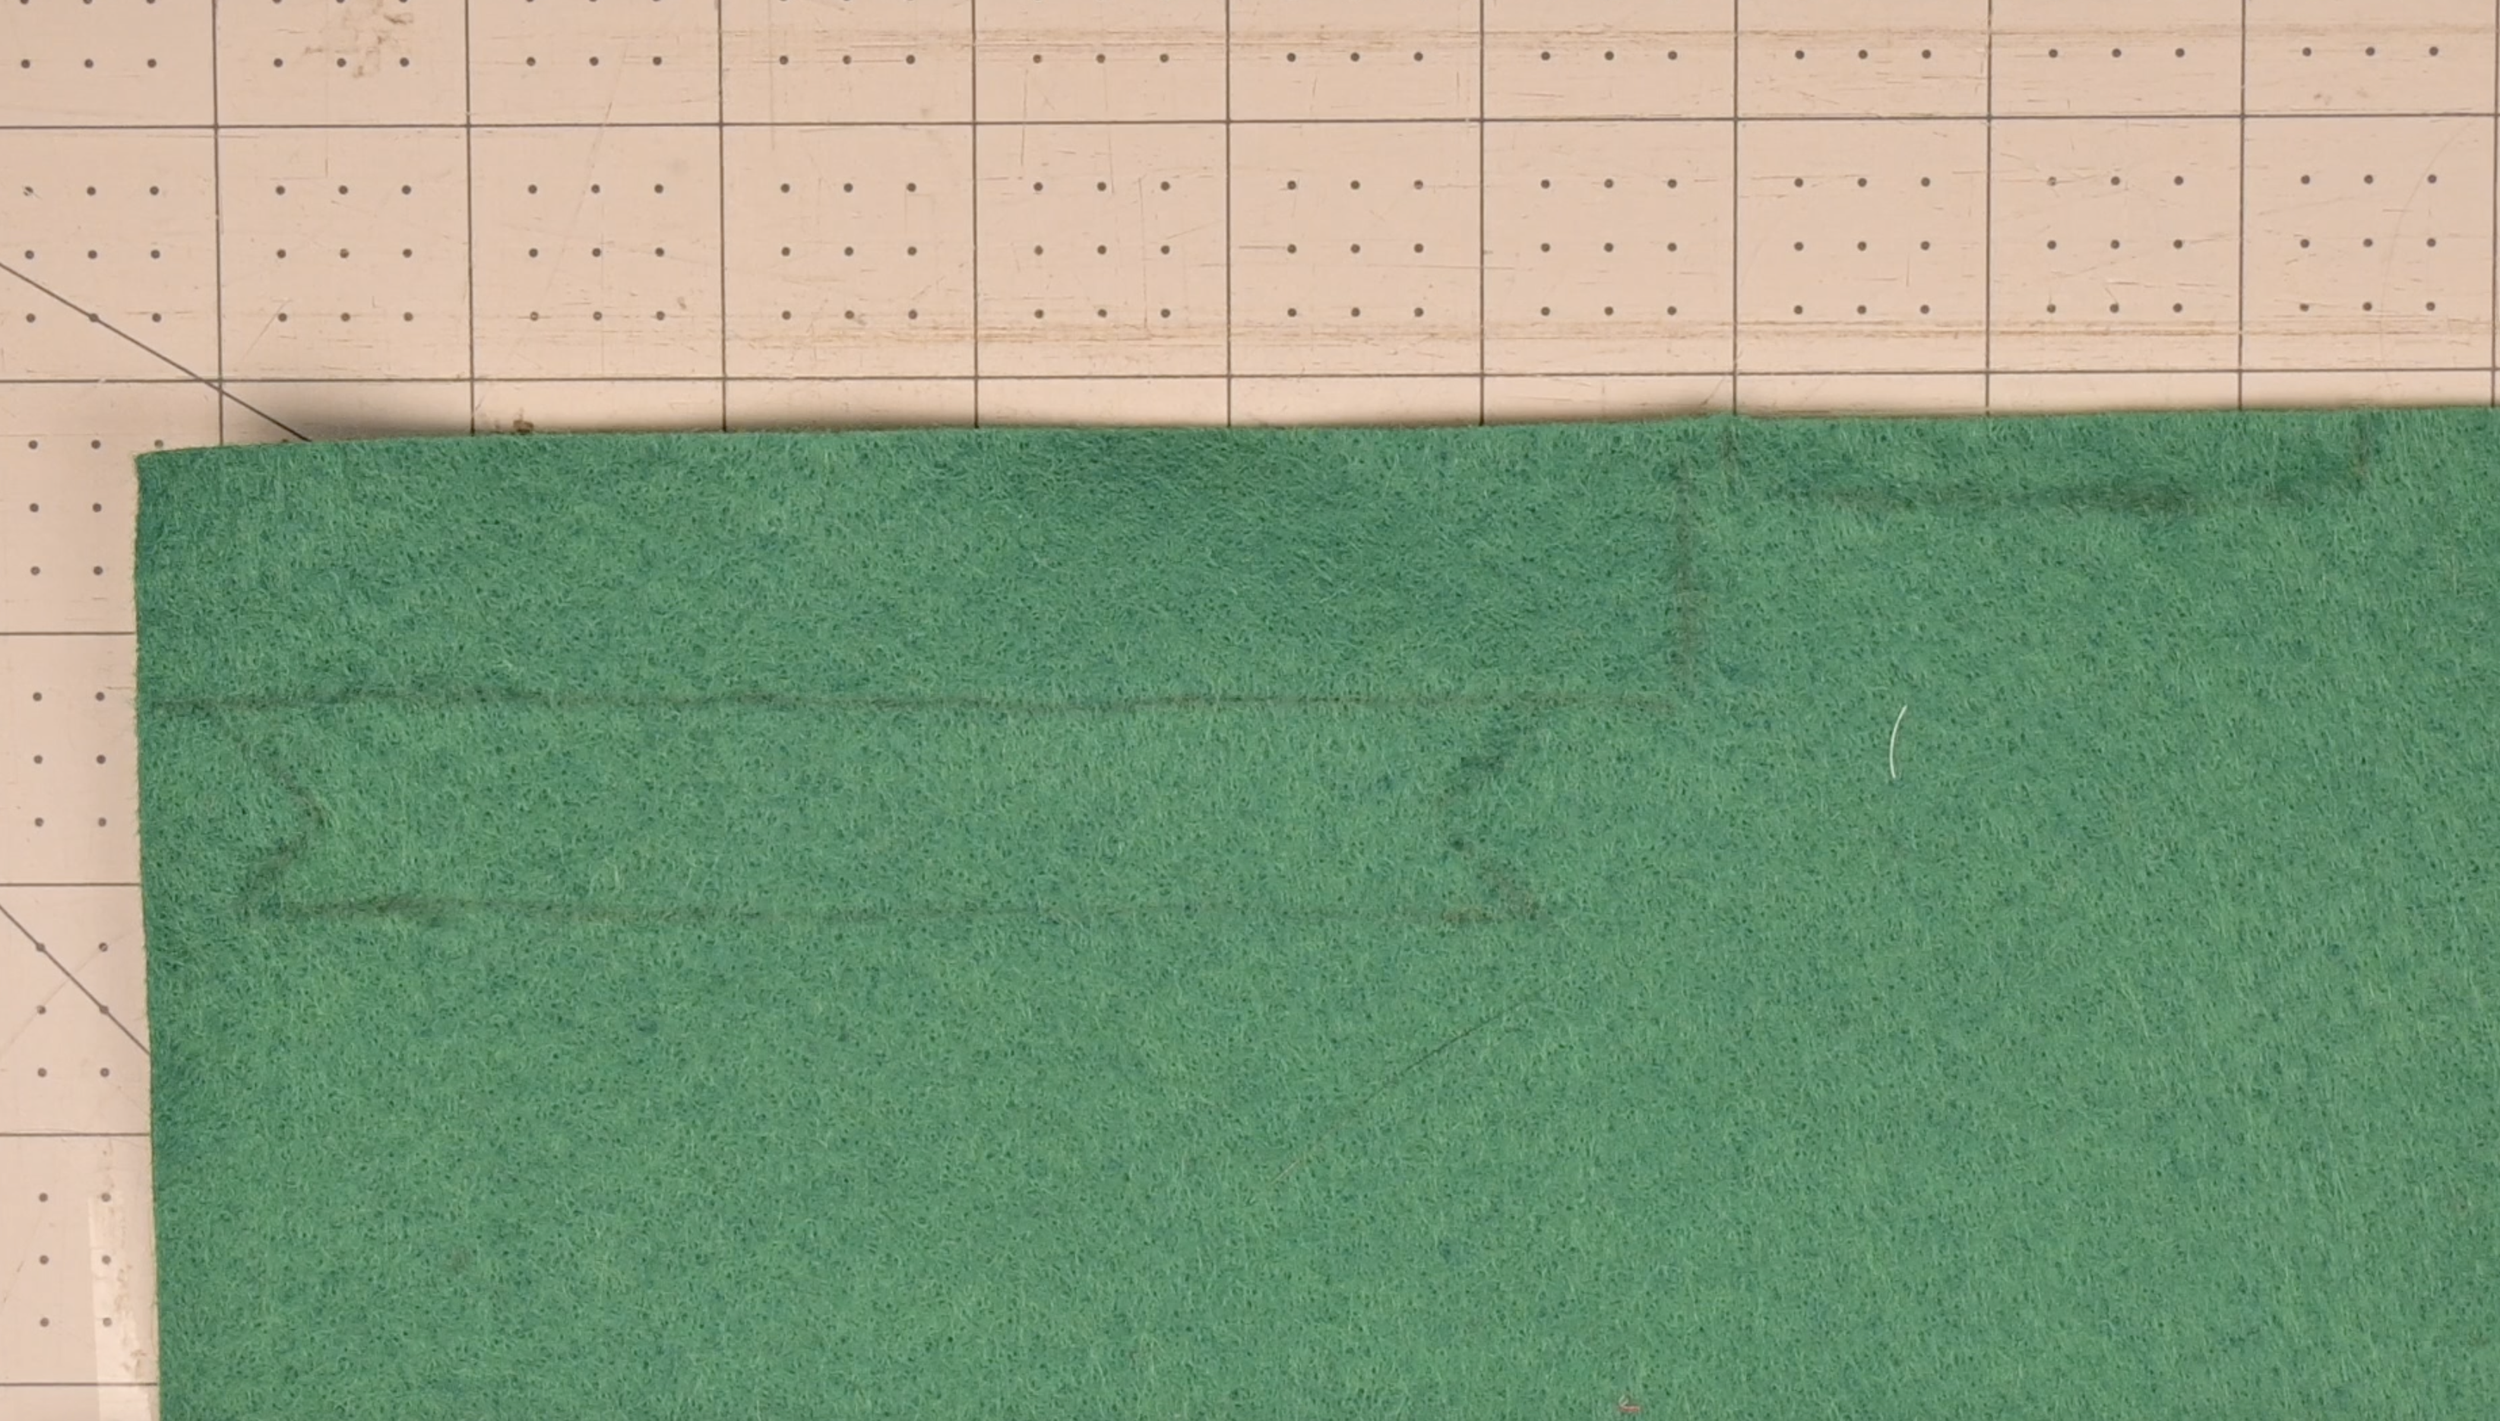
Step 3: Cut Out the Pattern Pieces
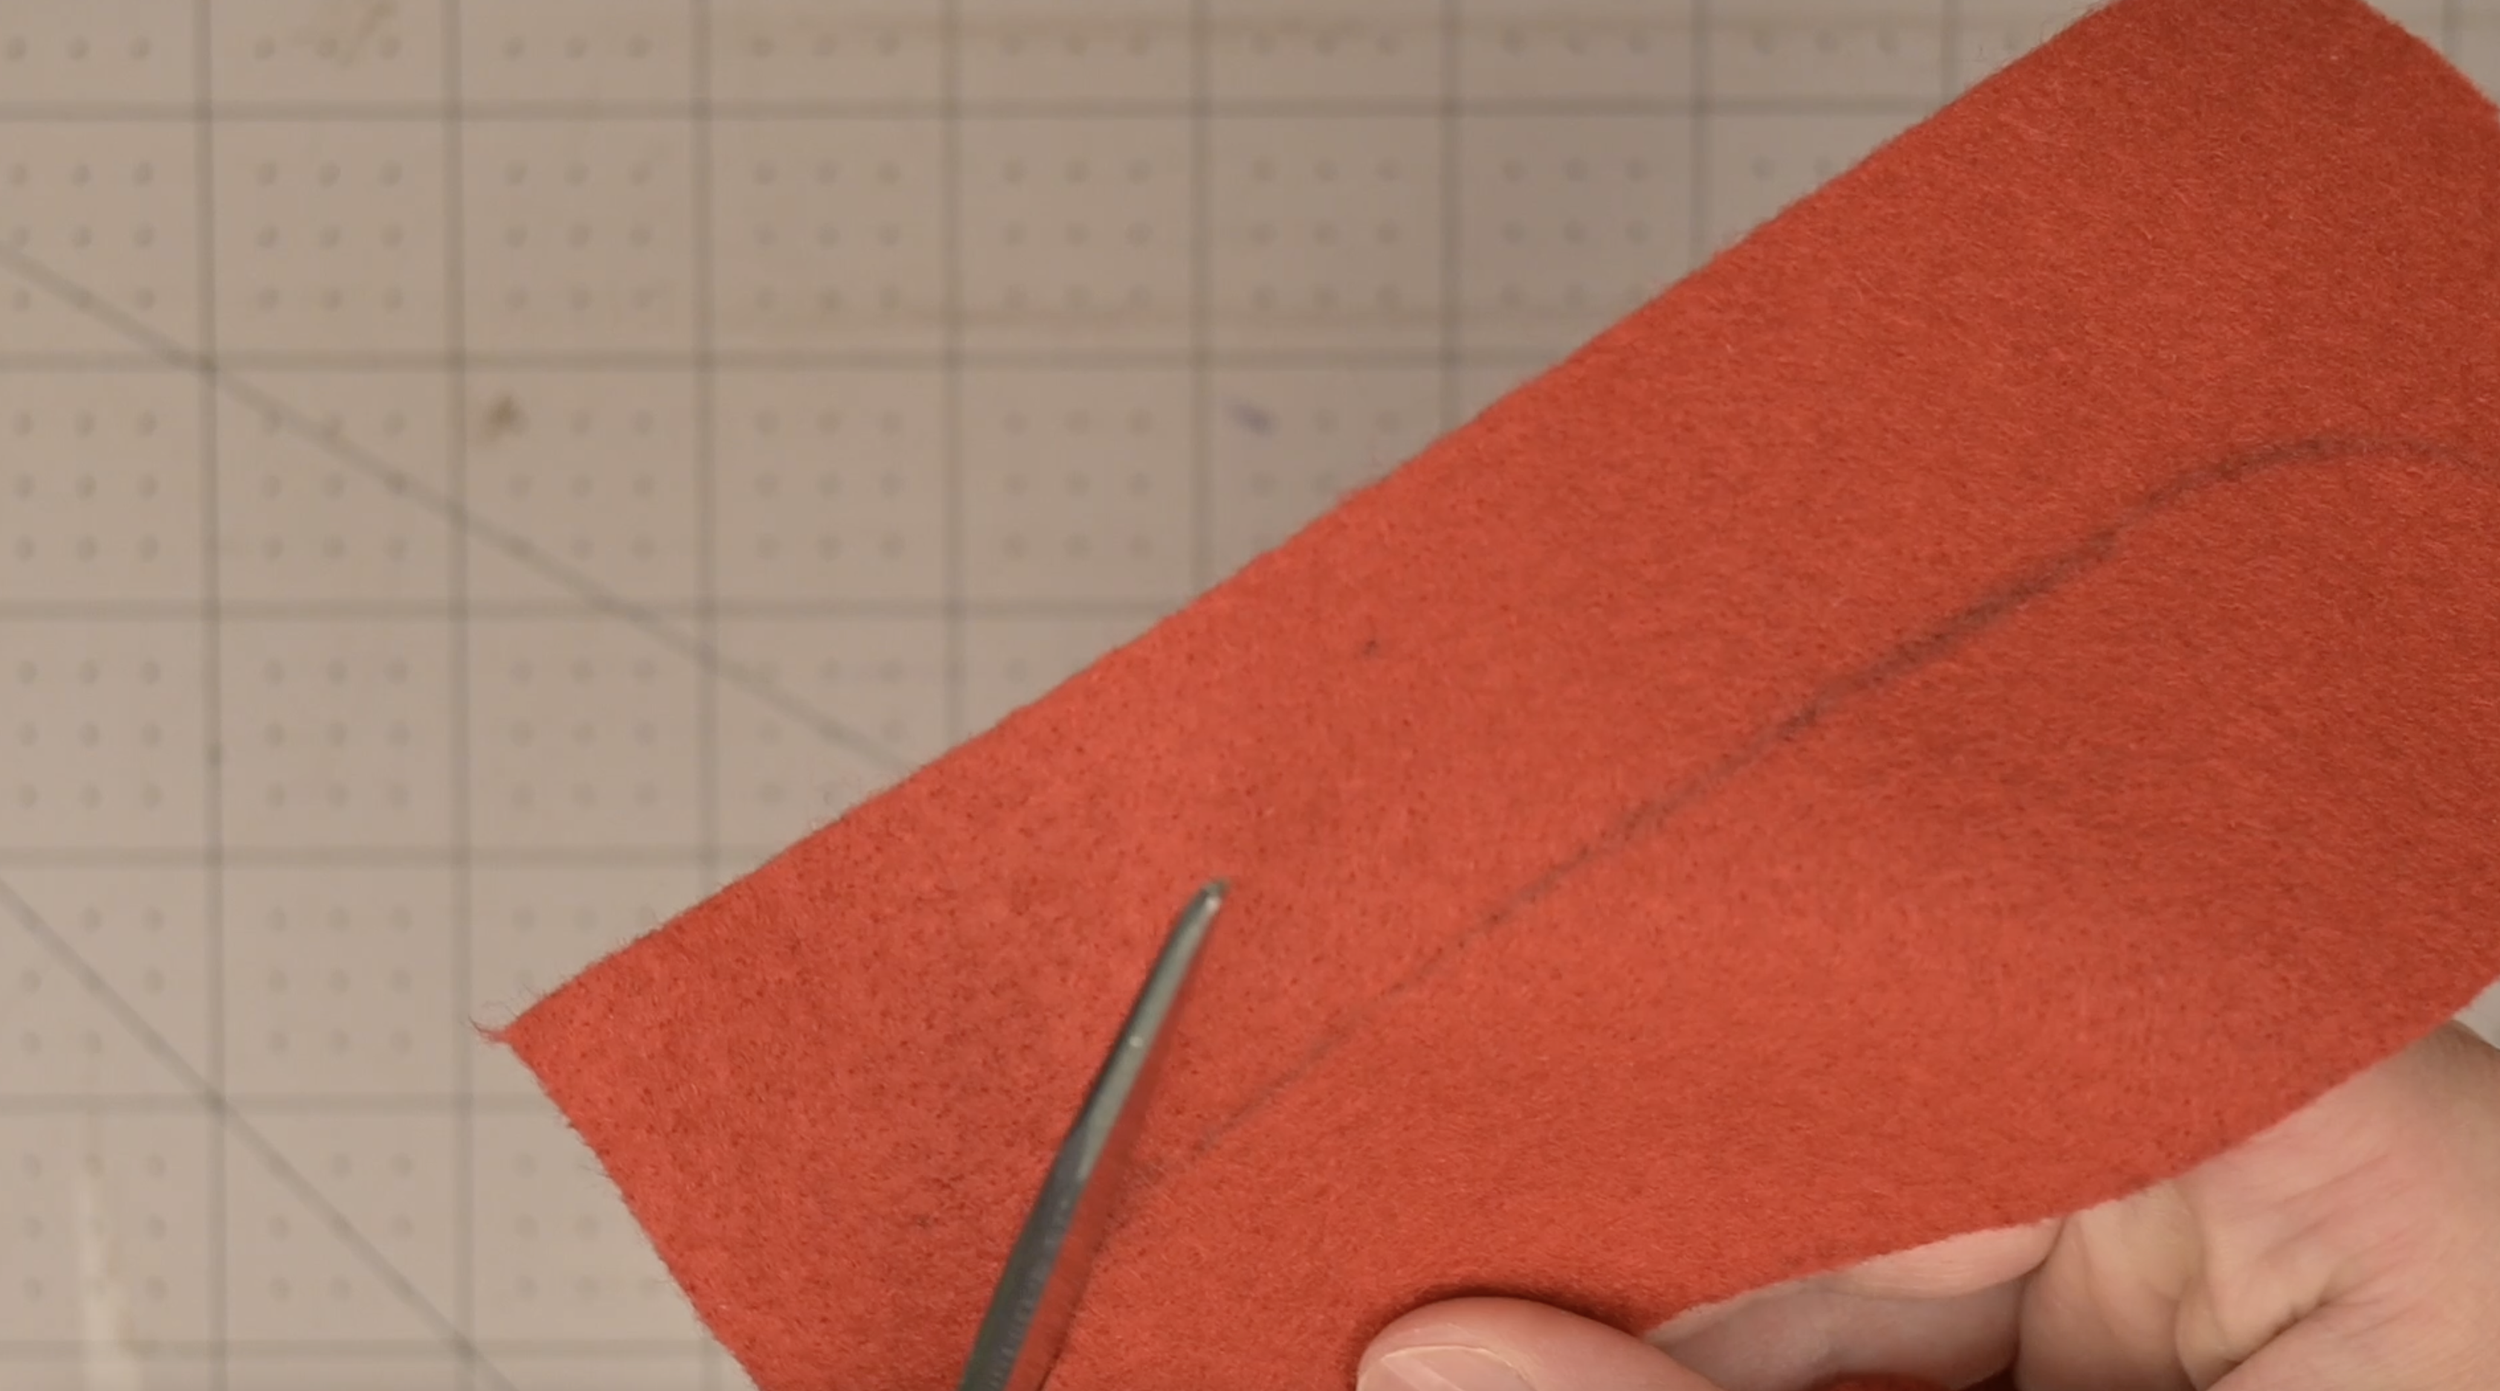
Cut out each traced piece using scissors
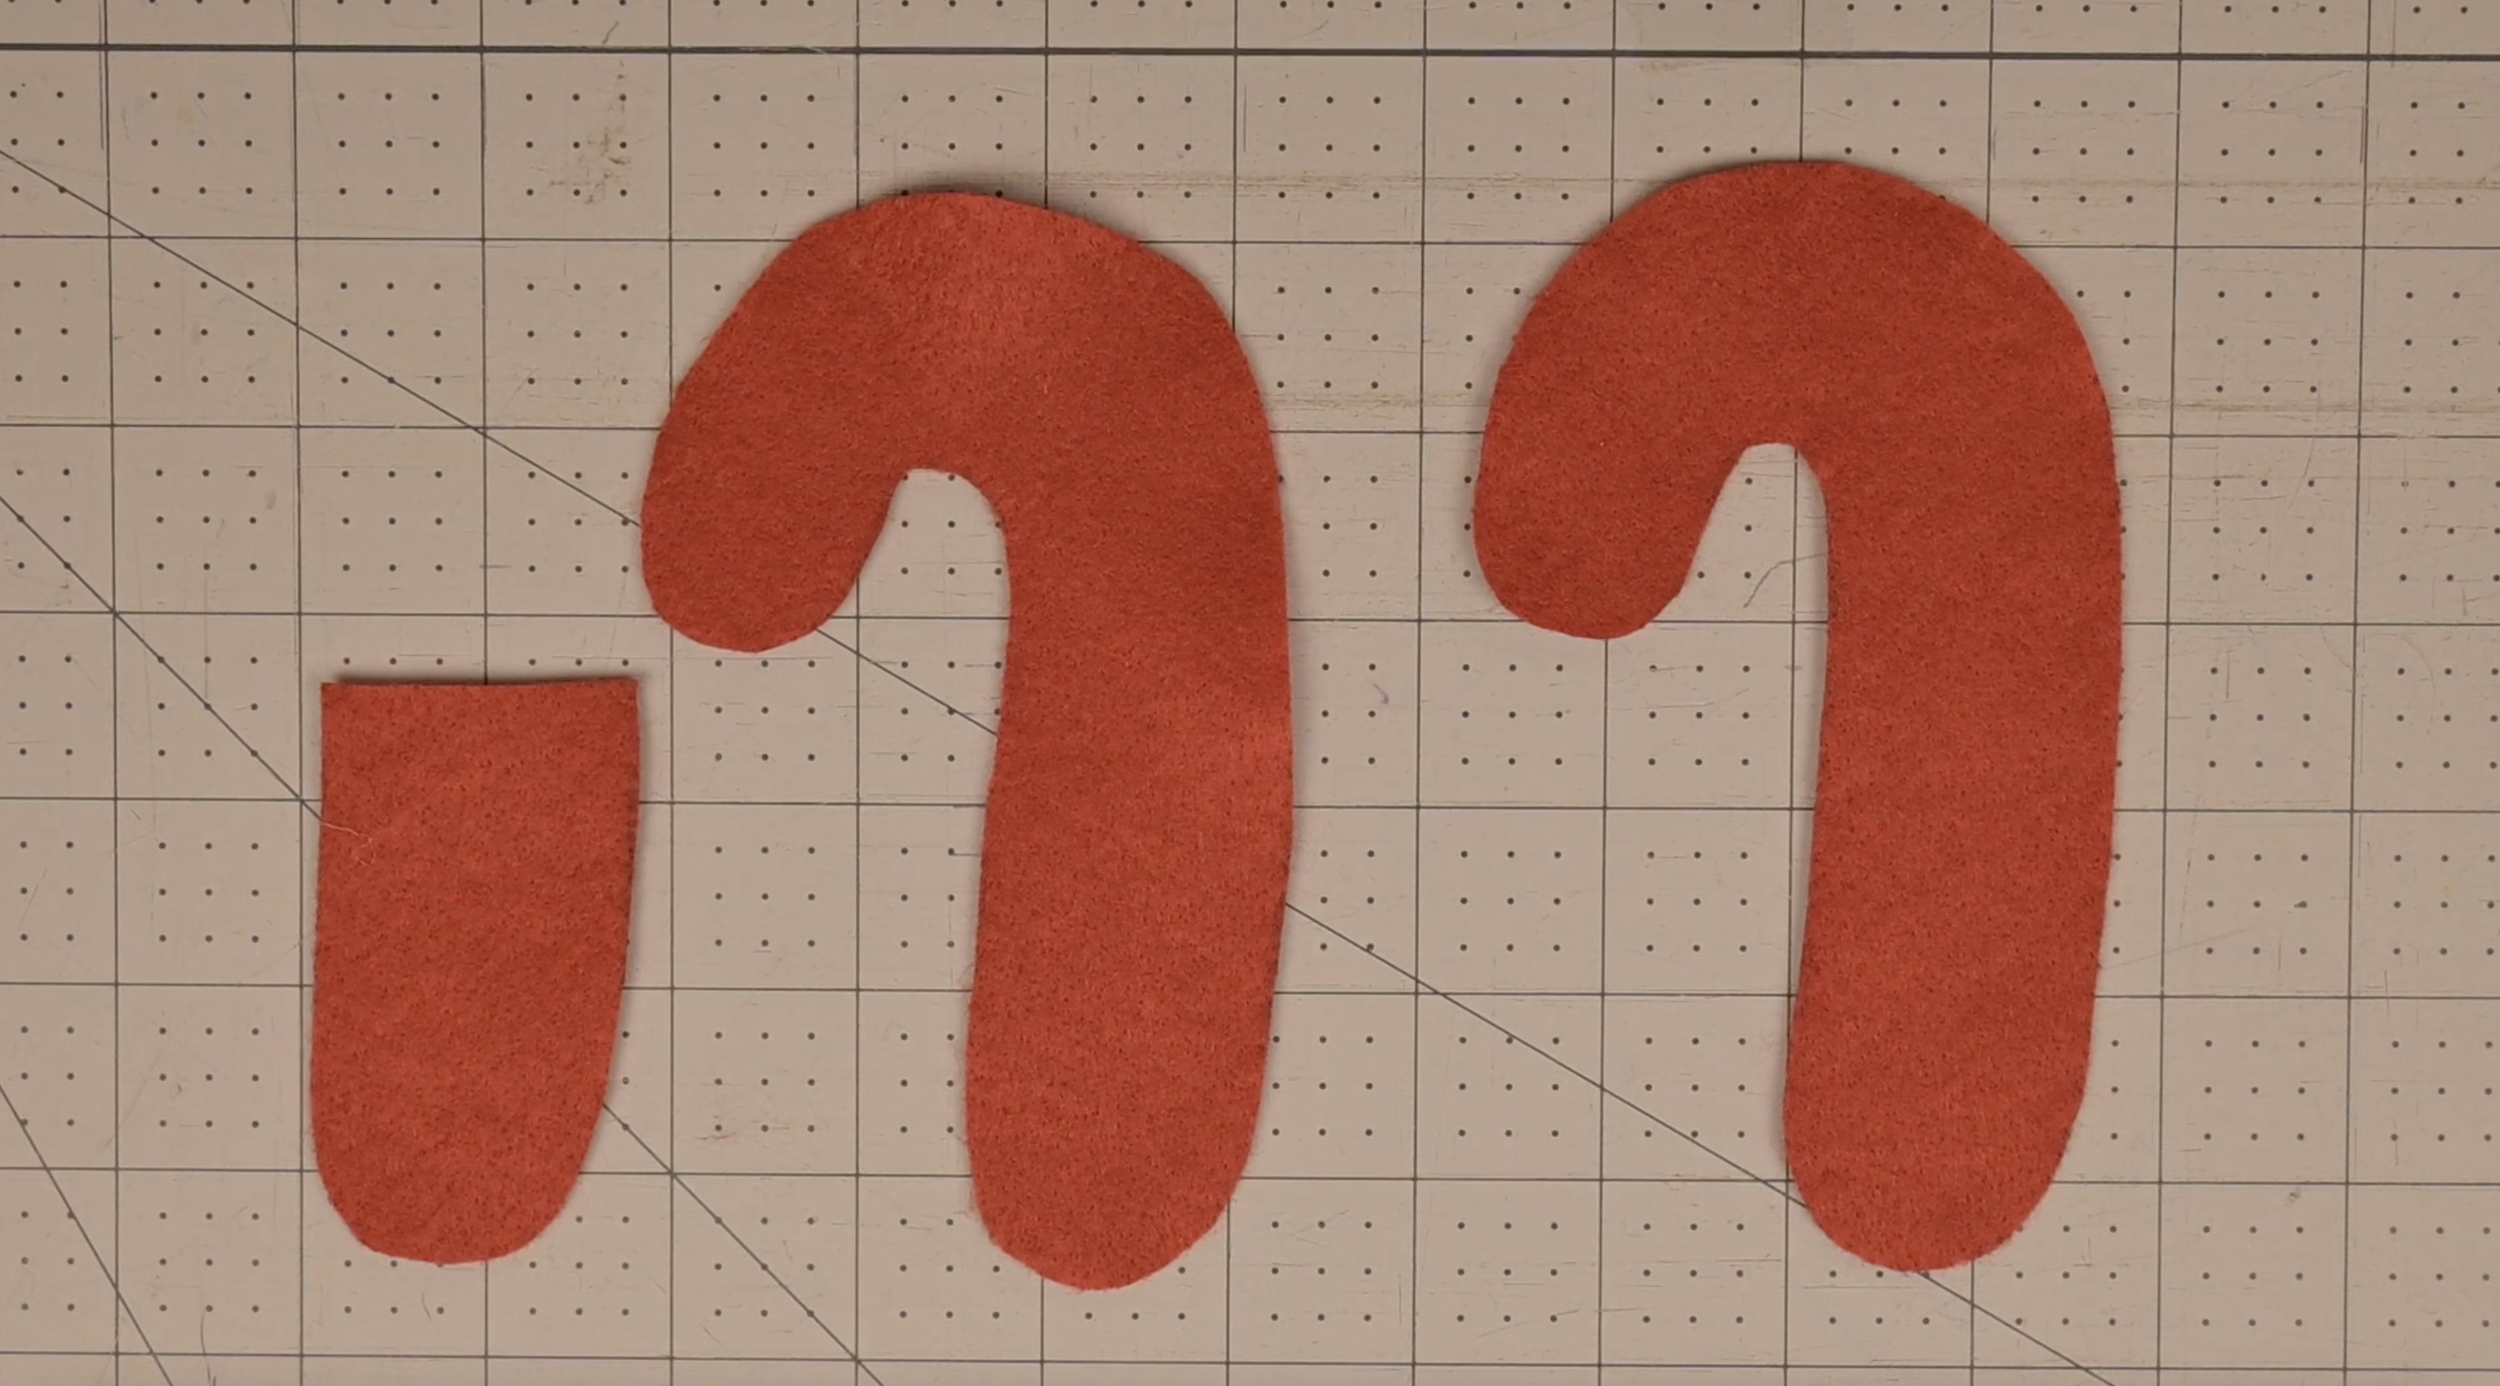
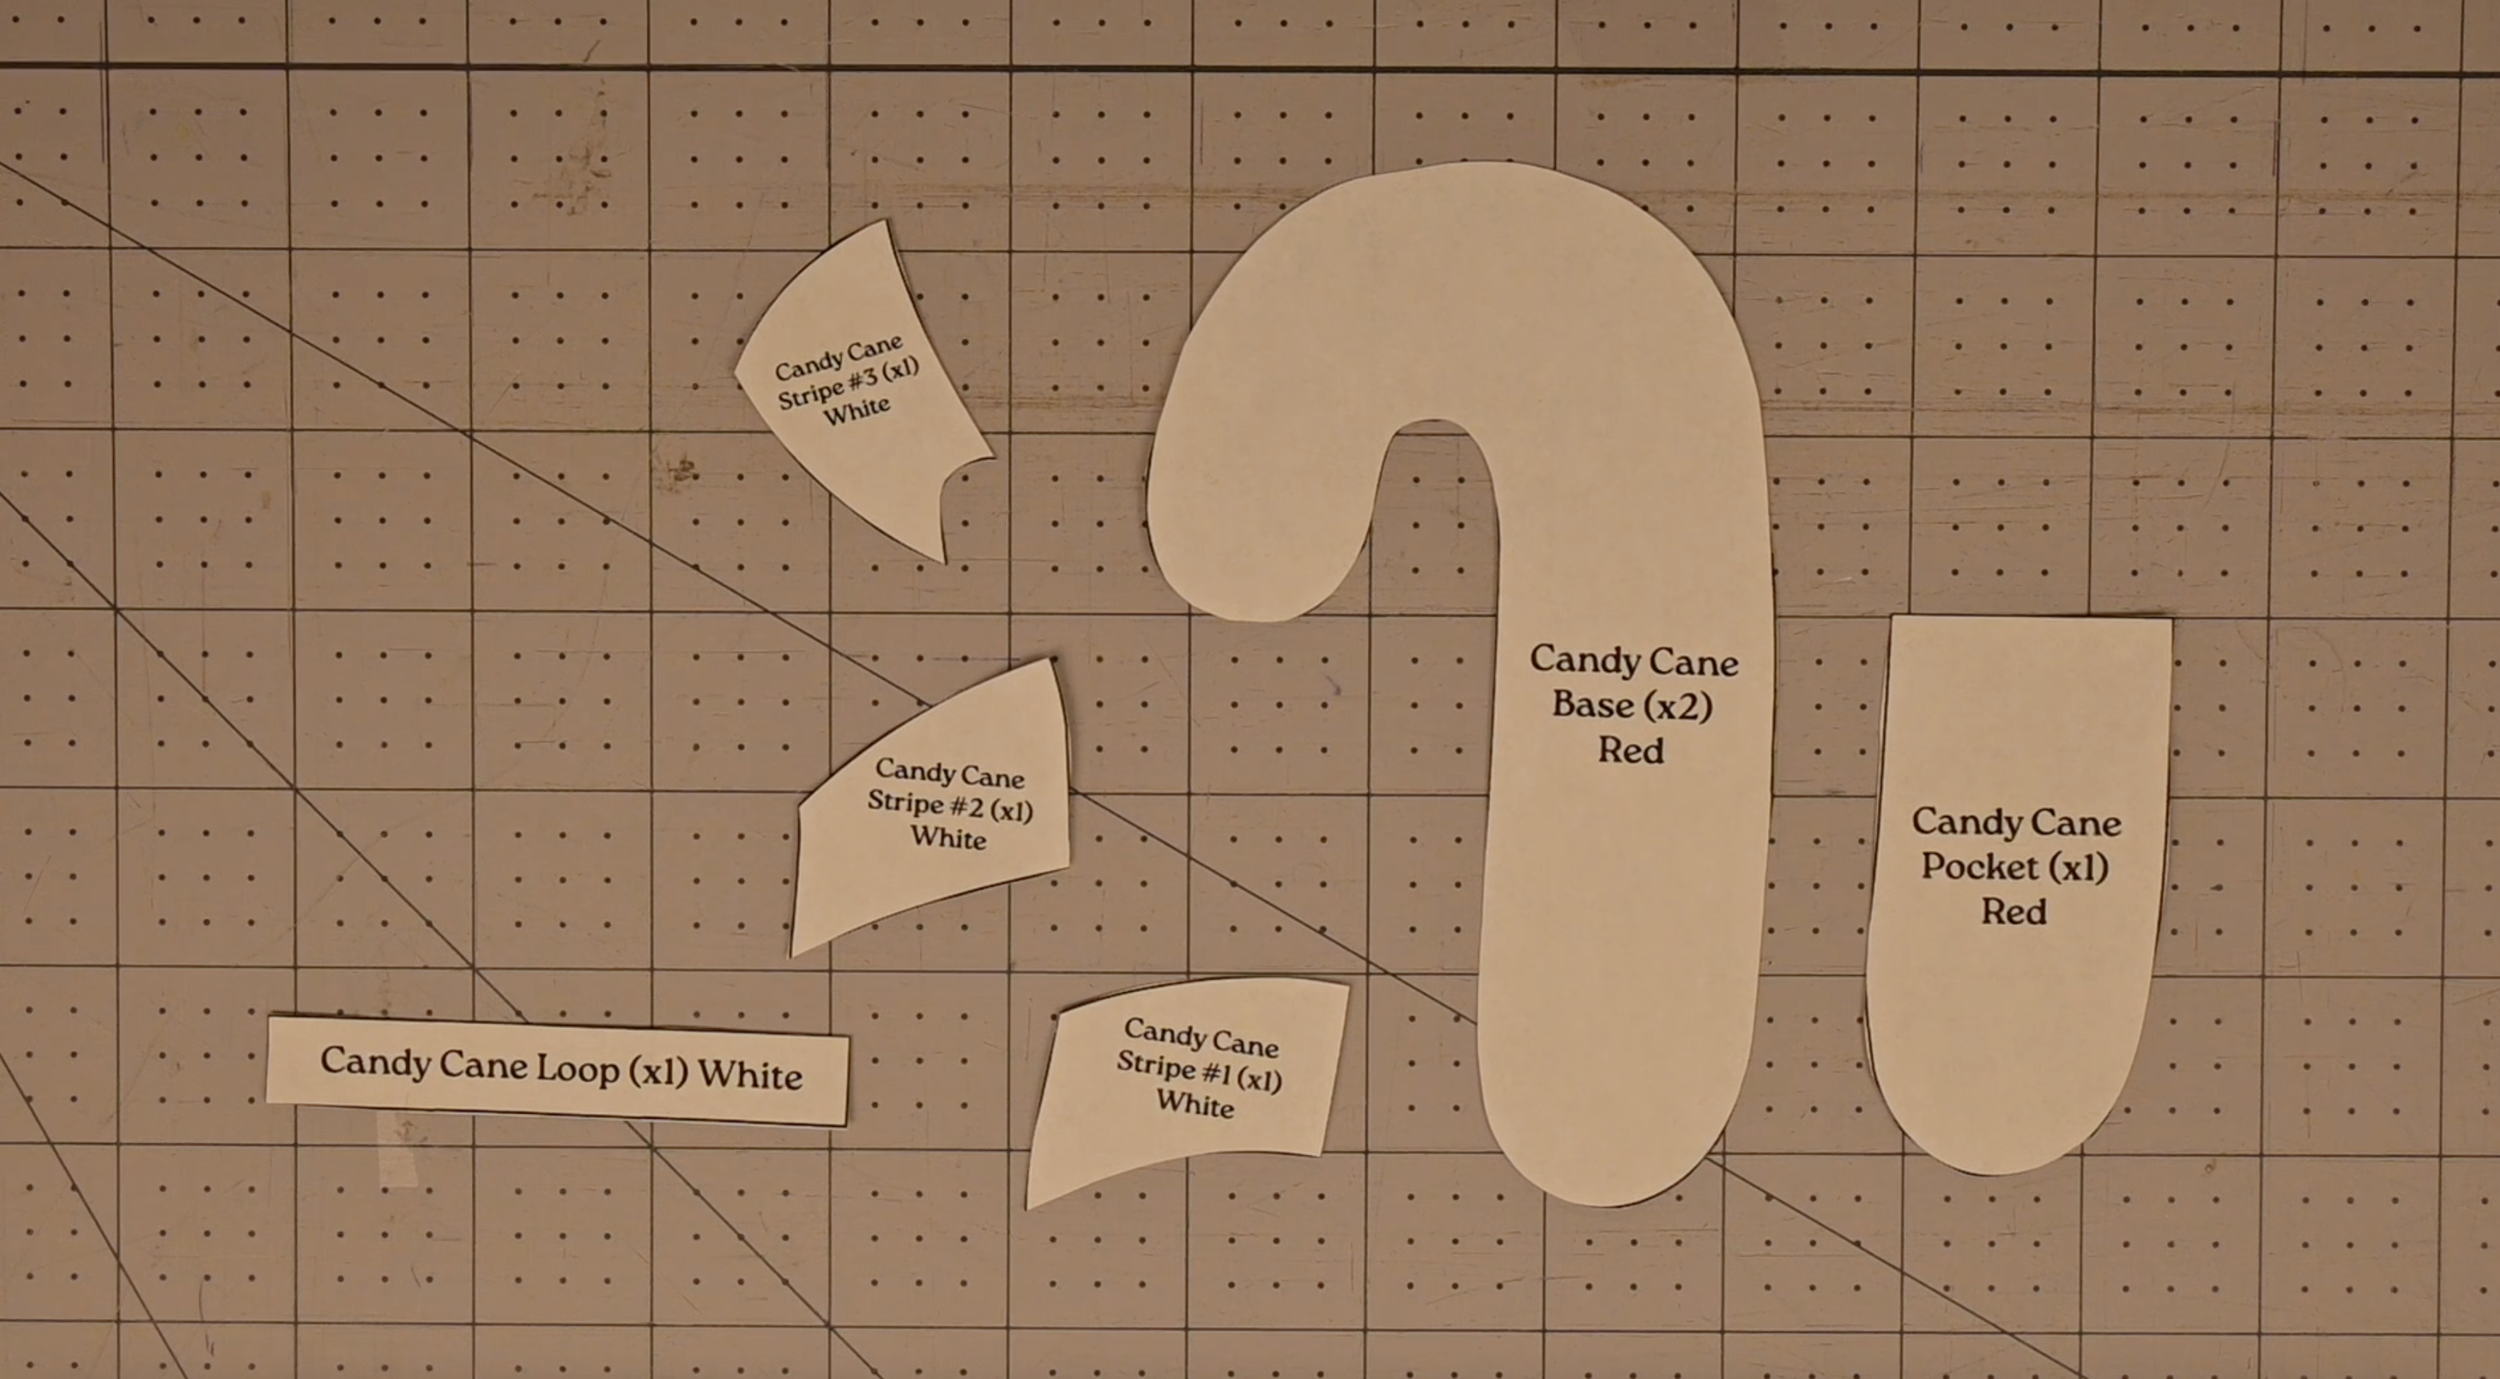
You will have the following for the candy cane:
2 Red Candy Cane Base Pieces
1 Red Candy Cane Pocket Piece
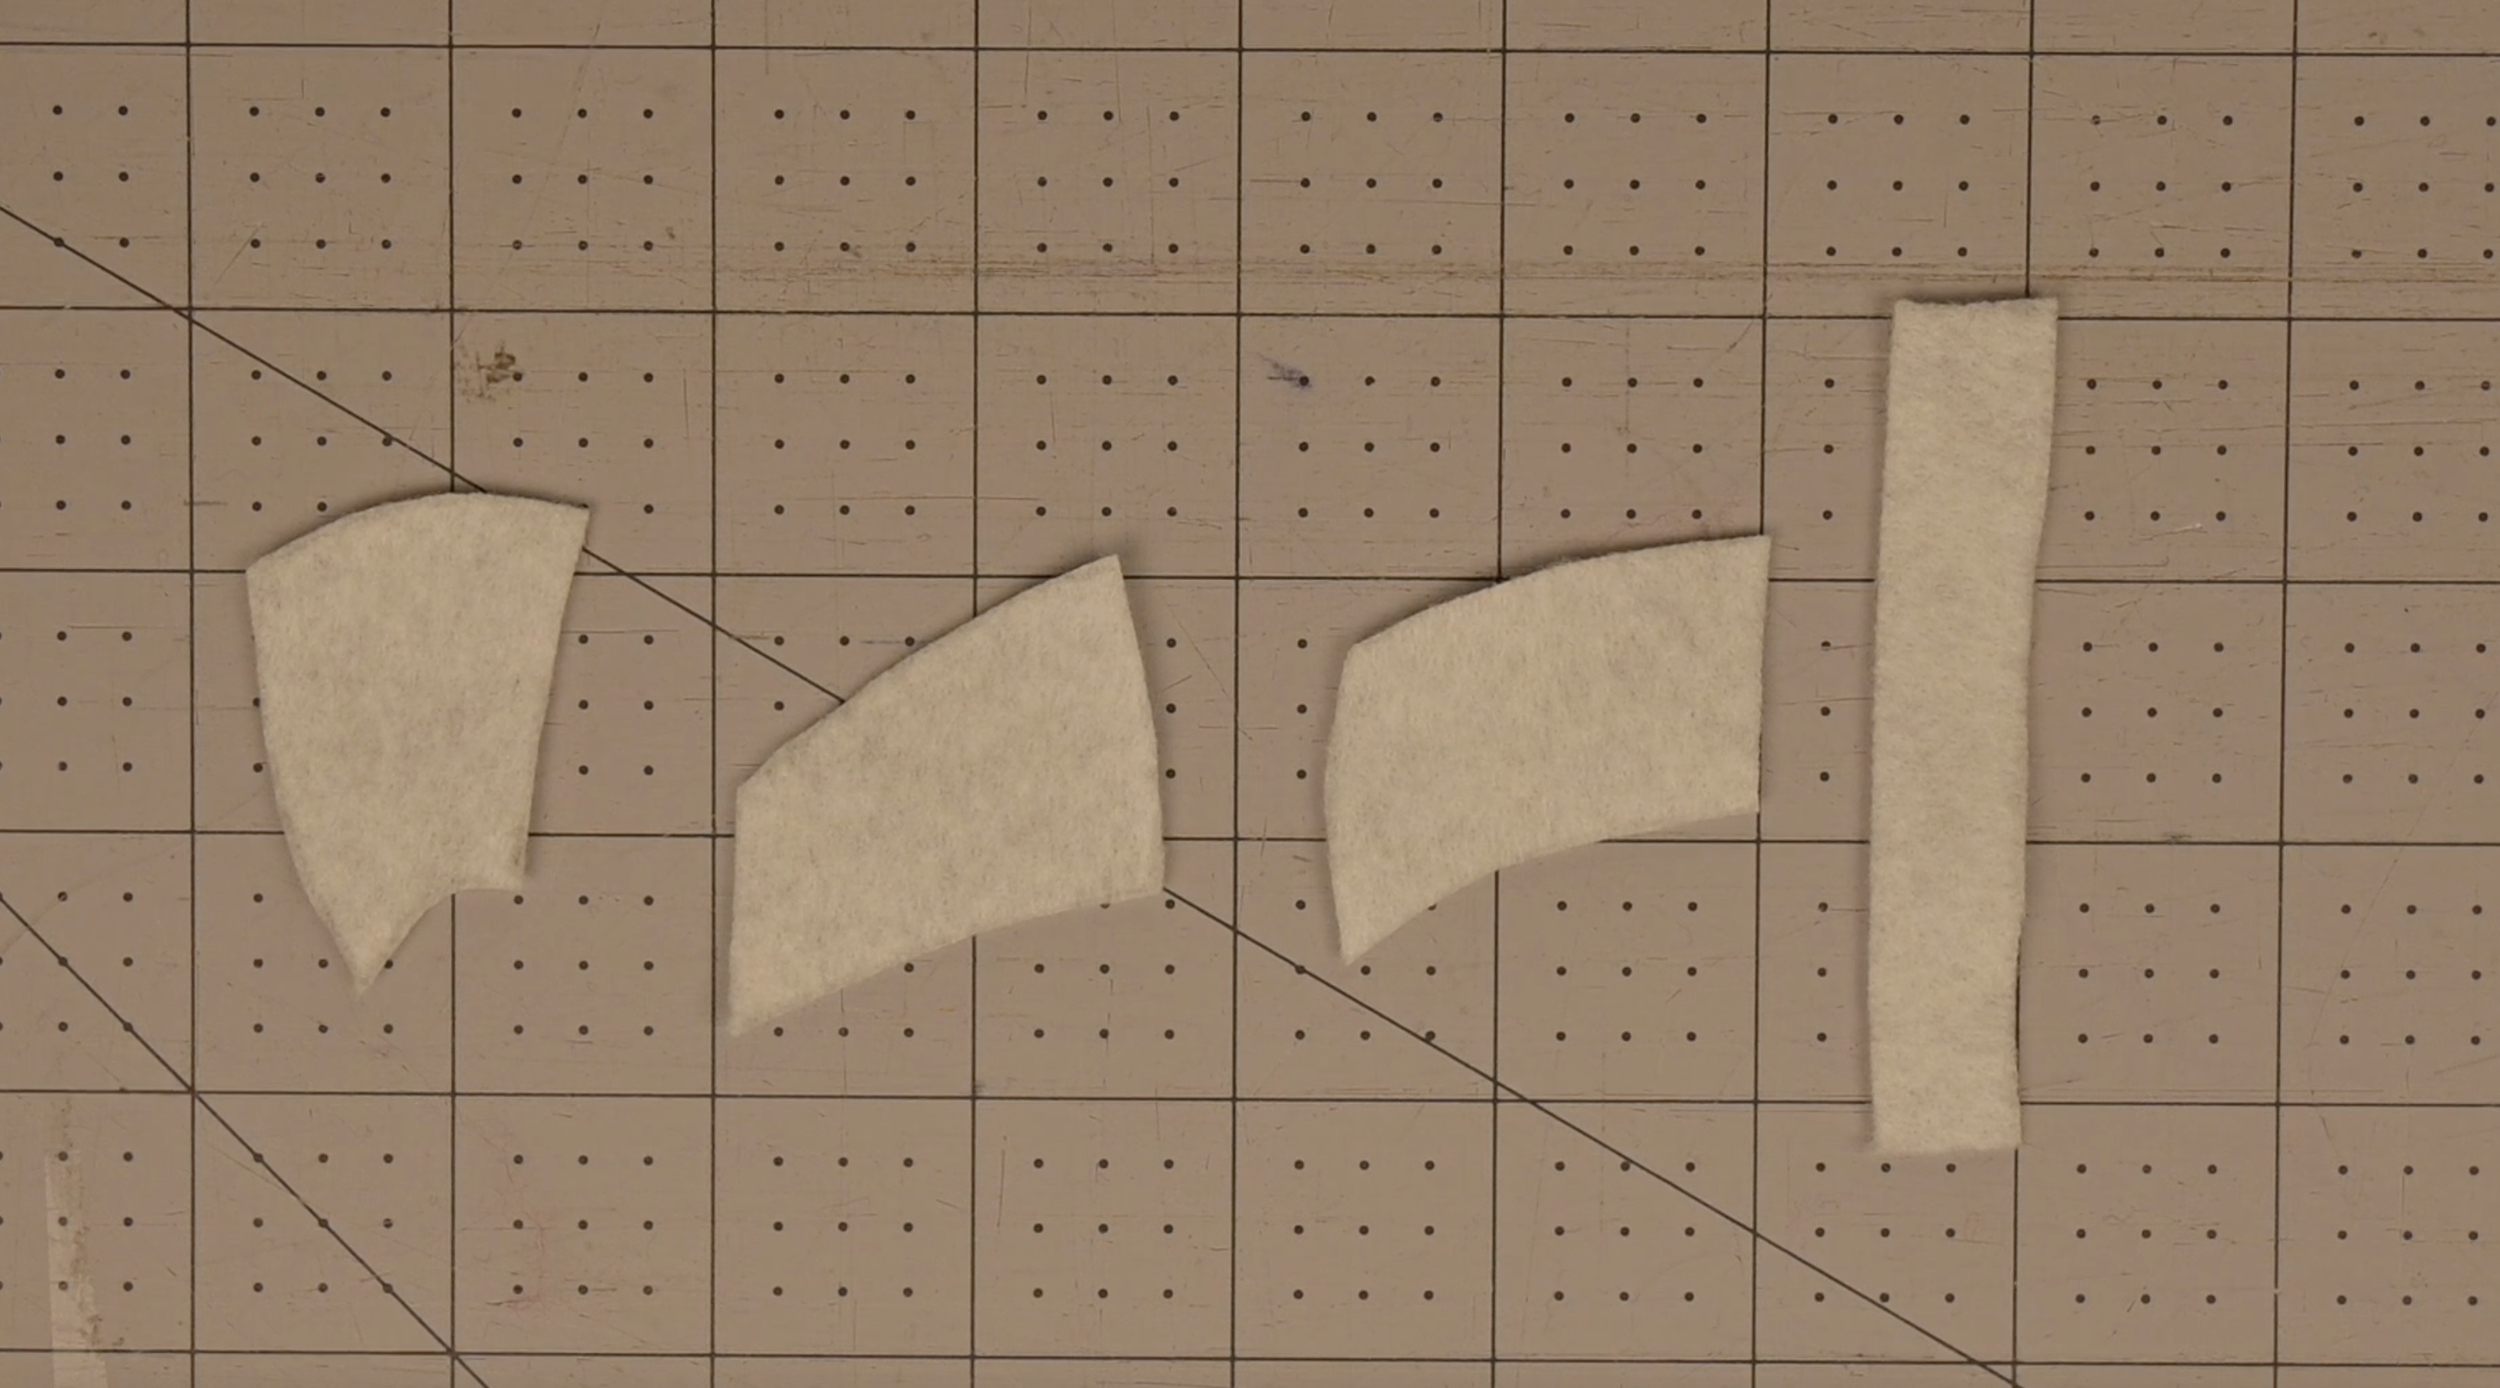
1 White Candy Cane Loop Piece
1 White Candy Cane Stripe #1 Piece
1 White Candy Cane Stripe #2 Piece
1 White Candy Cane Stripe #3 Piece
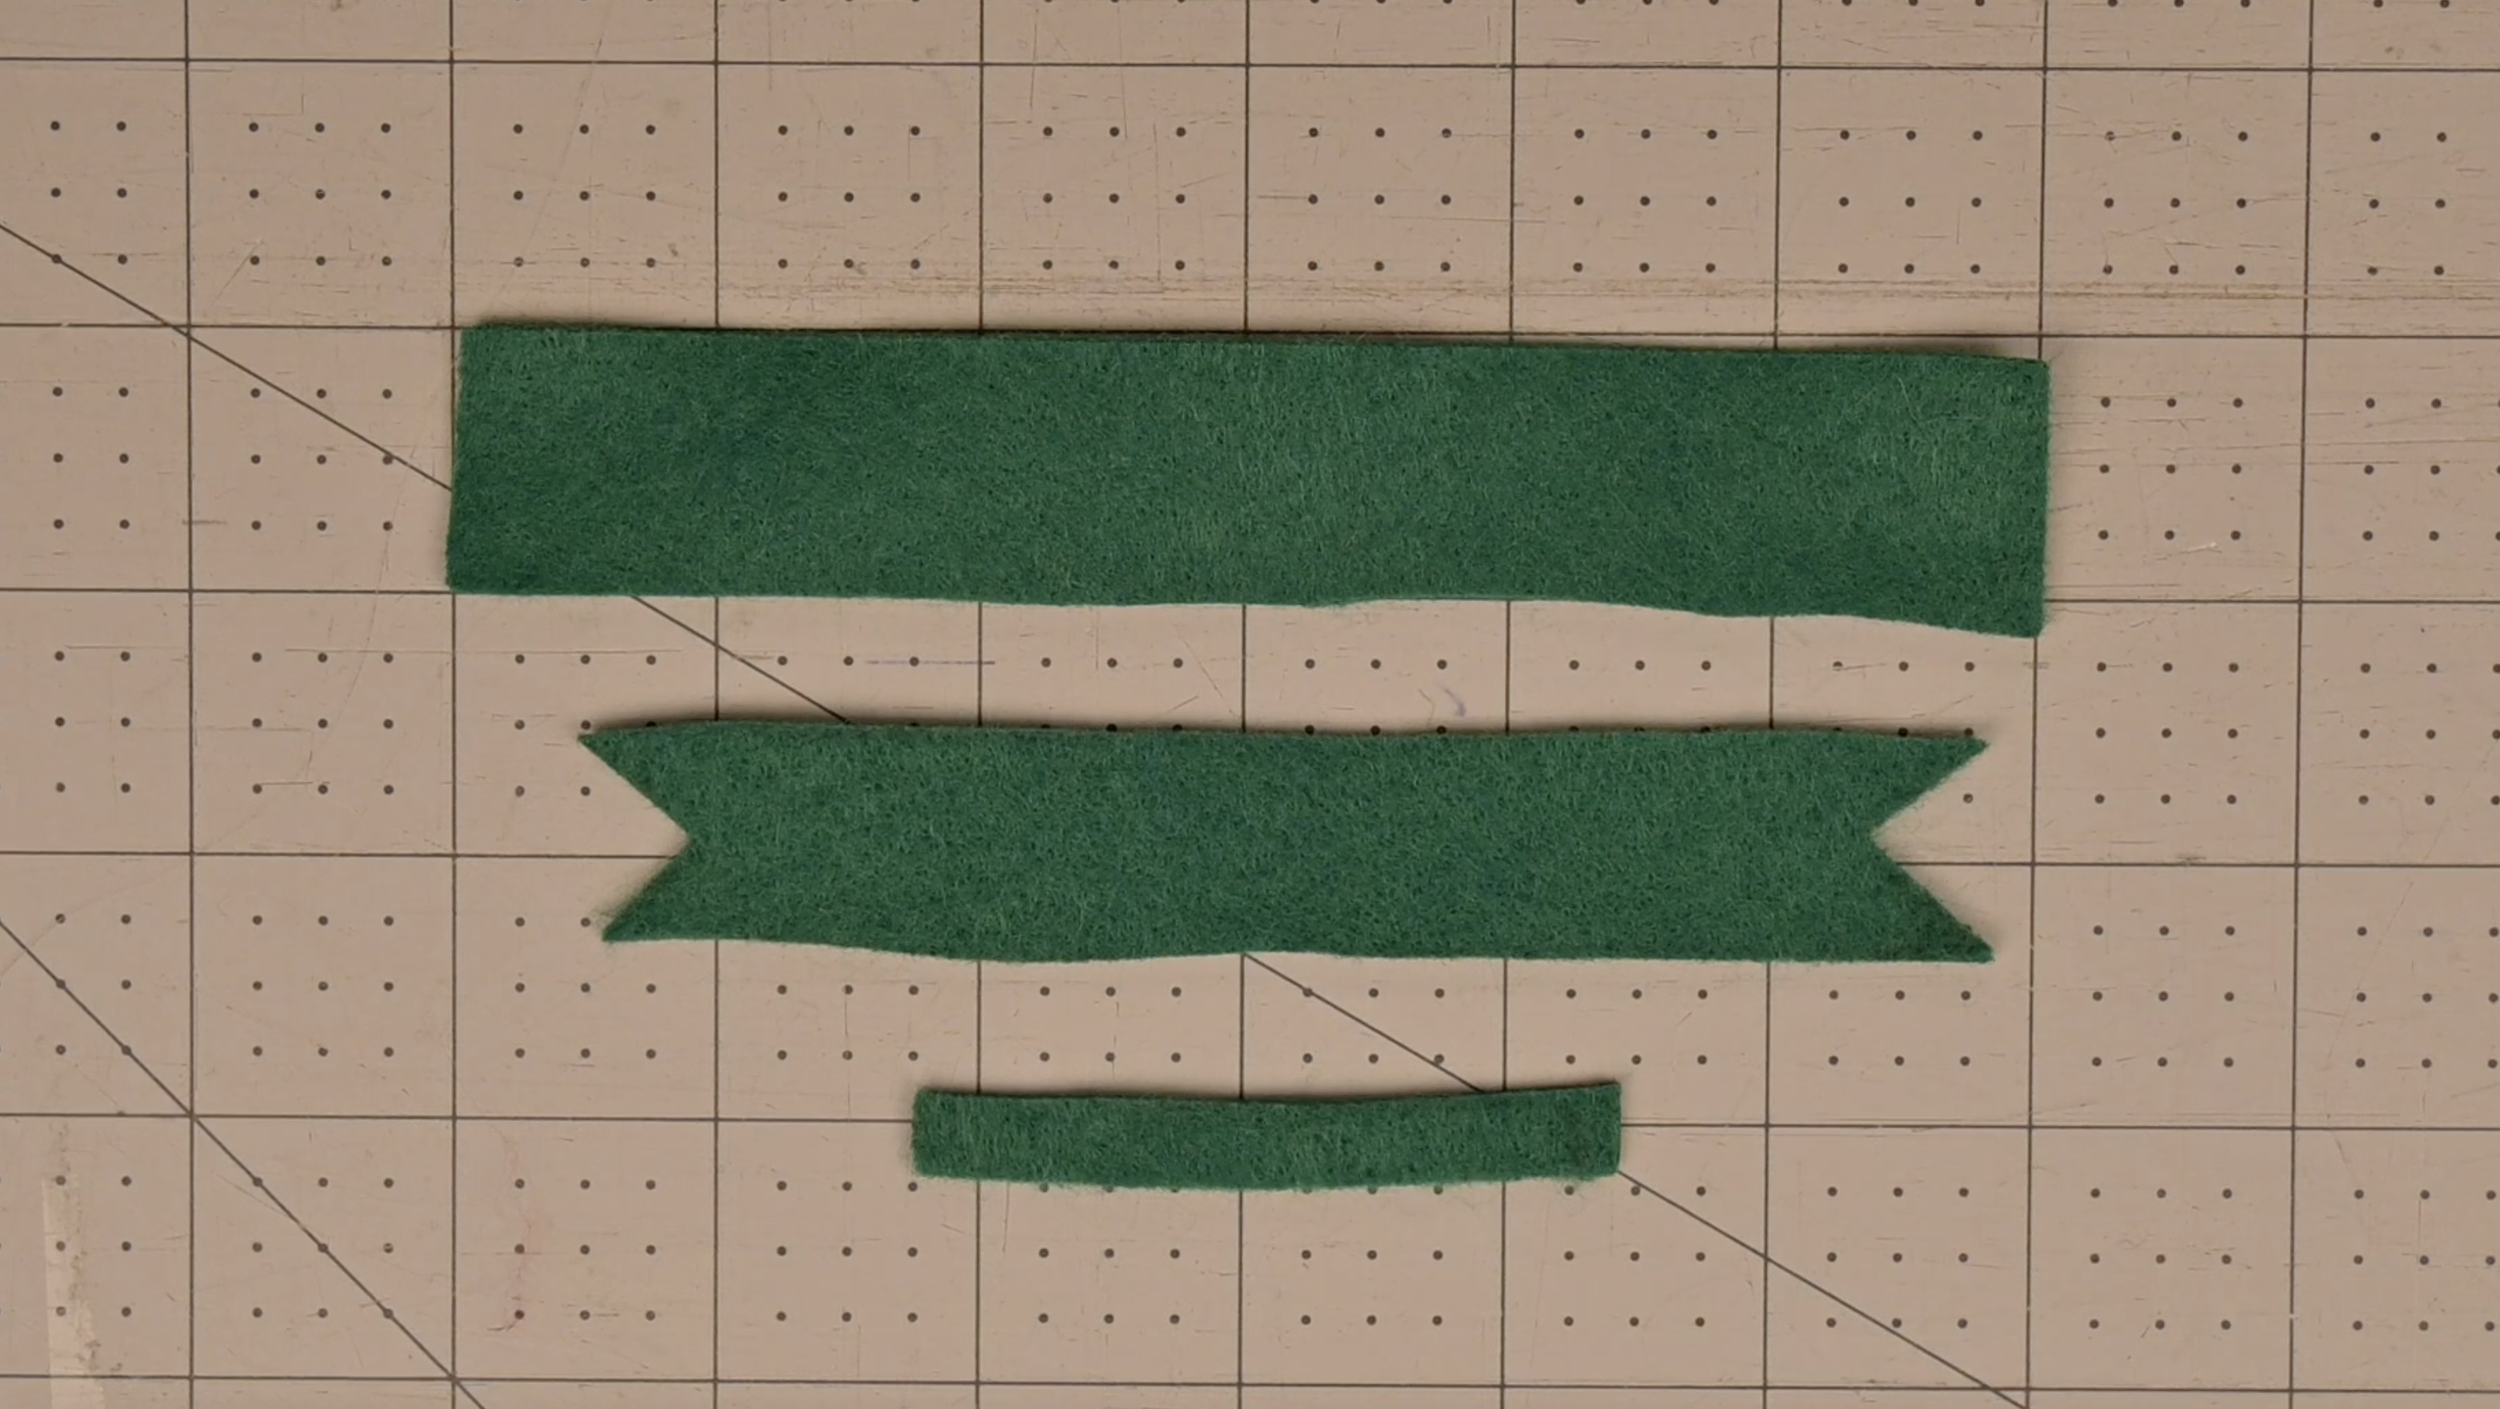
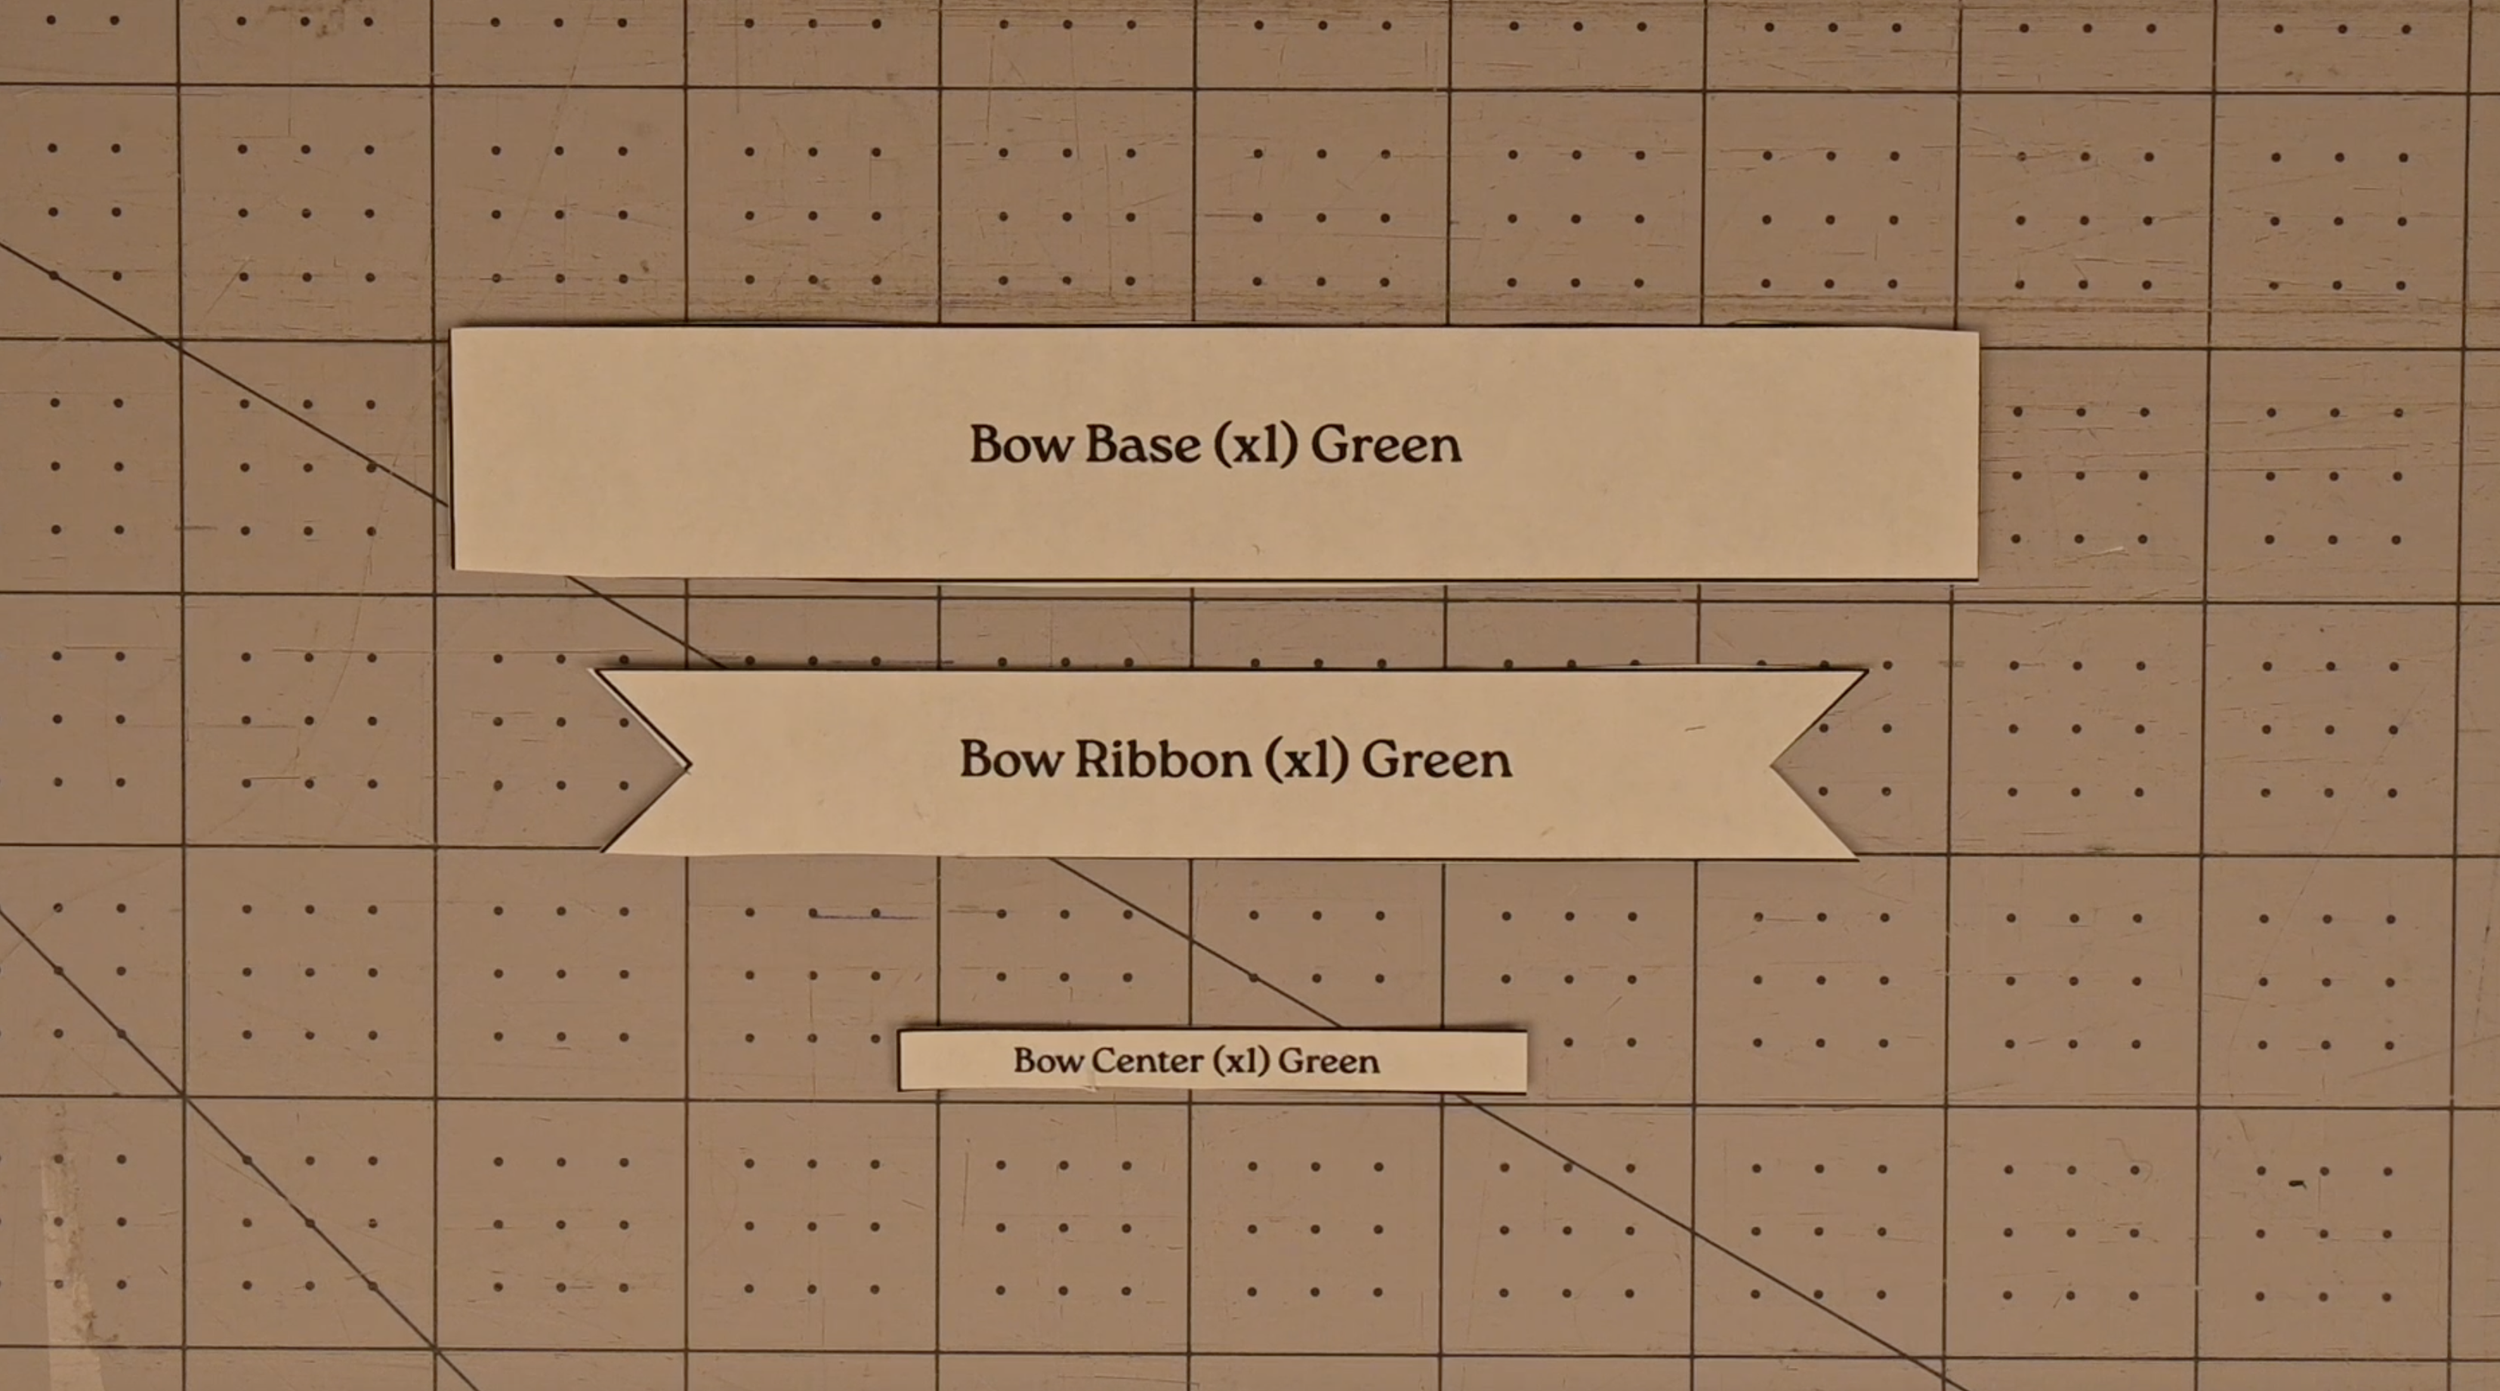
You will have the following for the bow:
1 Green Bow Base Piece
1 Green Bow Ribbon Piece
1 Green Bow Center Piece
Step 4: Add Detail Stitches to the Candy Cane Loop (Optional)
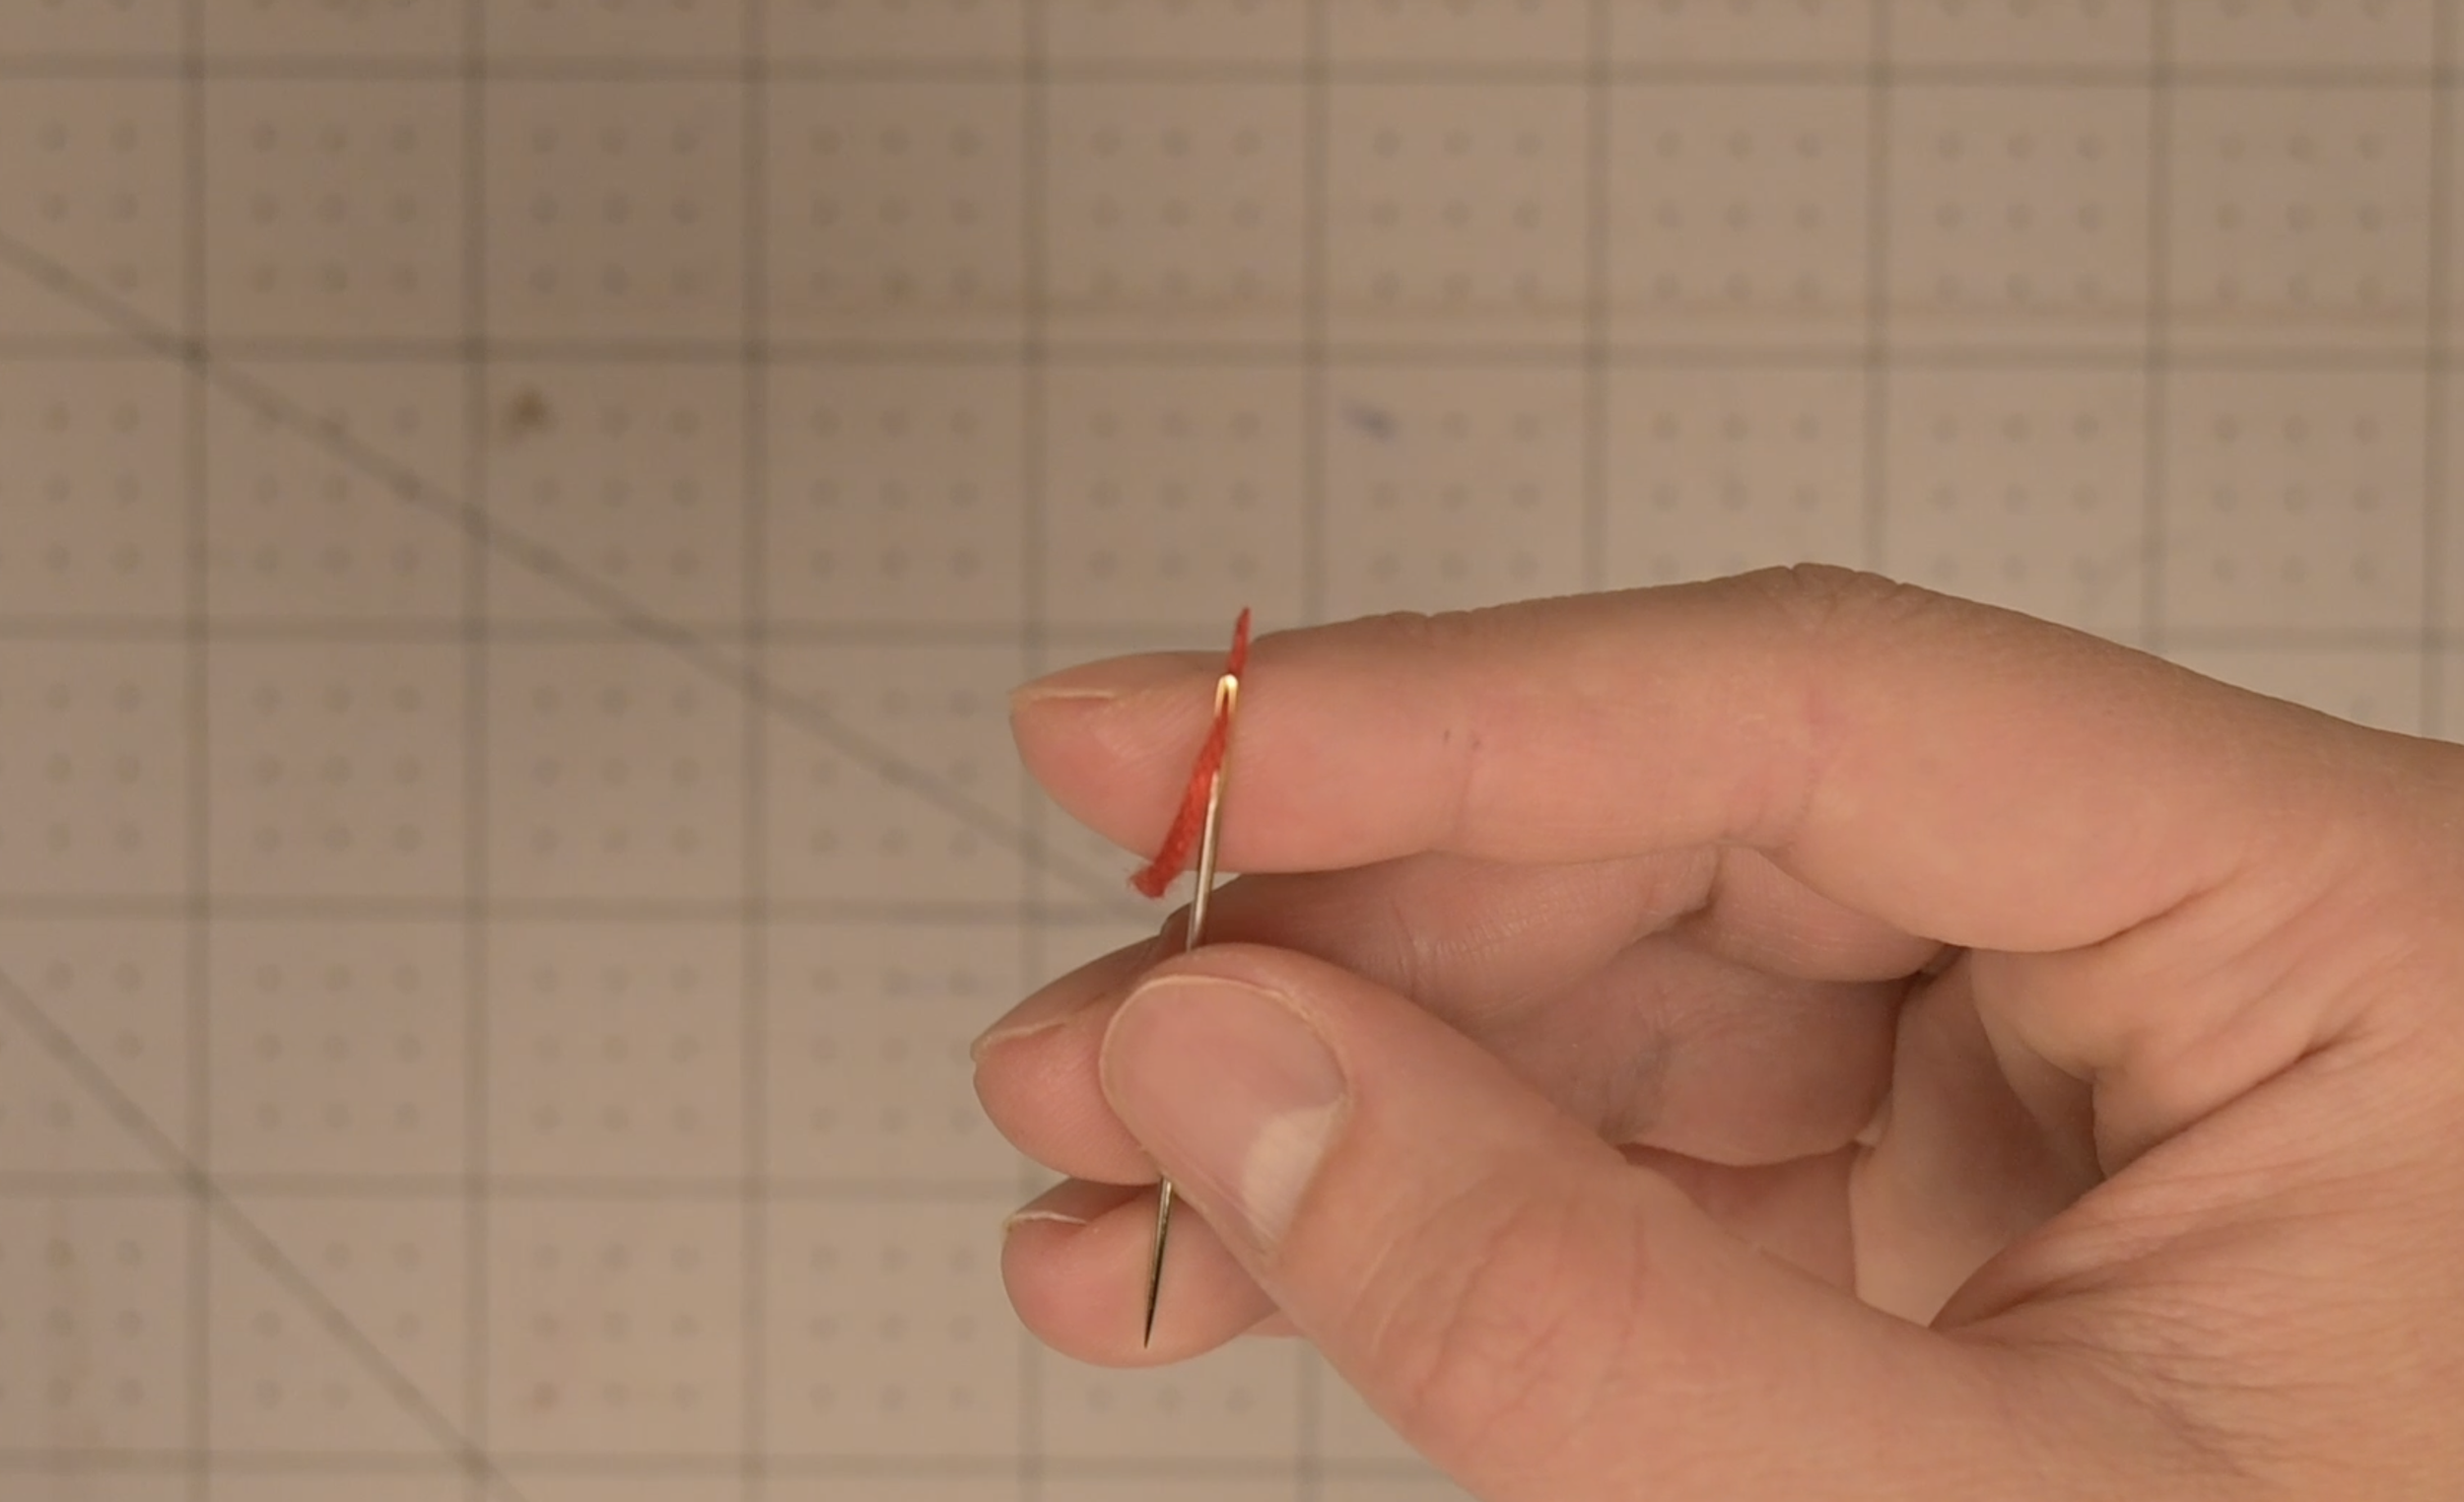
Pass the end of the embroidery thread through the eye of the needle
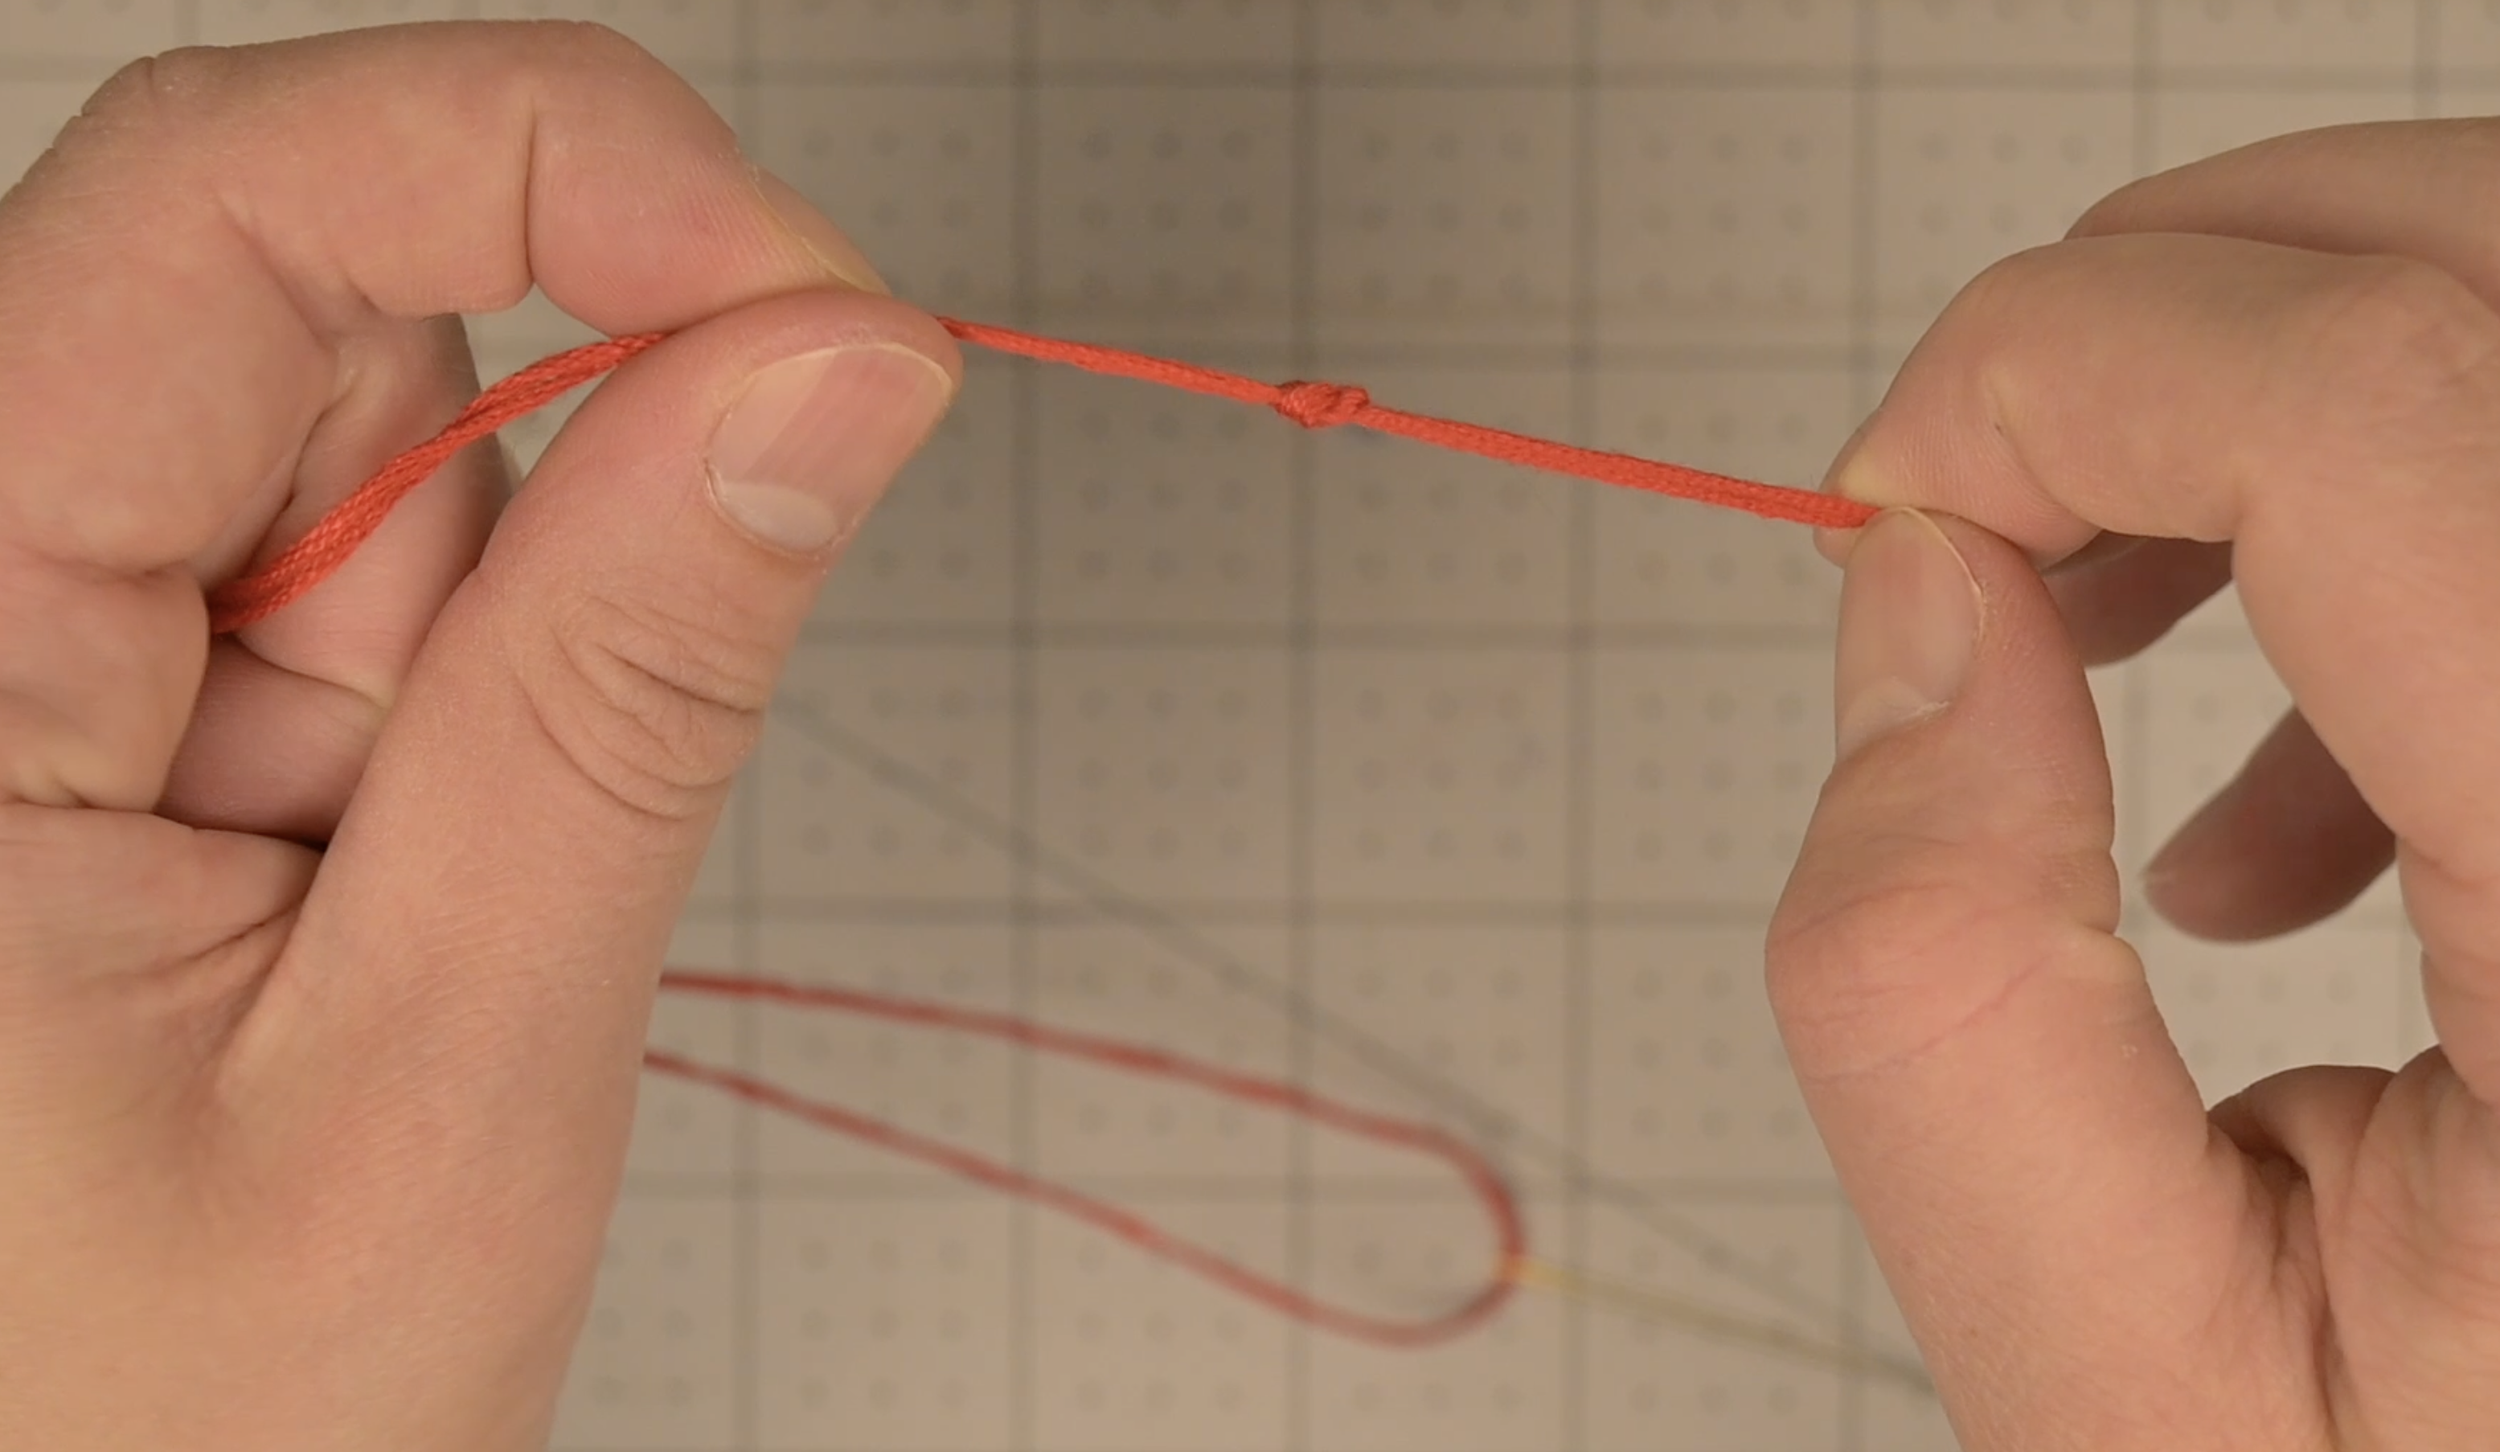
Fold the thread in half so the ends are together
Tie a knot securing the ends together
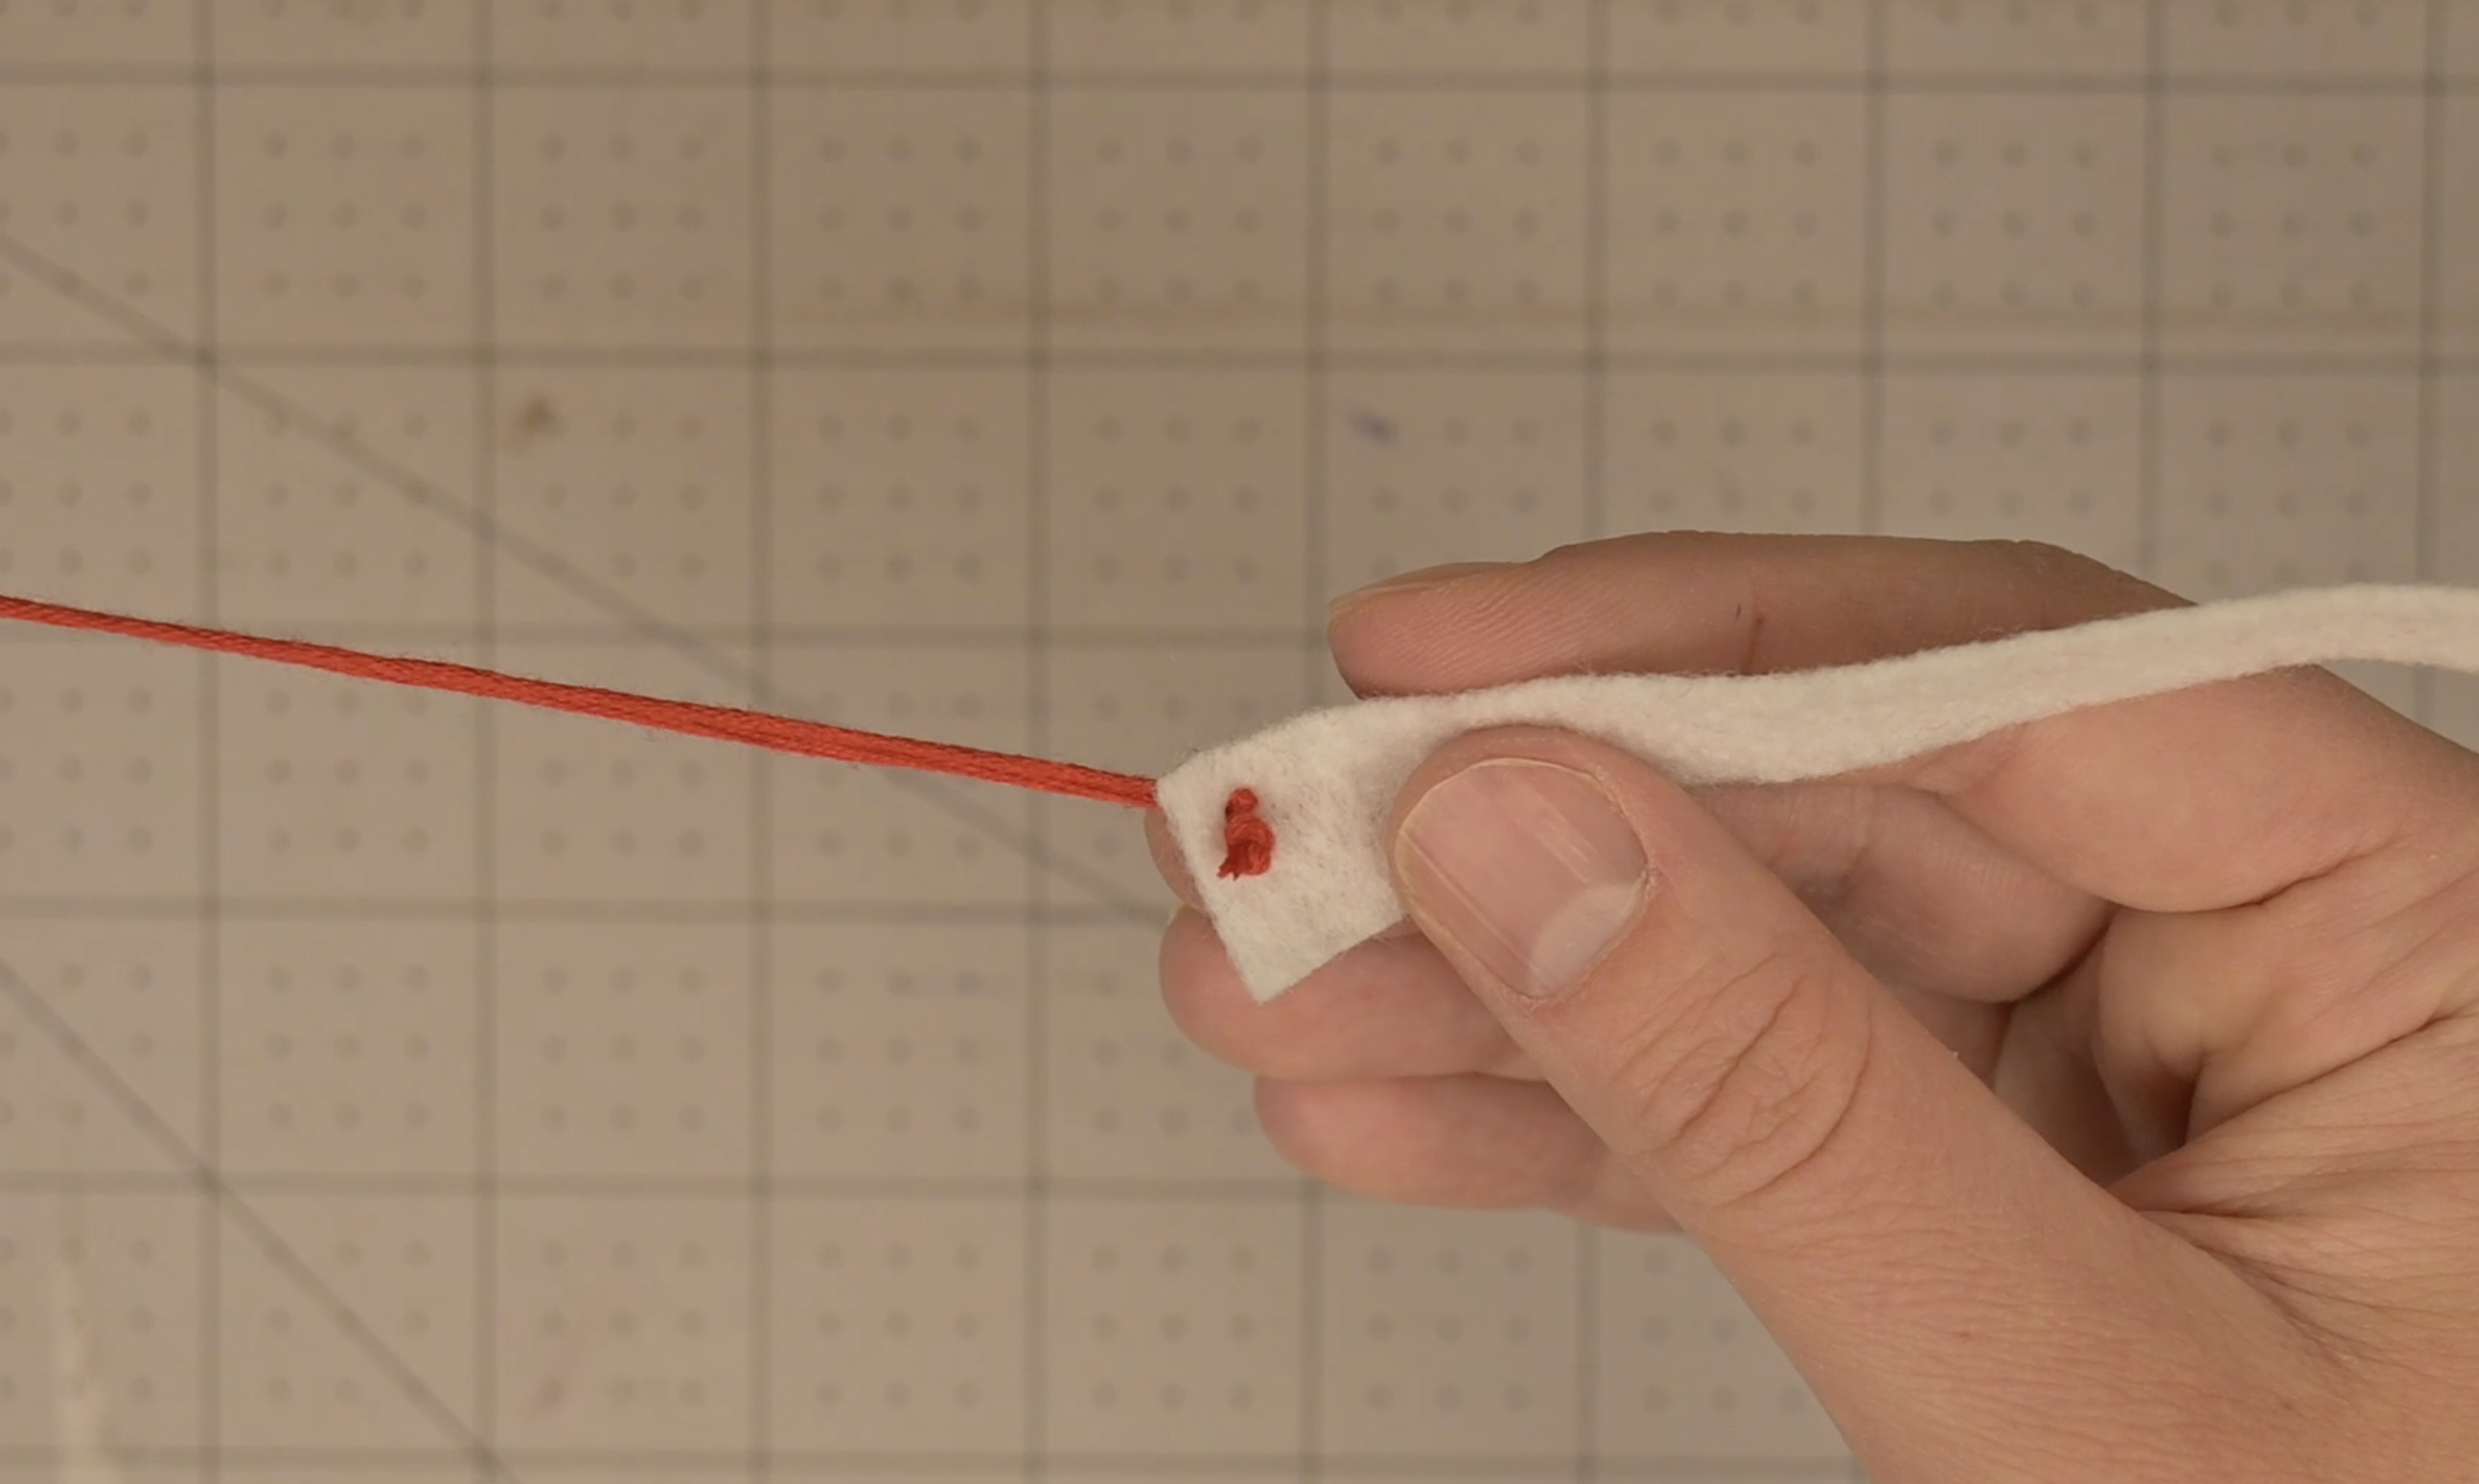
Push the needle up through the back of the felt to the front at the starting point until the knot catches
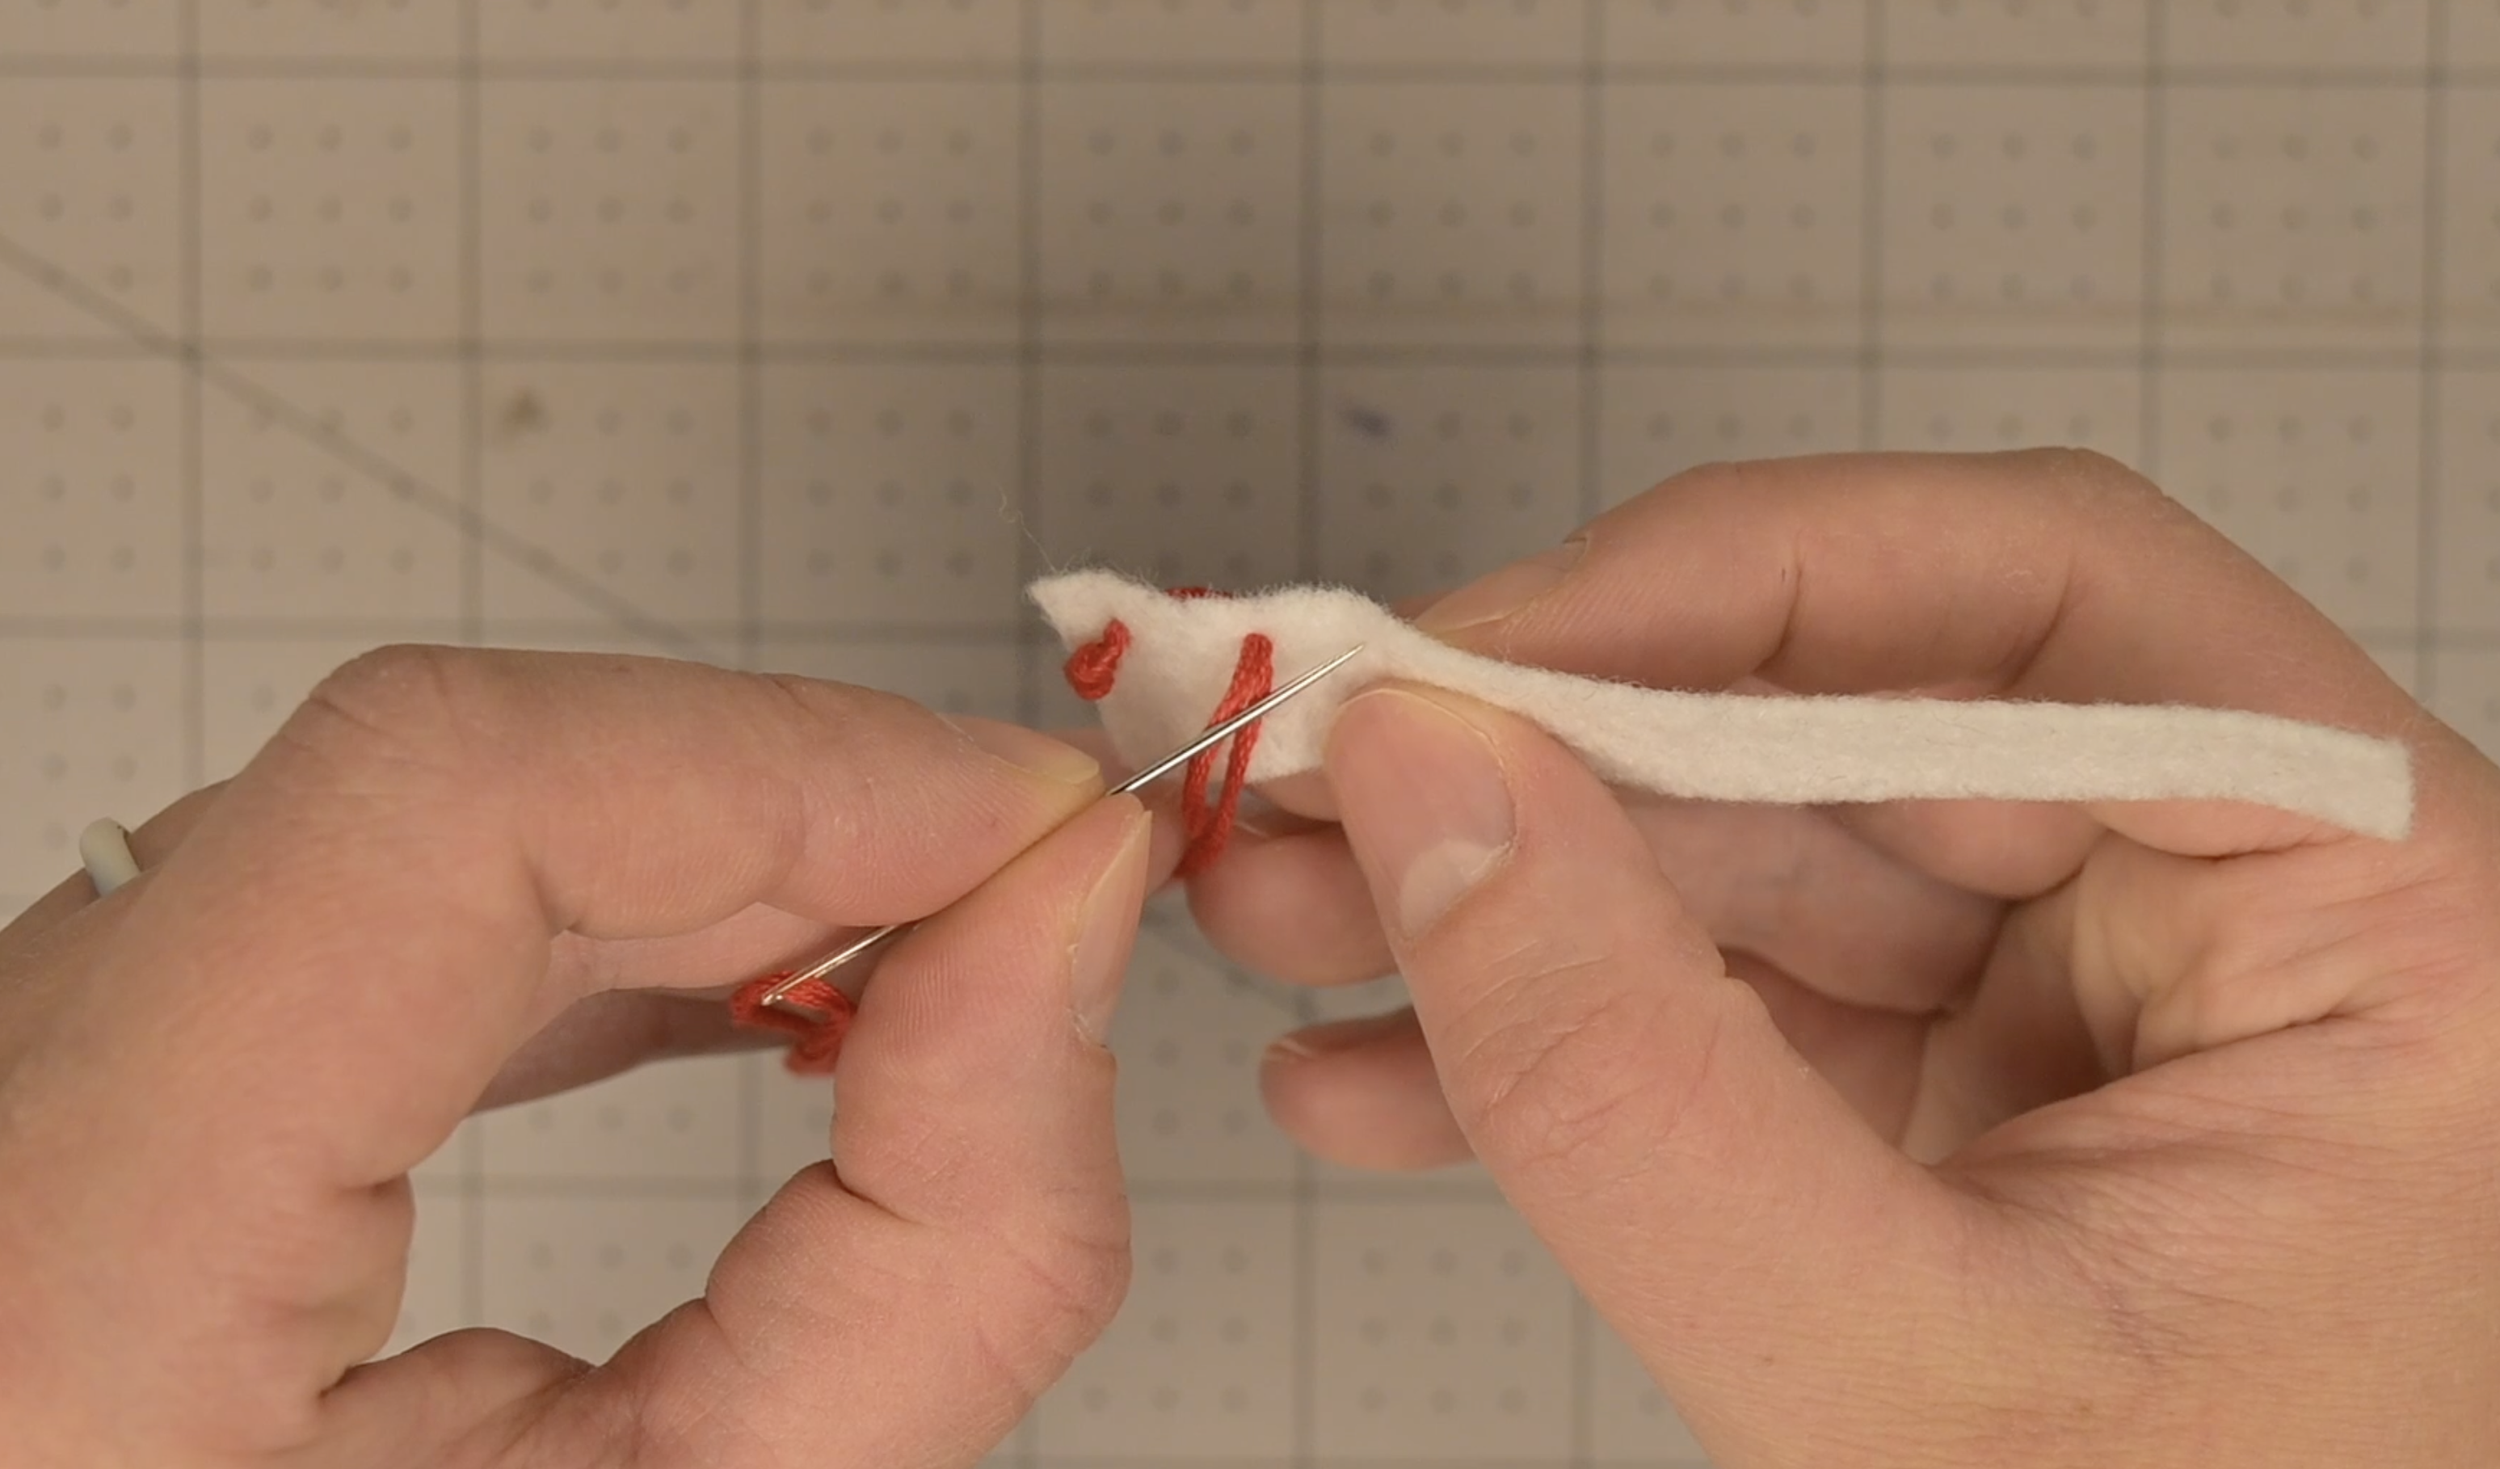
Insert the needle back down through the fabric, about 1/4 inch (or your desired stitch length)
Pull the thread all the way through
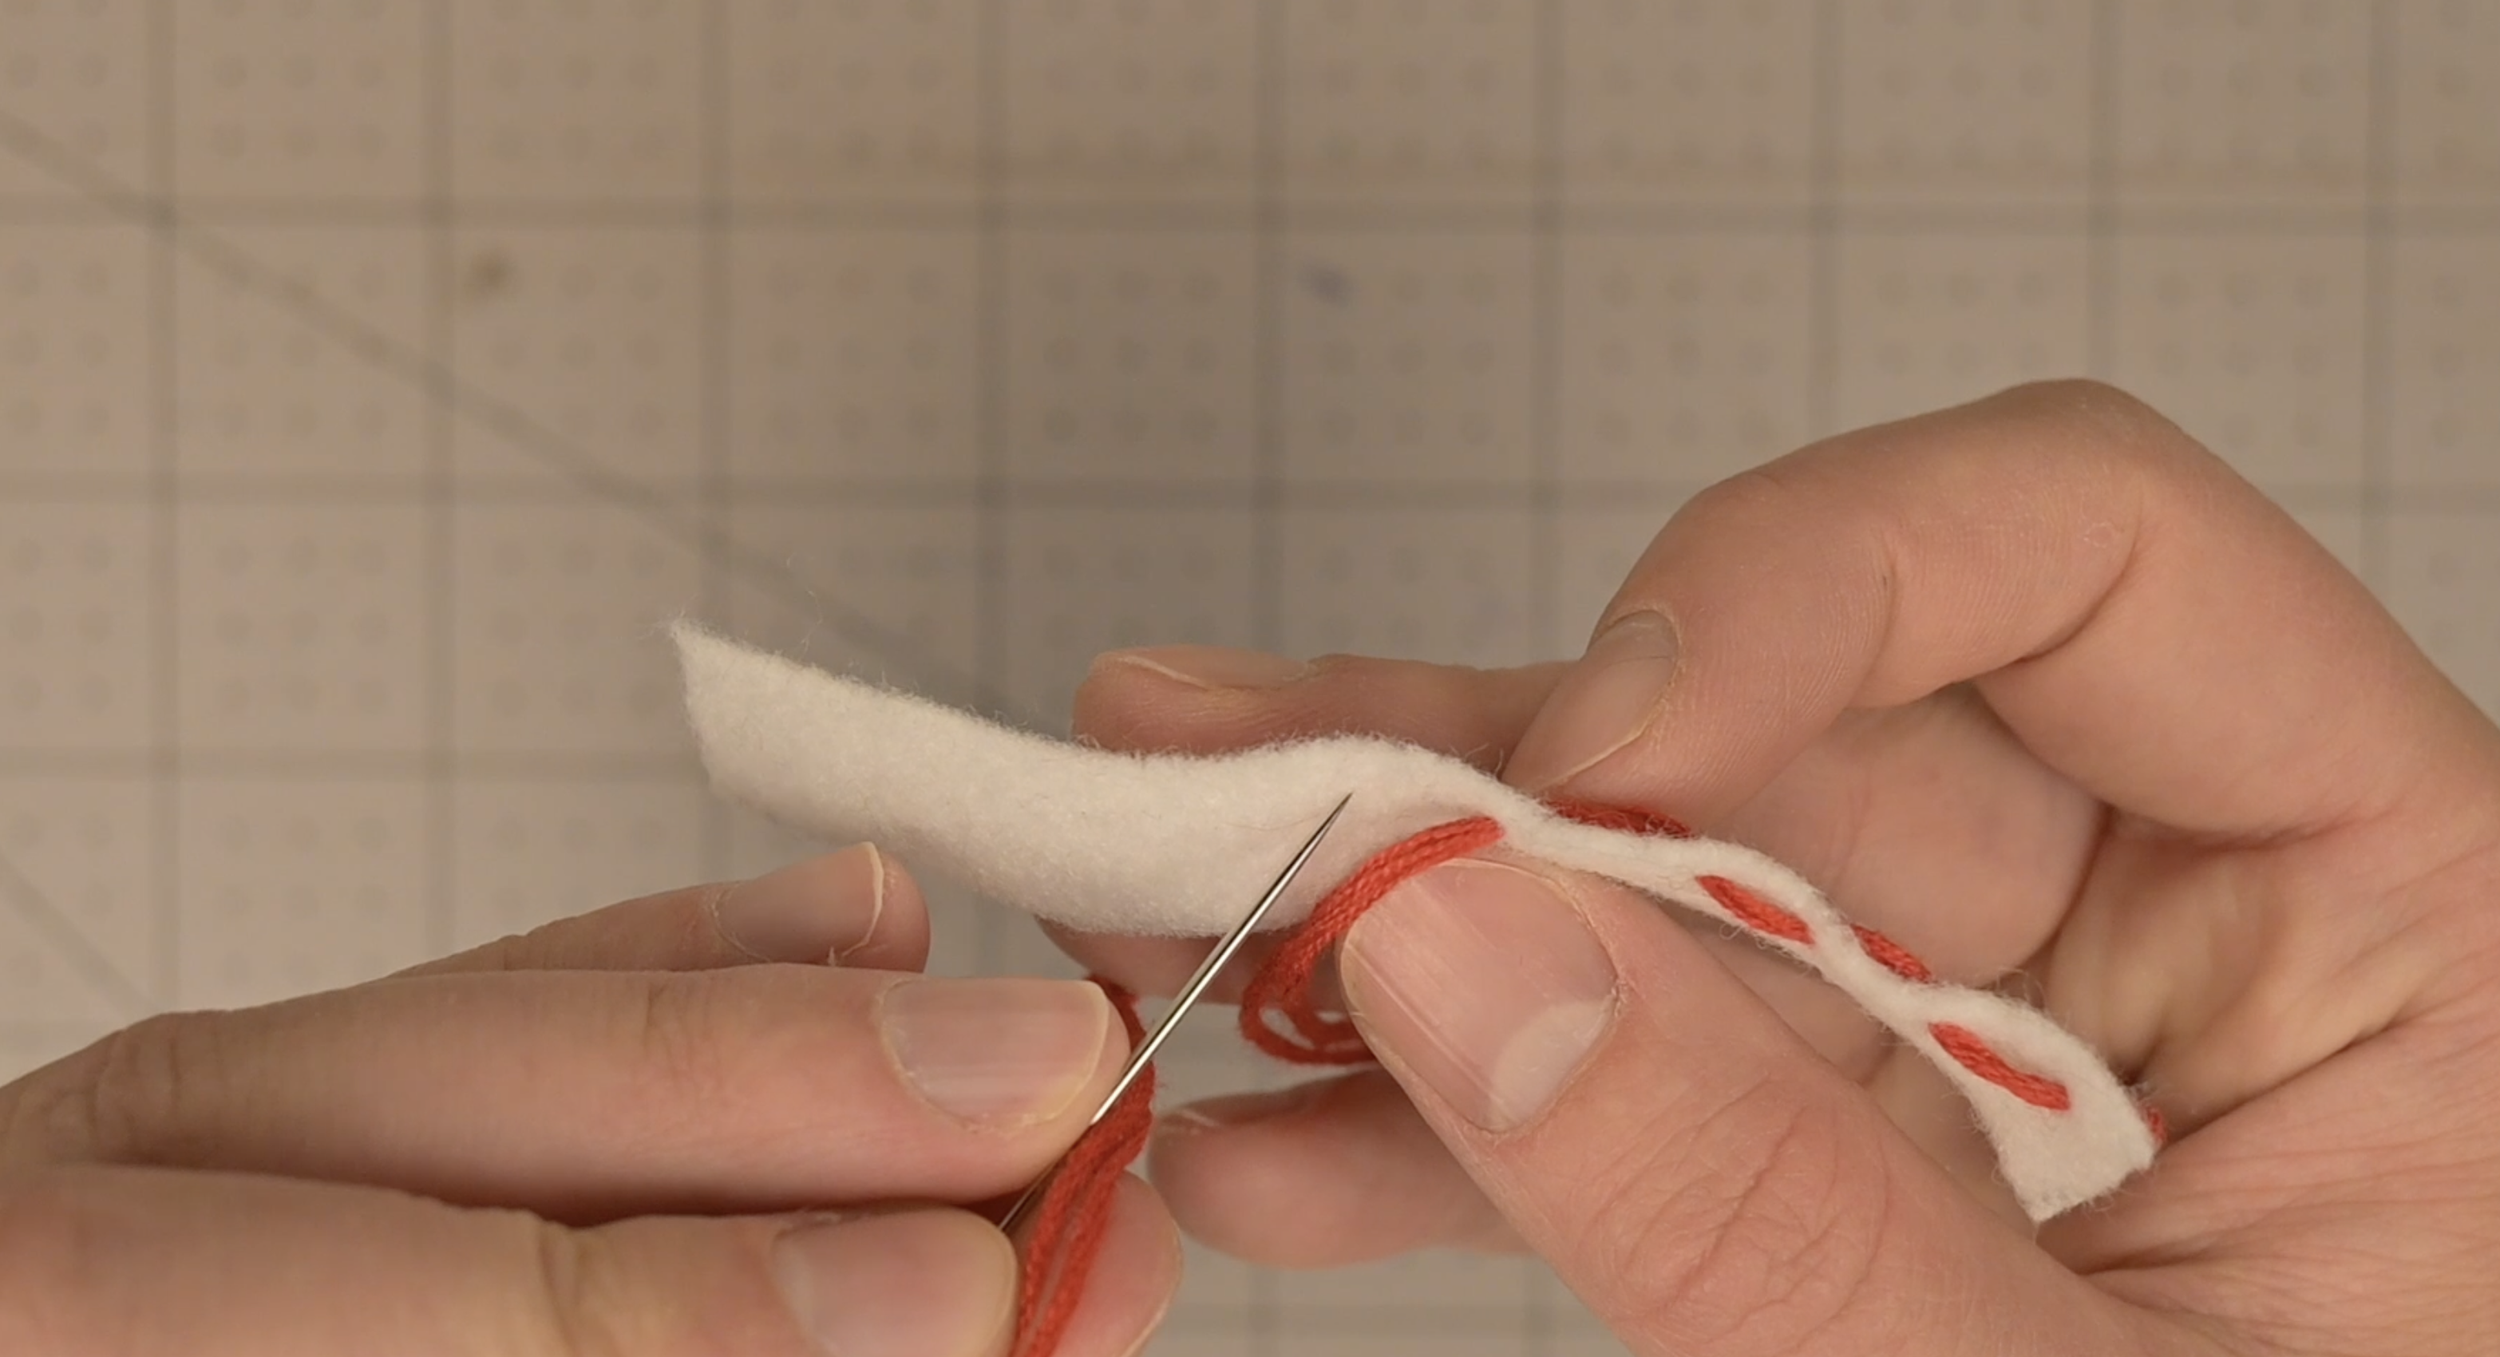
Push the needle back up through to the front, leaving a gap equal to your first stitch length
Continue moving down and up along the edge, keeping the stitches and gaps evenly spaced
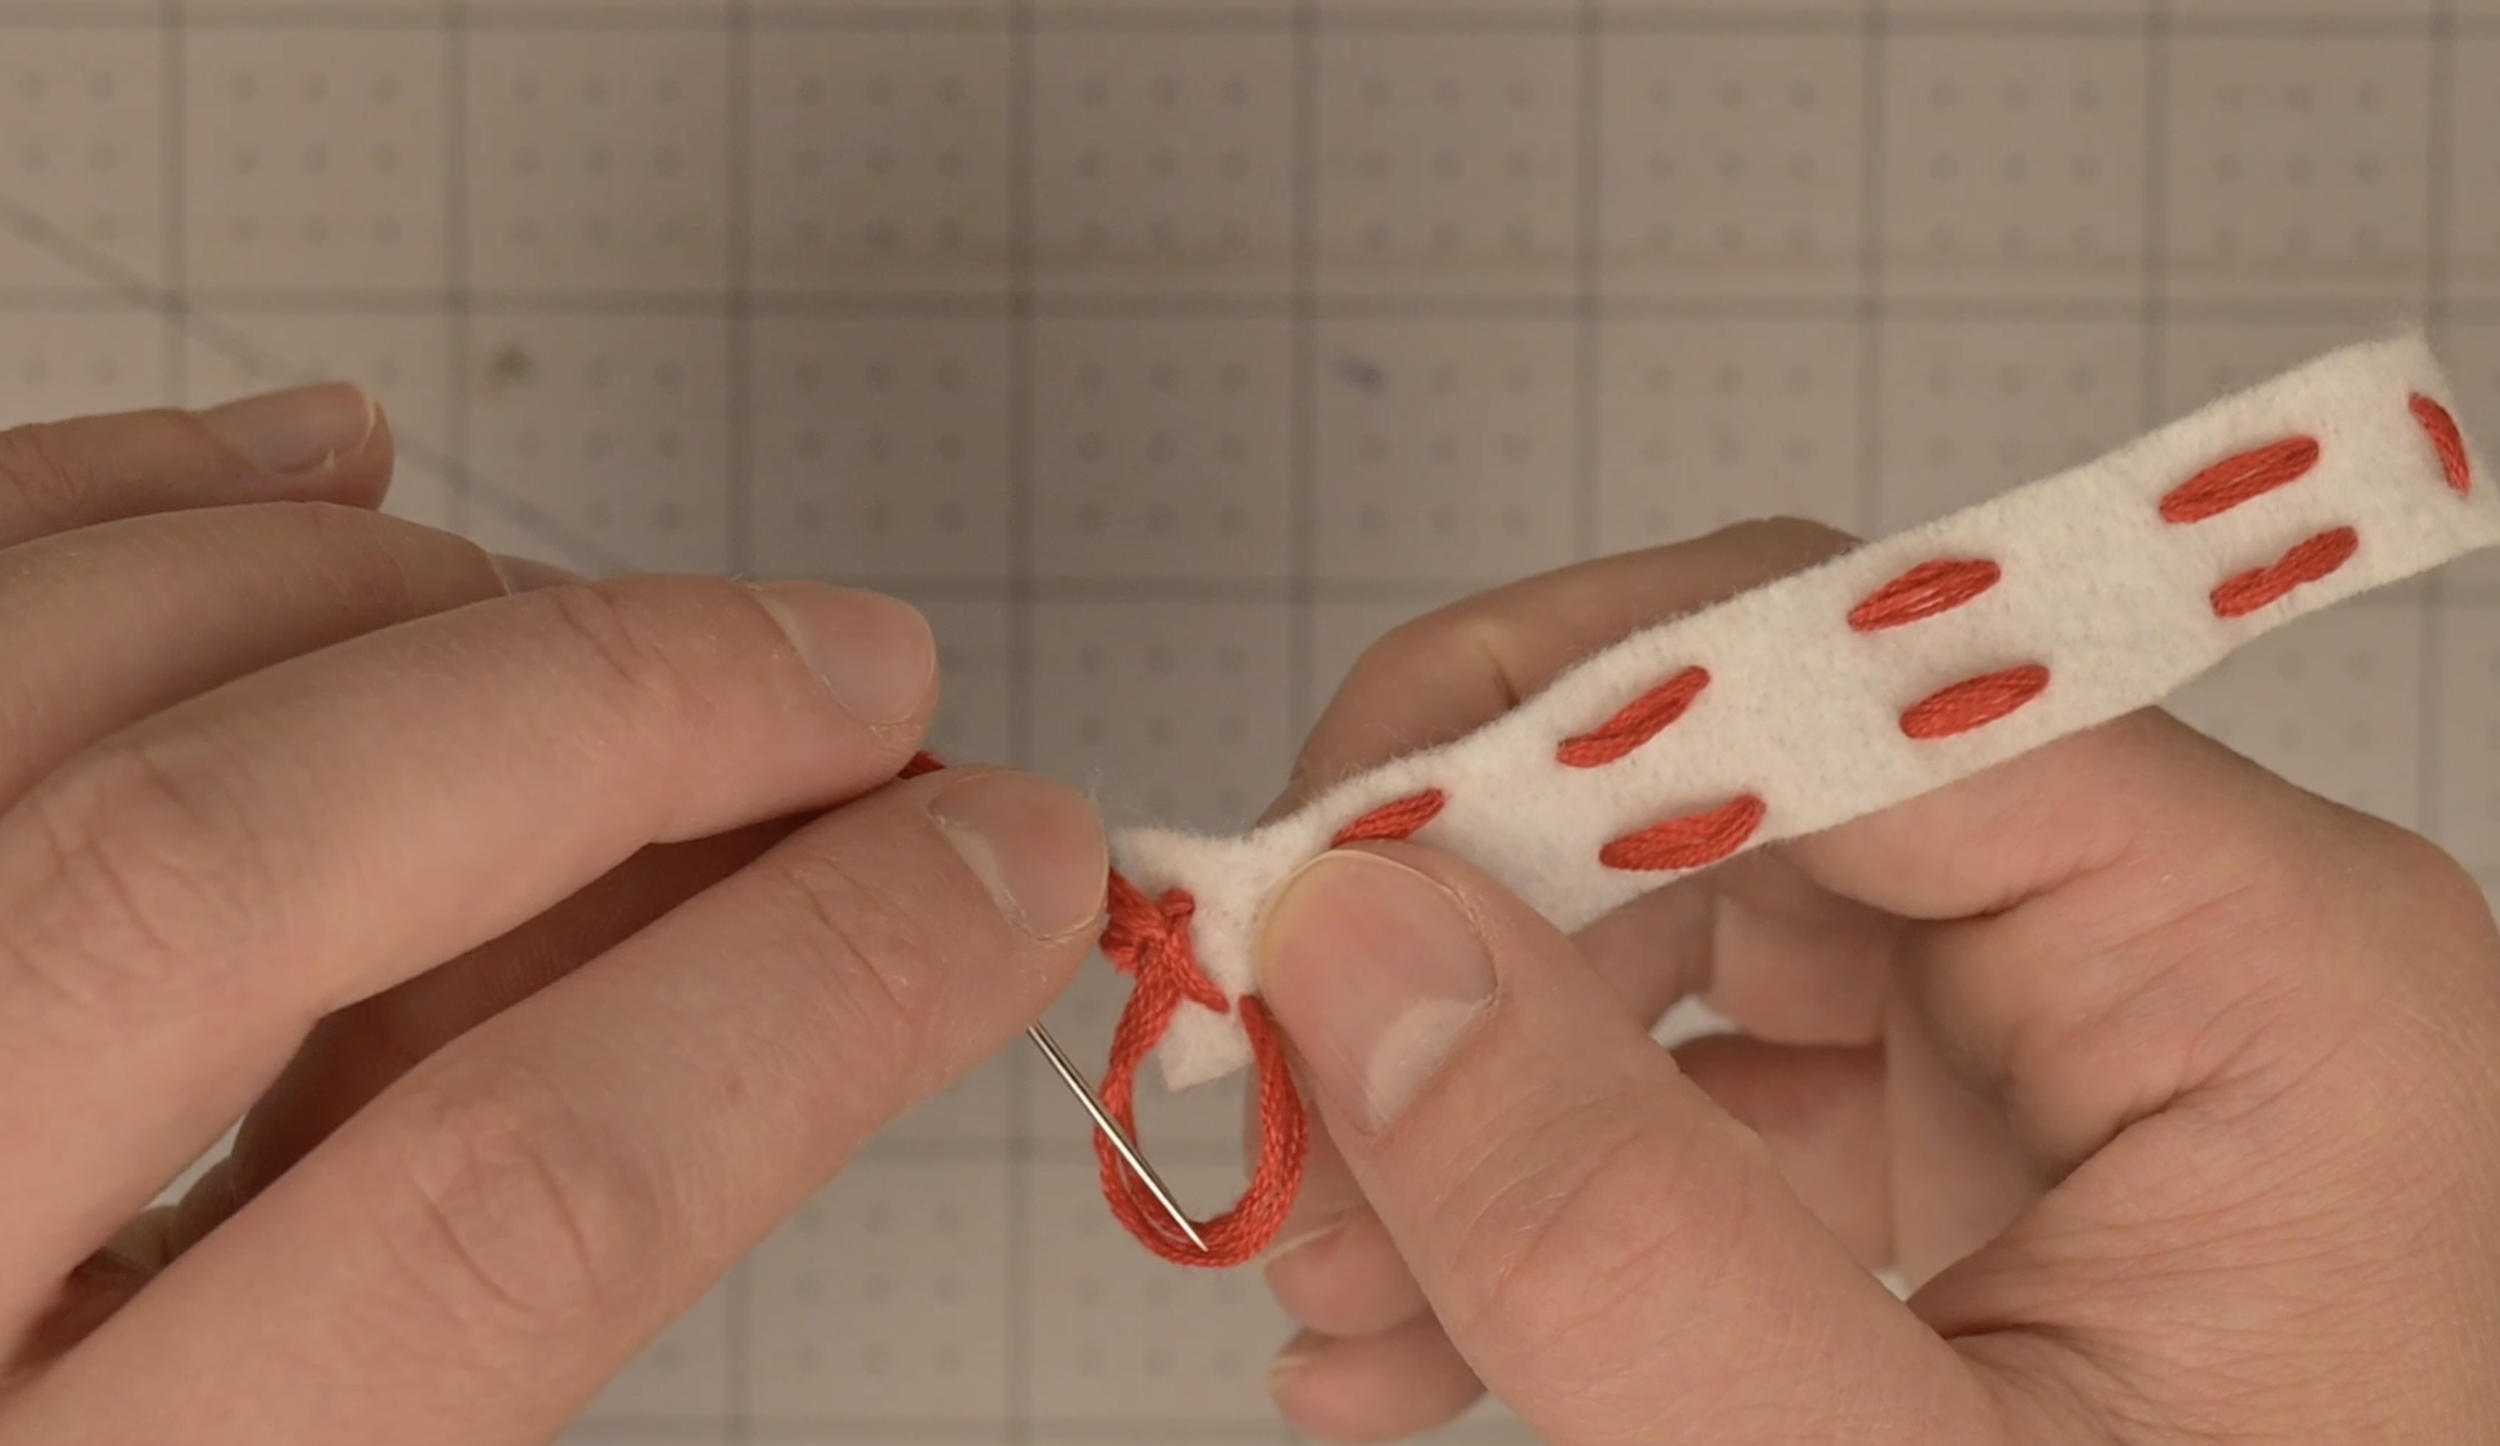
Push the needle to the back side on your final stitch
Create a small loop with your thread
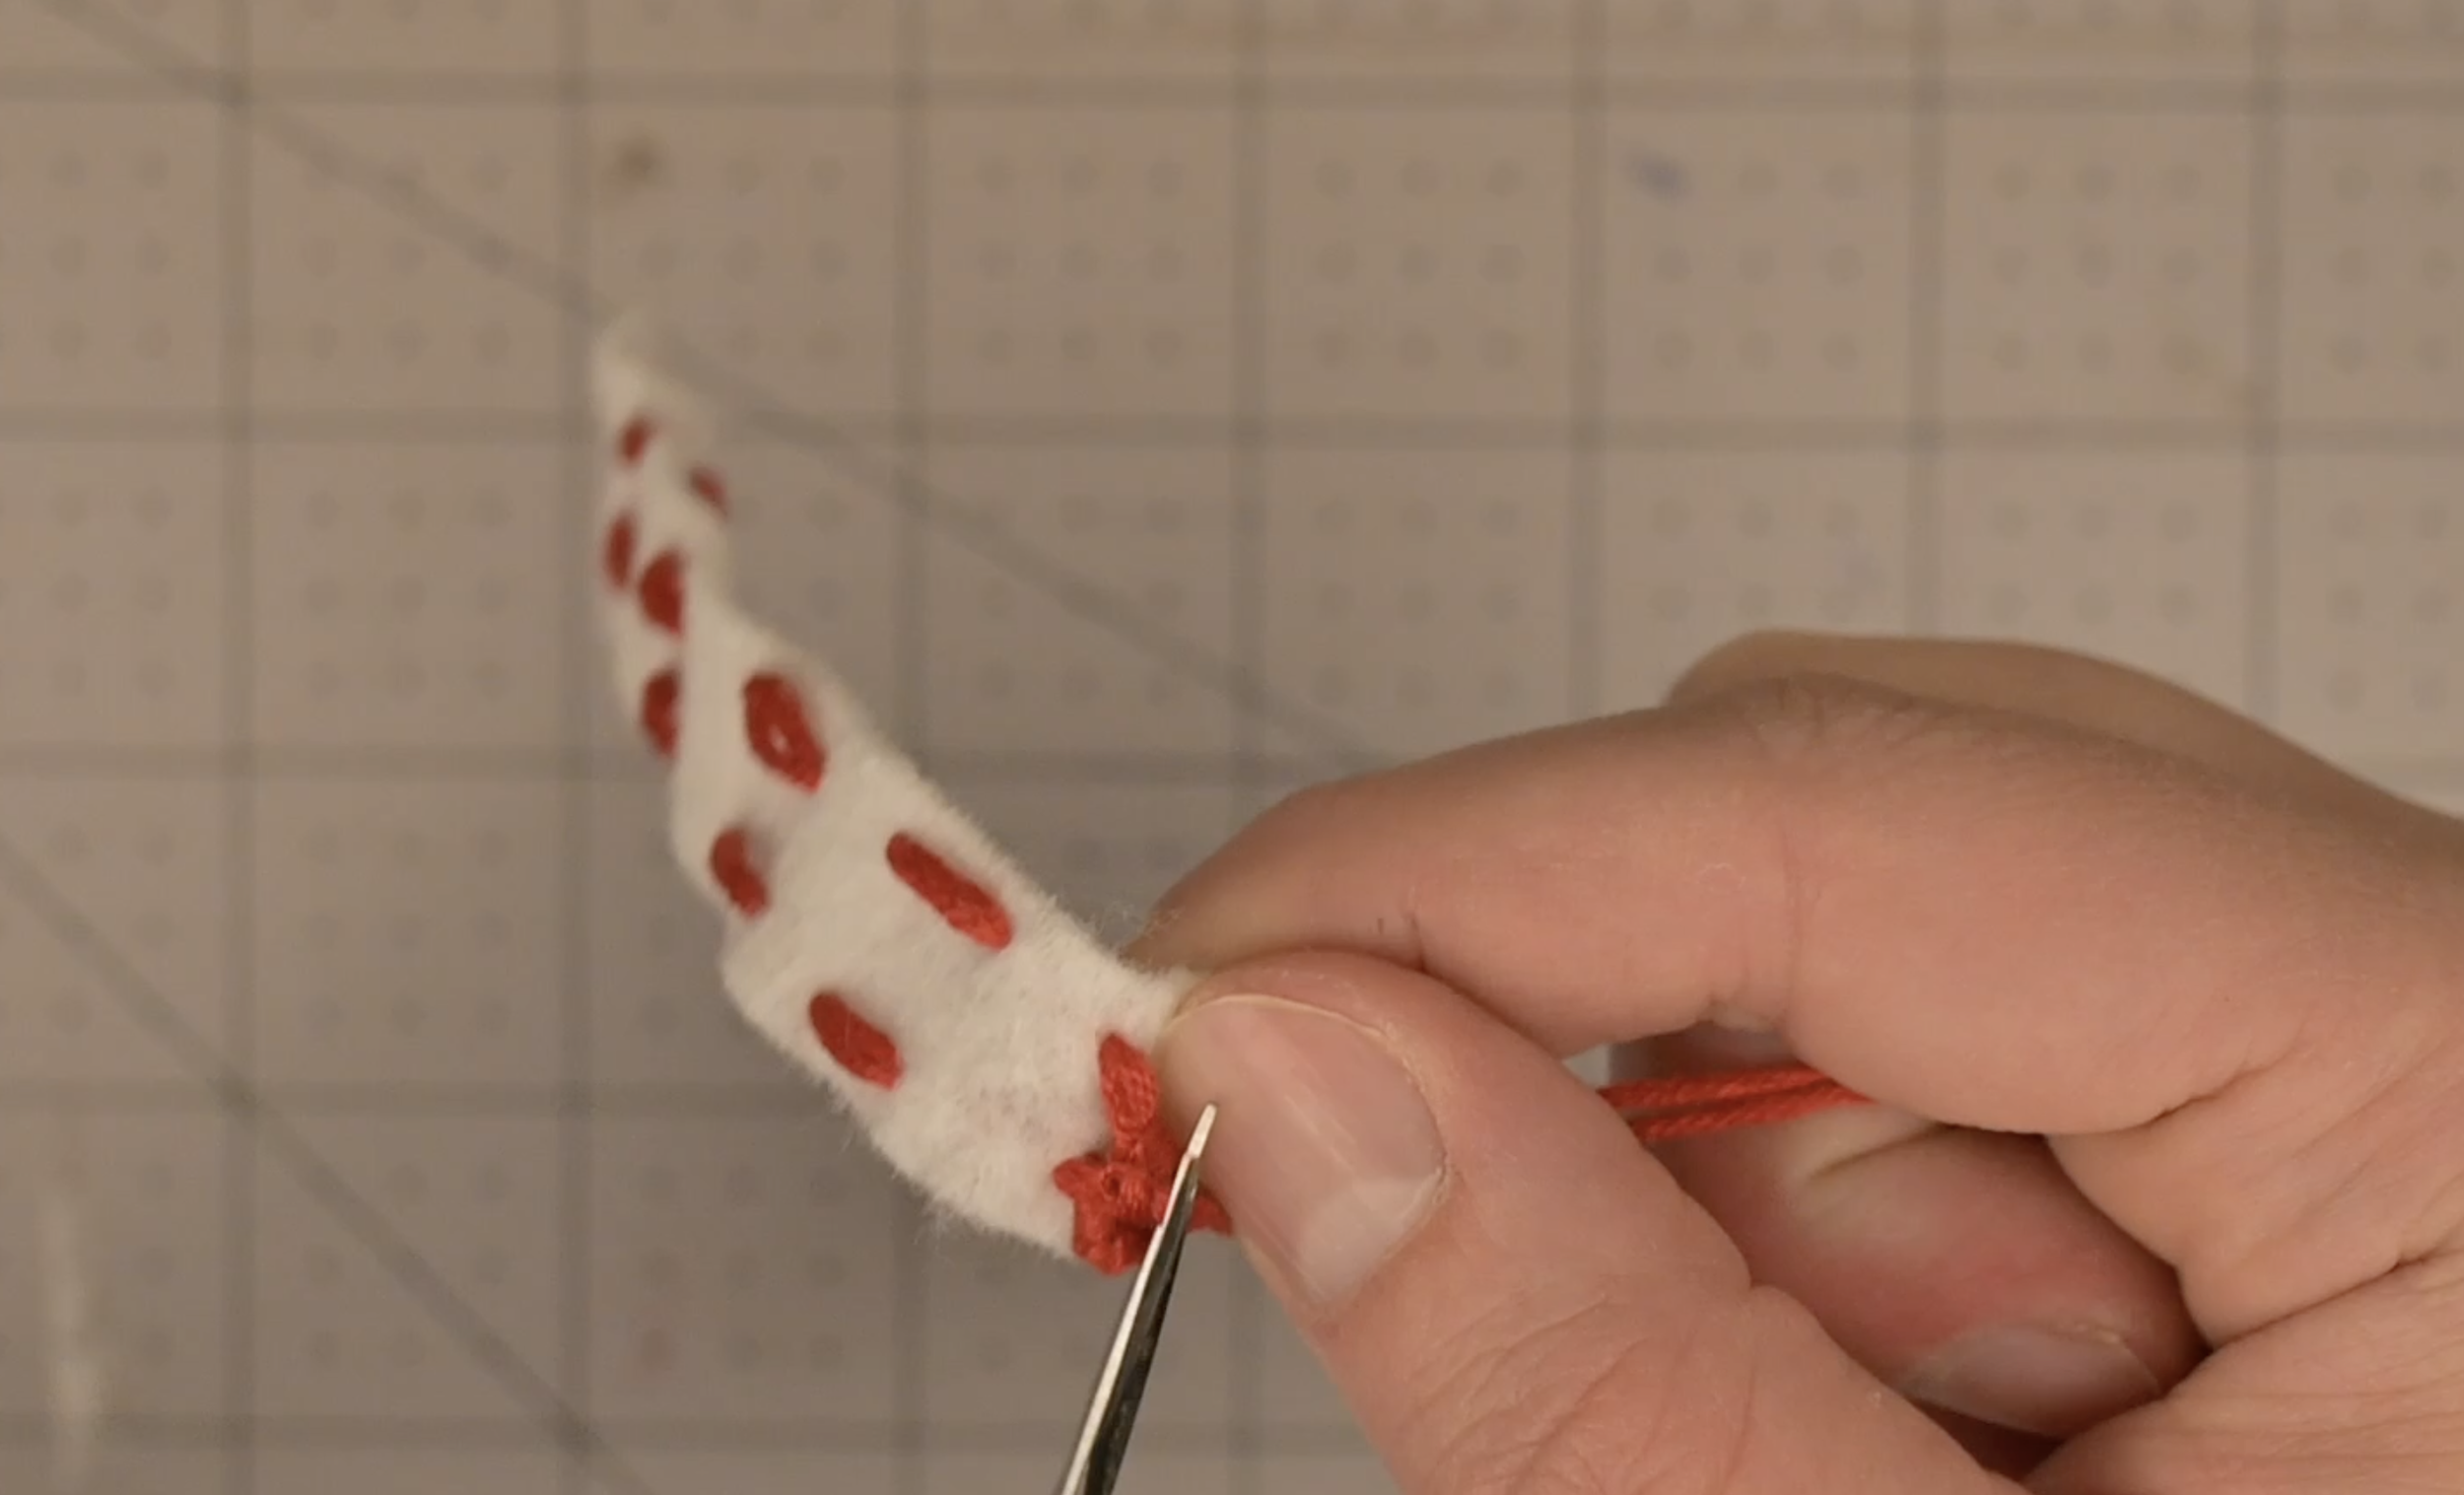
Pass the needle through the loop to form a tight knot against the fabric
Cut off the extra thread
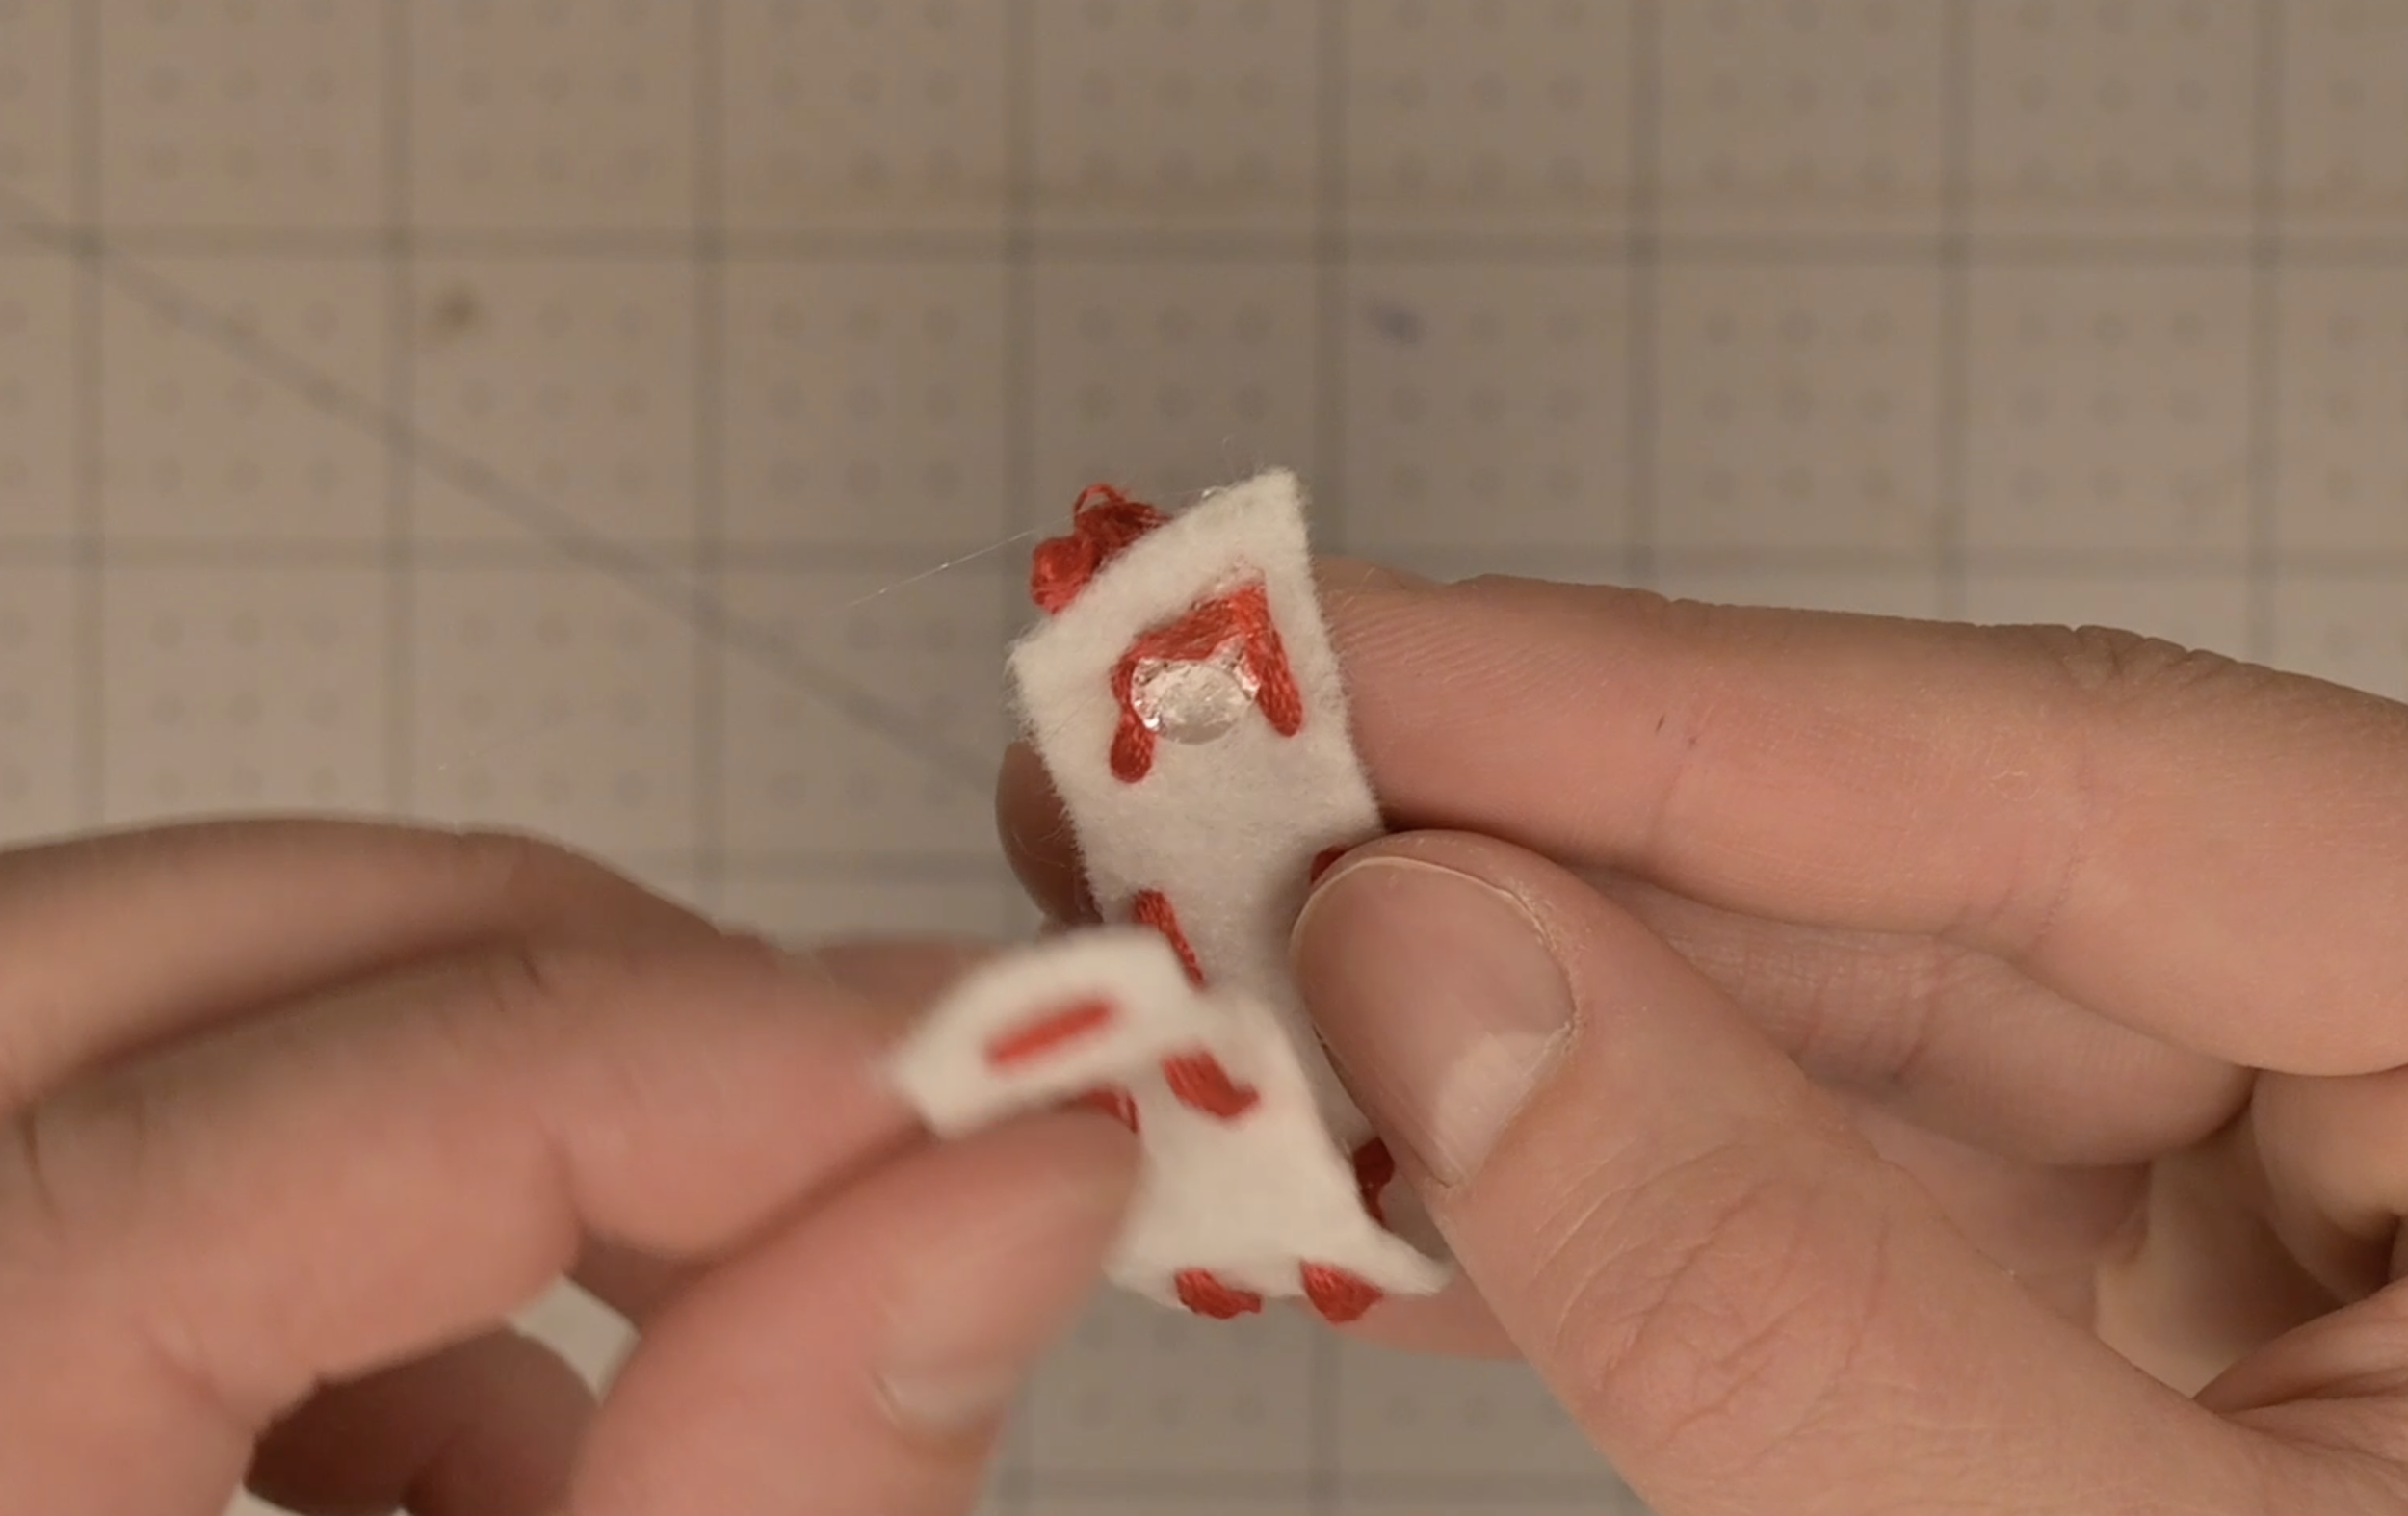
Using hot glue, secure the ends of the felt together, creating a loop
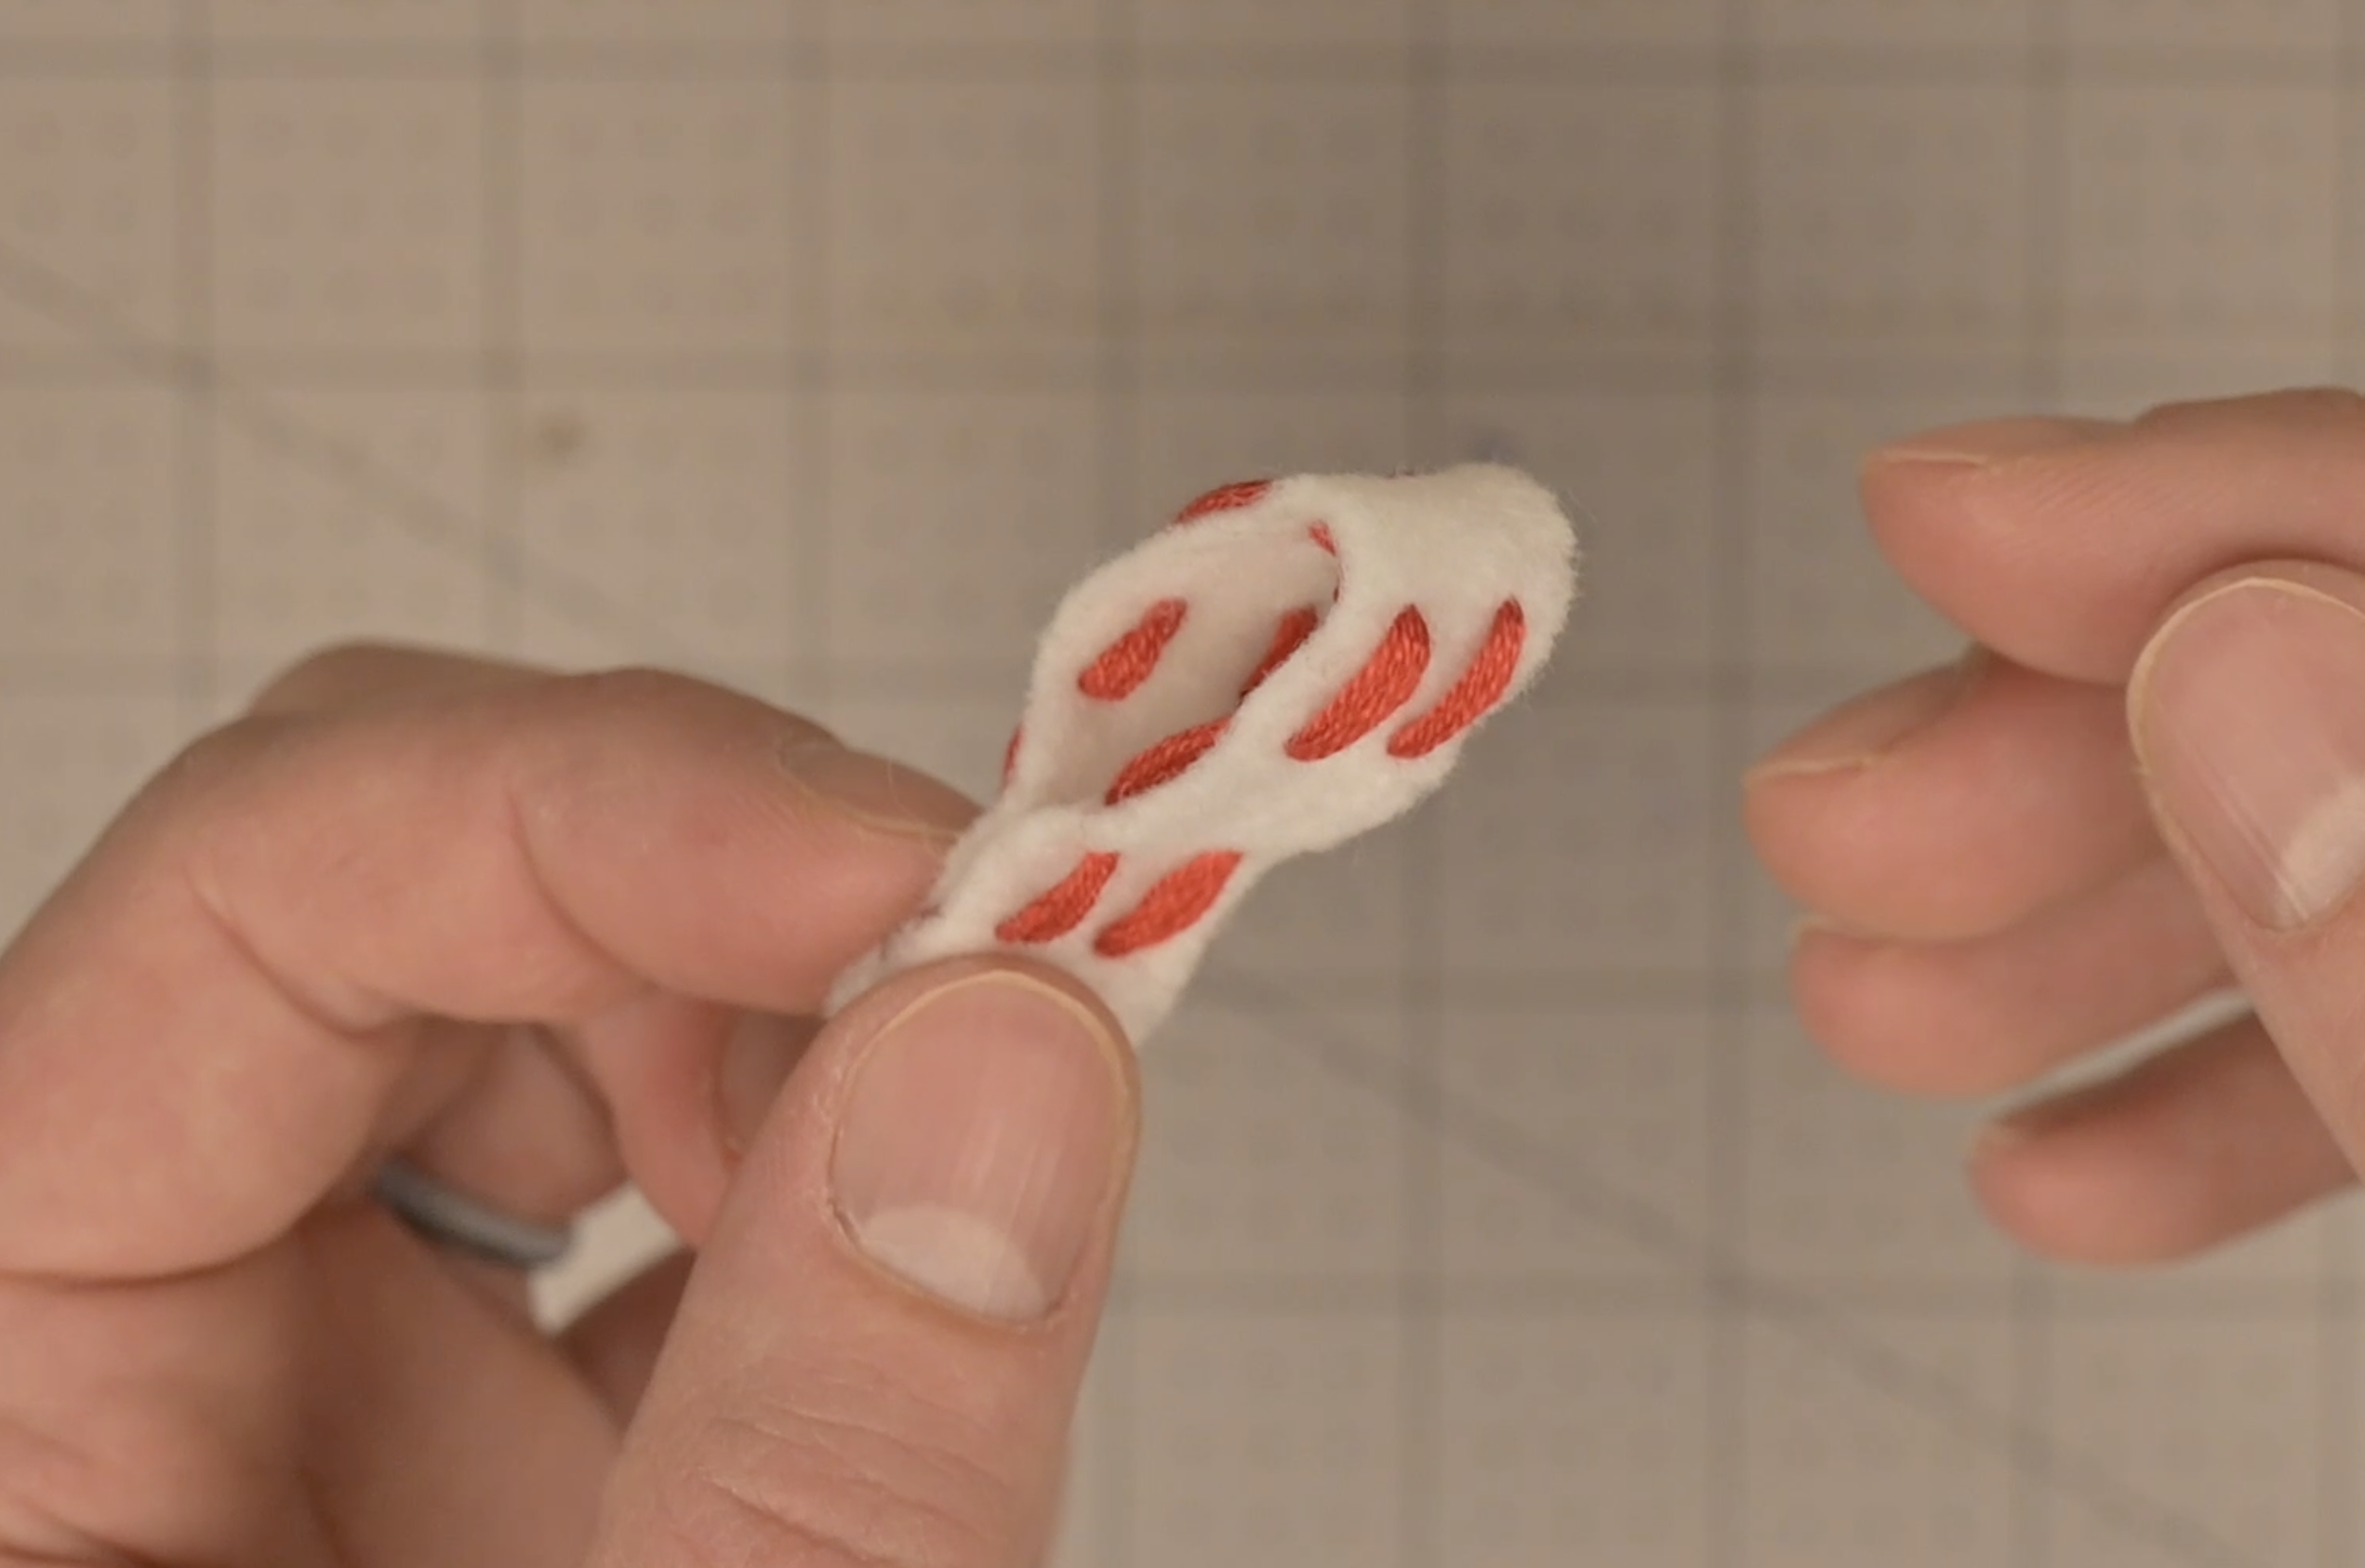
Step 5: Assemble the Candy Cane Base
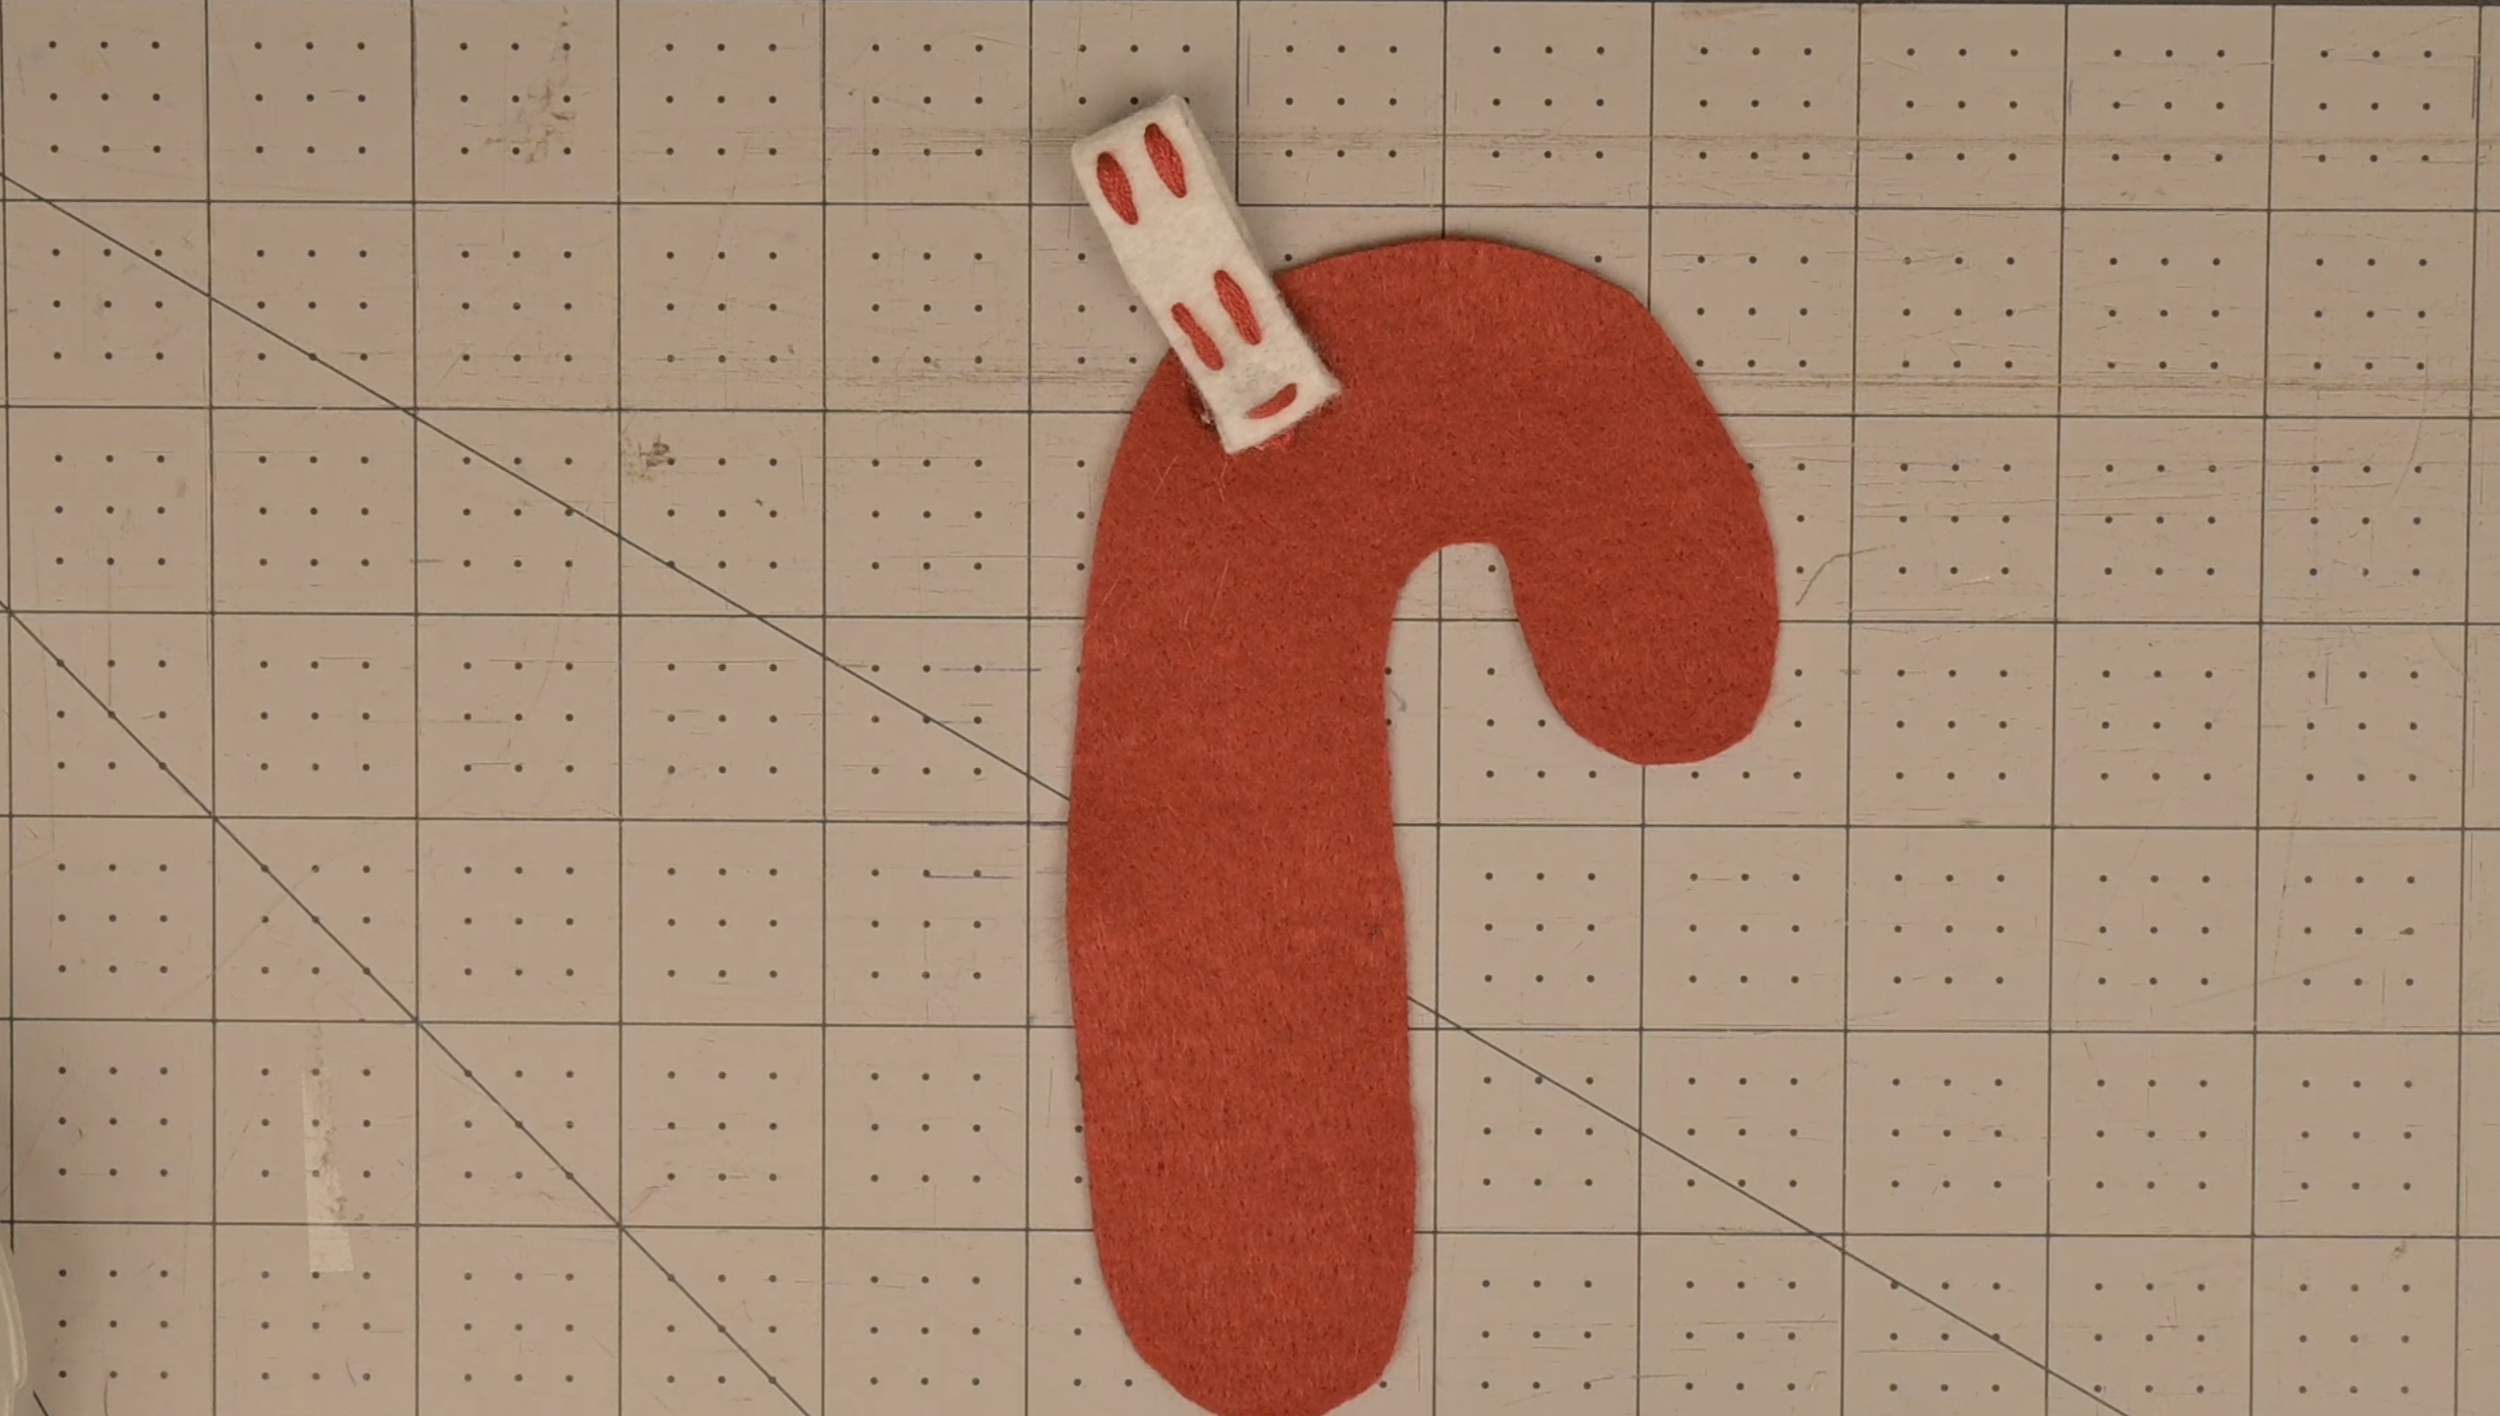
Place one of the candy cane bases in front of you
Hot glue the candy cane loop in your desired spot near the top of the base
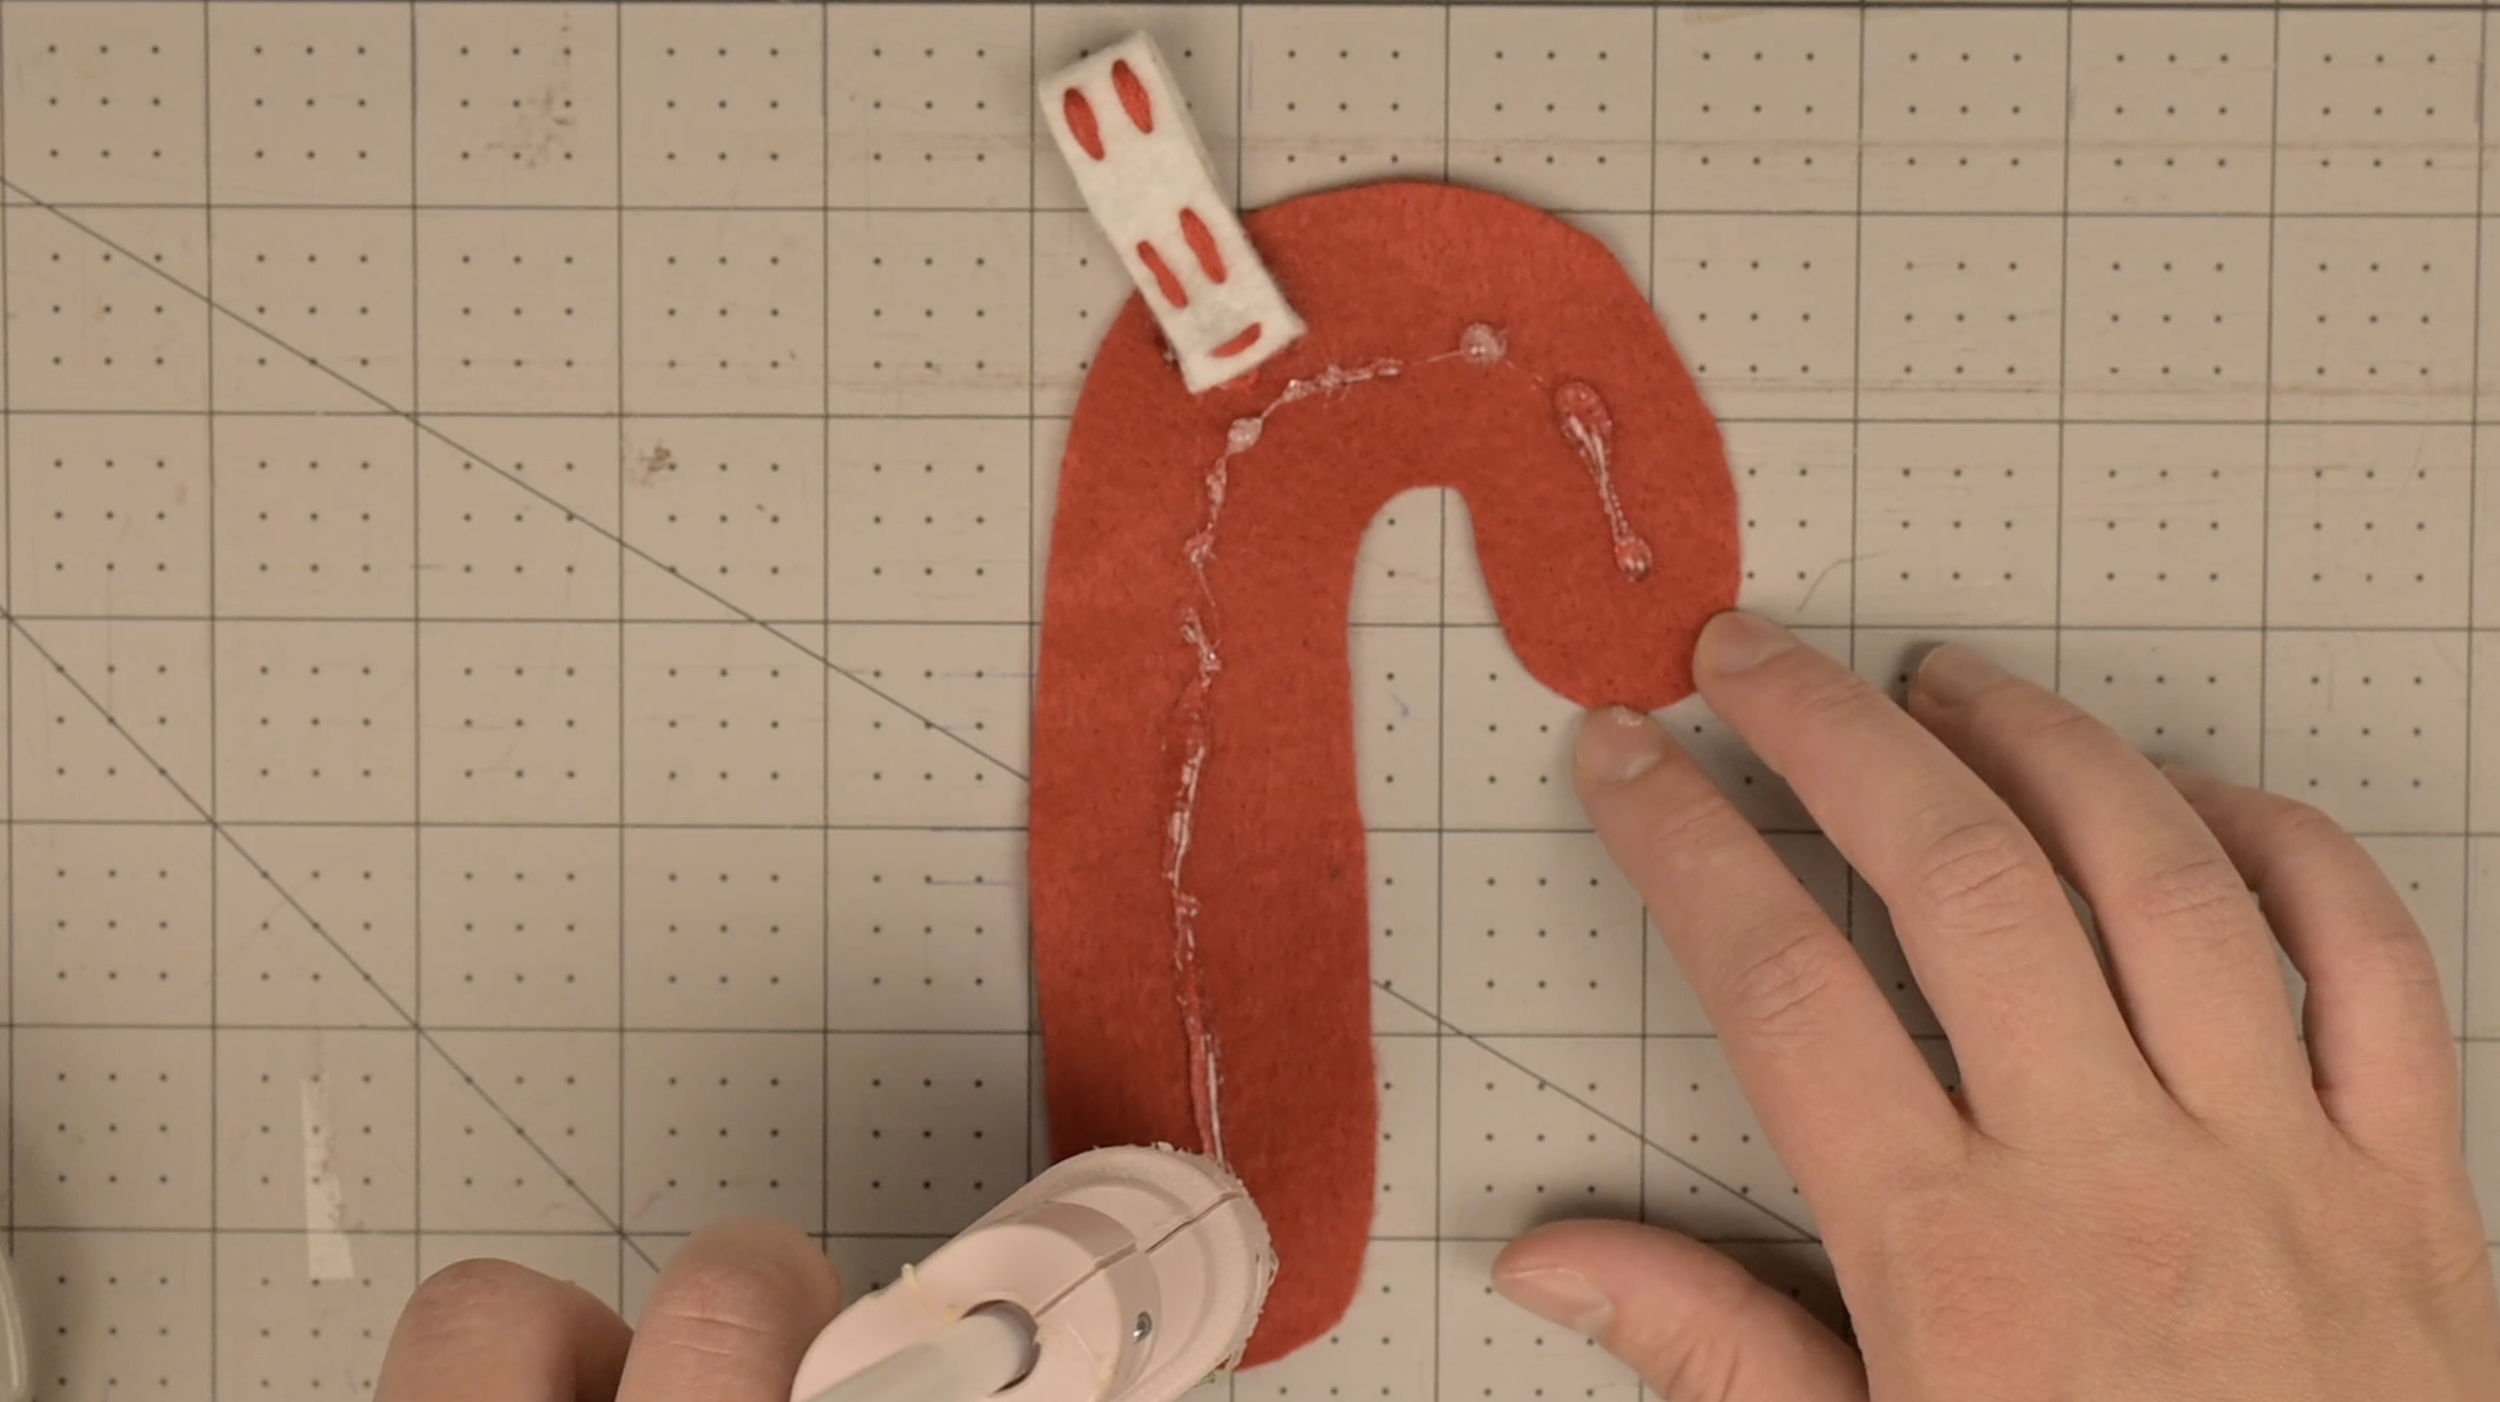
Add a thin line of hot glue down the middle of the candy cane base
Avoid the edges
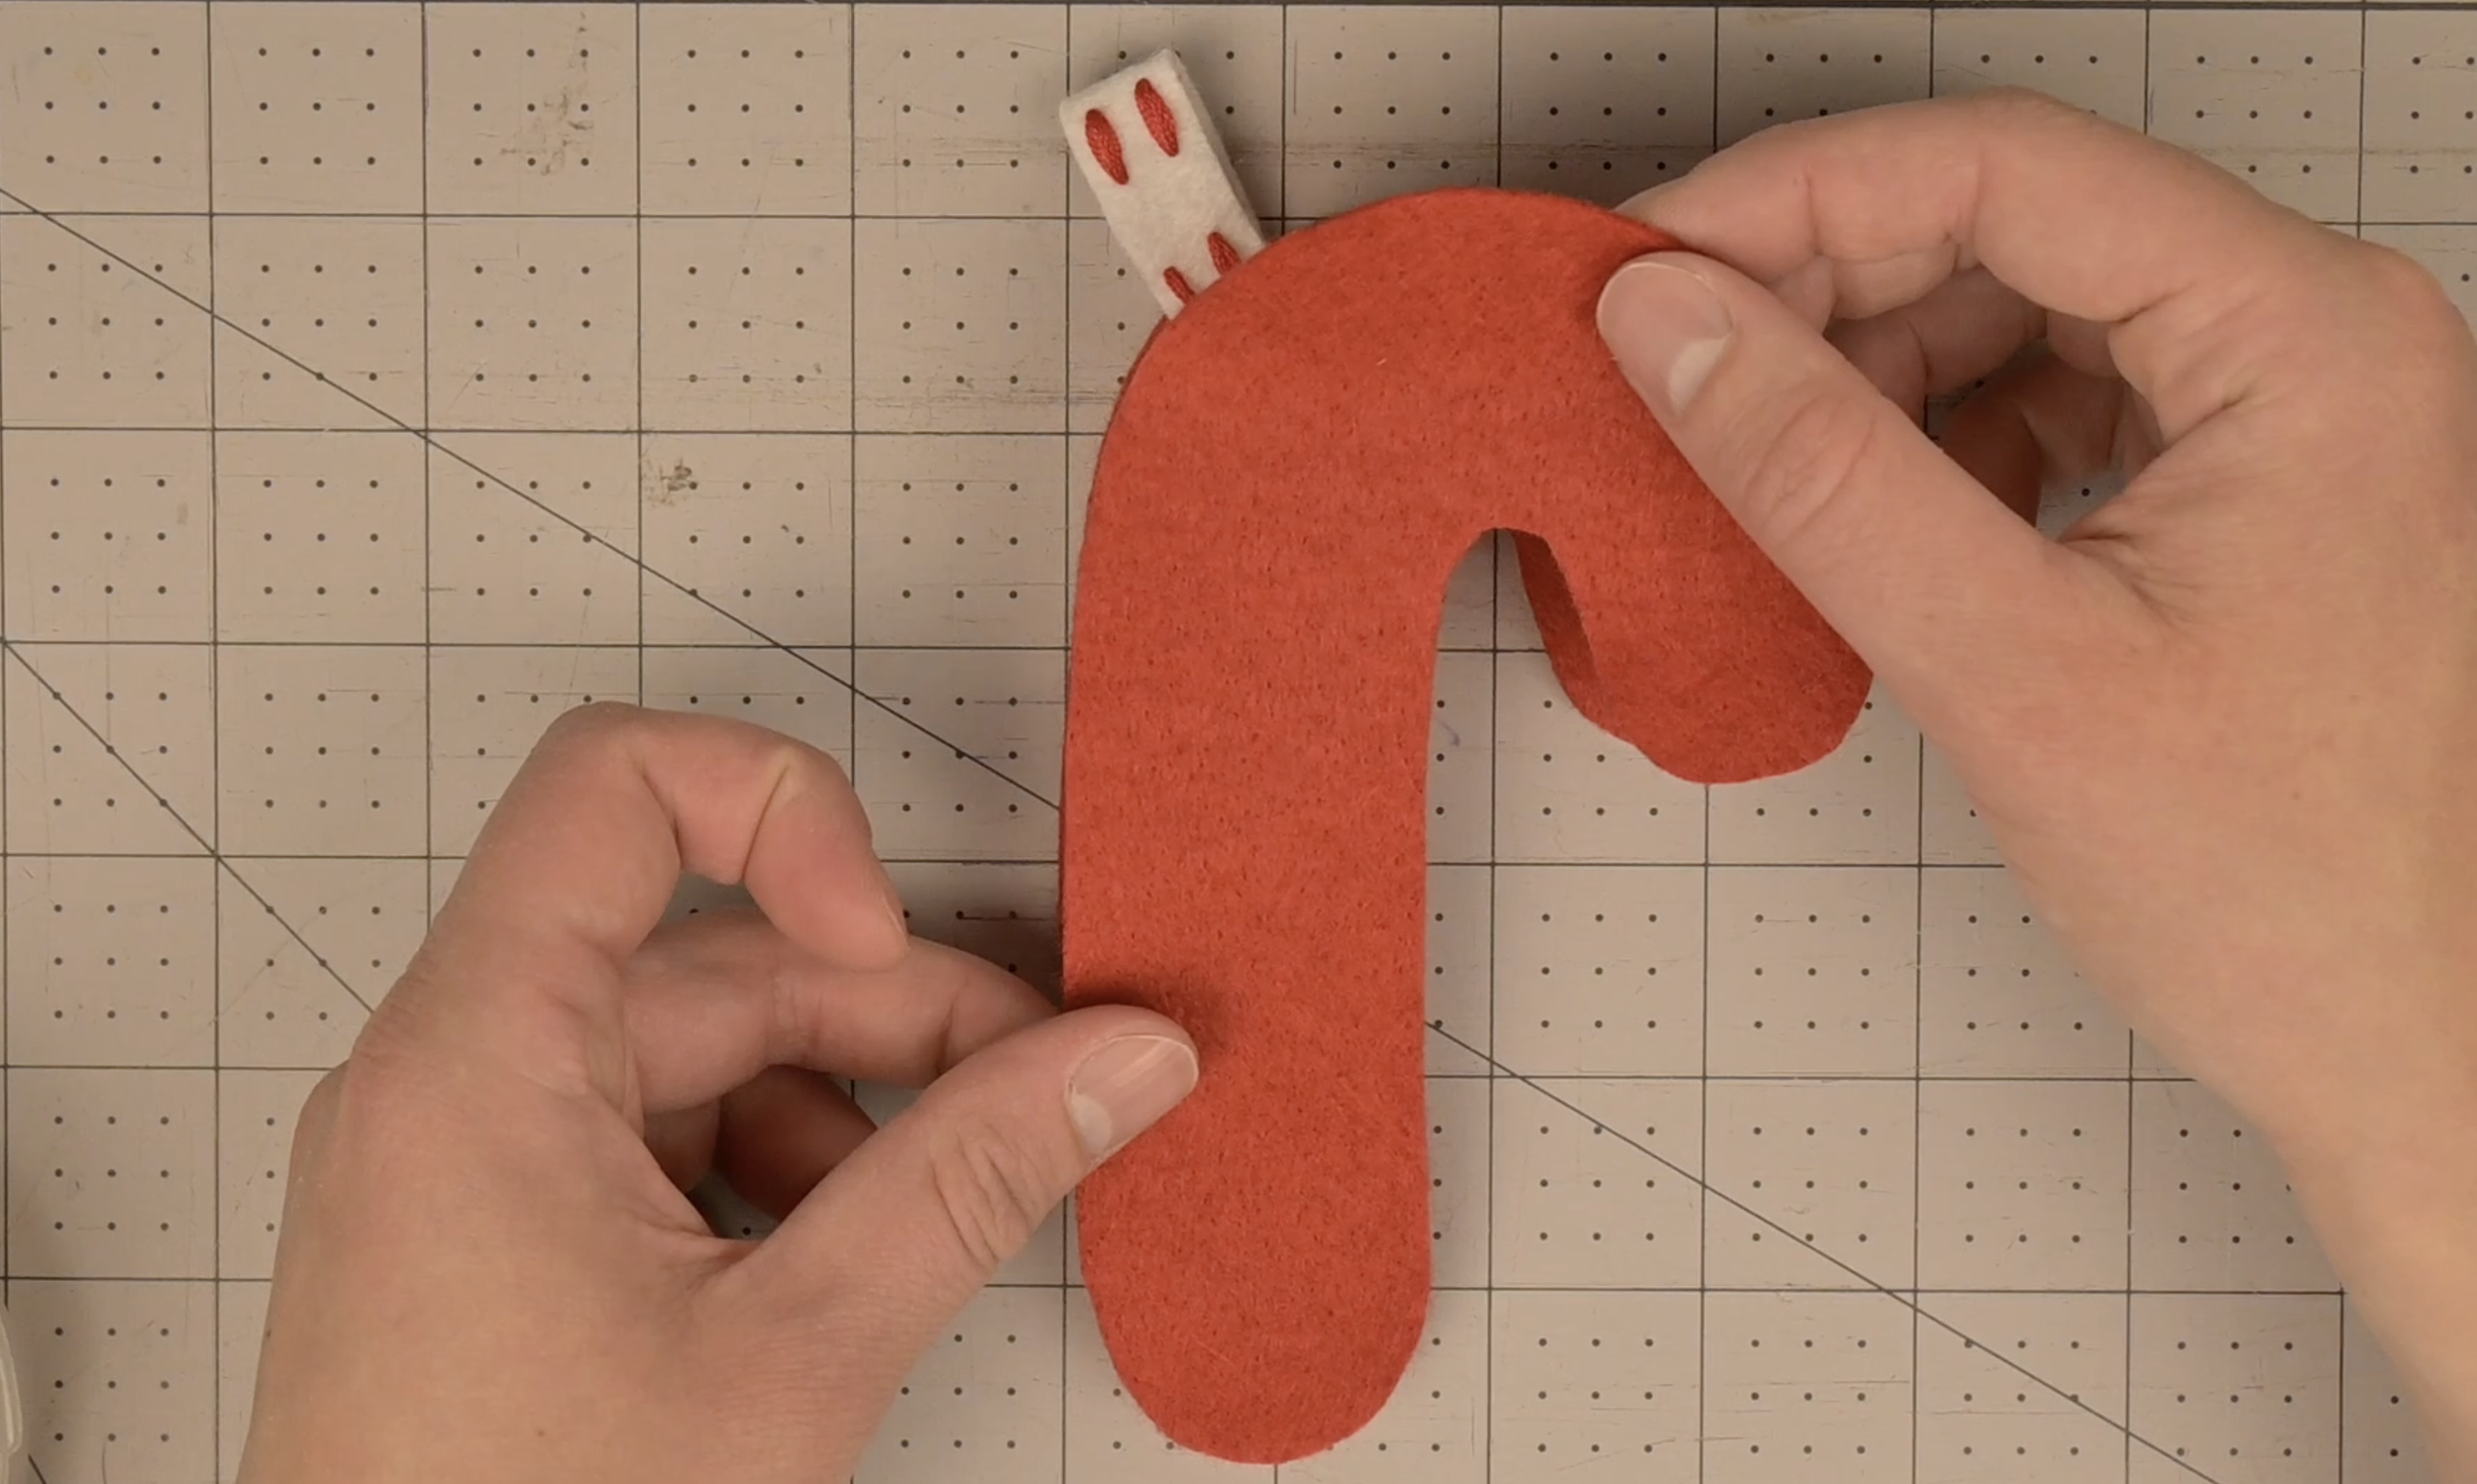
Align and place the second candy cane base on top of the first candy cane base.
The end of the loop should be covered
Step 6: Add the Candy Cane Stripes
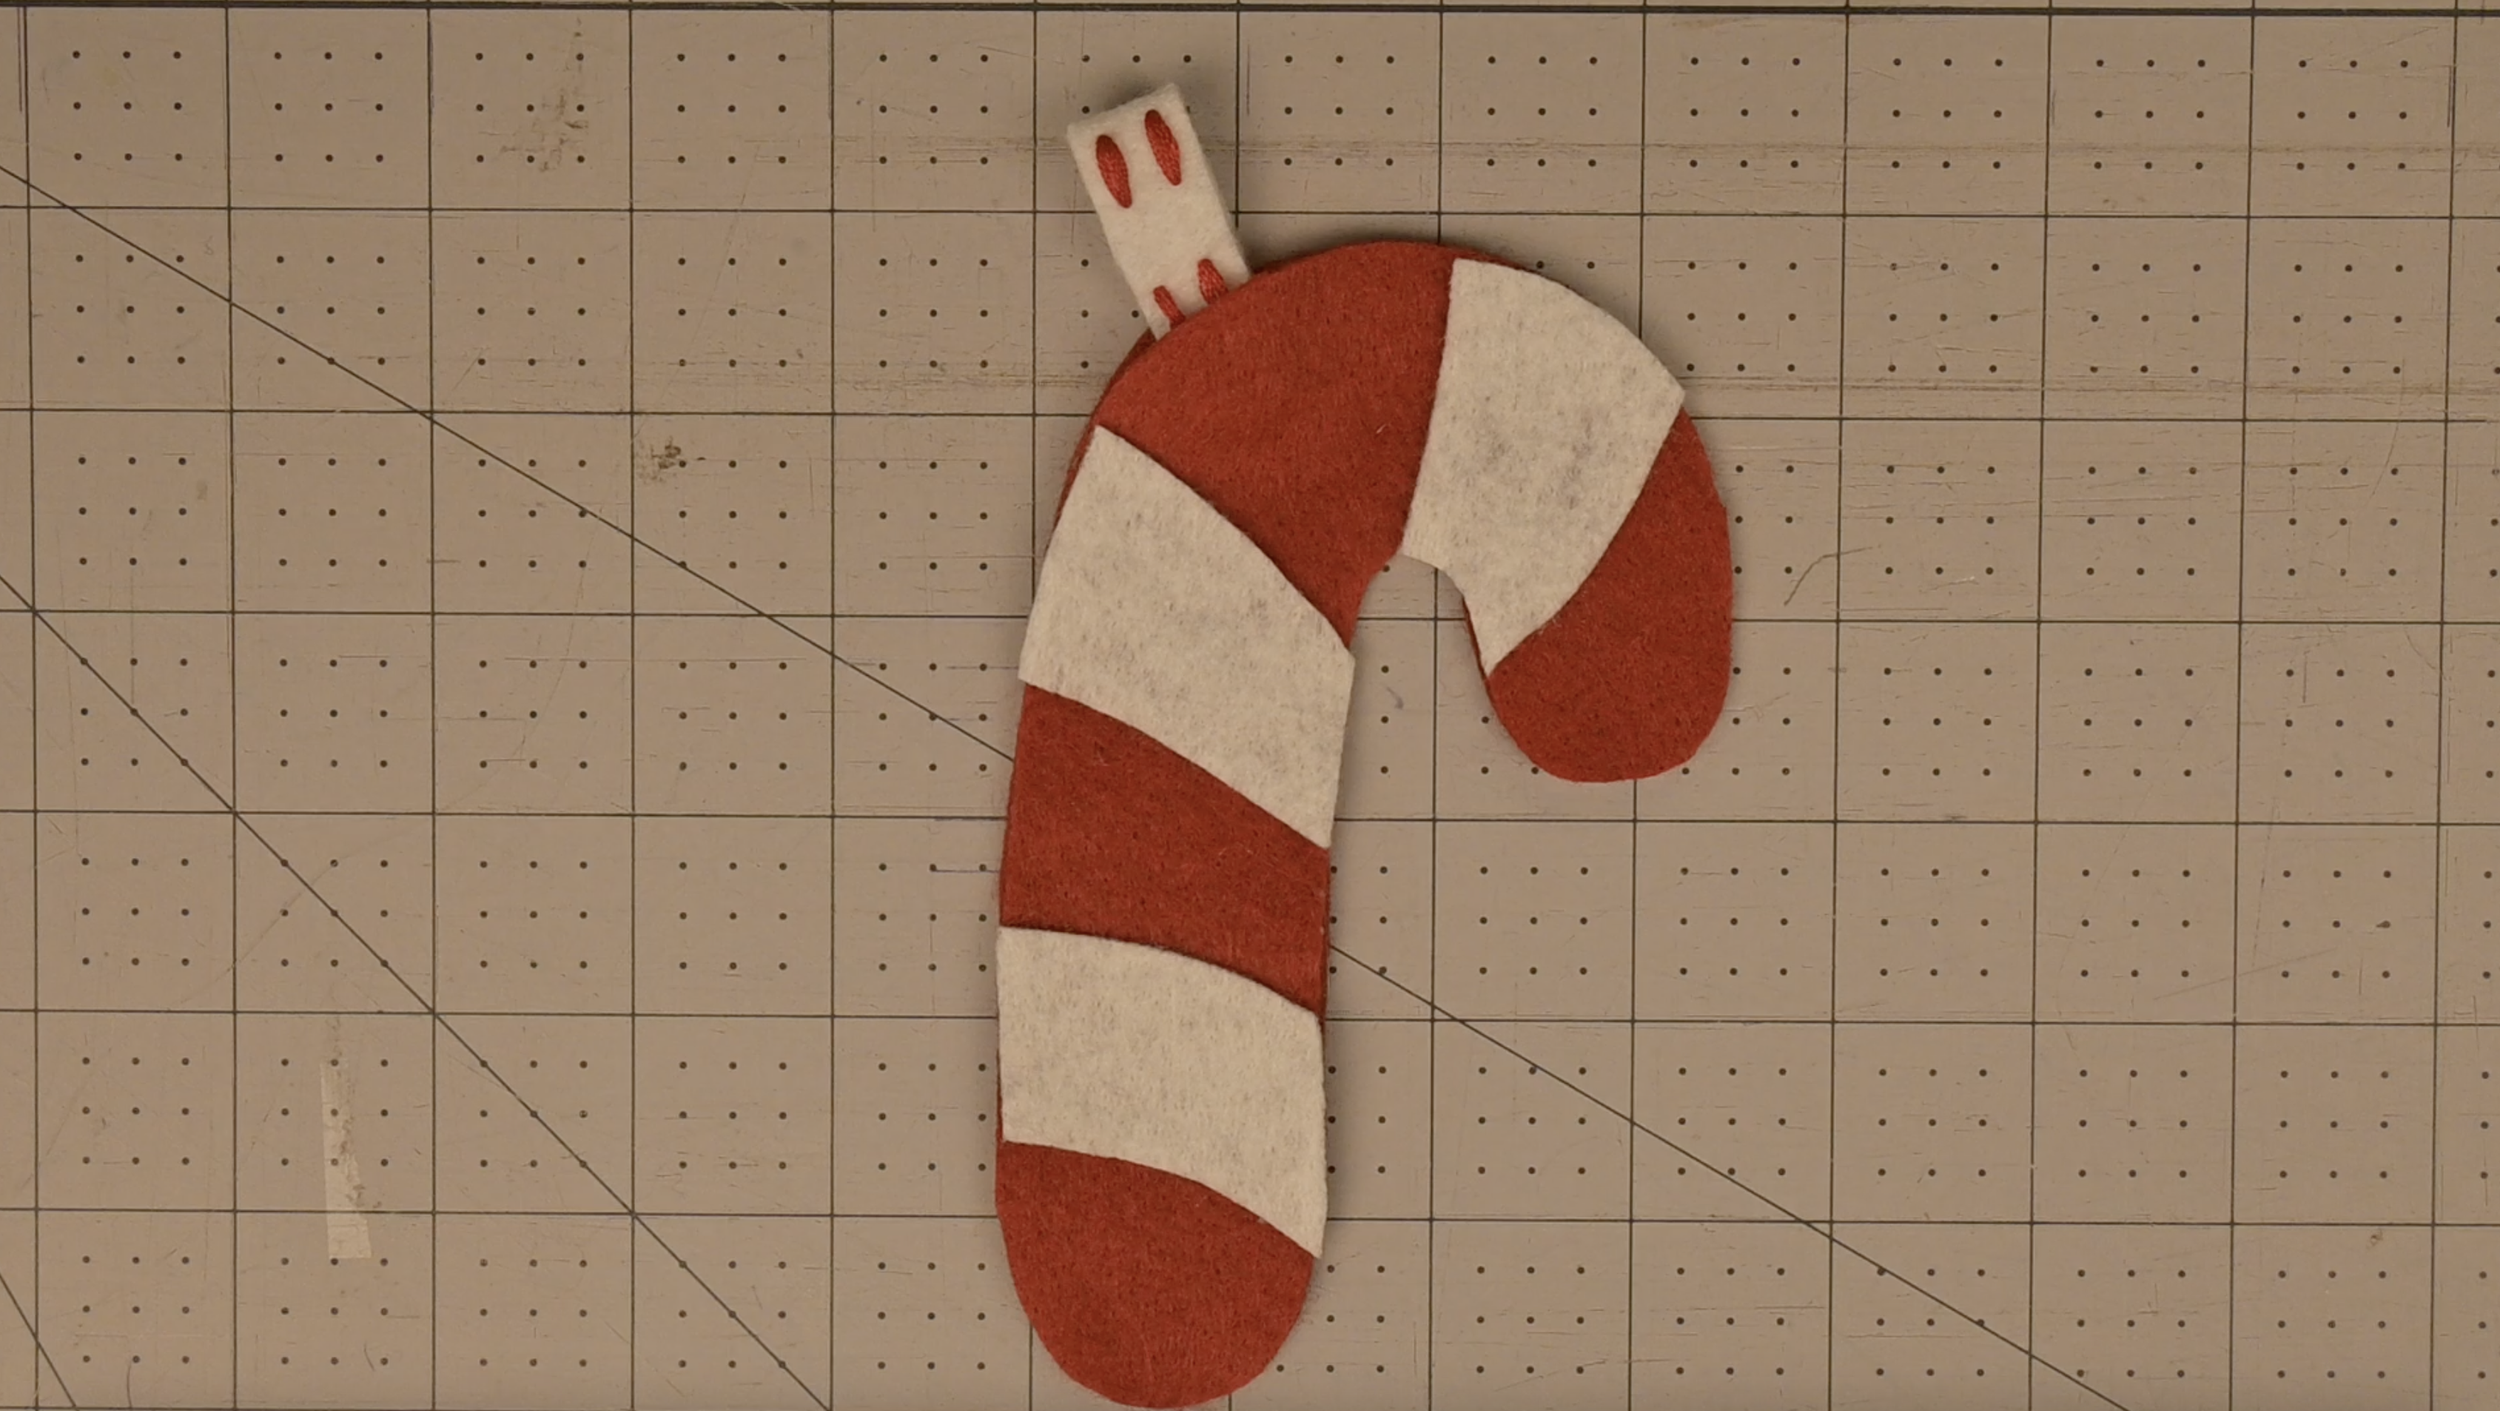
Place the candy cane stripes on top of the base
View the photograph for a placement reference
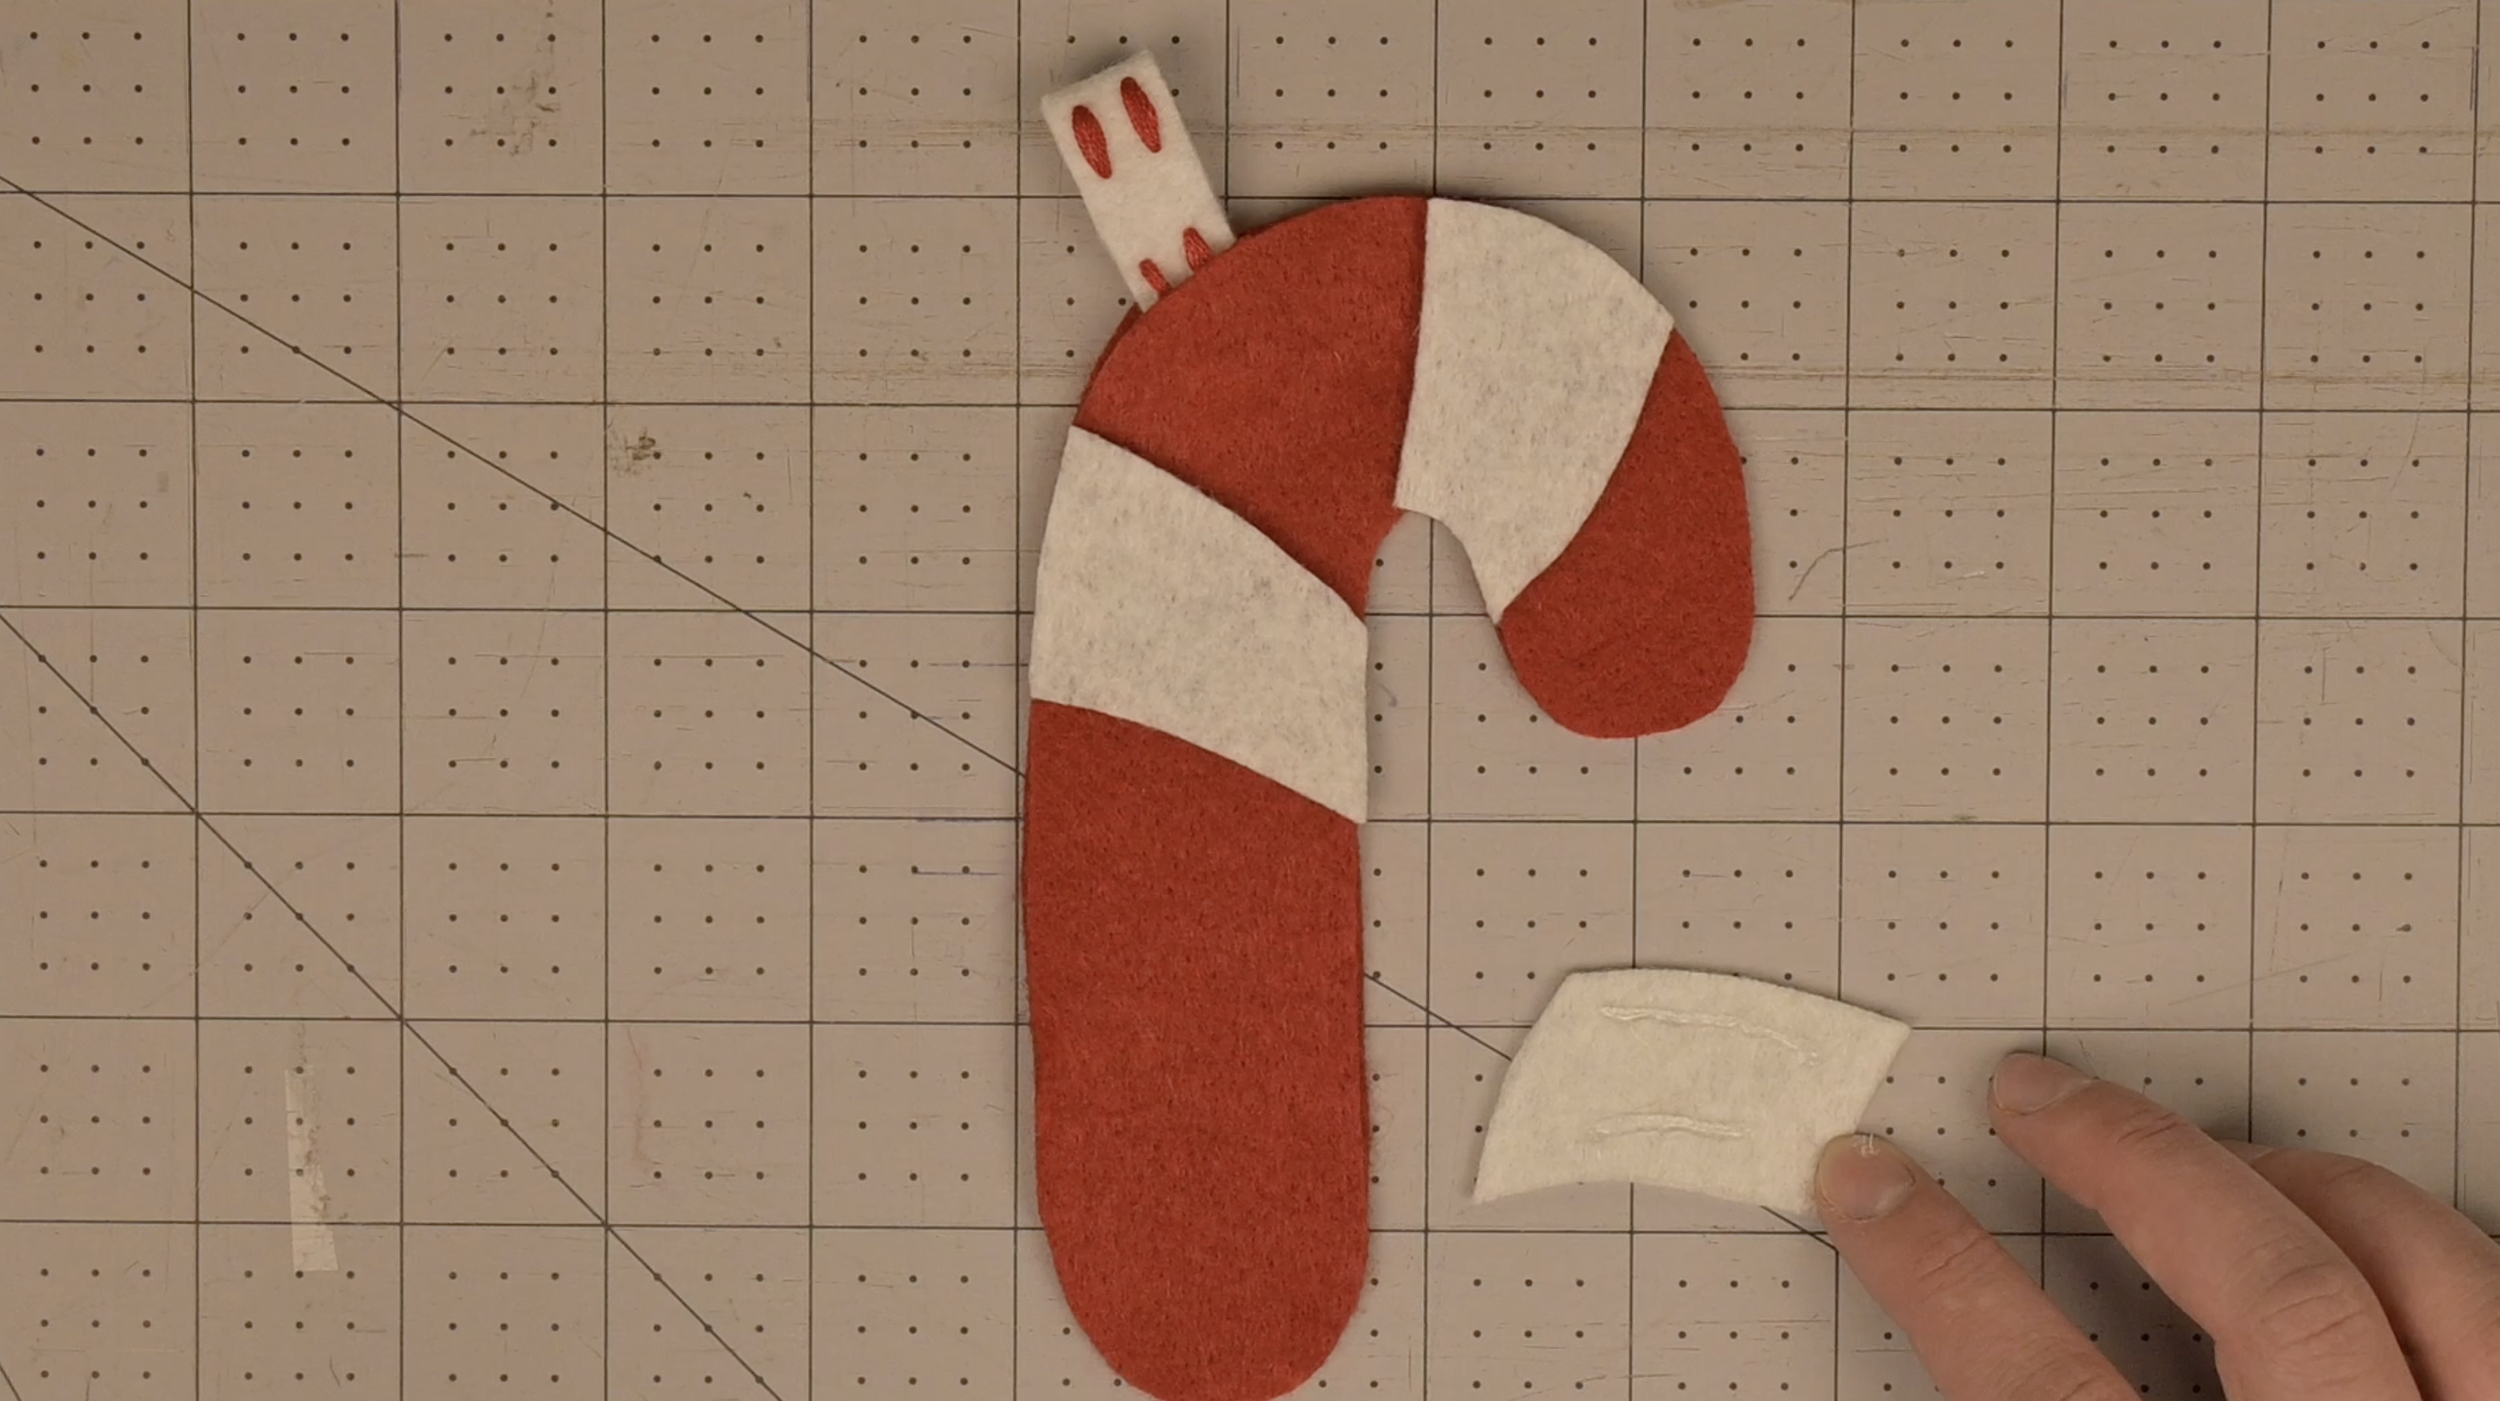
Apply a small amount of hot glue to the back of each stripe and place back in its designated place.
Avoid adding hot glue to the edges on the stripes
Step 7: Placing the Pocket
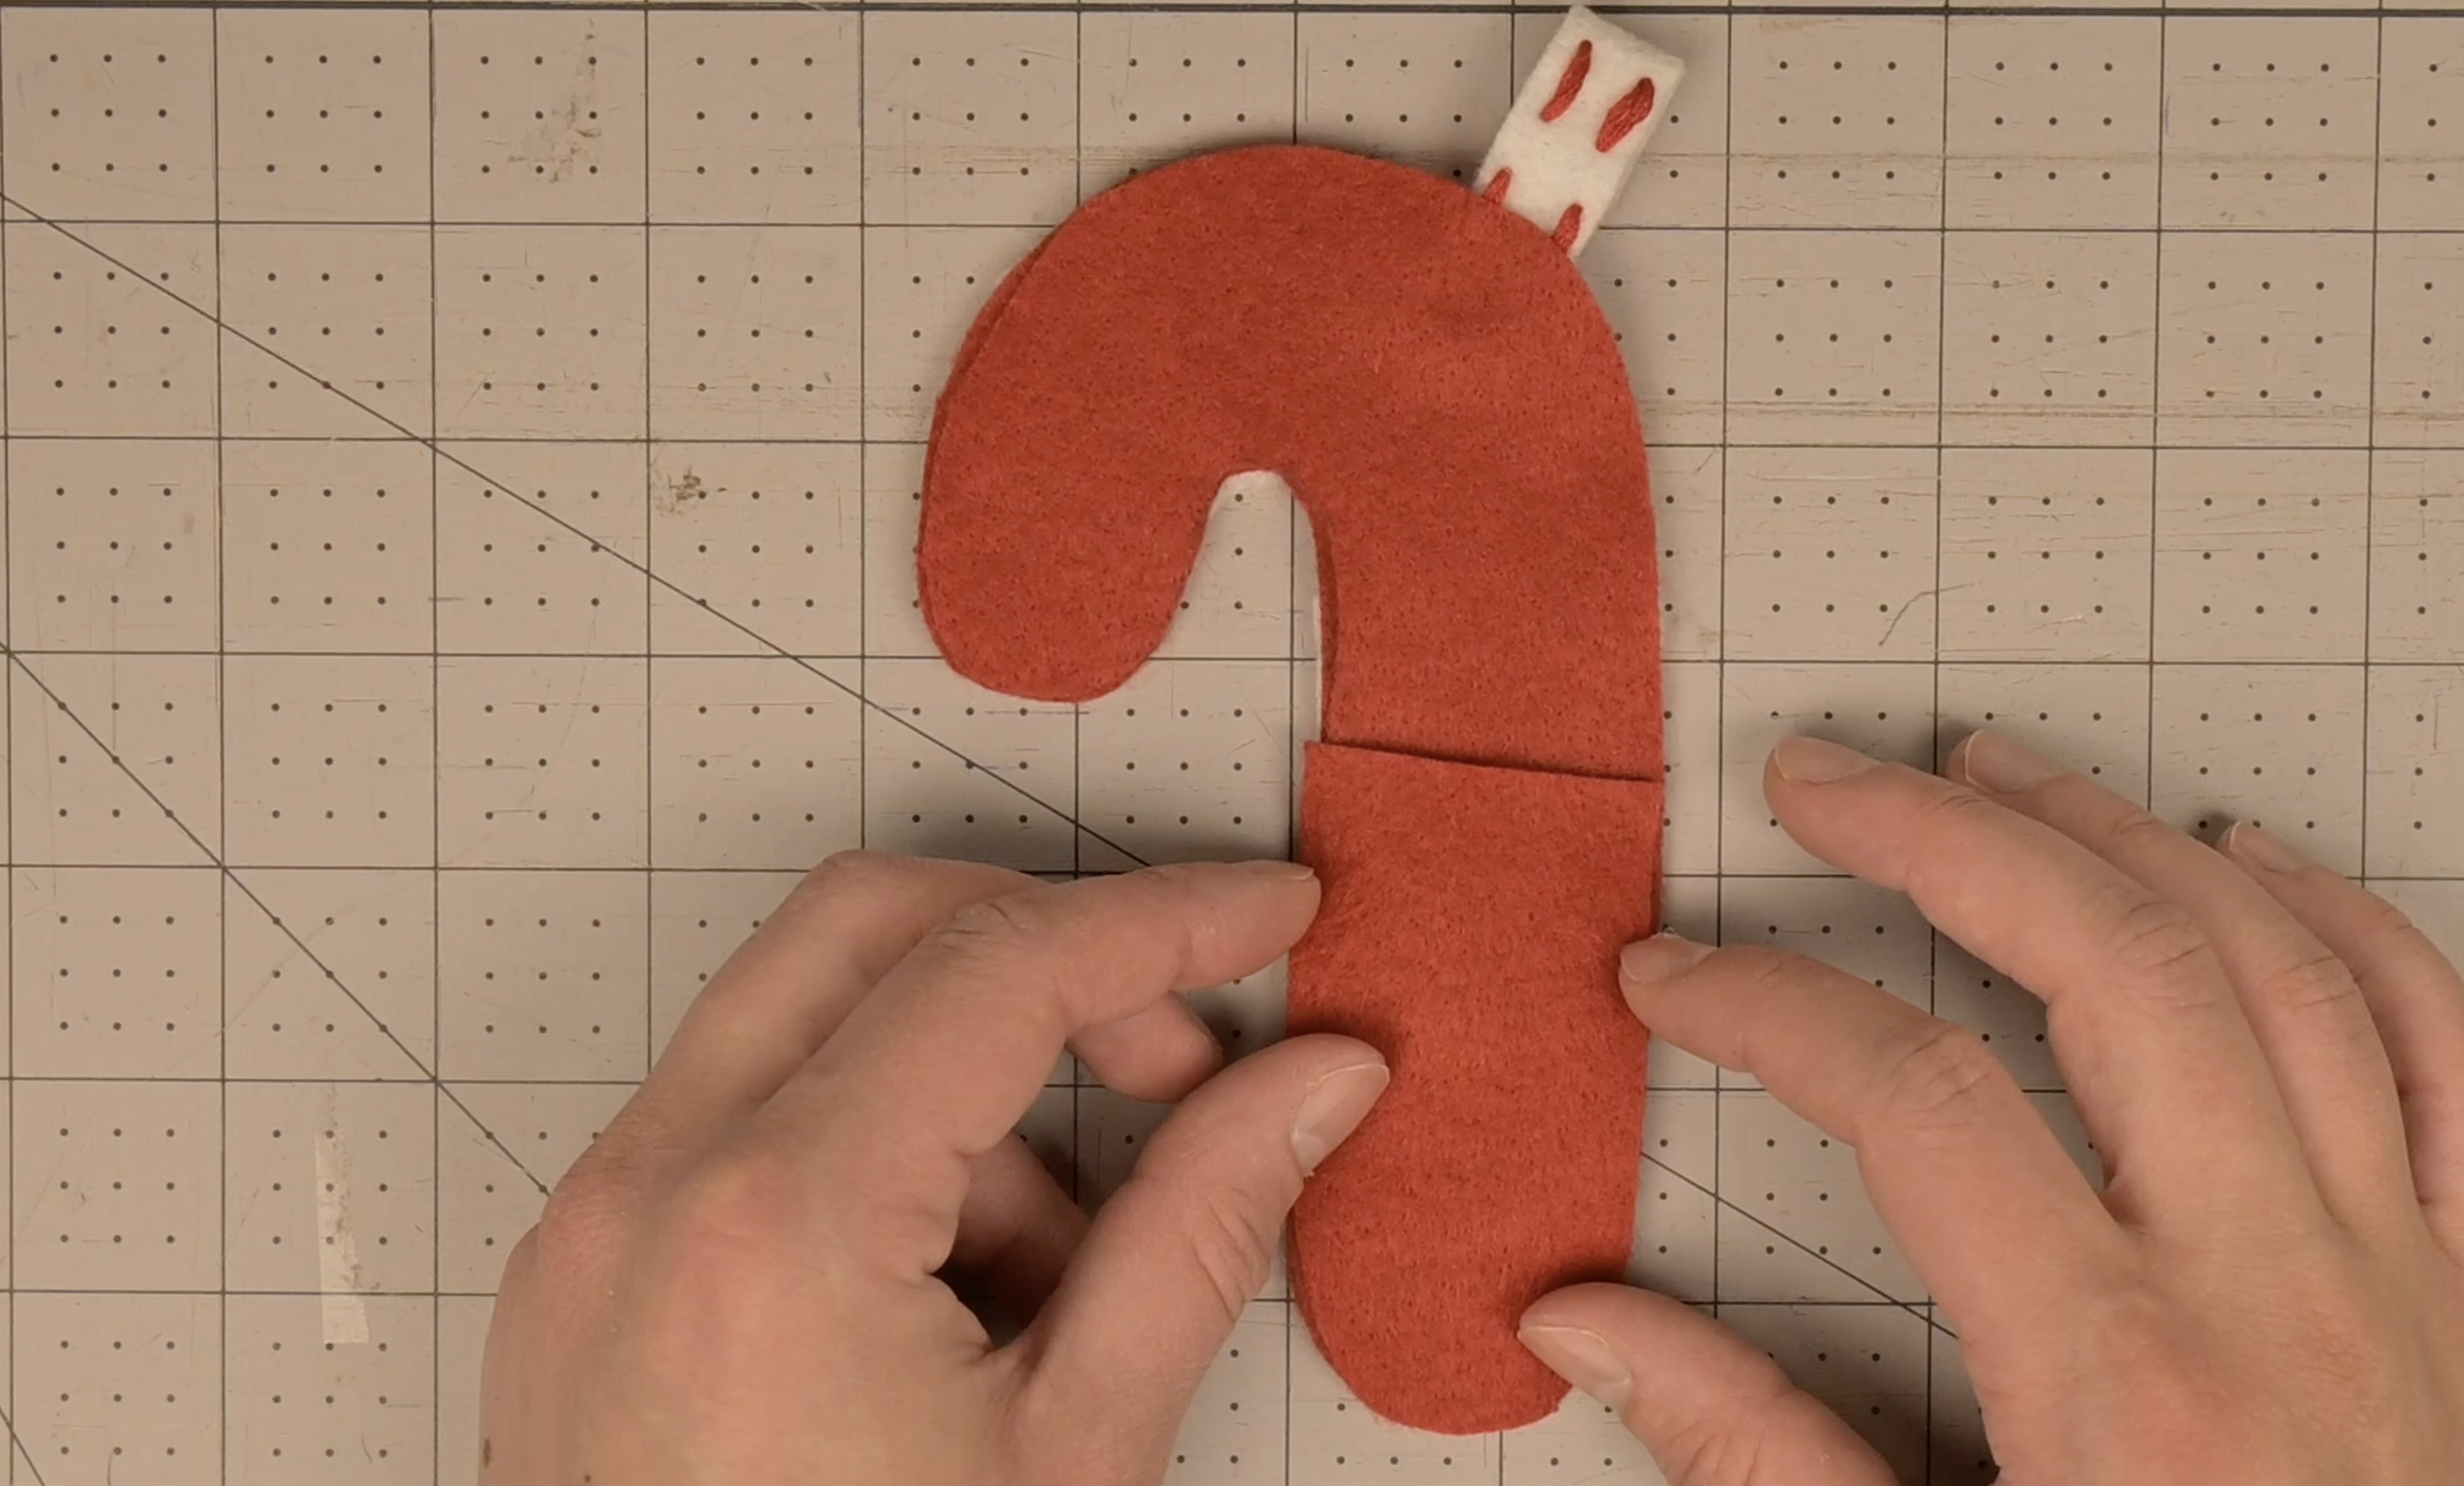
Place the candy cane pocket to the side of the candy cane base that does not have the stripes attached
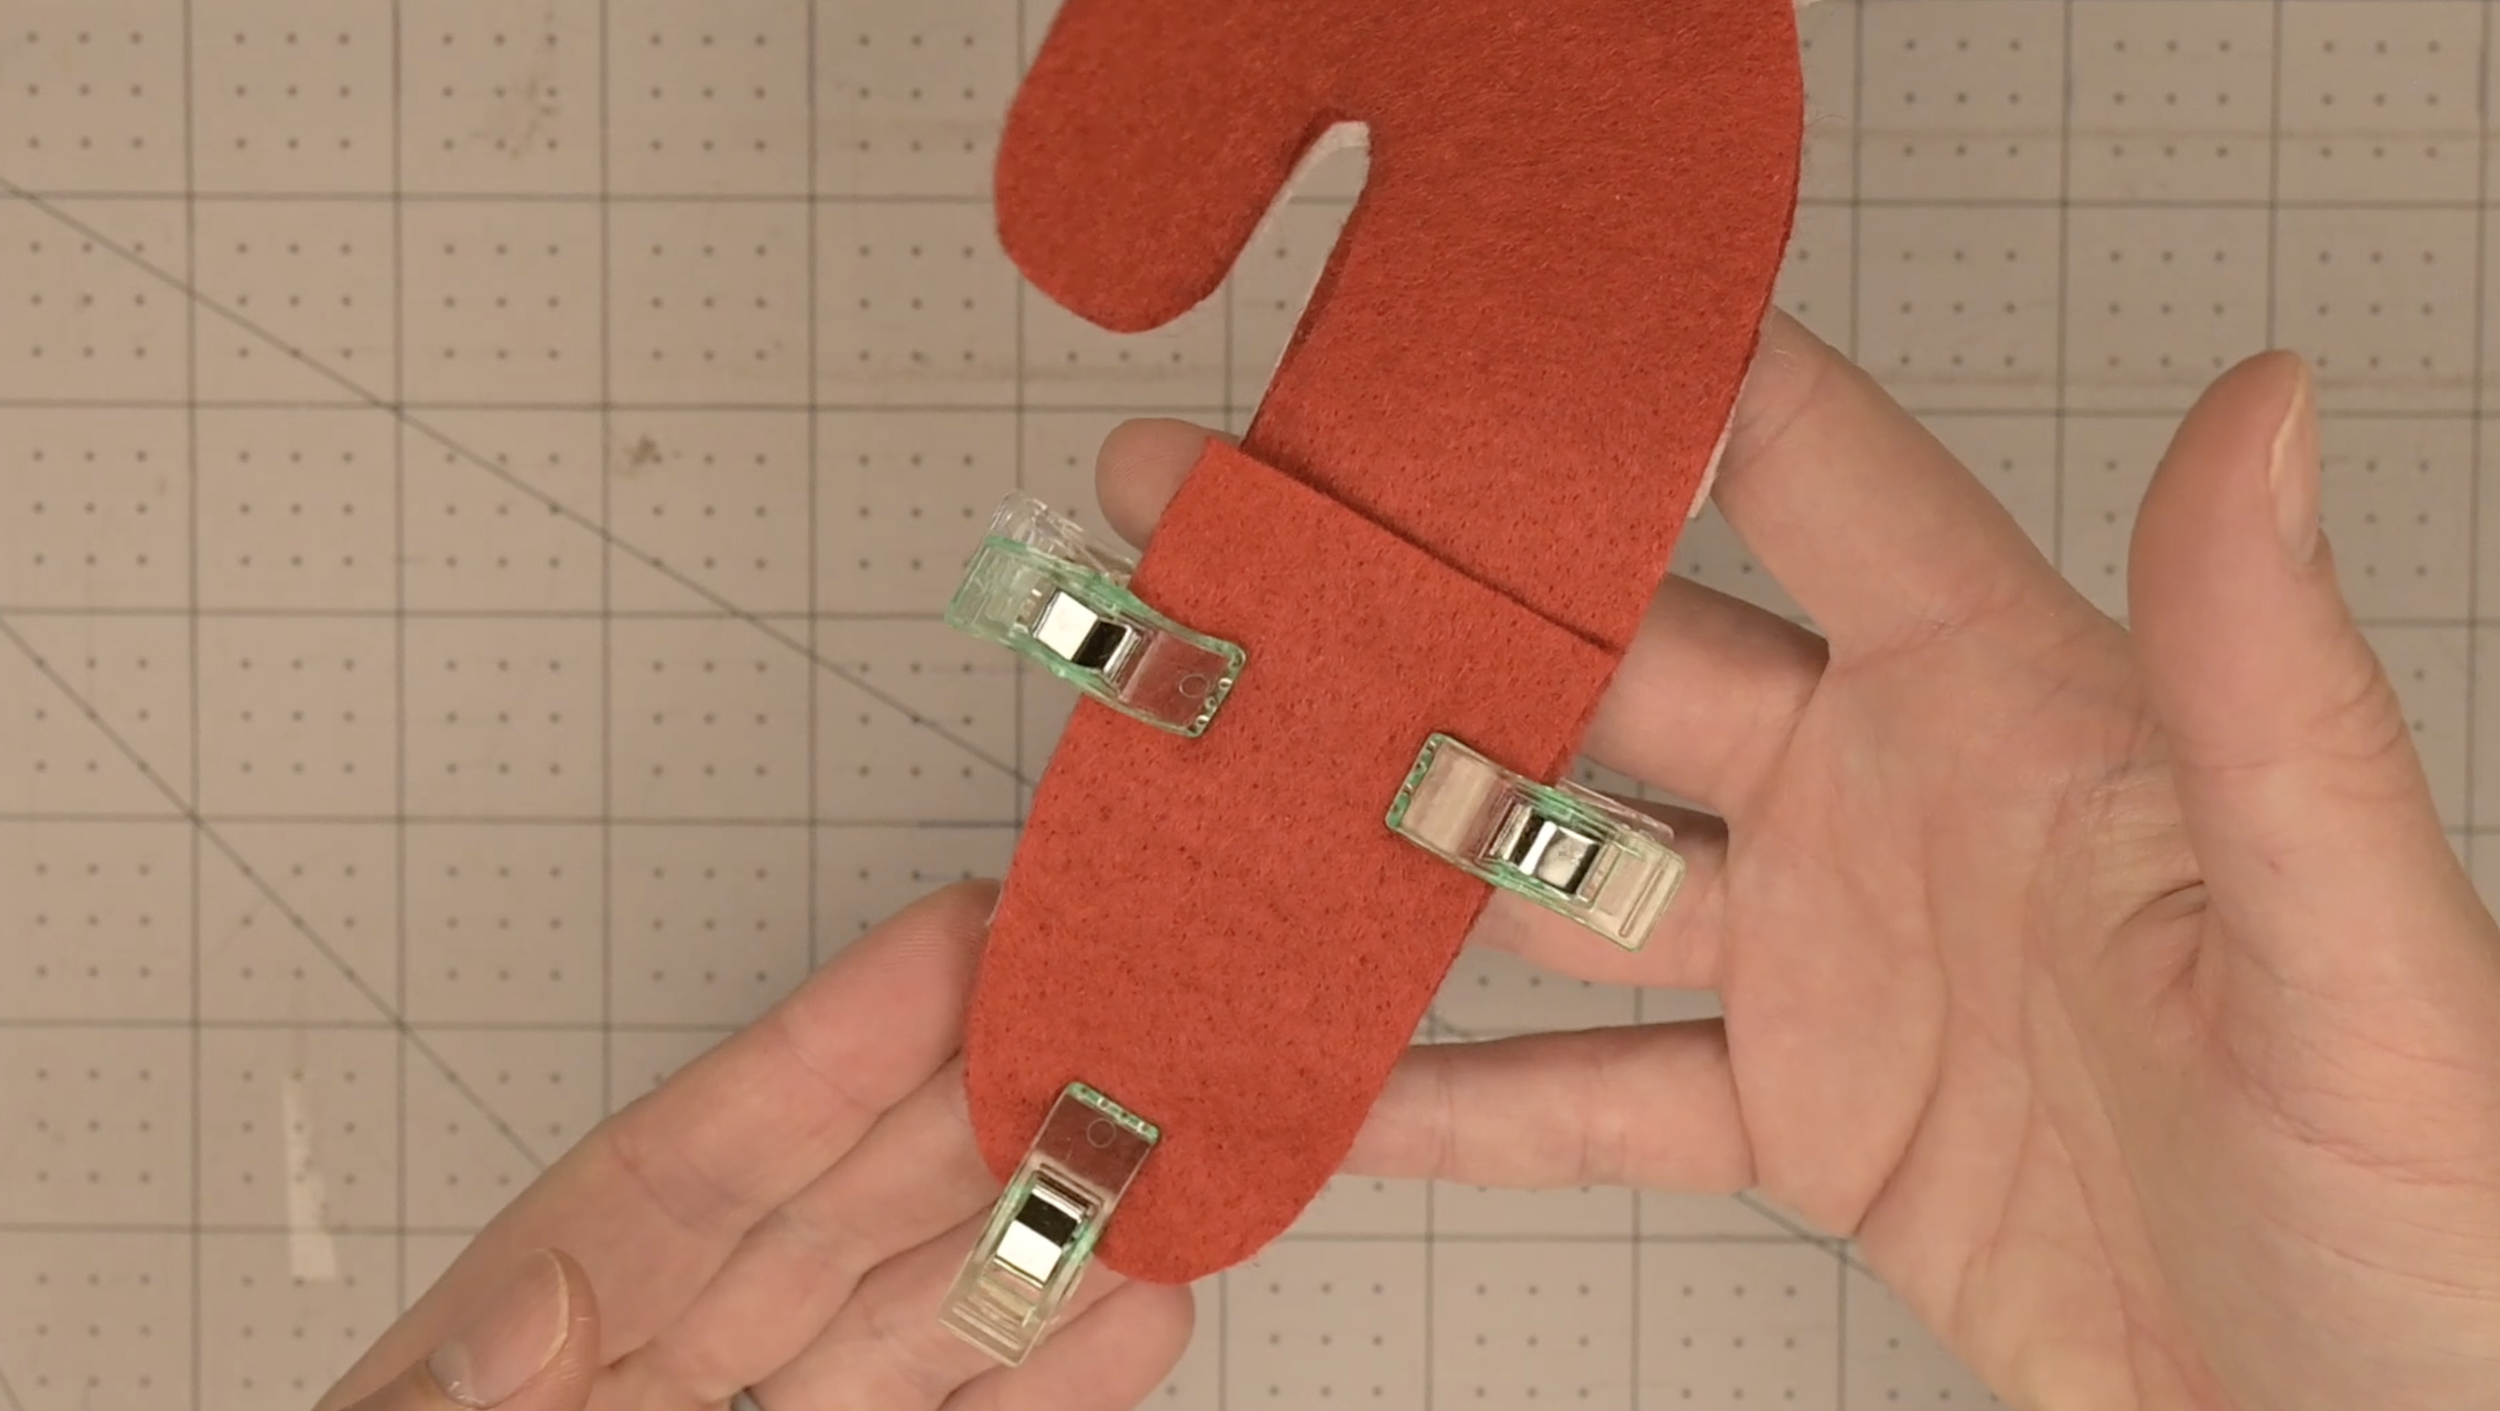
Secure in place using sewing clips or pins
Step 8: Sew the Edges using a Blanket Stitch
A helpful follow-along video from Svetlana Bell on Youtube
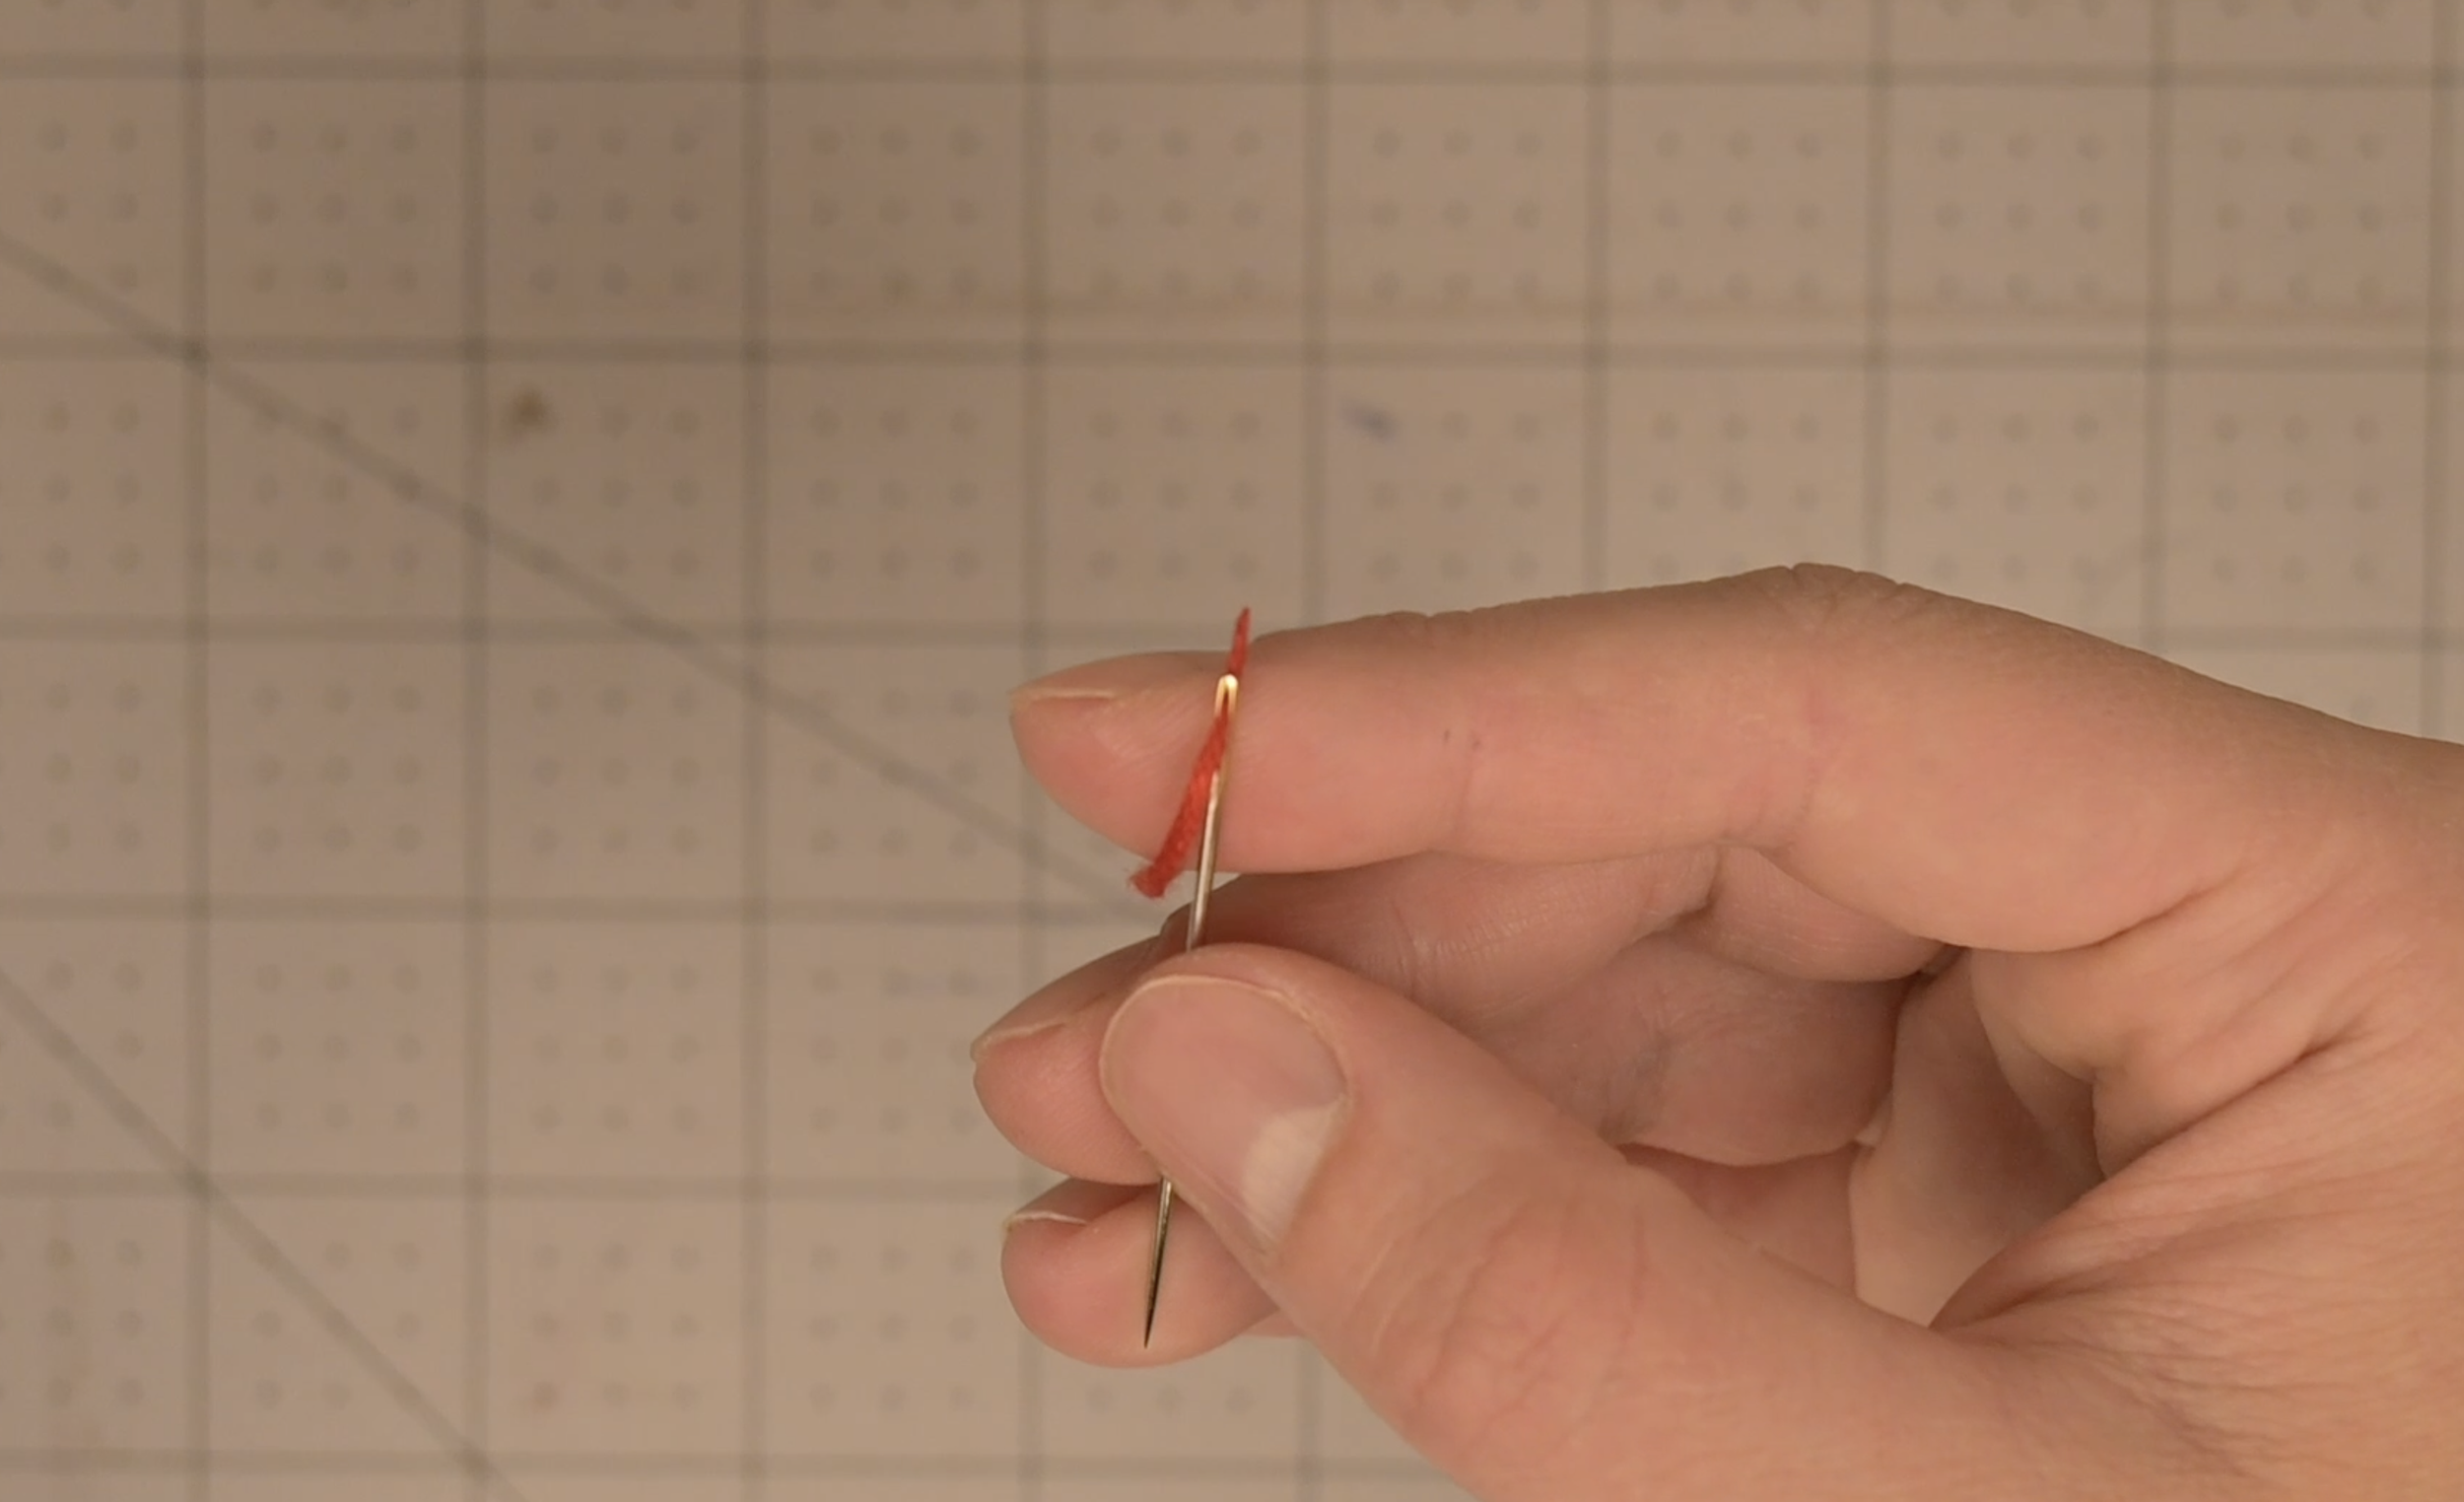
Pass the end of the embroidery thread through the eye of the needle
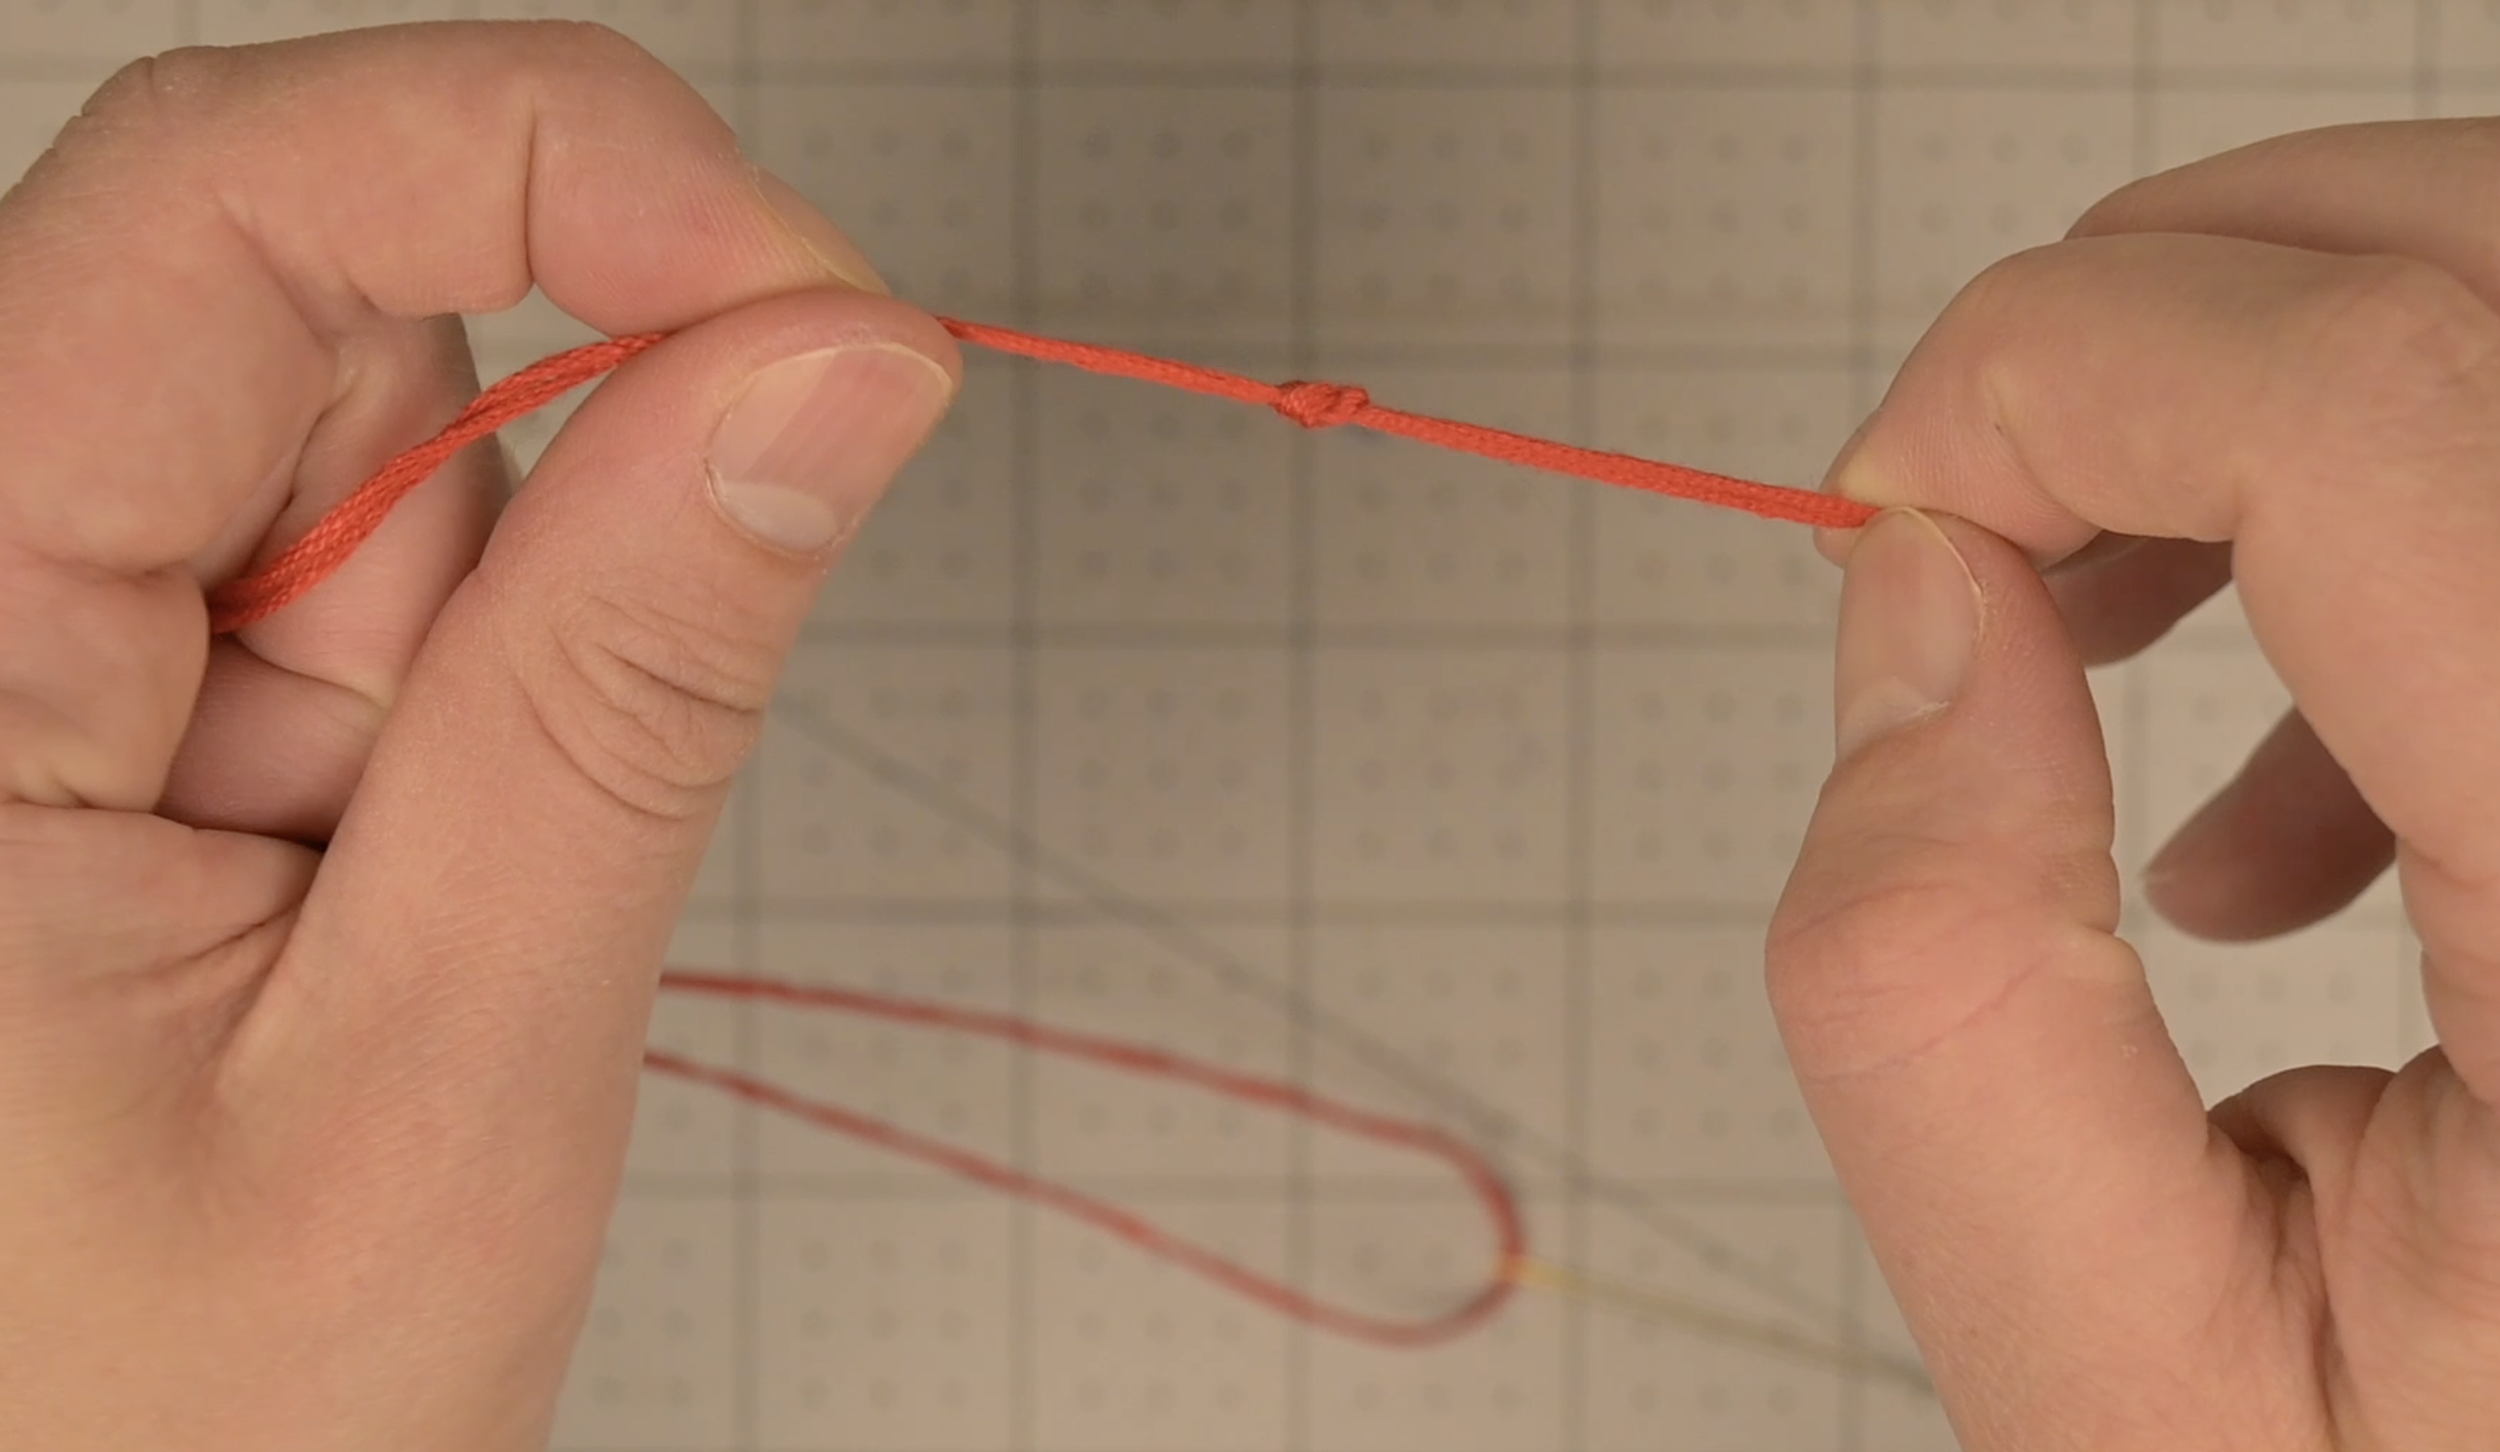
Fold the thread in half so the ends are together
Tie a knot securing the ends together
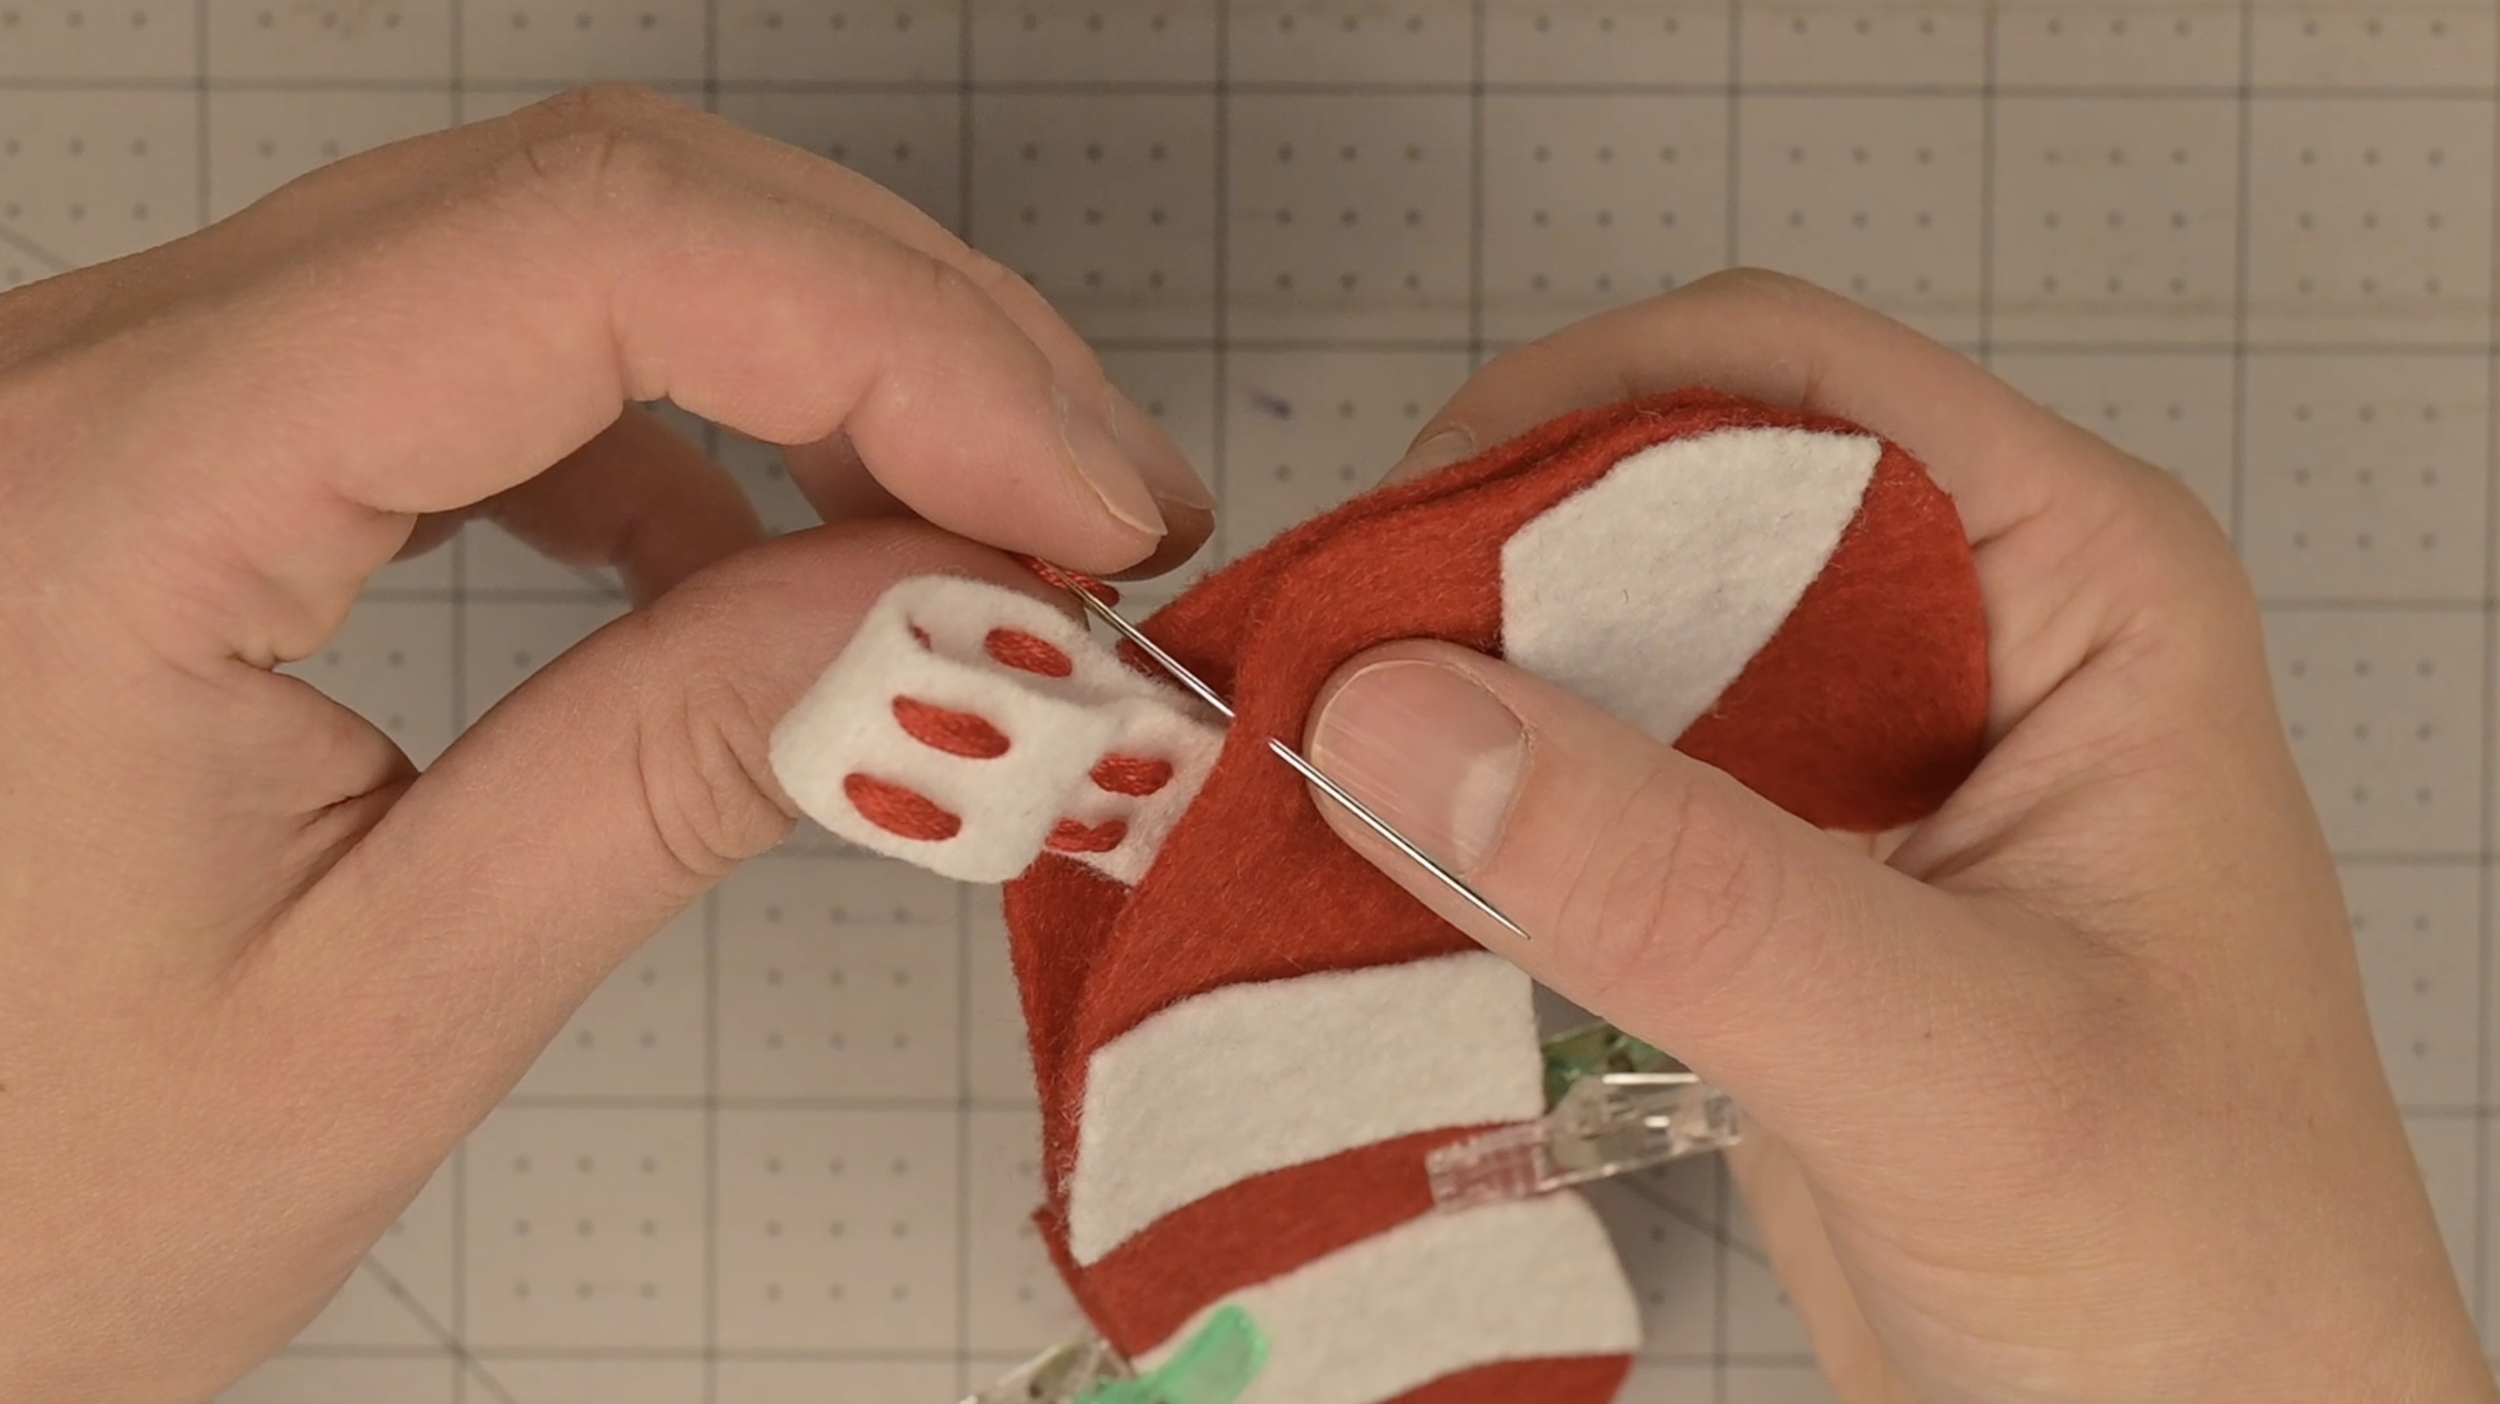
Insert the needle in between the felt layers next to the candy cane loop to hide the knot between the felt
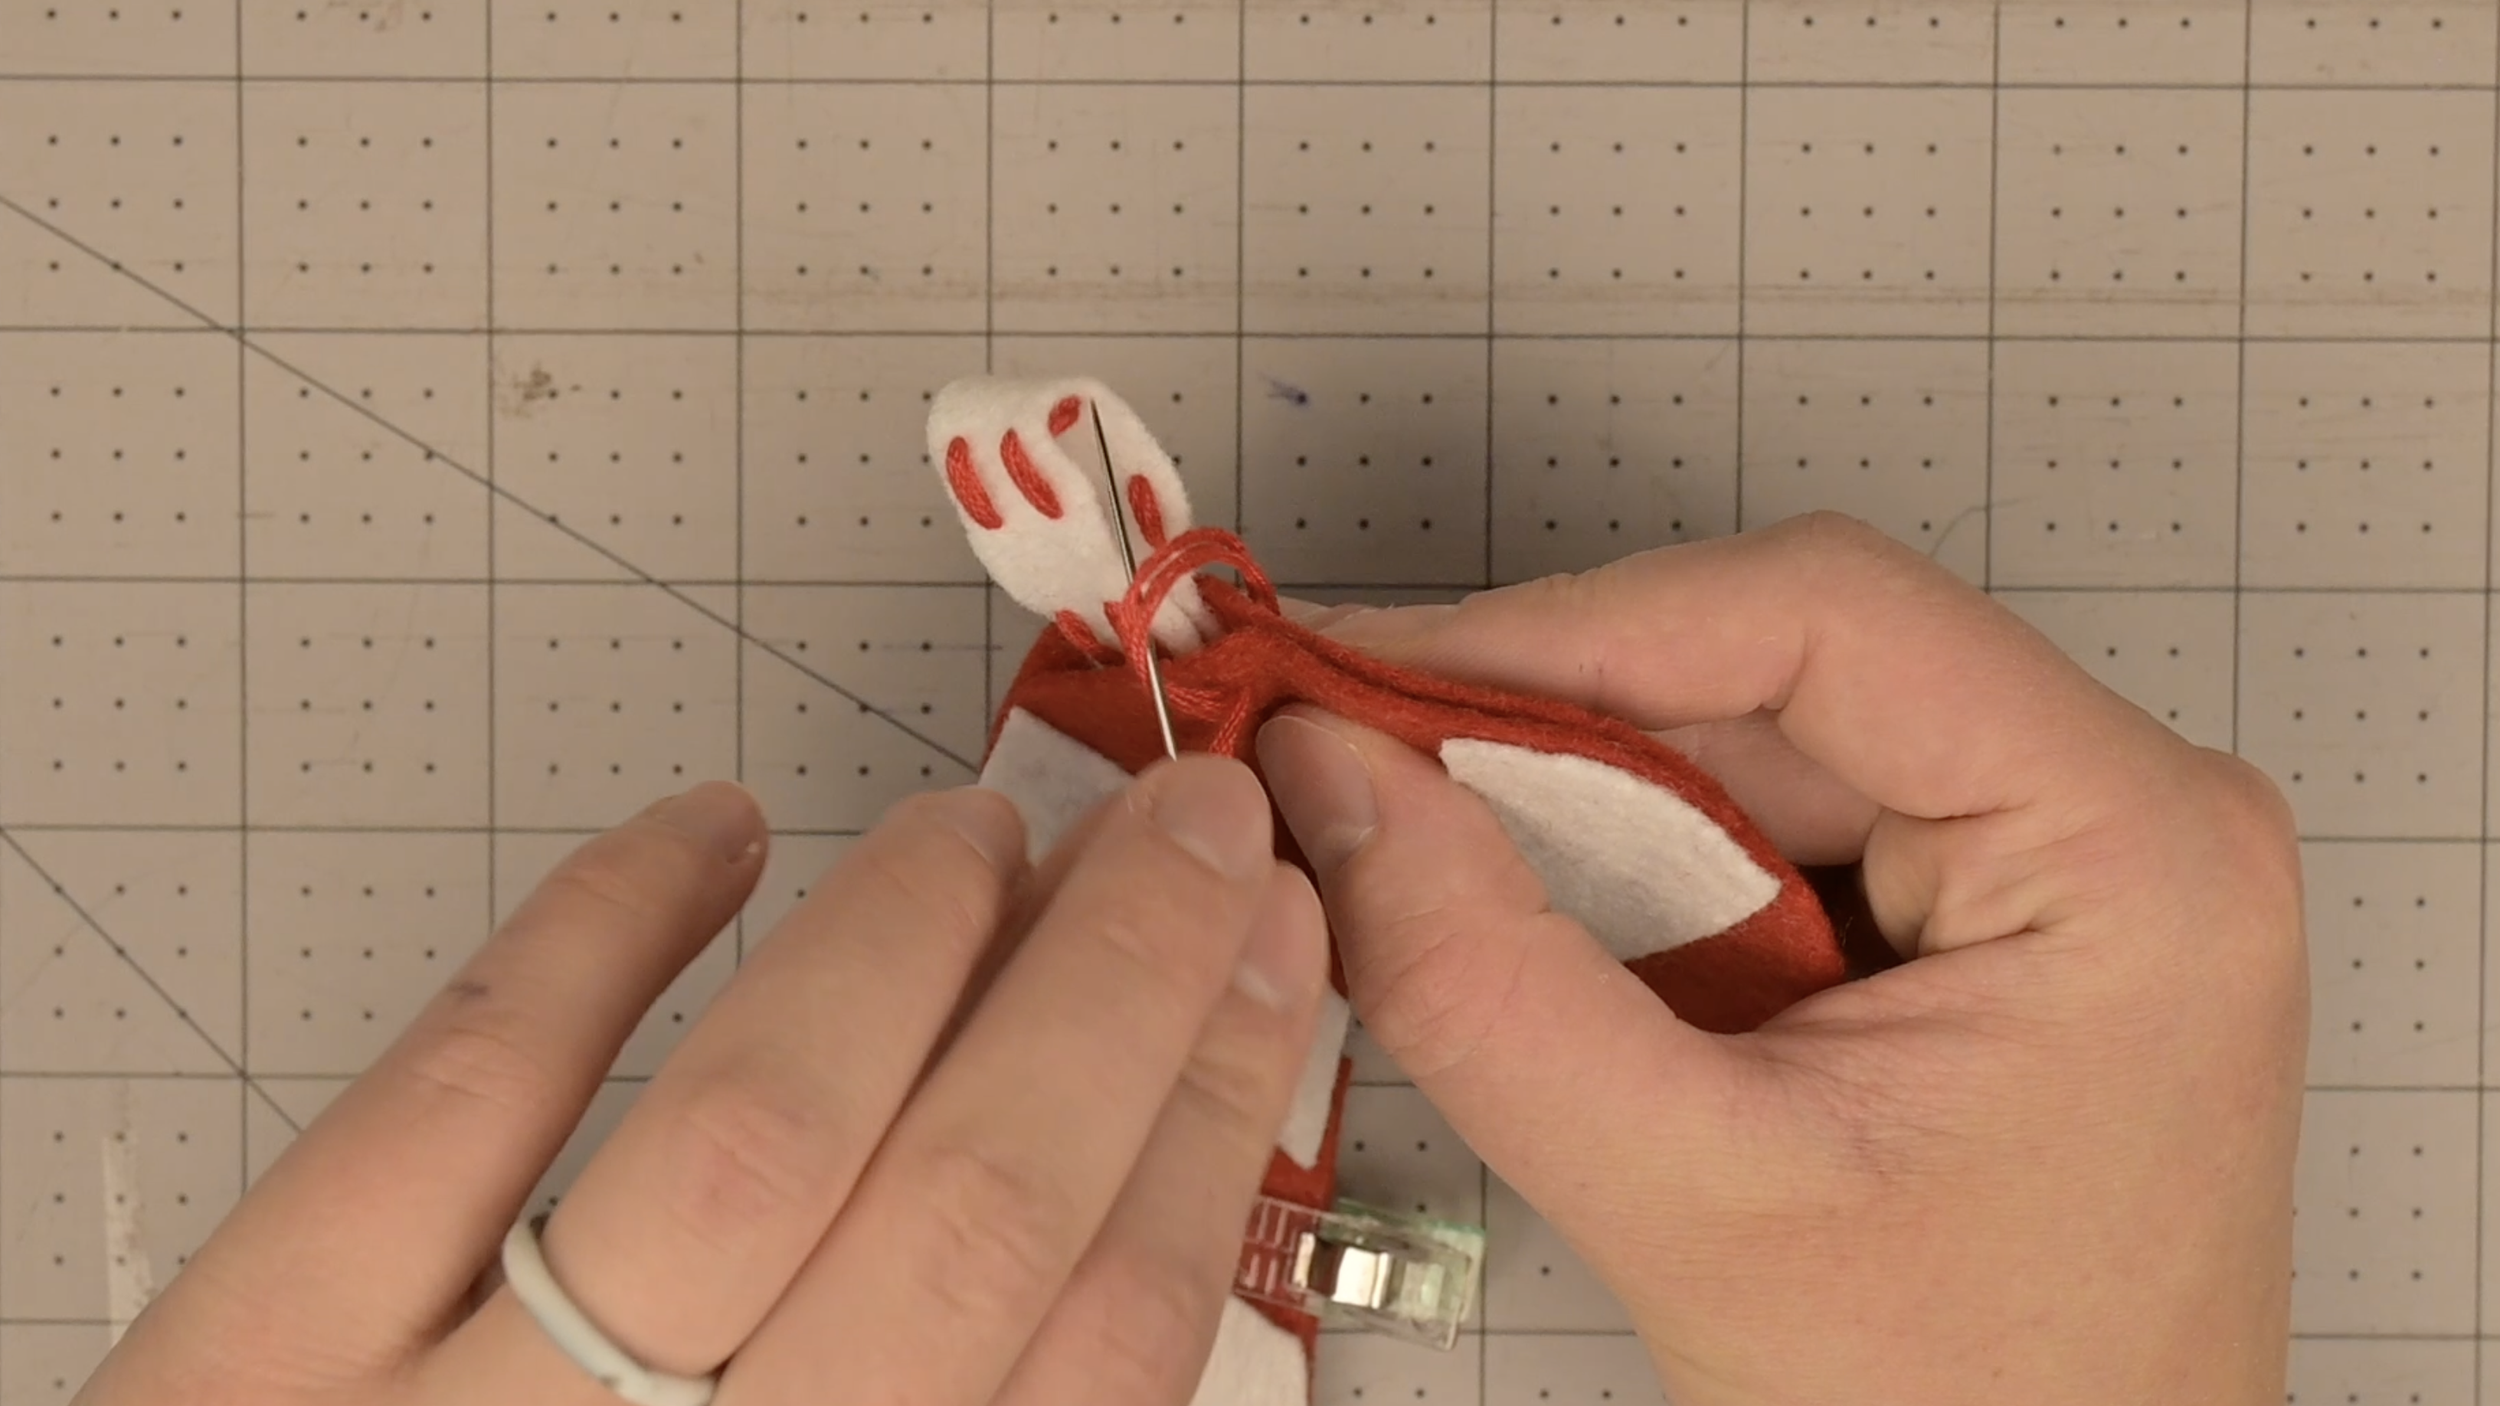
Bring the thread around the outer edge and insert the needle through the exact same hole from back to front
Pull until a small loop forms, then pass your needle through that loop twice to lock the thread over the edge
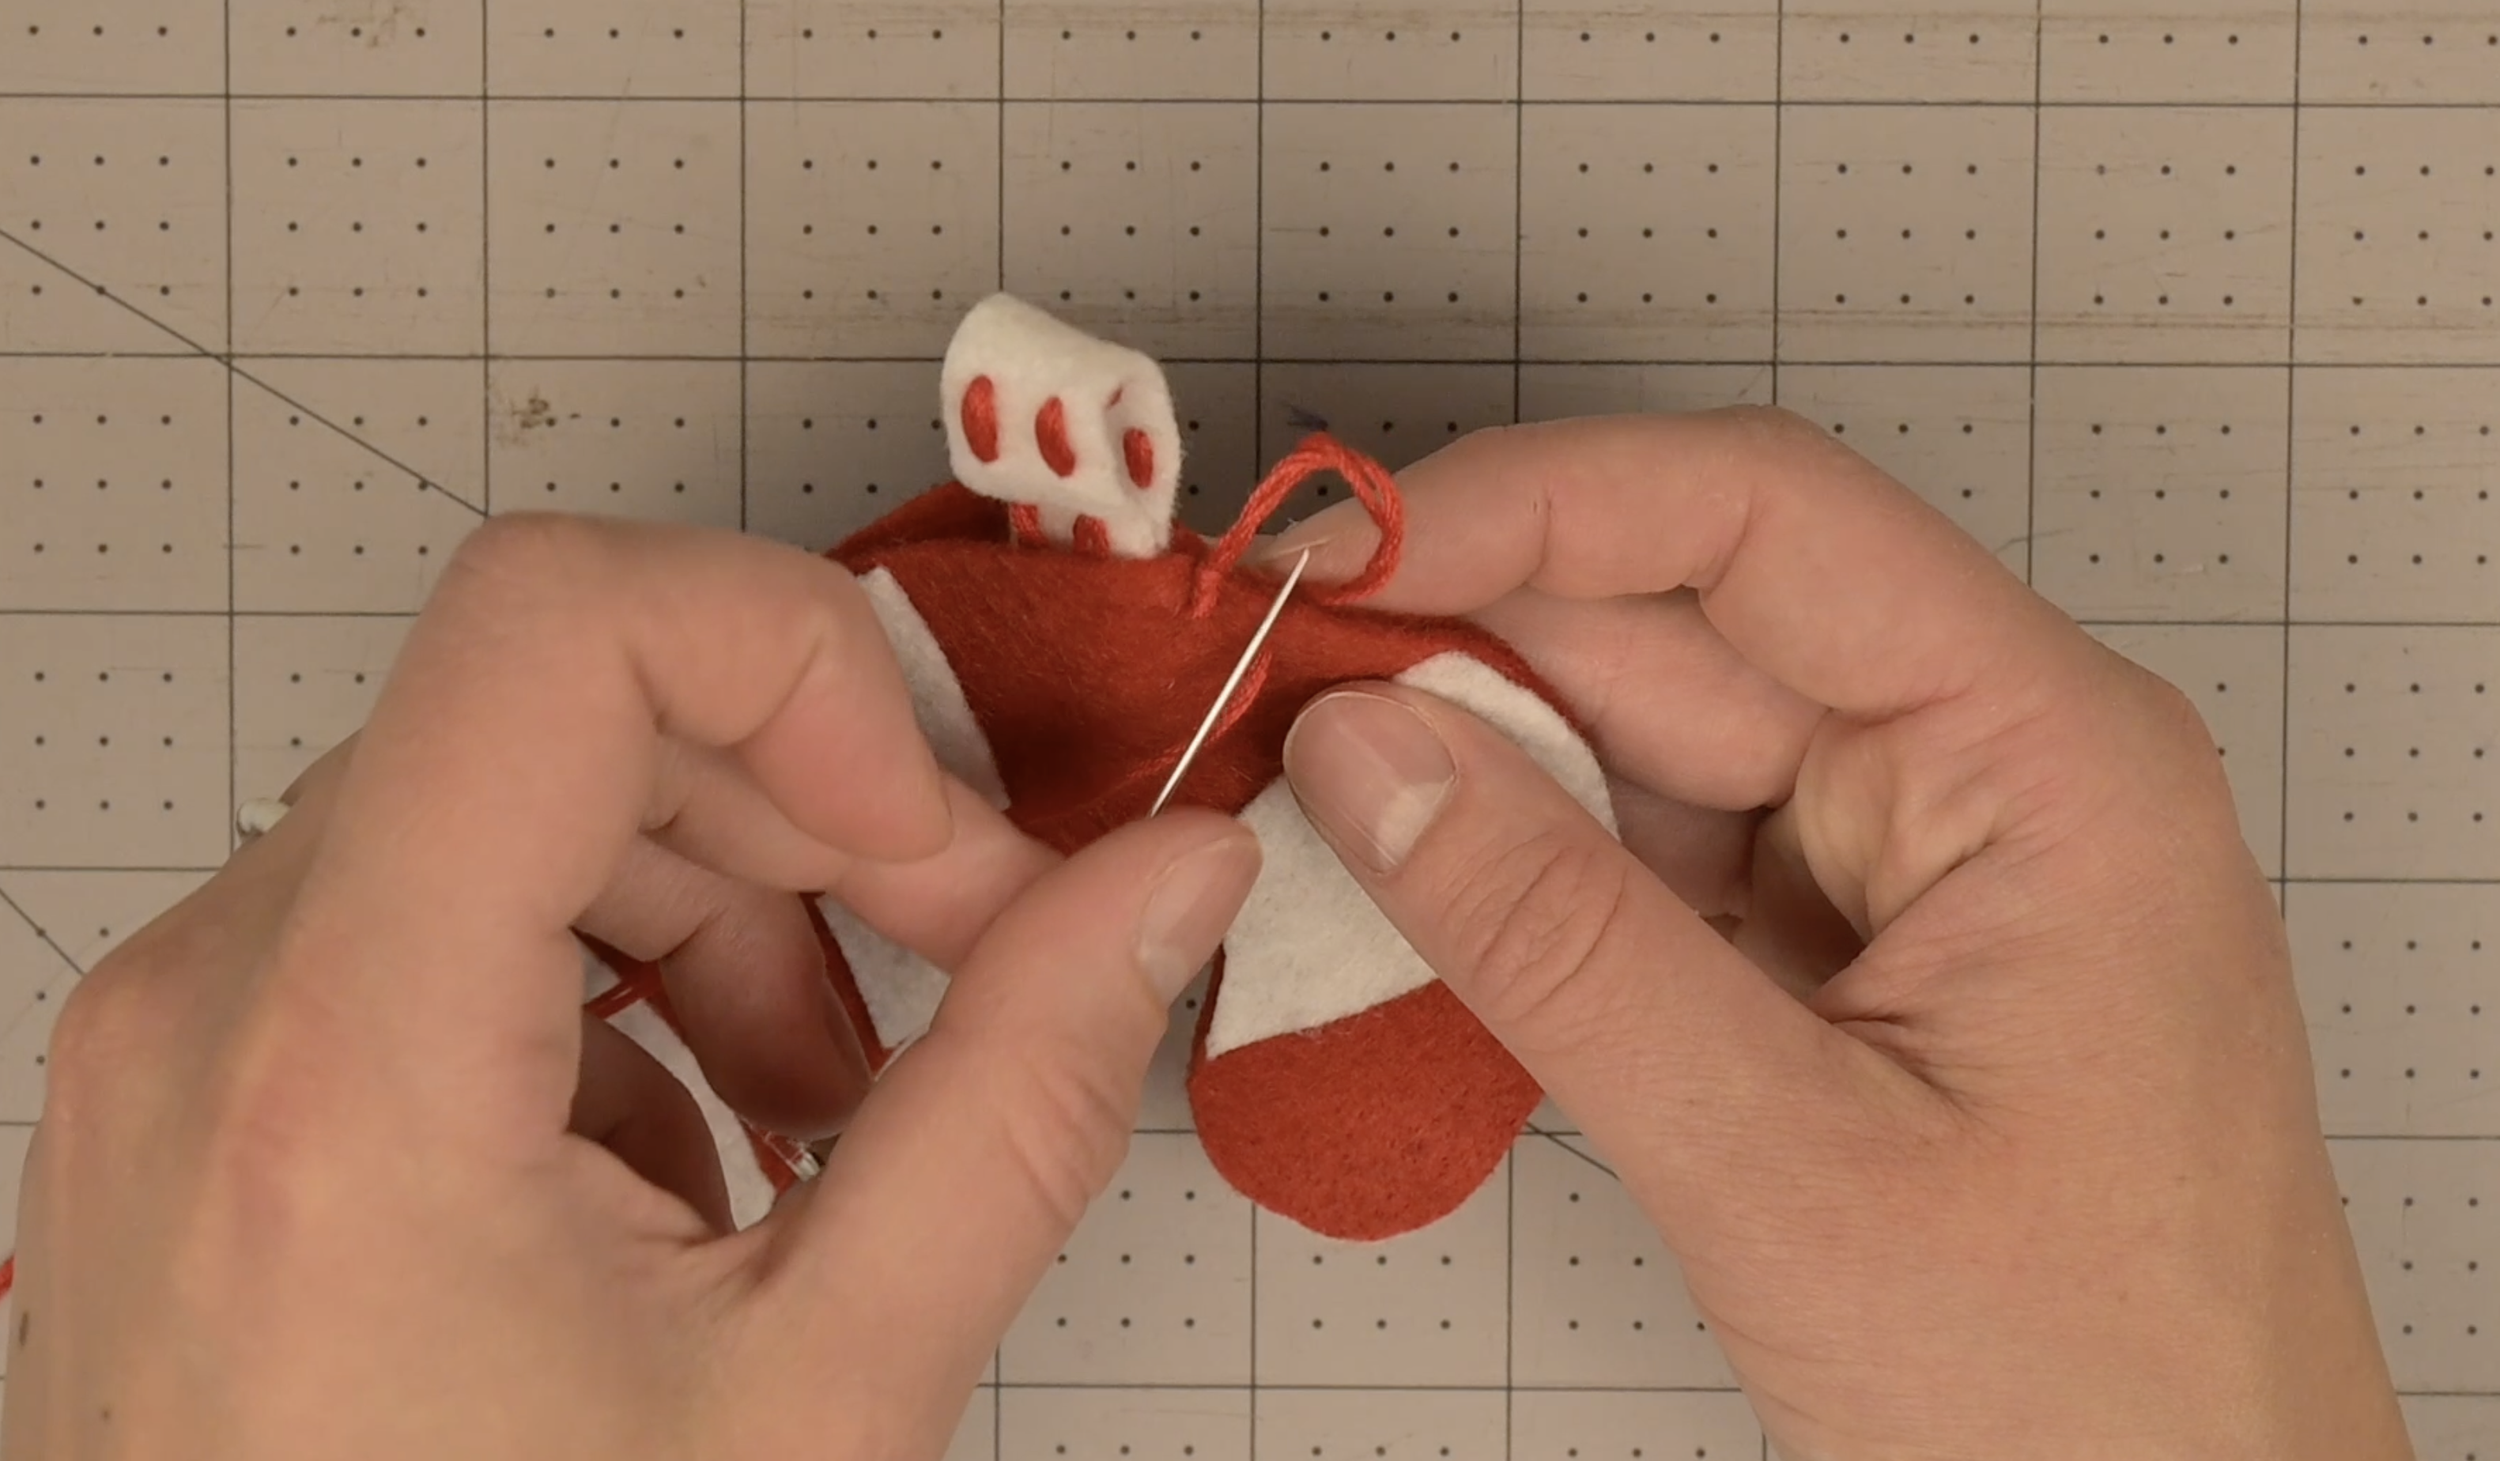
Move 1/4 inch to the side. Insert the needle from back to front
Before fully tightening the thread, bring the needle through the loop
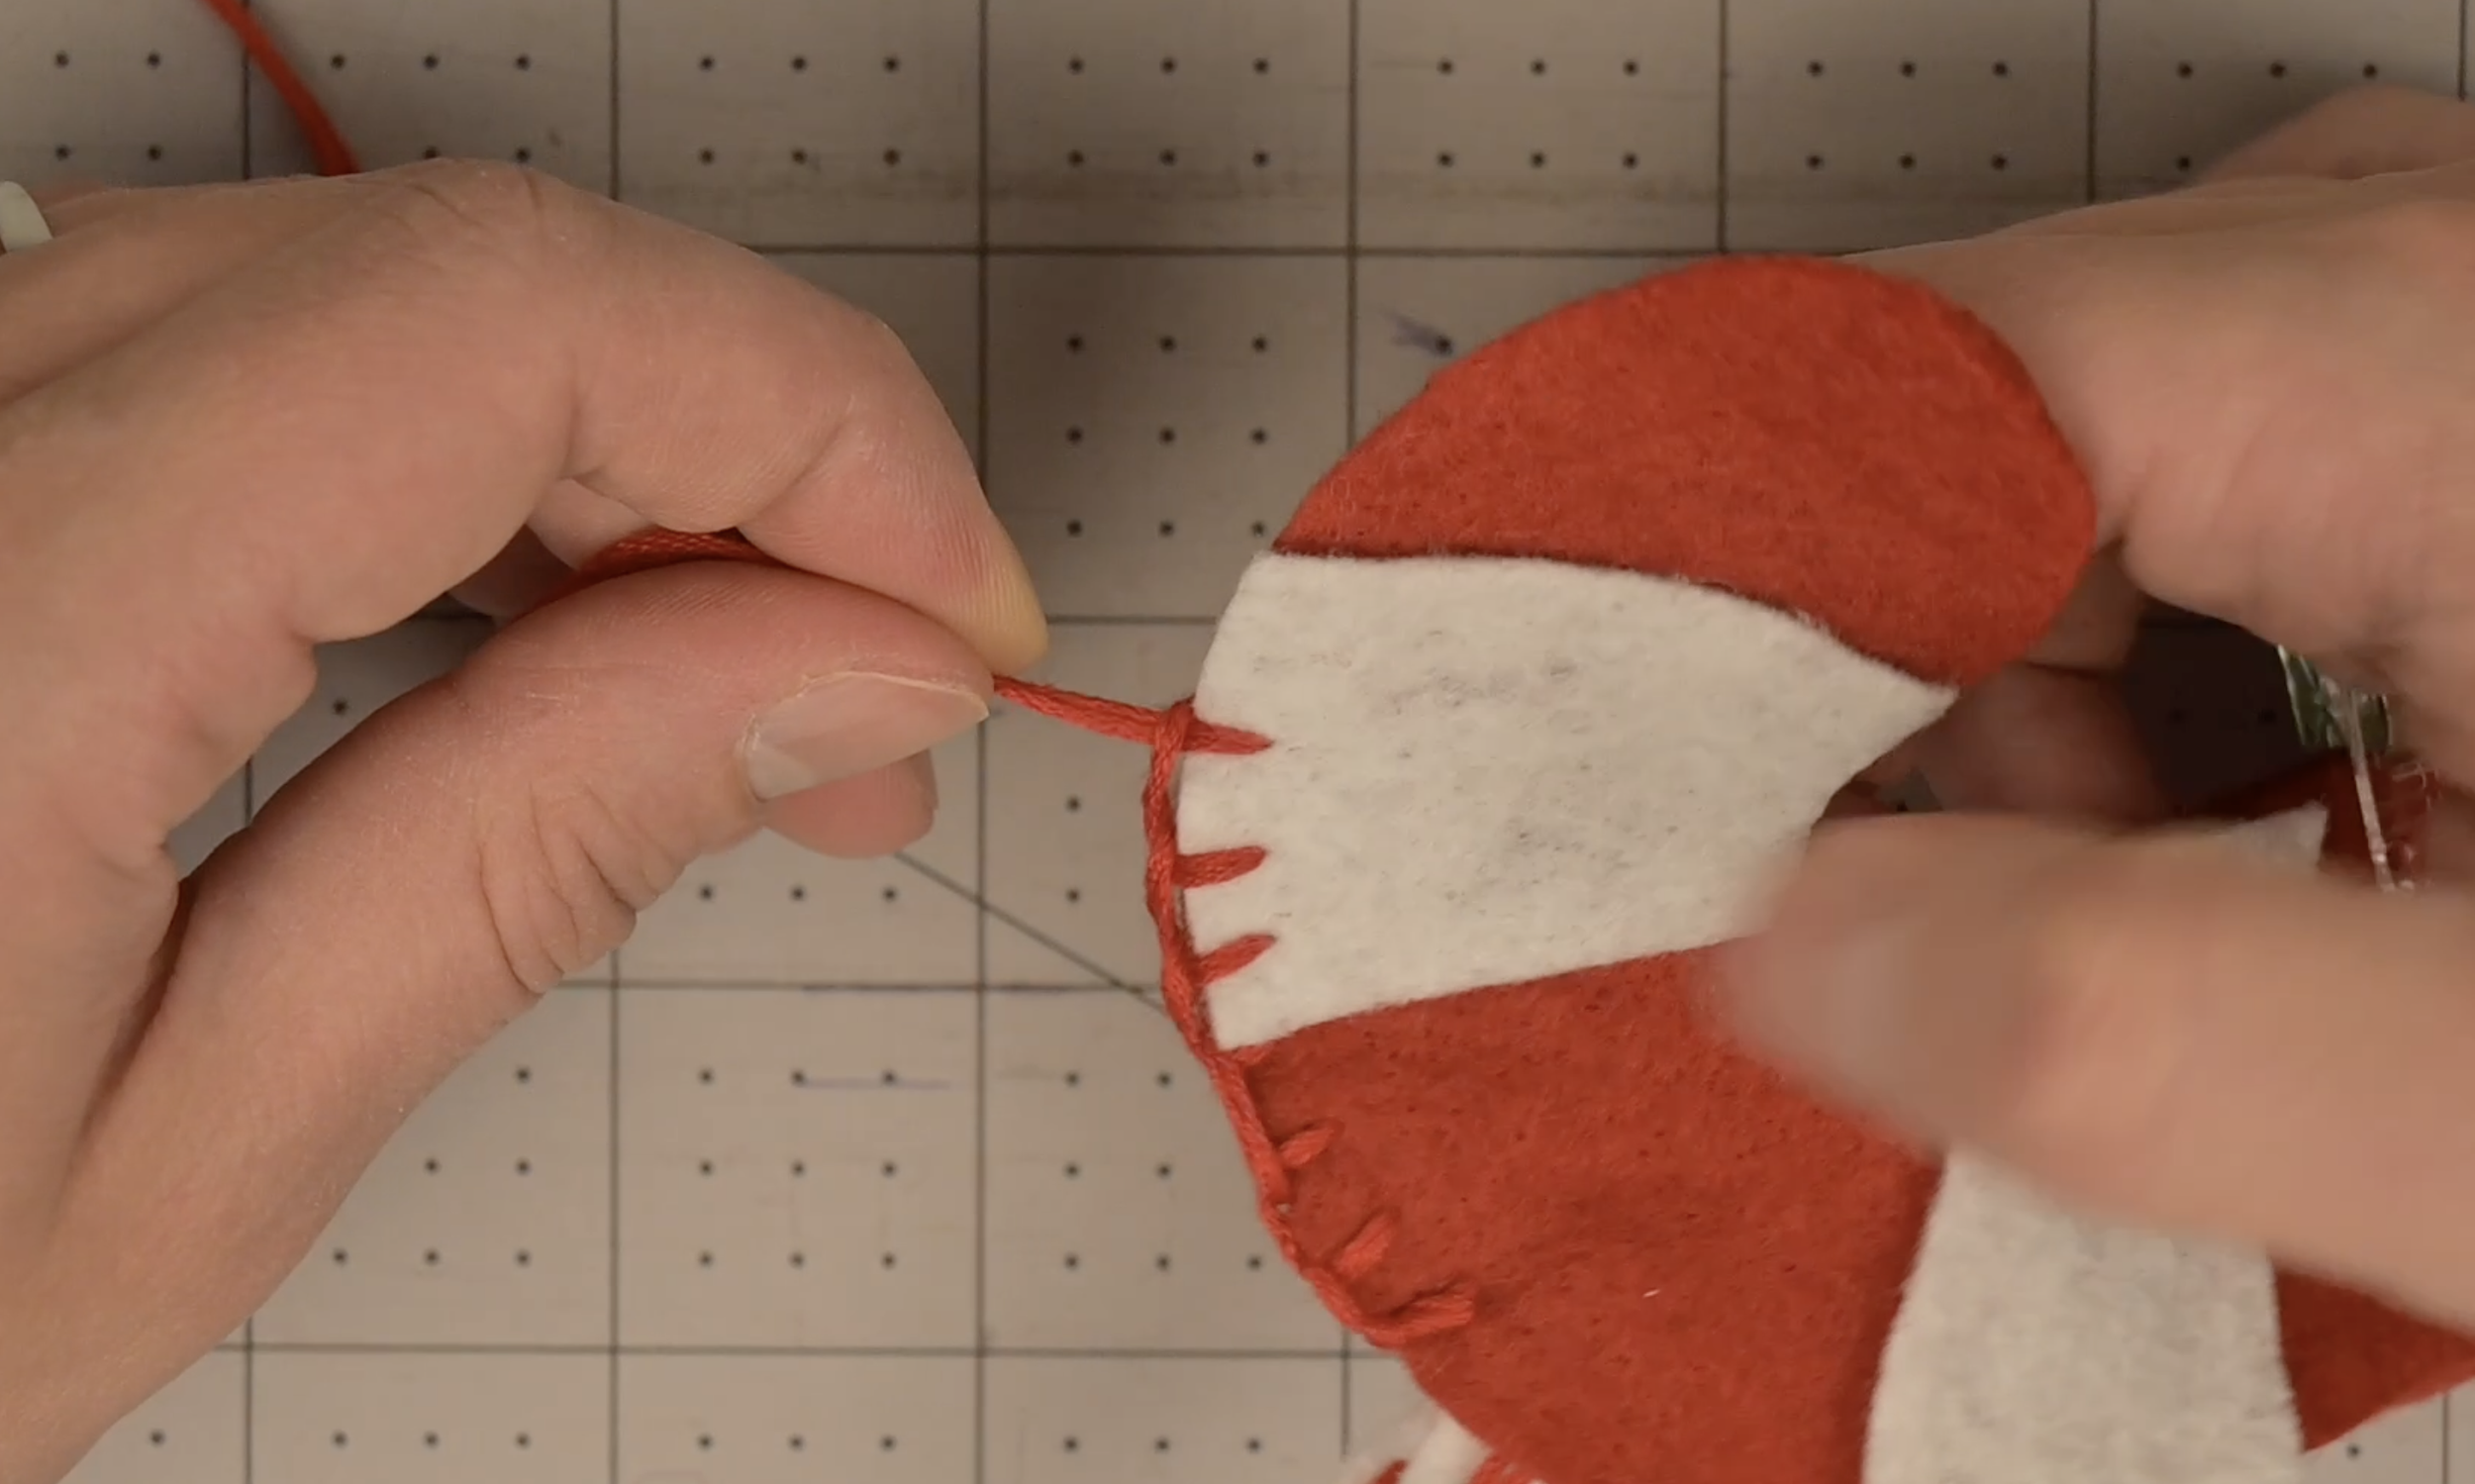
Continue spacing your stitches evenly, inserting front to back and catching the loop under the needle point each time, until you reach the end
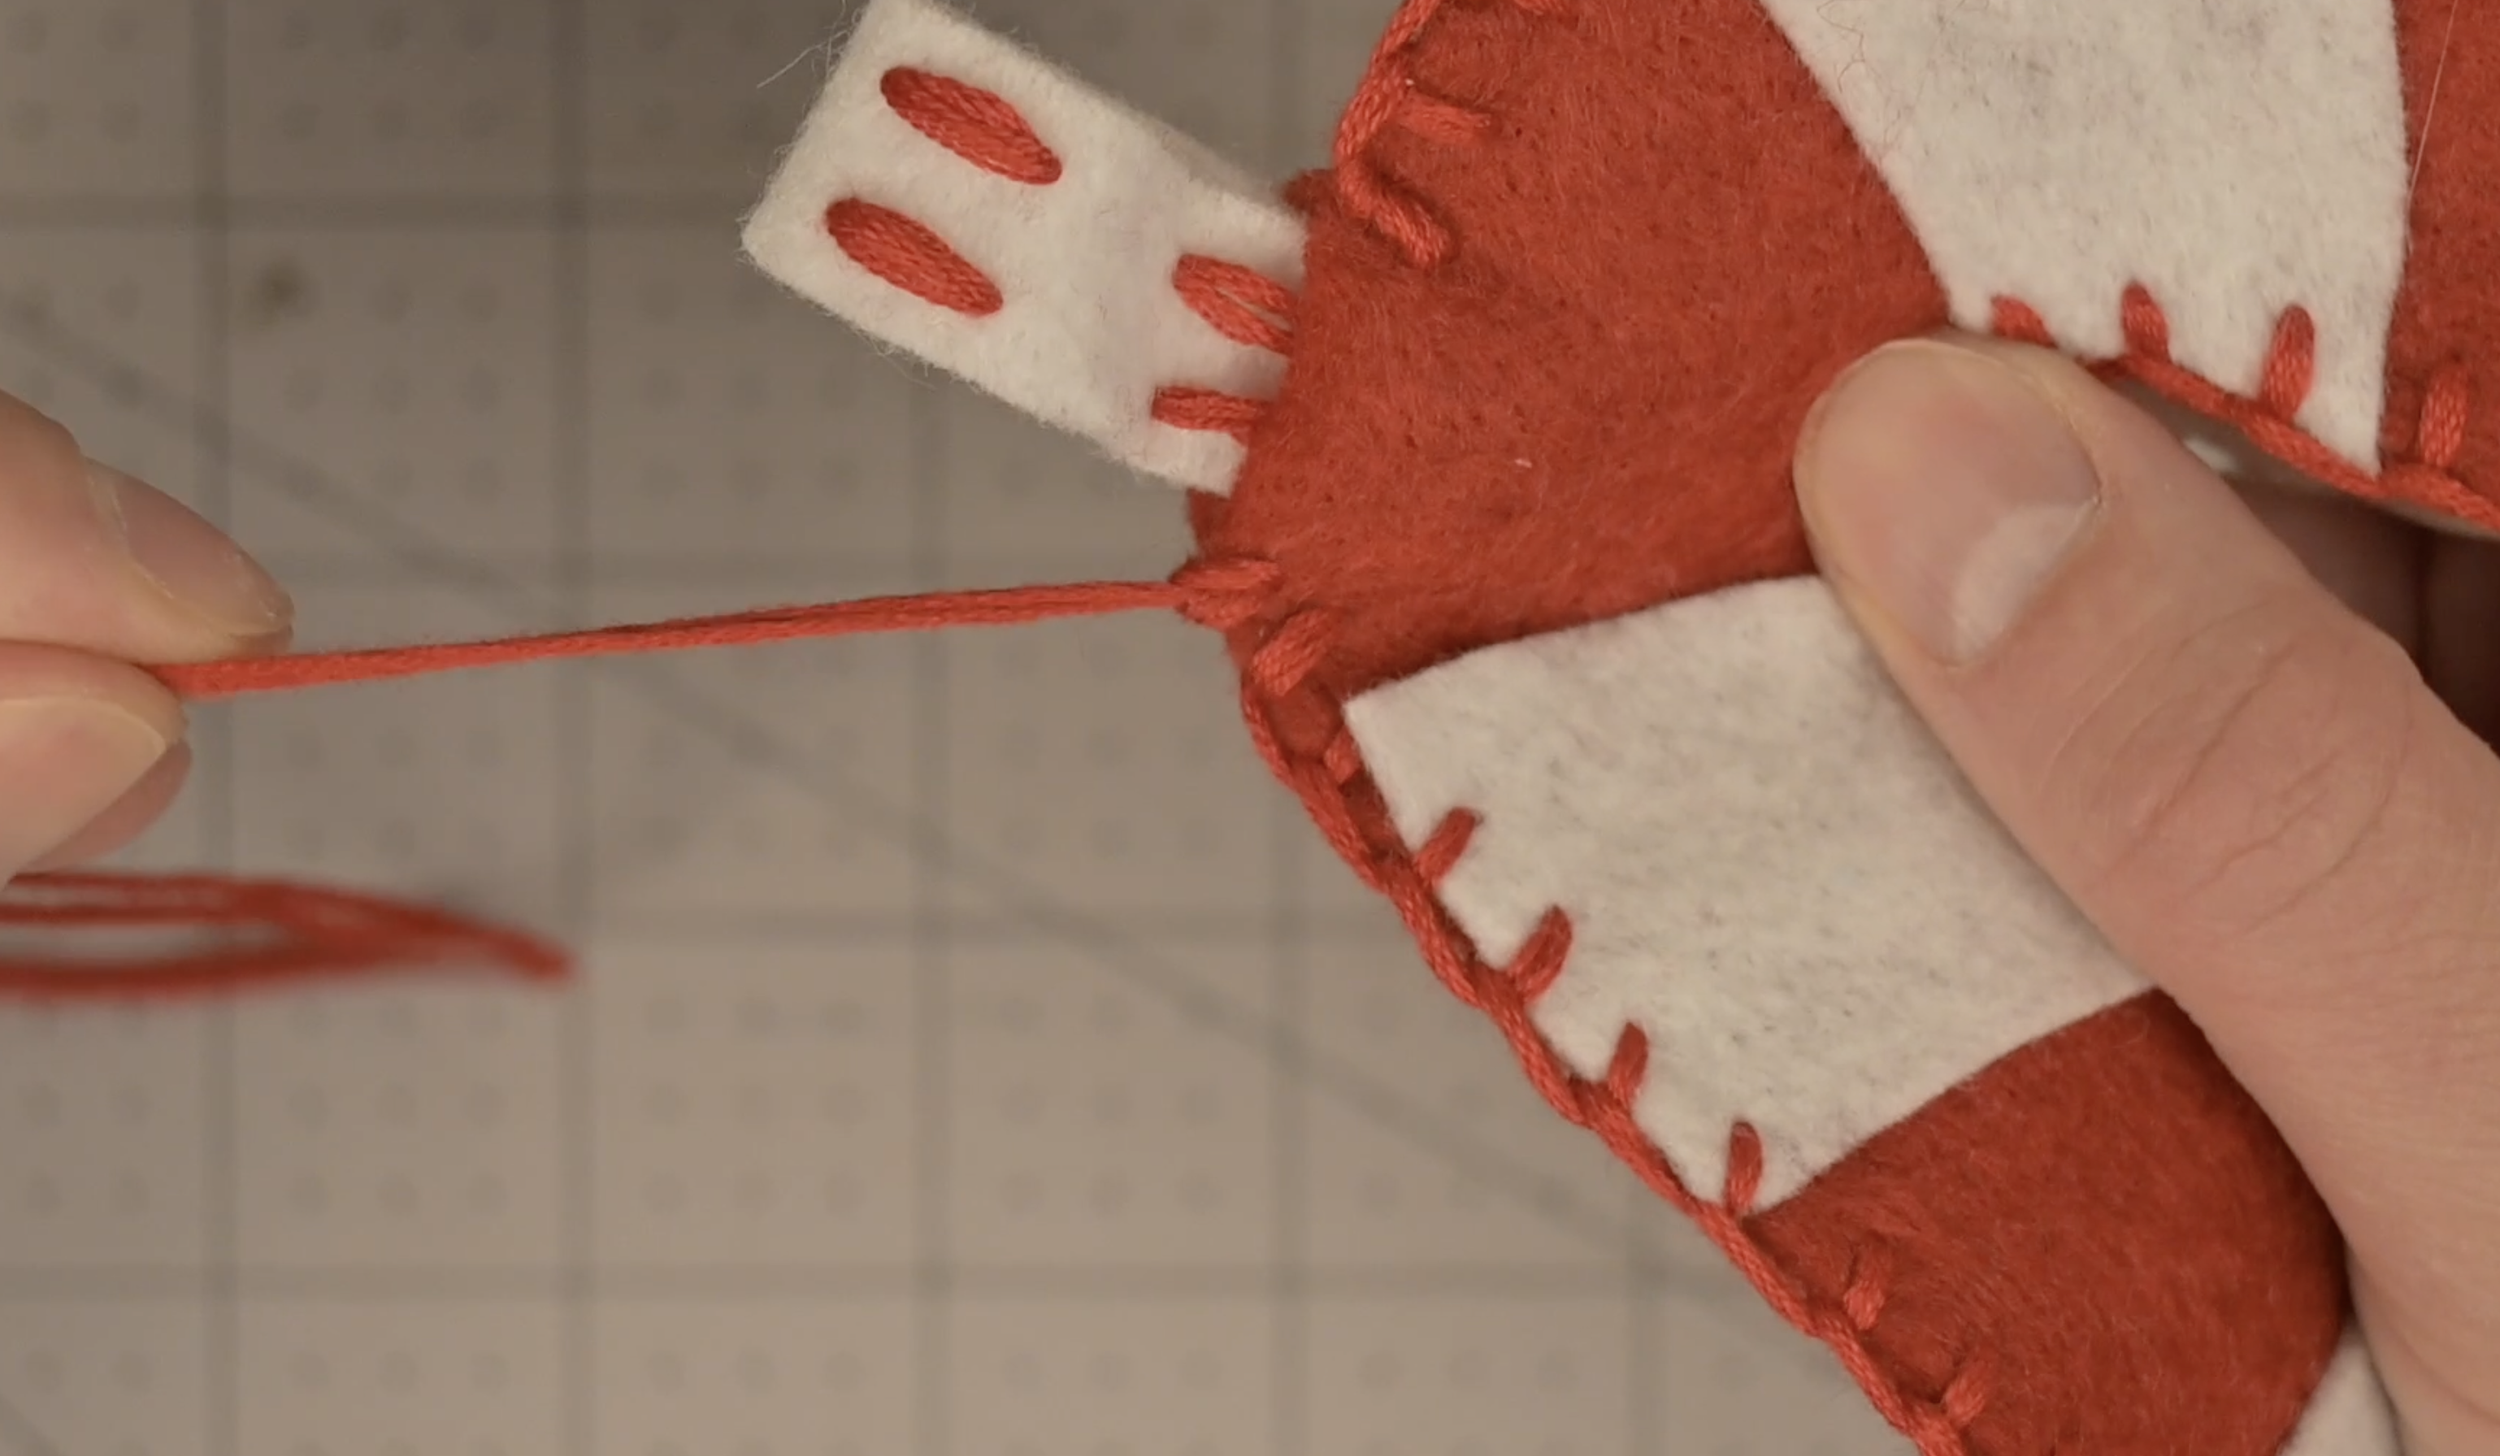
At your last stitch, make an extra stitch in the same final space
Tie off a small knot, pass the needle through the center of the fabric layers to hide the thread tail, and snip off the excess
Repeat these steps until the candy cane is fully closed
Step 9: All Done with the Candy Cane!
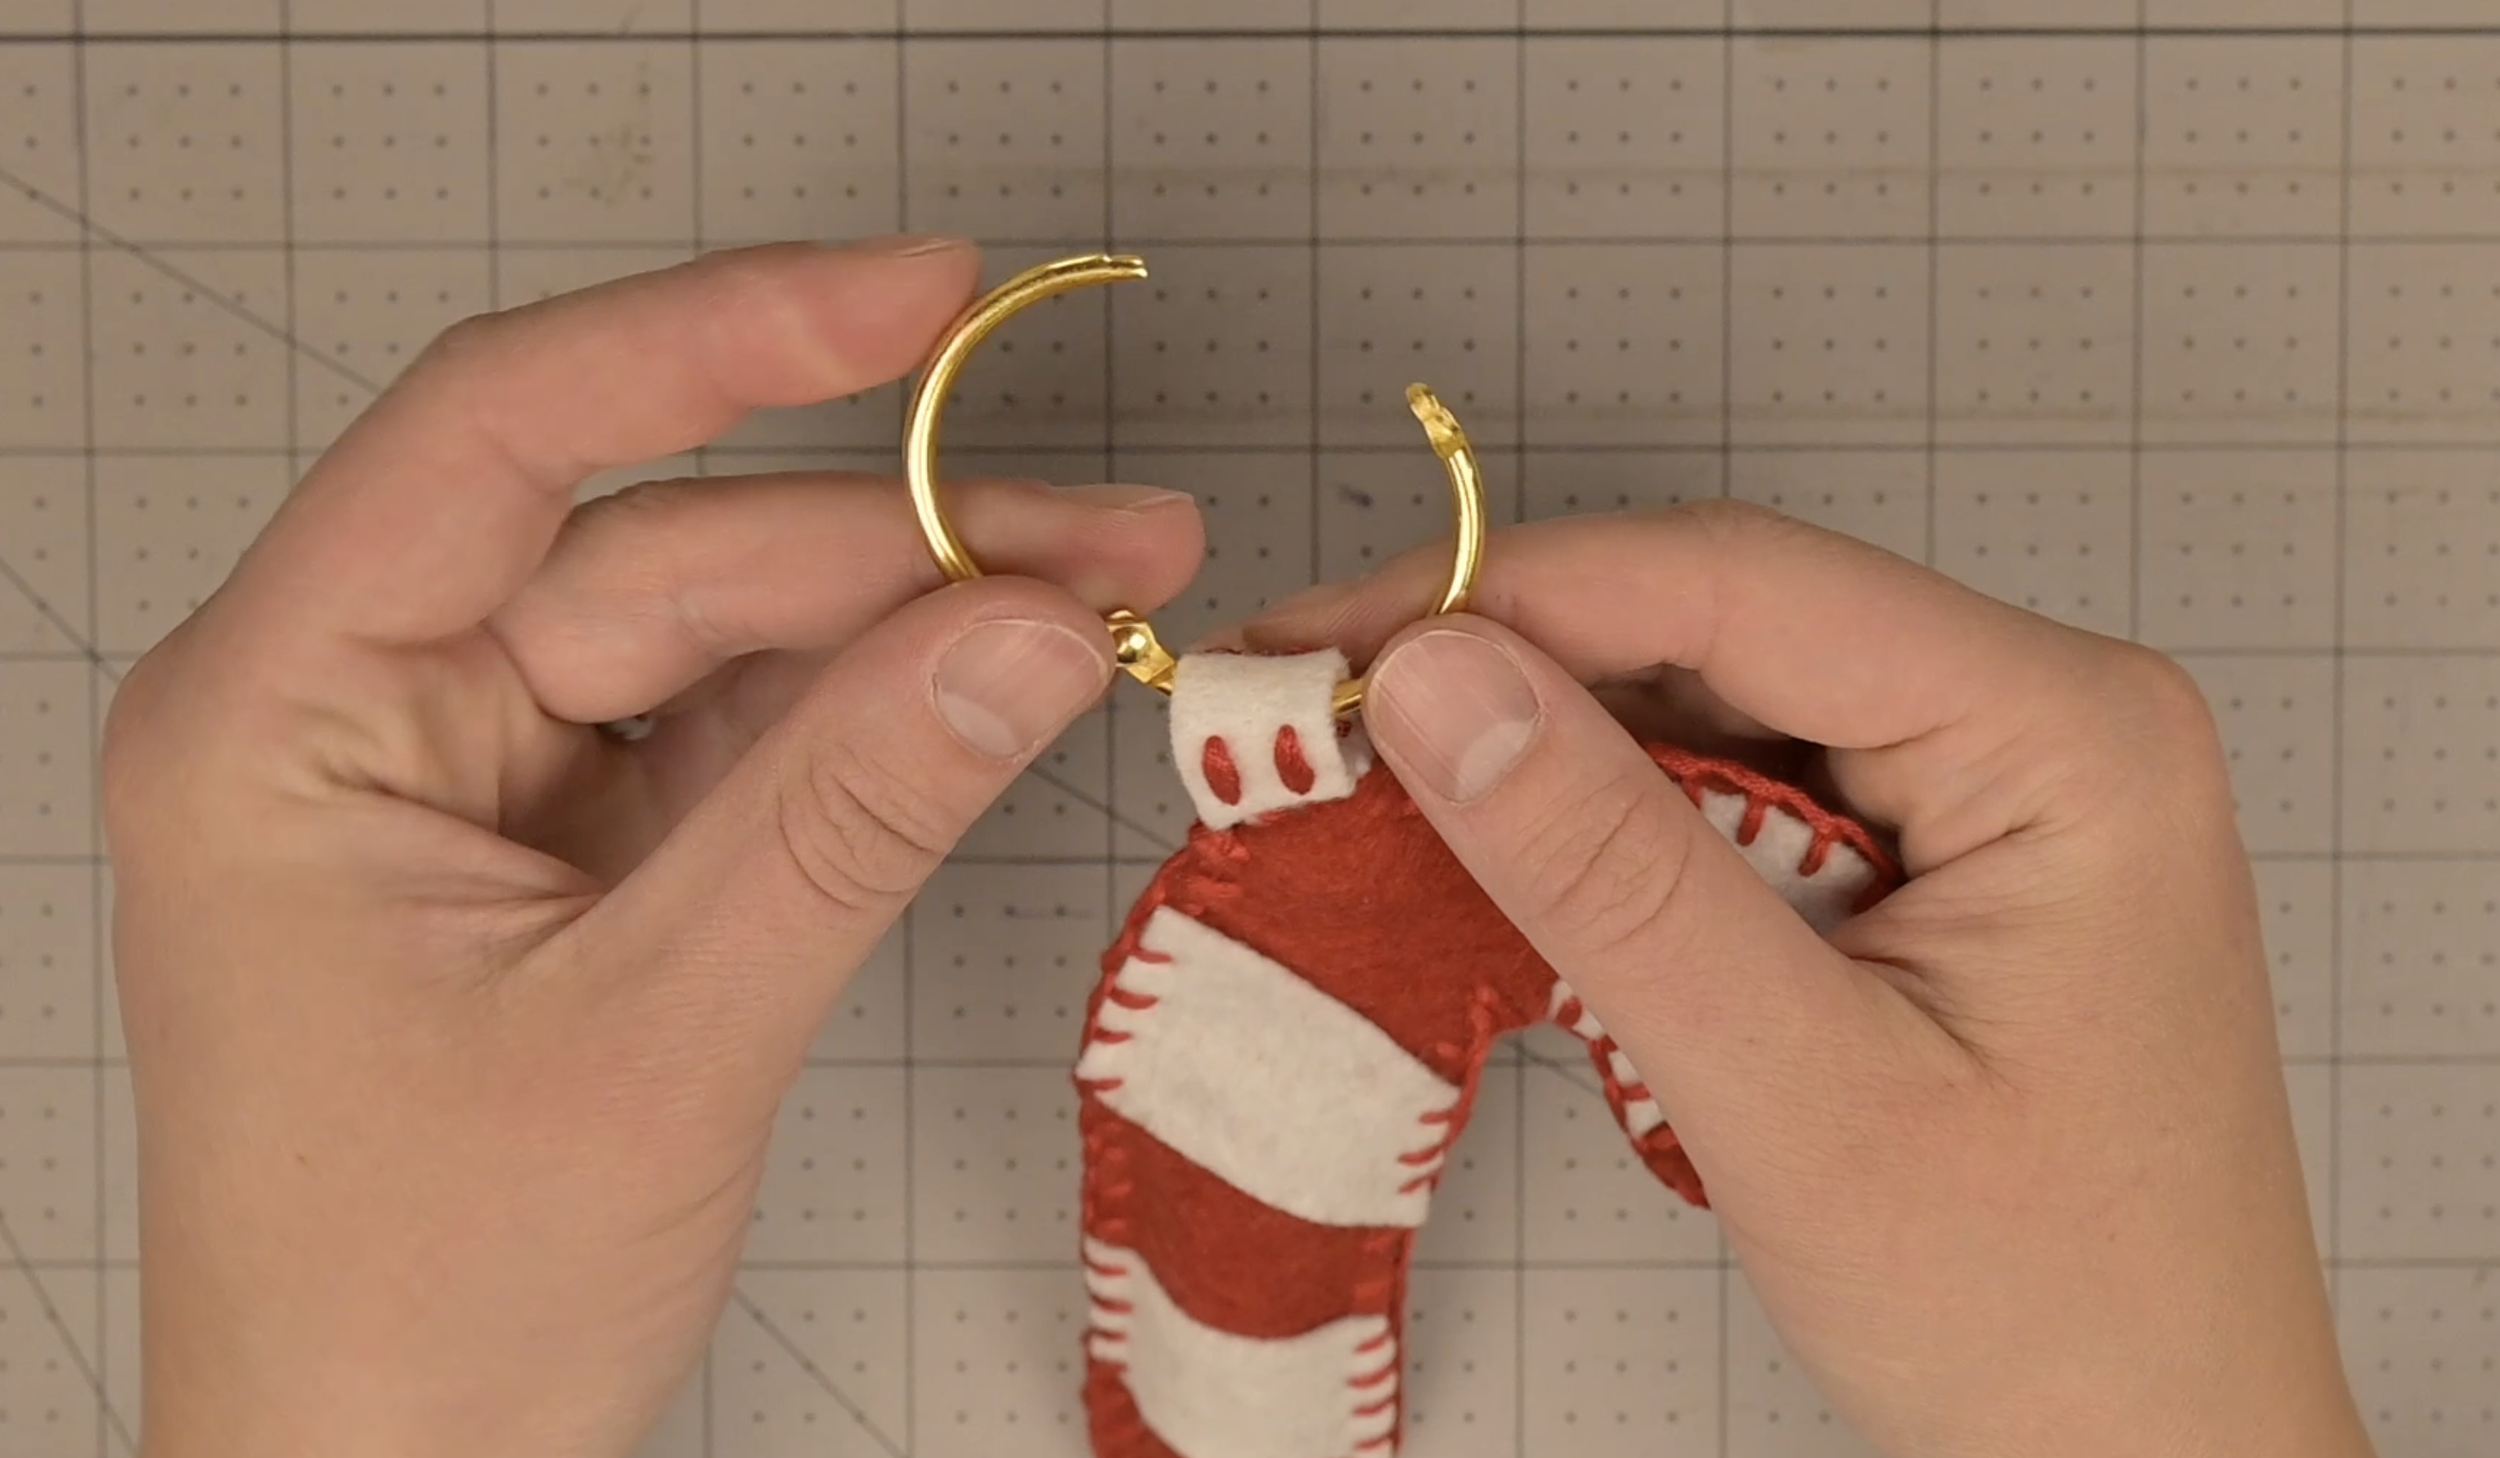
Attach the ring clip to the candy cane loop
Making the Bow
Step 10: Create the Bow Center
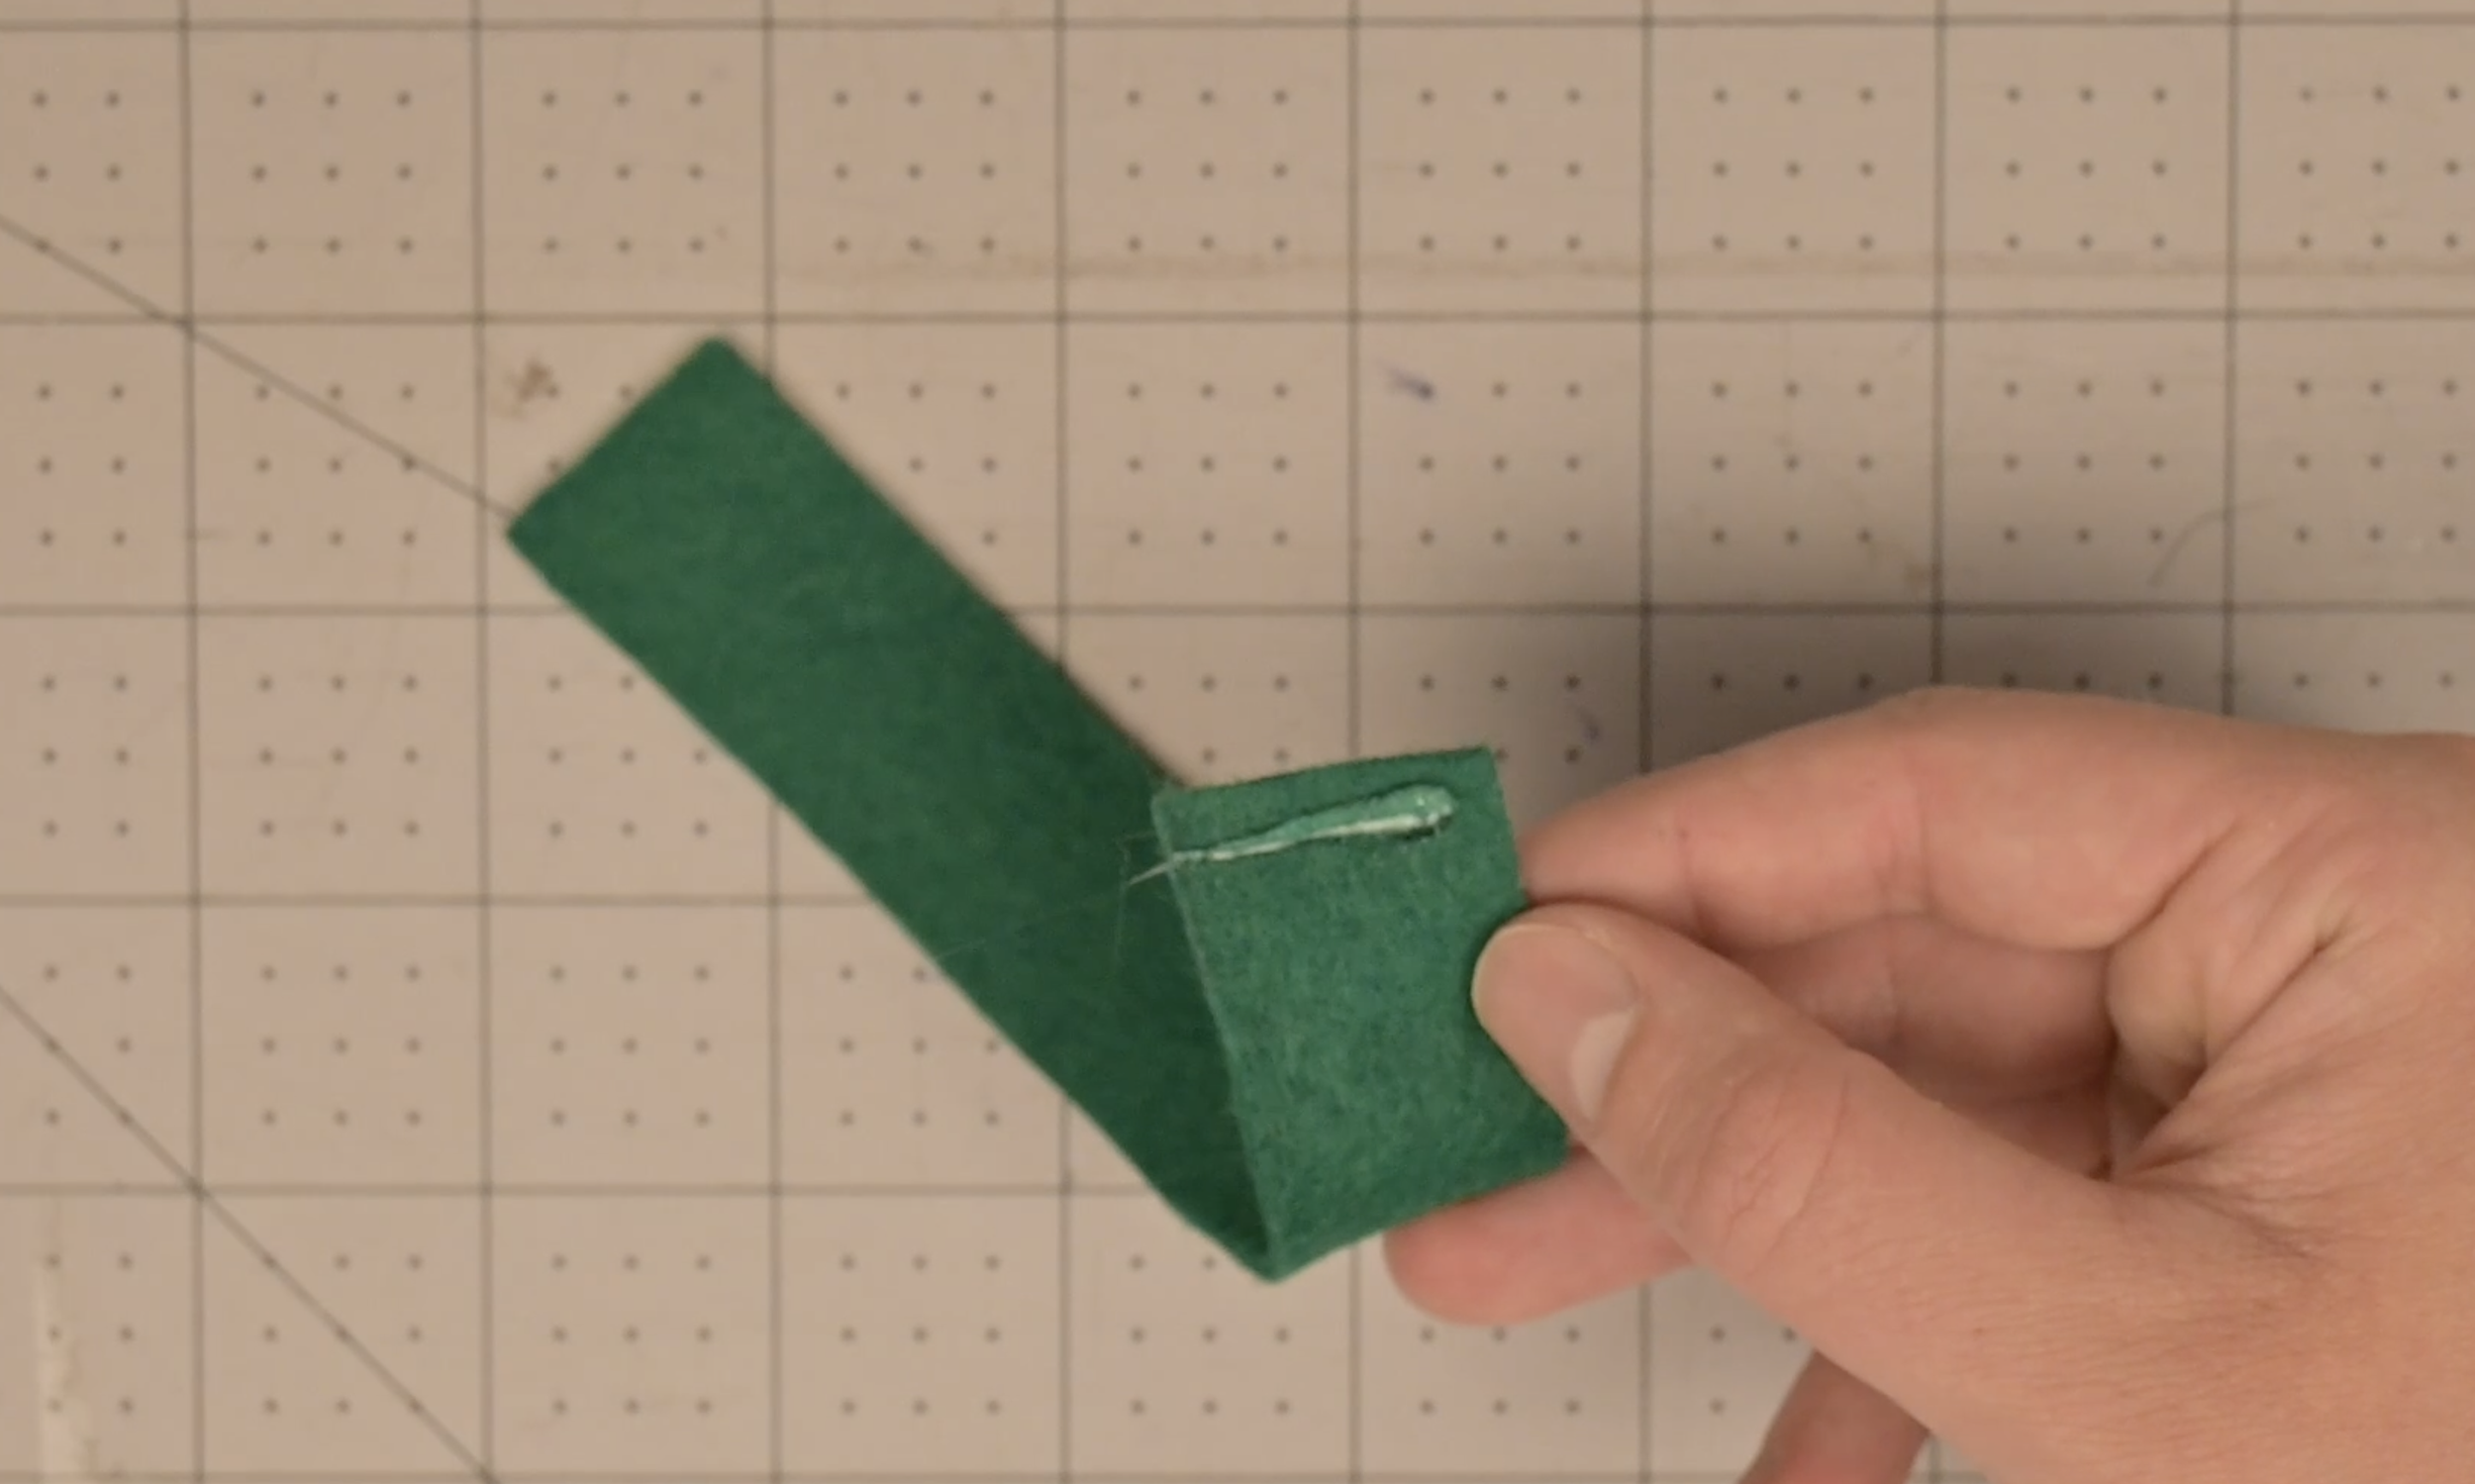
Add hot glue to one short end of the bow base
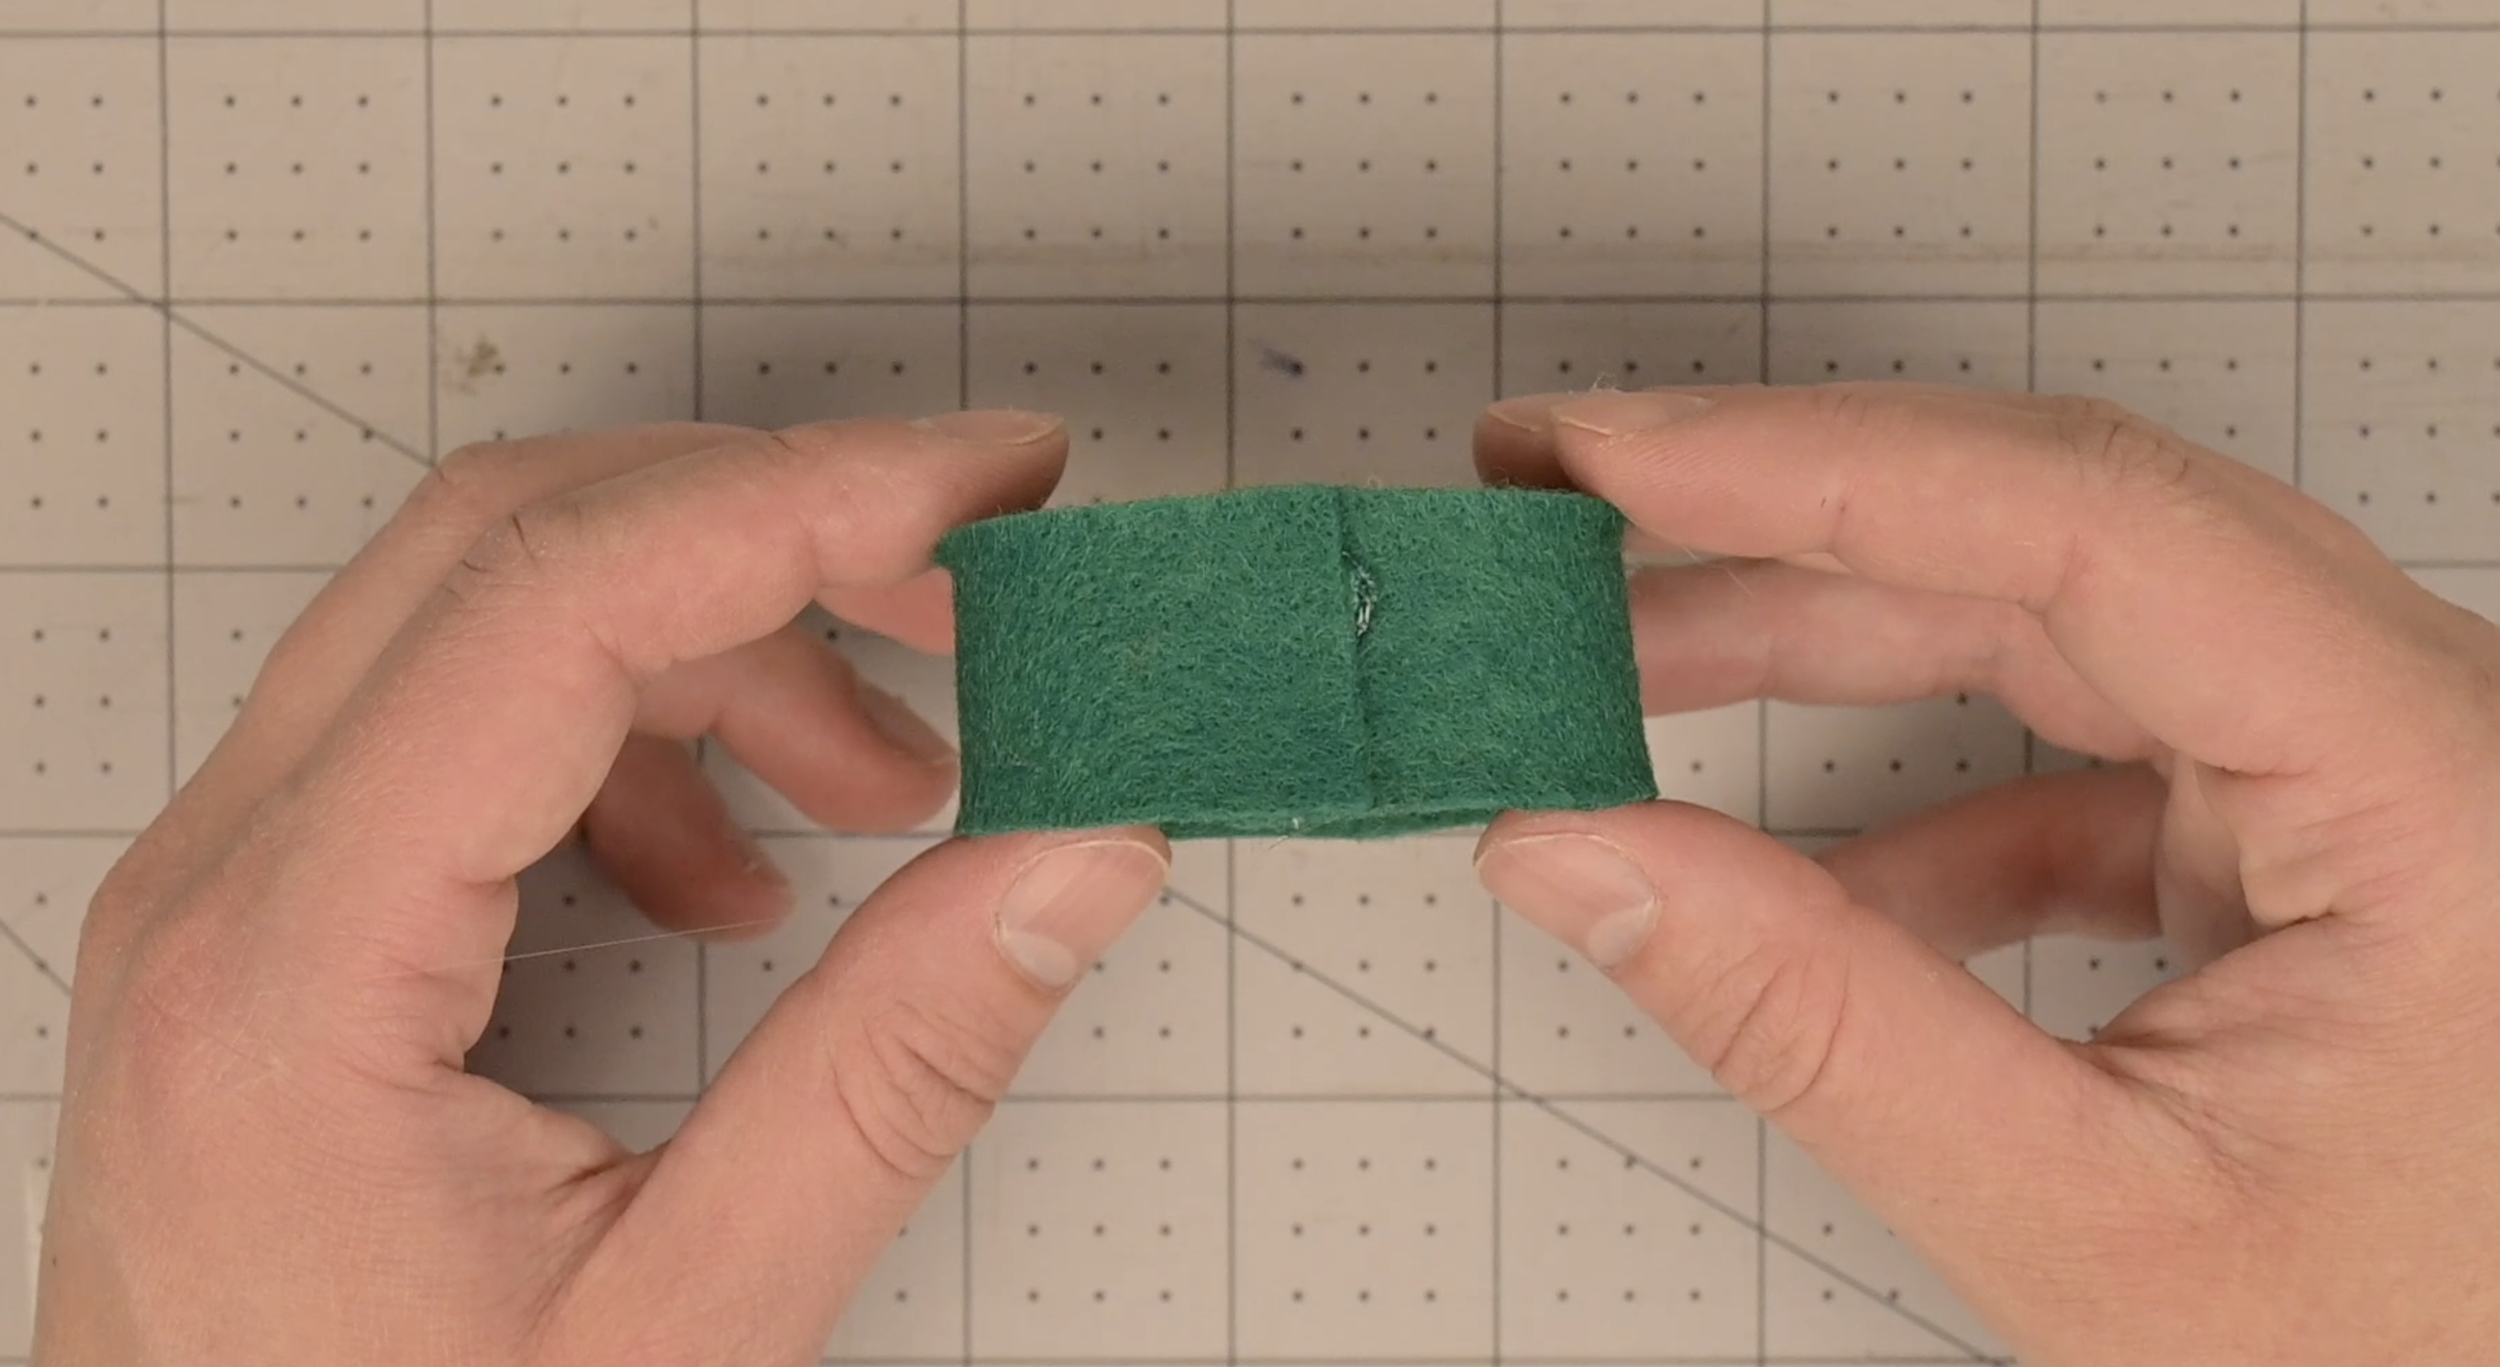
Attach the other end of the bow base to create a loop
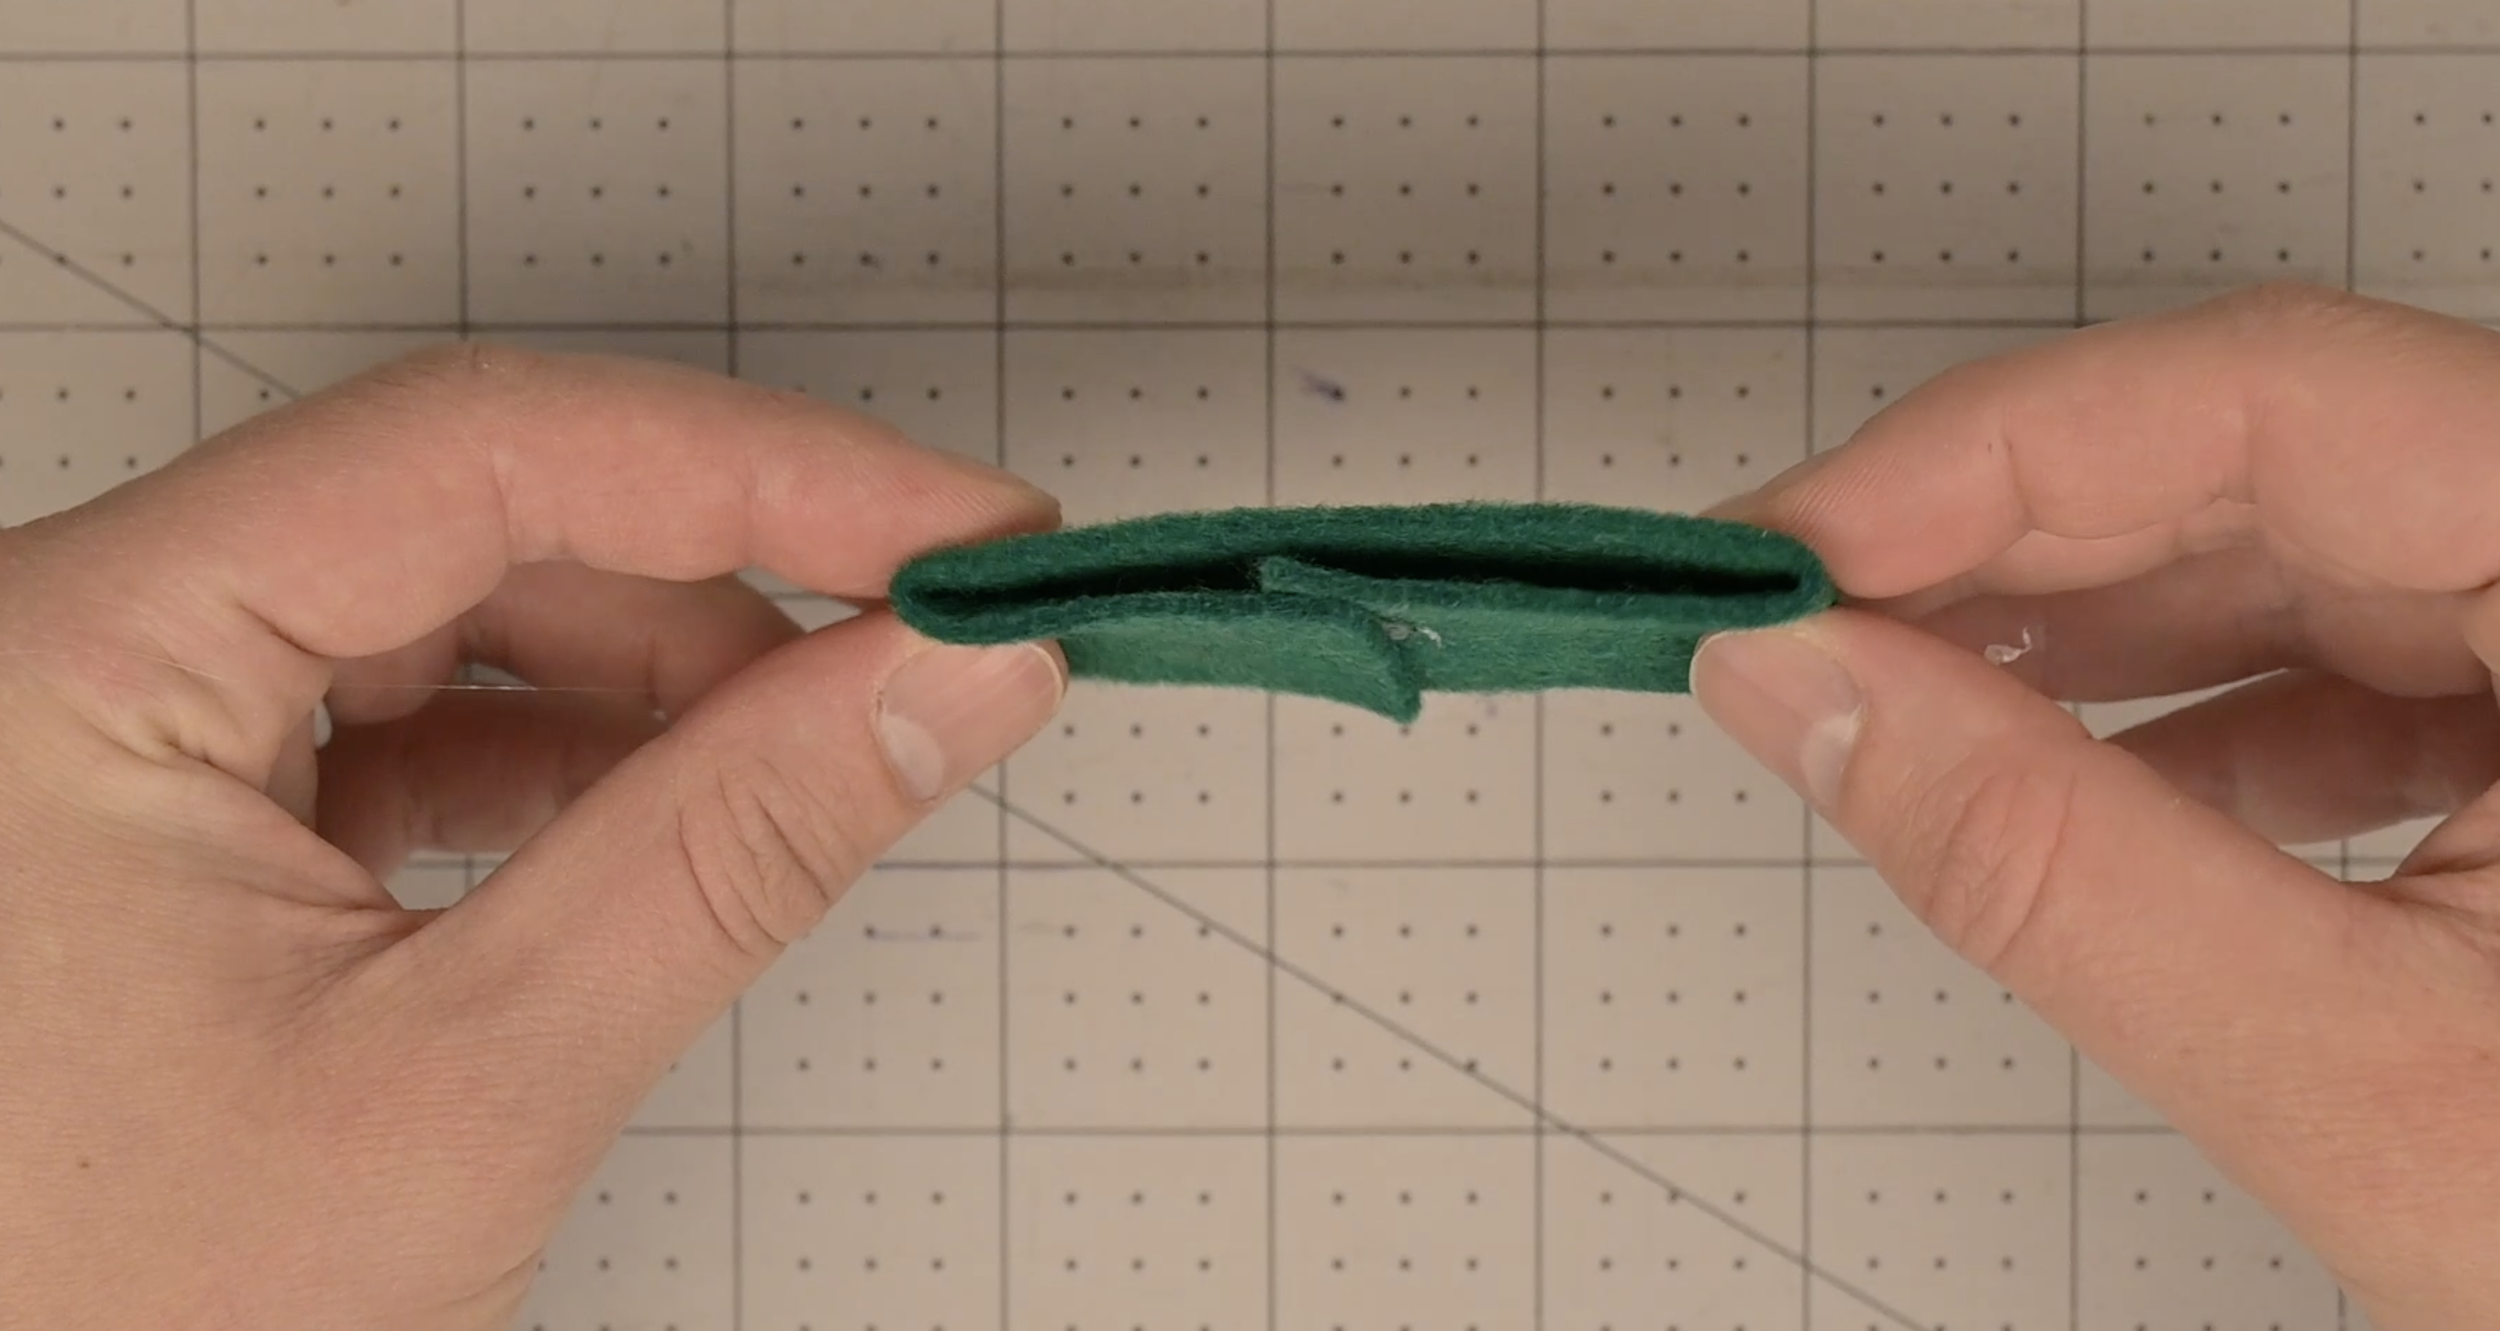
Flatten the loop so that the hot glue seam is center
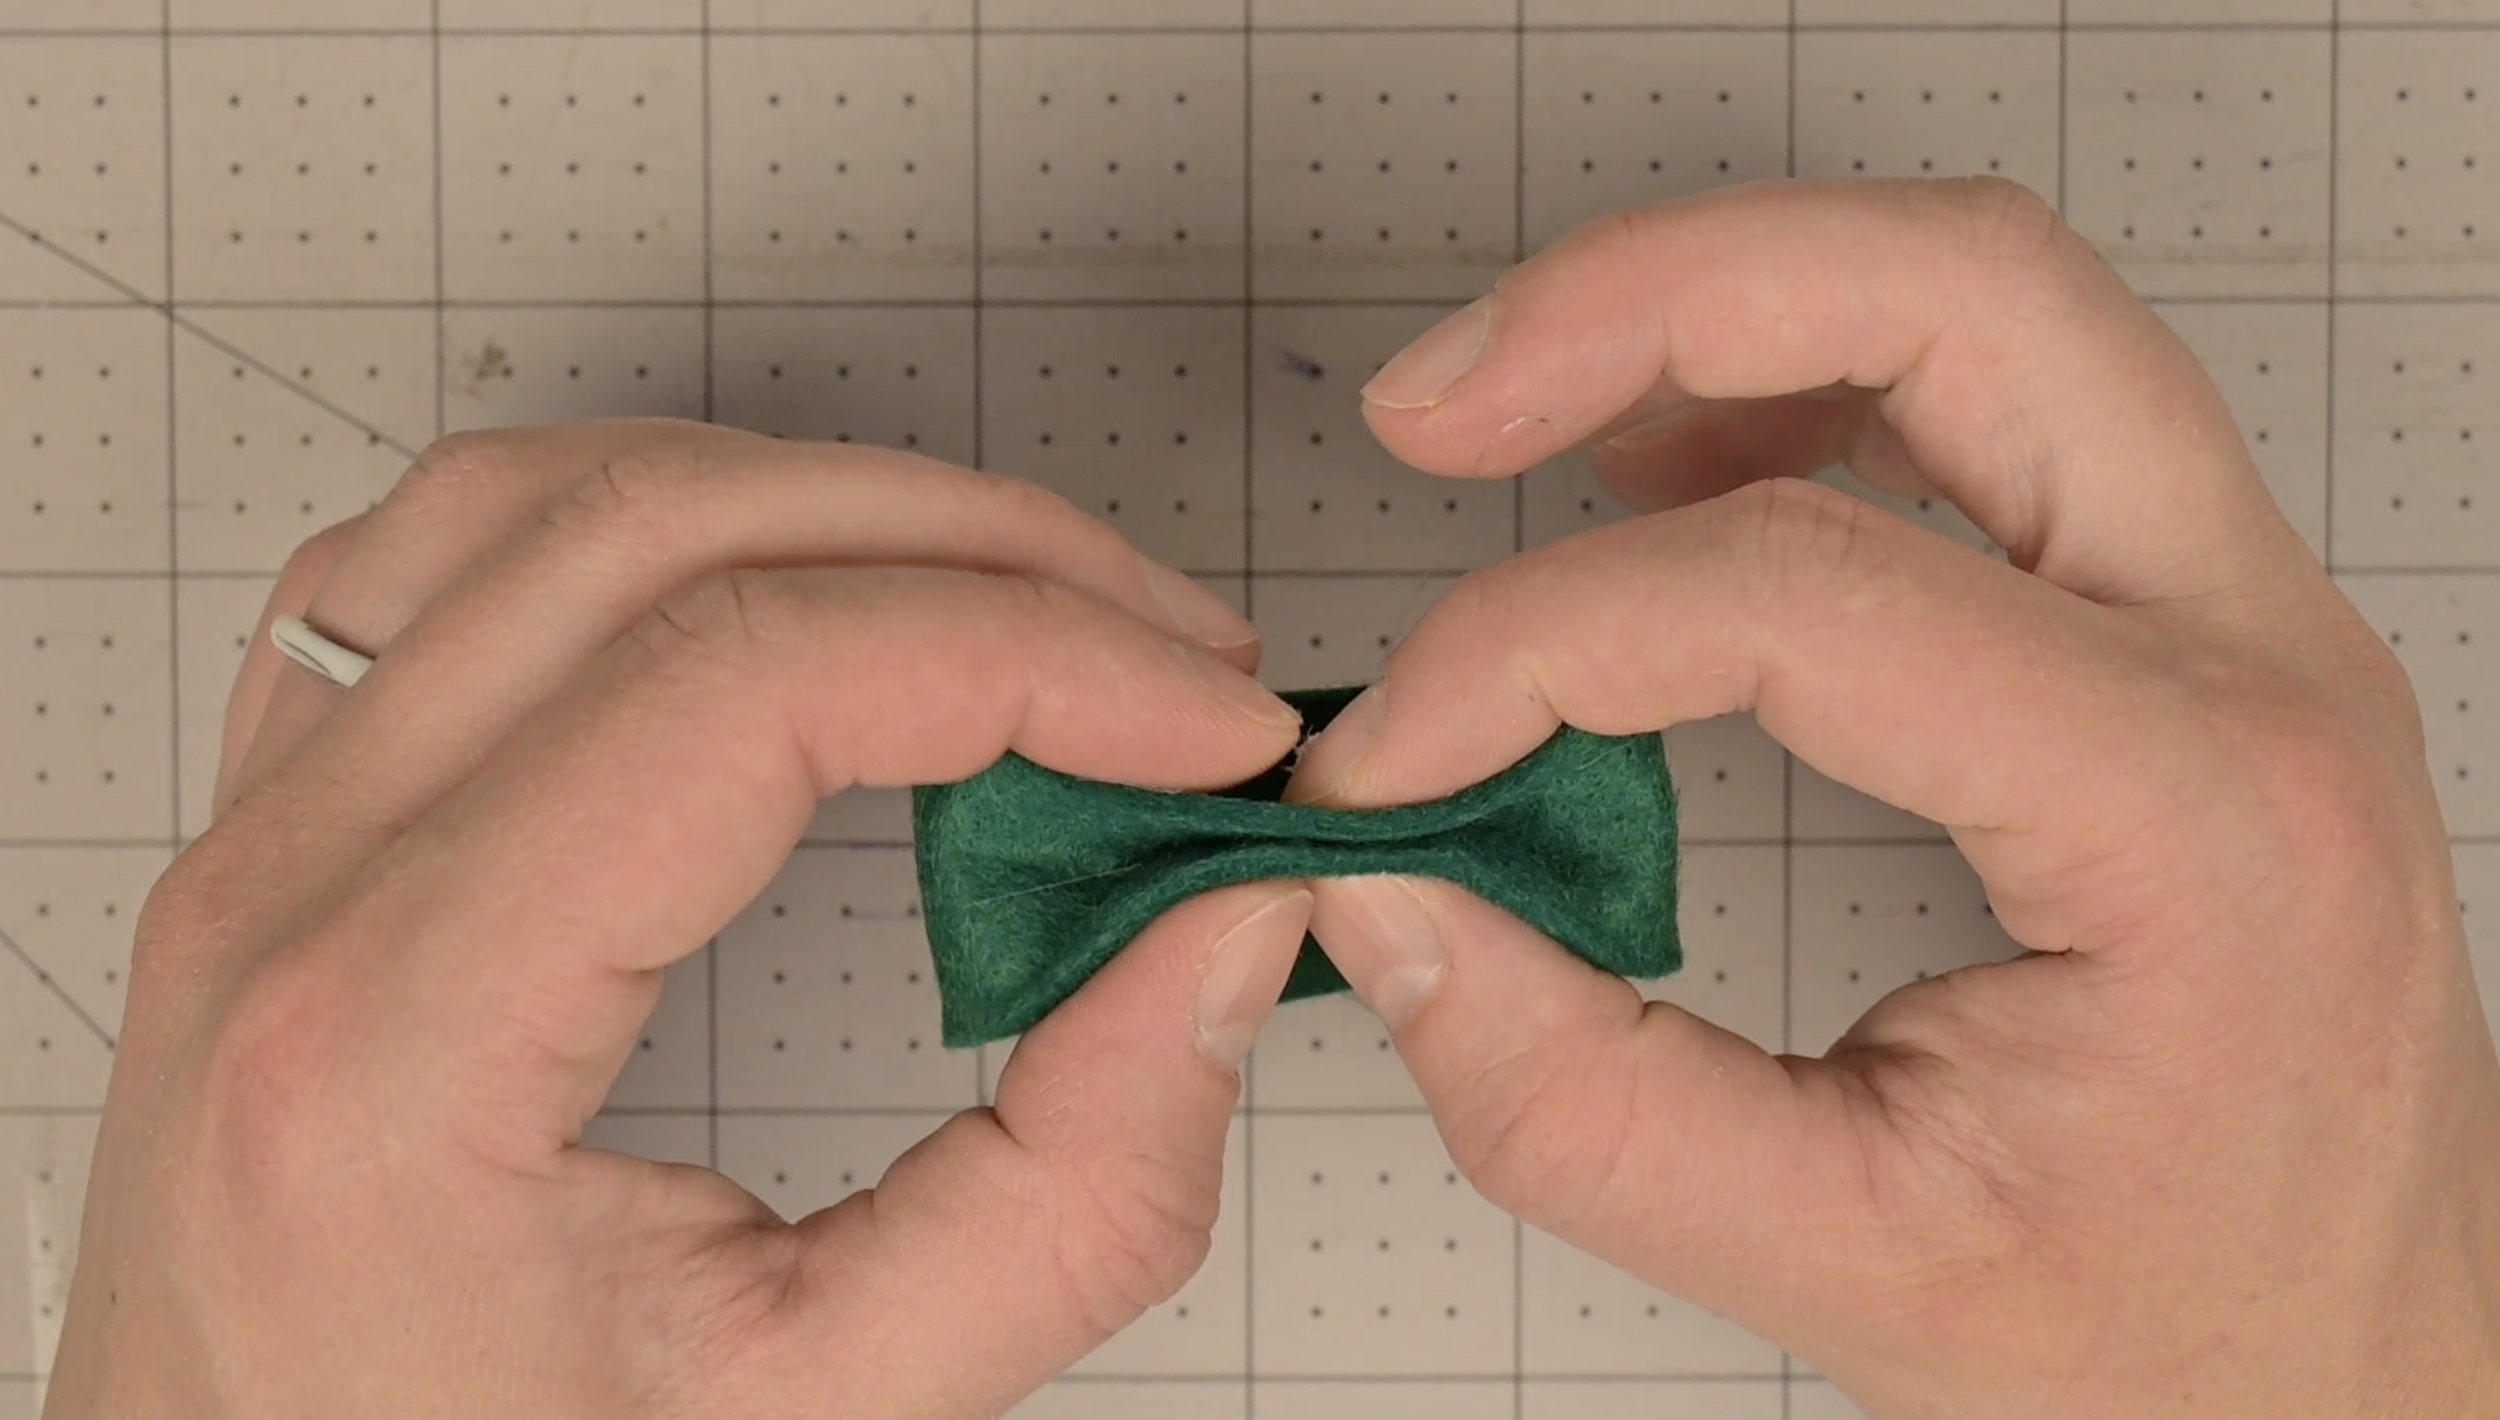
Pinch the top center layer of the loop. Add hot glue to the pinched section
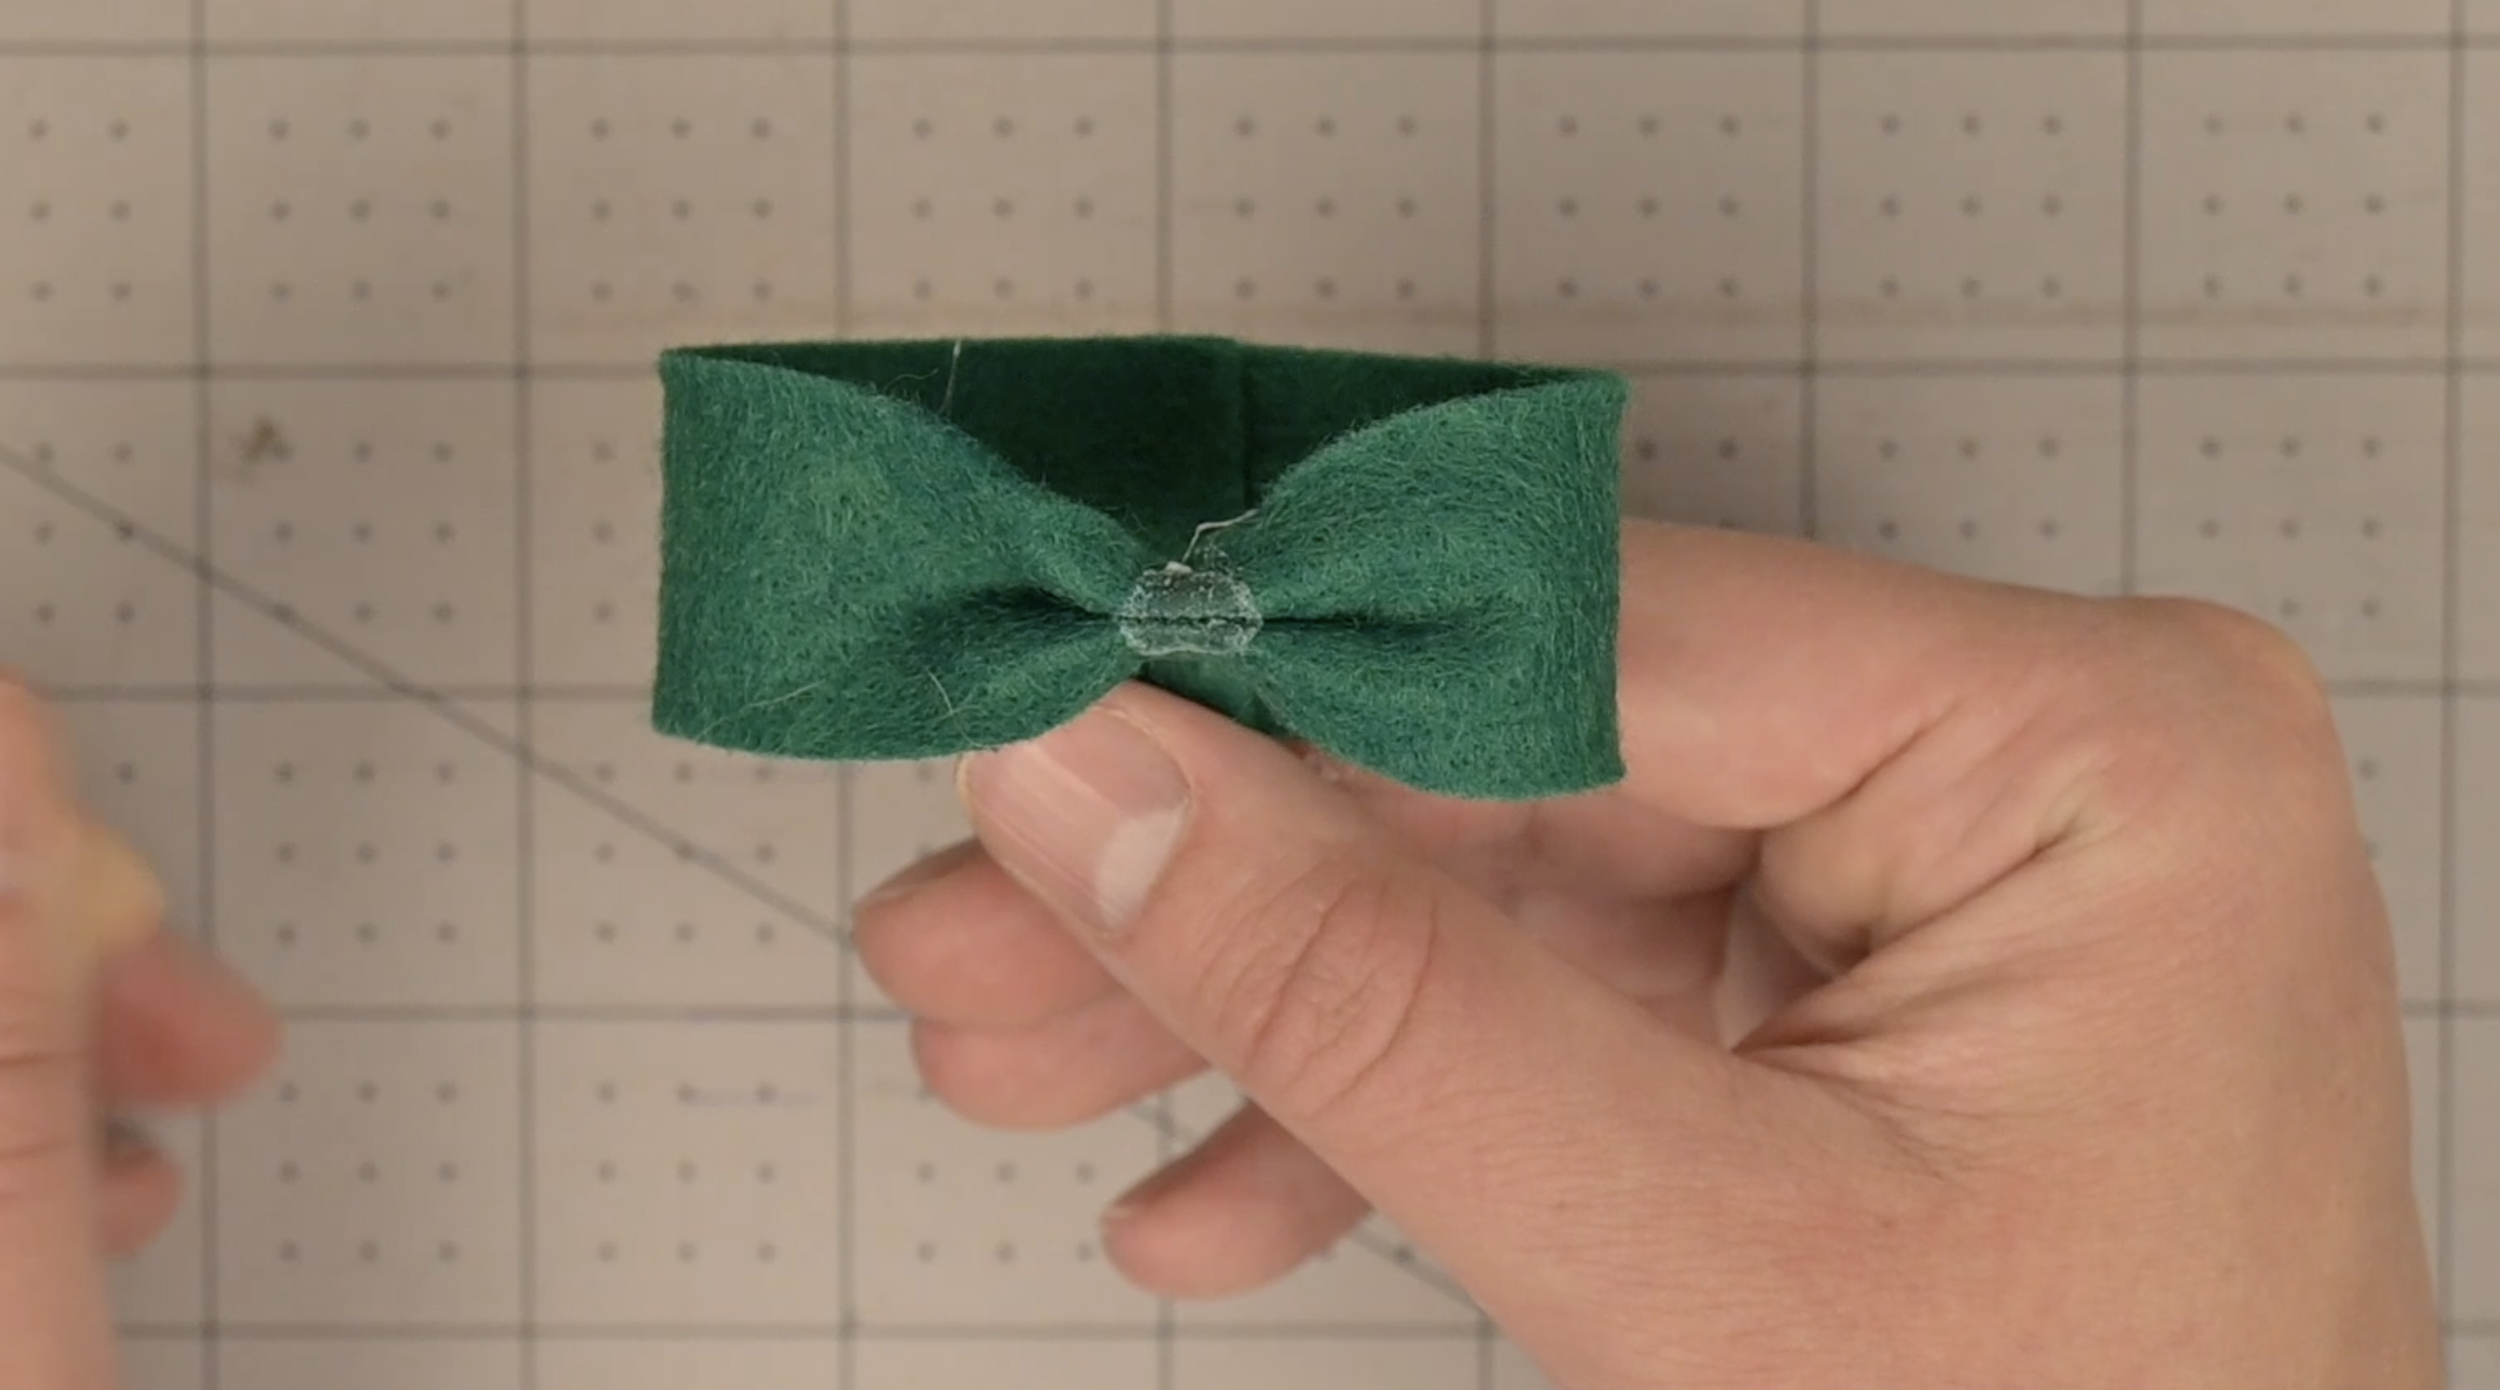
Fold the back the areas above and below where the hot glue was added
Hot glue in place
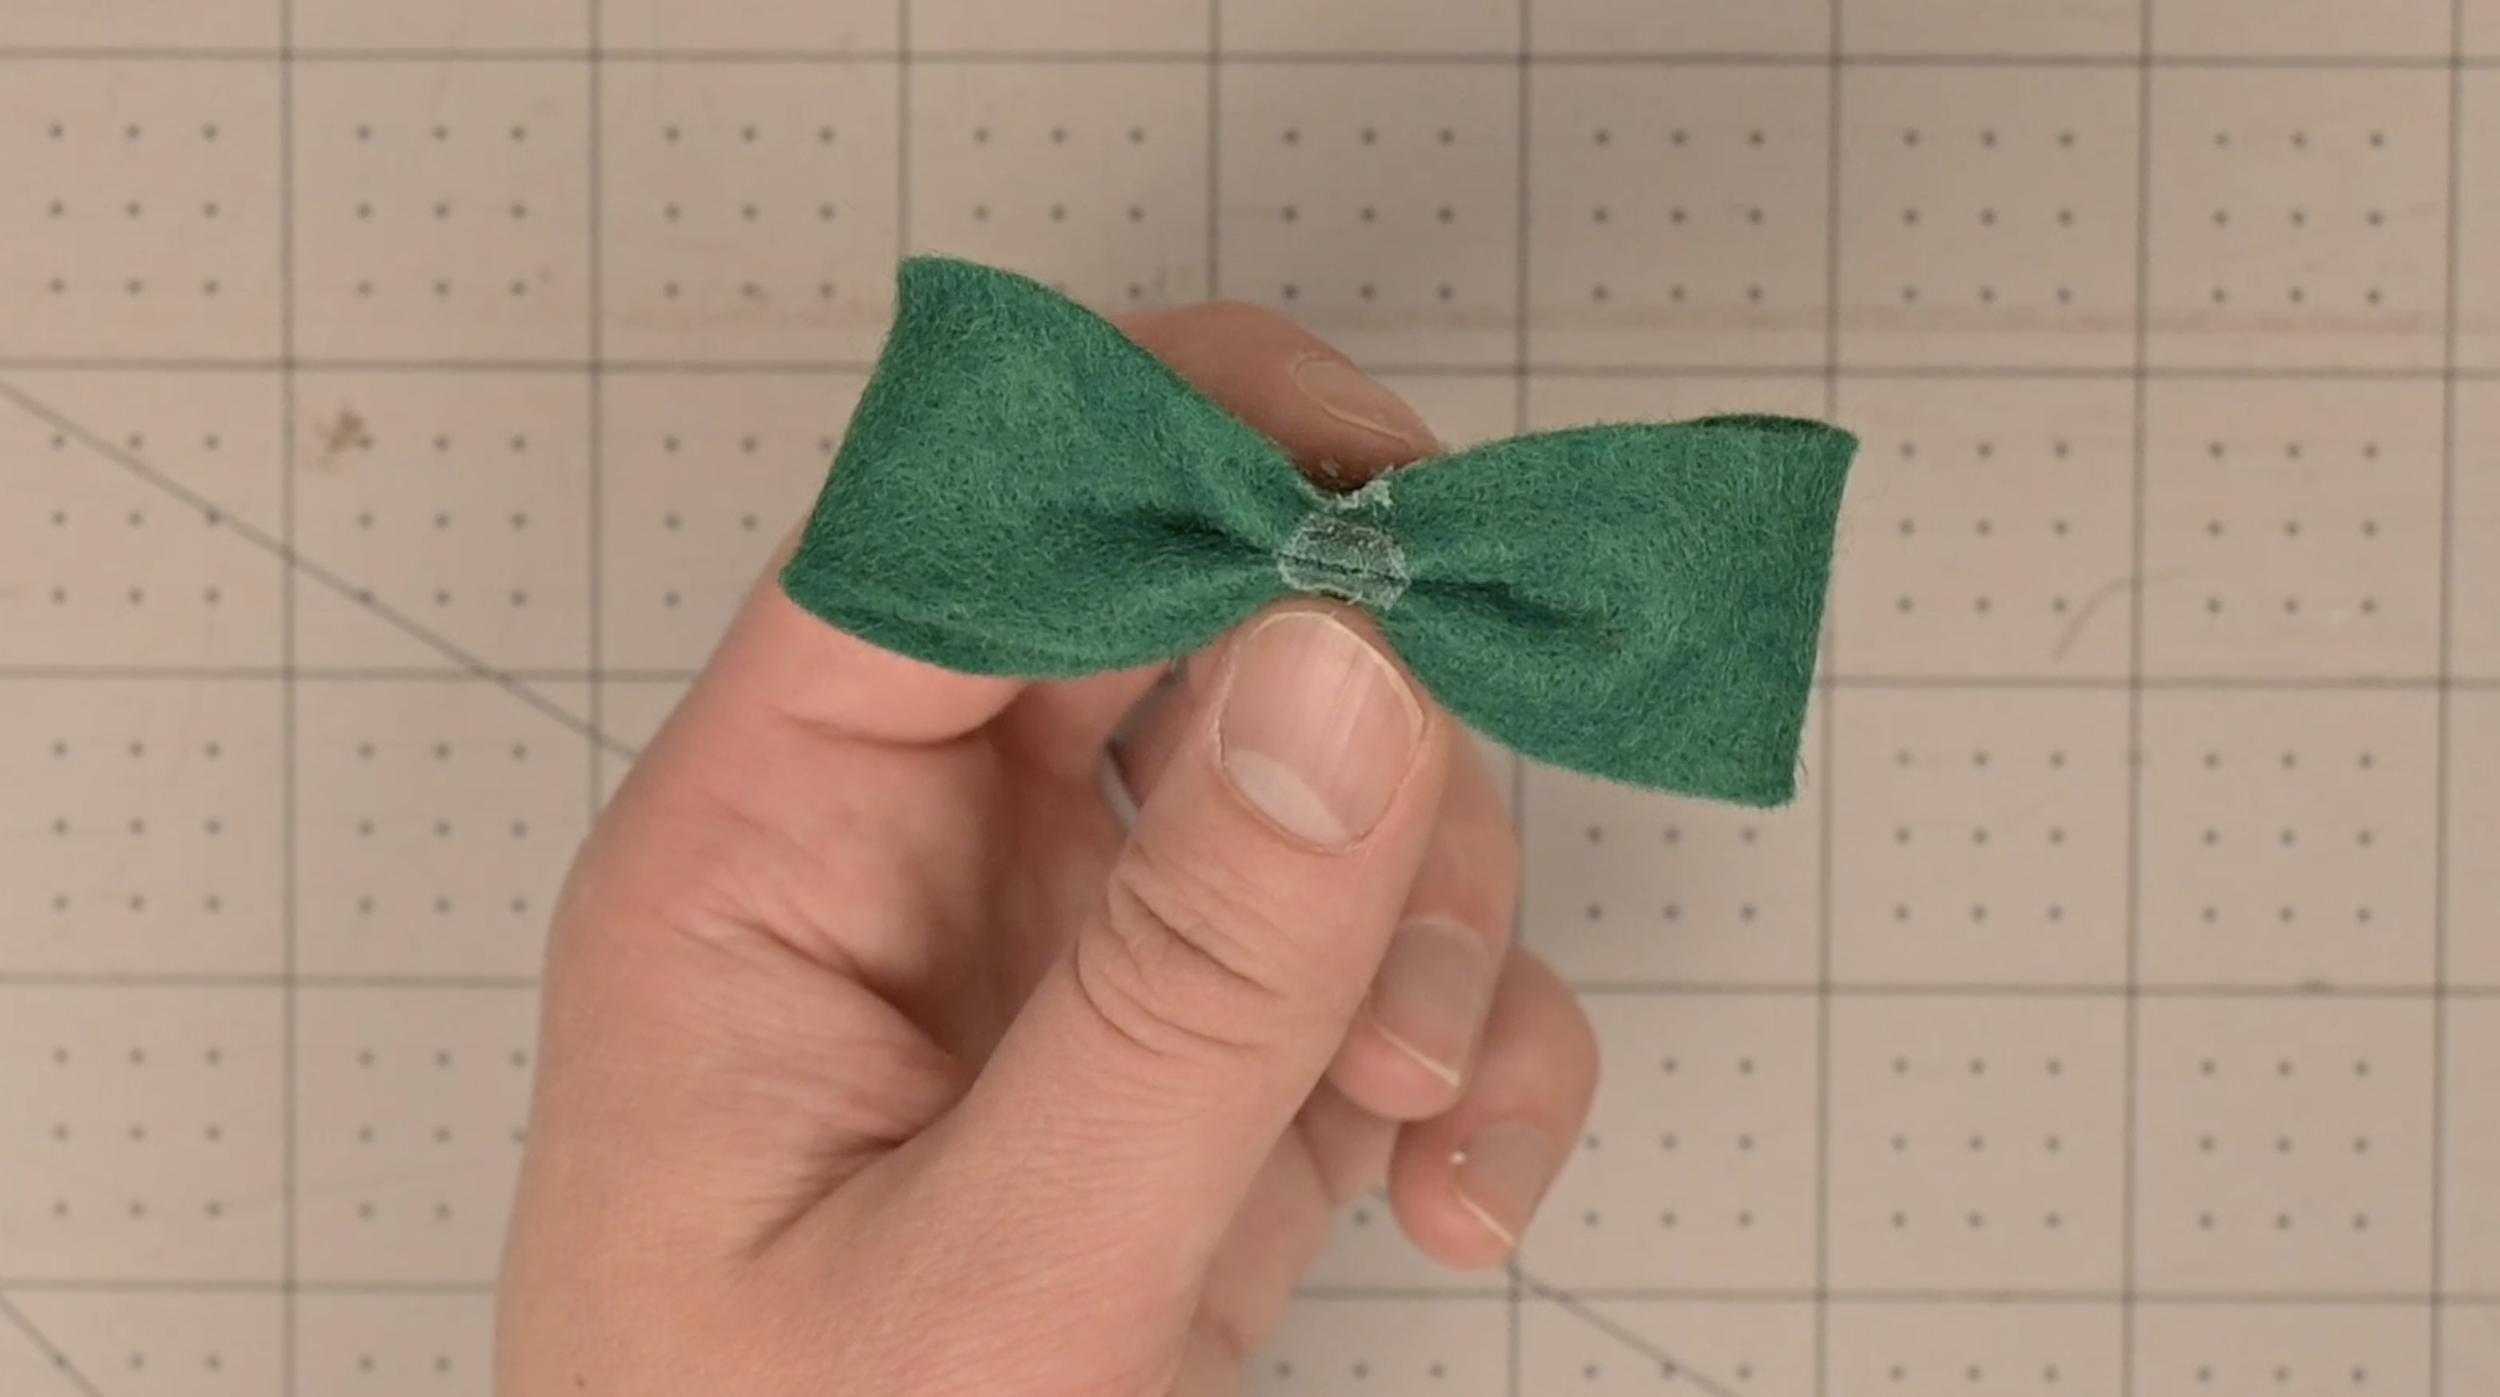
Repeat on the other side of the loop
Step 11: Adding the Bow Ribbon
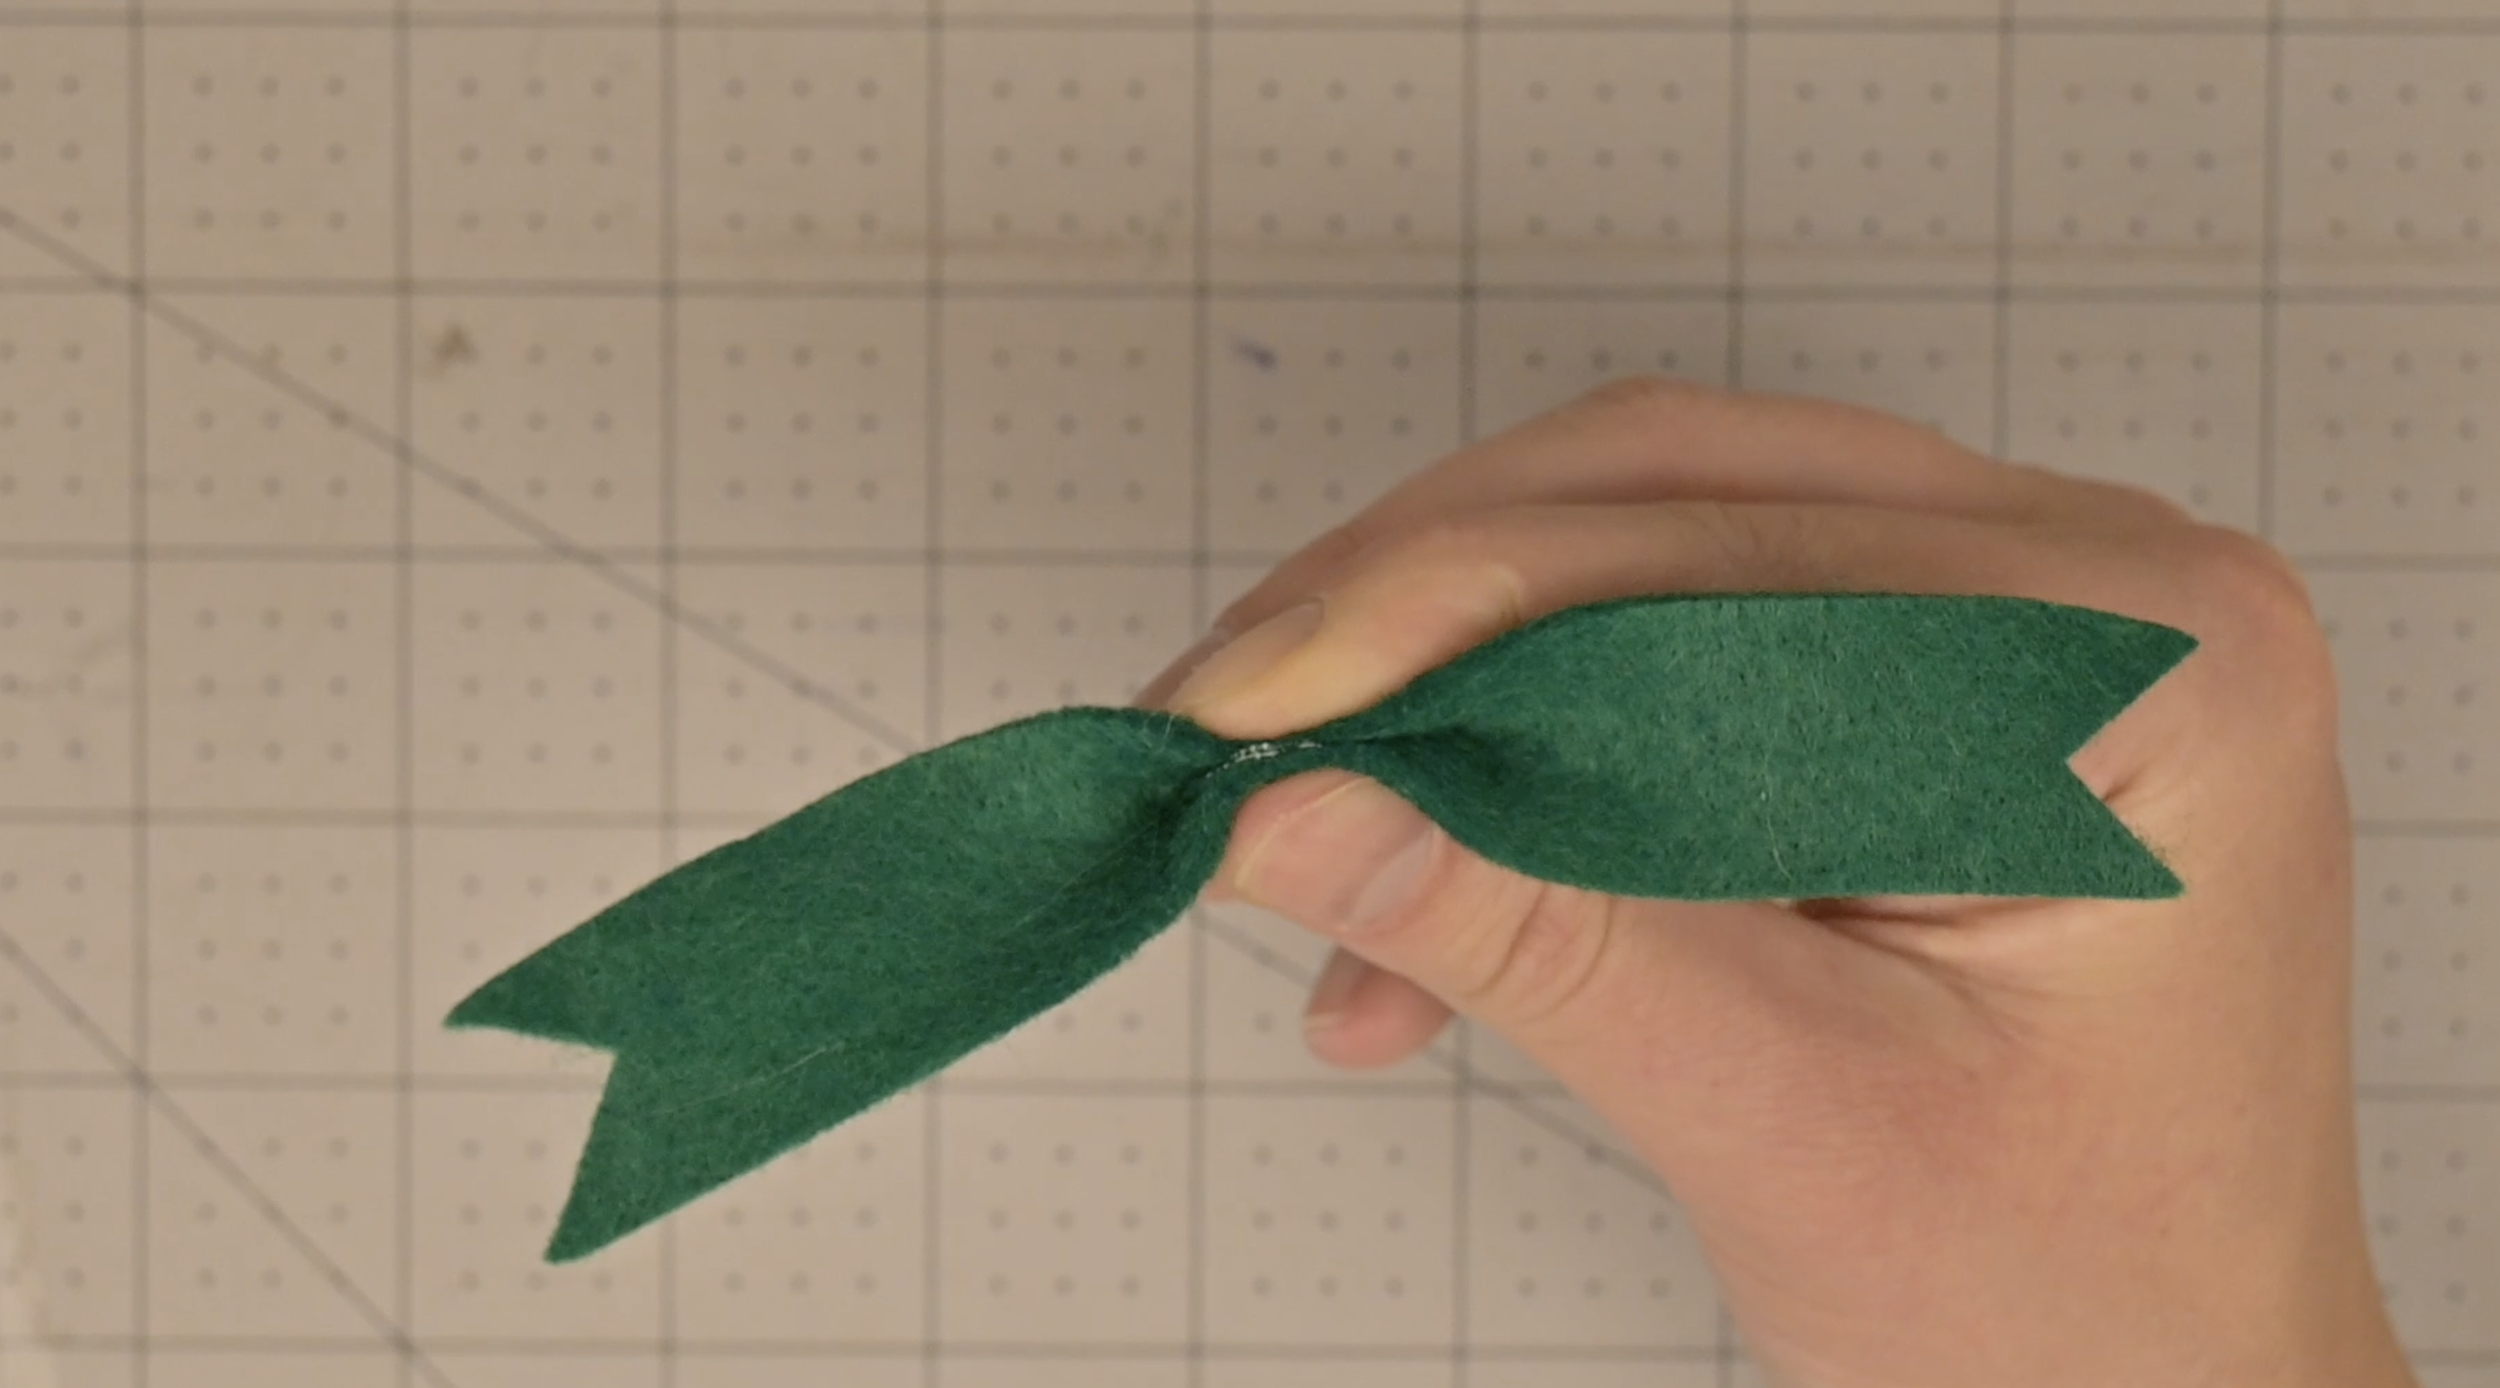
Pinch the center of the bow ribbon
Add hot glue to the pinched section
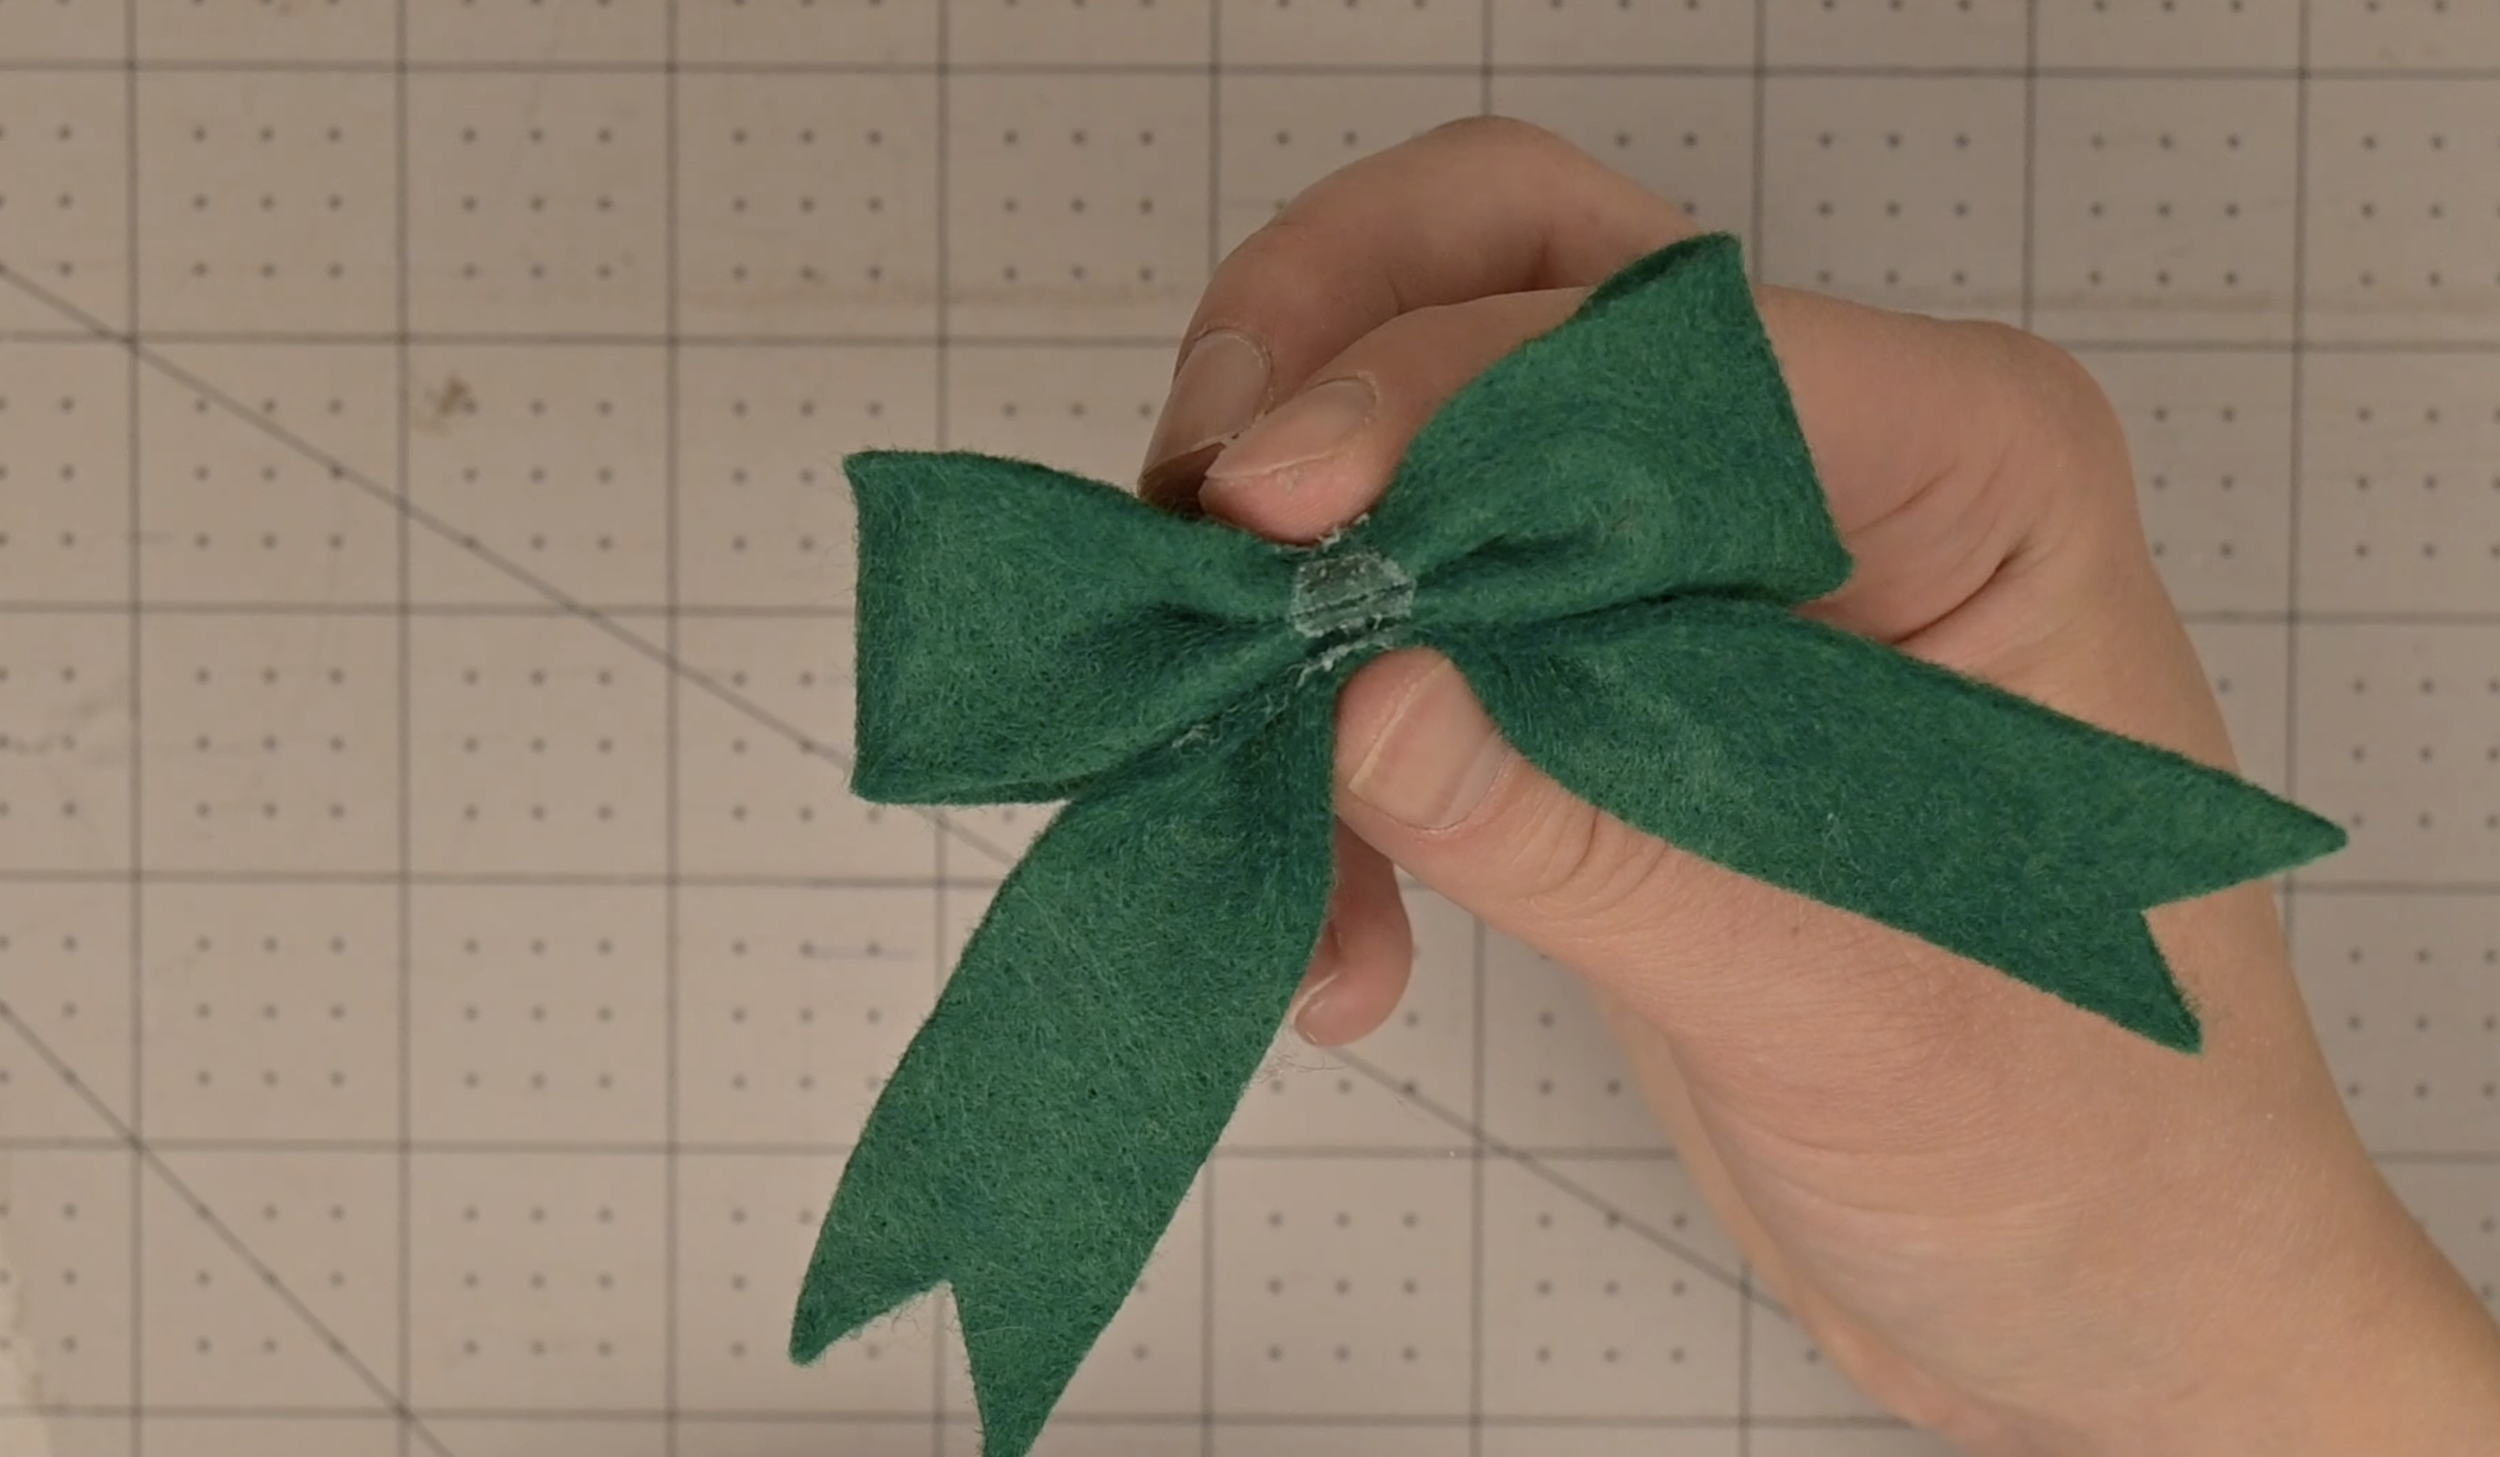
Hot glue the center of the bow ribbon to the bottom center of the bow base
Step 12: Adding the Bow Center
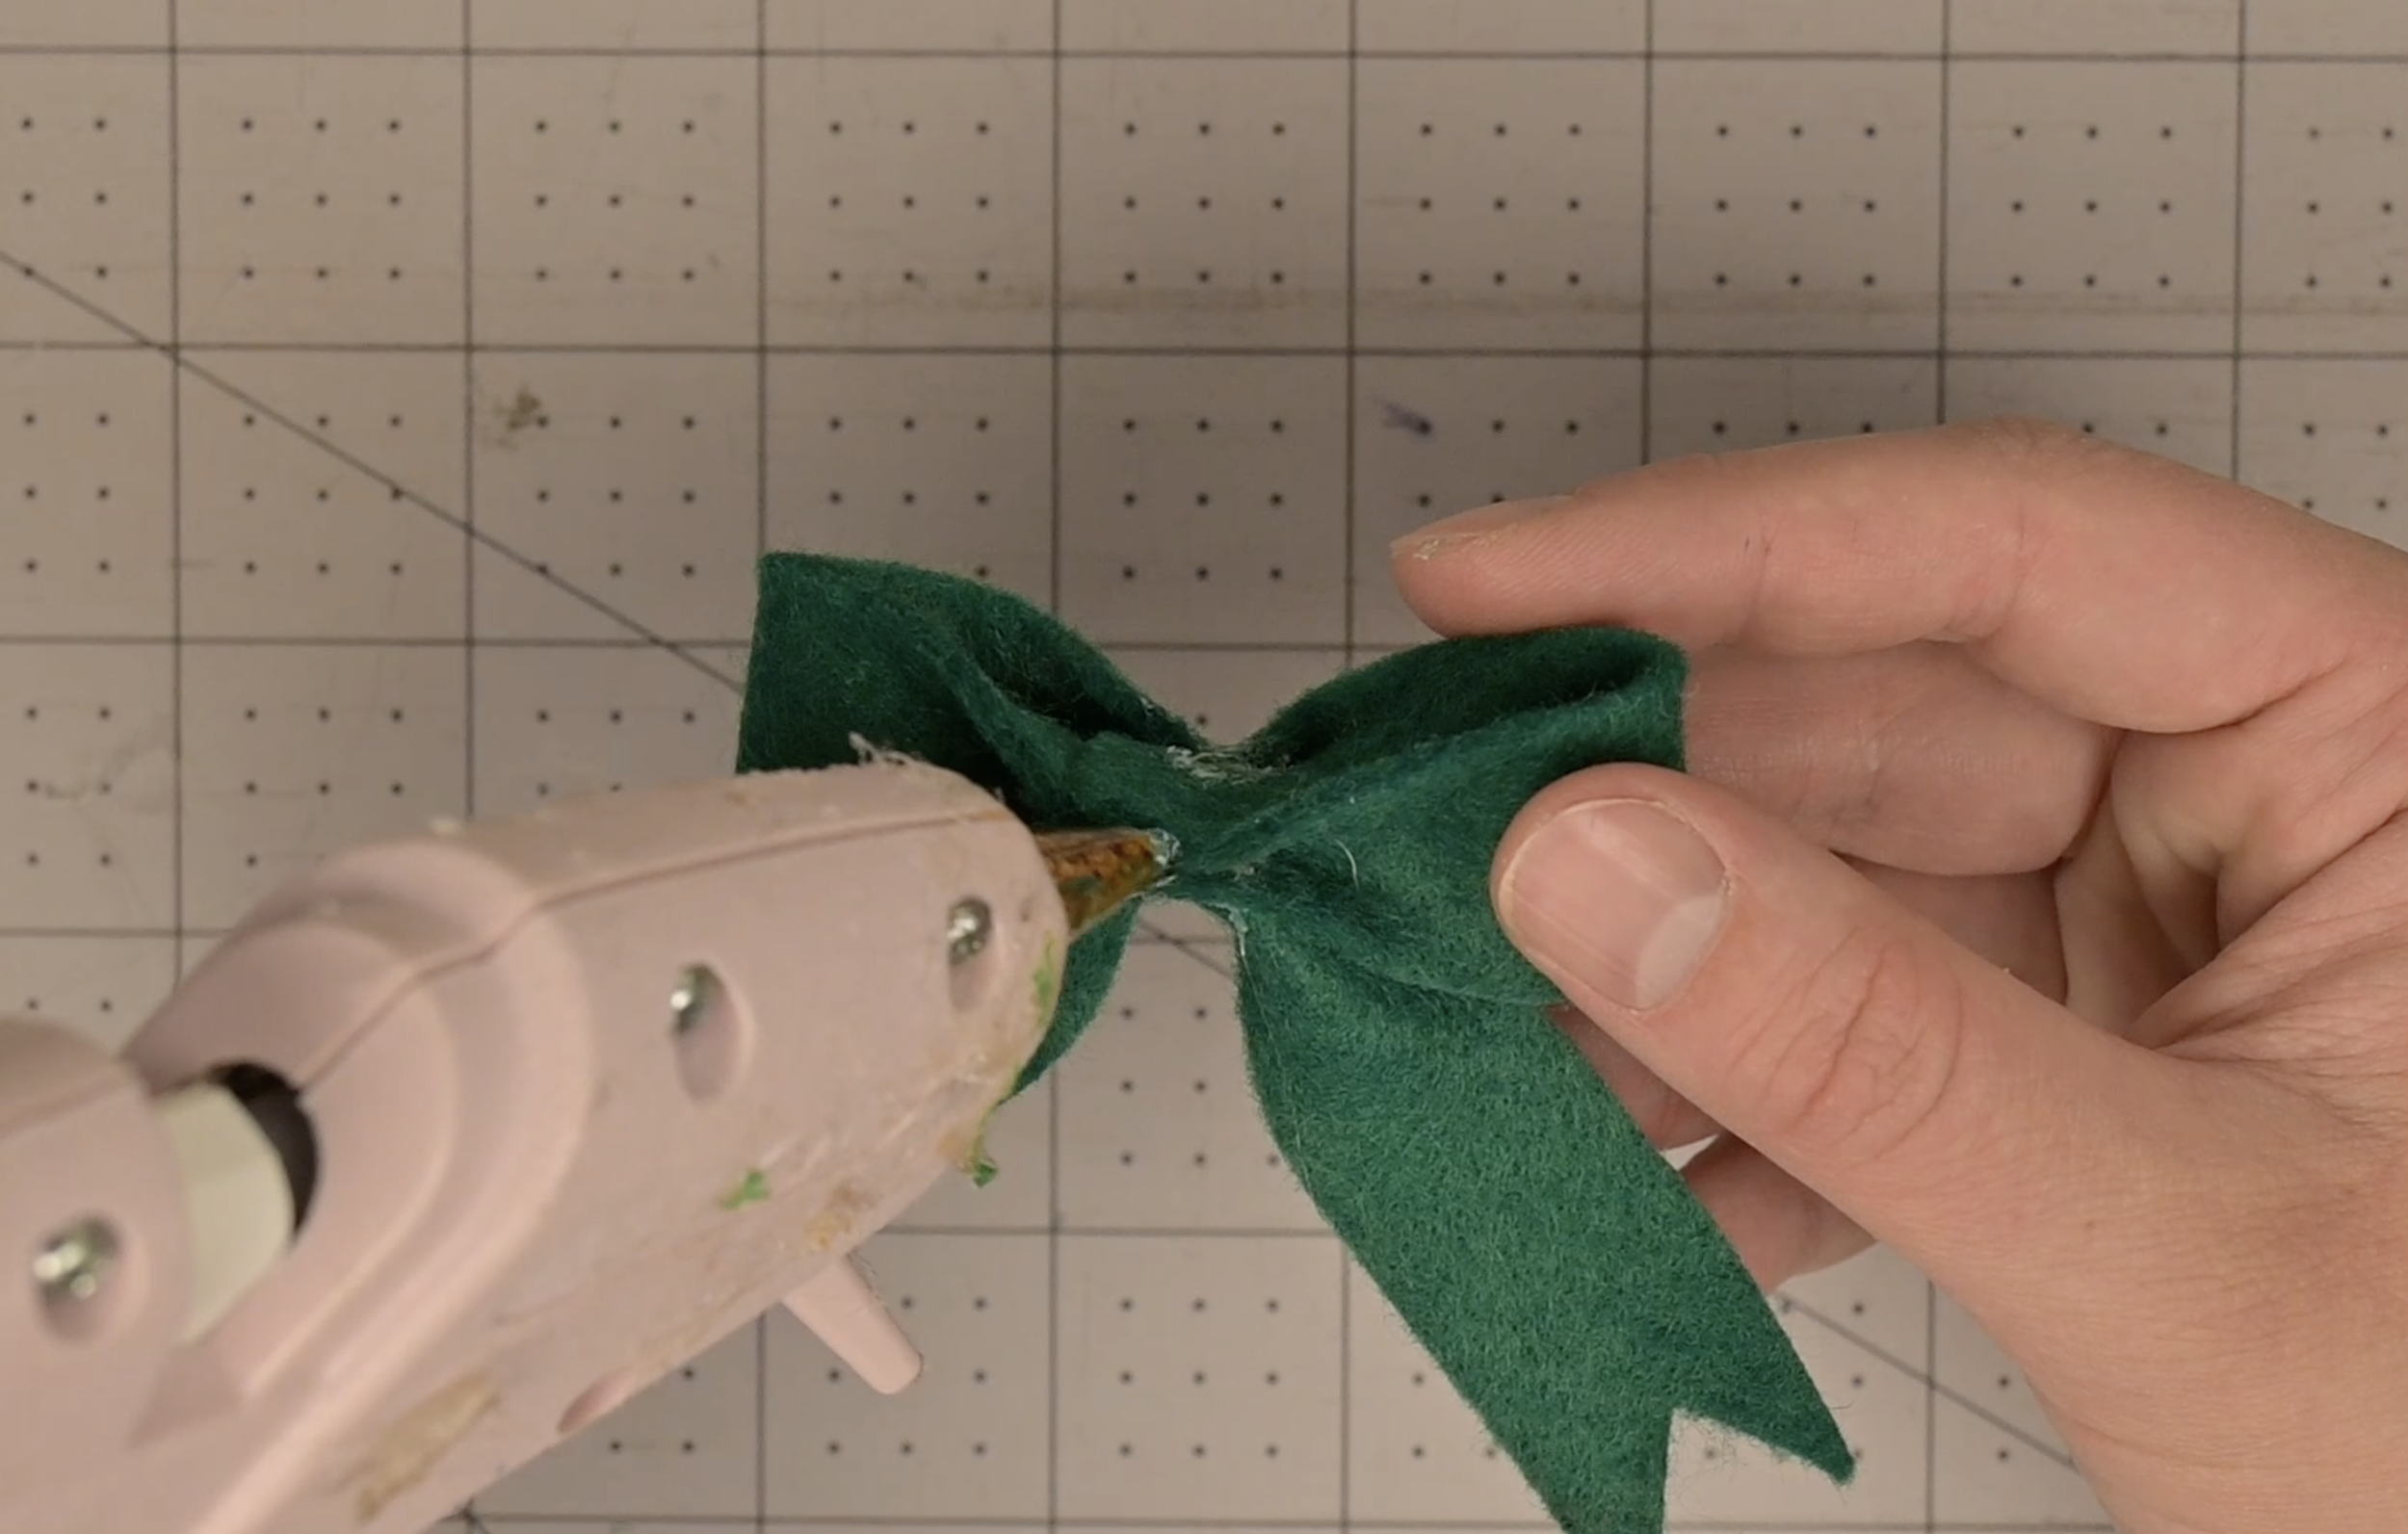
Add hot glue to the back of the bow base
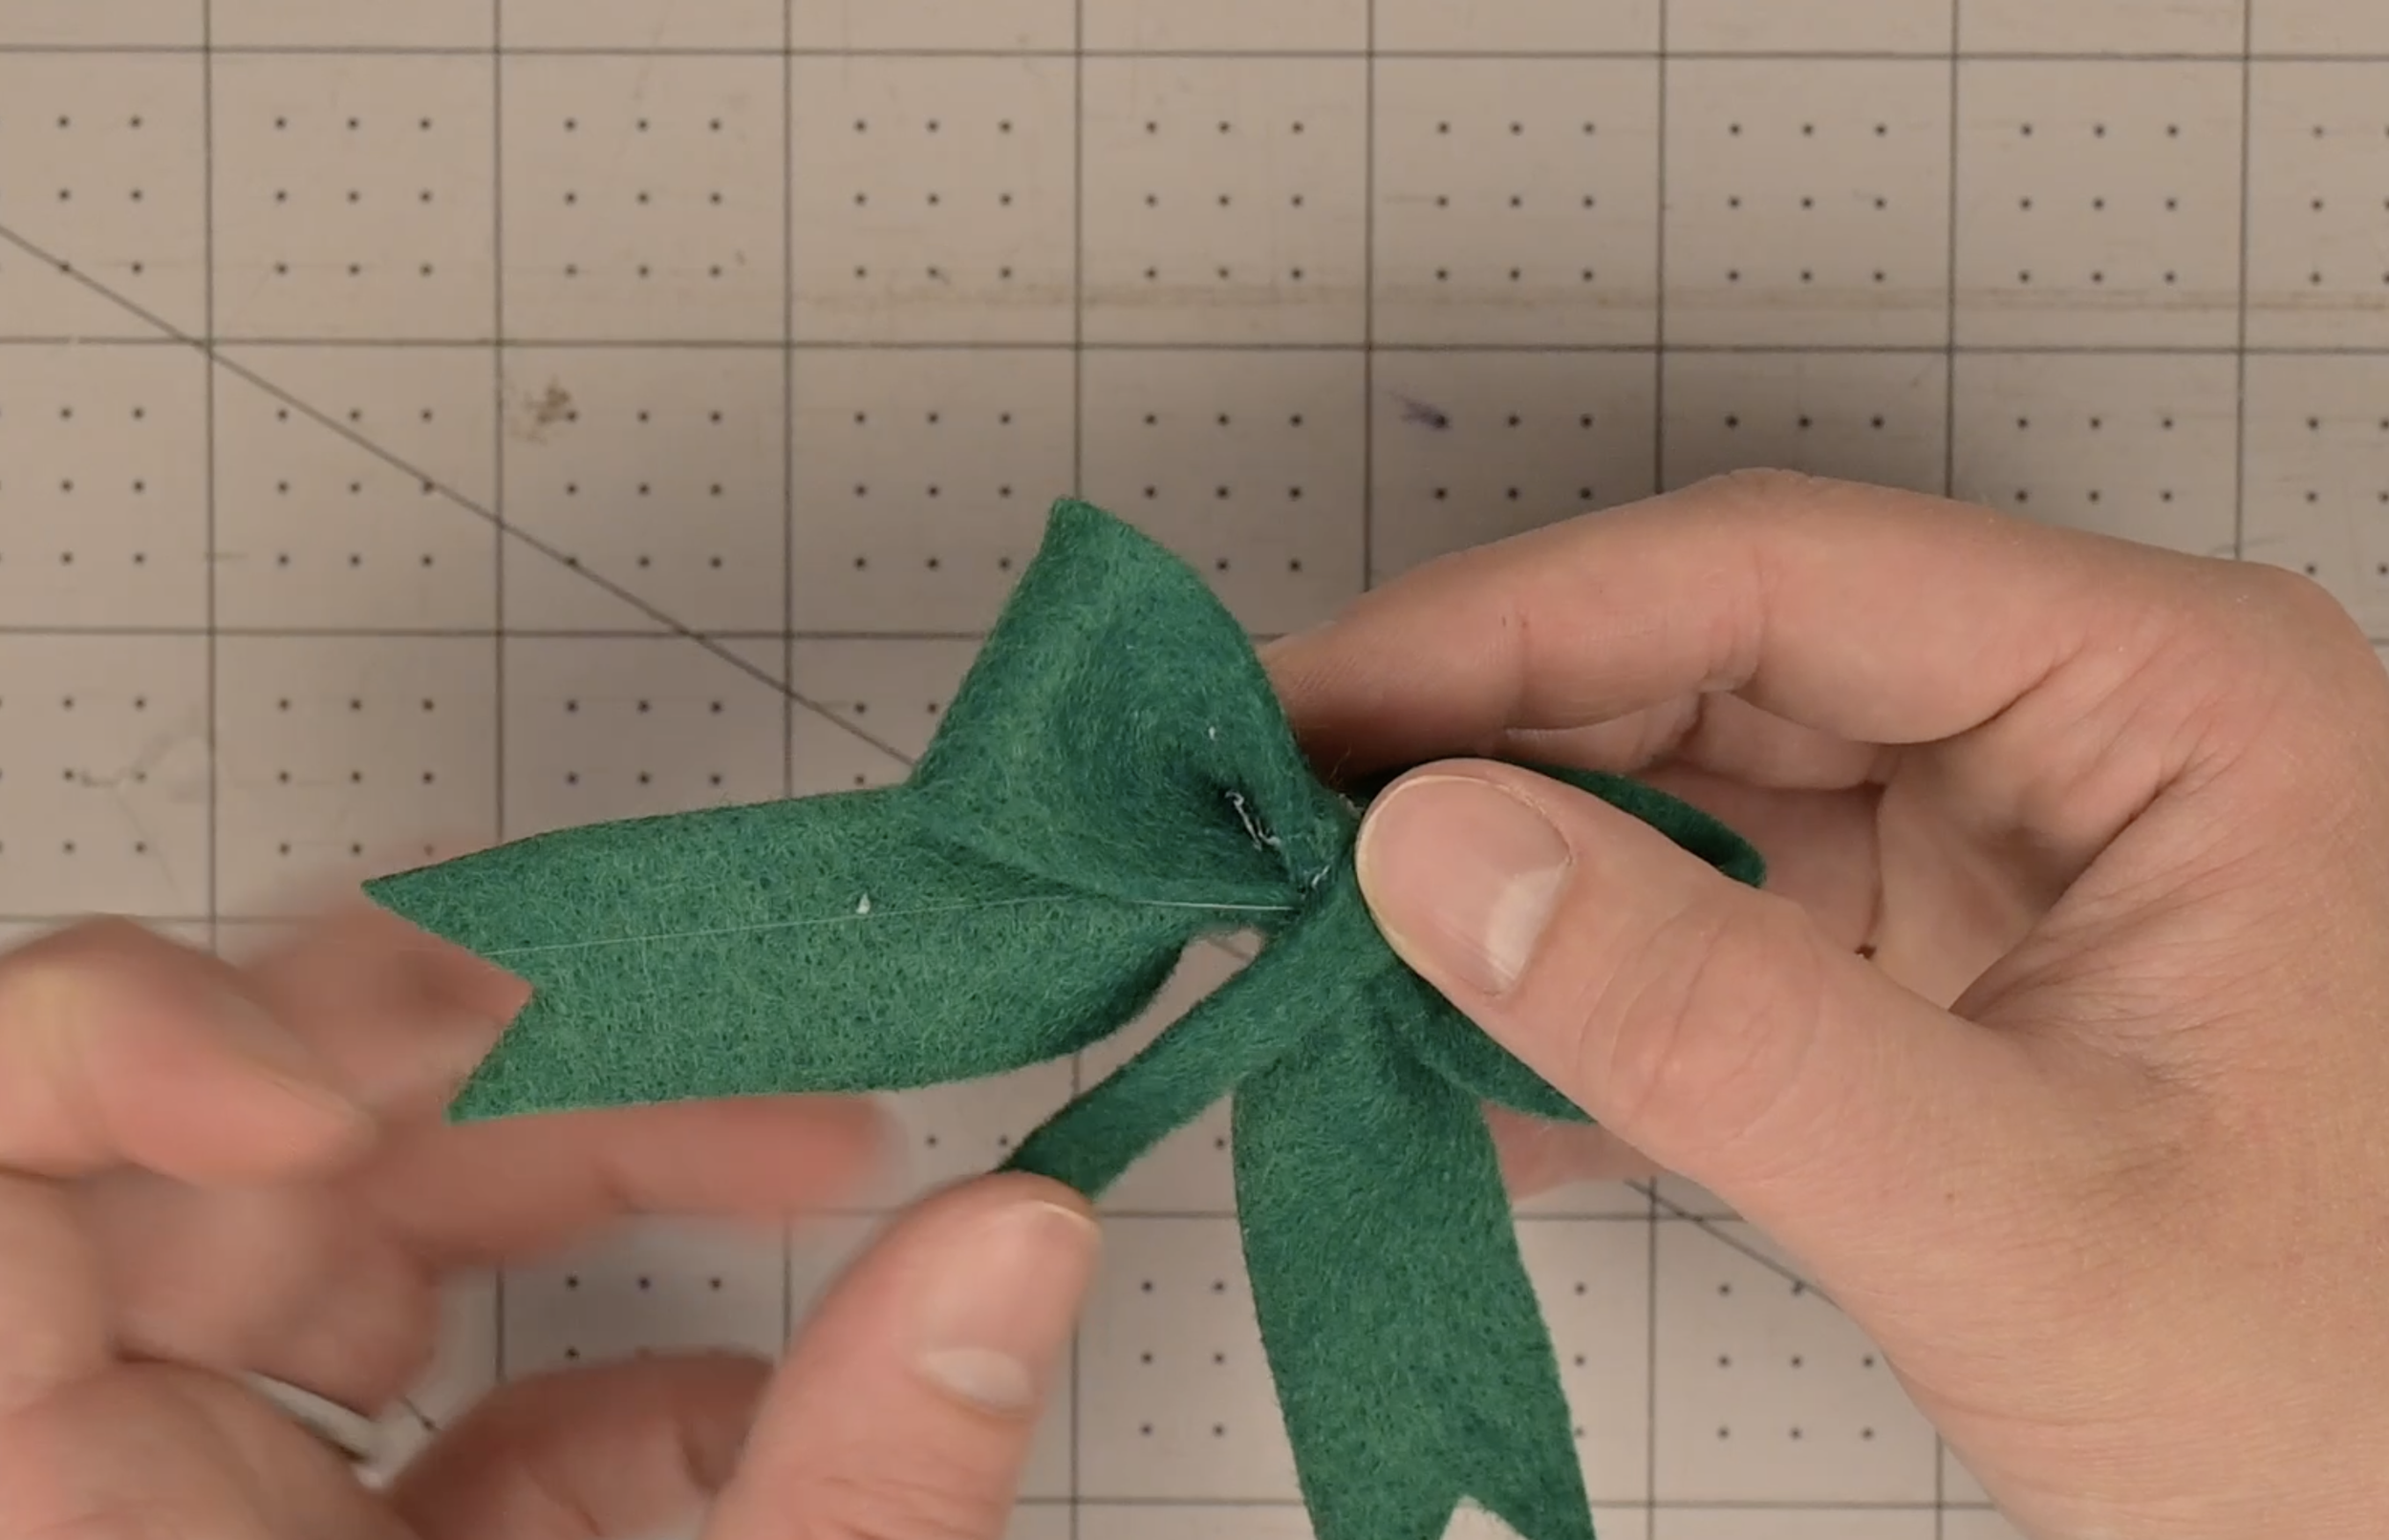
Secure the bow center to the back of the bow base
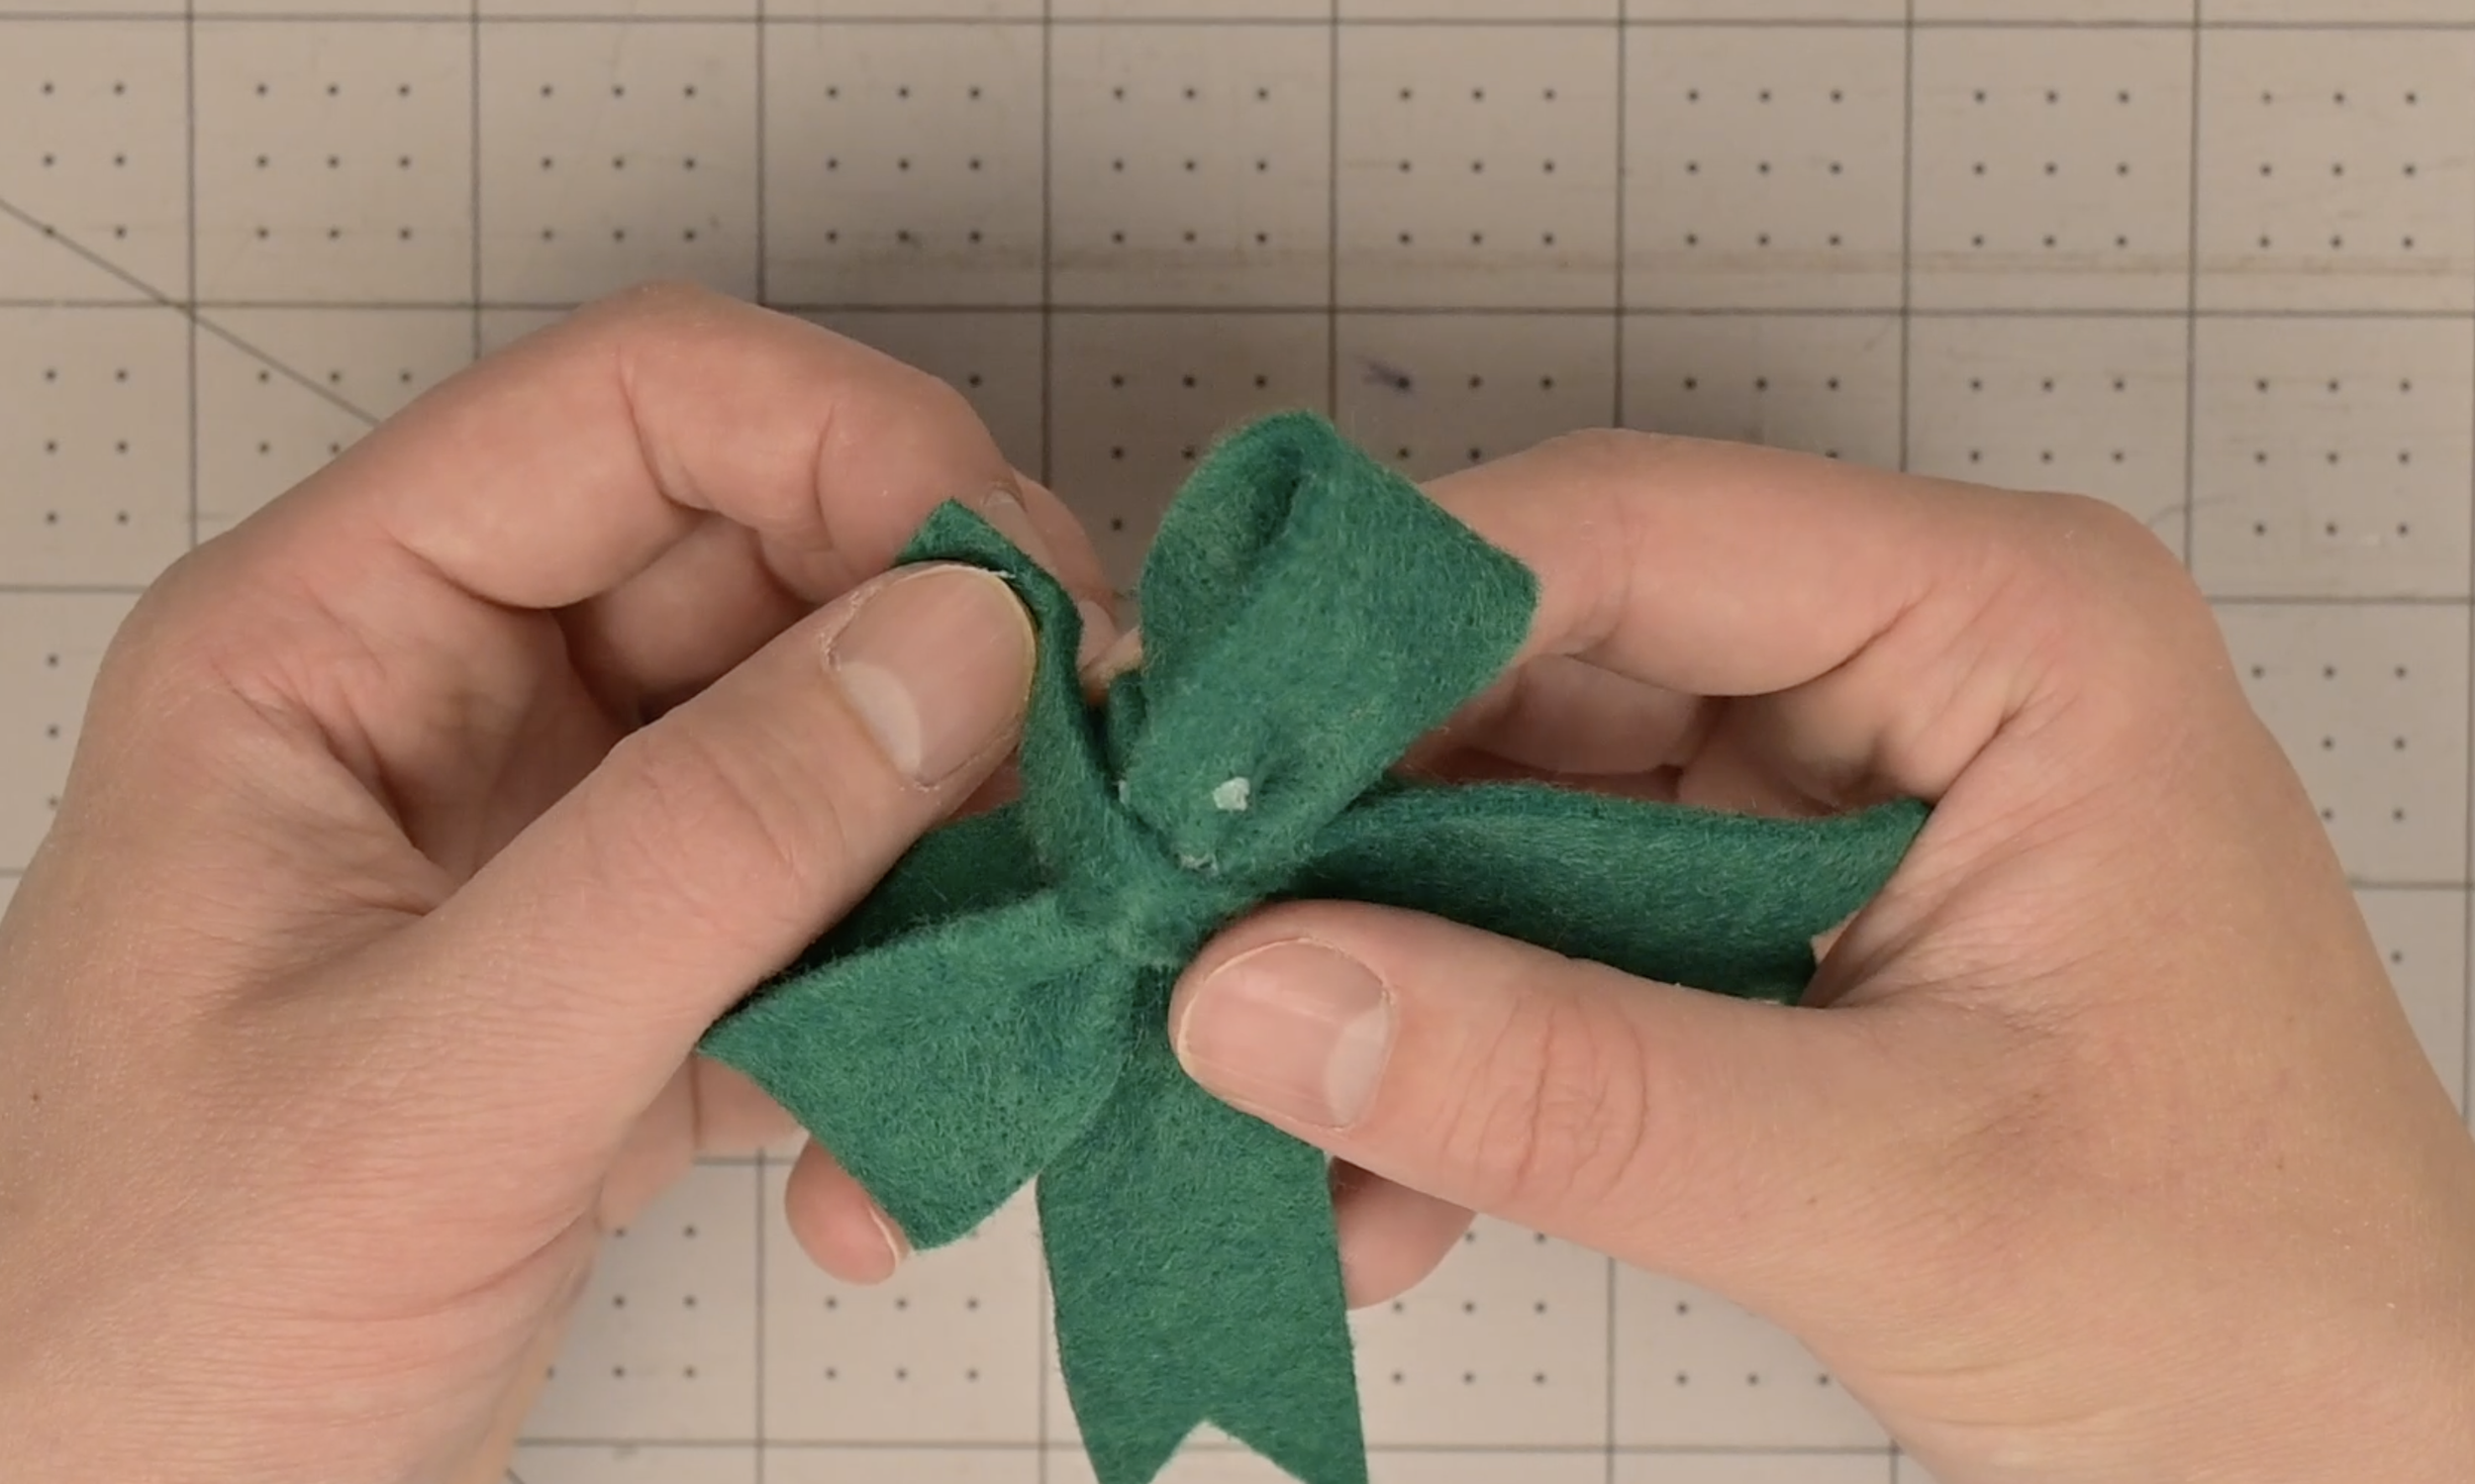
Wrap the bow center around the front of the bow base and bow ribbon
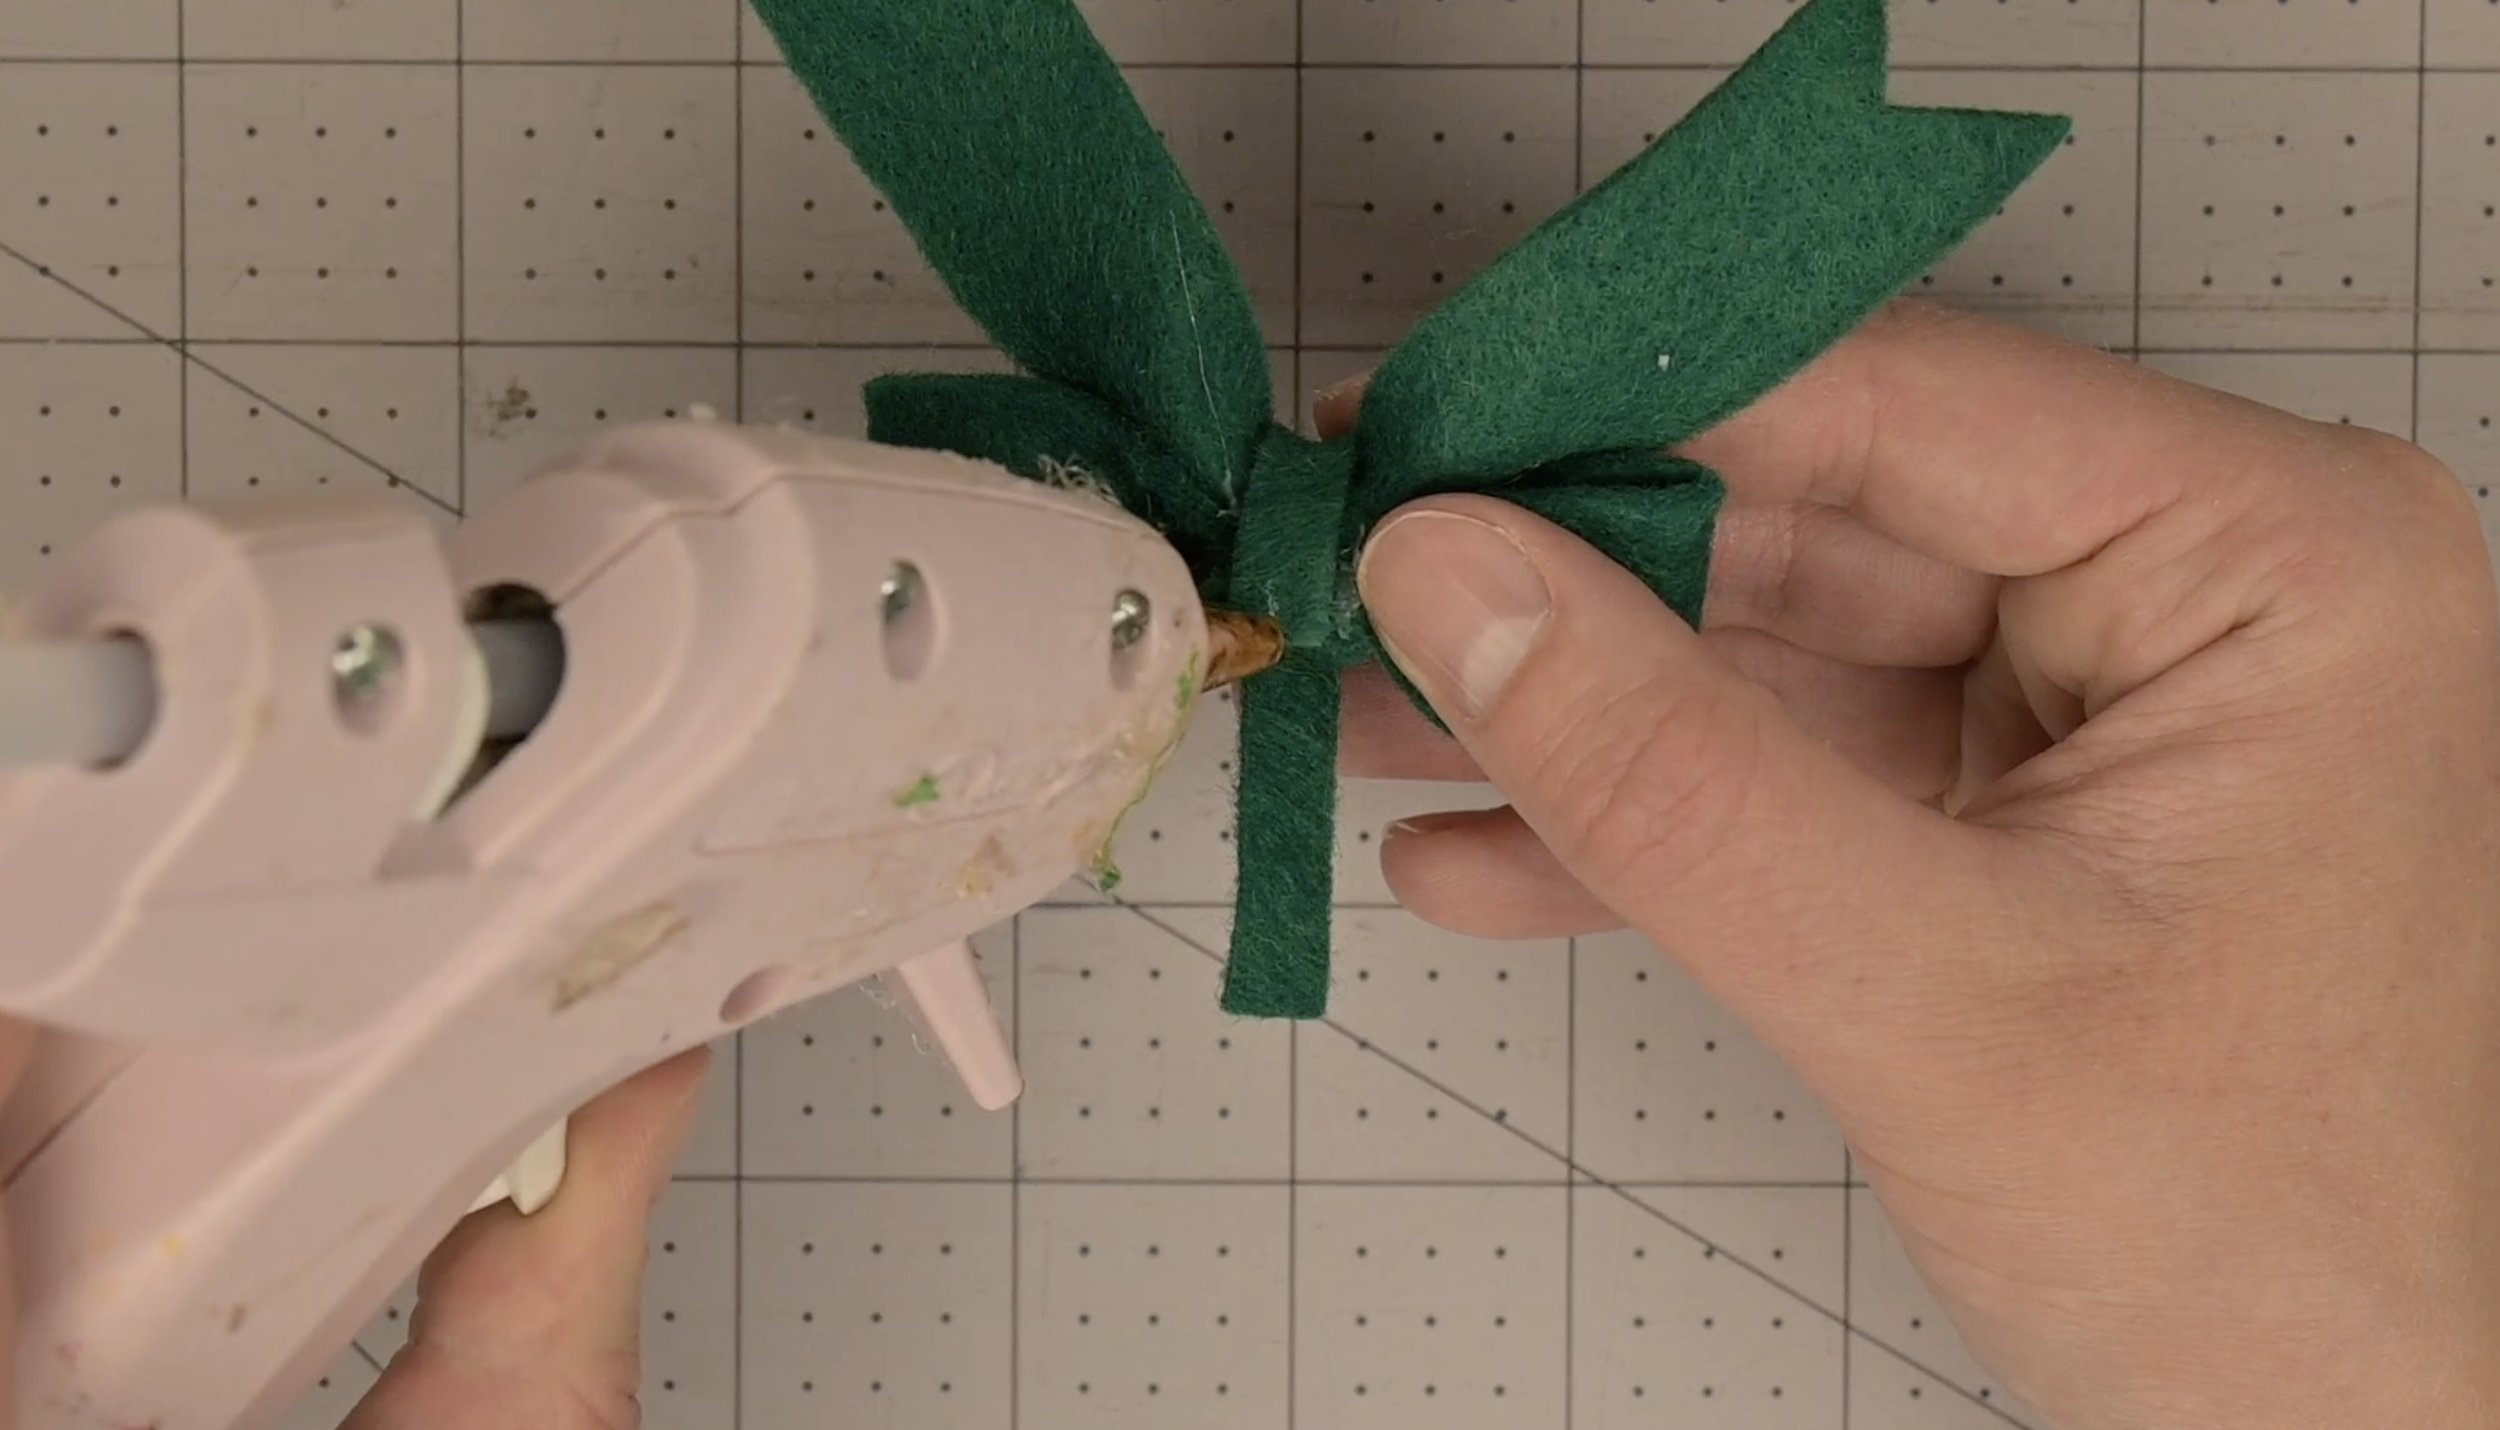
Apply hot glue again to back of the bow base
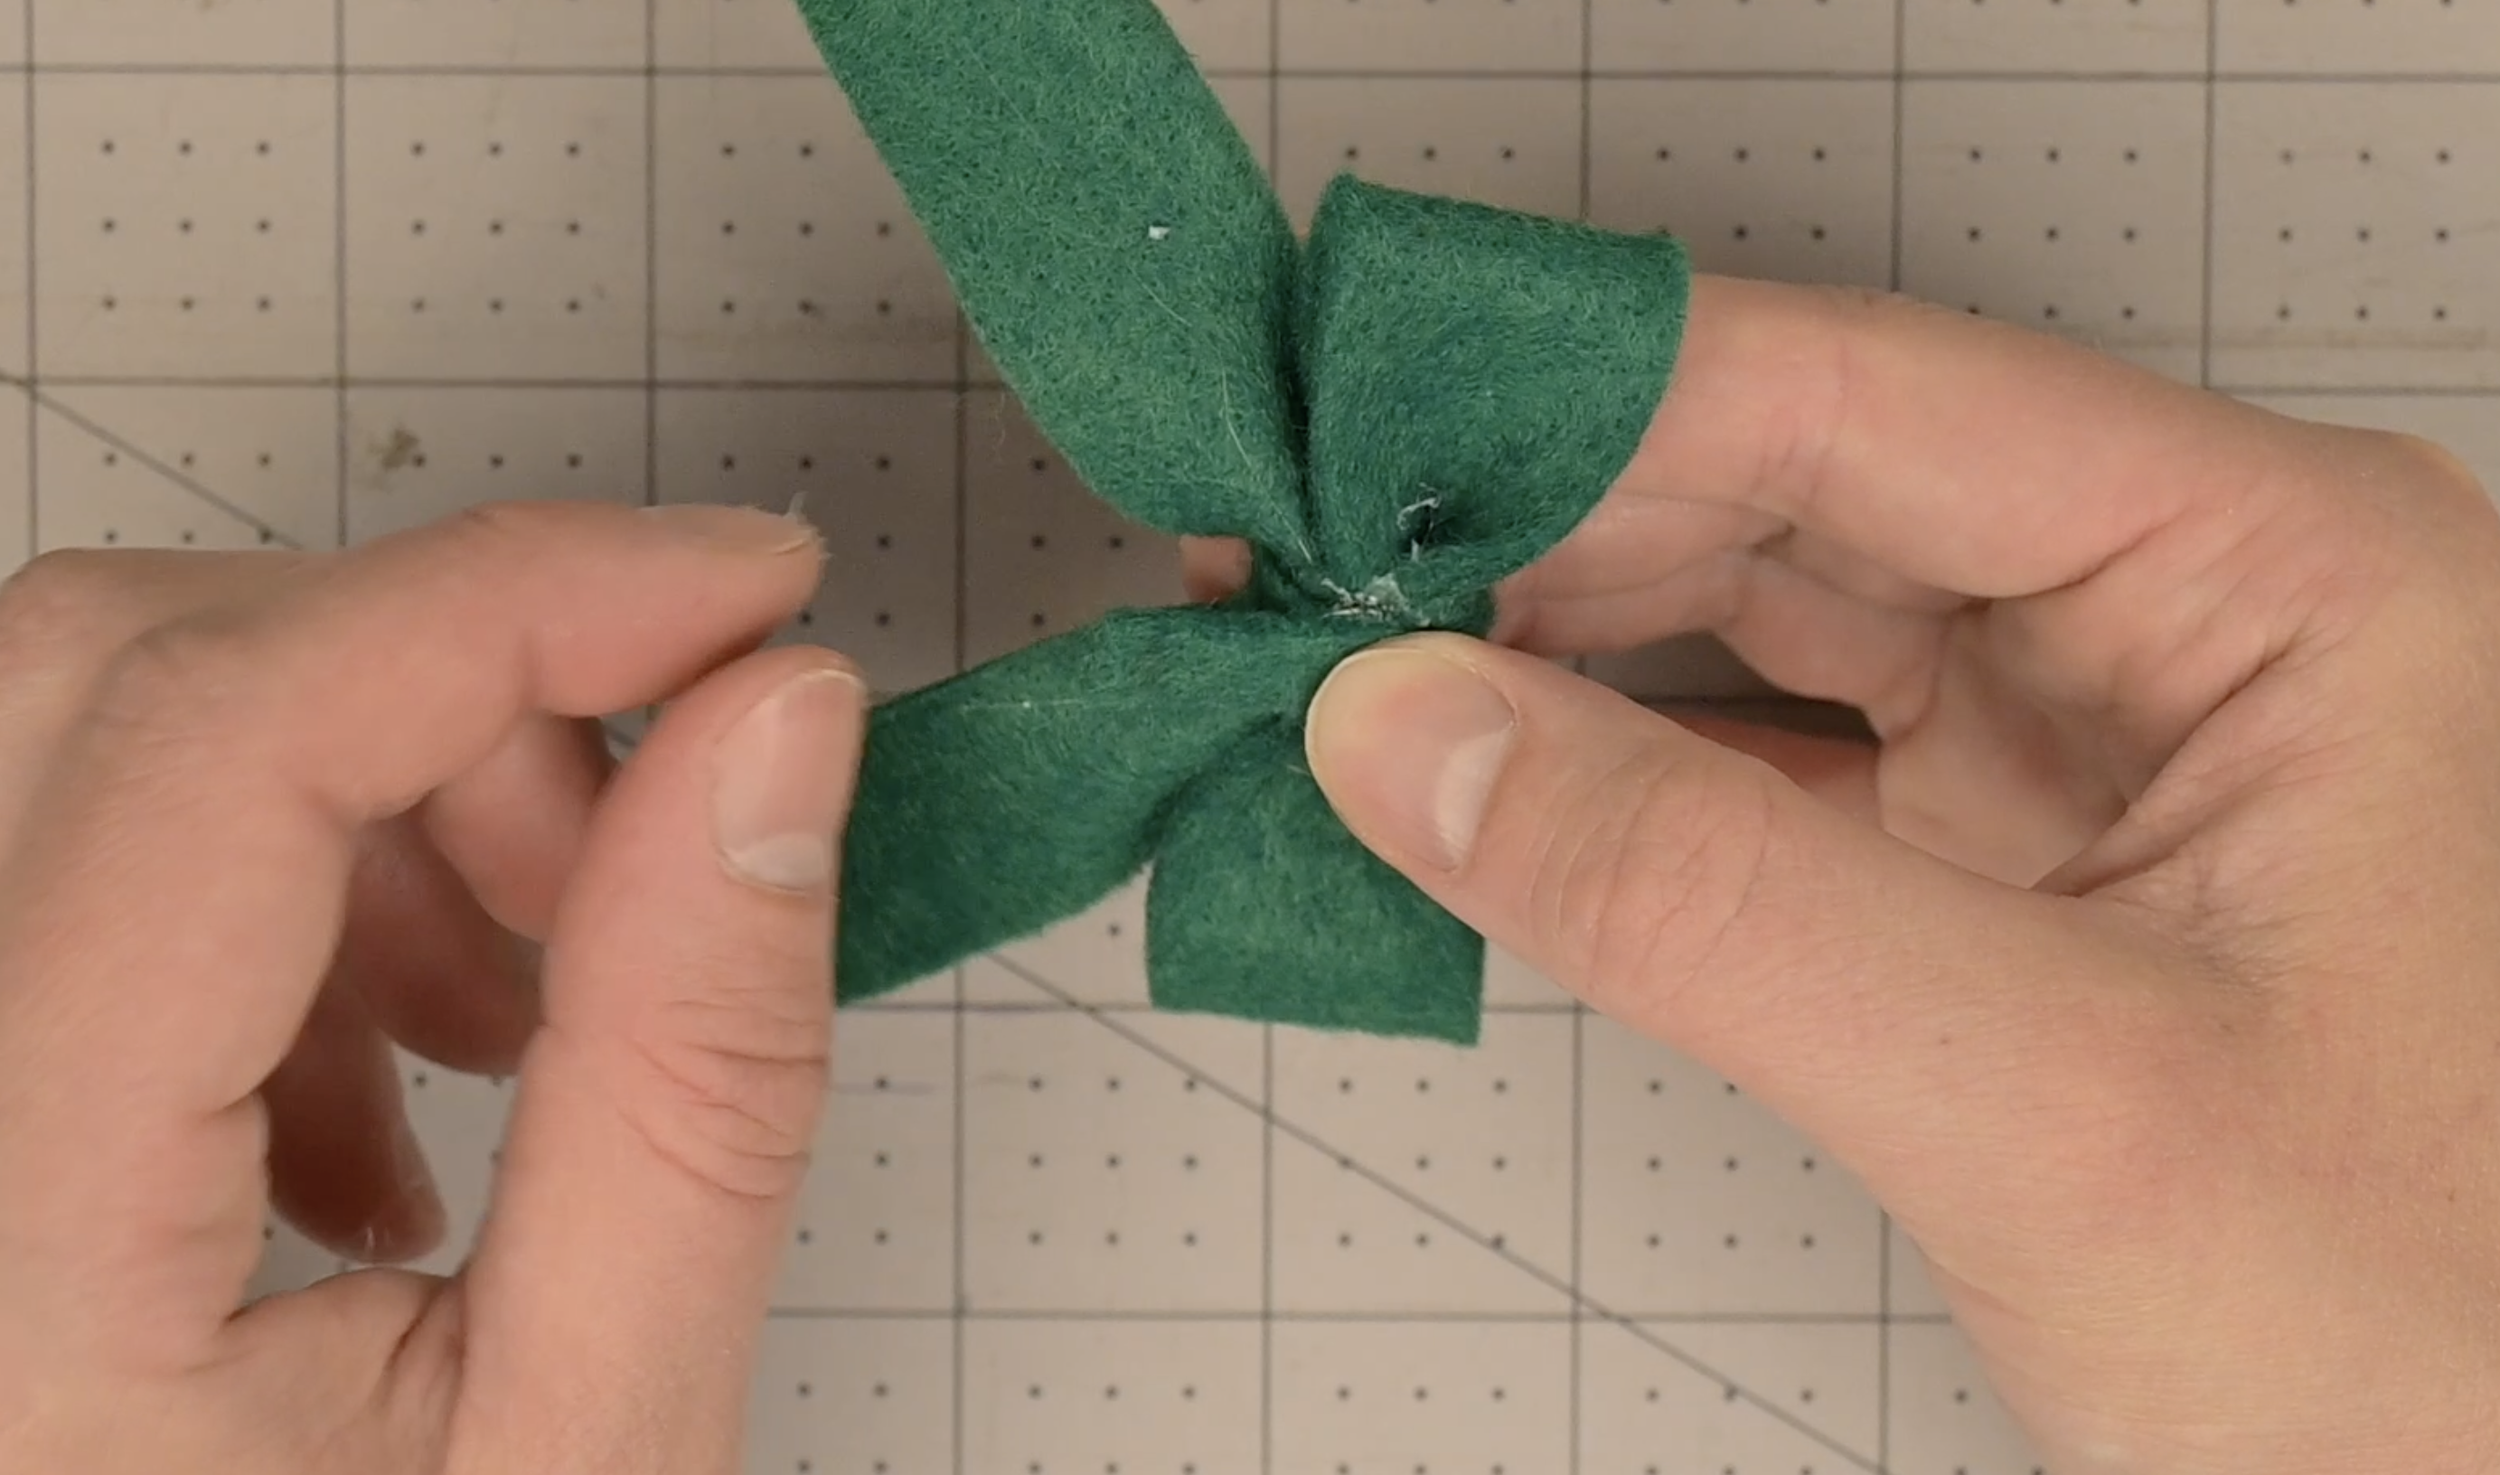
Pull the bow center tight and place on the hot glue
Cut off the extra bow base
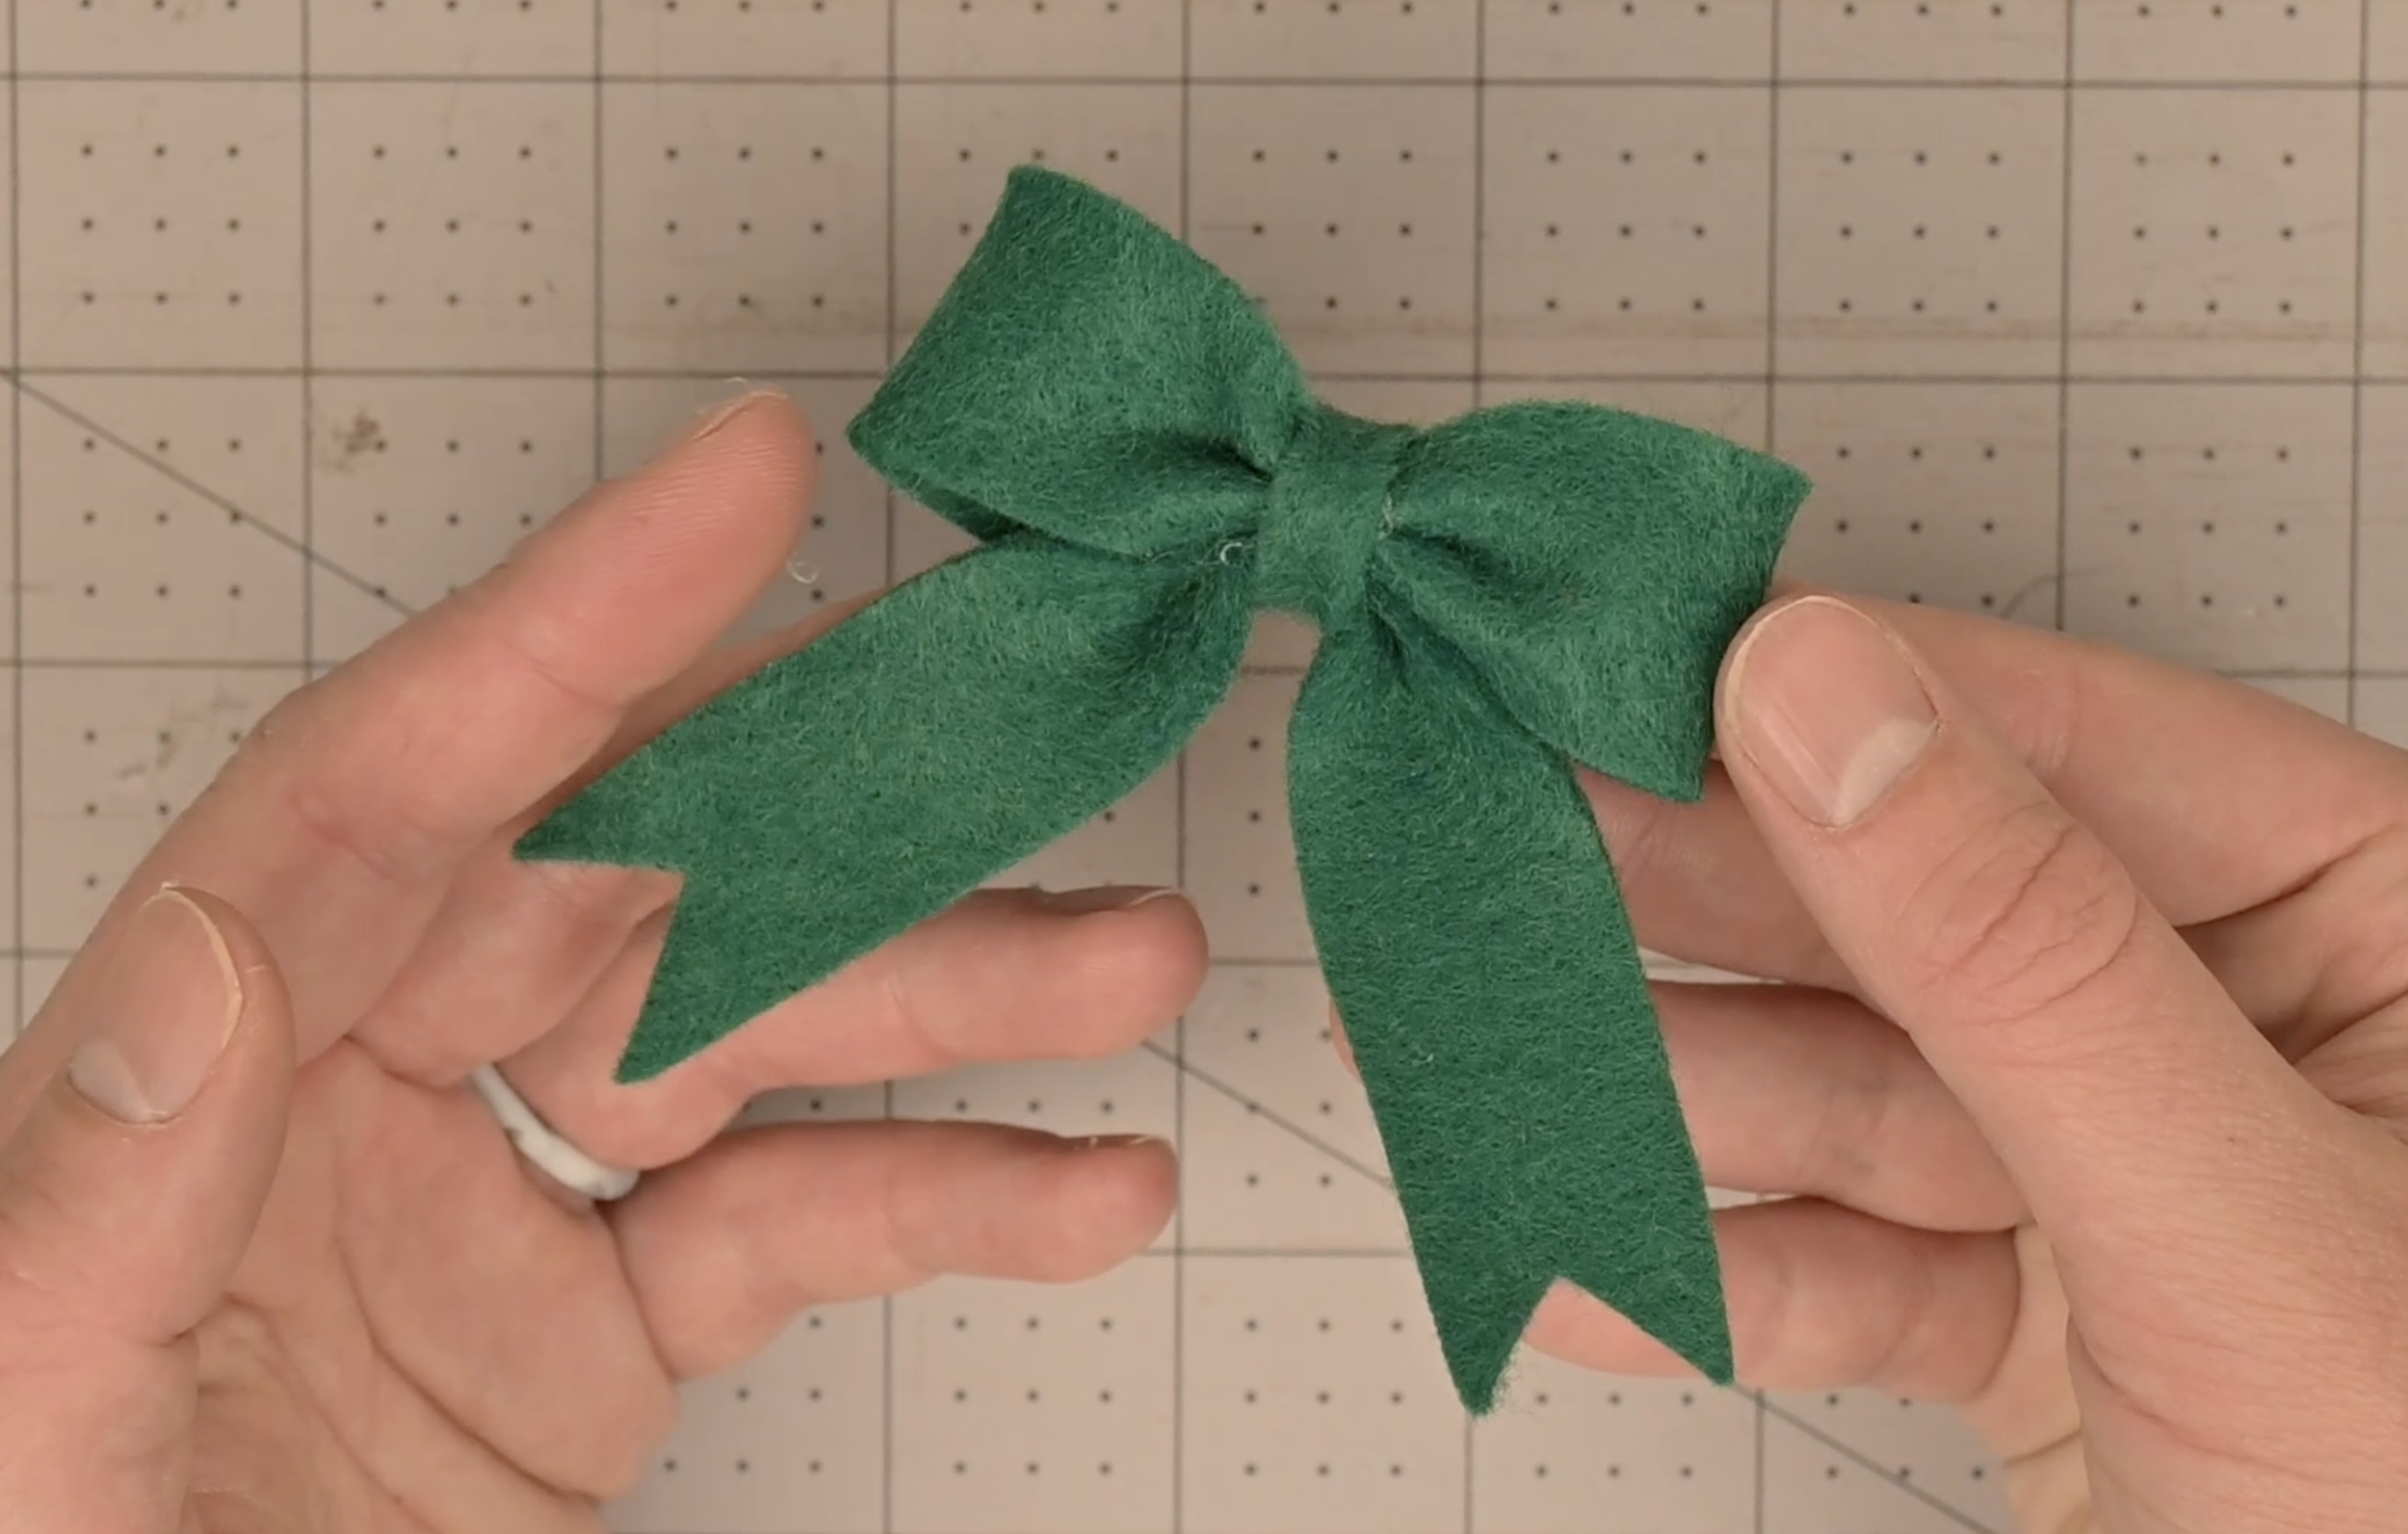
Step 13: Attach the Bow
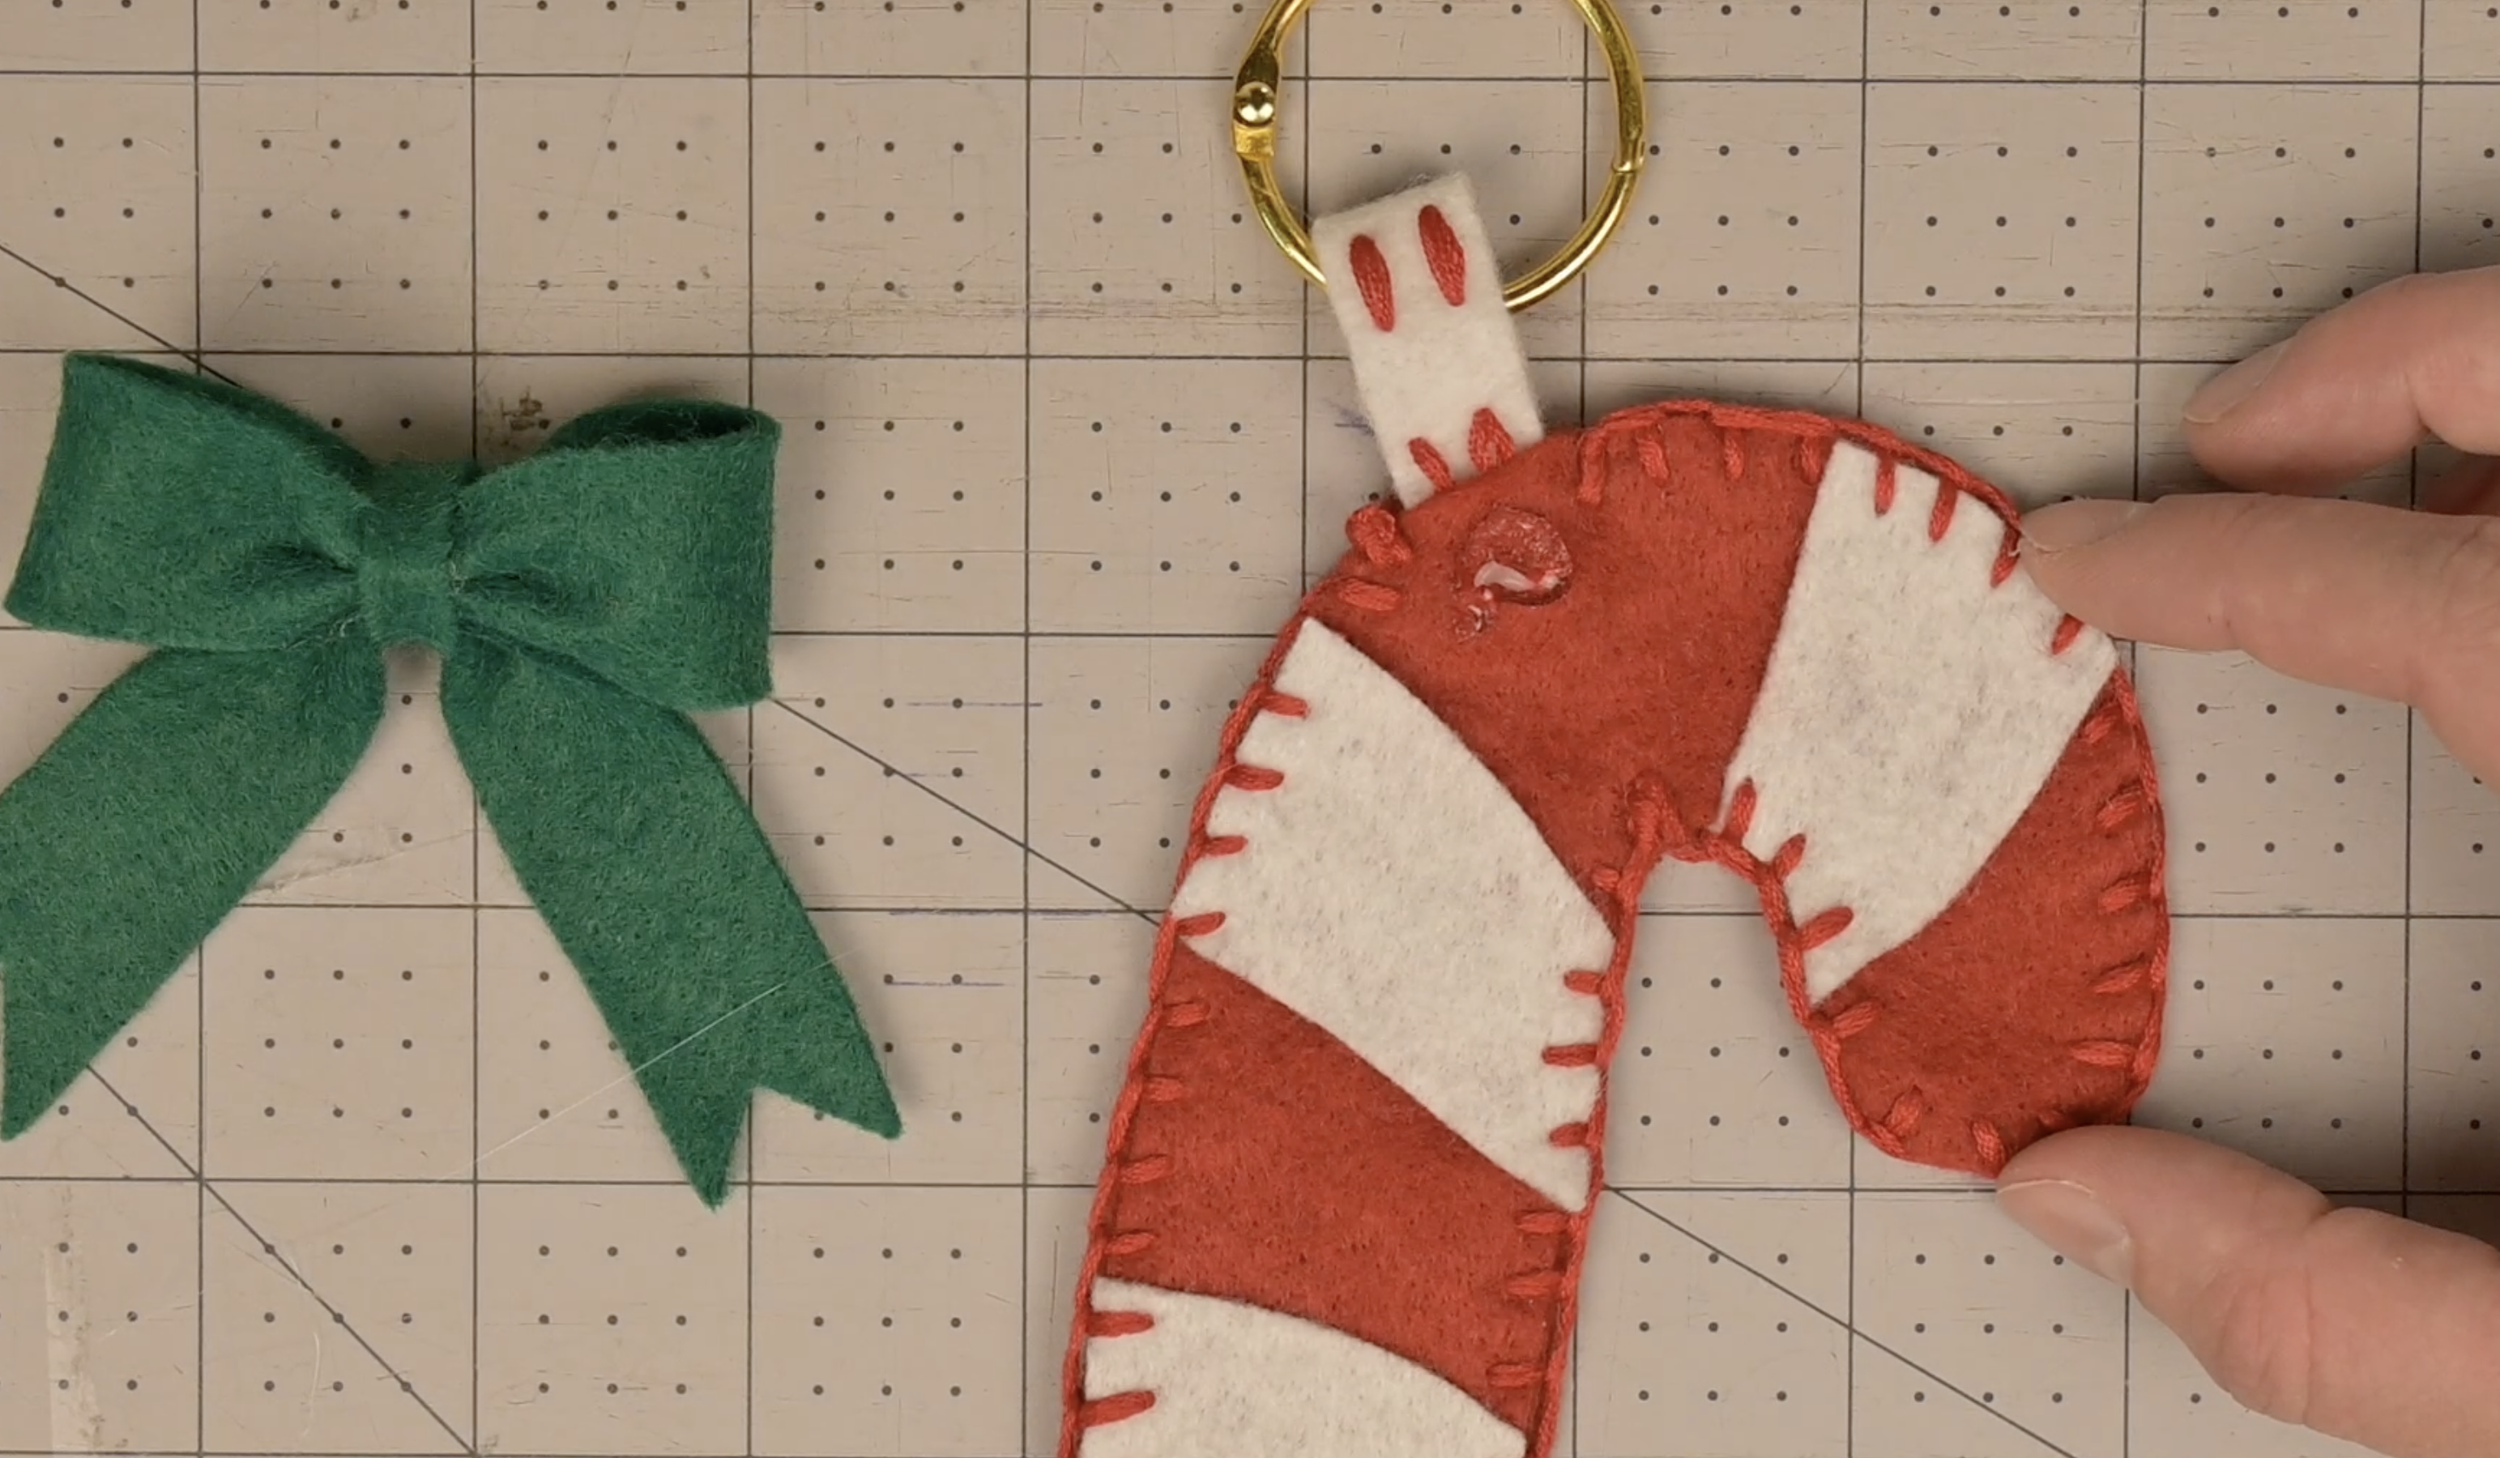
Add hot glue to the candy cane to your desired bow location
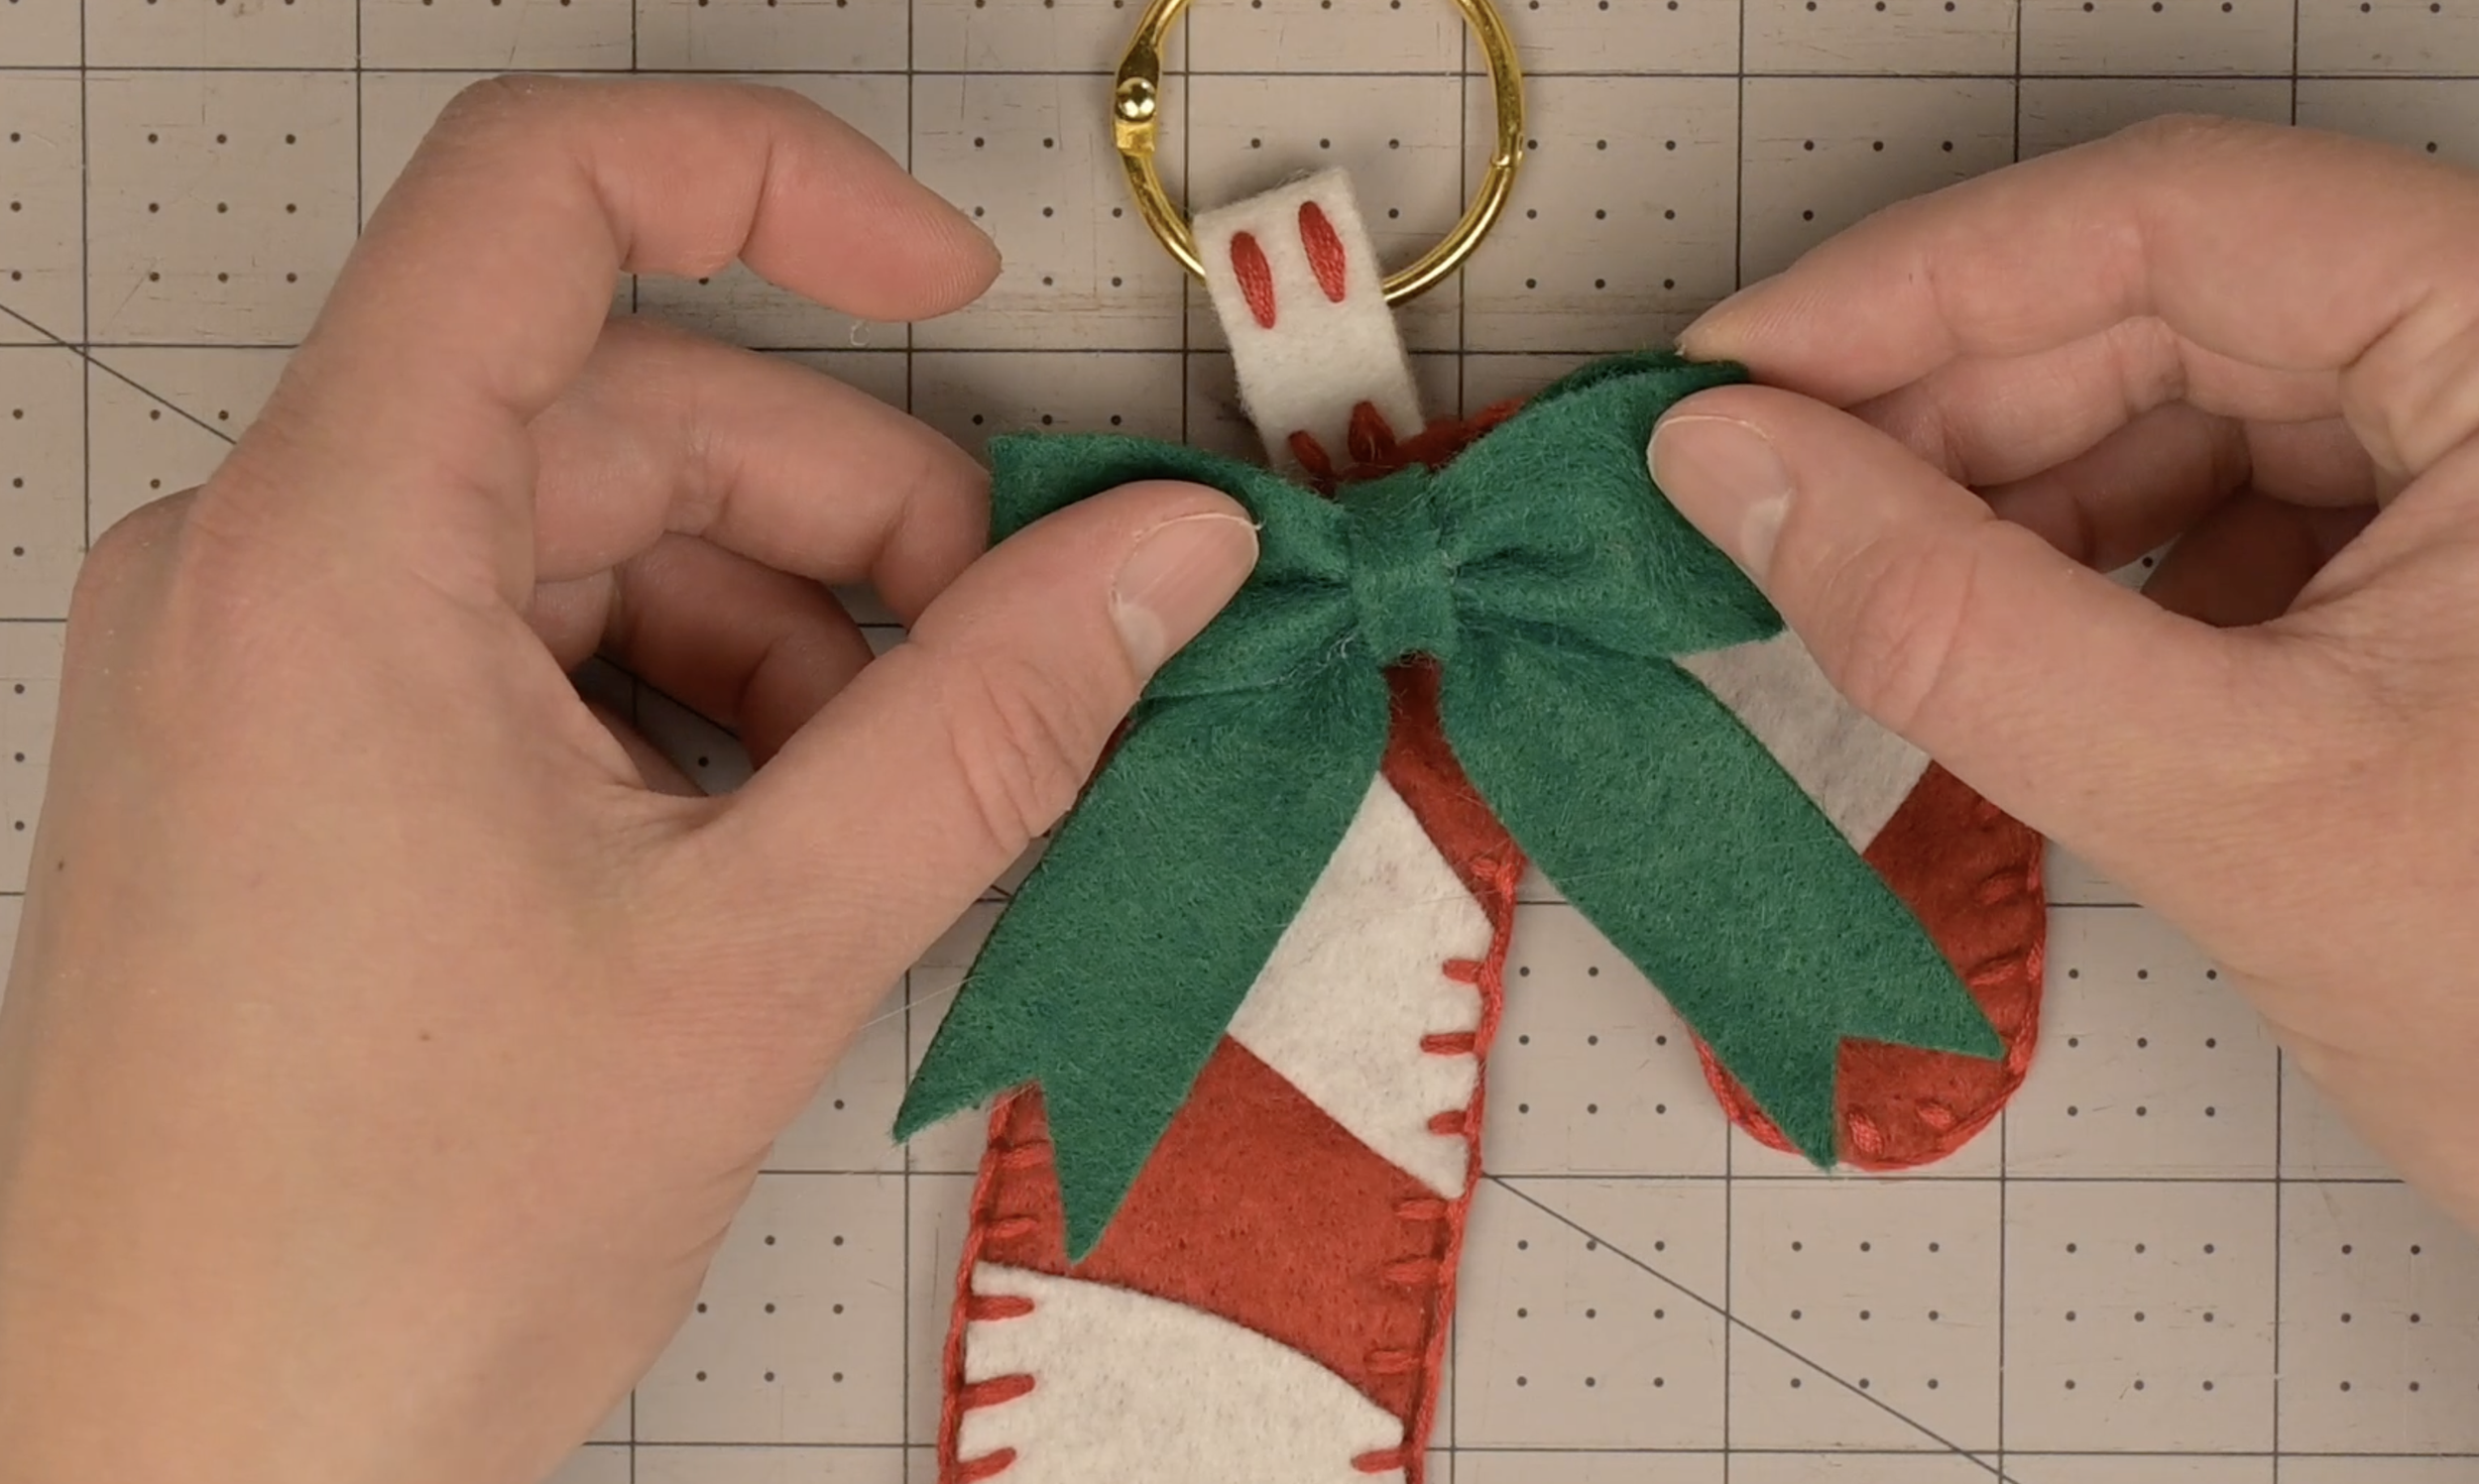
Attach the bow to the candy cane