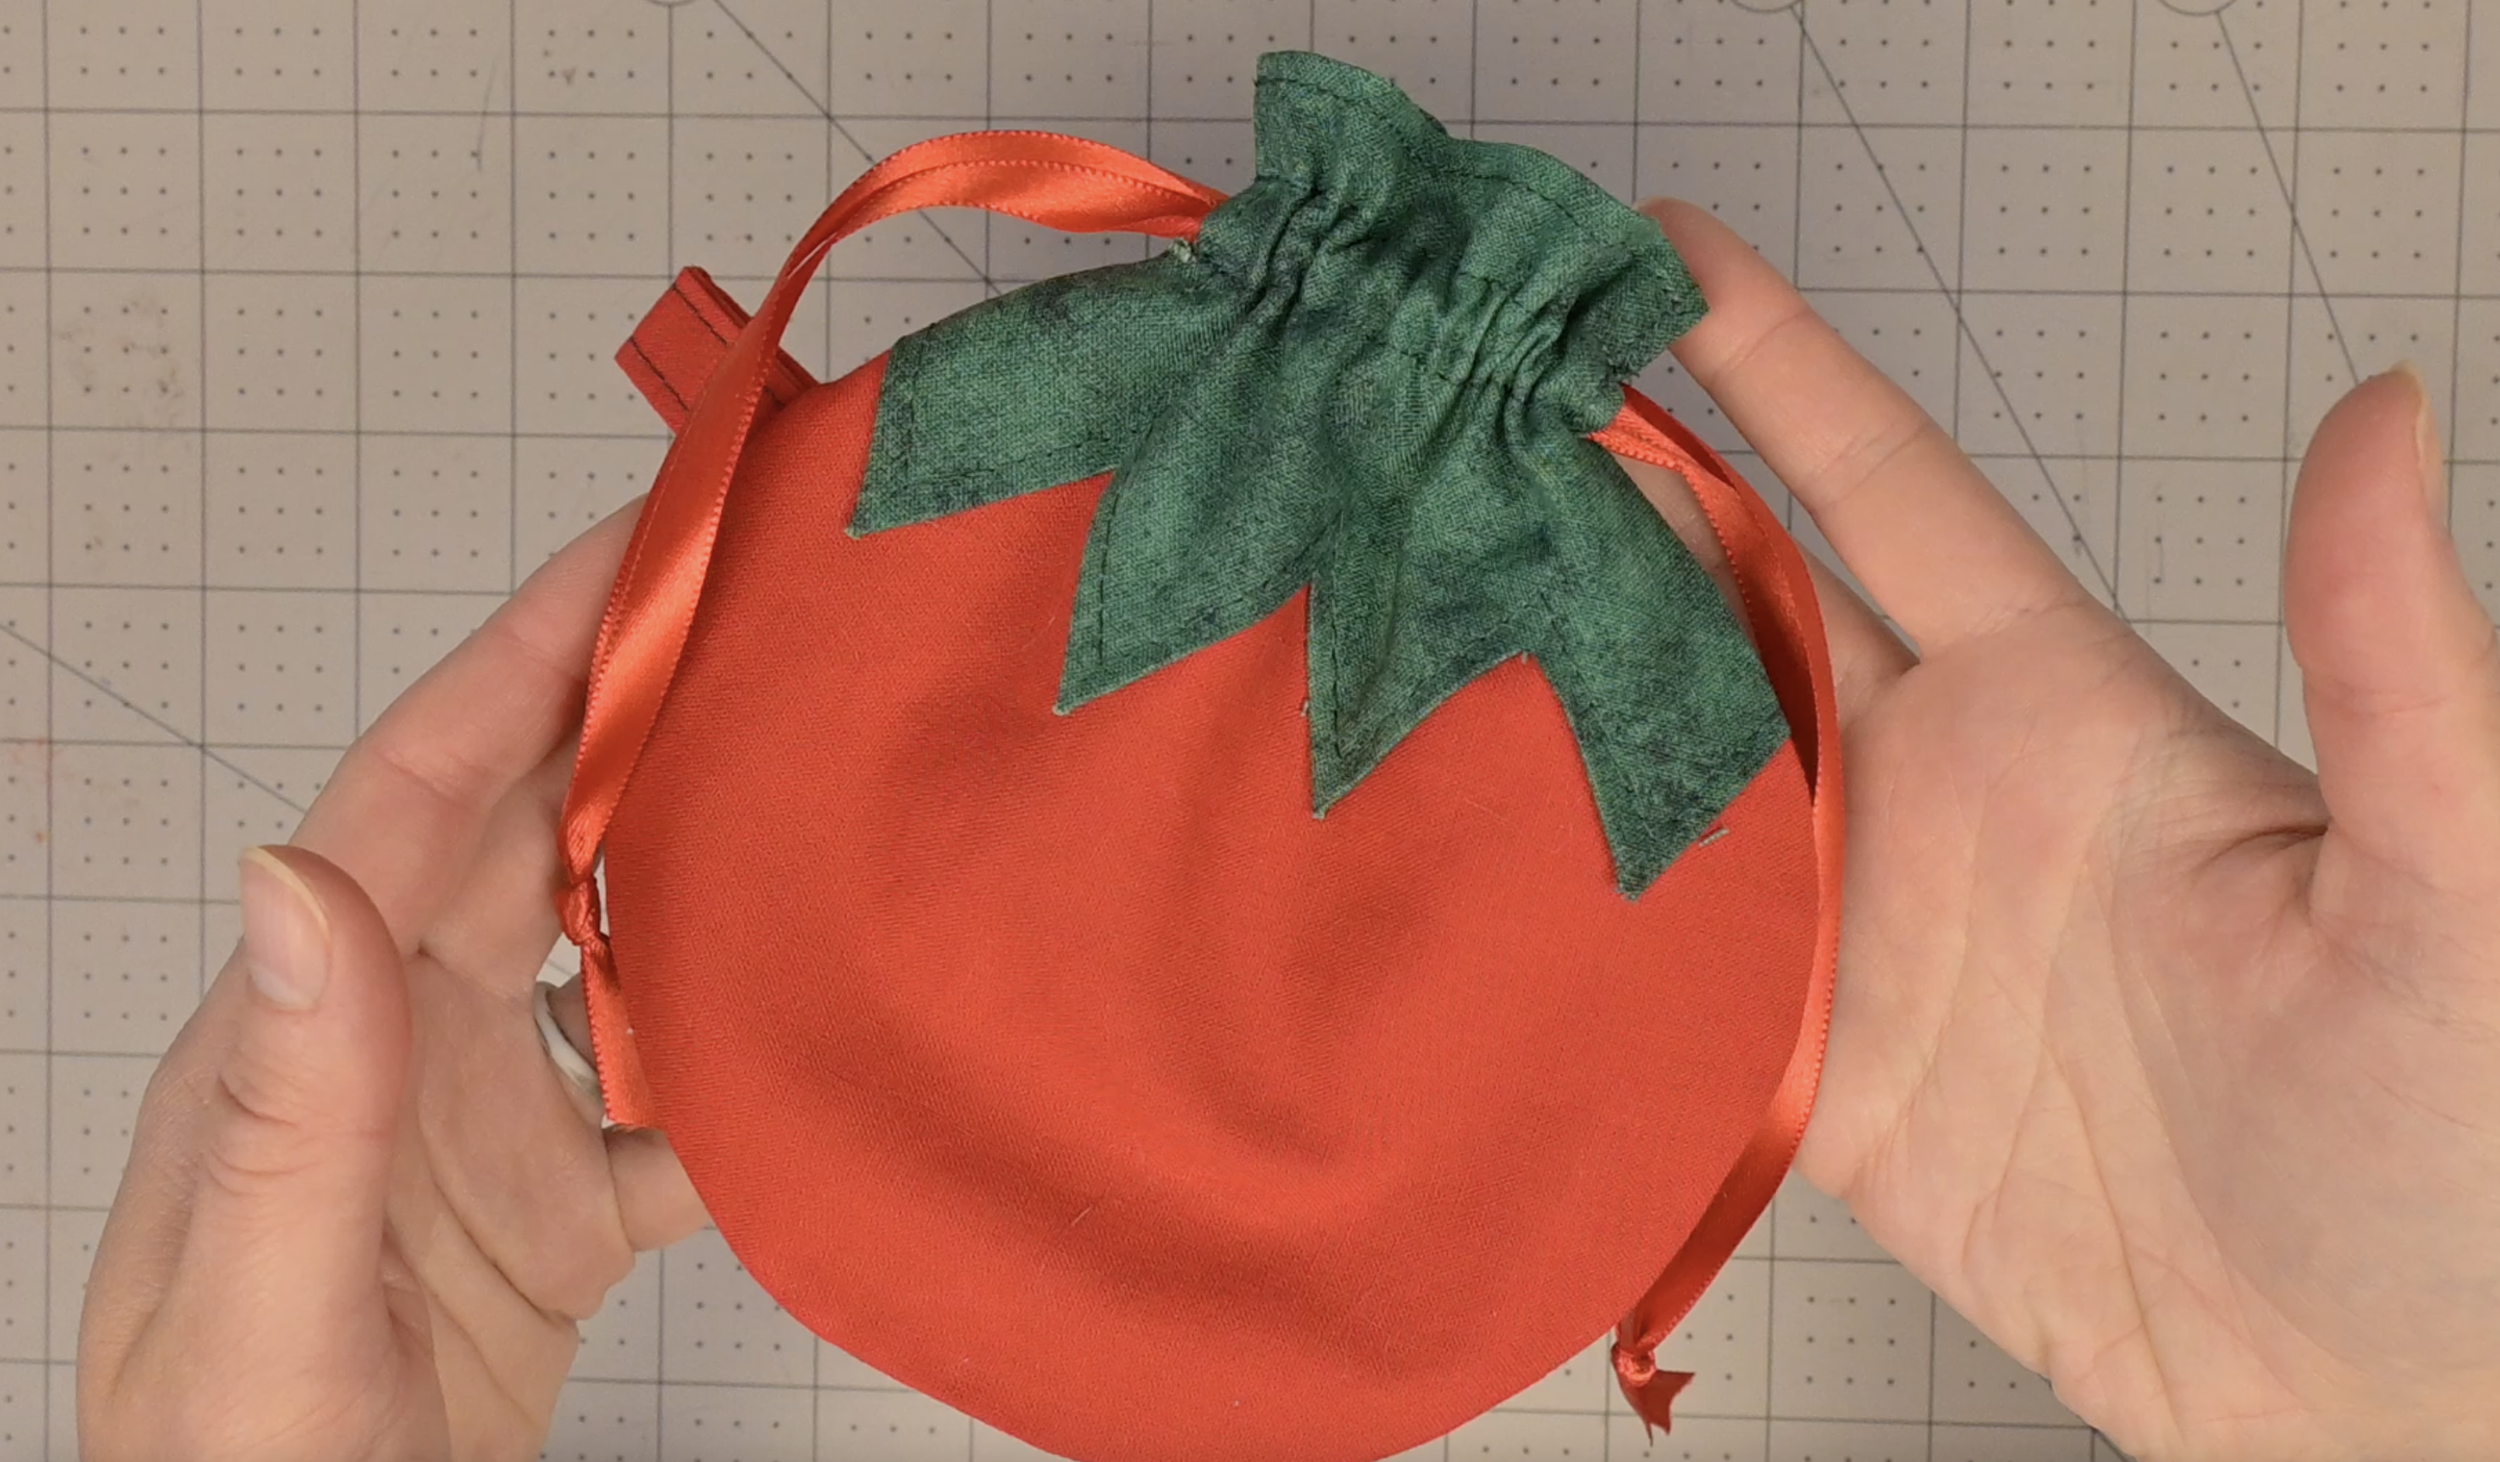
Tomato Drawstring Pouch (Lined) Step-by-Step Tutorial / Free Downloadable Pattern!
Welcome to my series where we learn how to make fully lined drawstring pouches! Each video contains a free, downloadable pattern as well as written, video, and photograph instructions. Let’s begin by making a tomato drawstring pouch! This project is great for beginners and/or for using up scrap fabric!
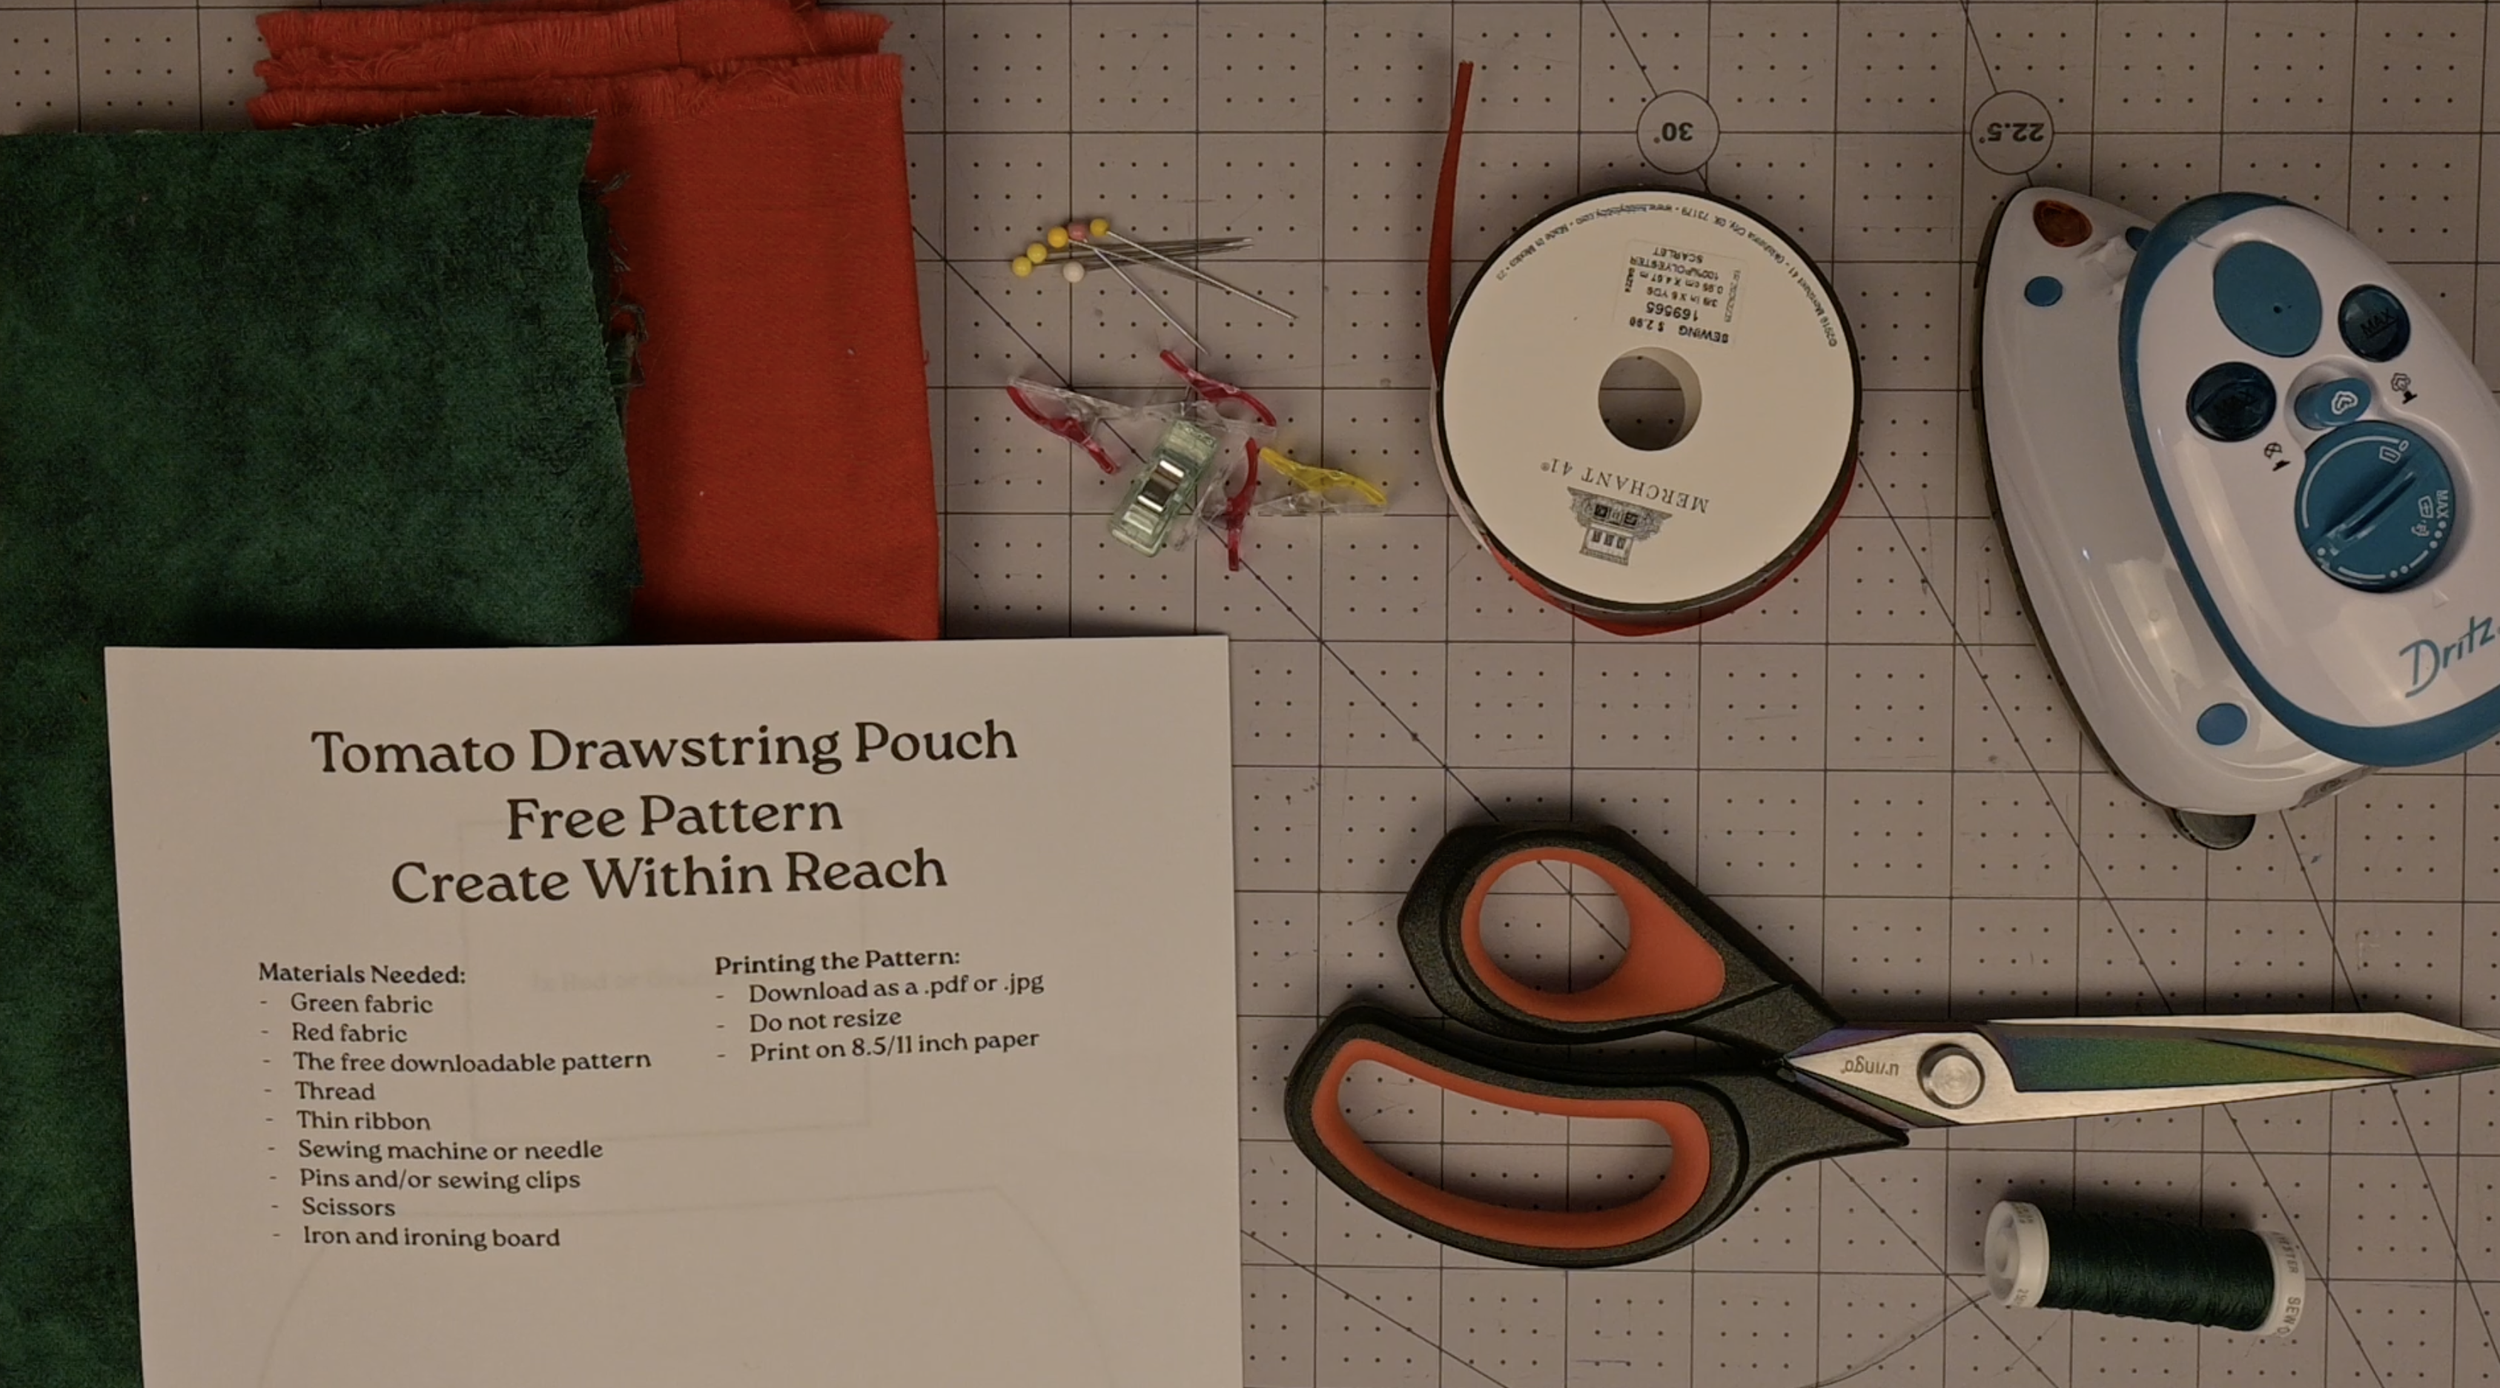
Materials Needed (As an Amazon Associate I earn from qualifying purchases):
Green fabric (I bought mine from Hobby Lobby)
Red fabric (I bought mine from Hobby Lobby)
Thread
Thin ribbon
Sewing machine or needle
Pins and/or sewing clips
Scissors
Iron and ironing board
Not pictured: Drawstring threader
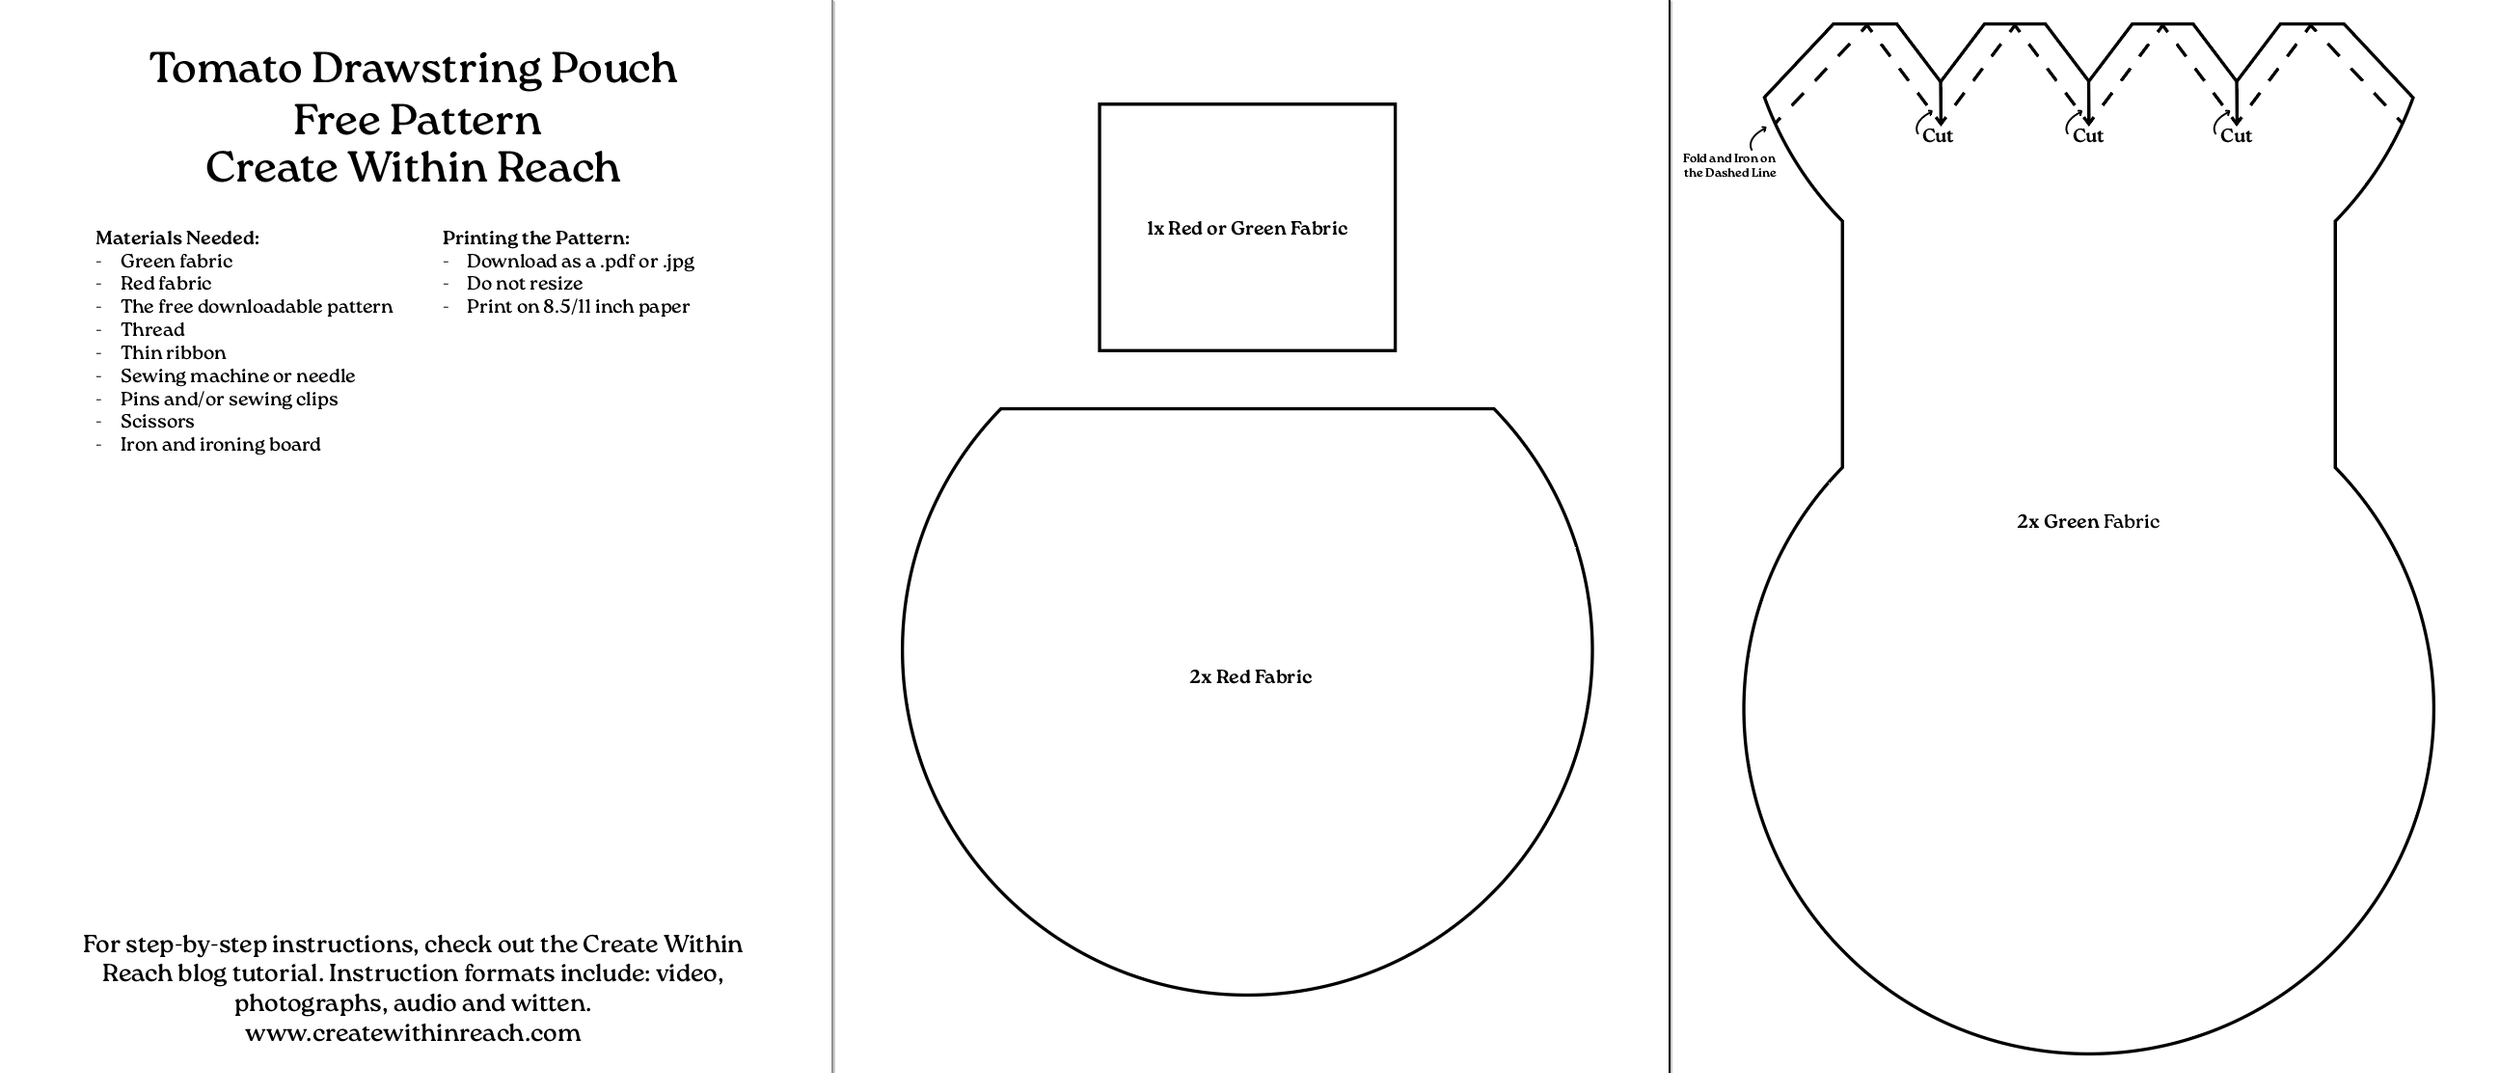
The Downloadable Pattern:
Linked below is the free downloadable file:
Step 1: Prepare the Pattern
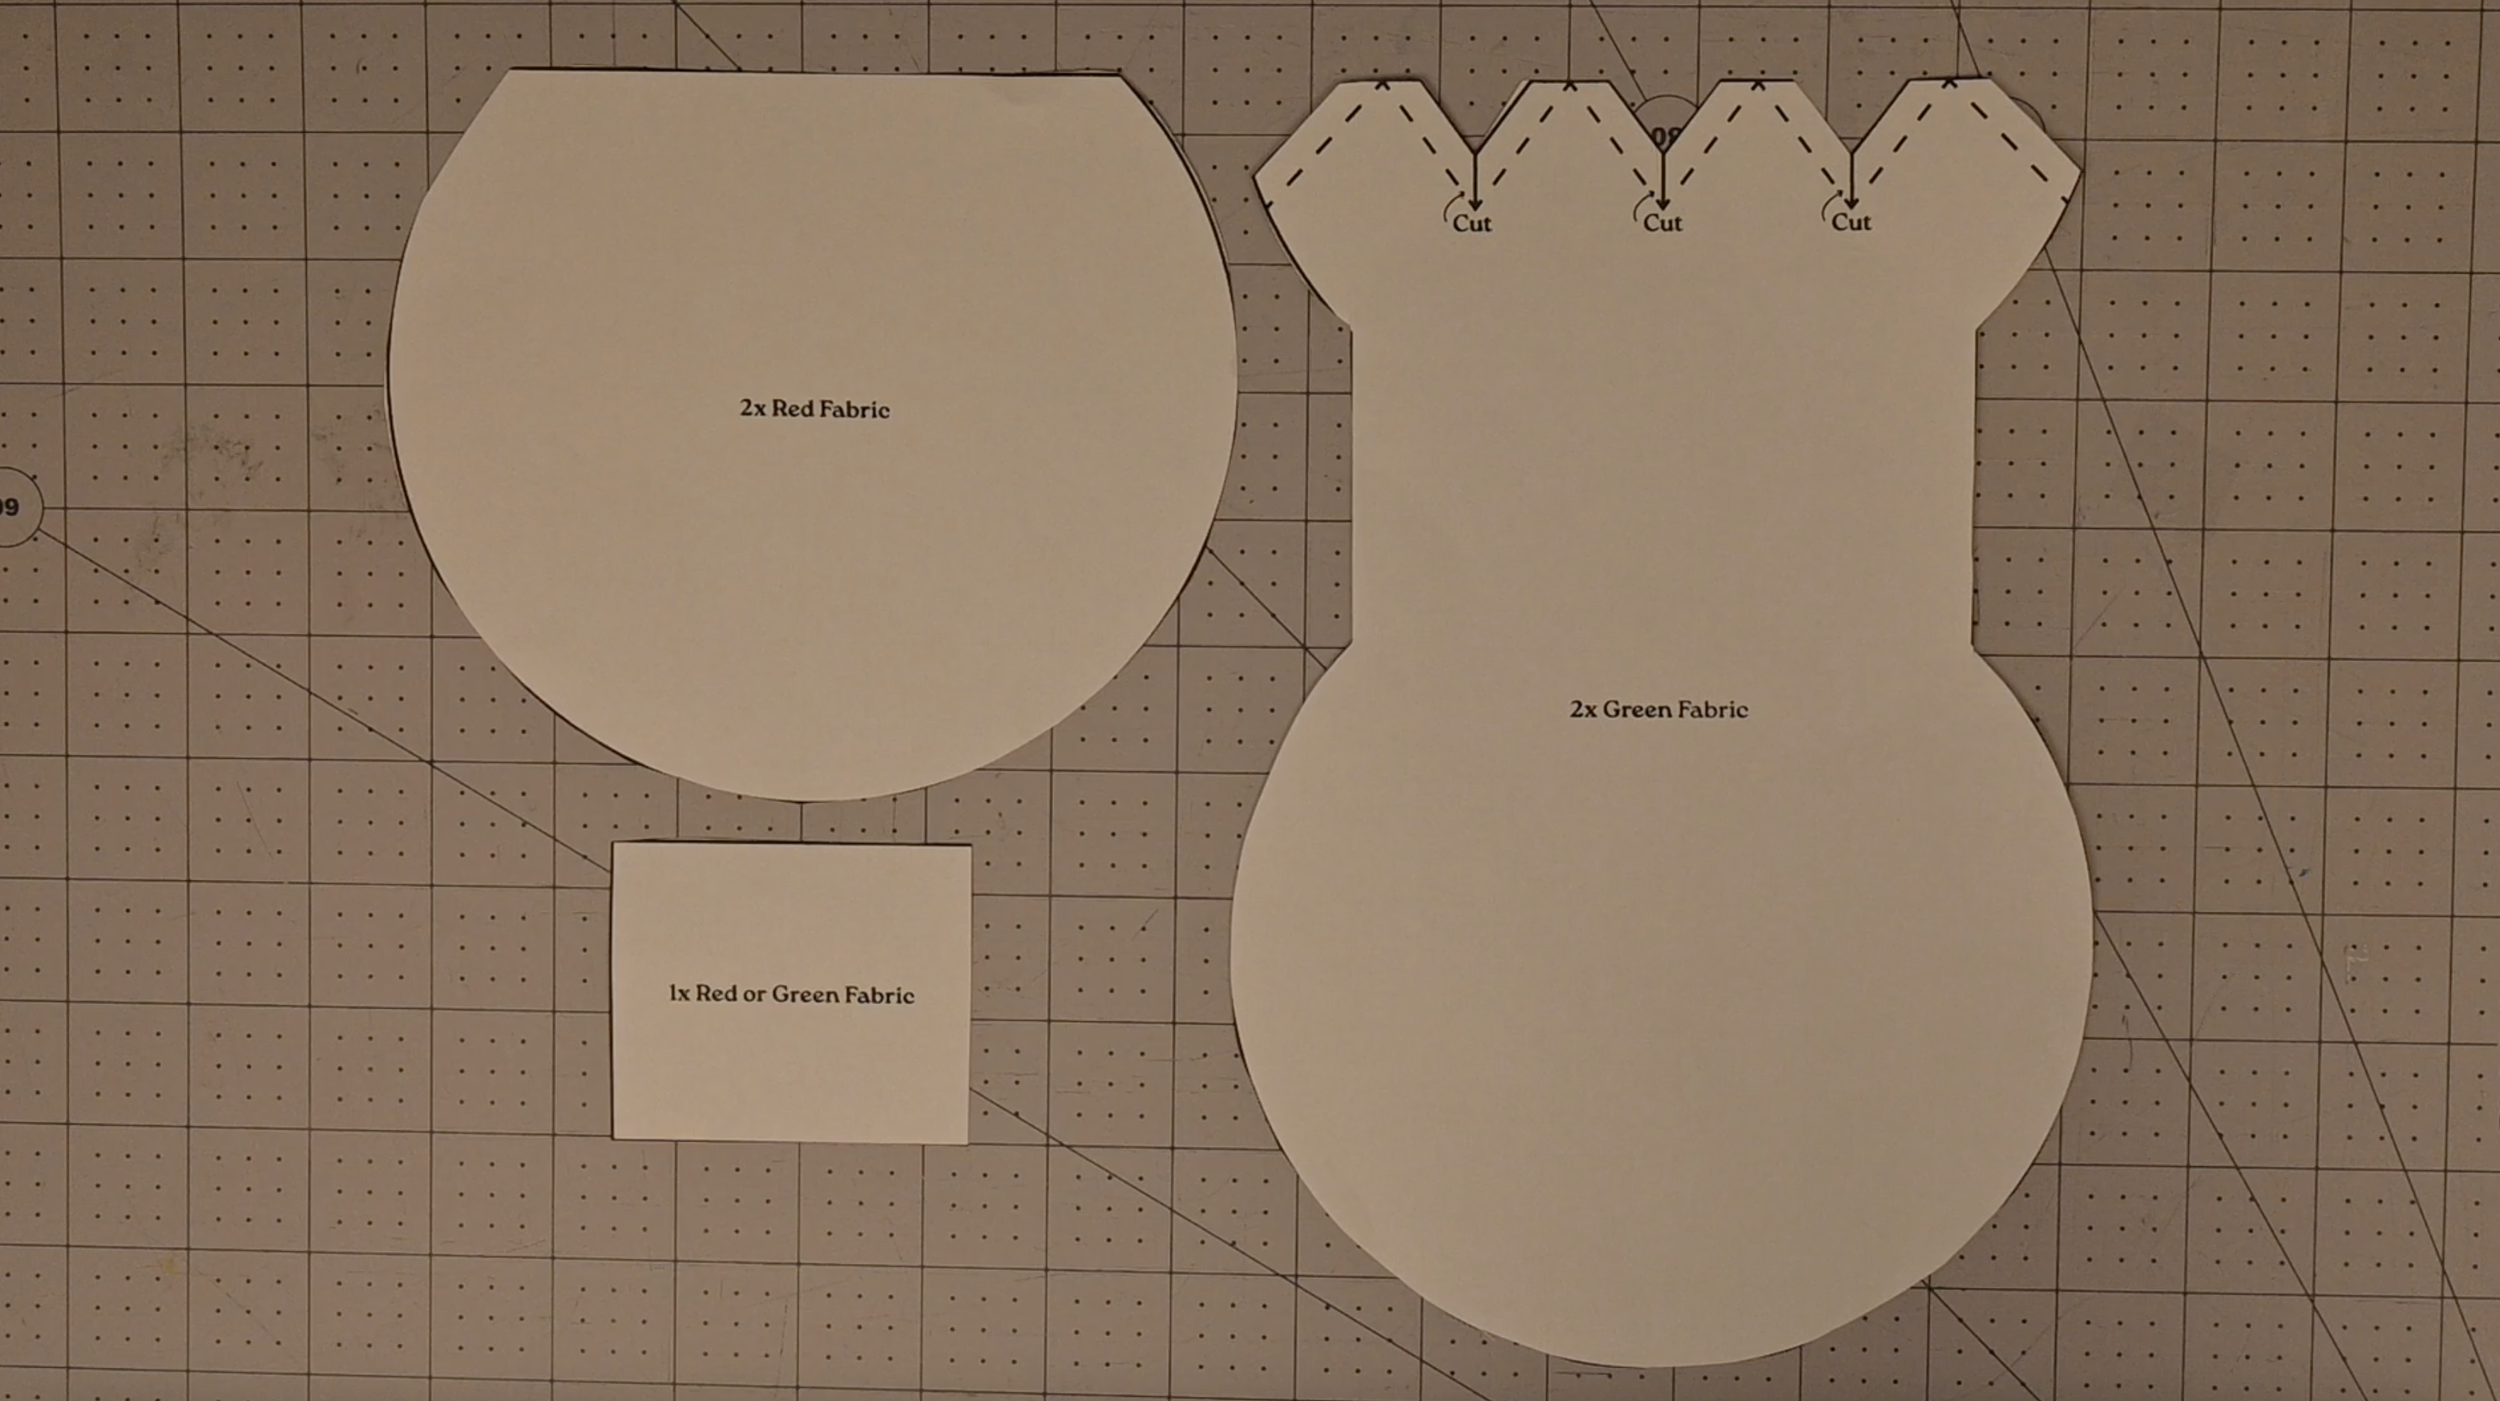
Download the pattern and print it on standard 8.5" x 11" paper. Do not "Scale to Fit.” Ensure it prints at 100% to keep the dimensions accurate.
Cut out the paper templates.
Step 2: Cut Your Fabric
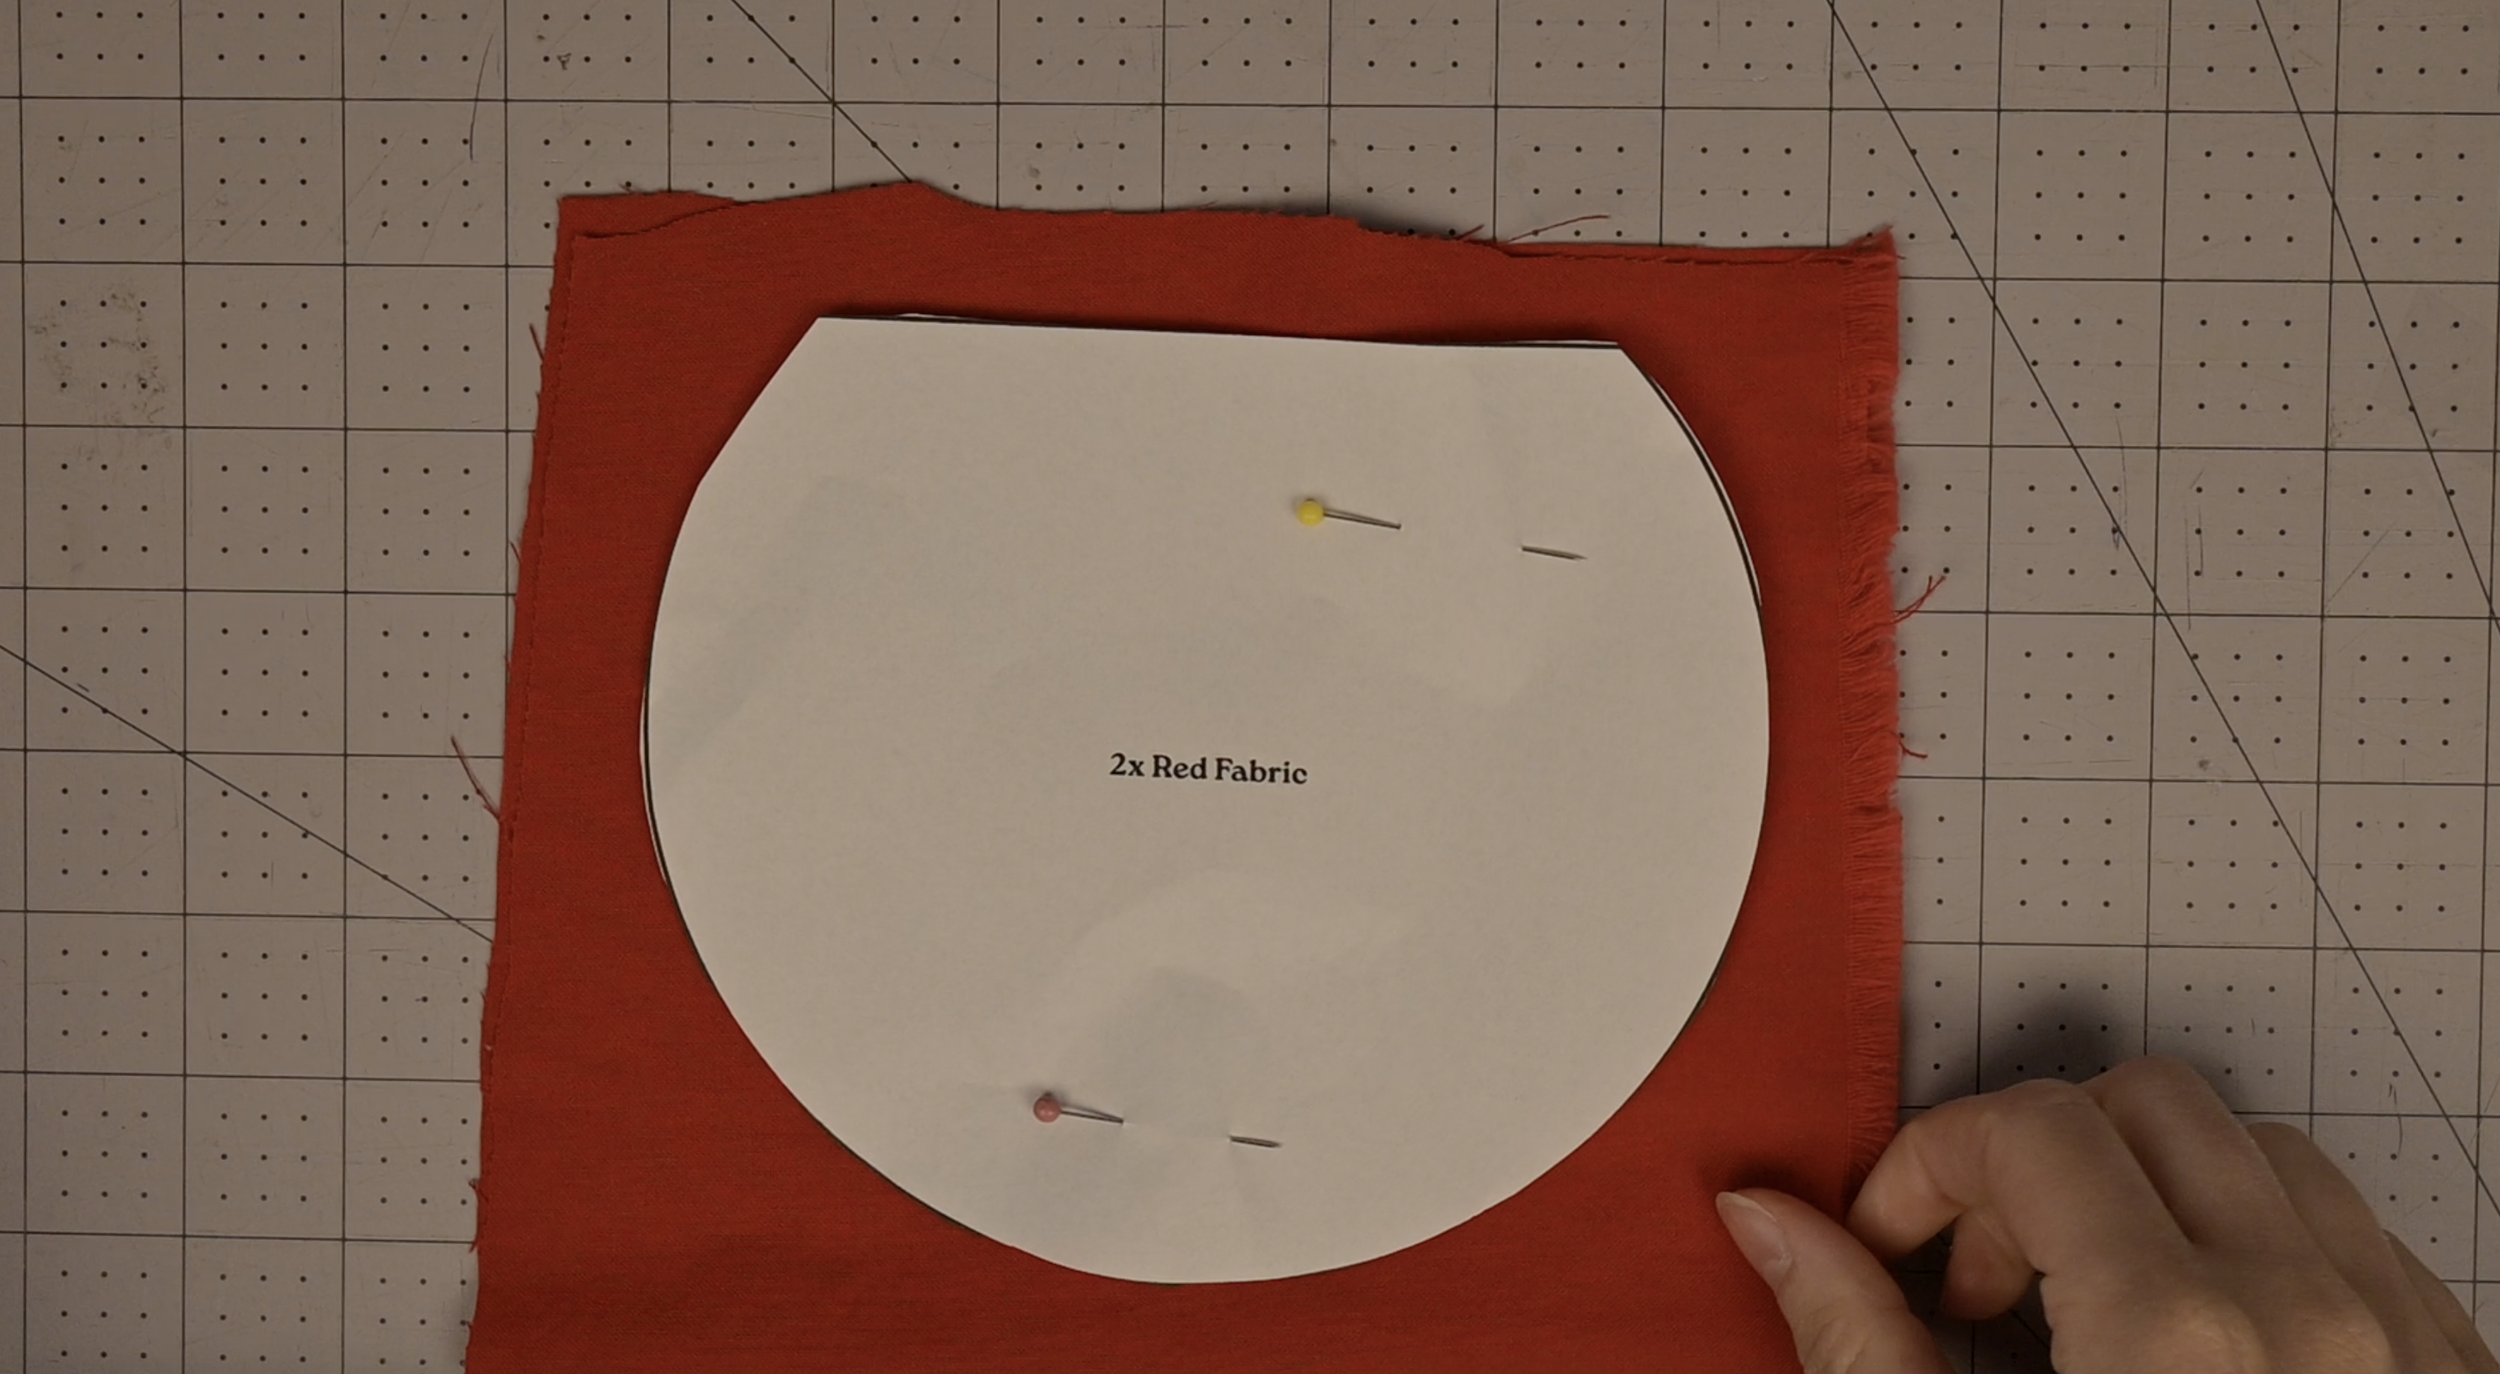
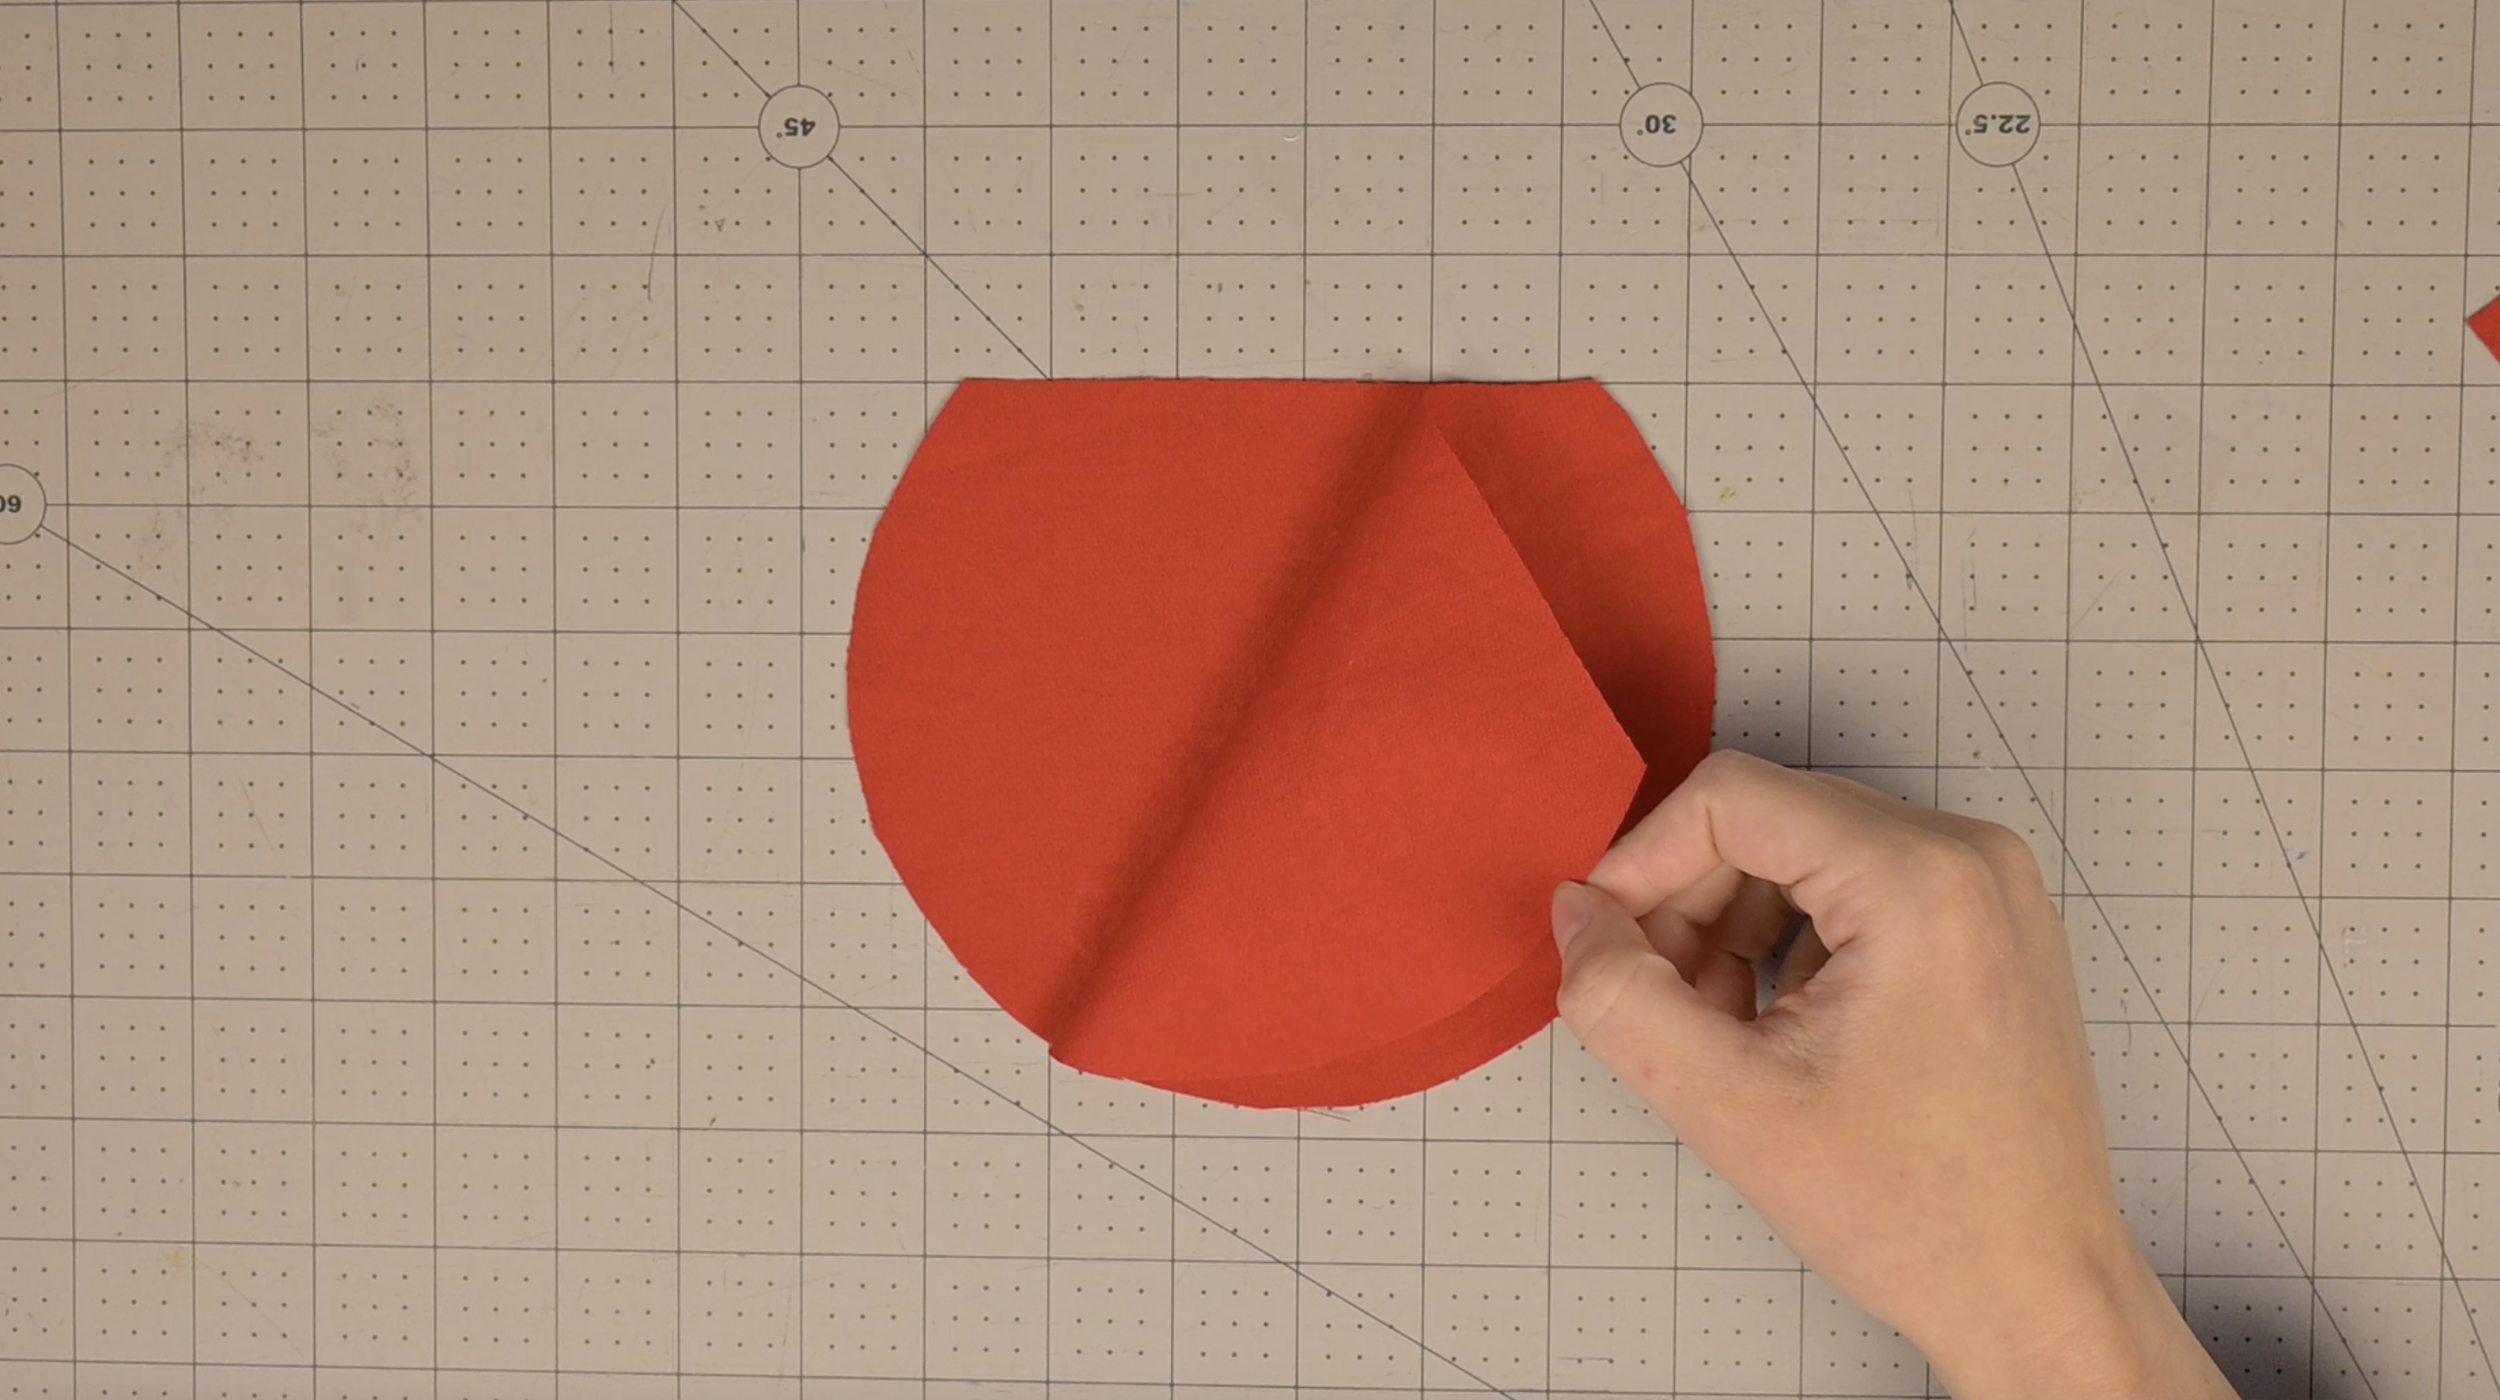
Red Fabric:
Fold the fabric in half, right sides together.
Pin the pattern and cut through both layers. You will have 2 identical pieces
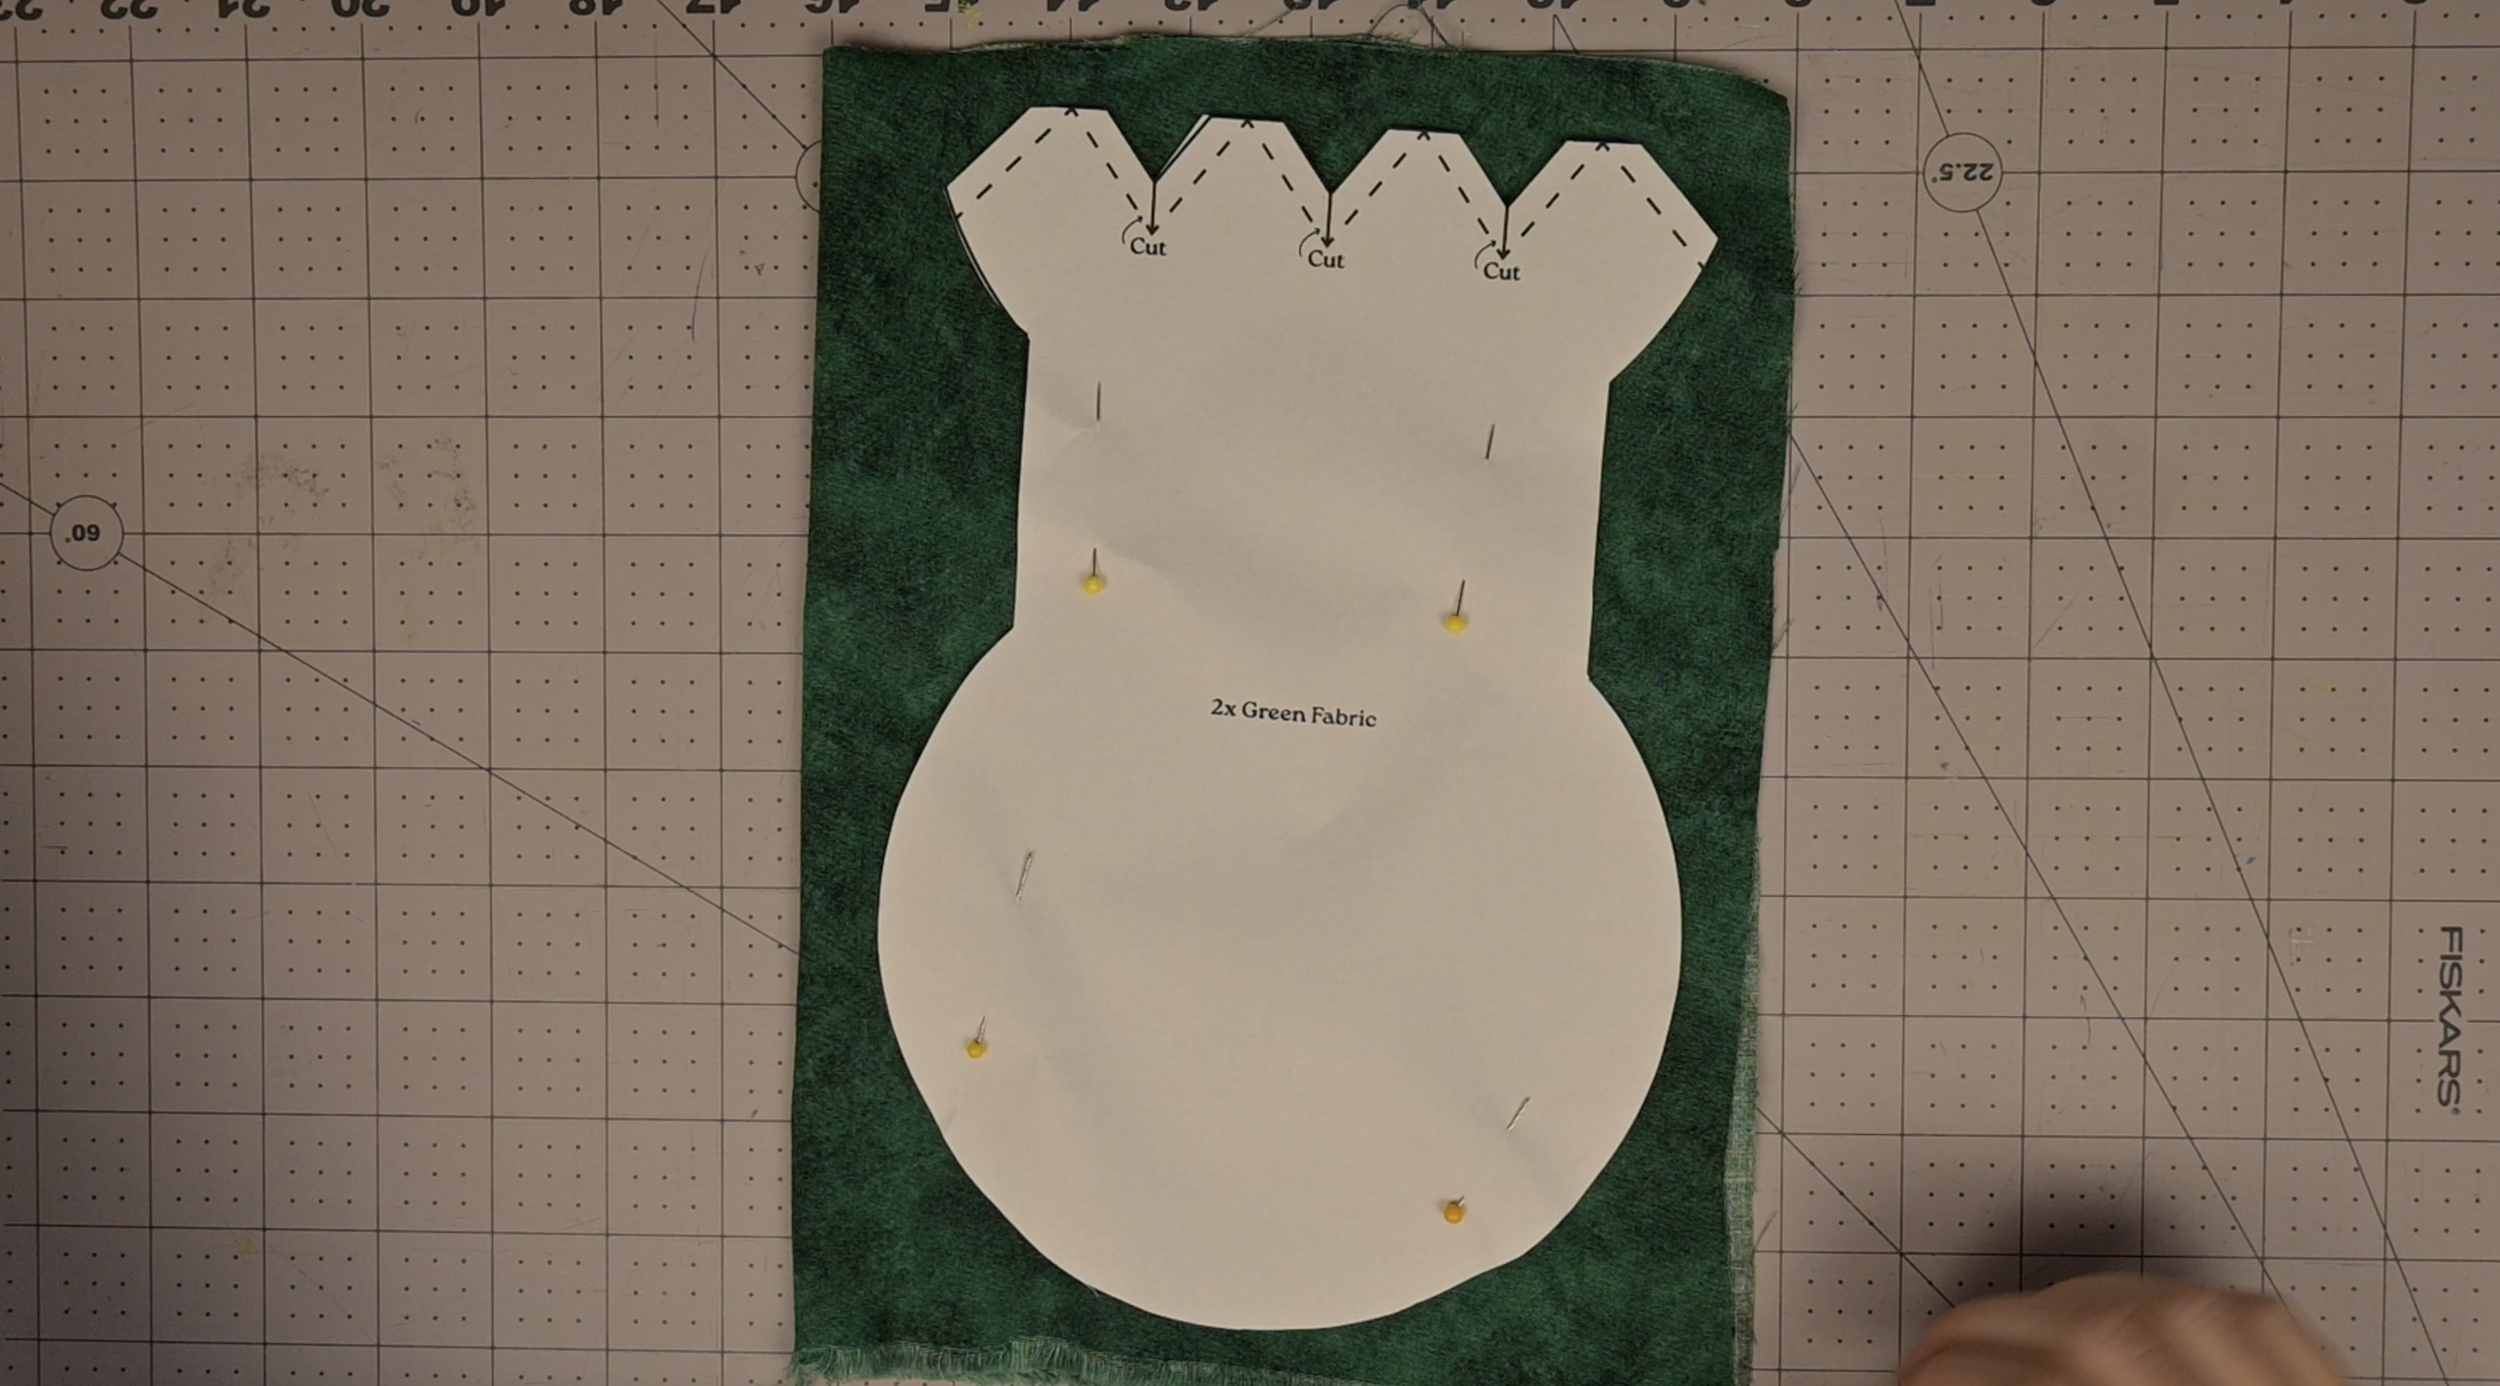
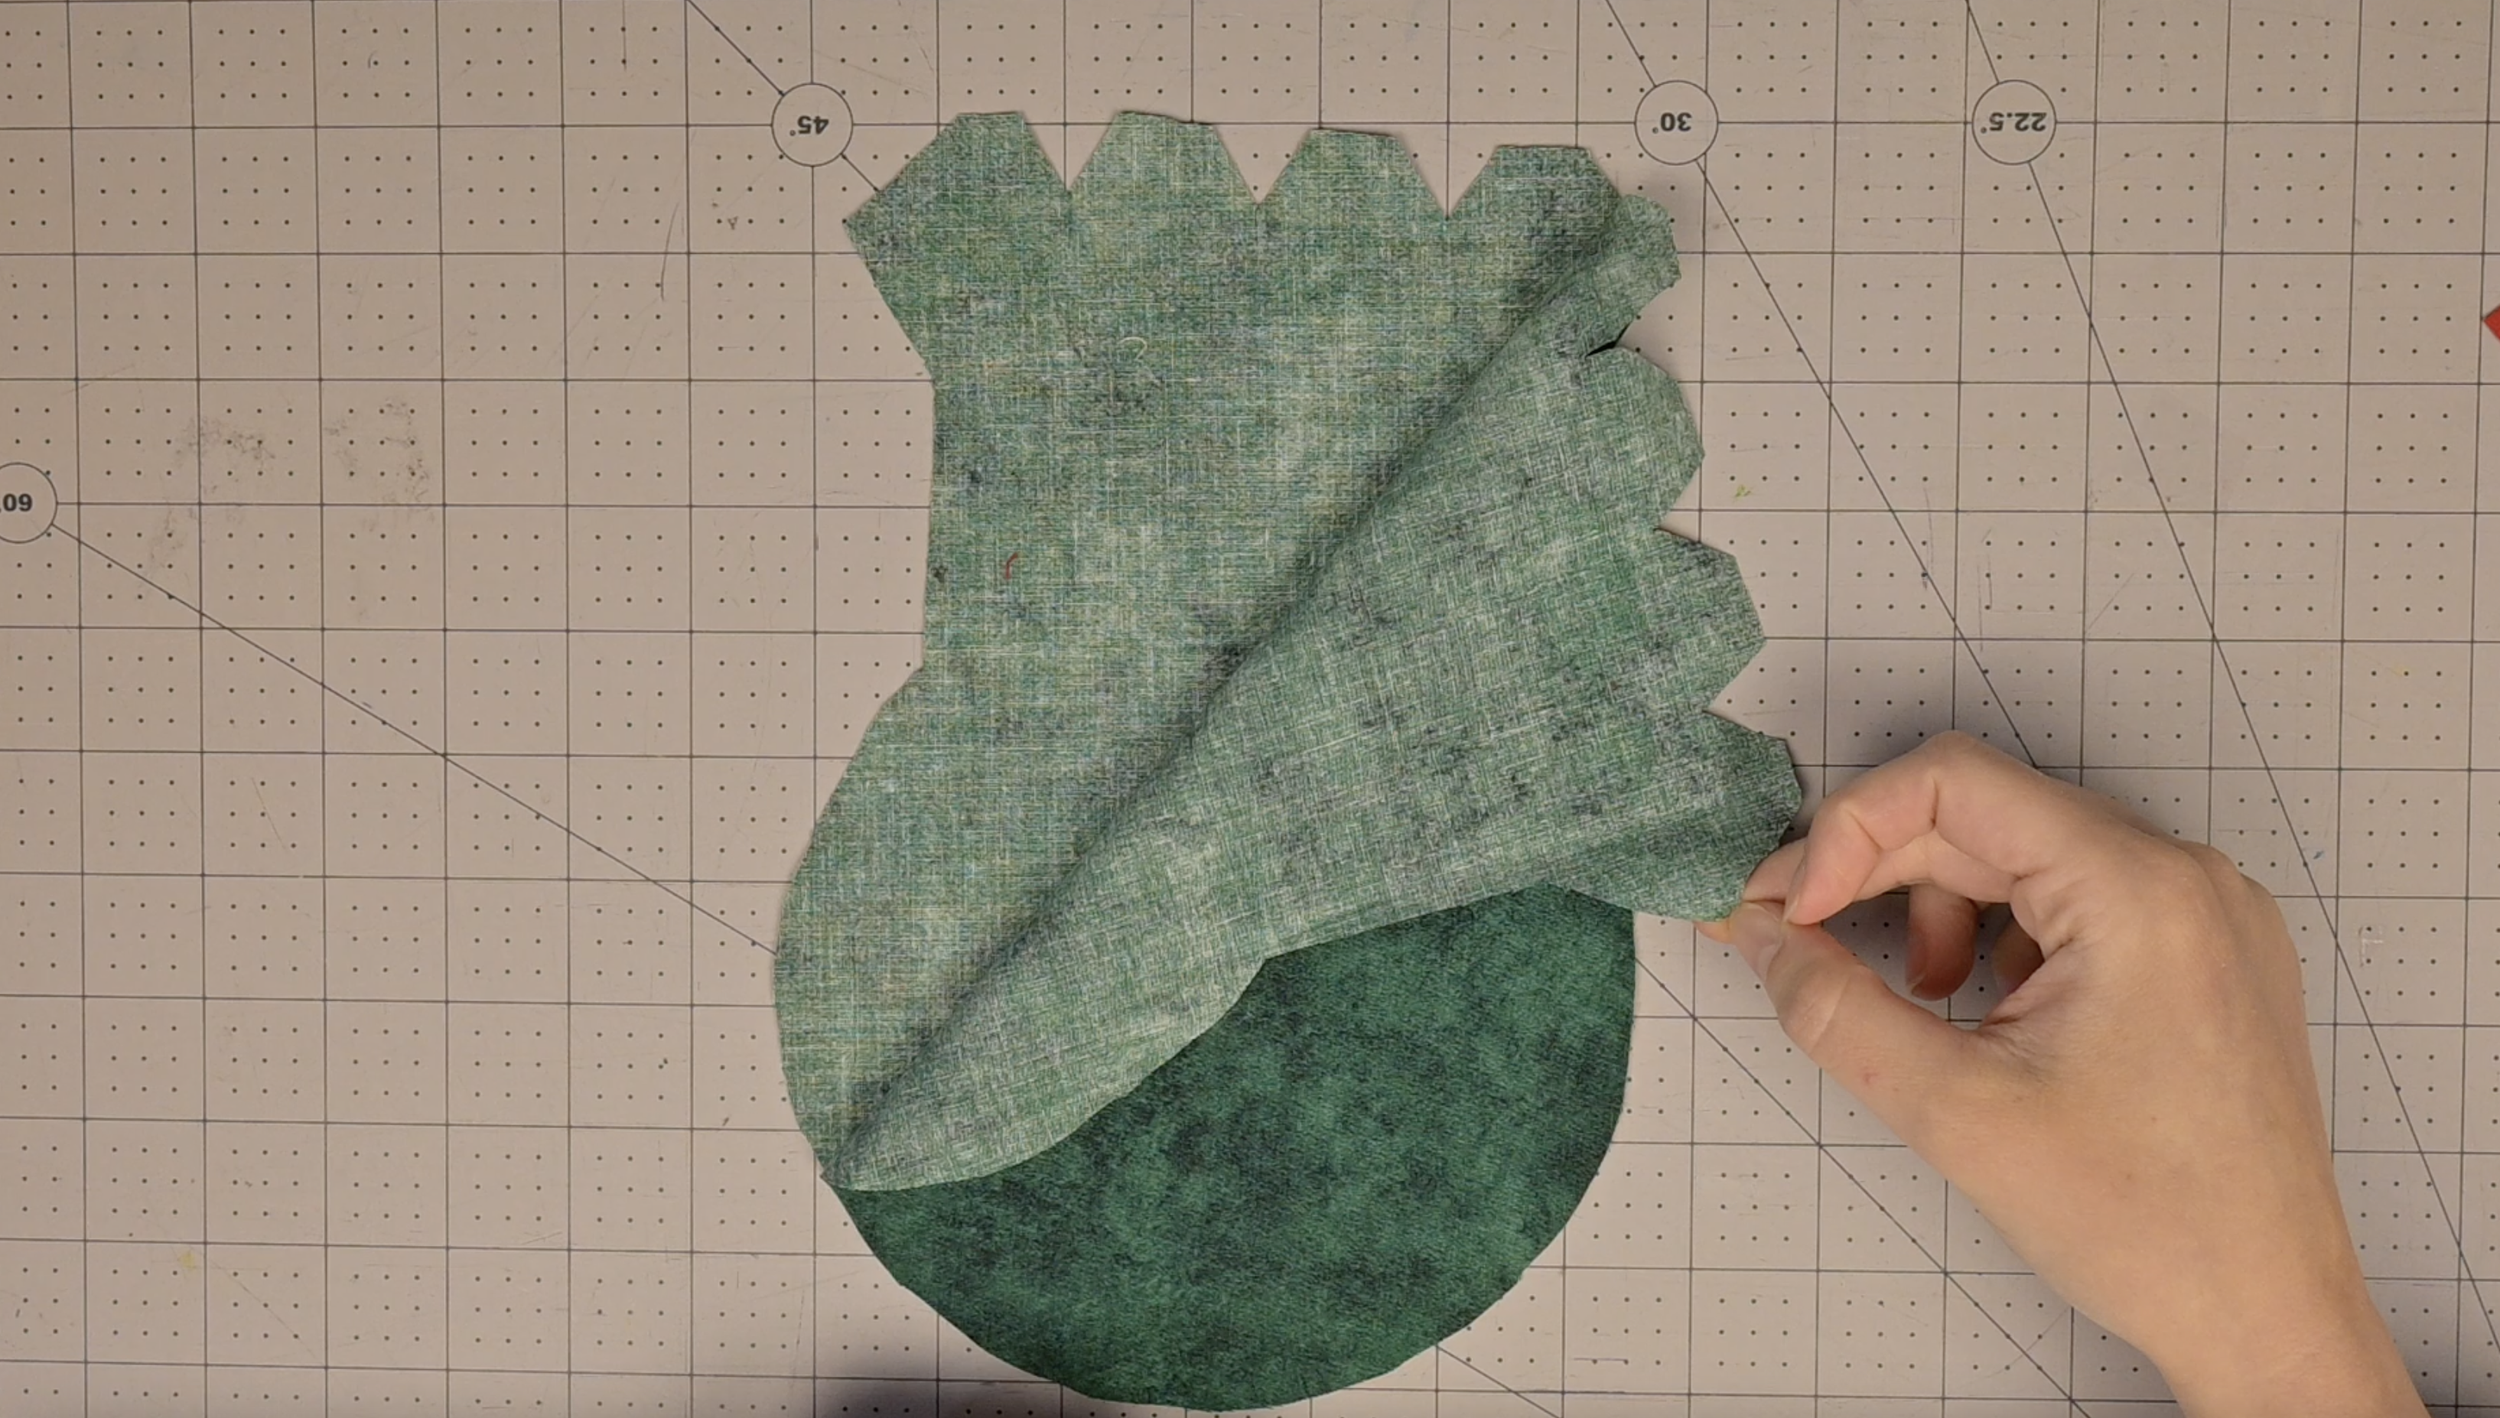
Green Fabric:
Fold the fabric in half, right sides together.
Pin the pattern and cut through both layers. You will have 2 identical pieces
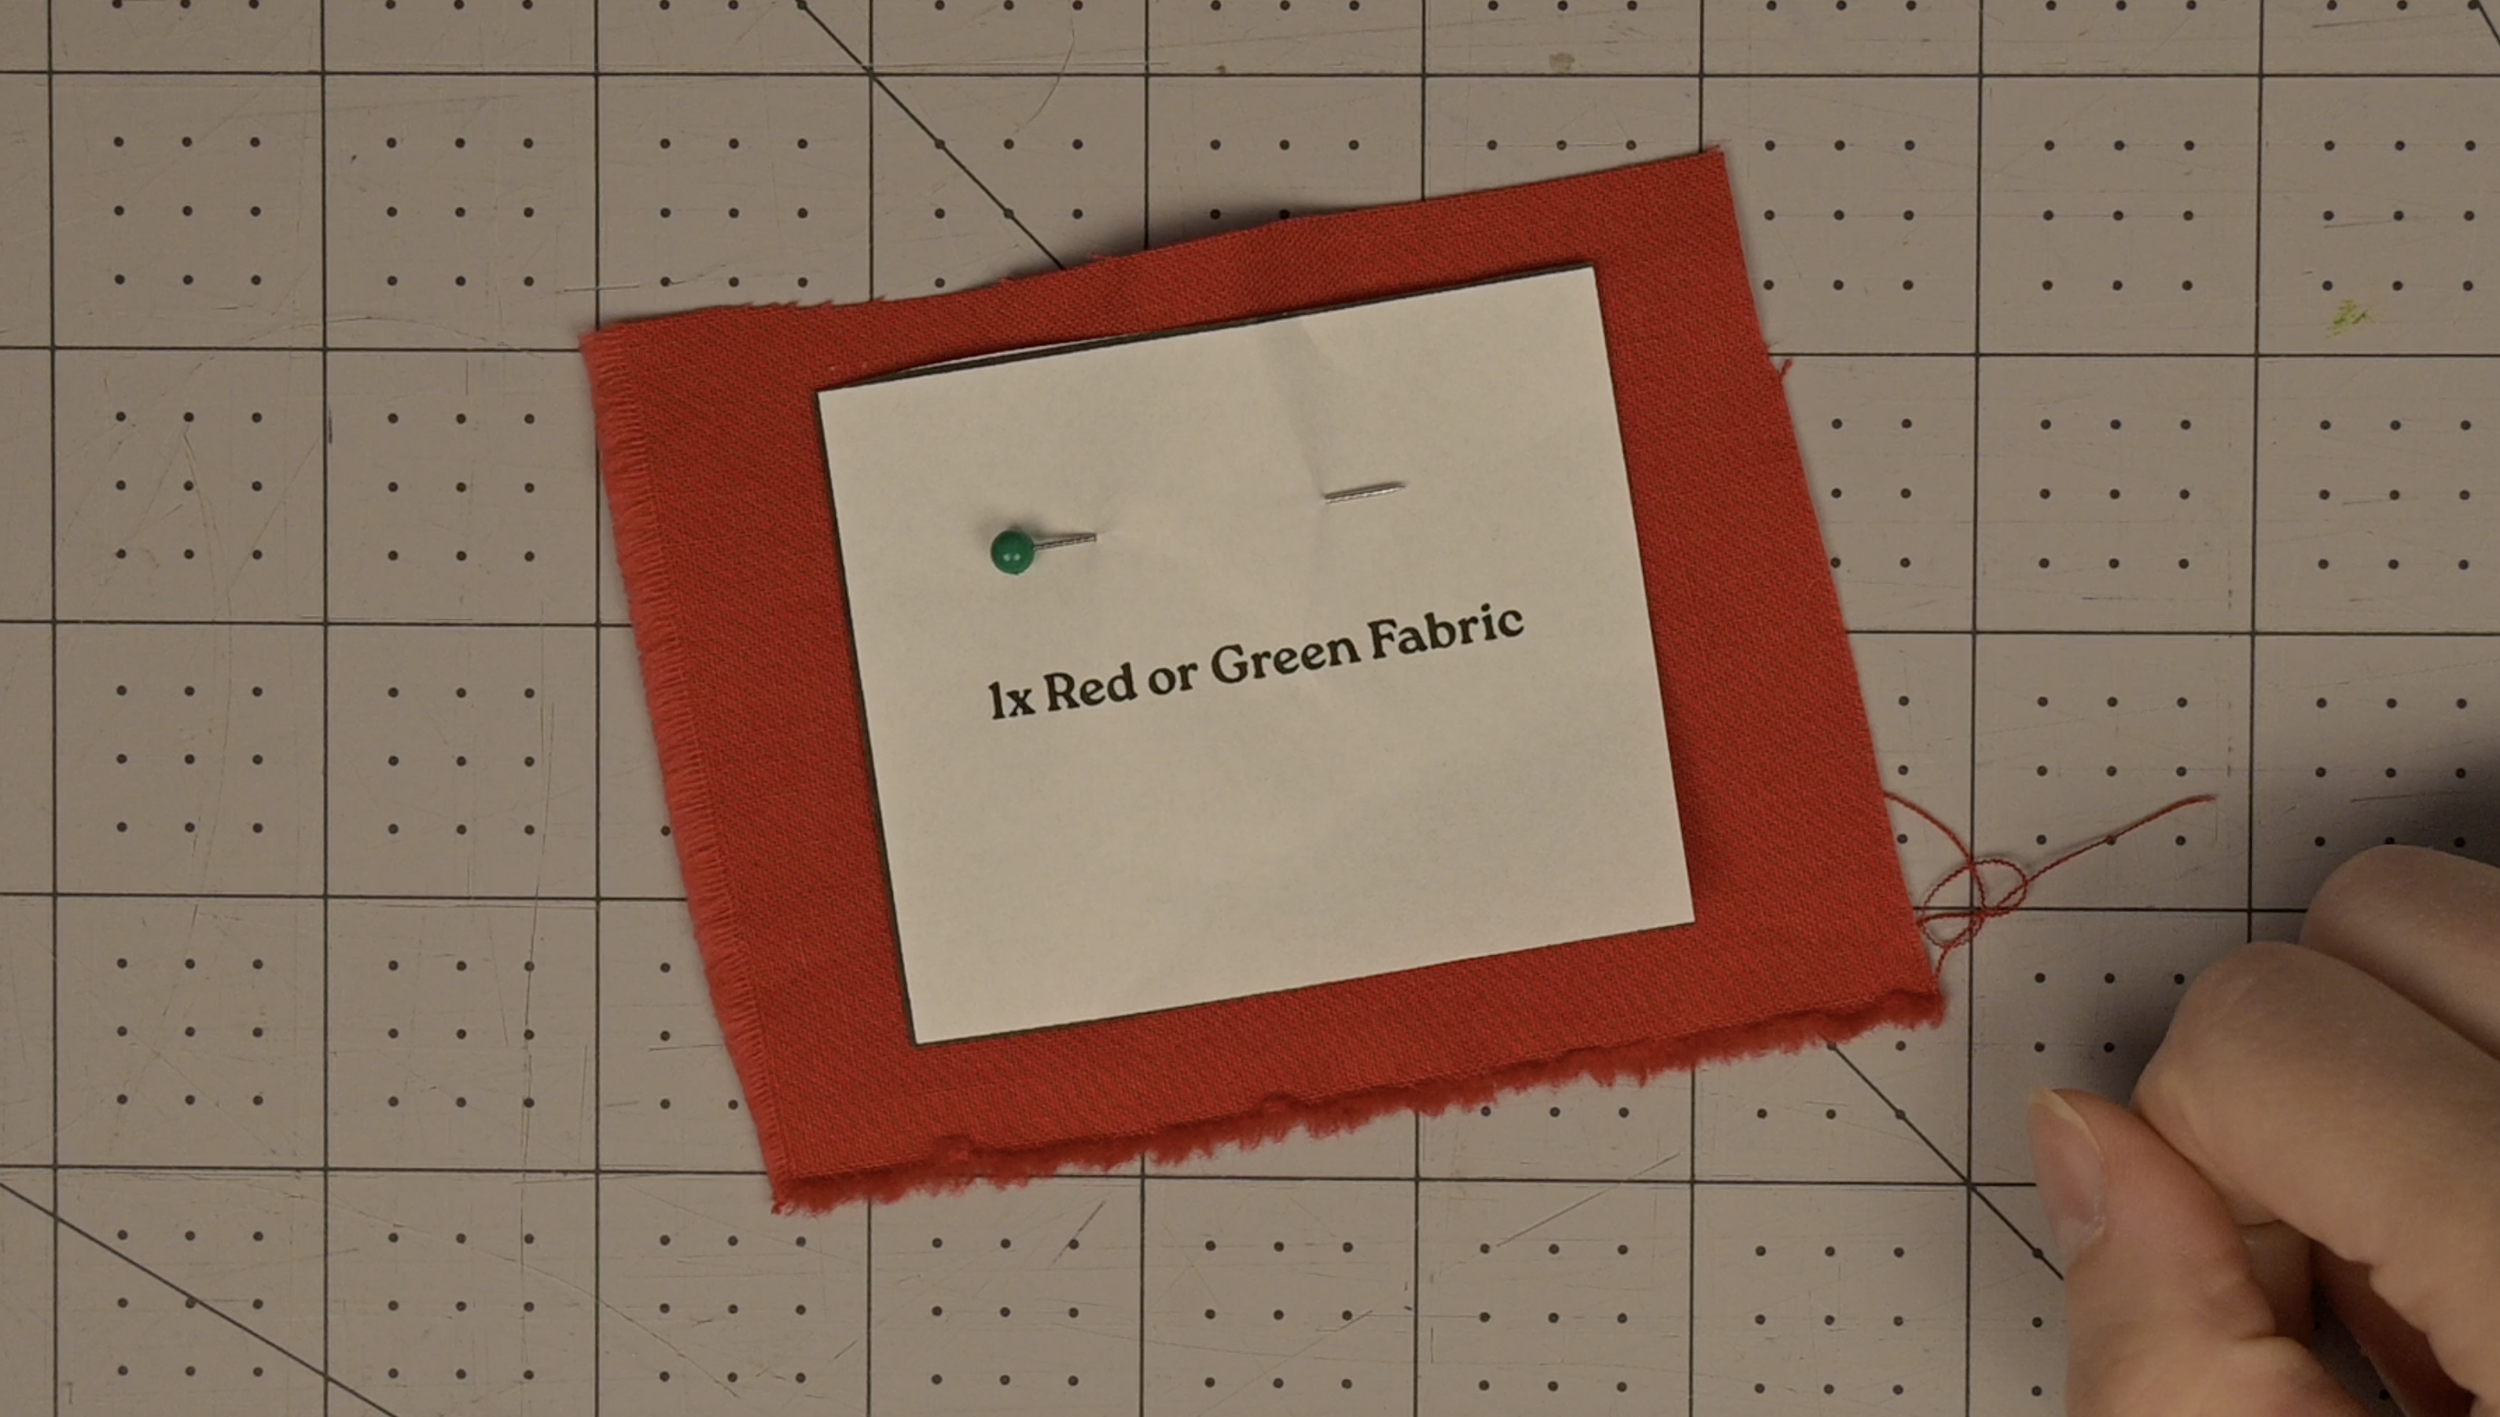
Optional Keychain Loop:
Pin and cut 1 single layer using the loop pattern piece
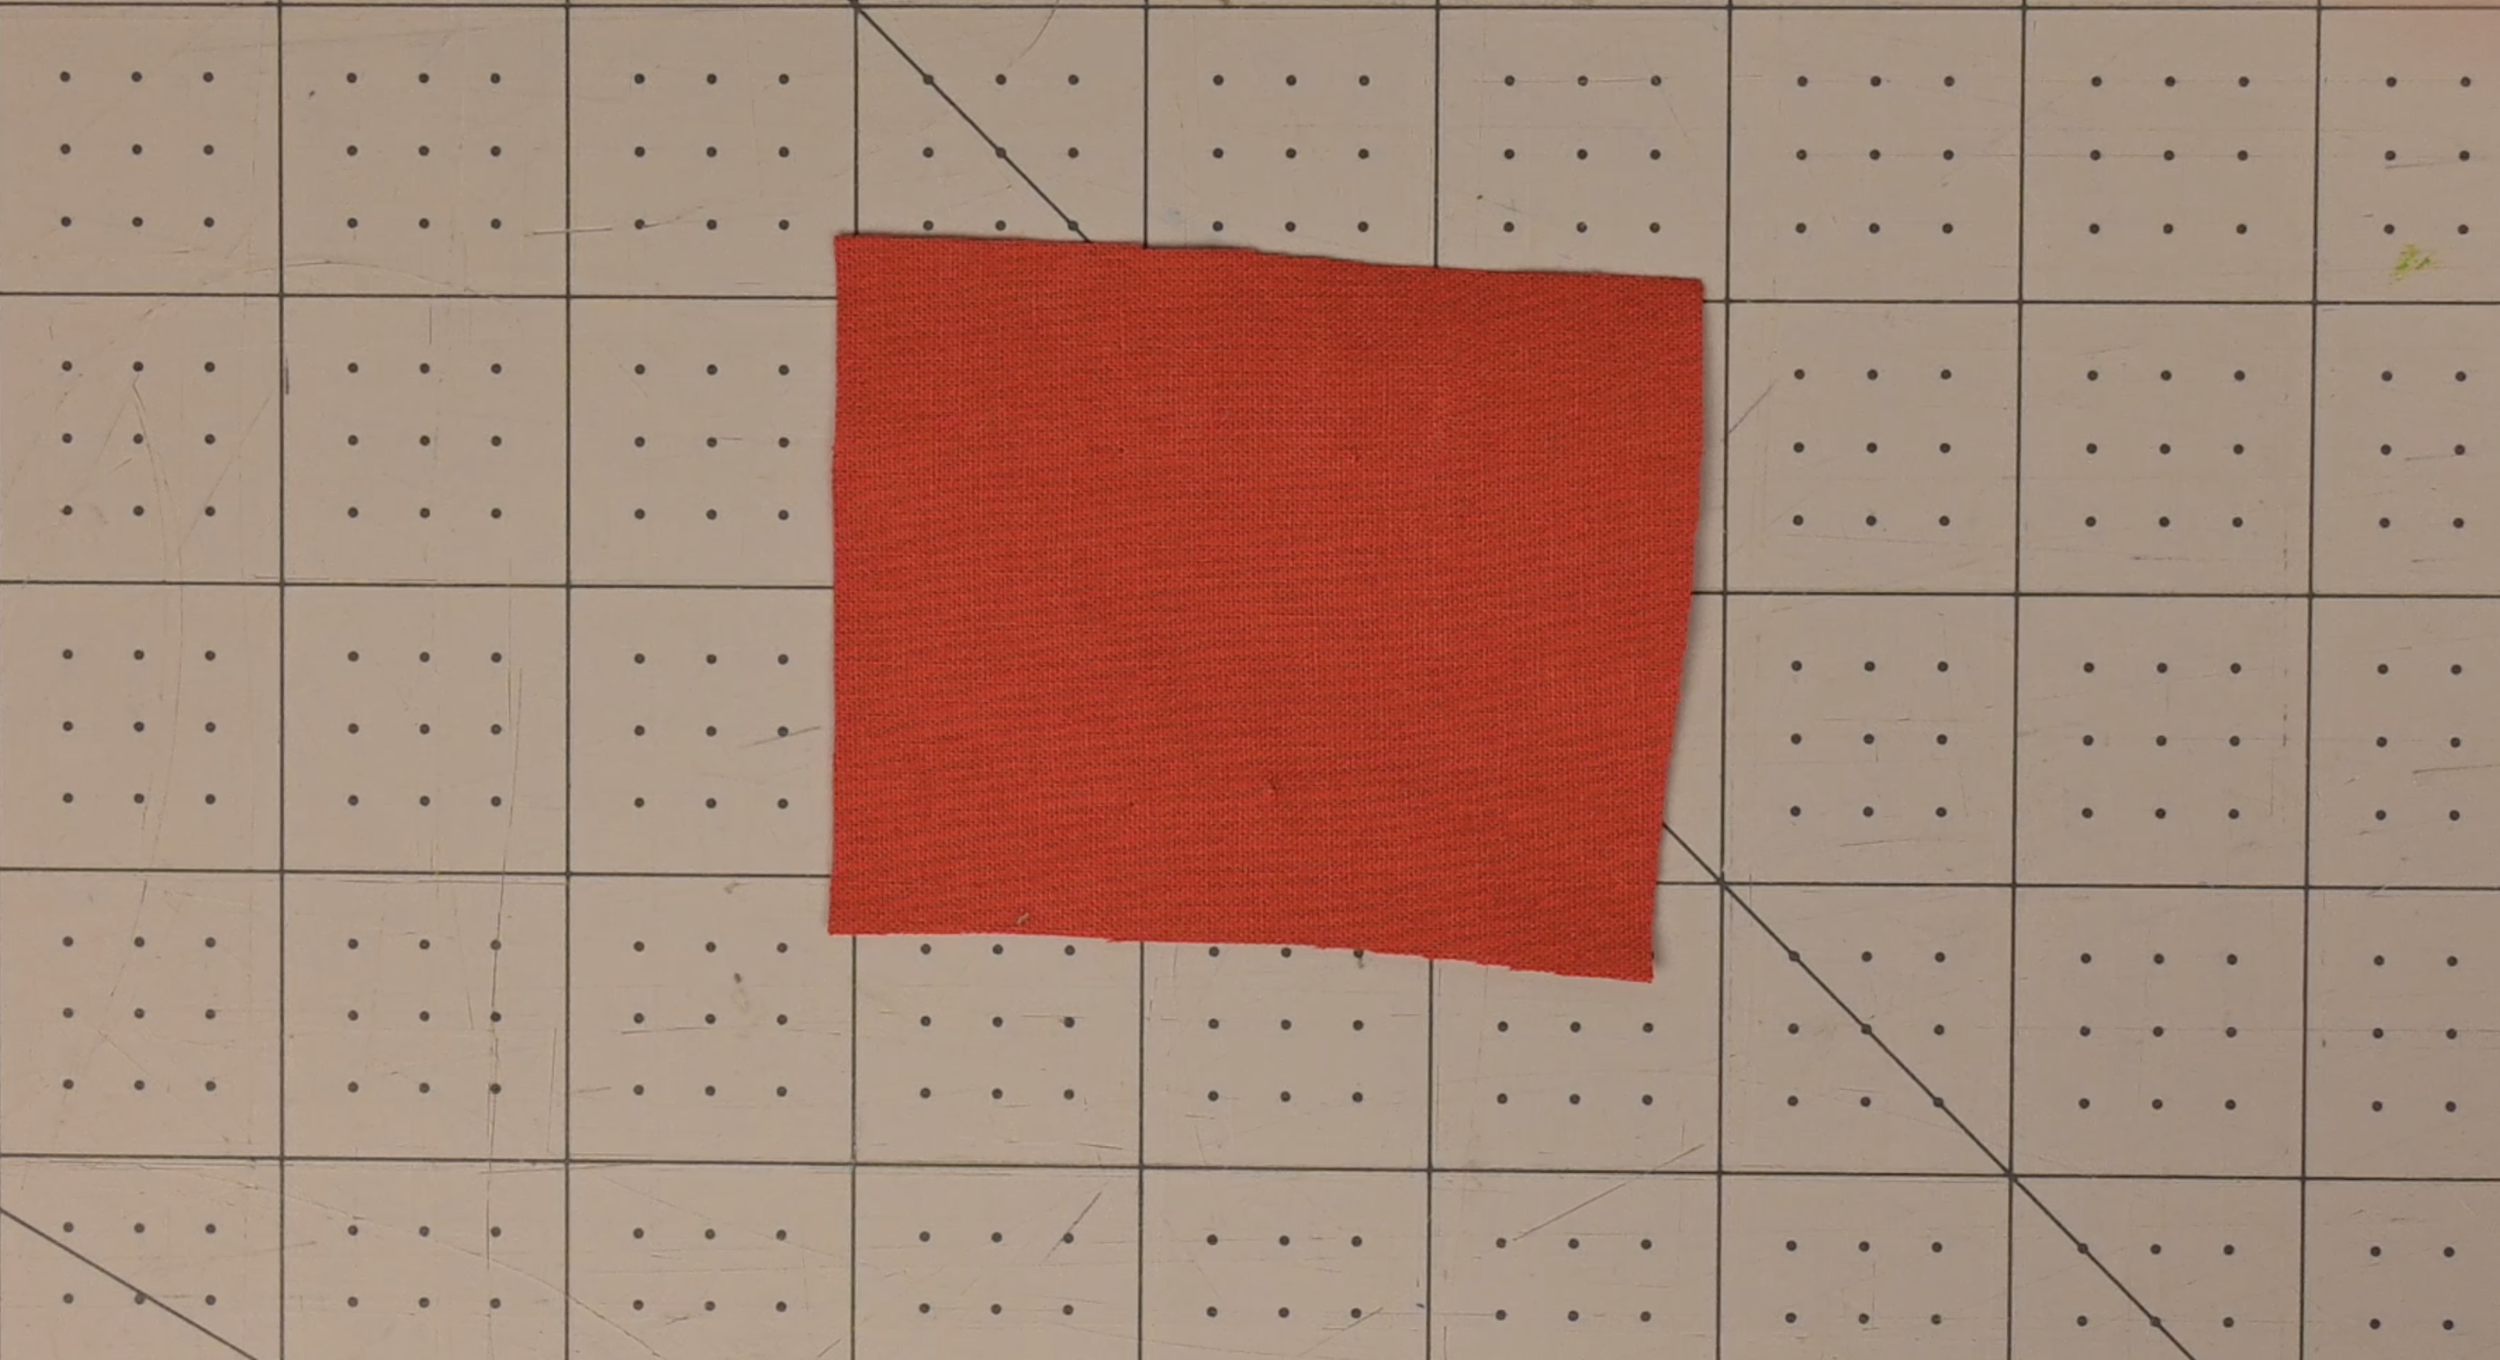
Step 3: Prepare the Green Fabric
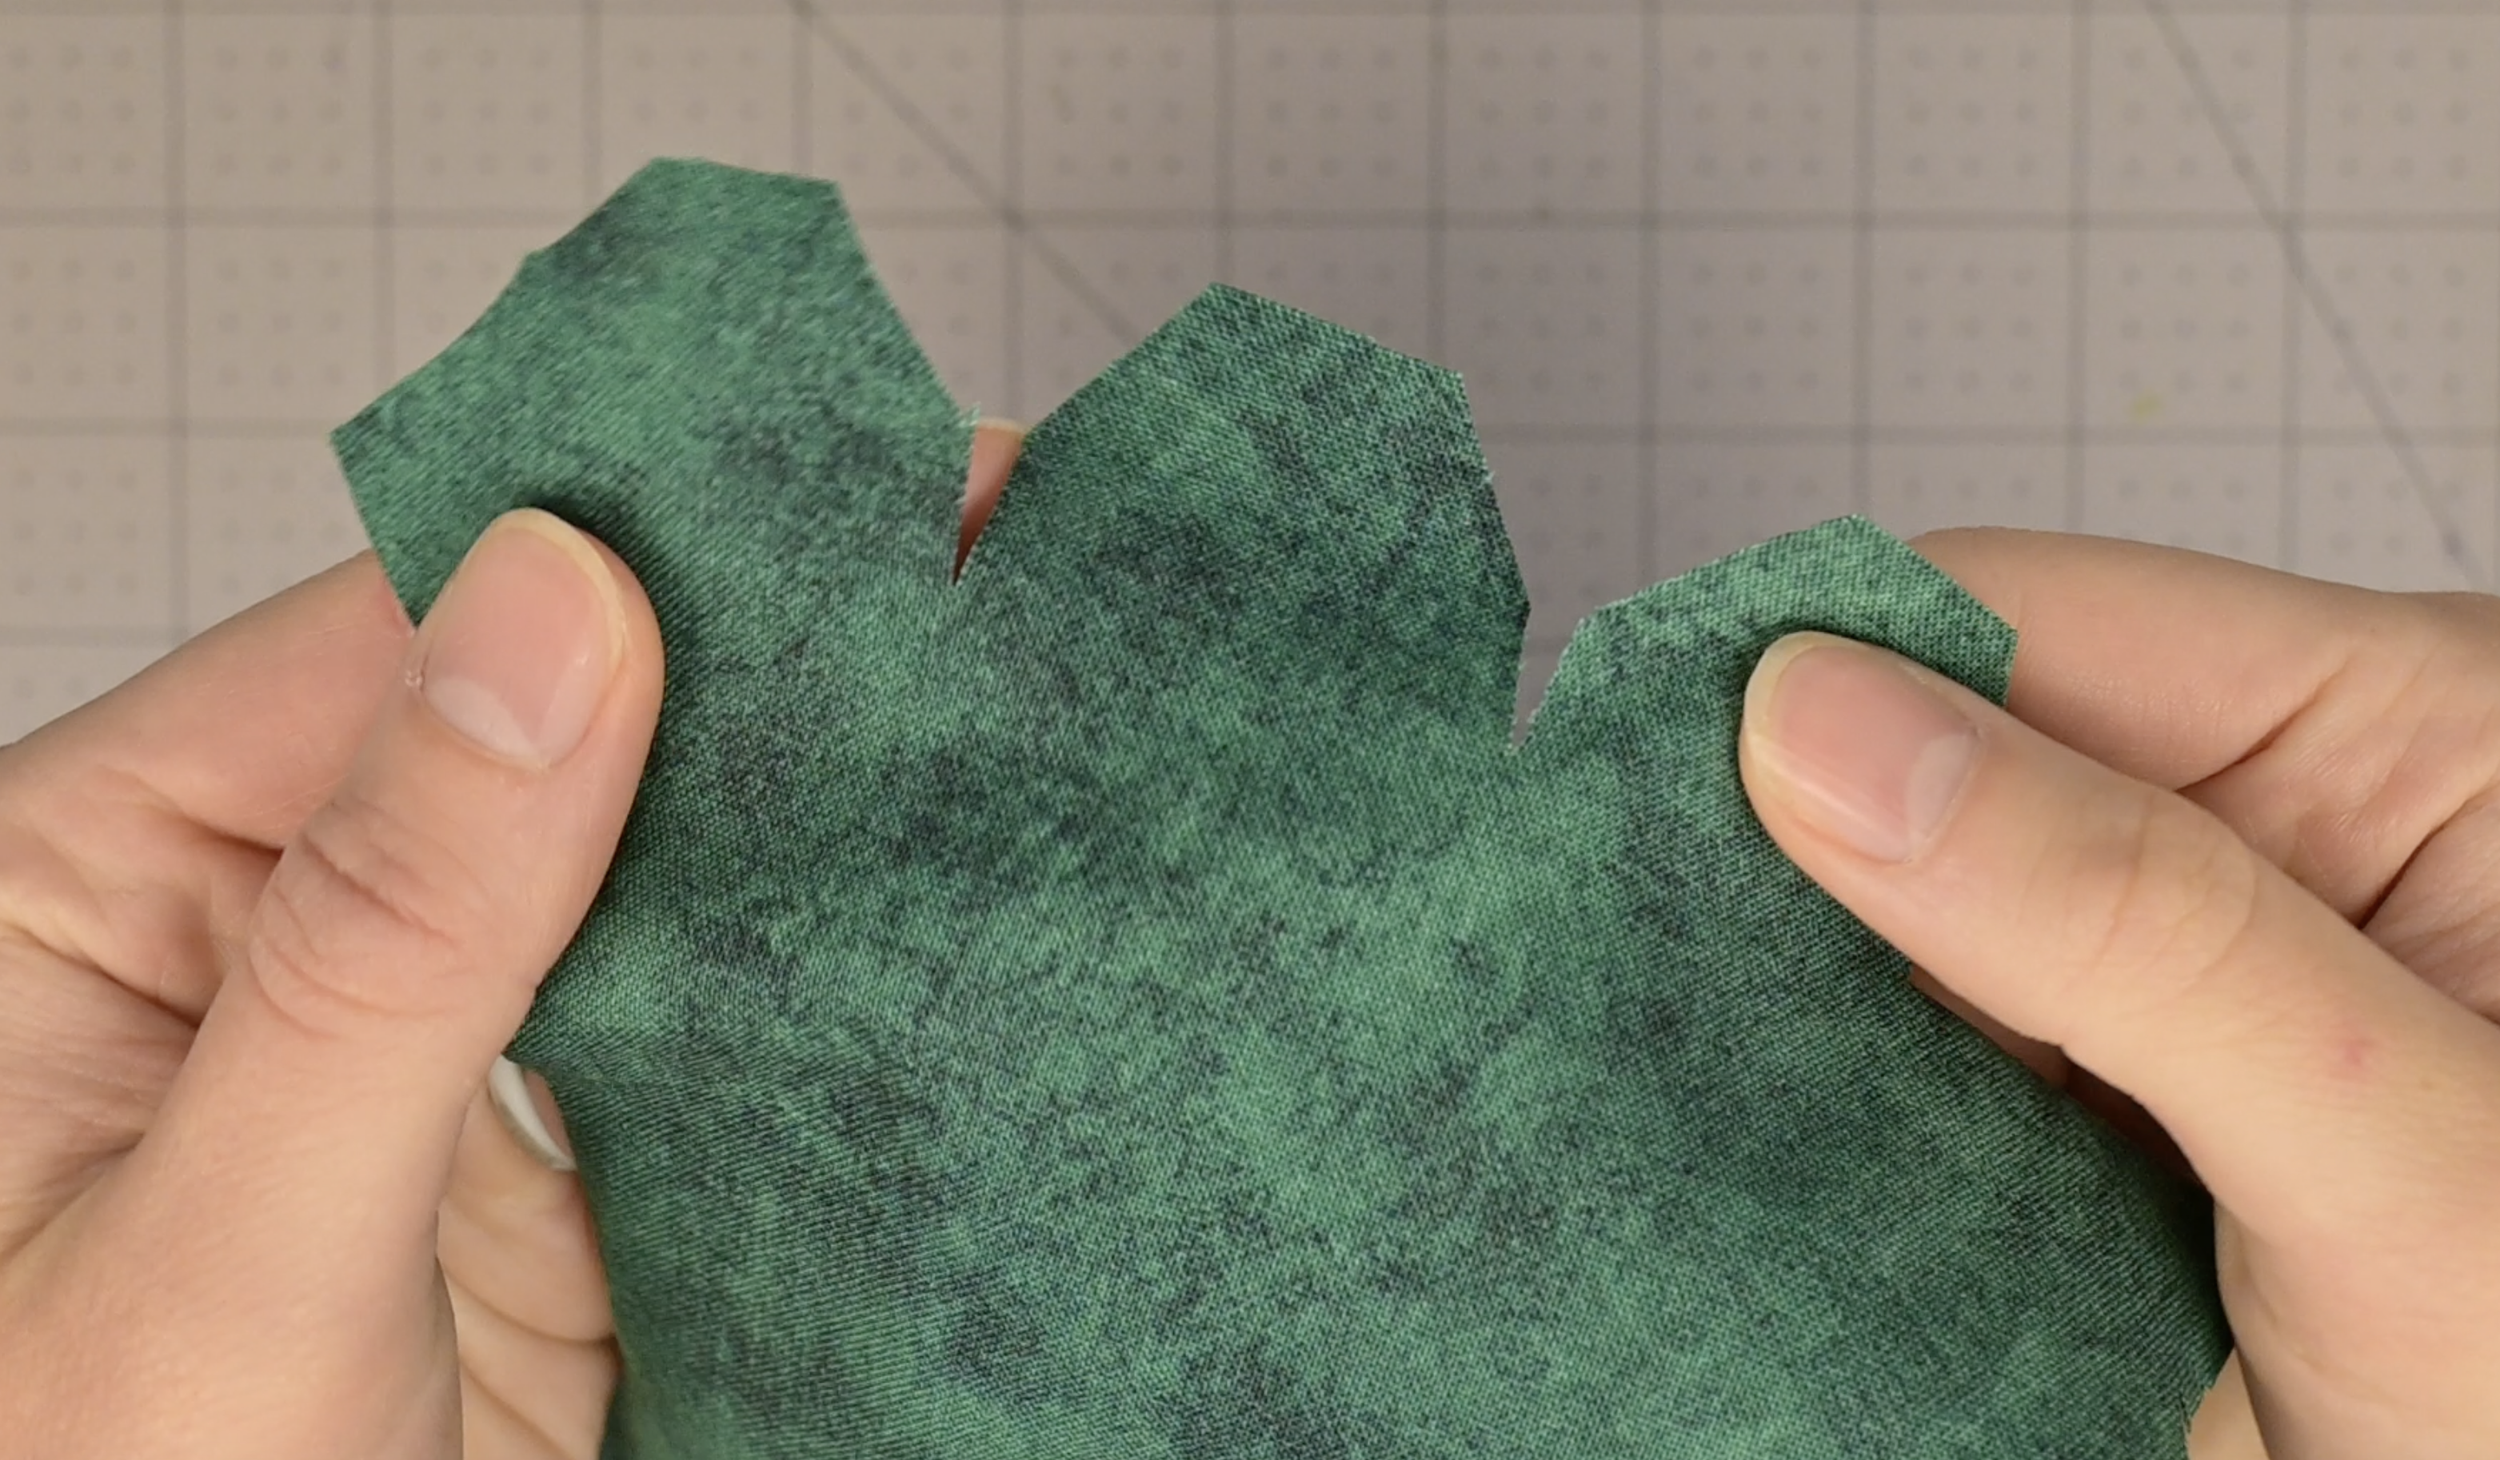
Ensure that the small slits were cut on the zig-zag edge shown on the pattern
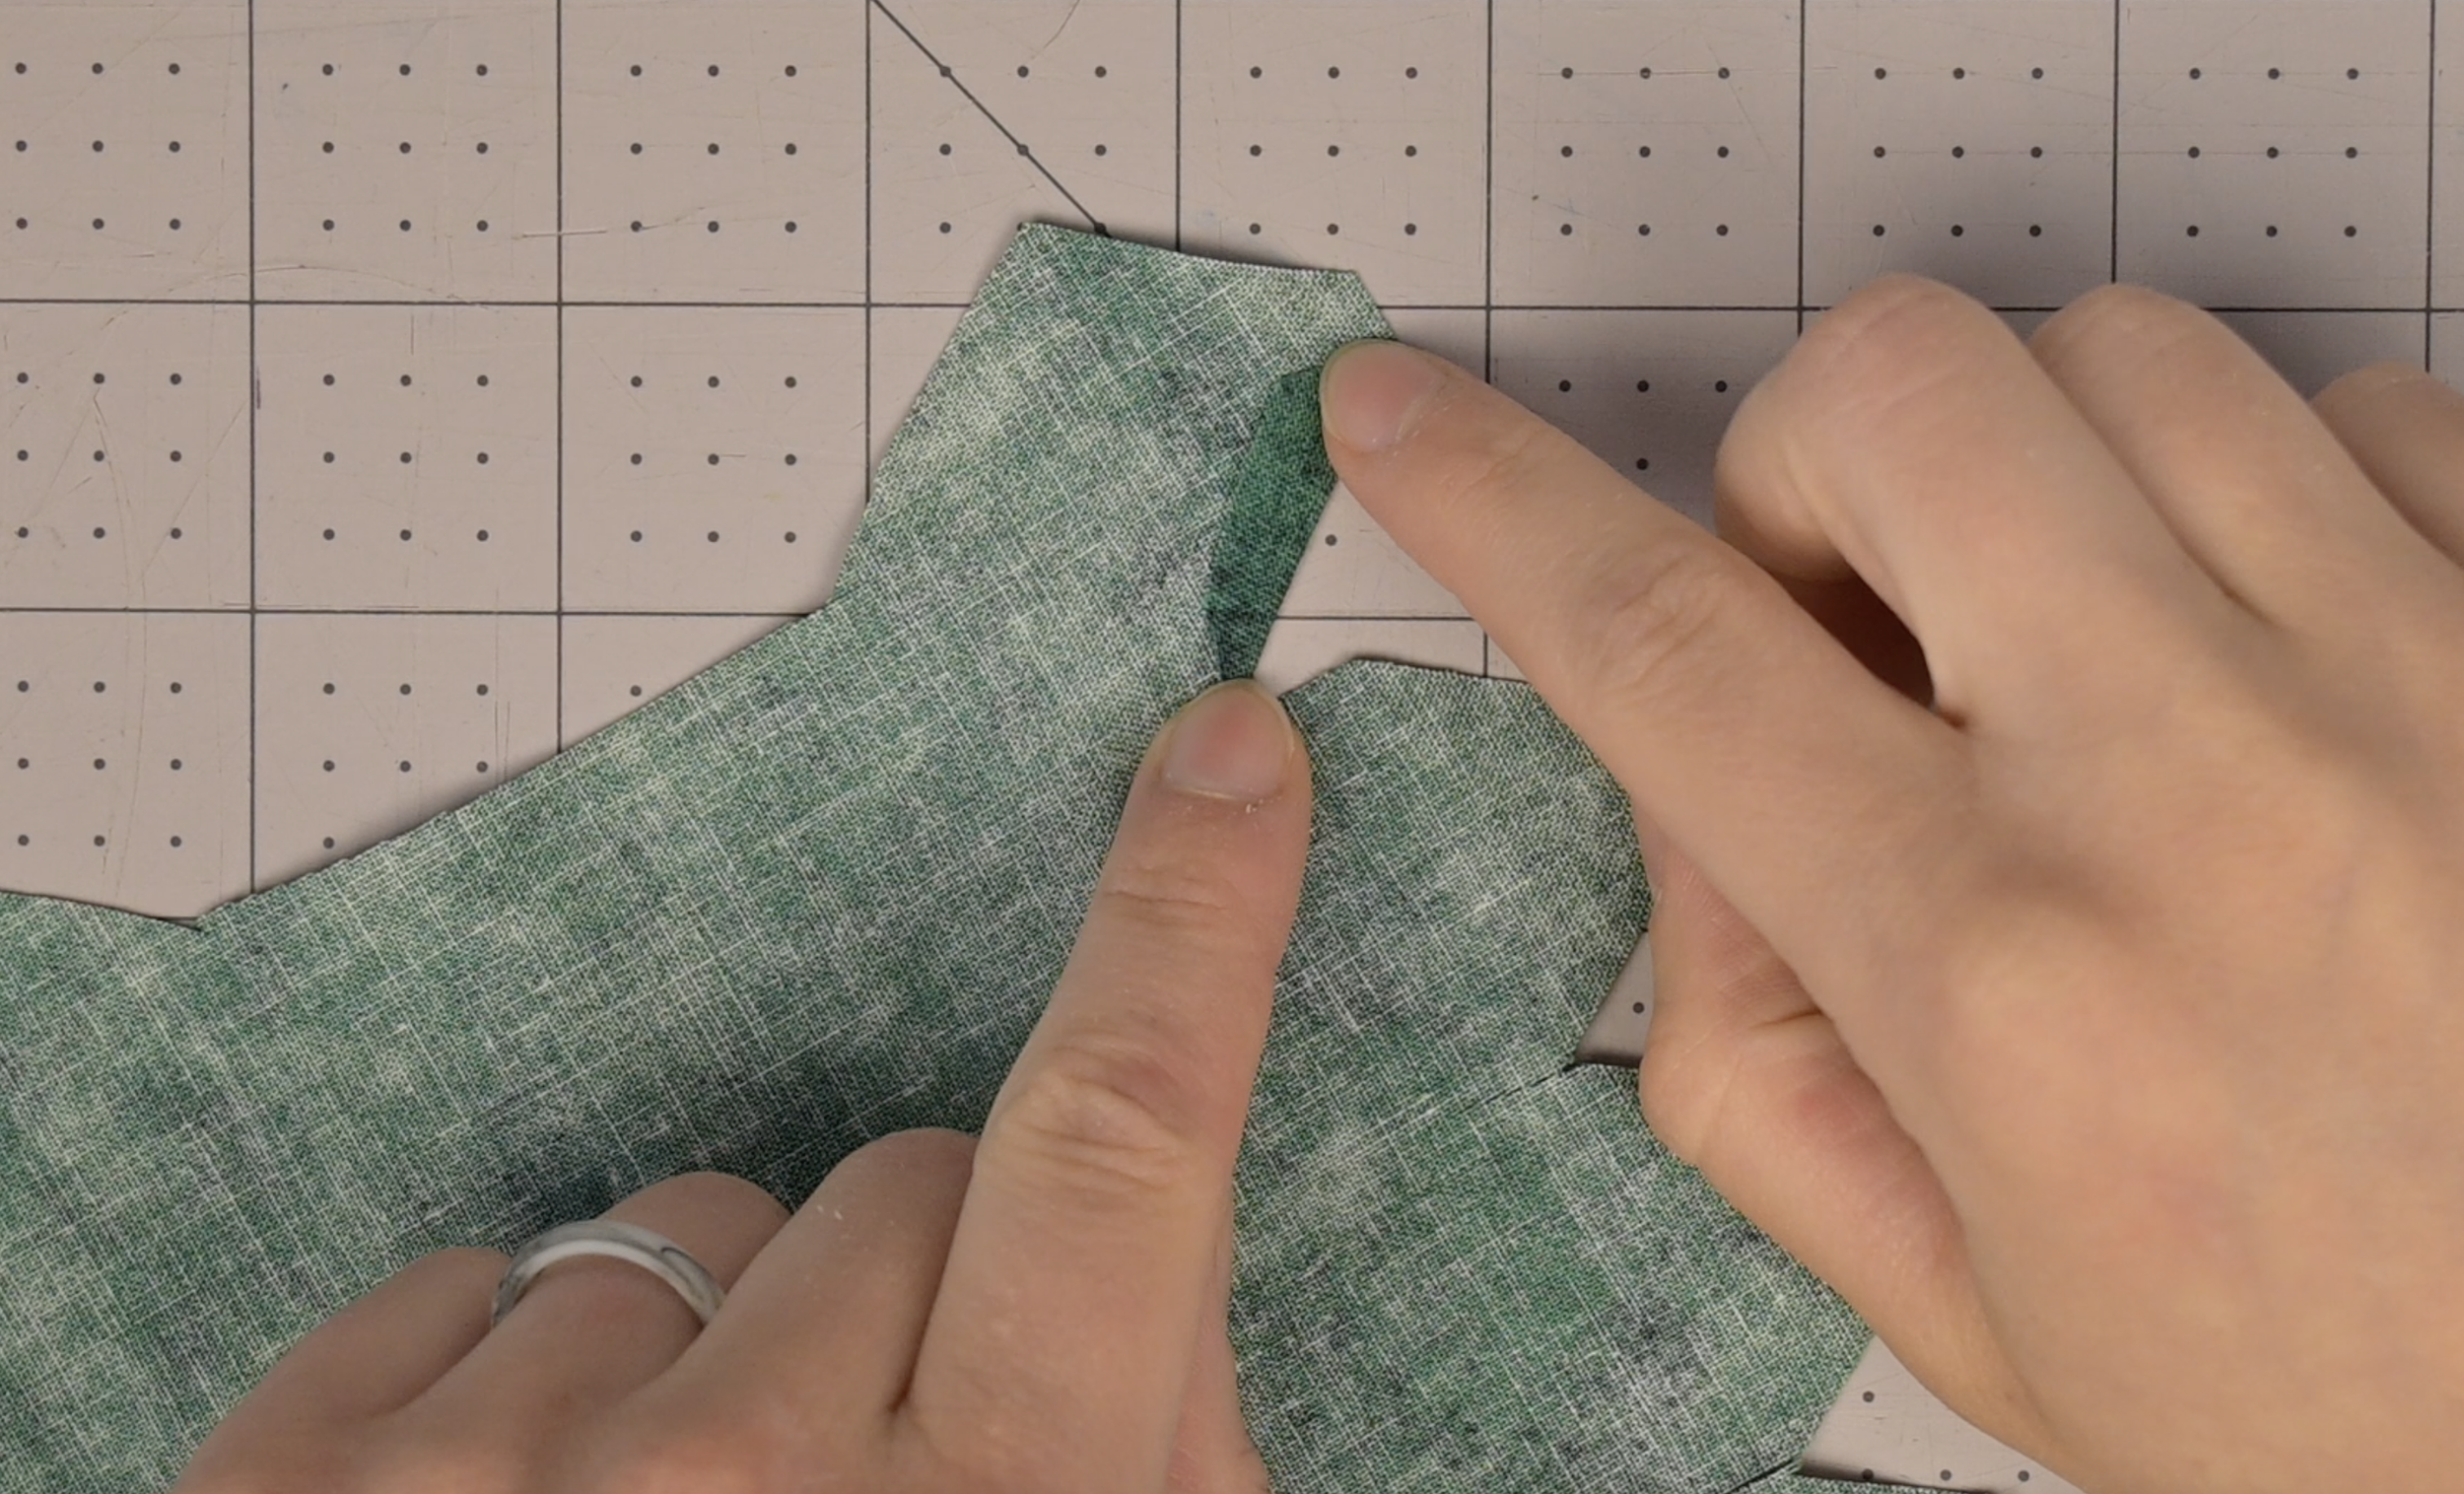
On the zig-zag edge, carefully fold and iron flat to create a finished edge on each triangle
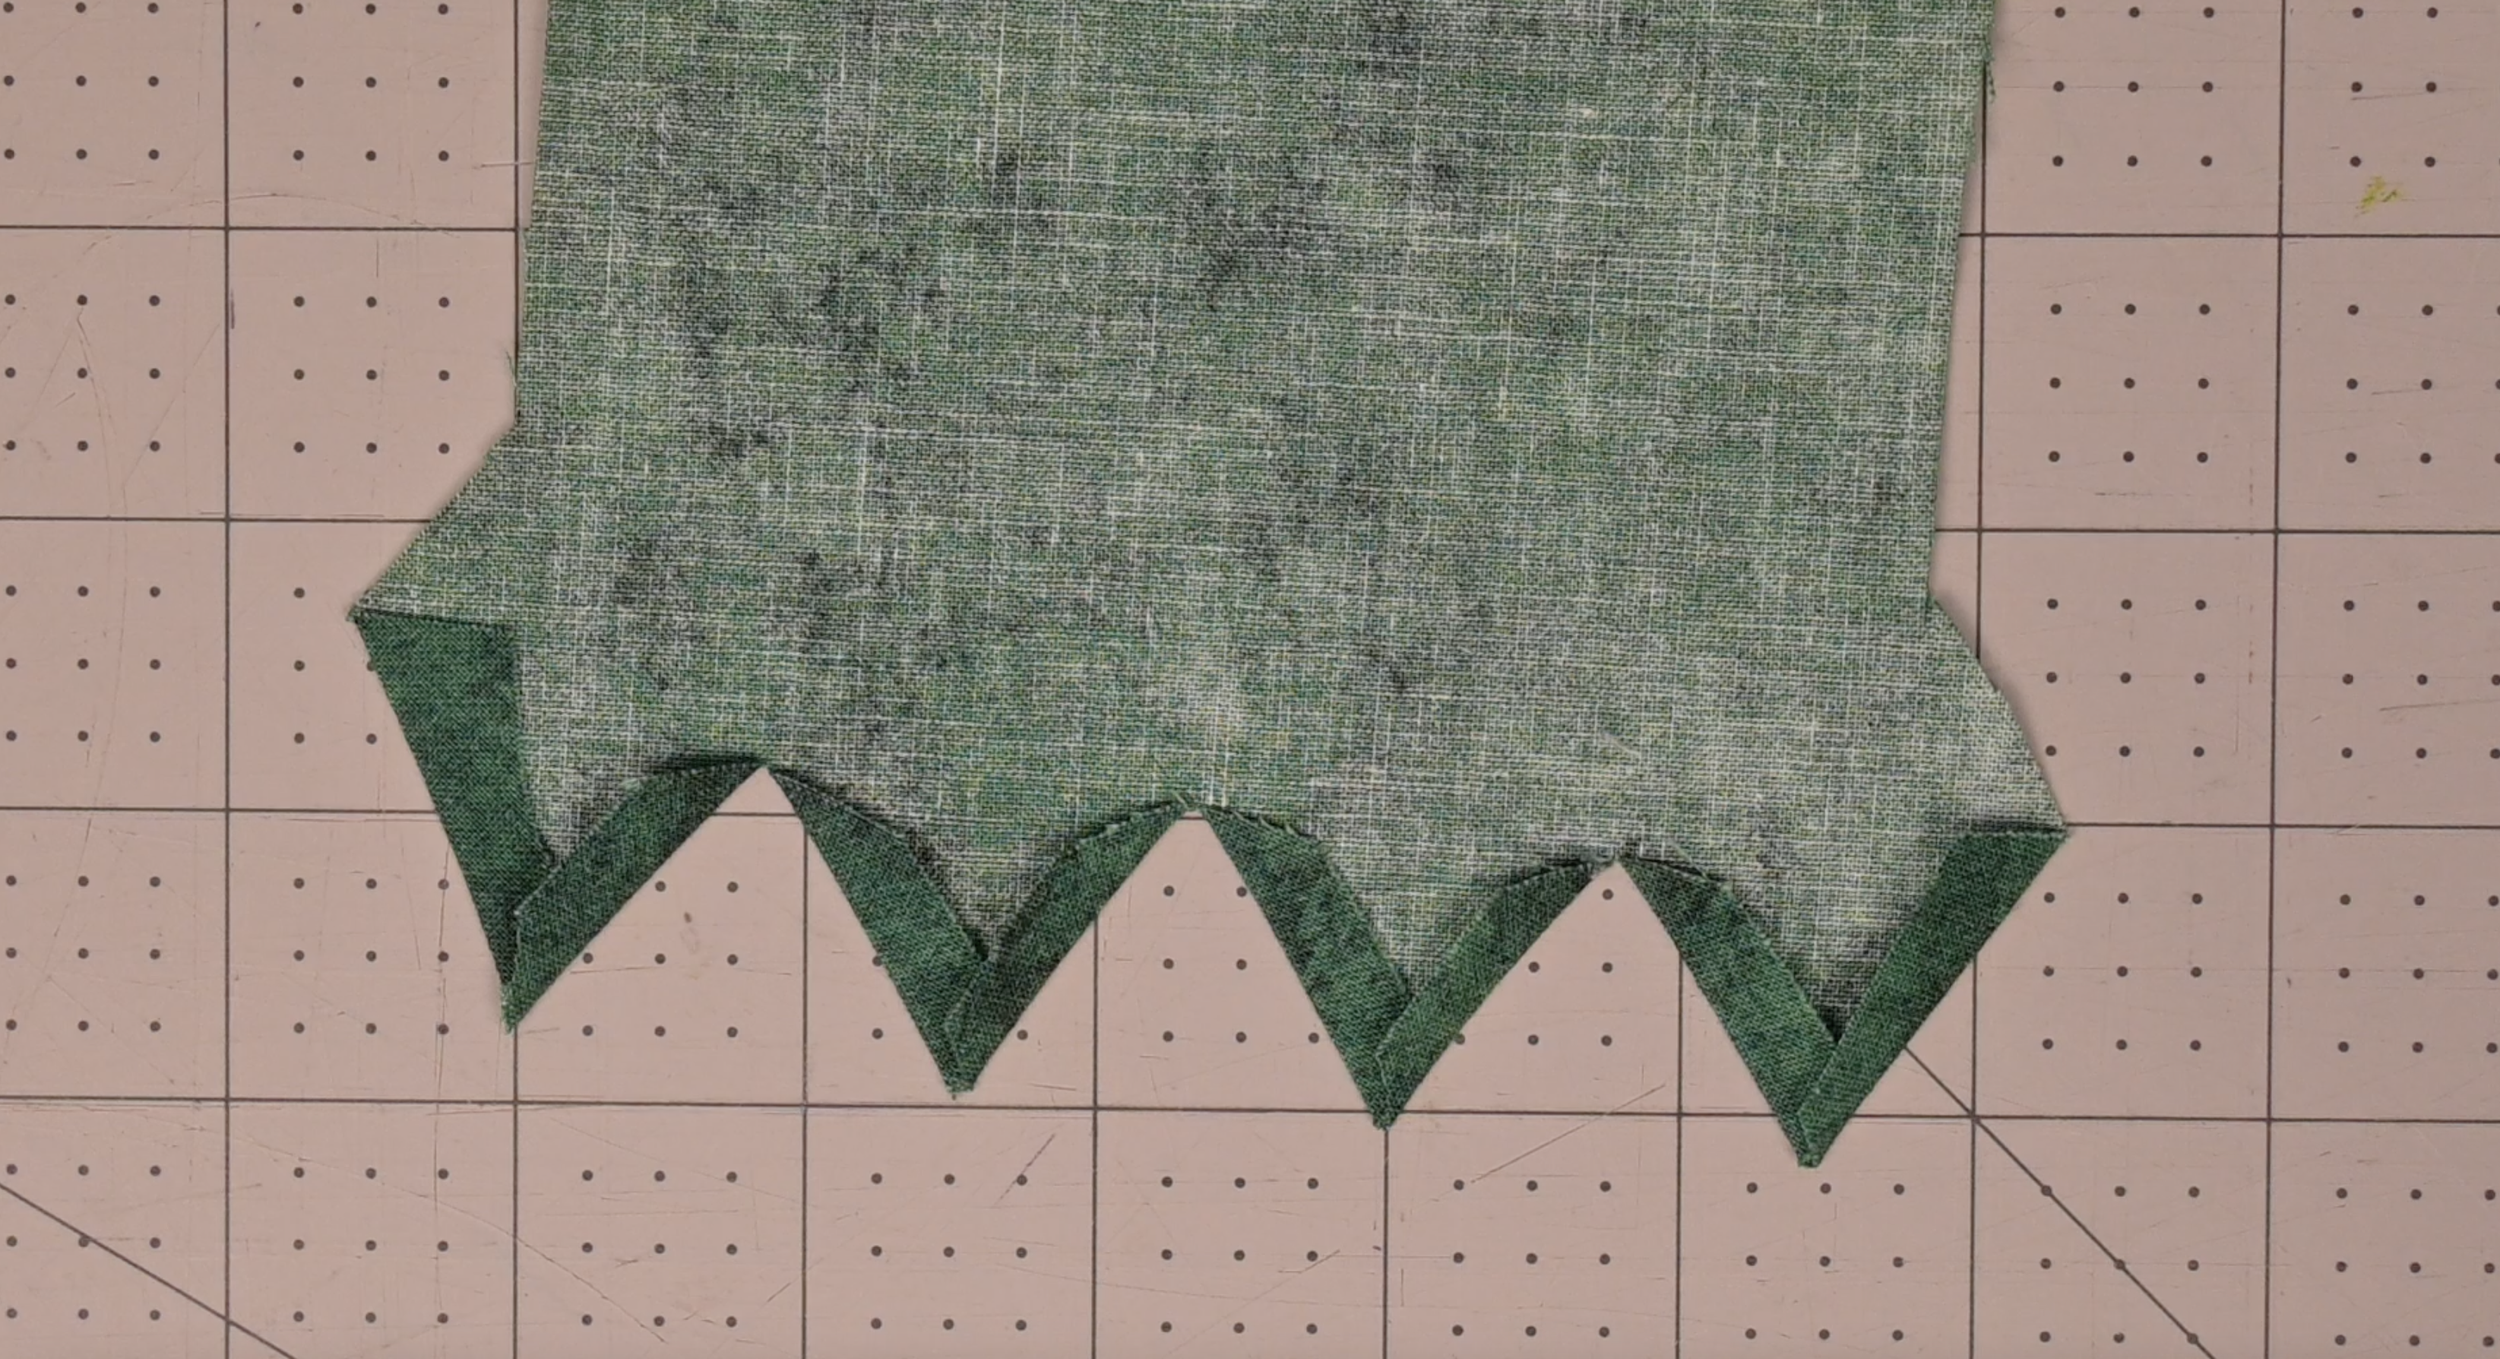
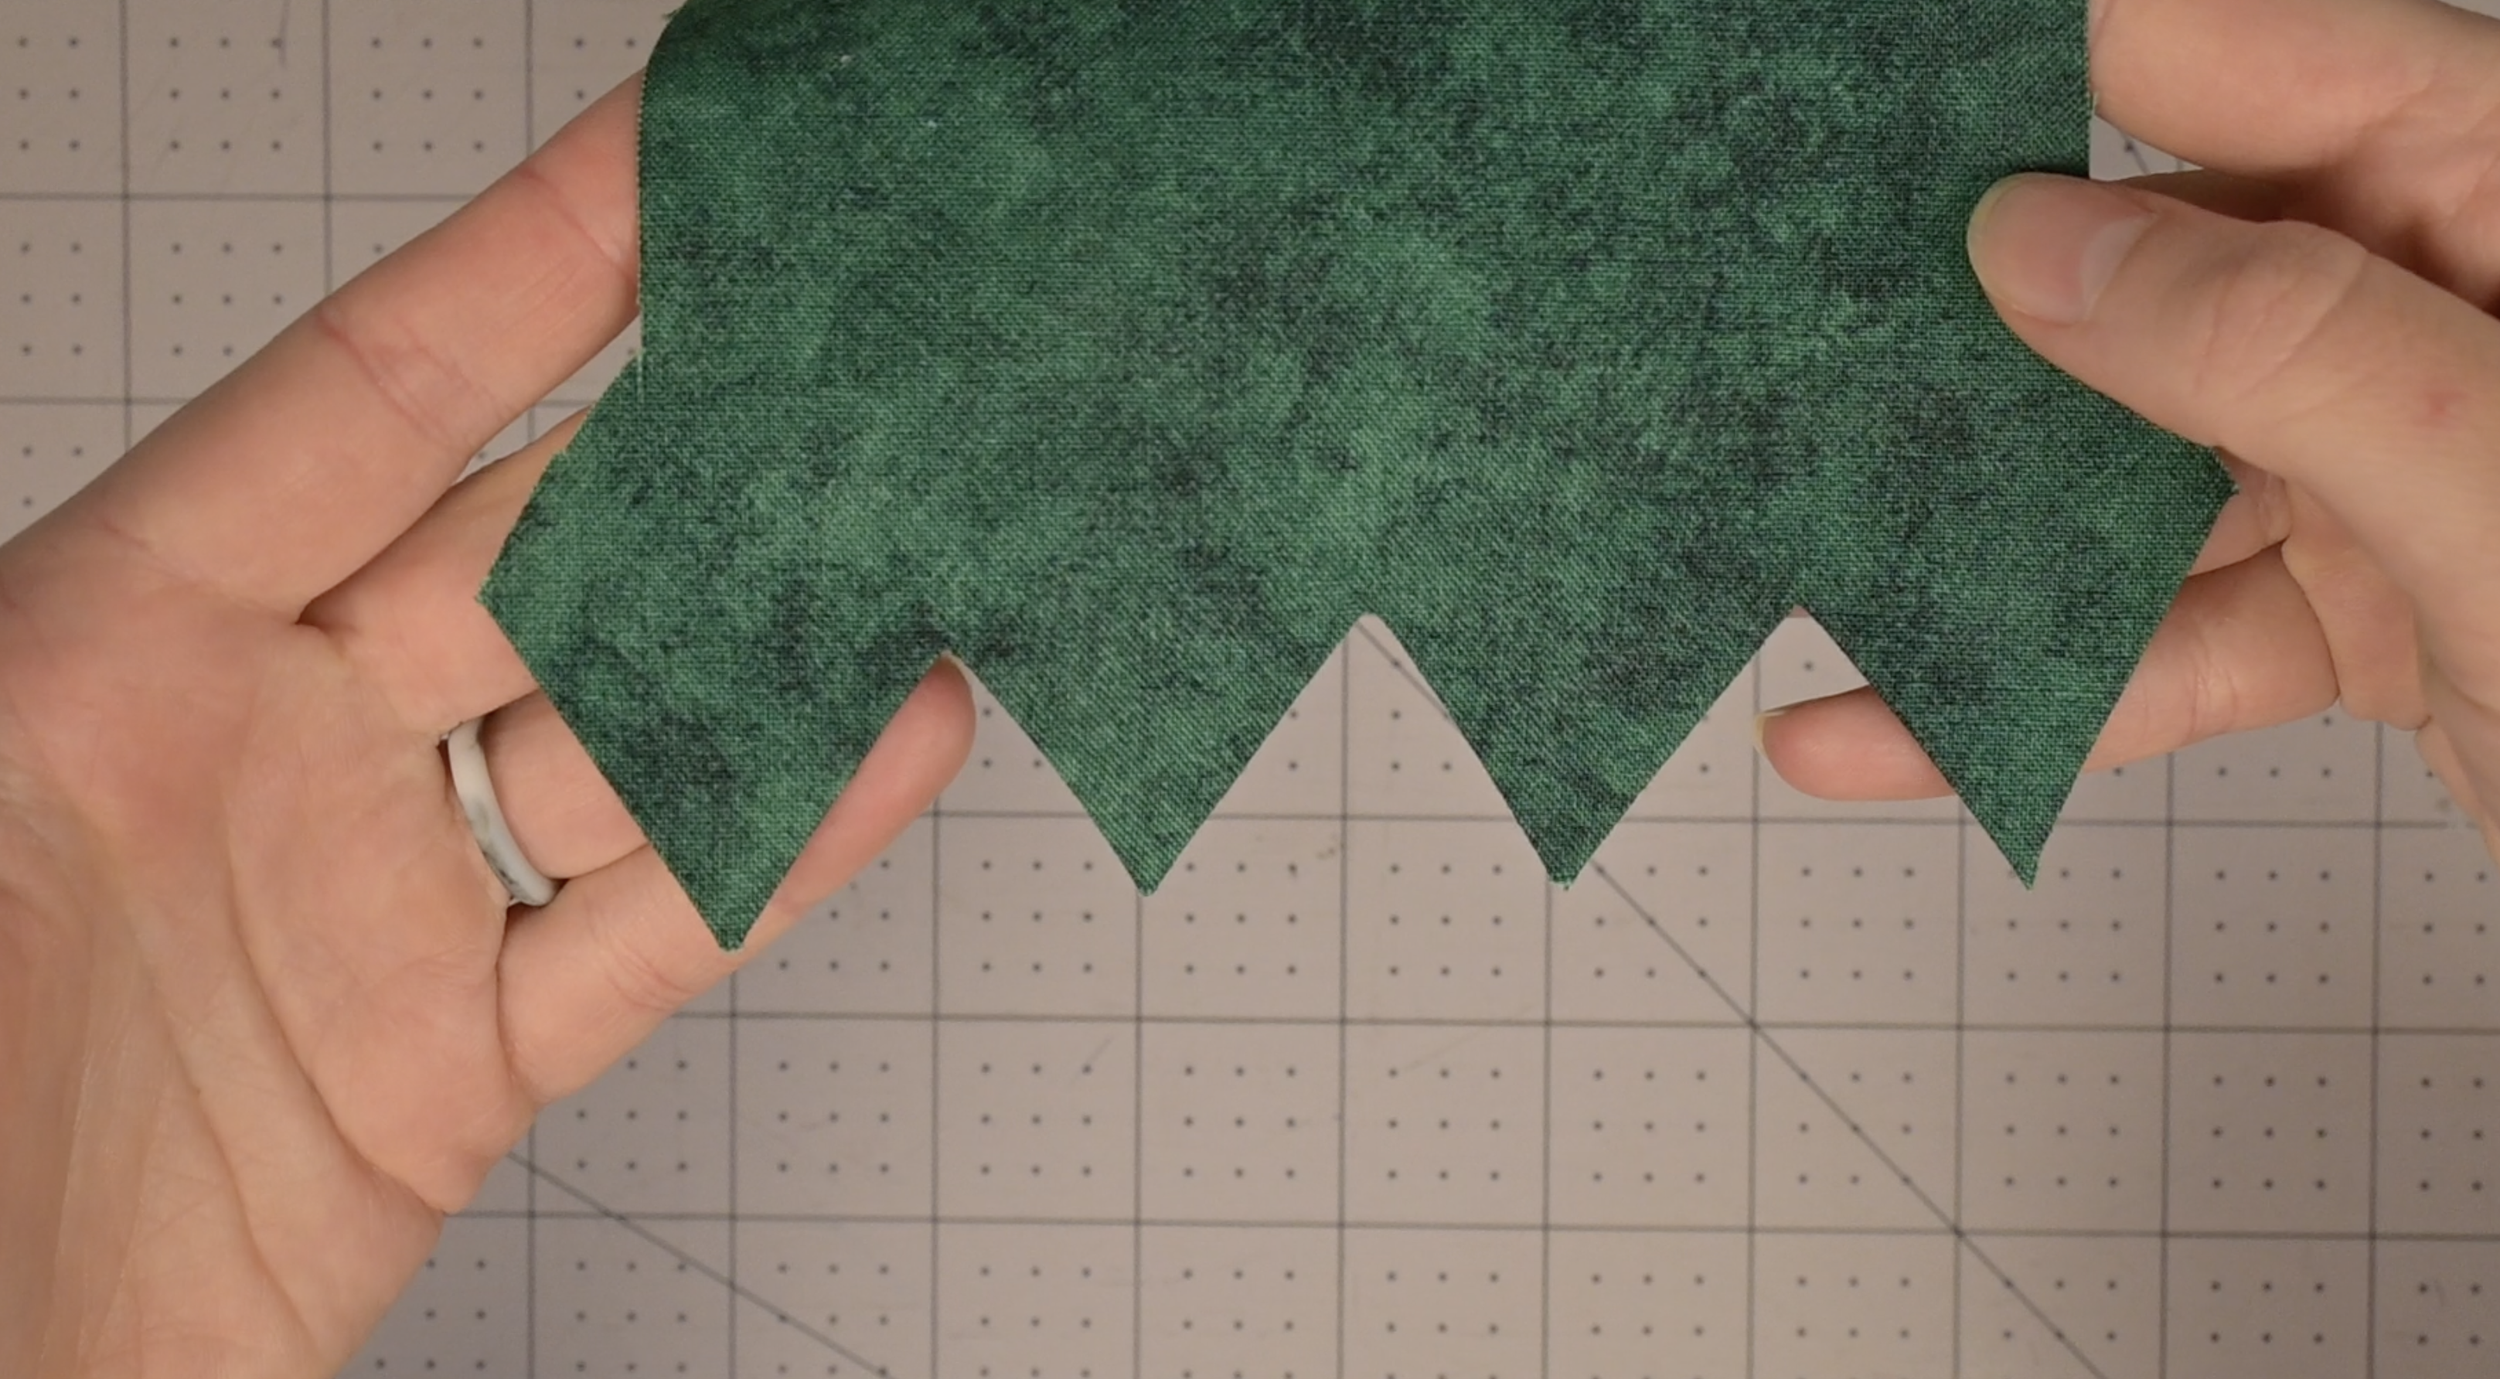
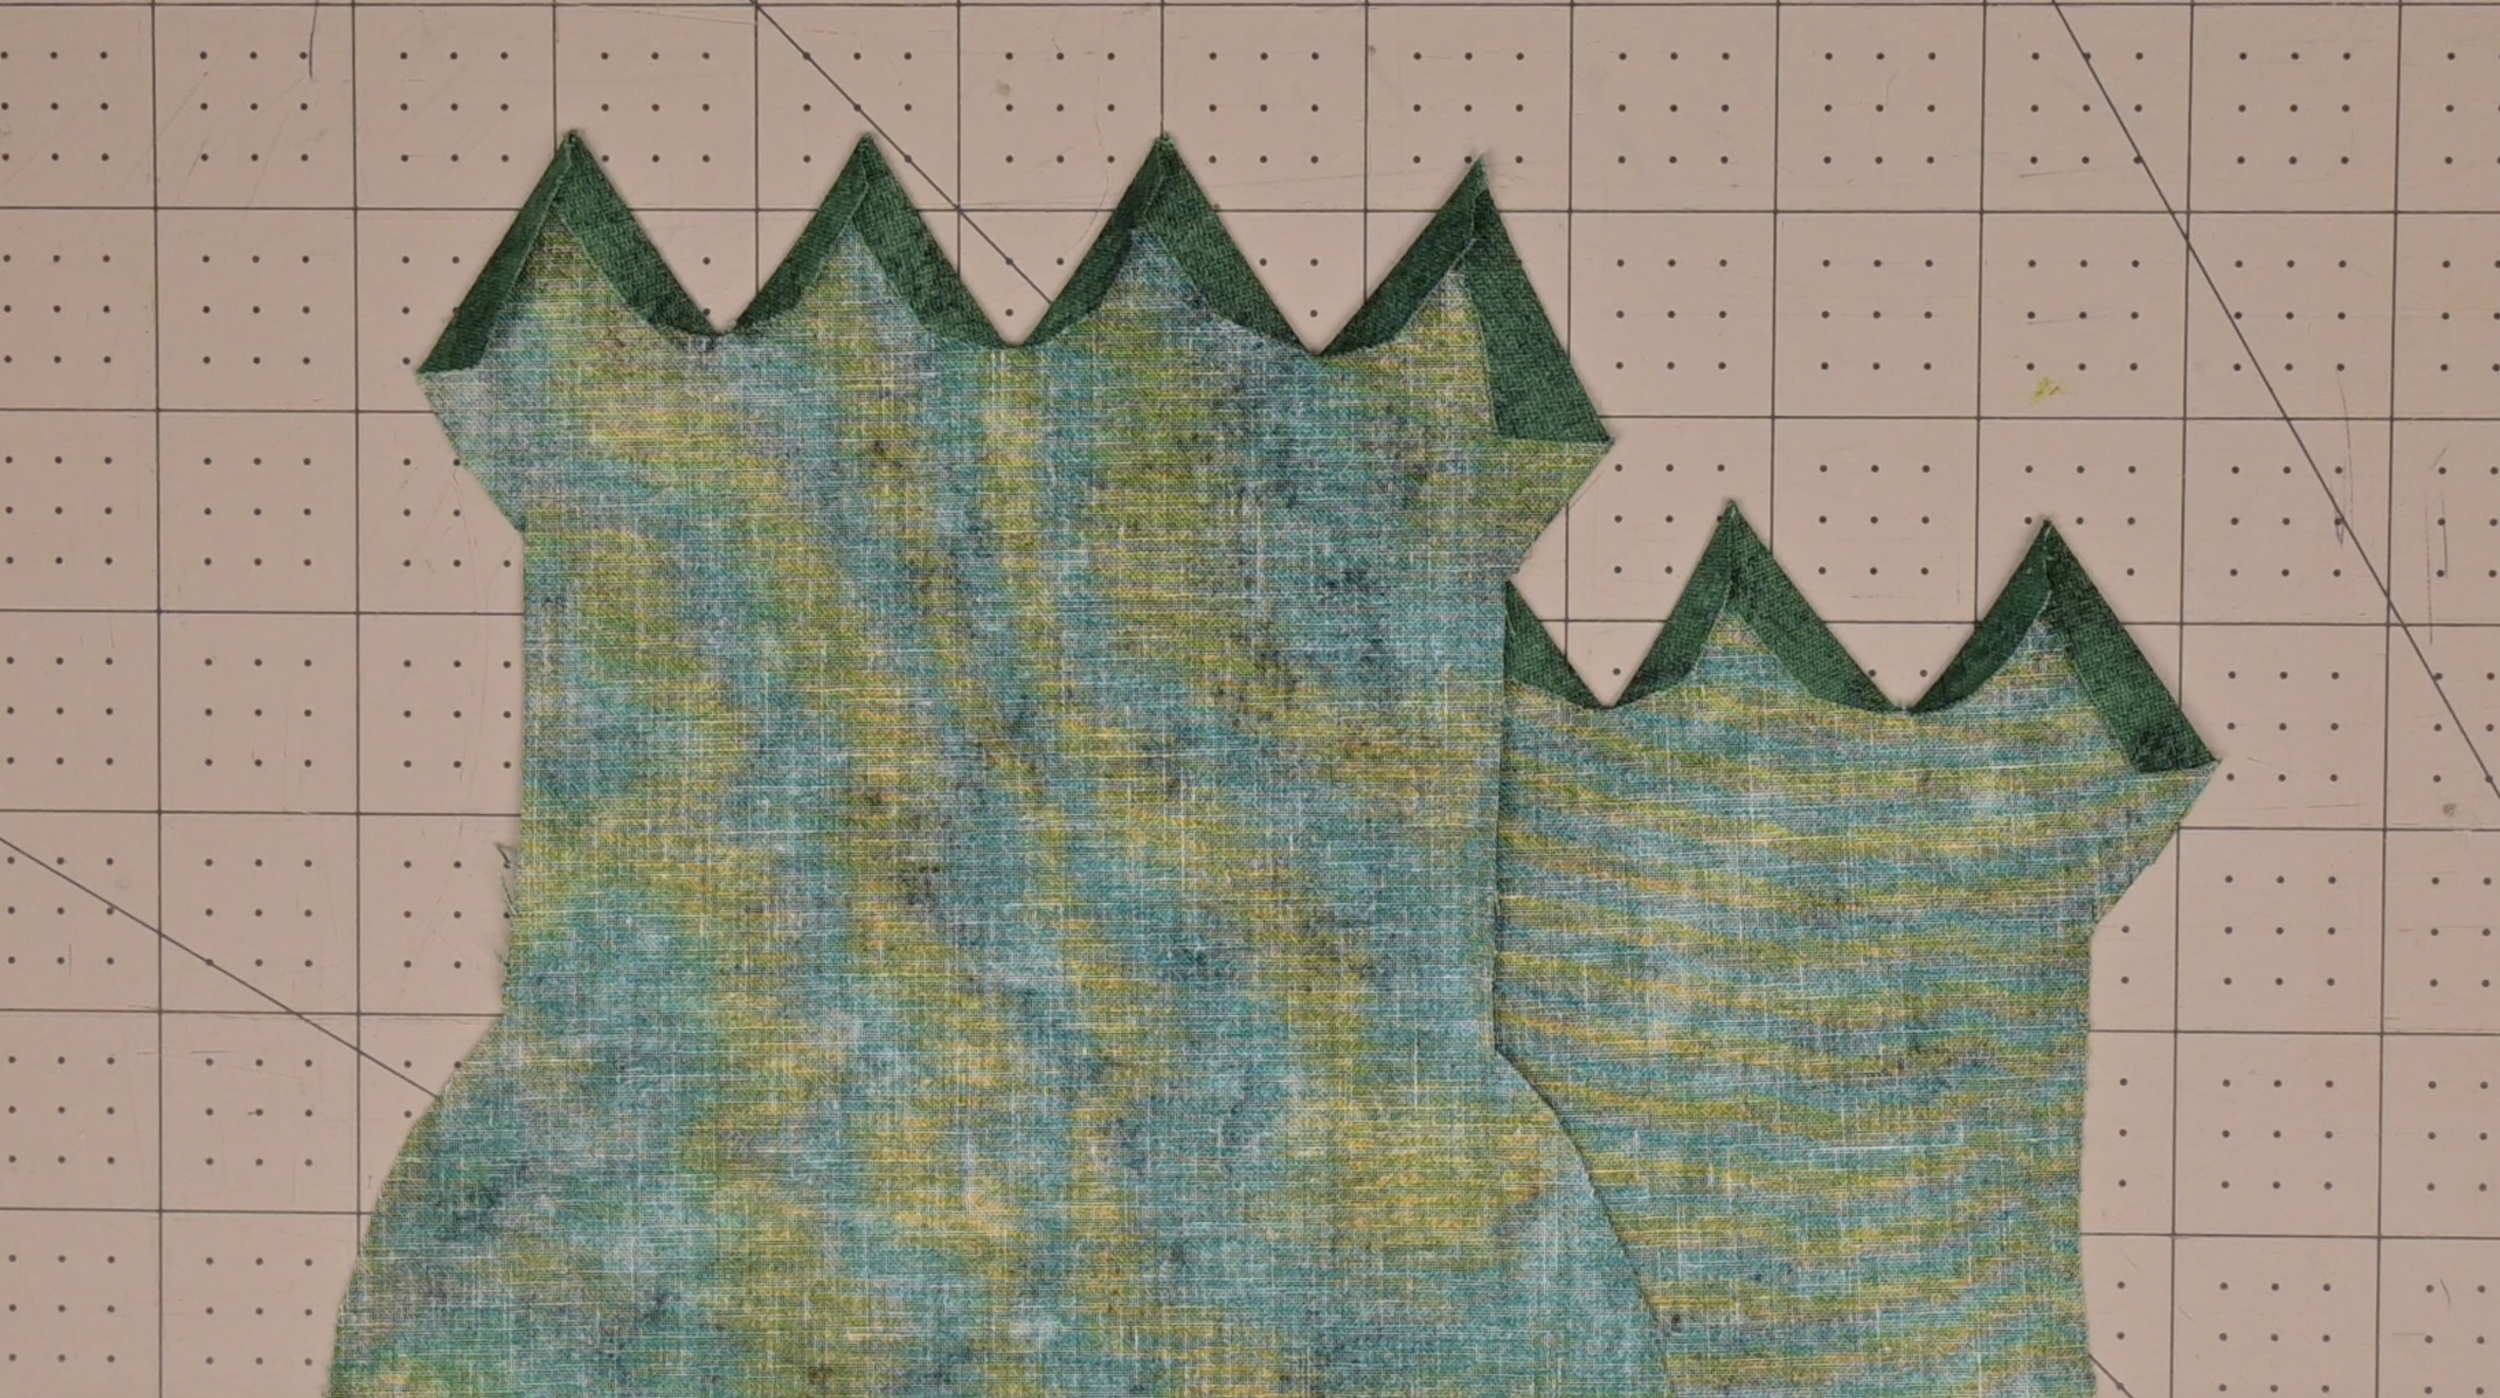
Repeat for the other panel
Step 4: Attach the Green and Red Fabric
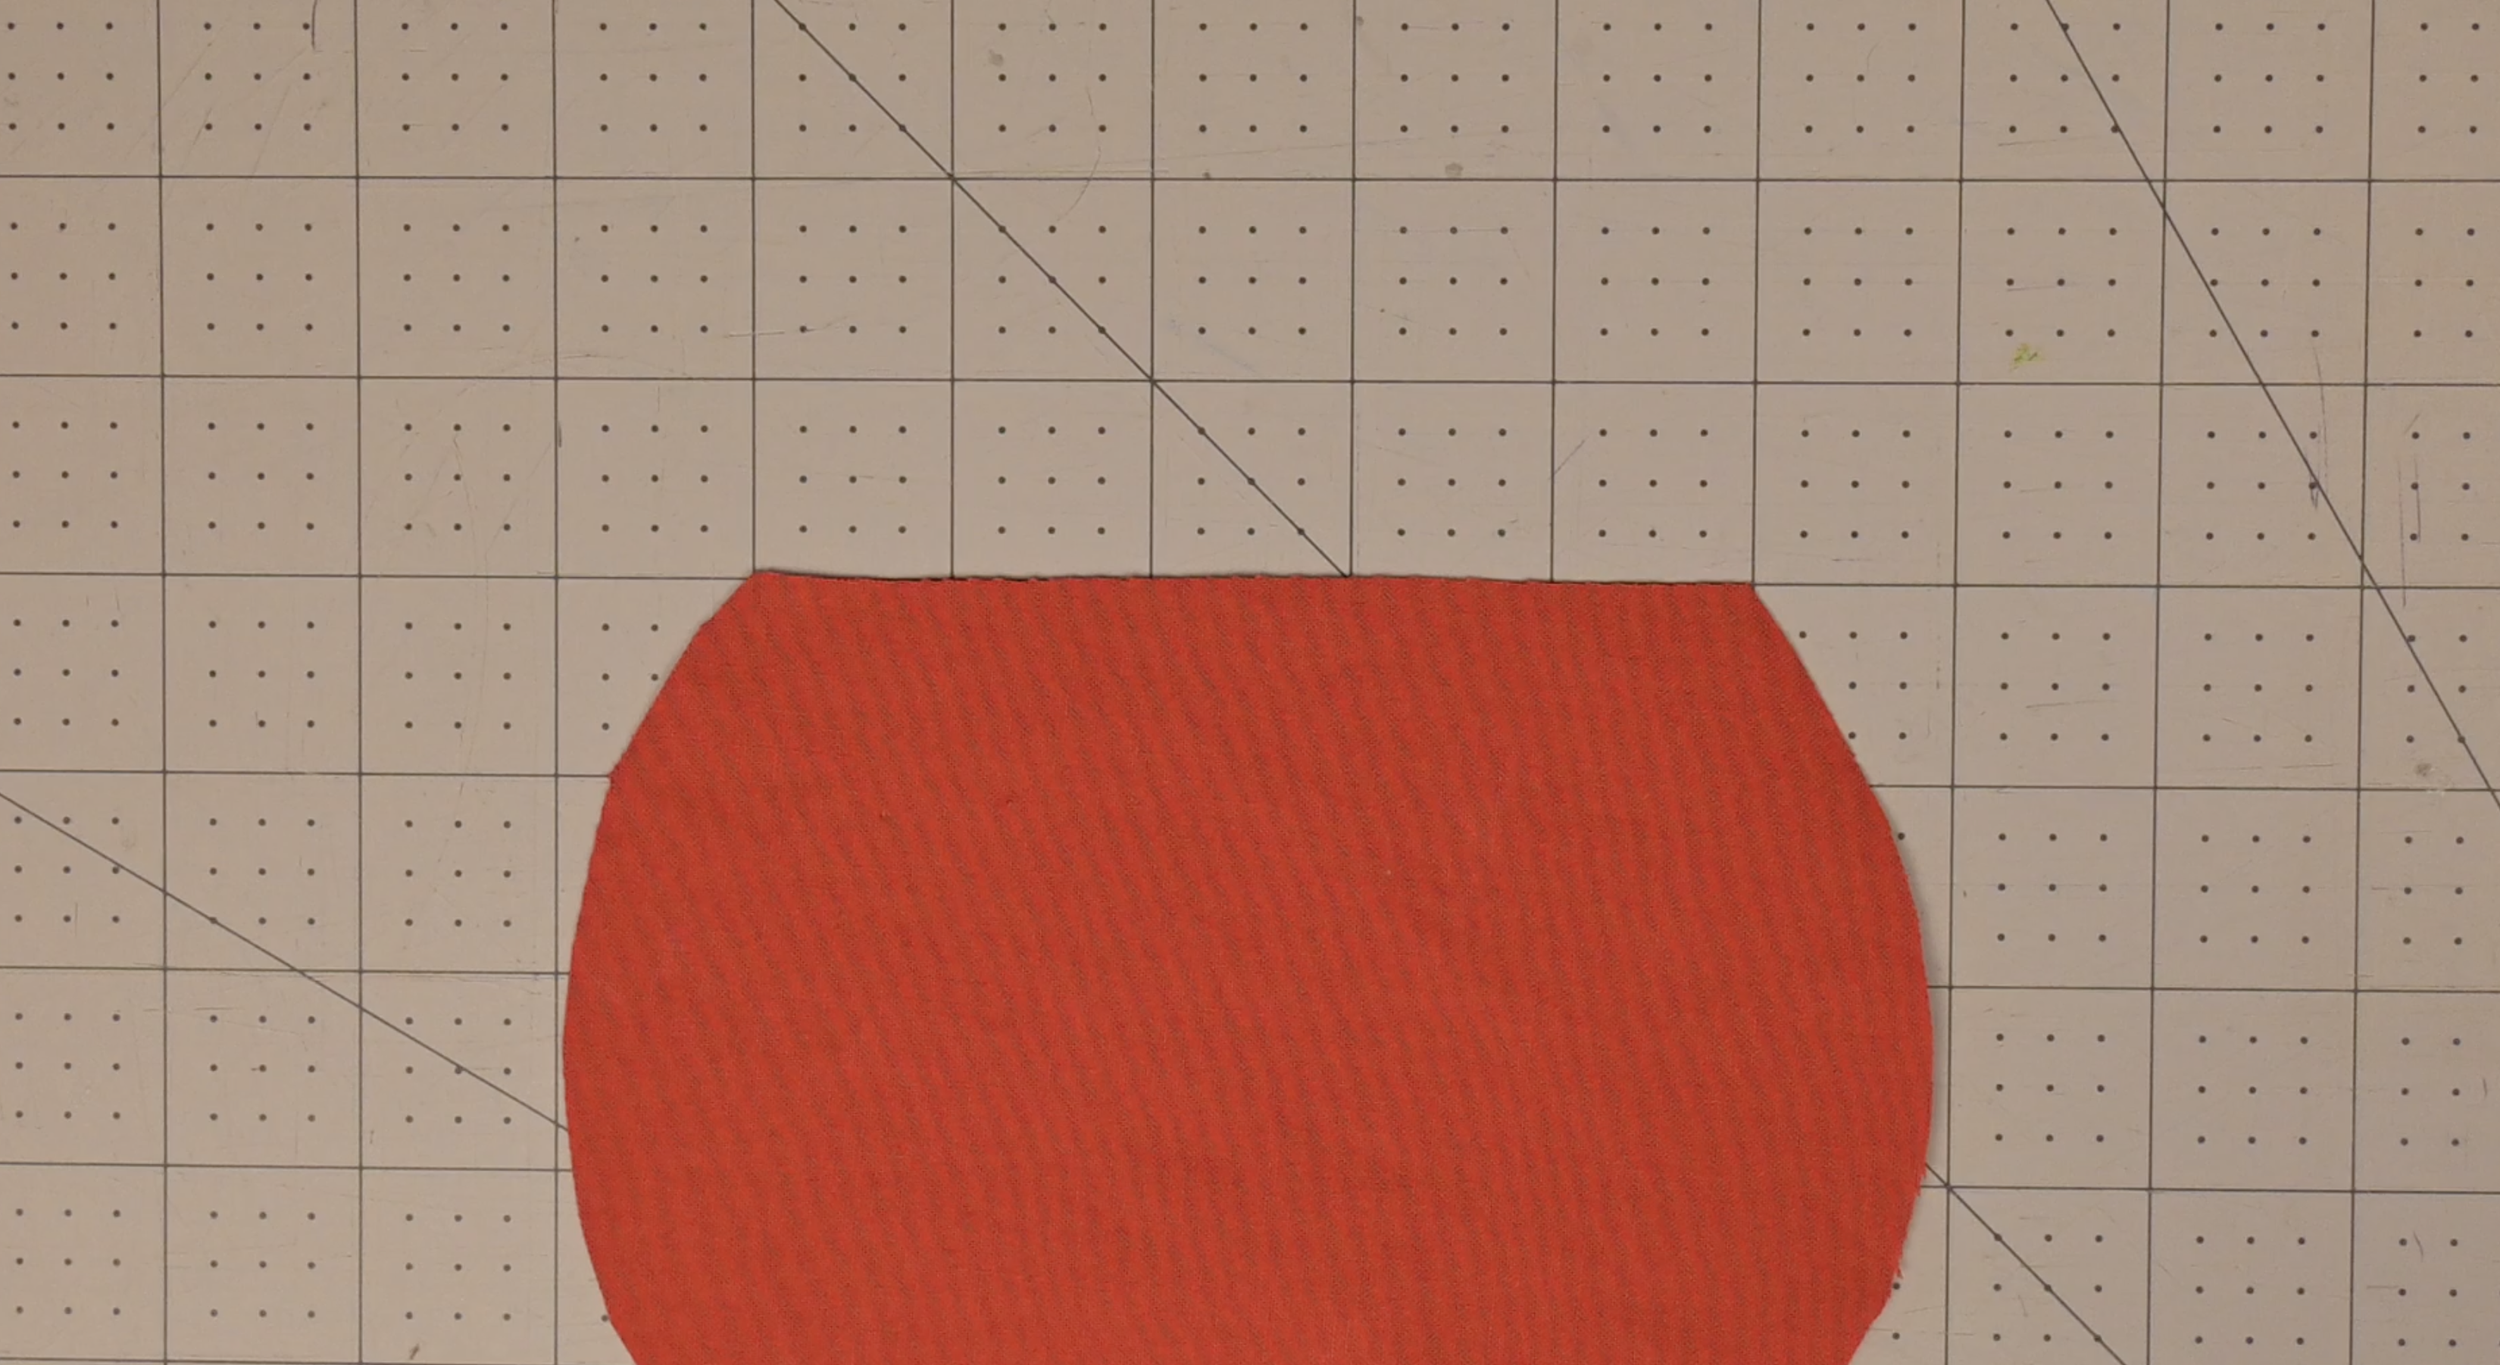
Lay the red fabric in front of you with the right-side of the fabric facing up
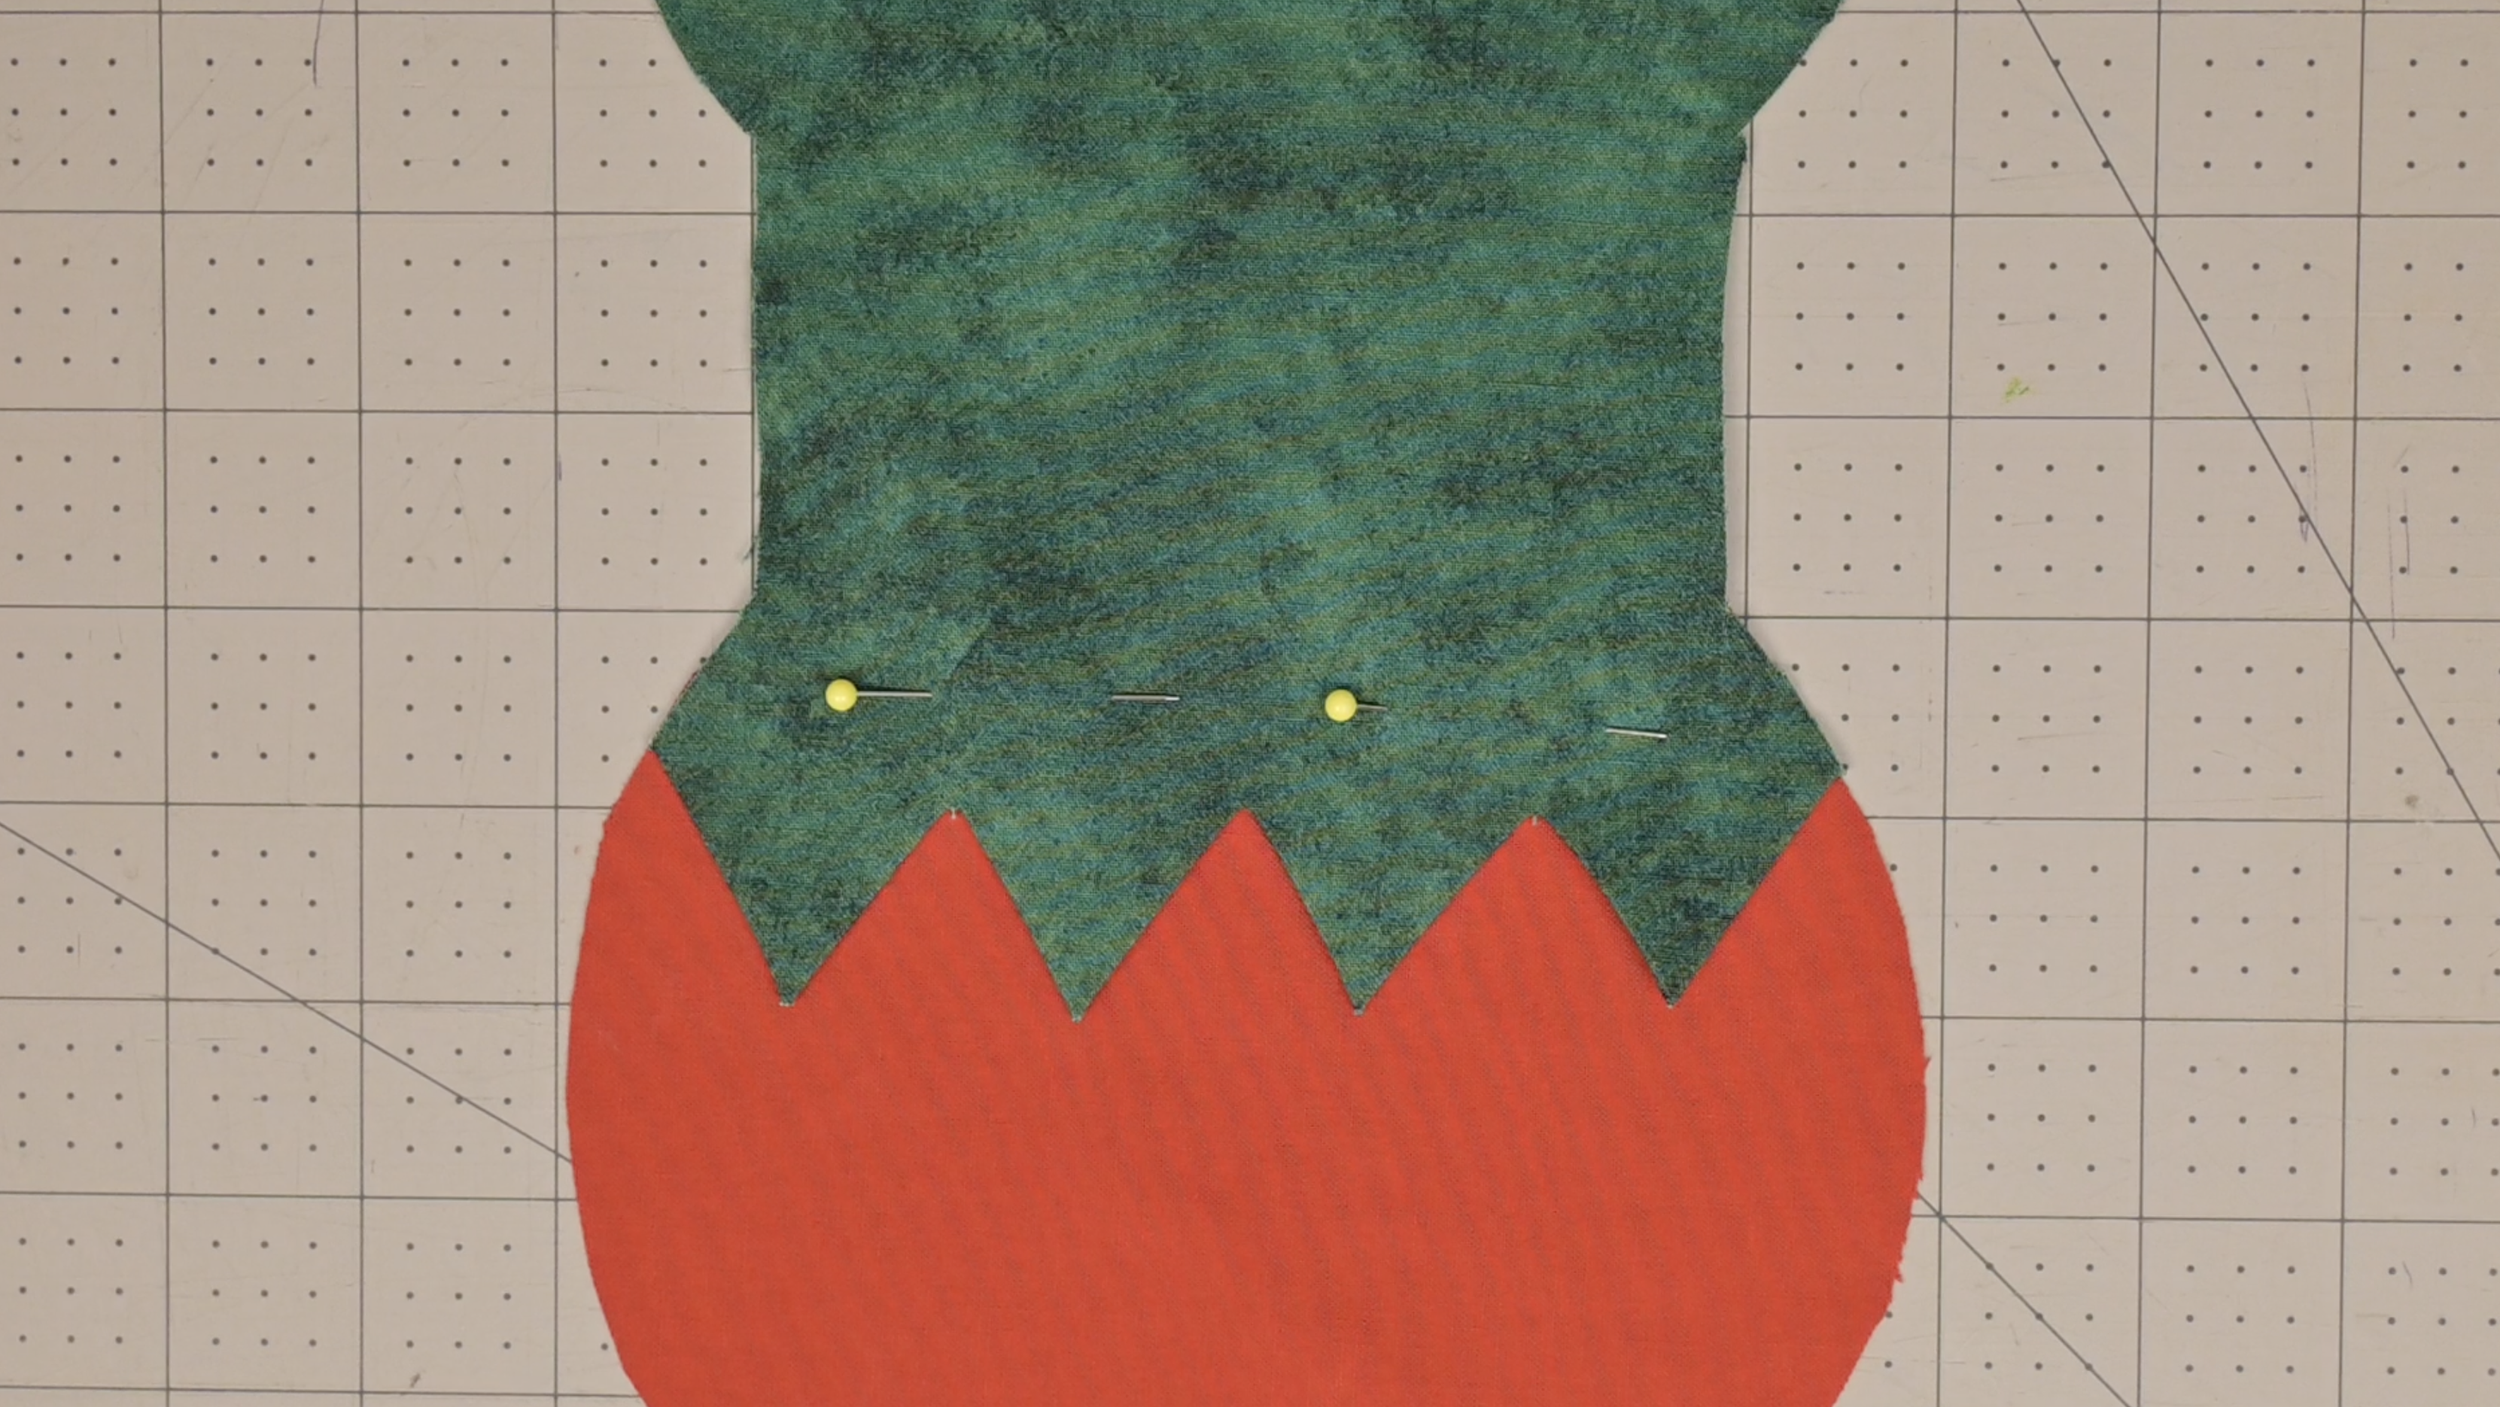
Overlap the green zig-zag edge onto the straight red fabric edge. The corners of the red fabric should line up with the exterior edge of the middle green rectangle
Pin in place
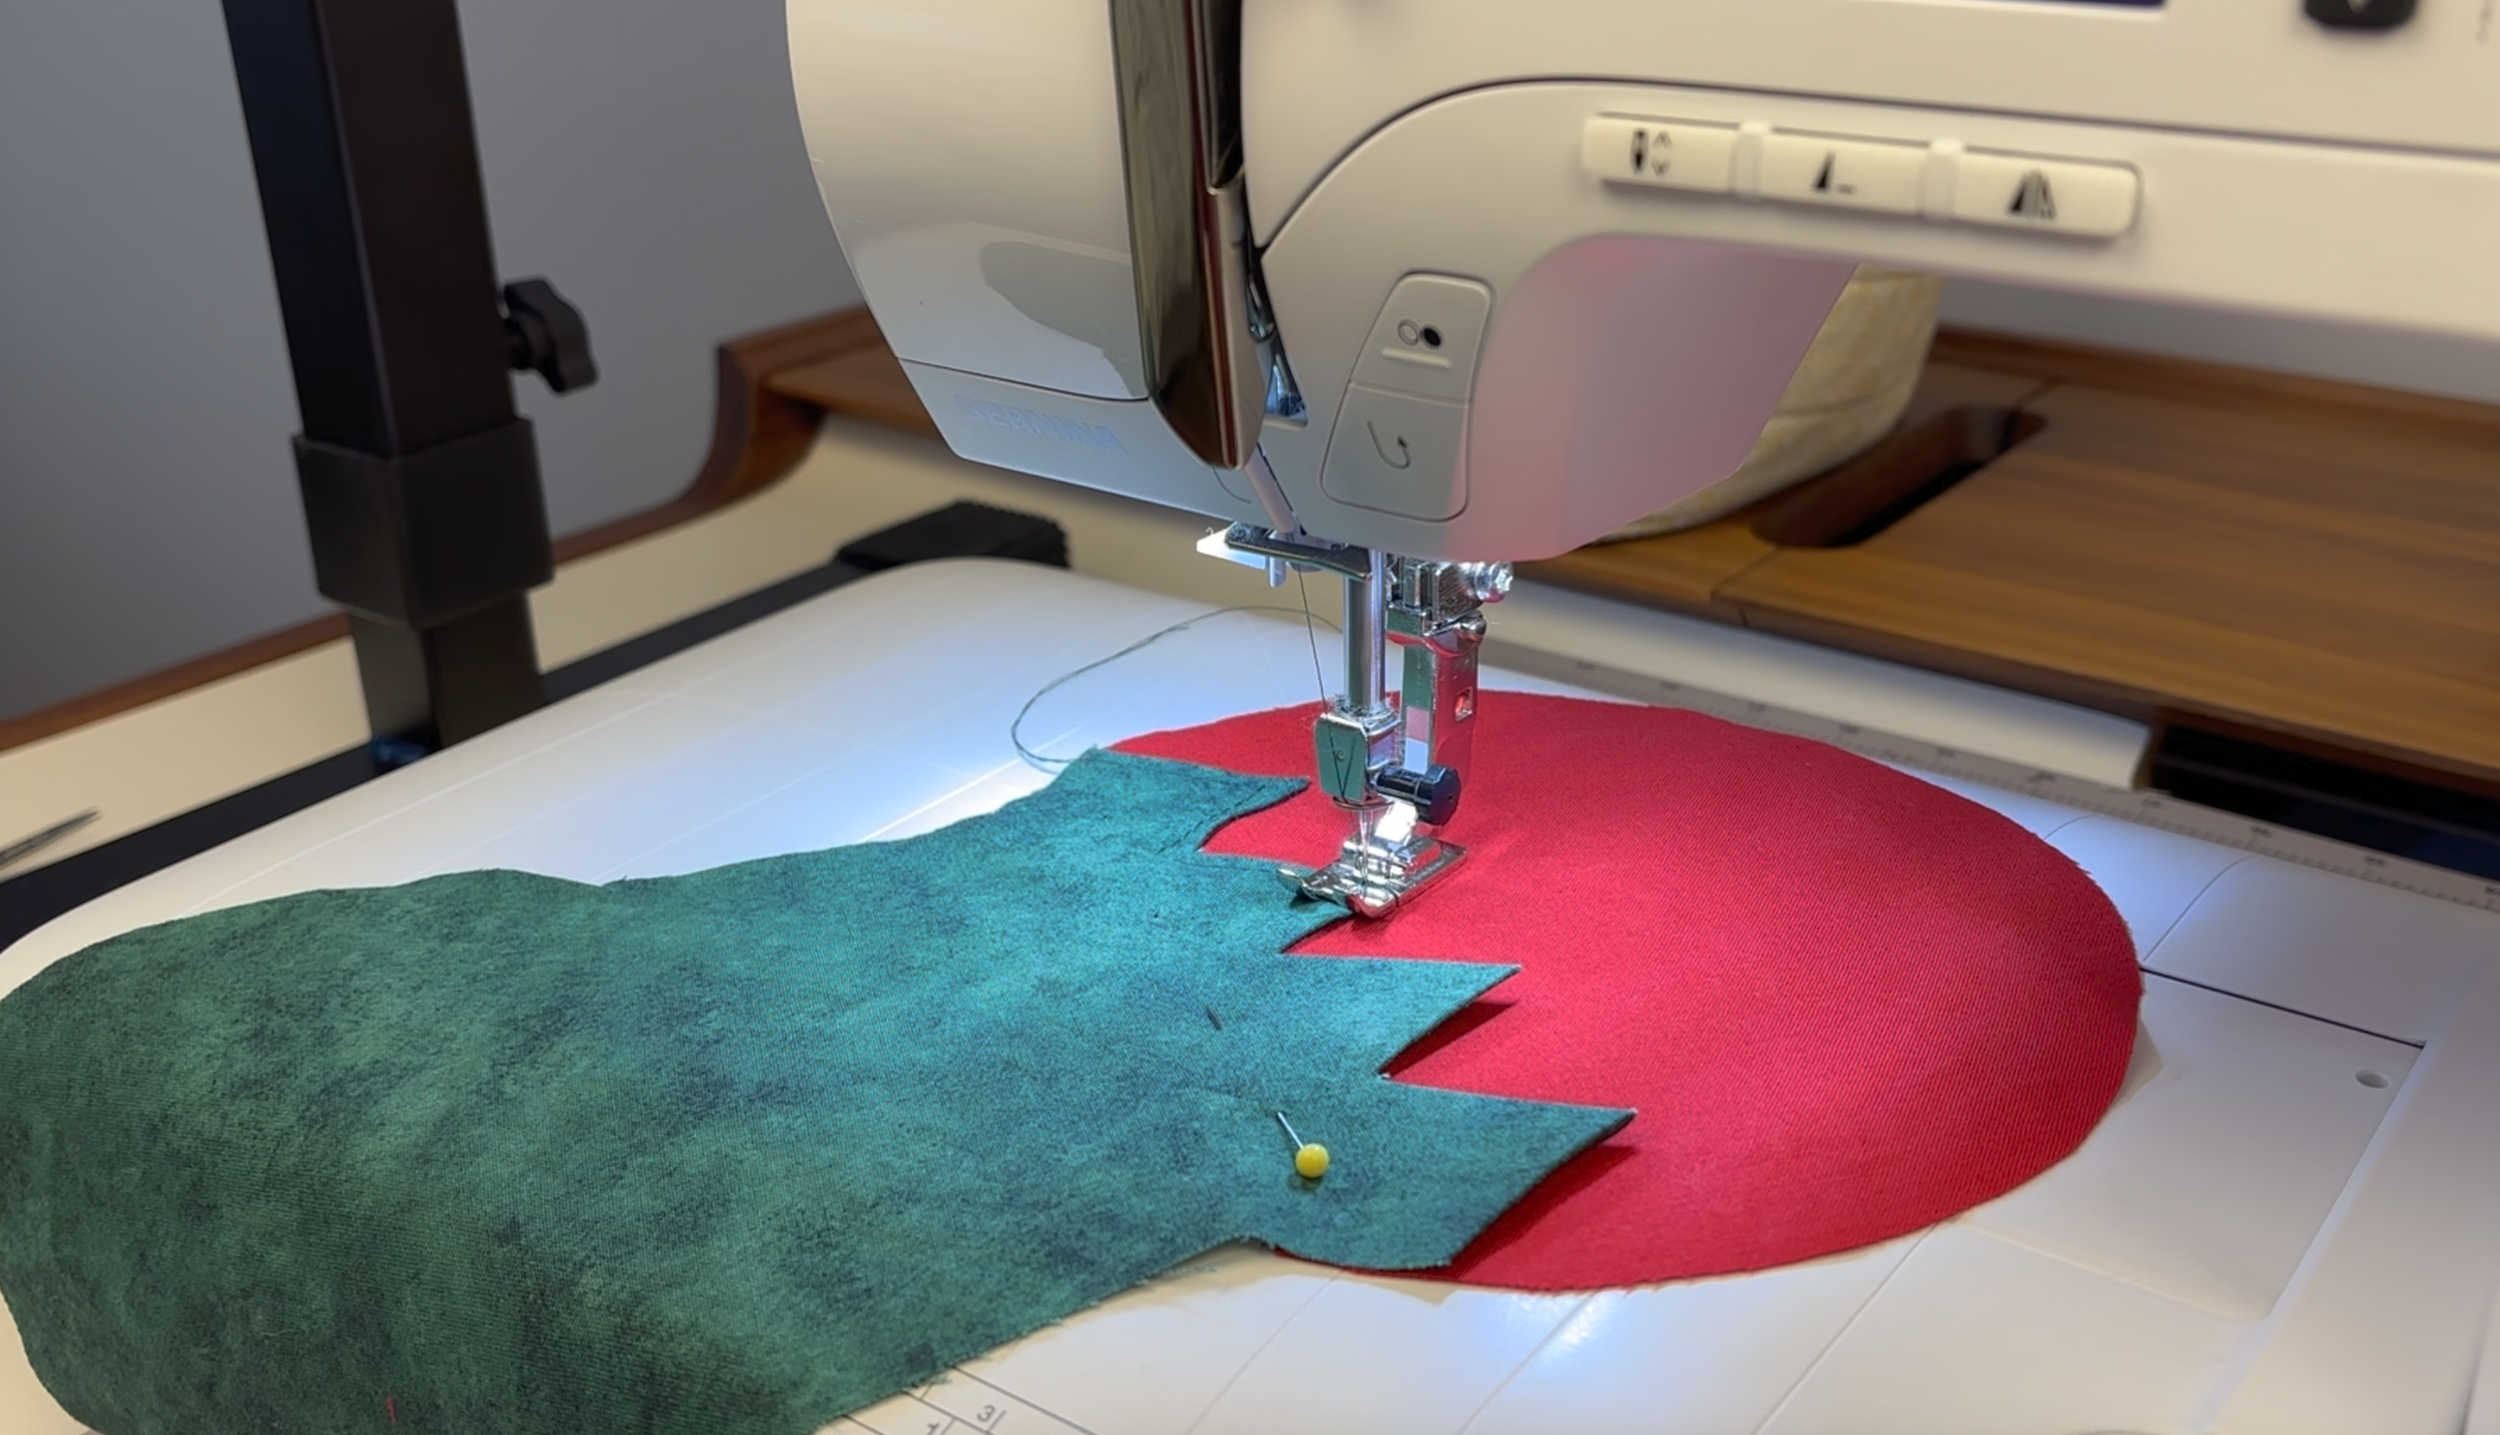
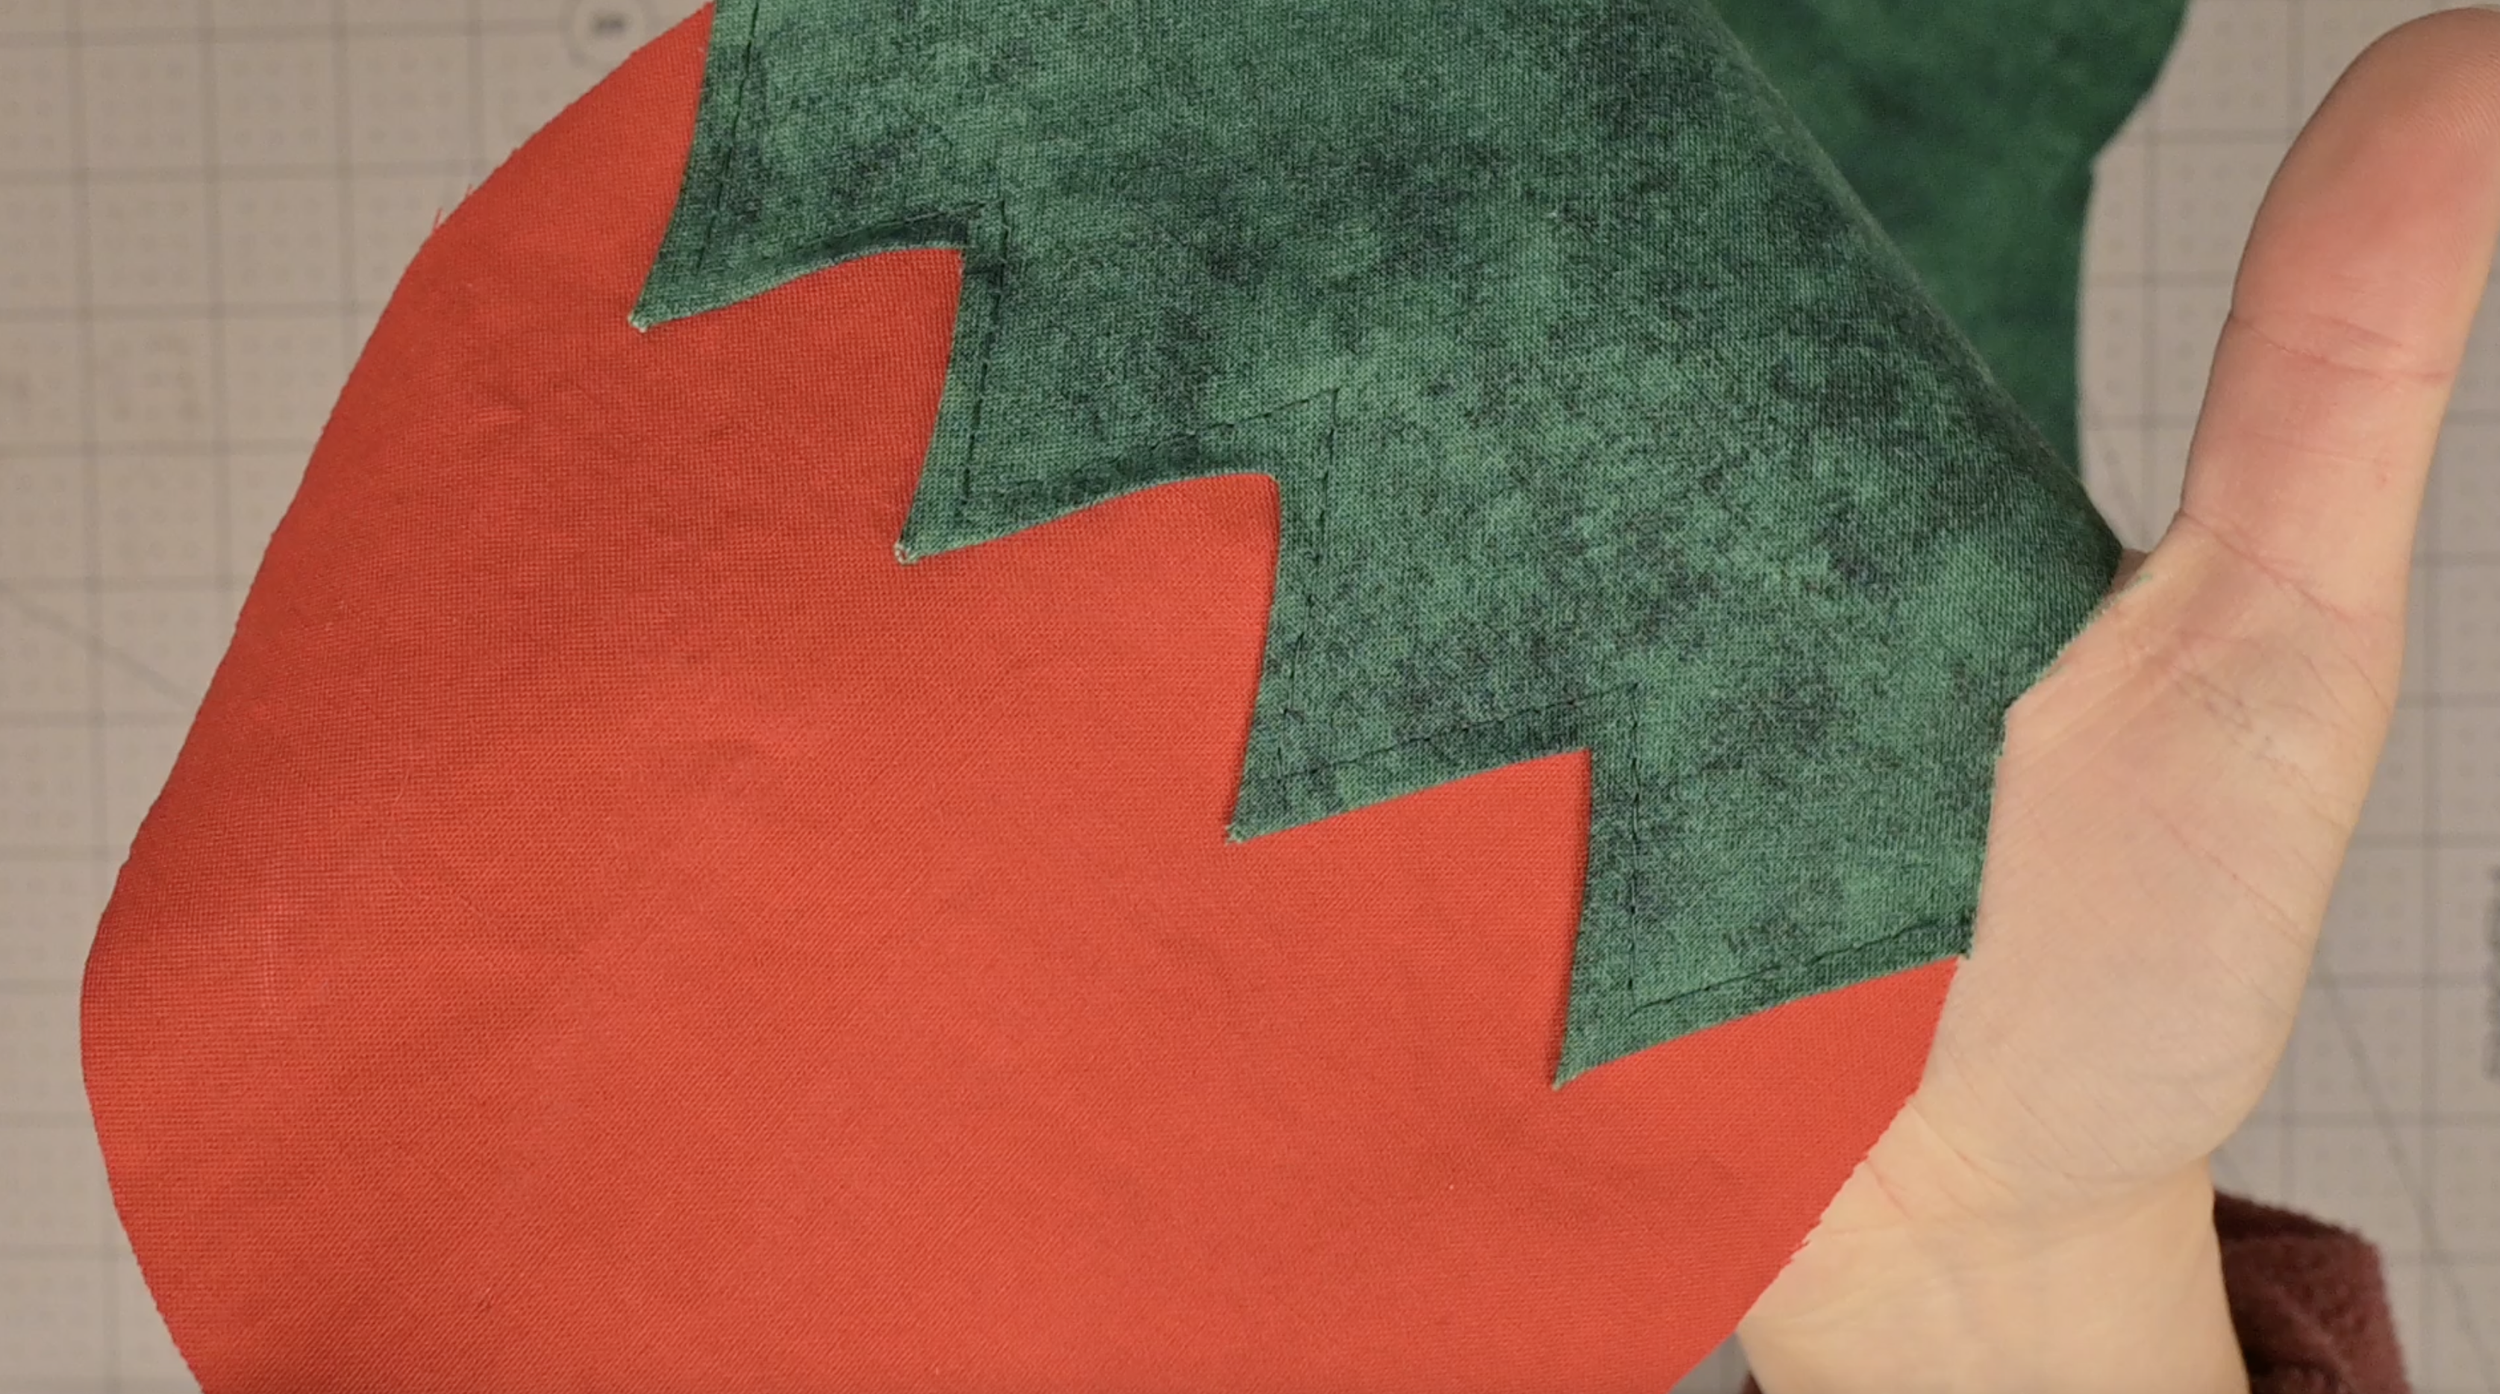
Sew along the zig-zag edge
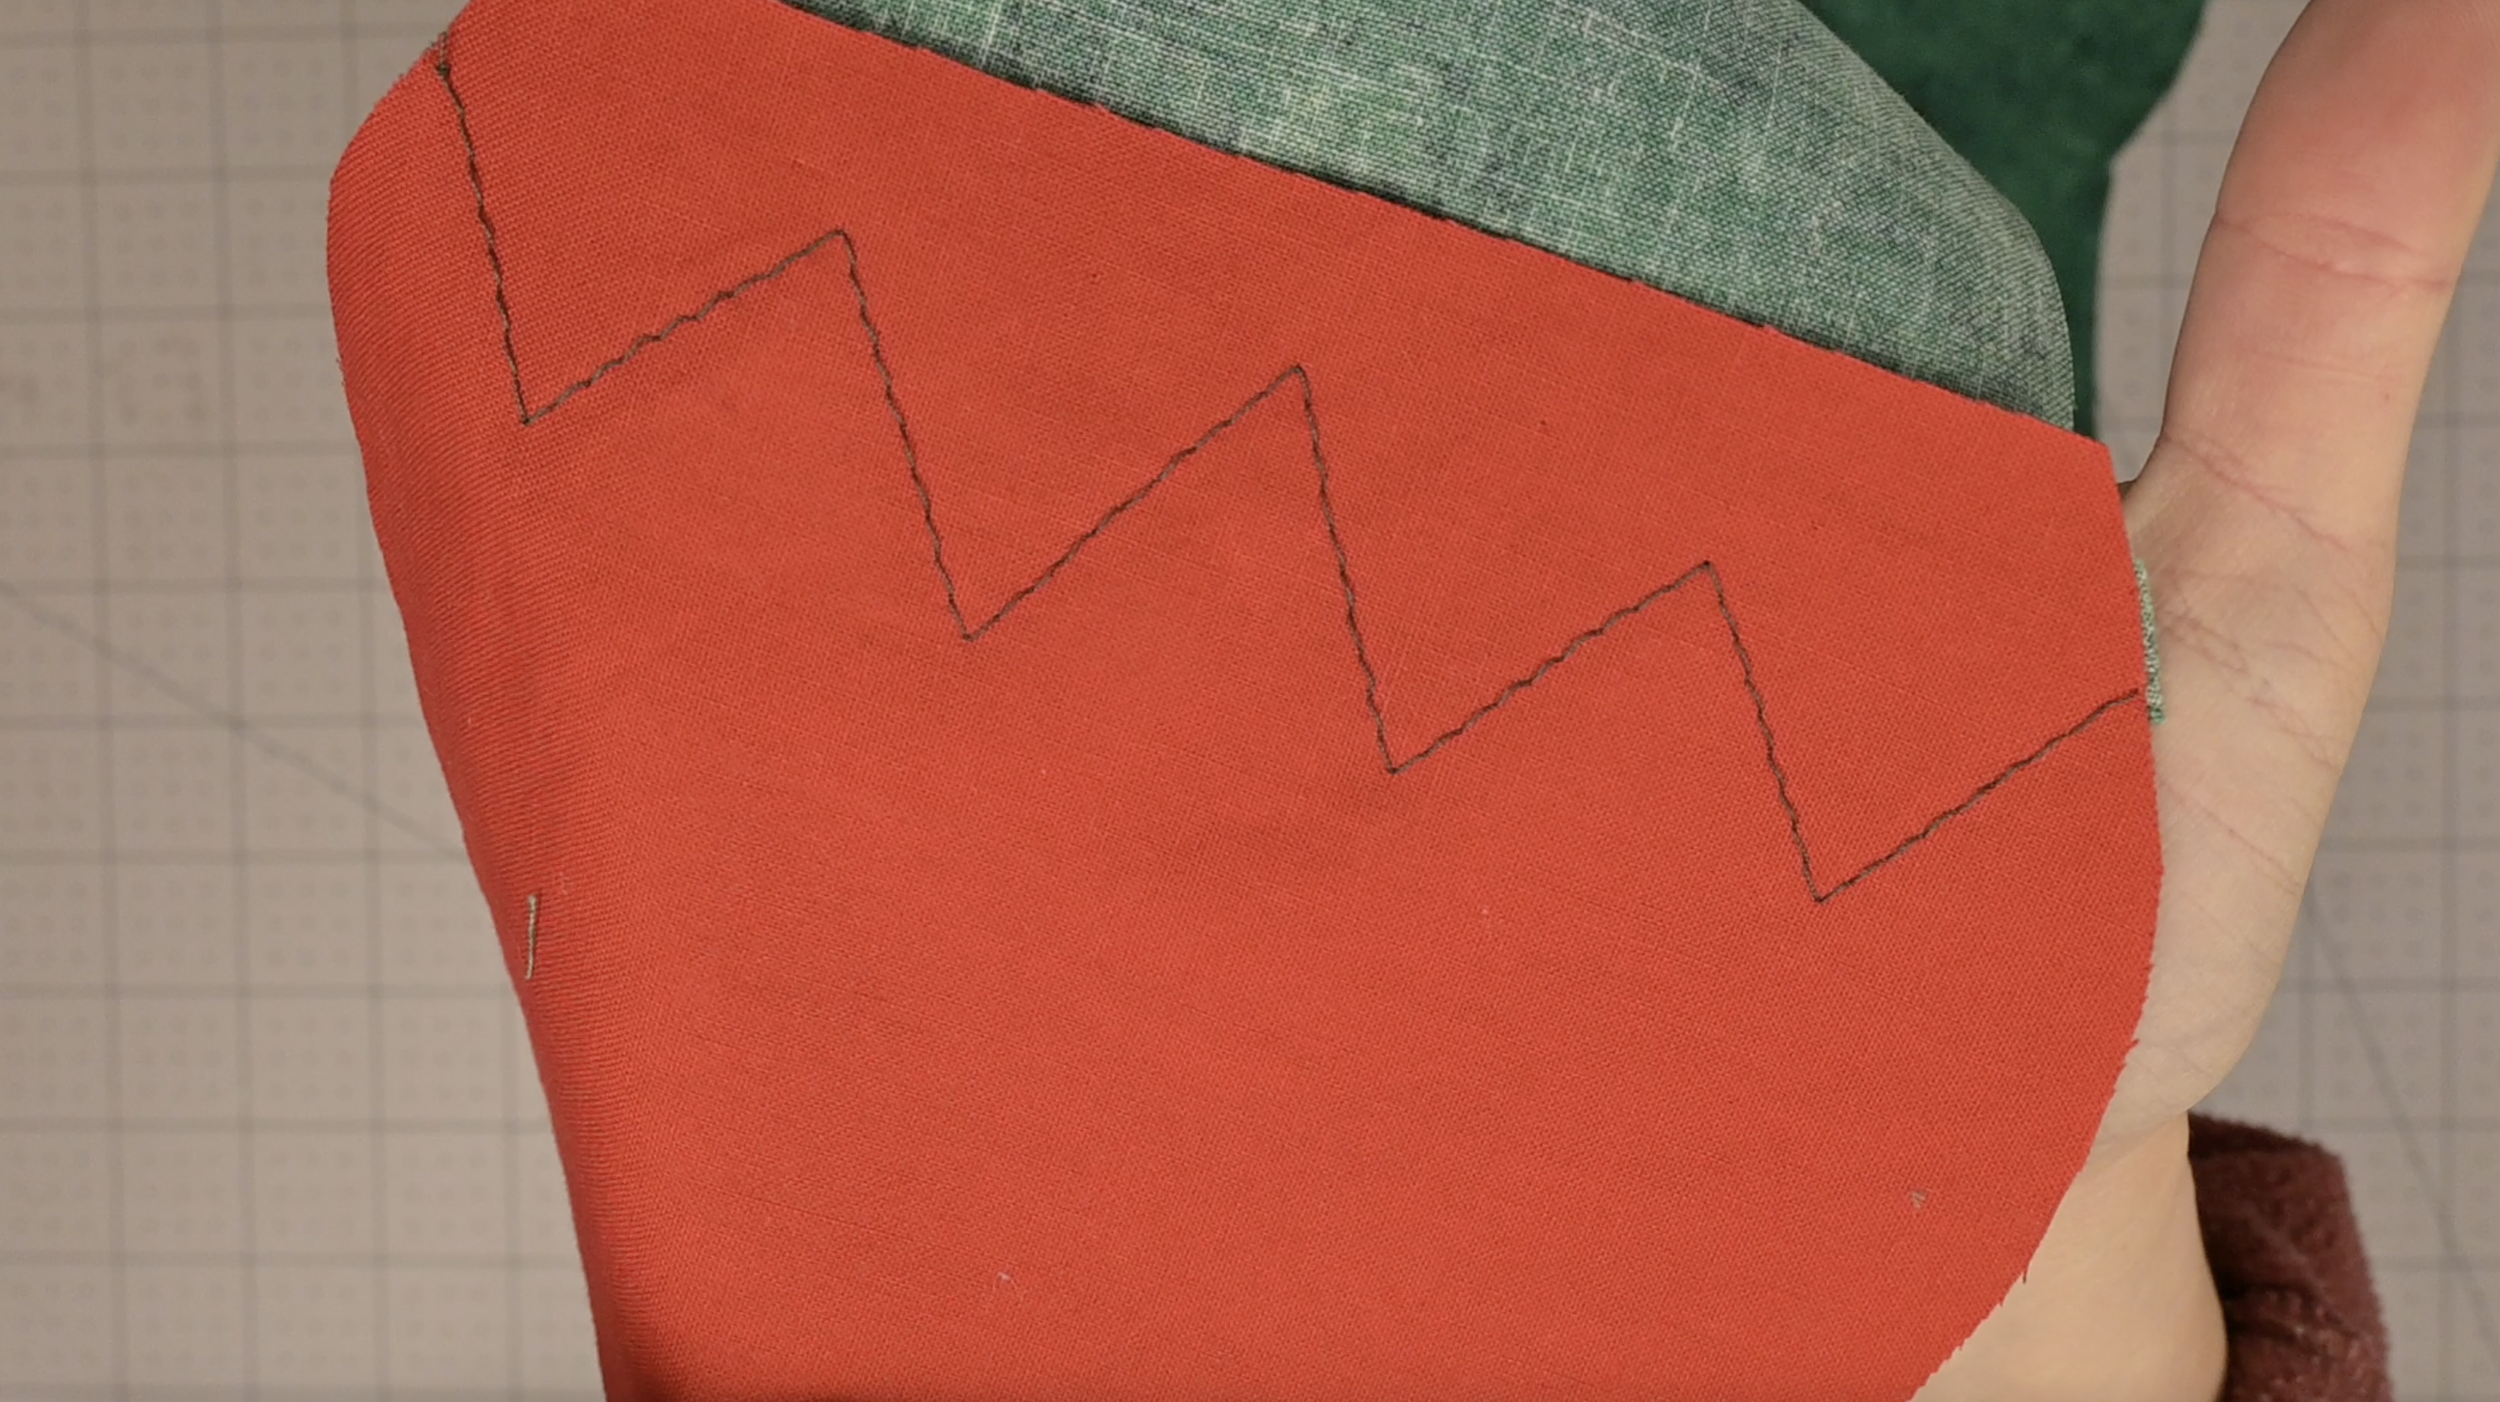
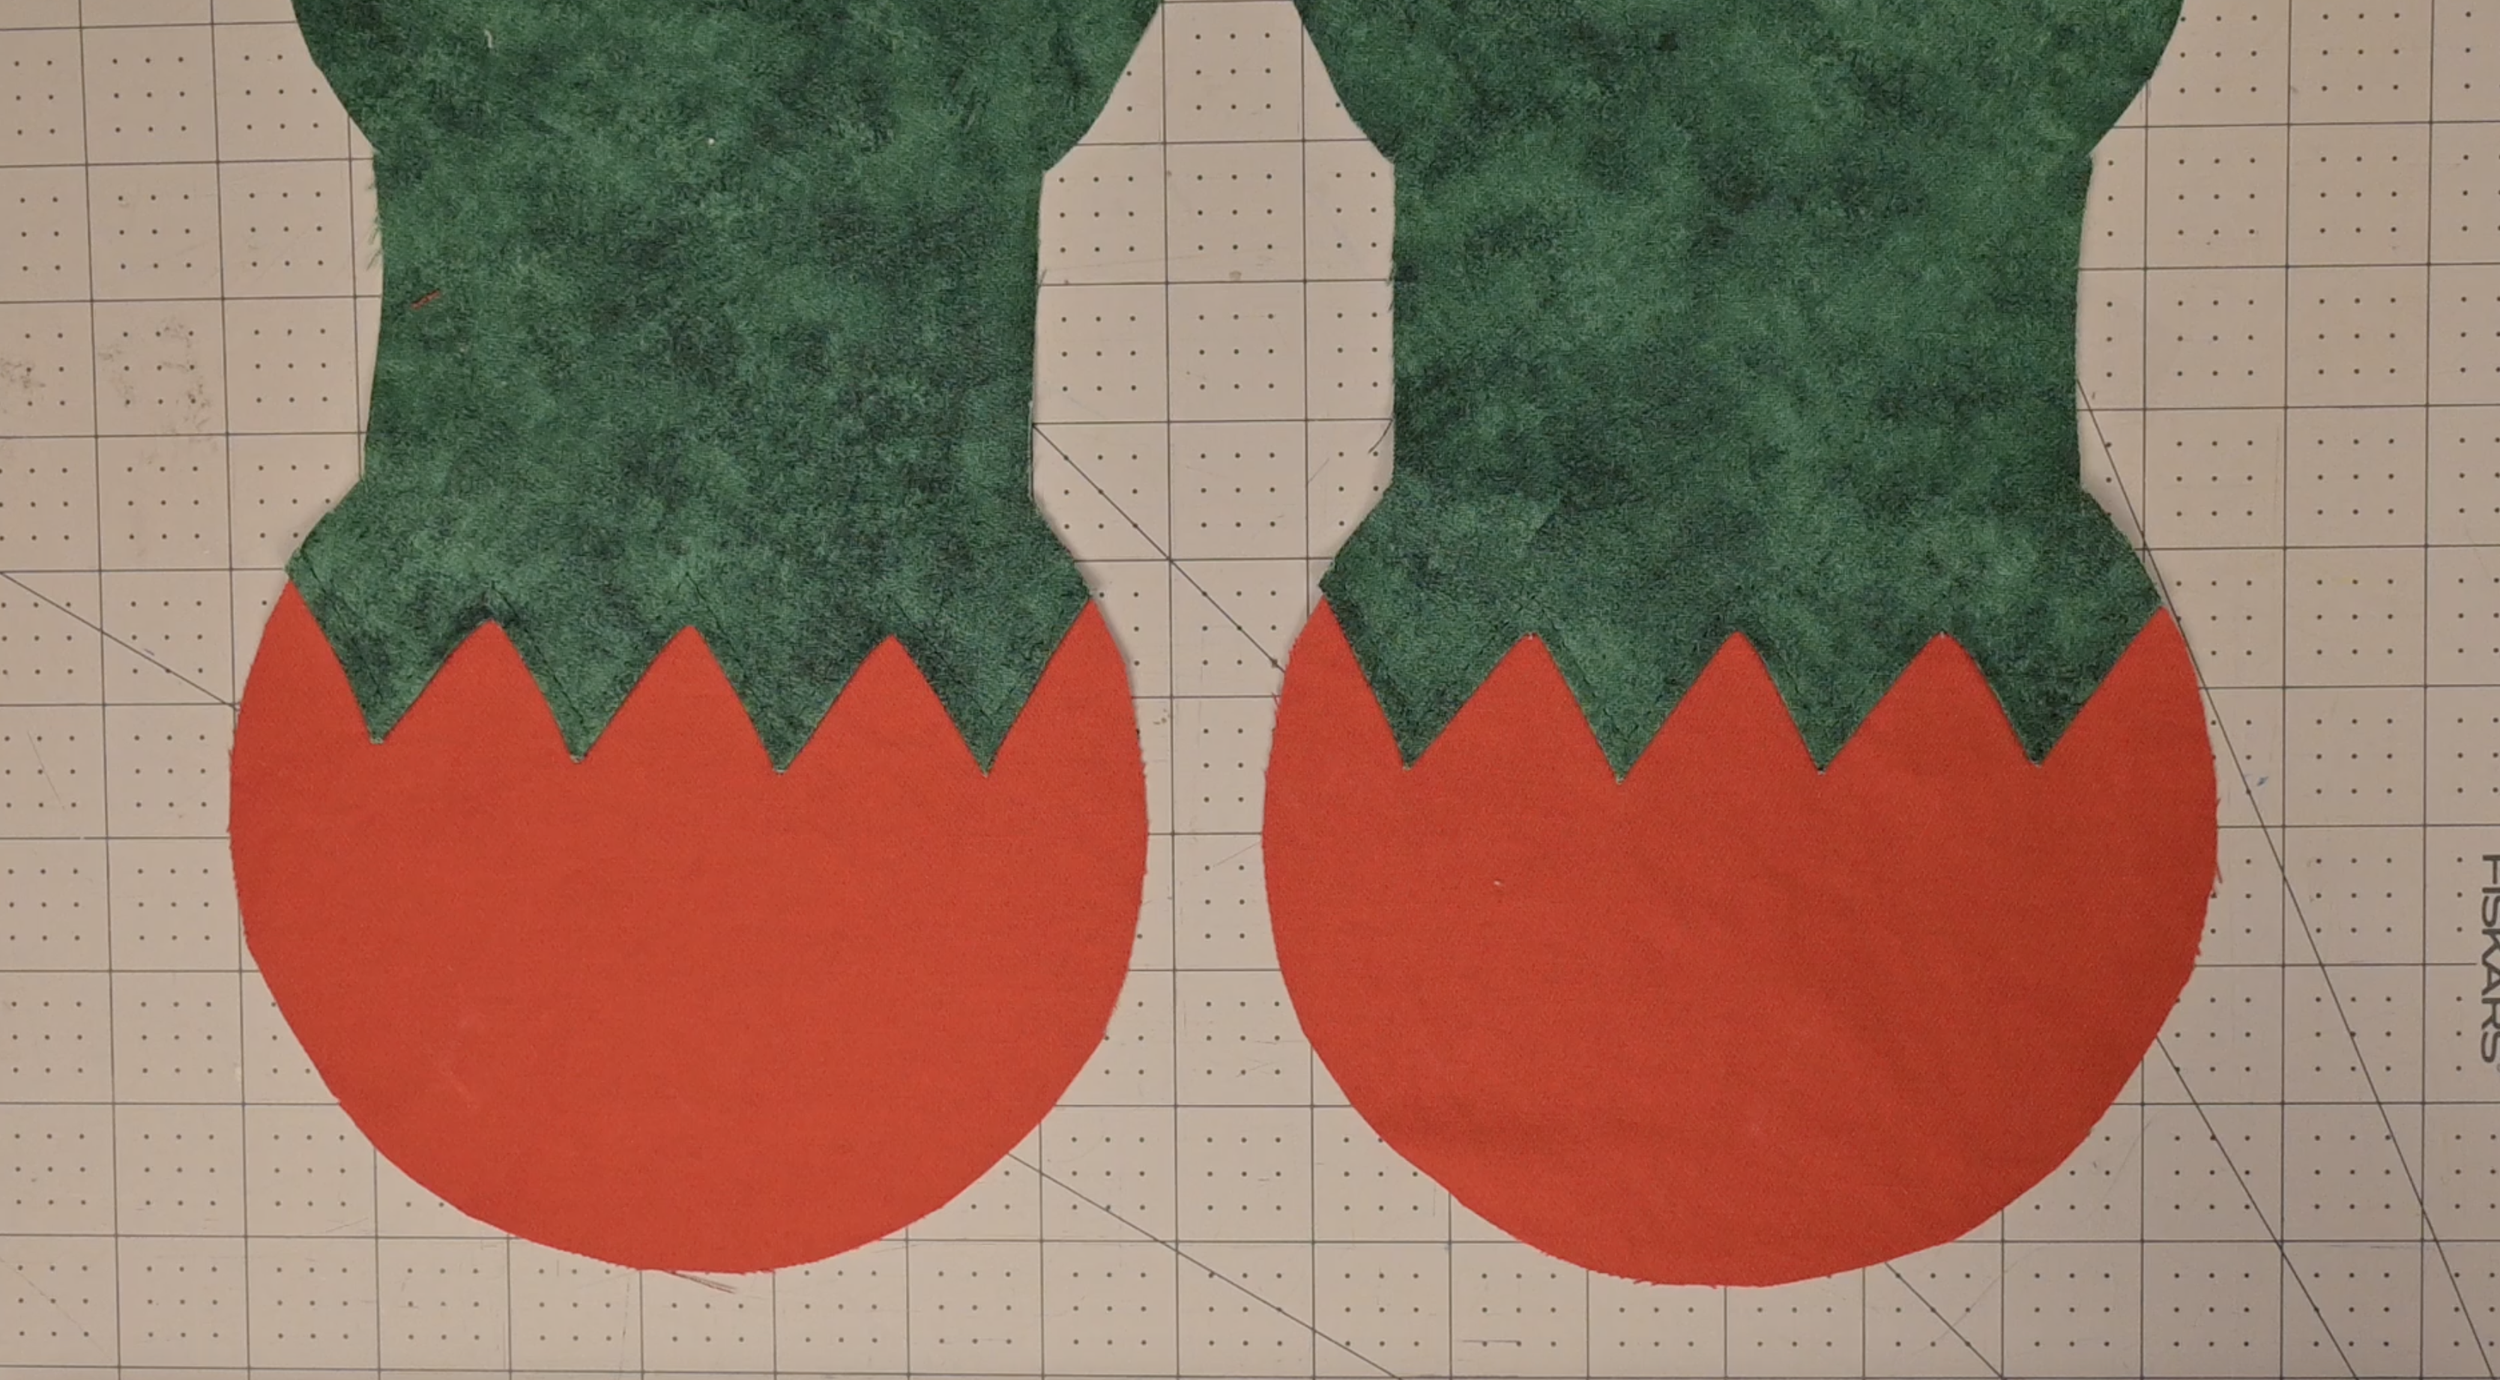
Repeat for the second set of pieces
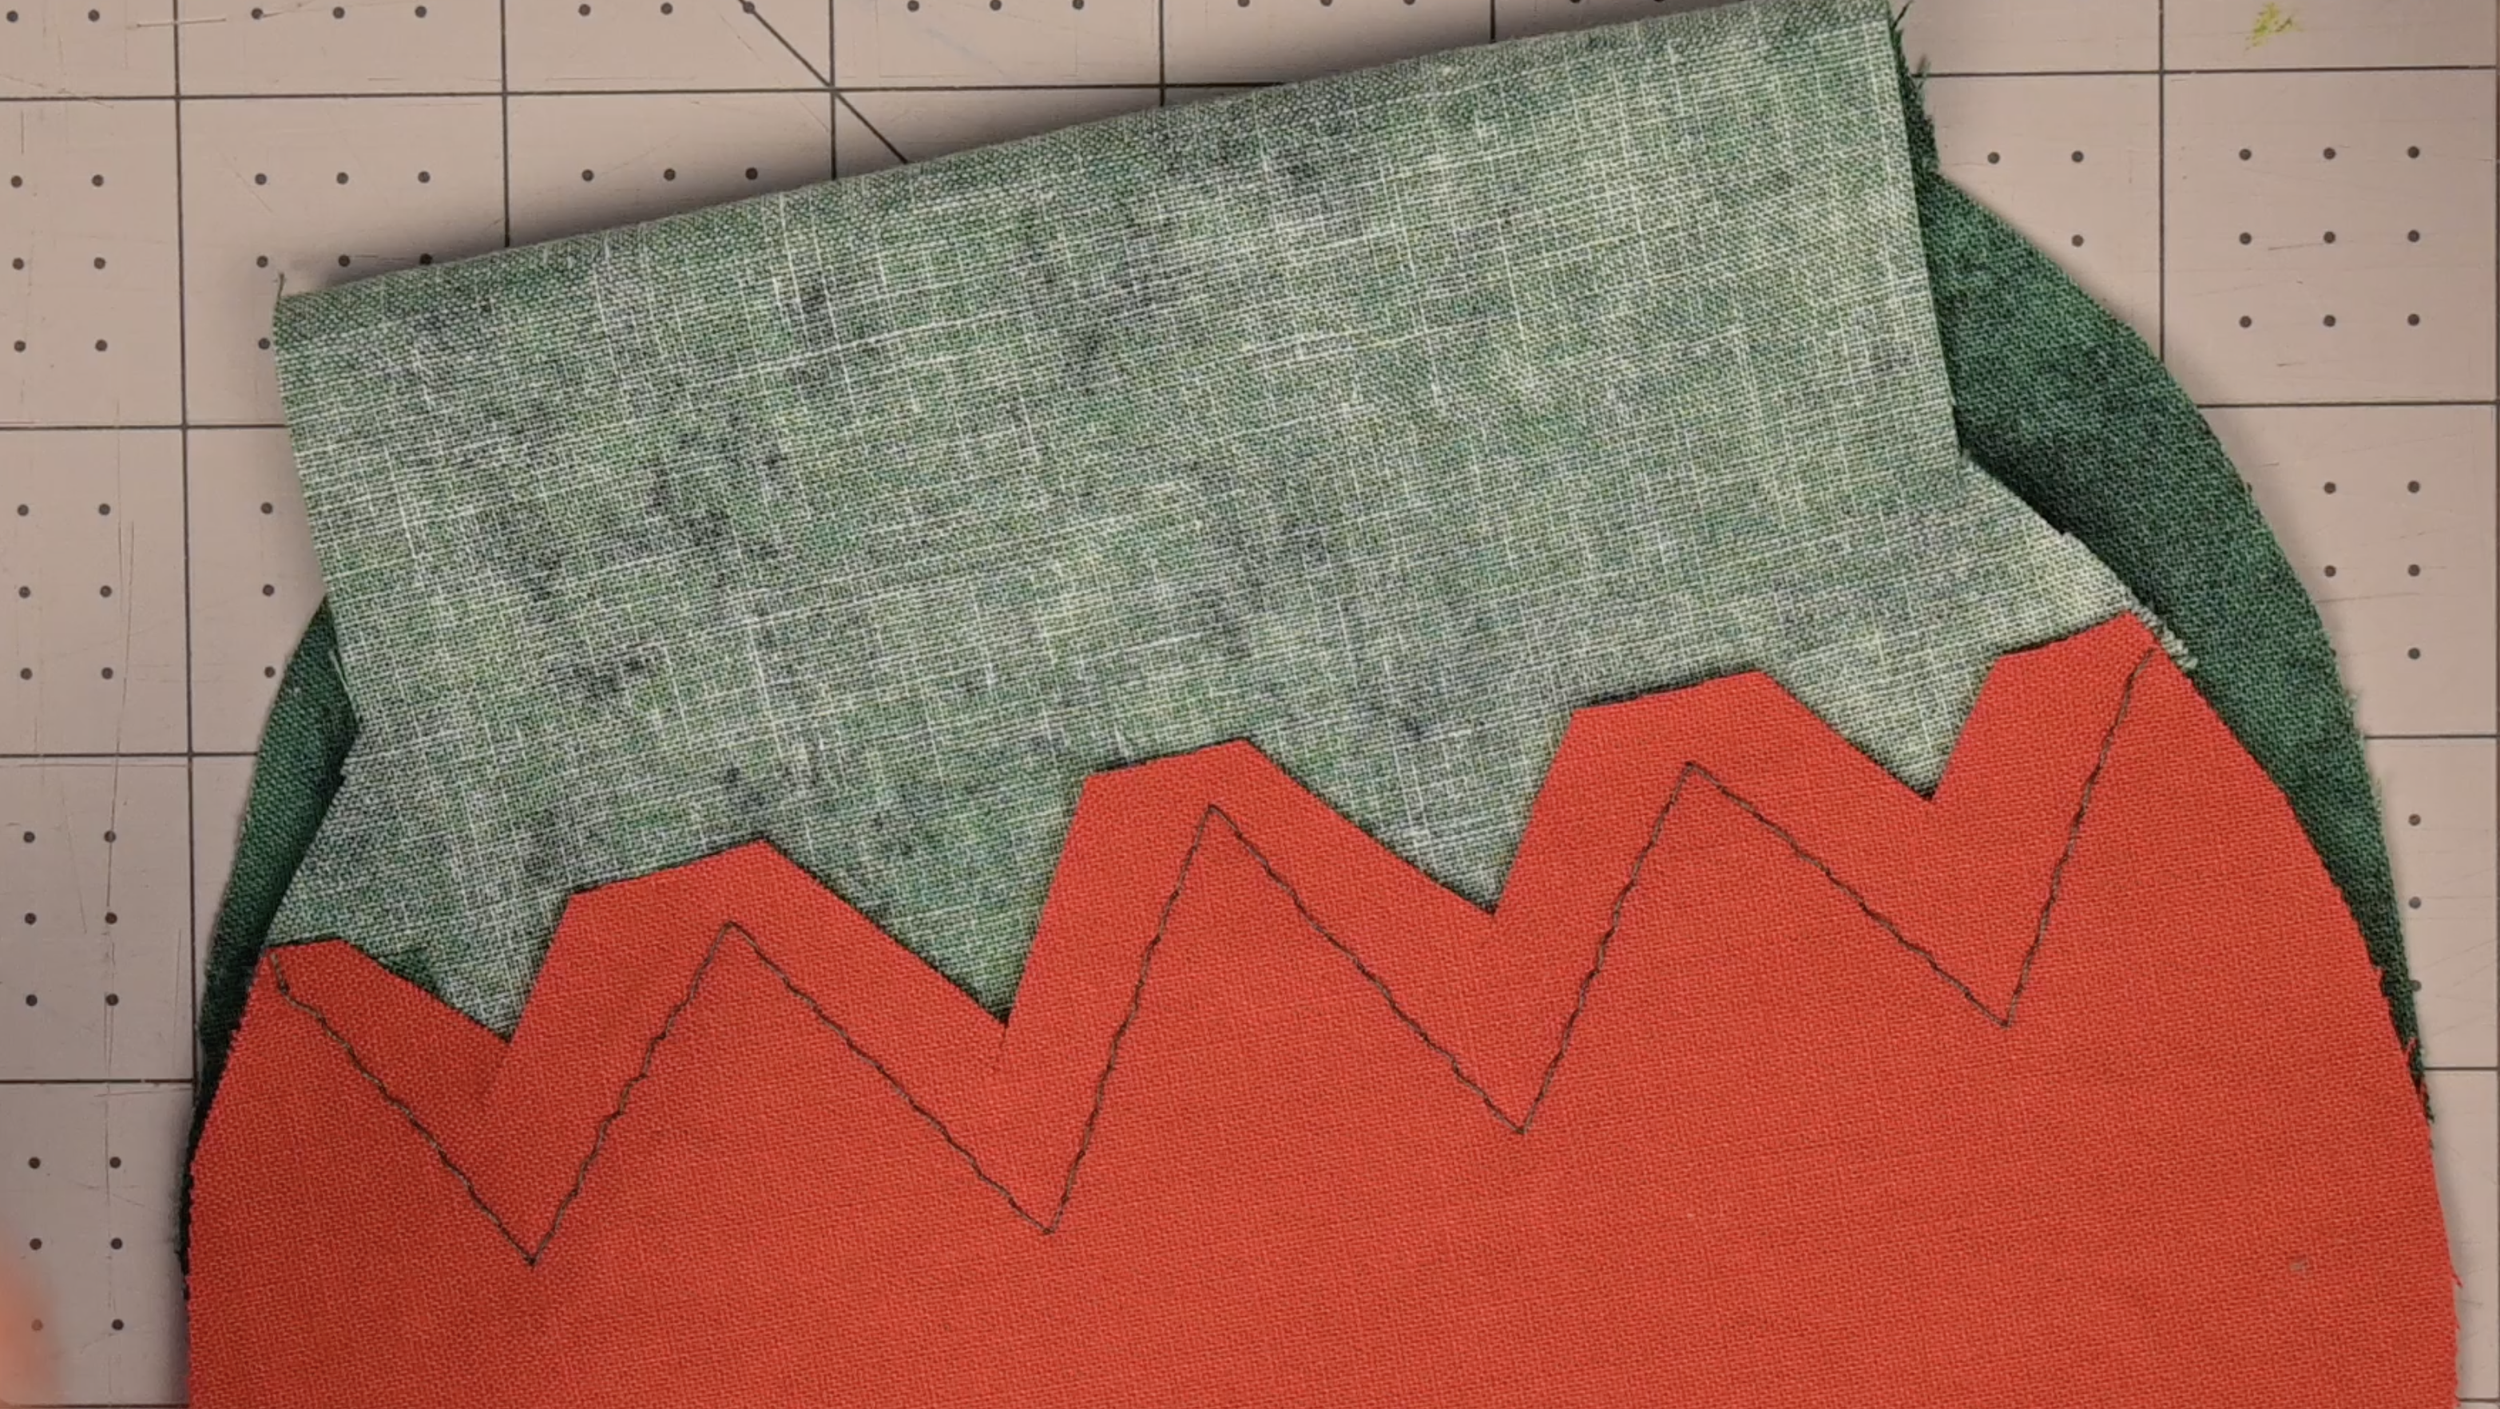
Optional: Trim off the extra red fabric from the interior
Step 5: Create the Ribbon Casing Edges
This step ensures the side openings for your drawstring look clean and don't fray.
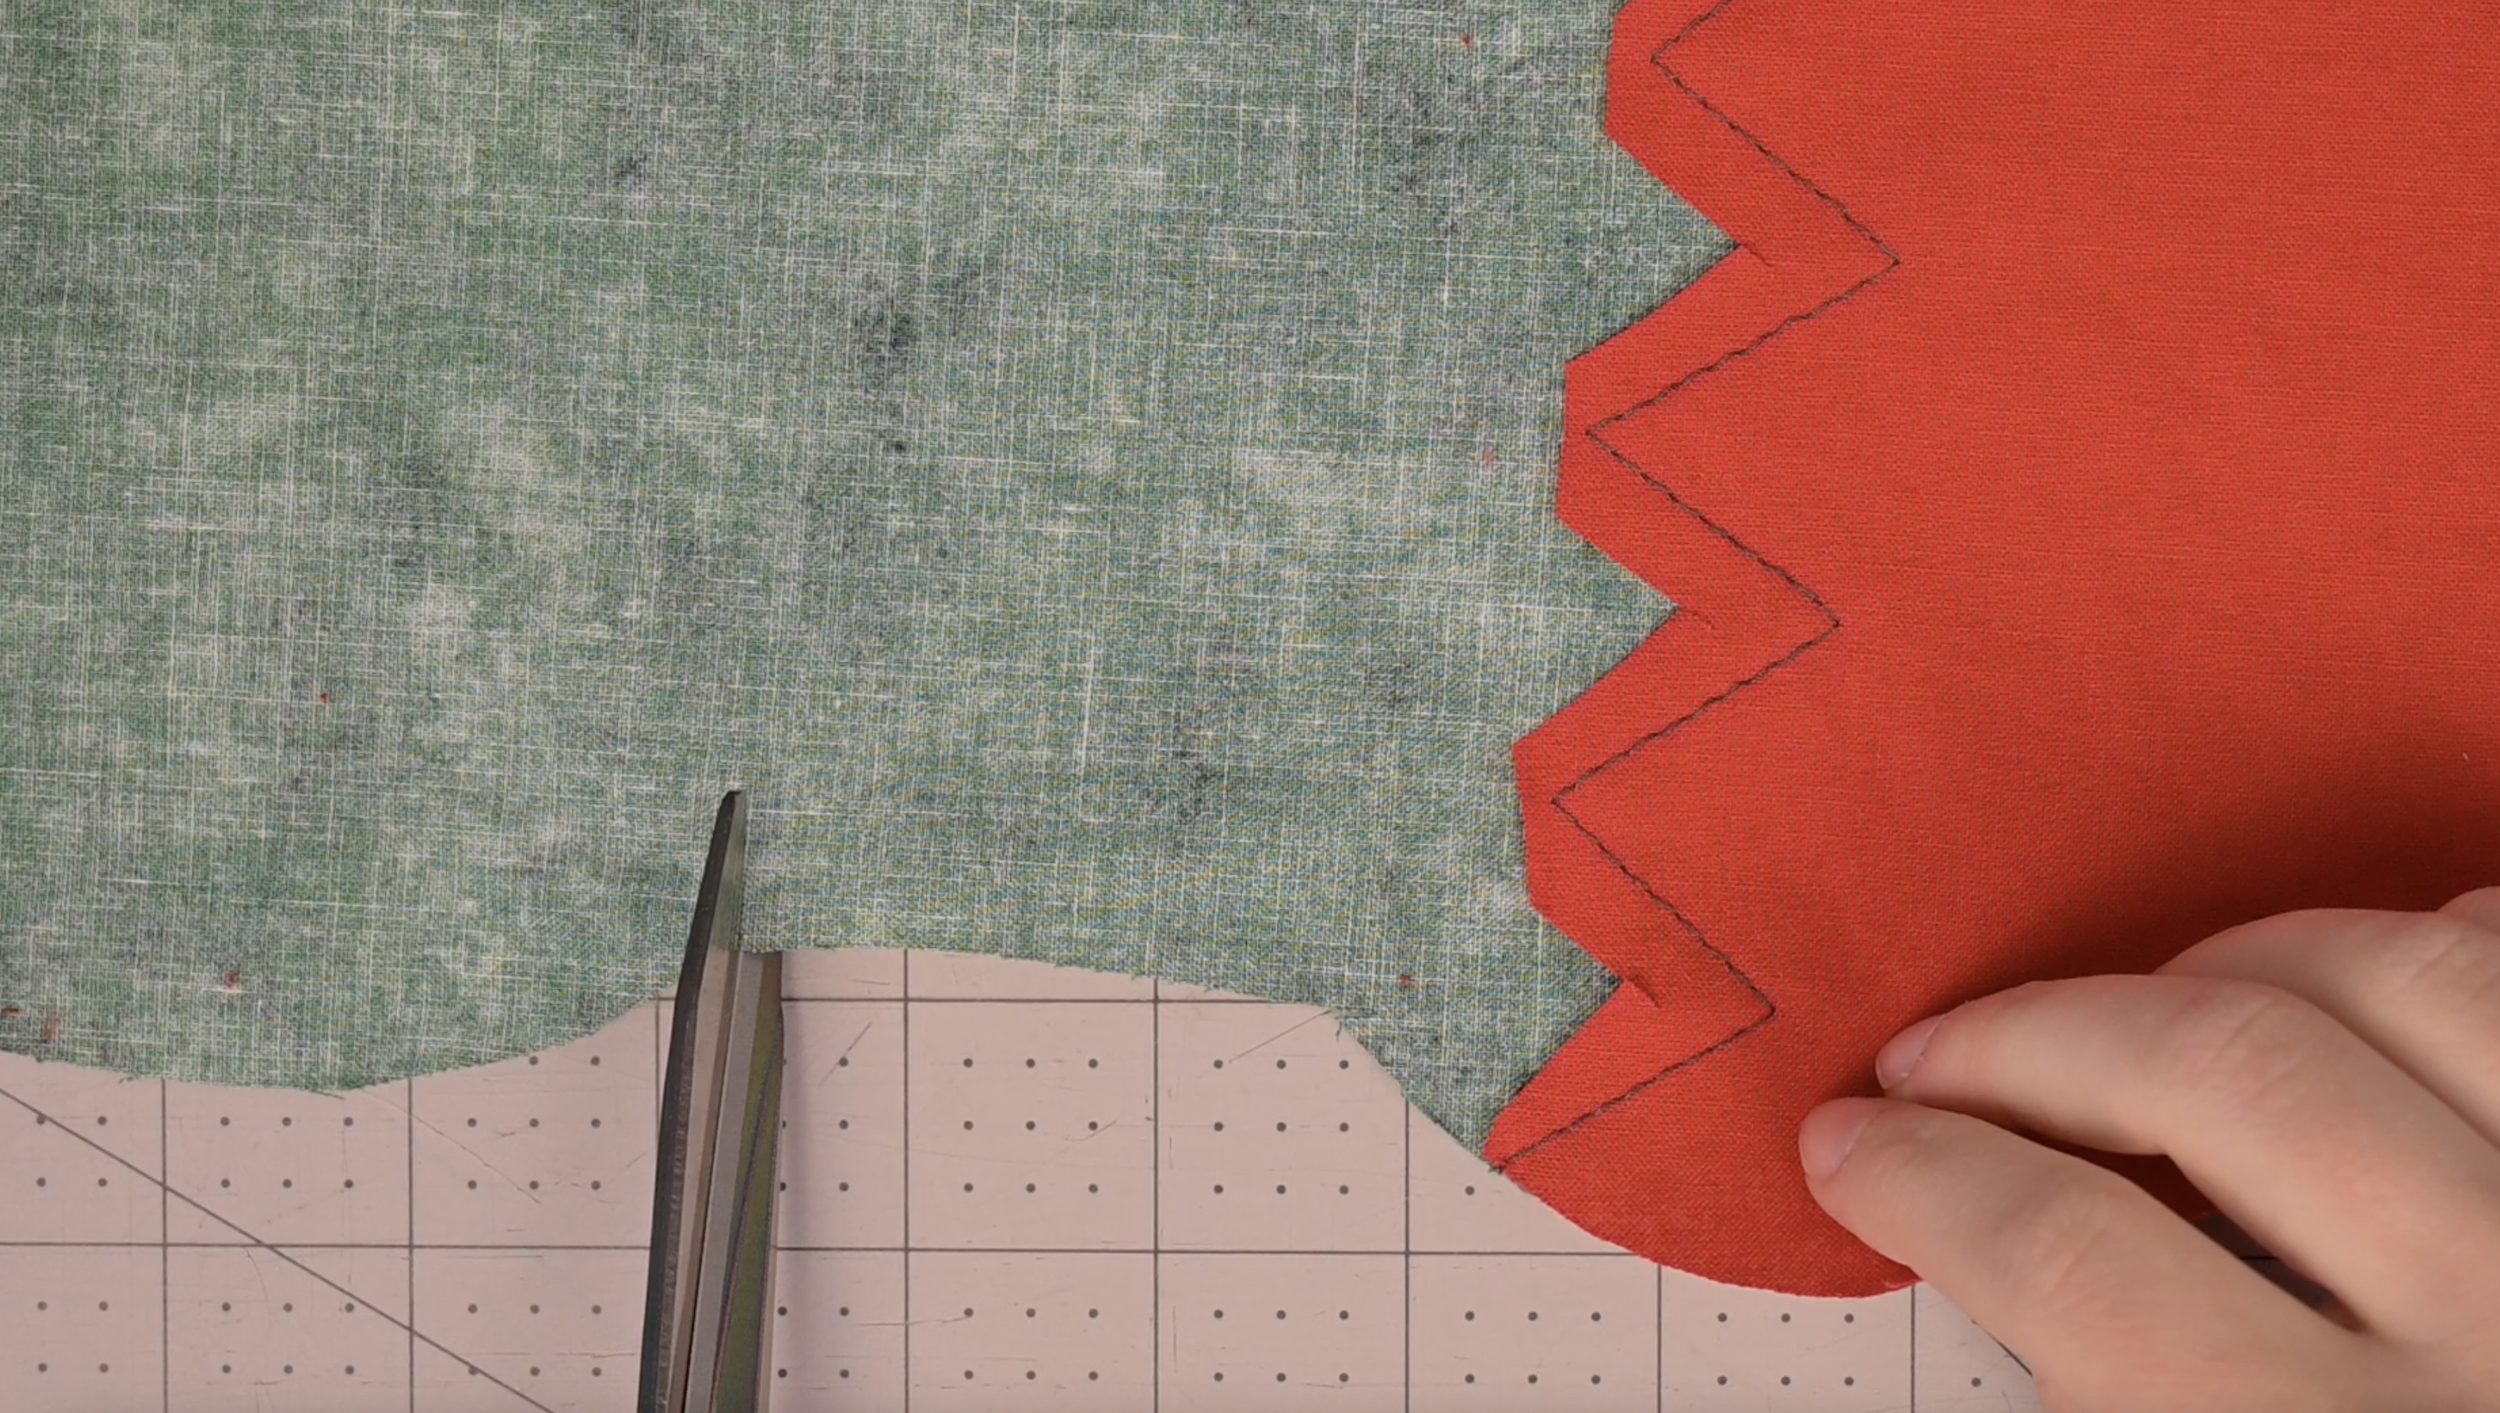
At the center rectangle, measure and cut a 1/2-inch horizontal slit into the seam allowance at all four corners
You will make 4 cuts
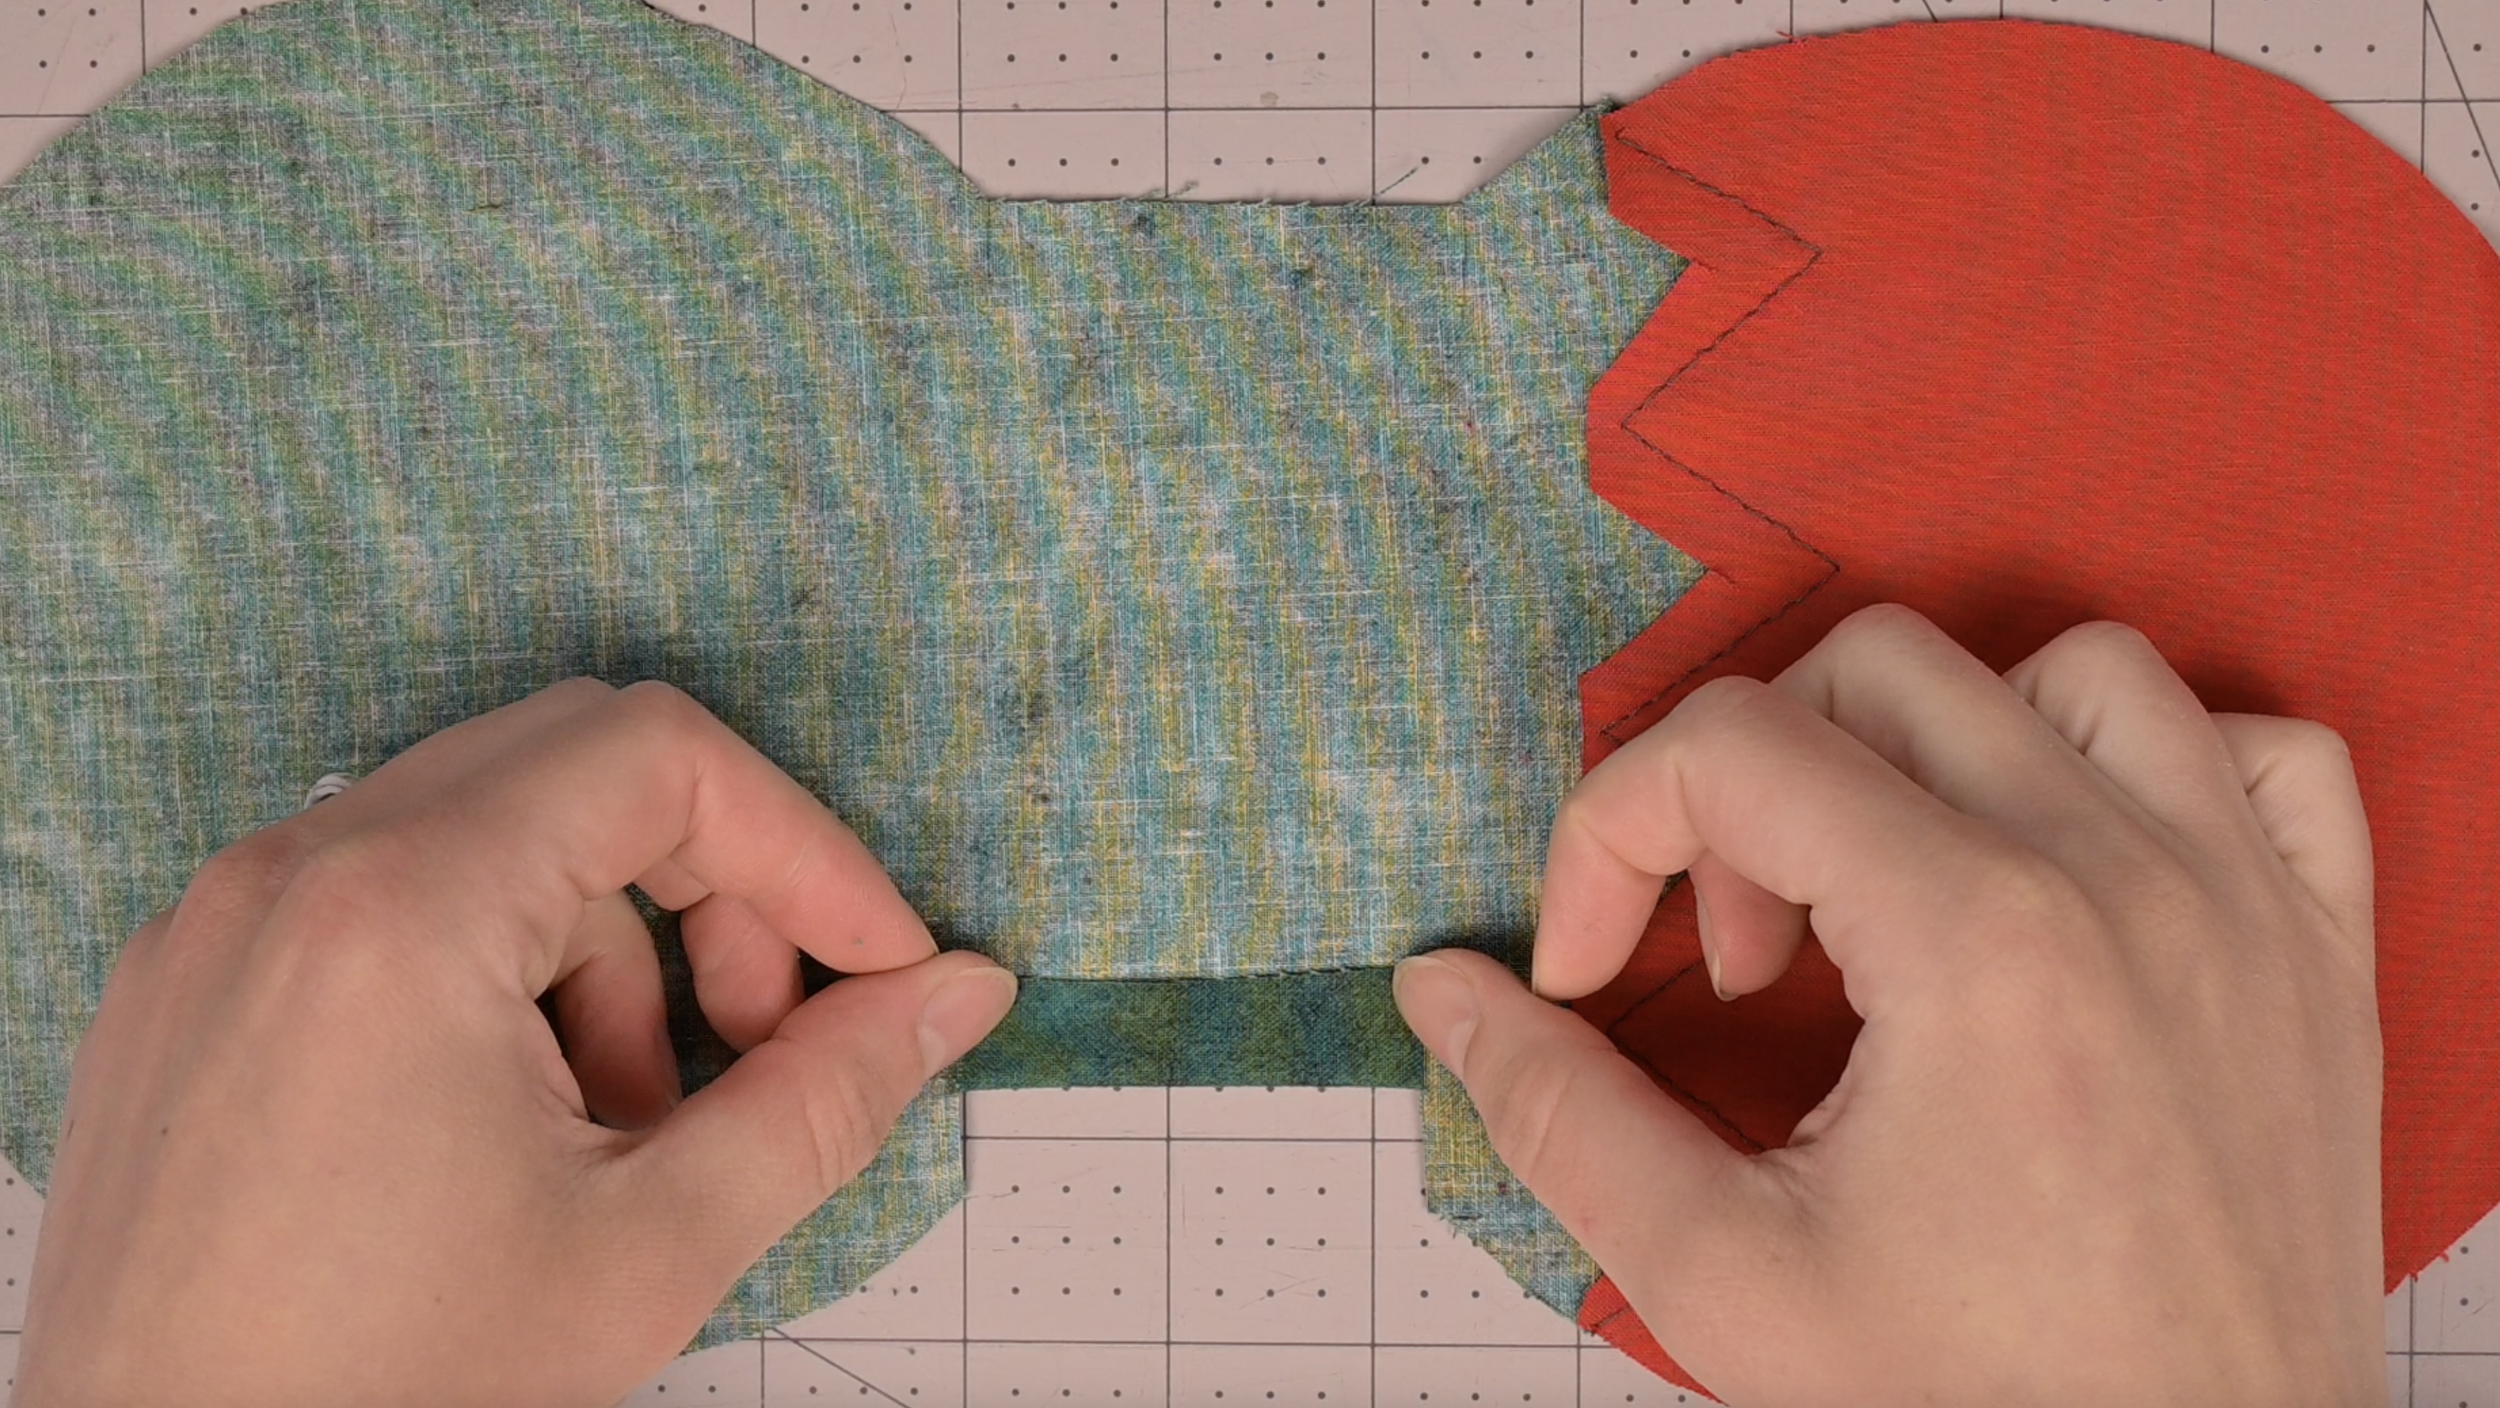
Fold the raw edge of each slit in 1/2 inch toward the wrong side and iron
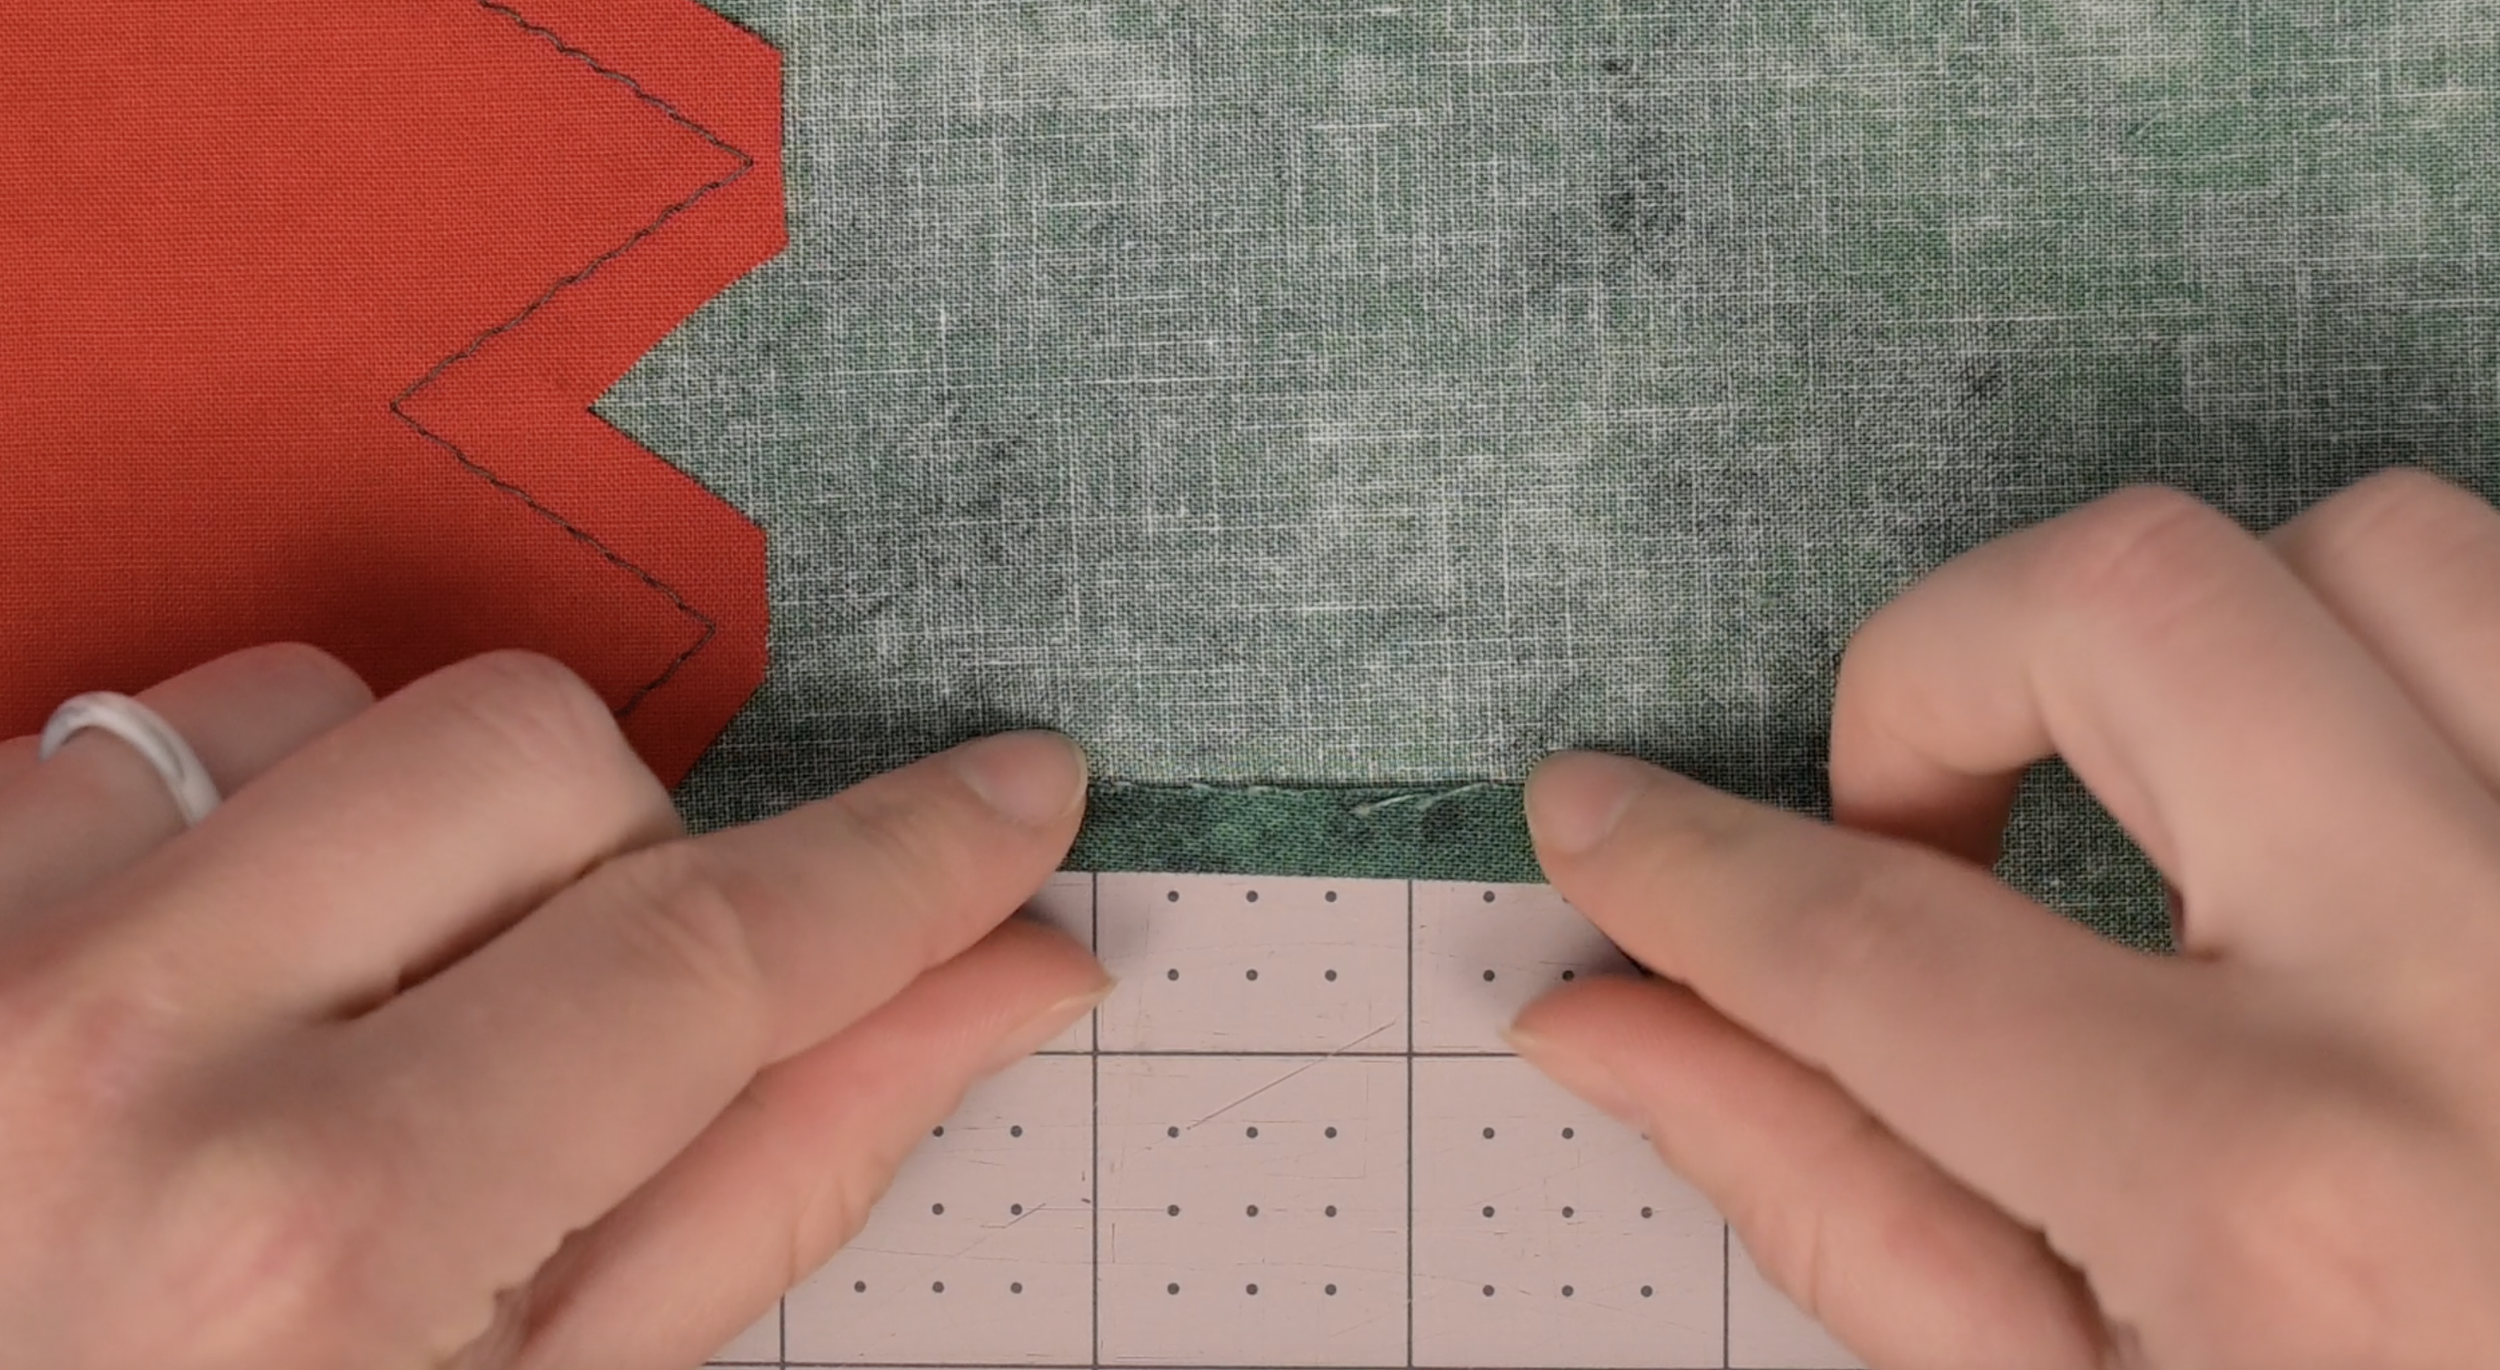
Open that fold, tuck the raw edge in to meet the crease you just made, and fold again (a double-fold)
Iron flat
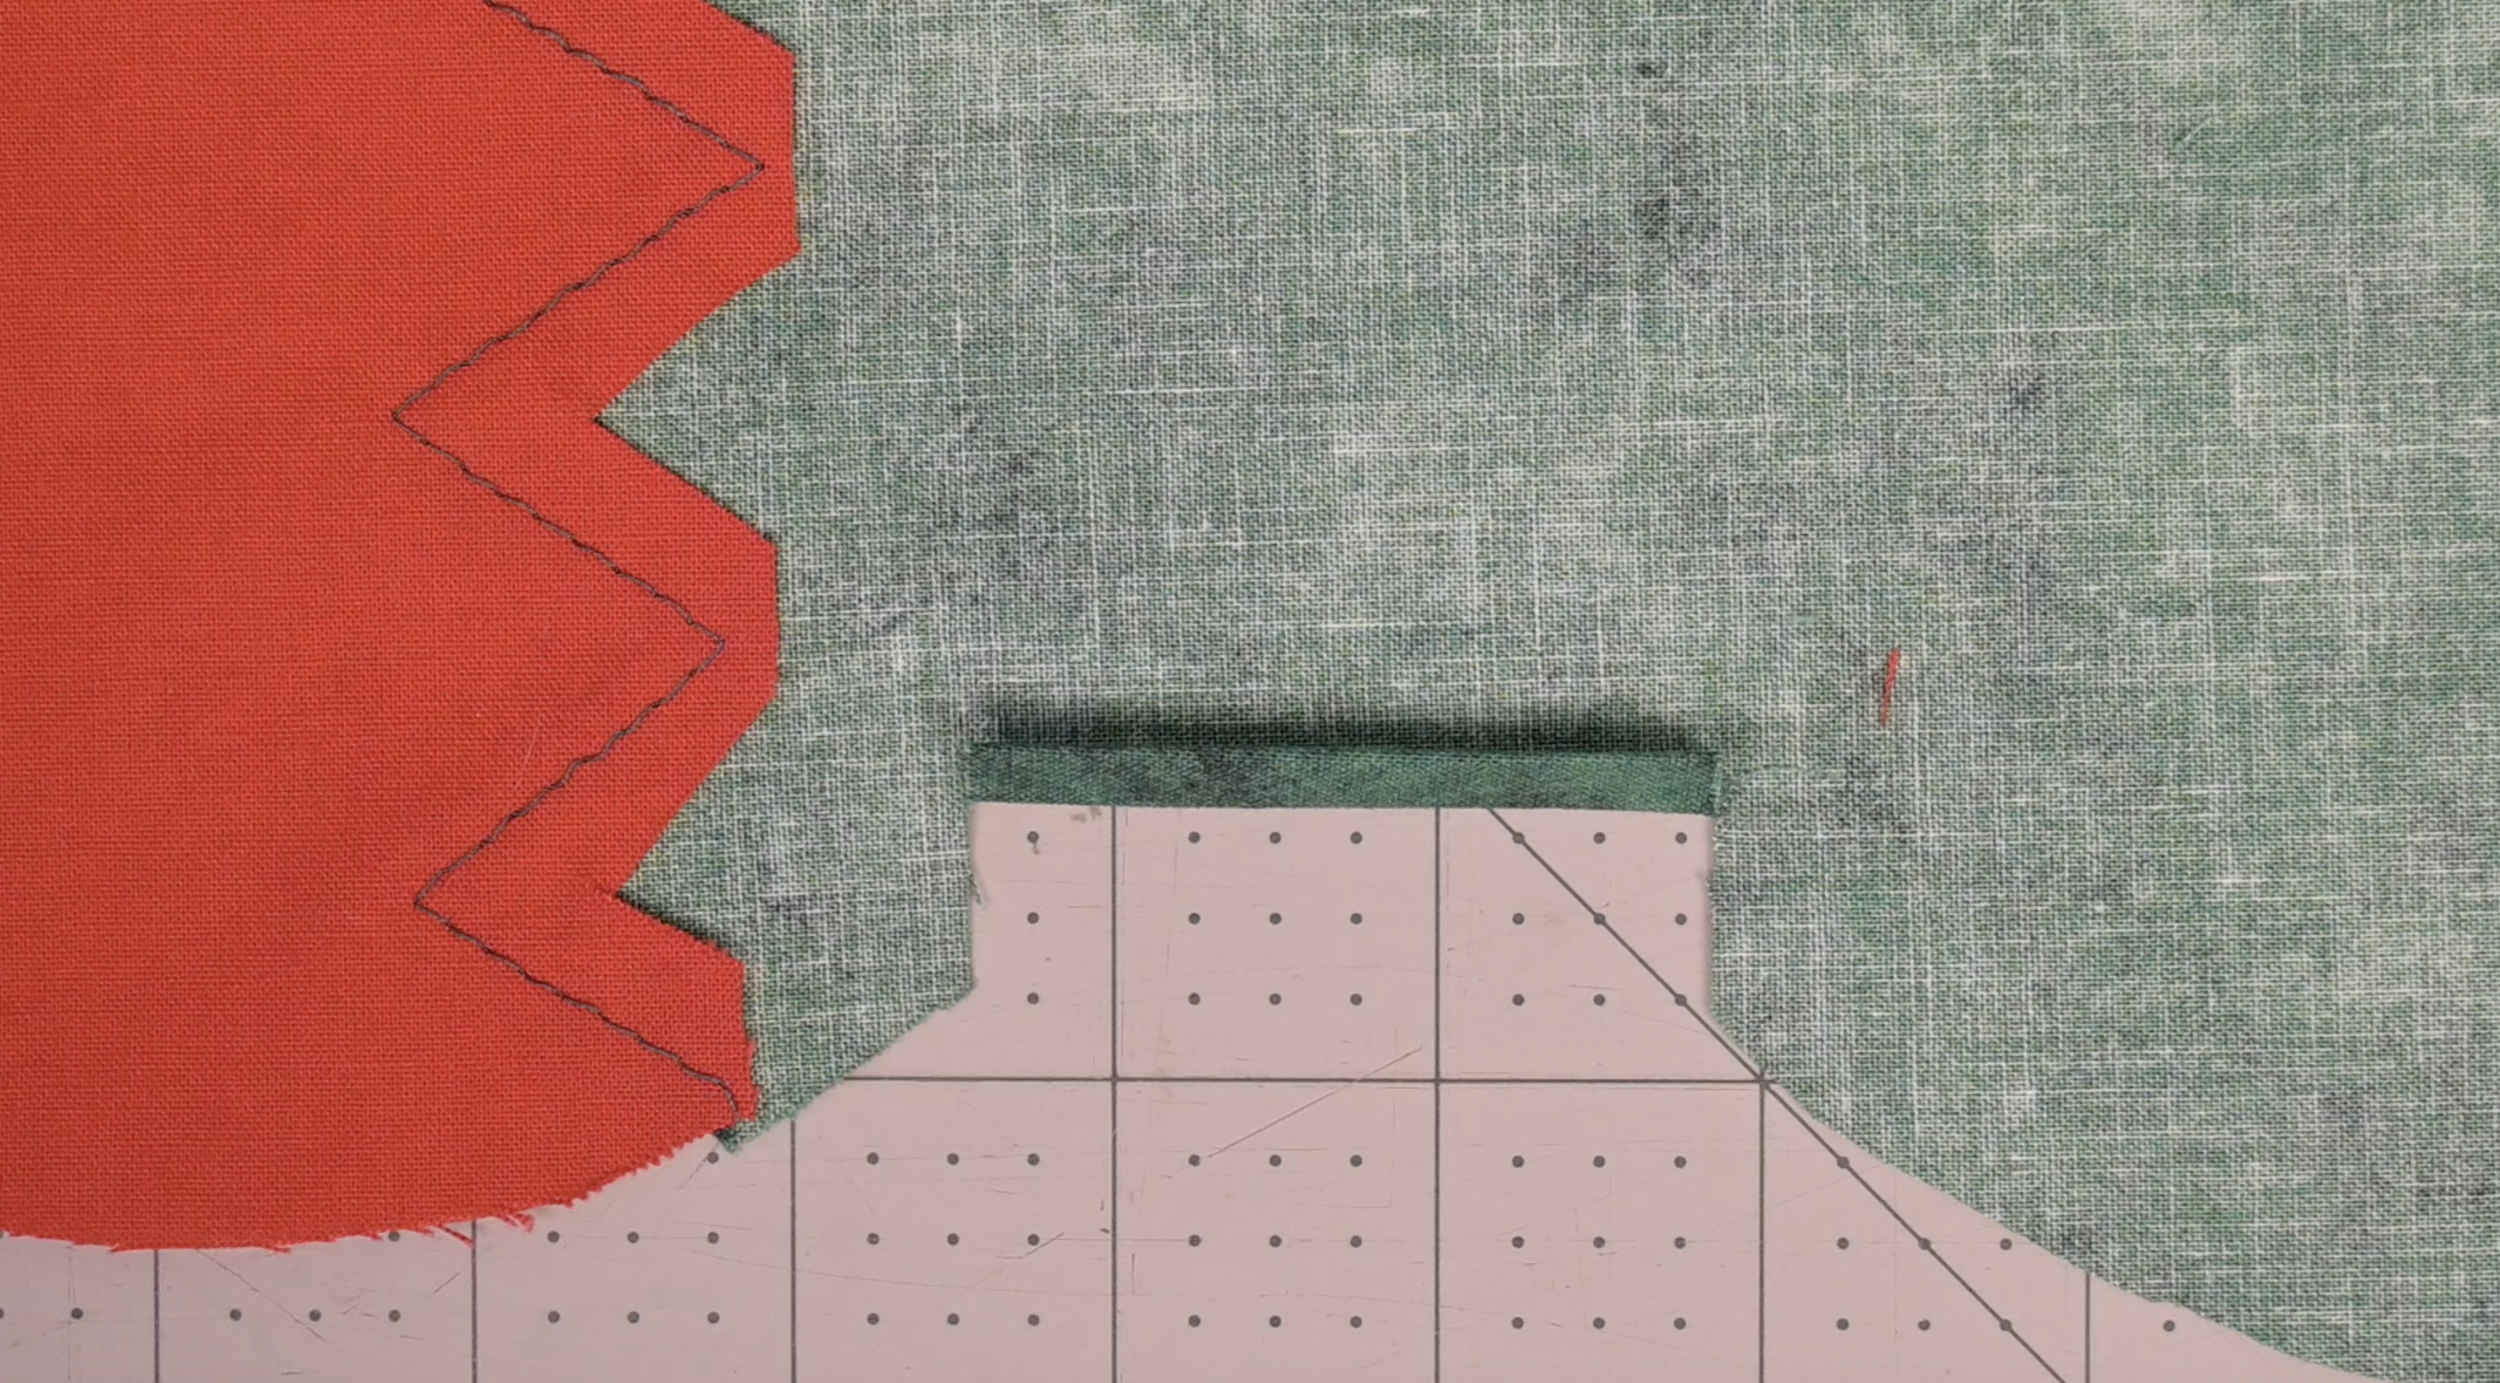
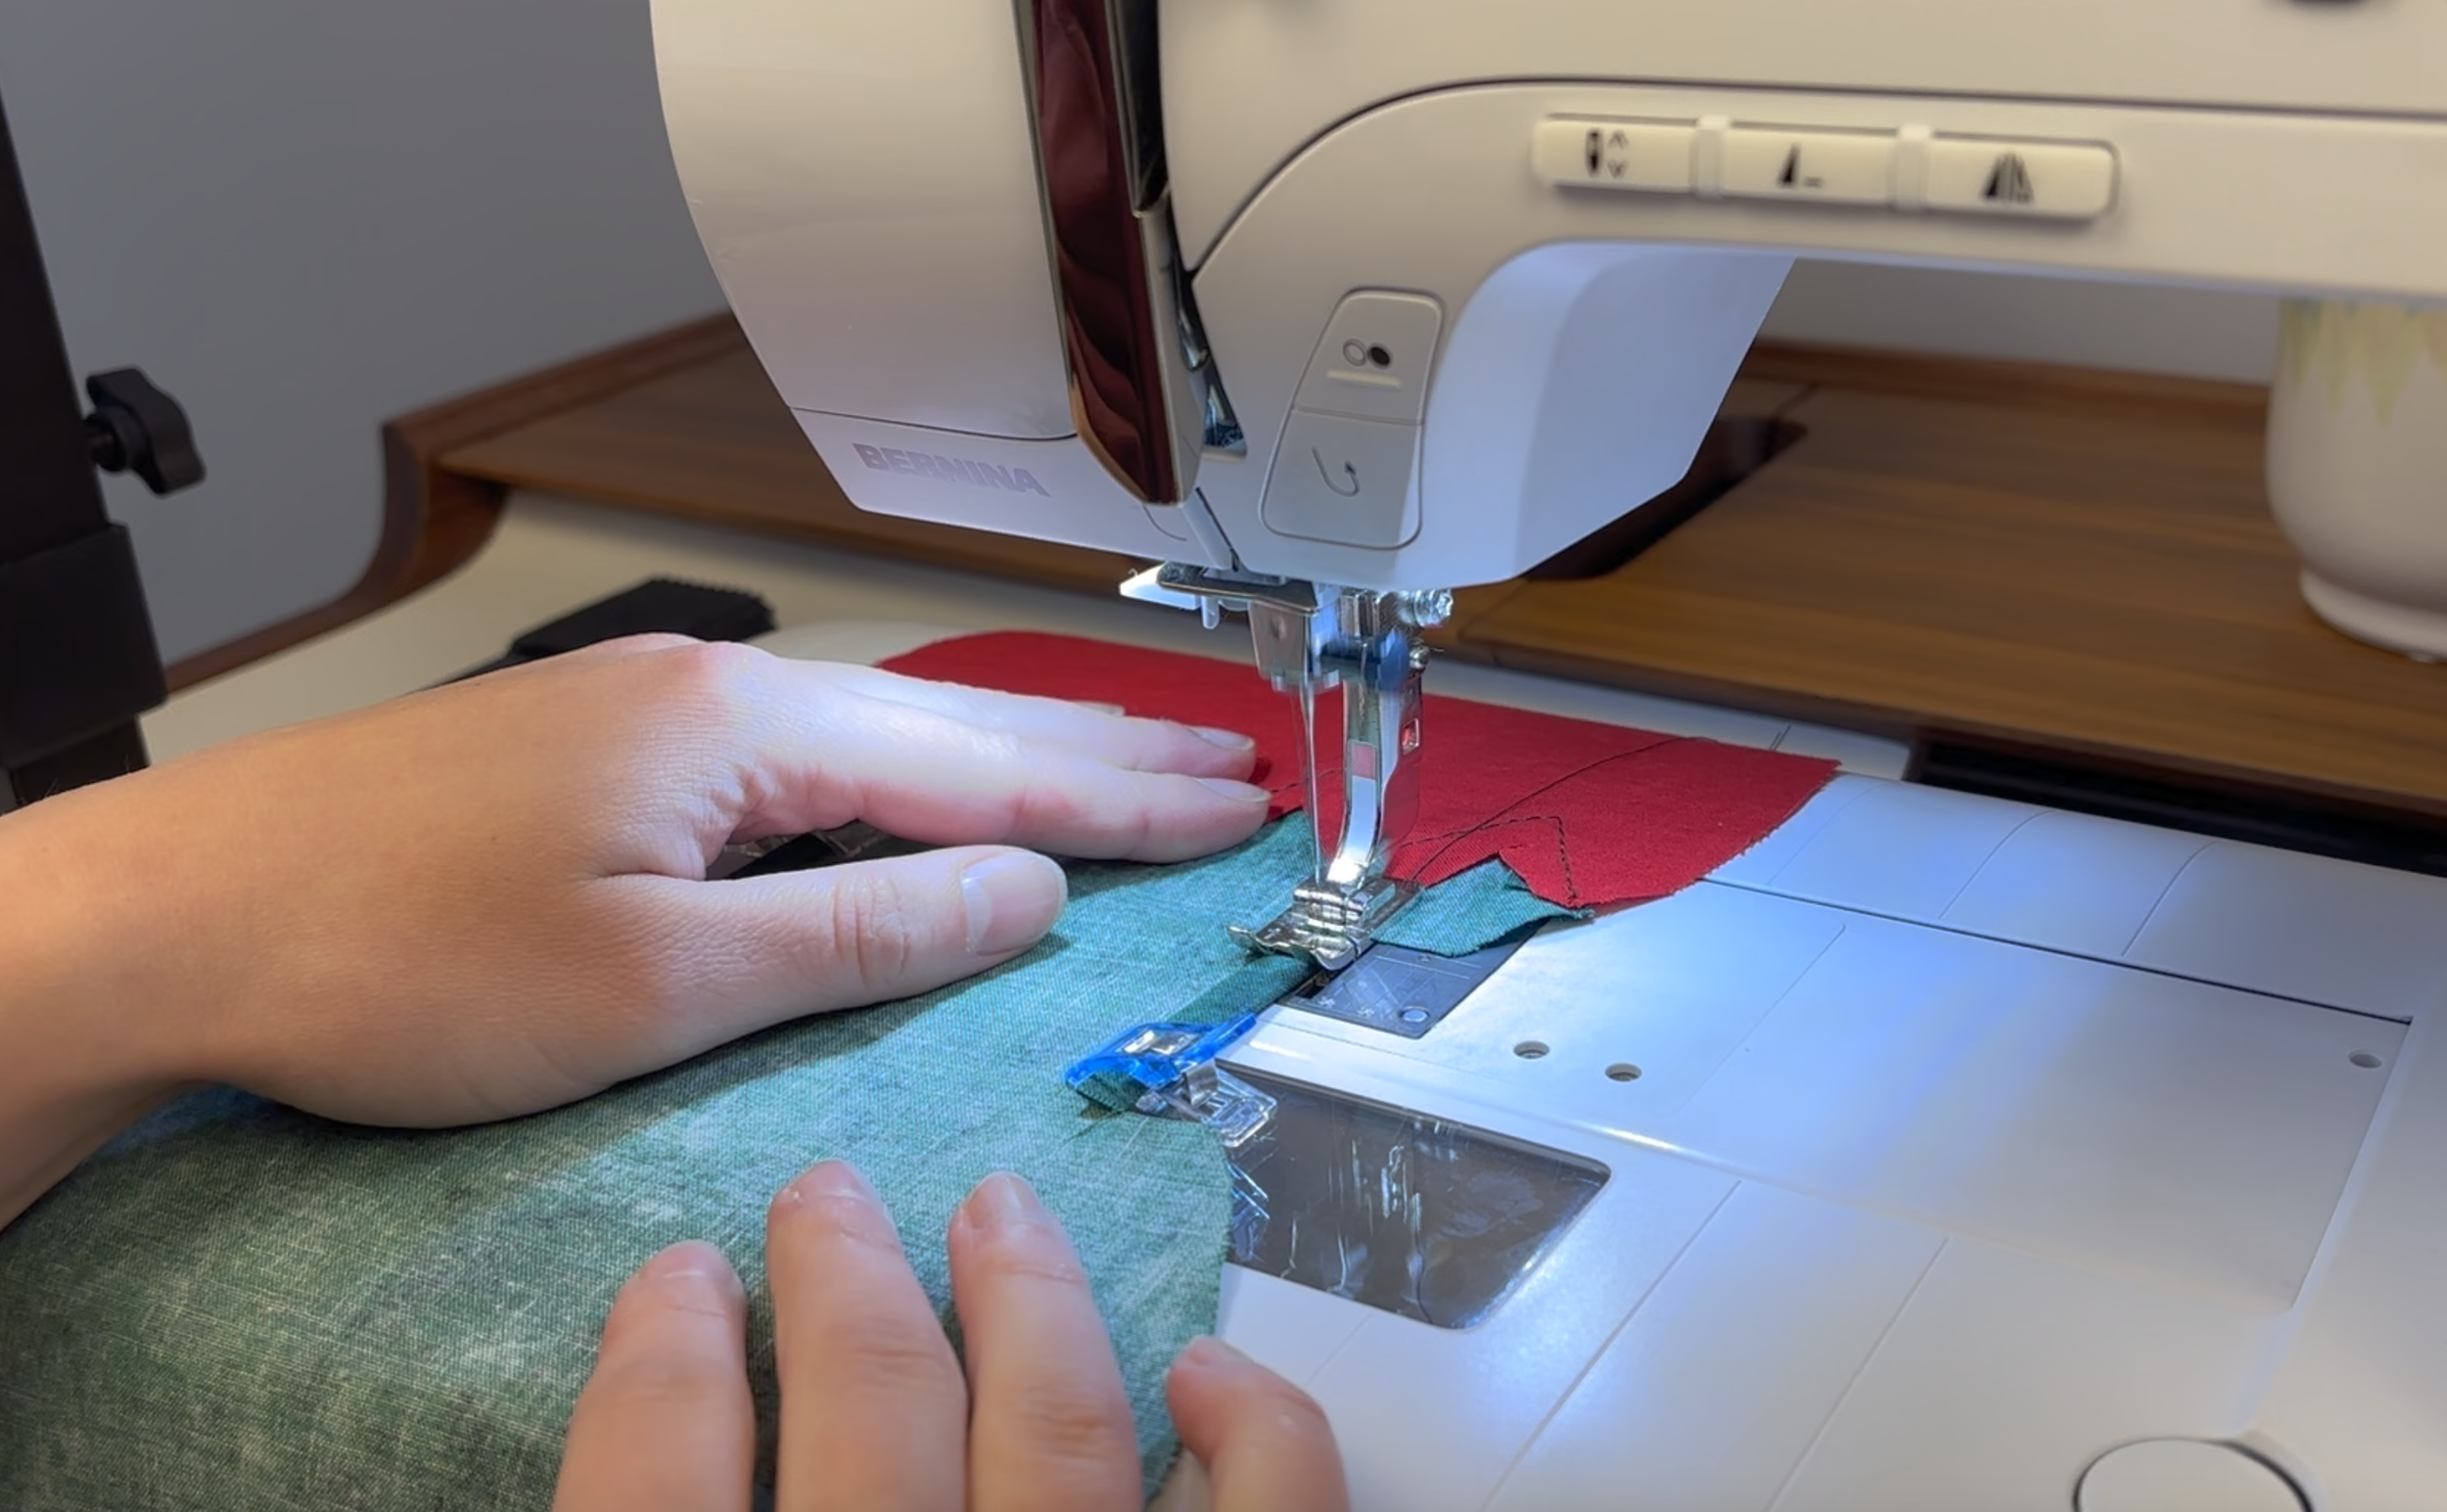
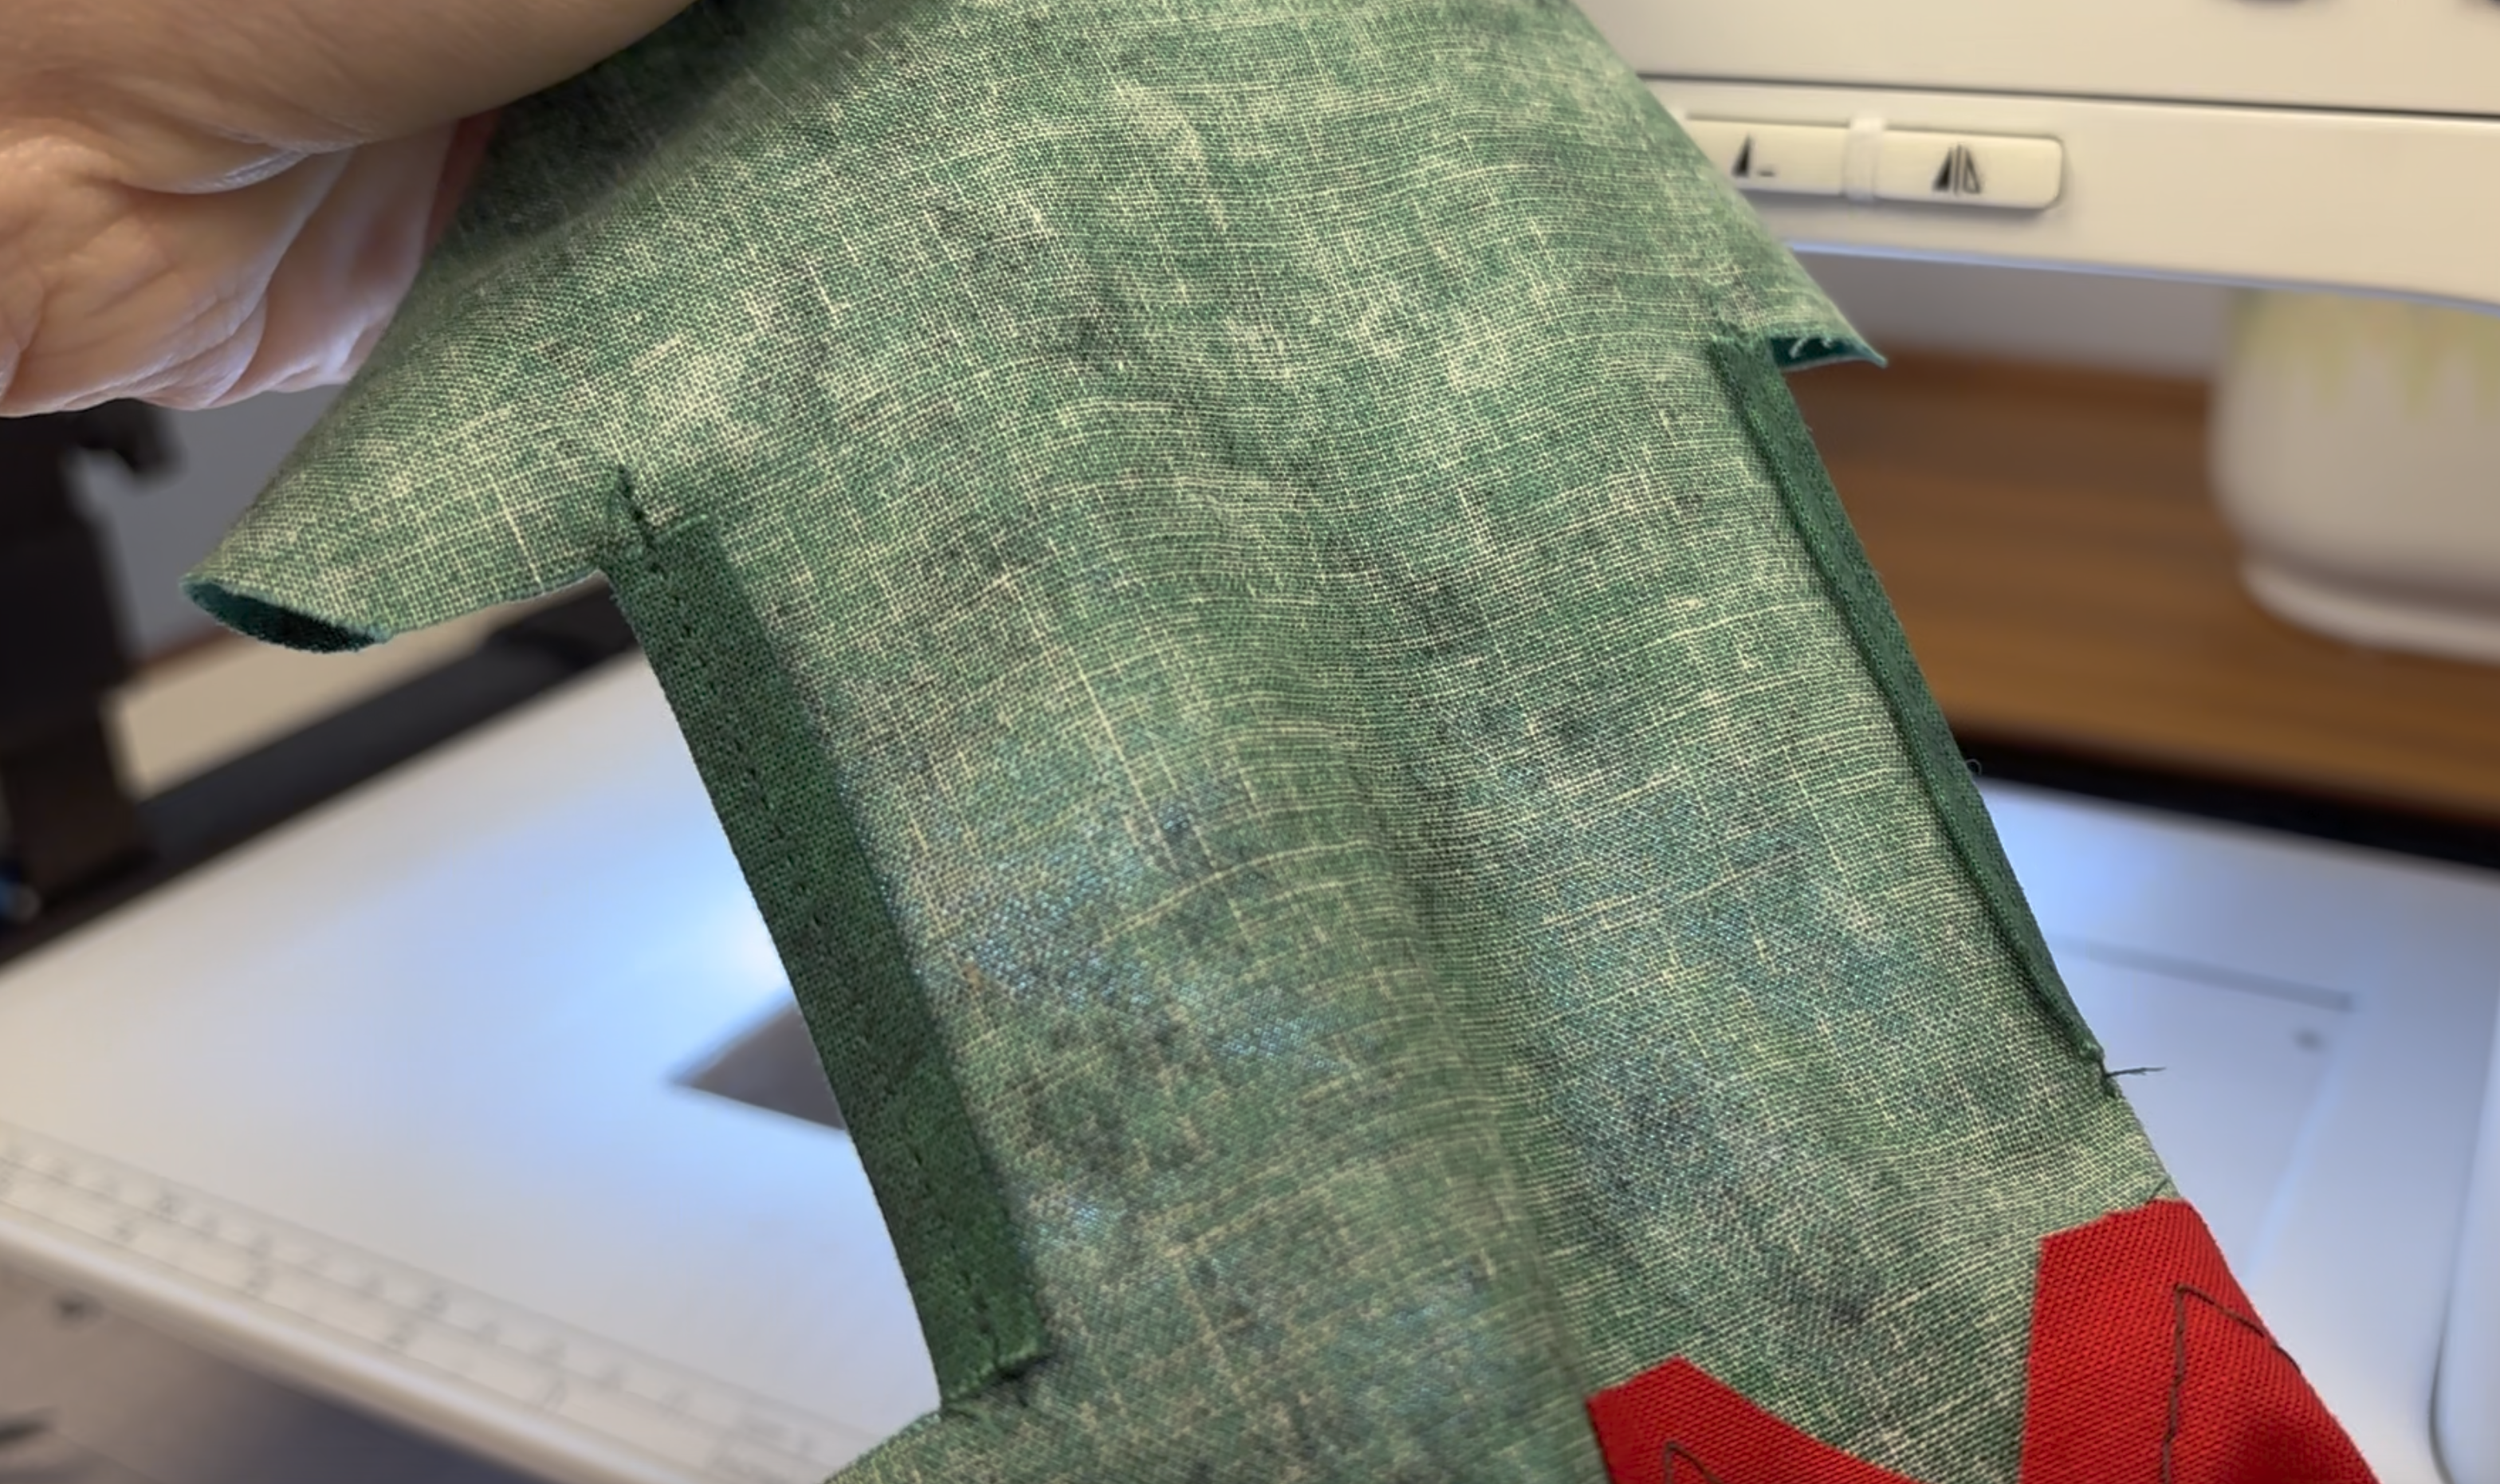
Topstitch these small folded flaps down to secure them
Repeat 3 more times for all casing openings
Step 6: Prep the Tomato Top
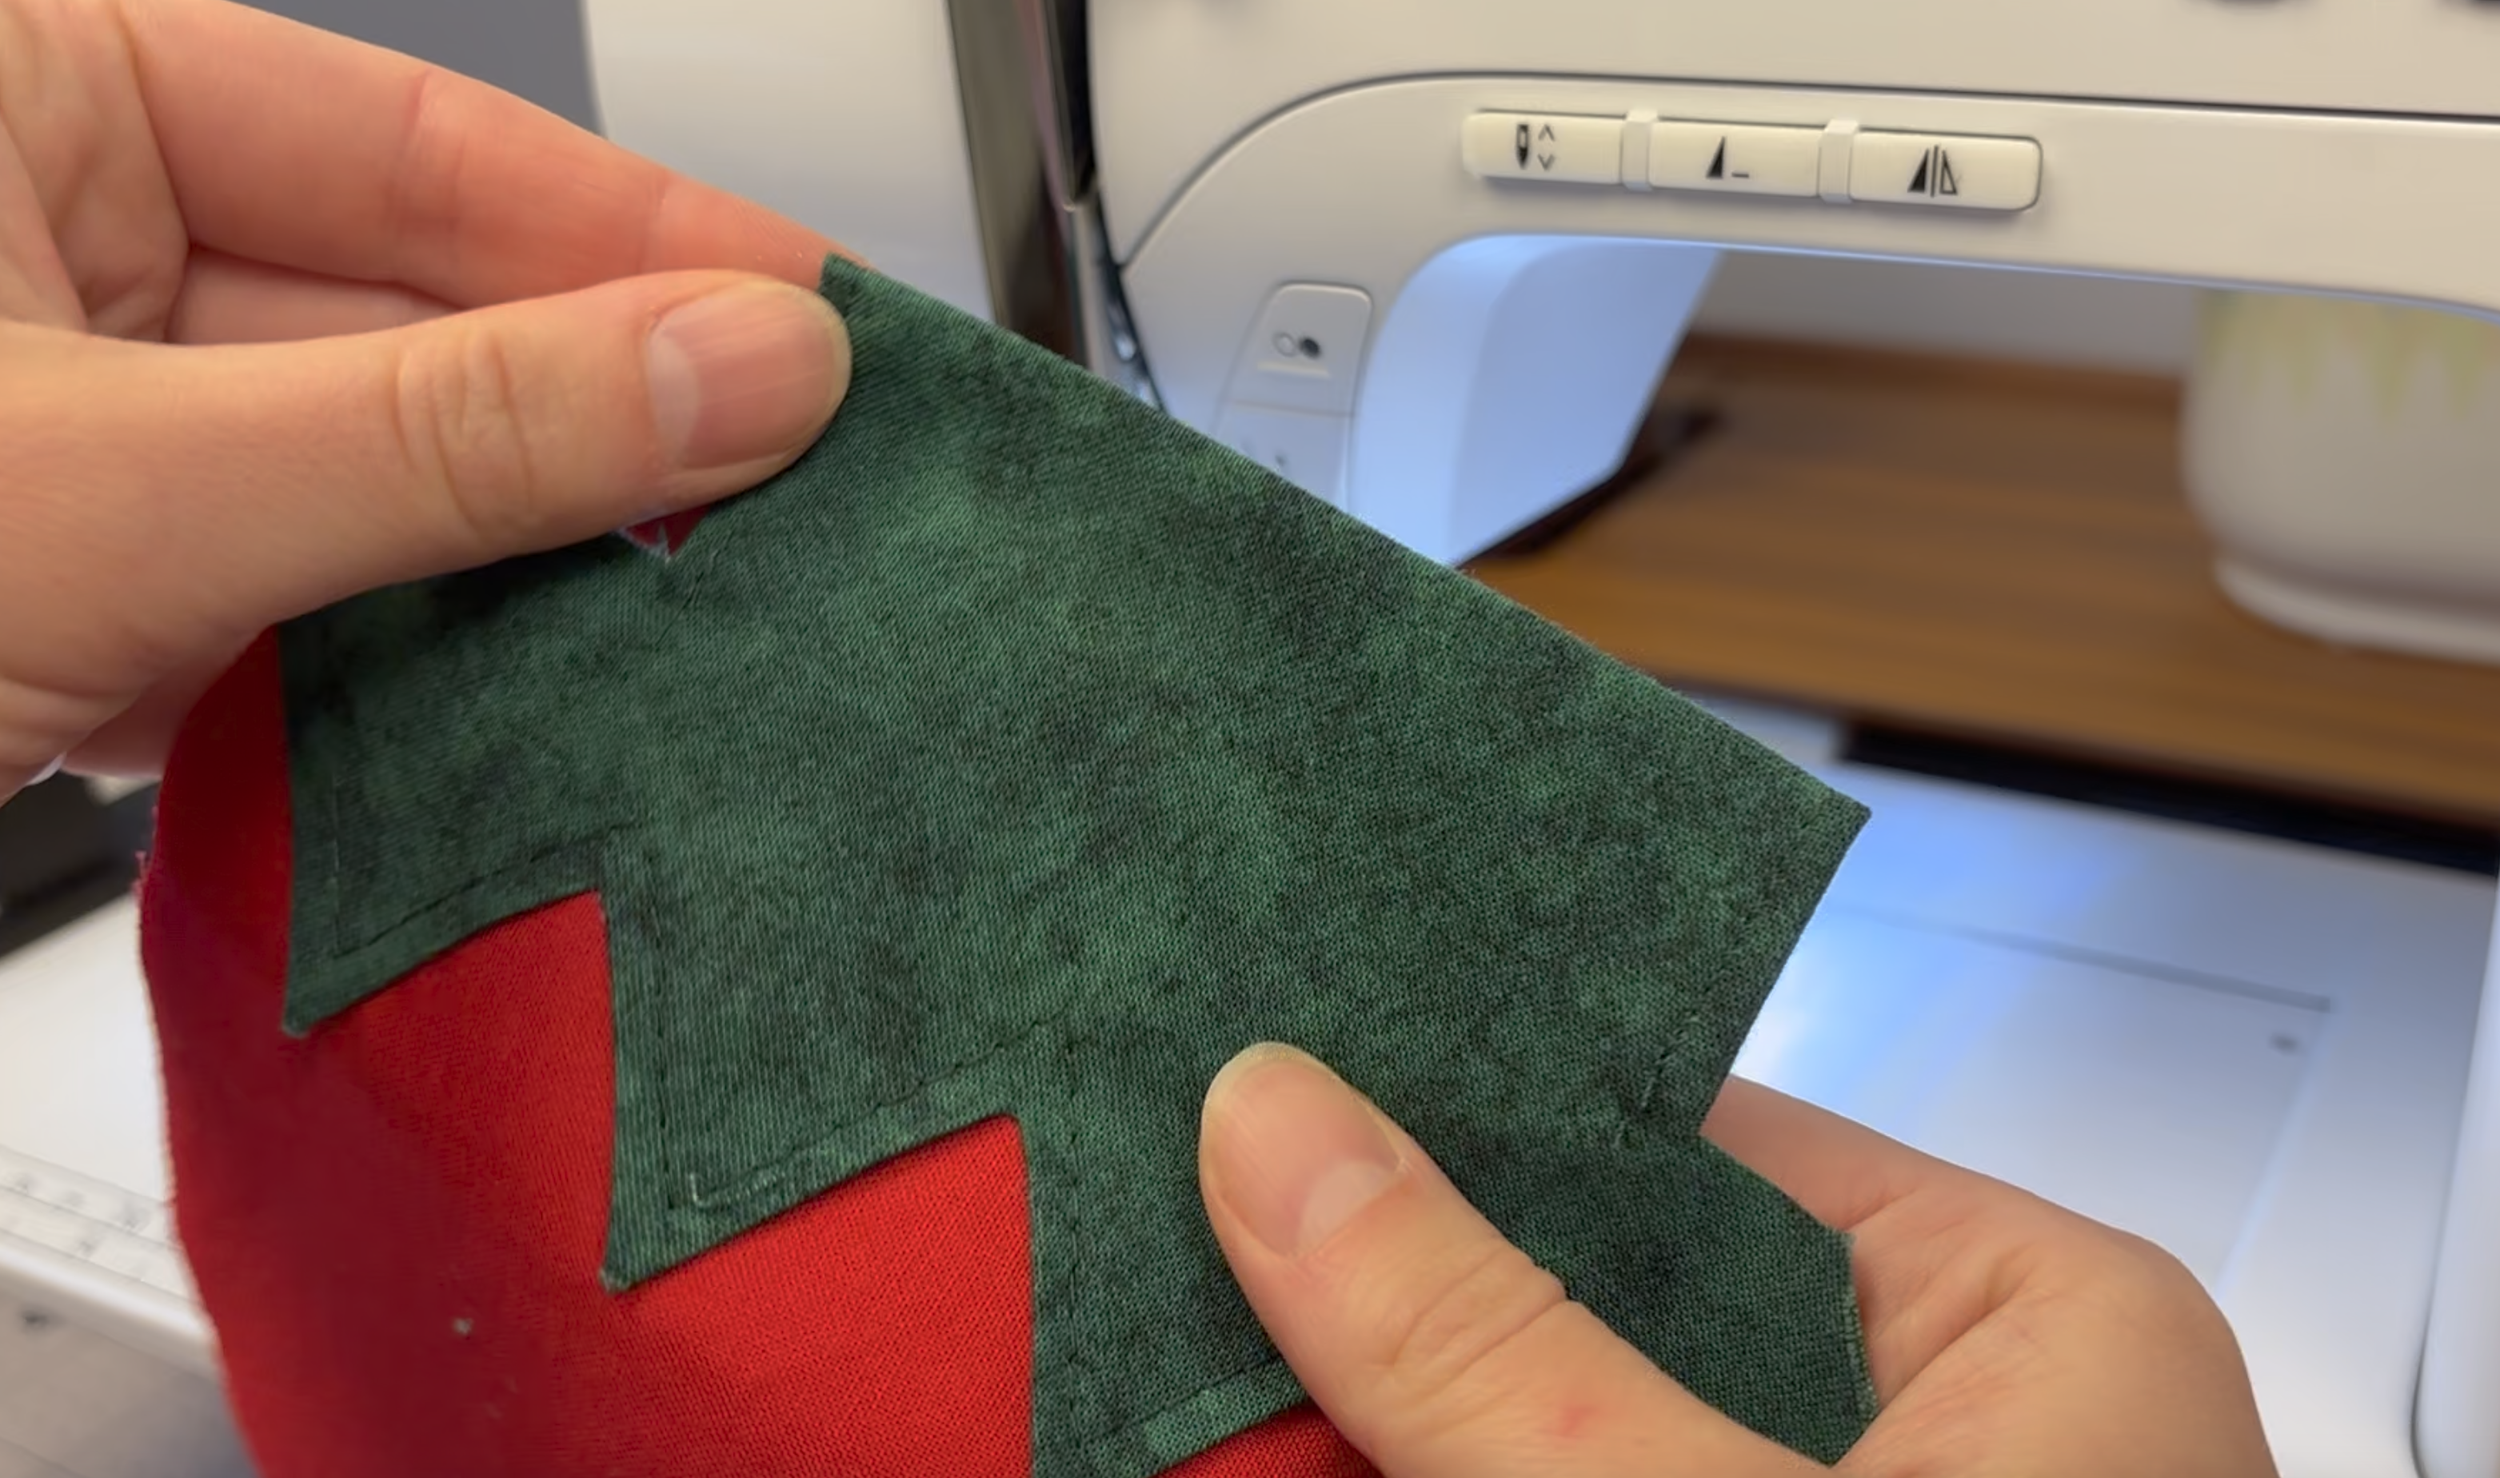
Take one panel and fold in half (bringing the top raw edge down toward the center seam), right sides facing out
Iron the top fold flat
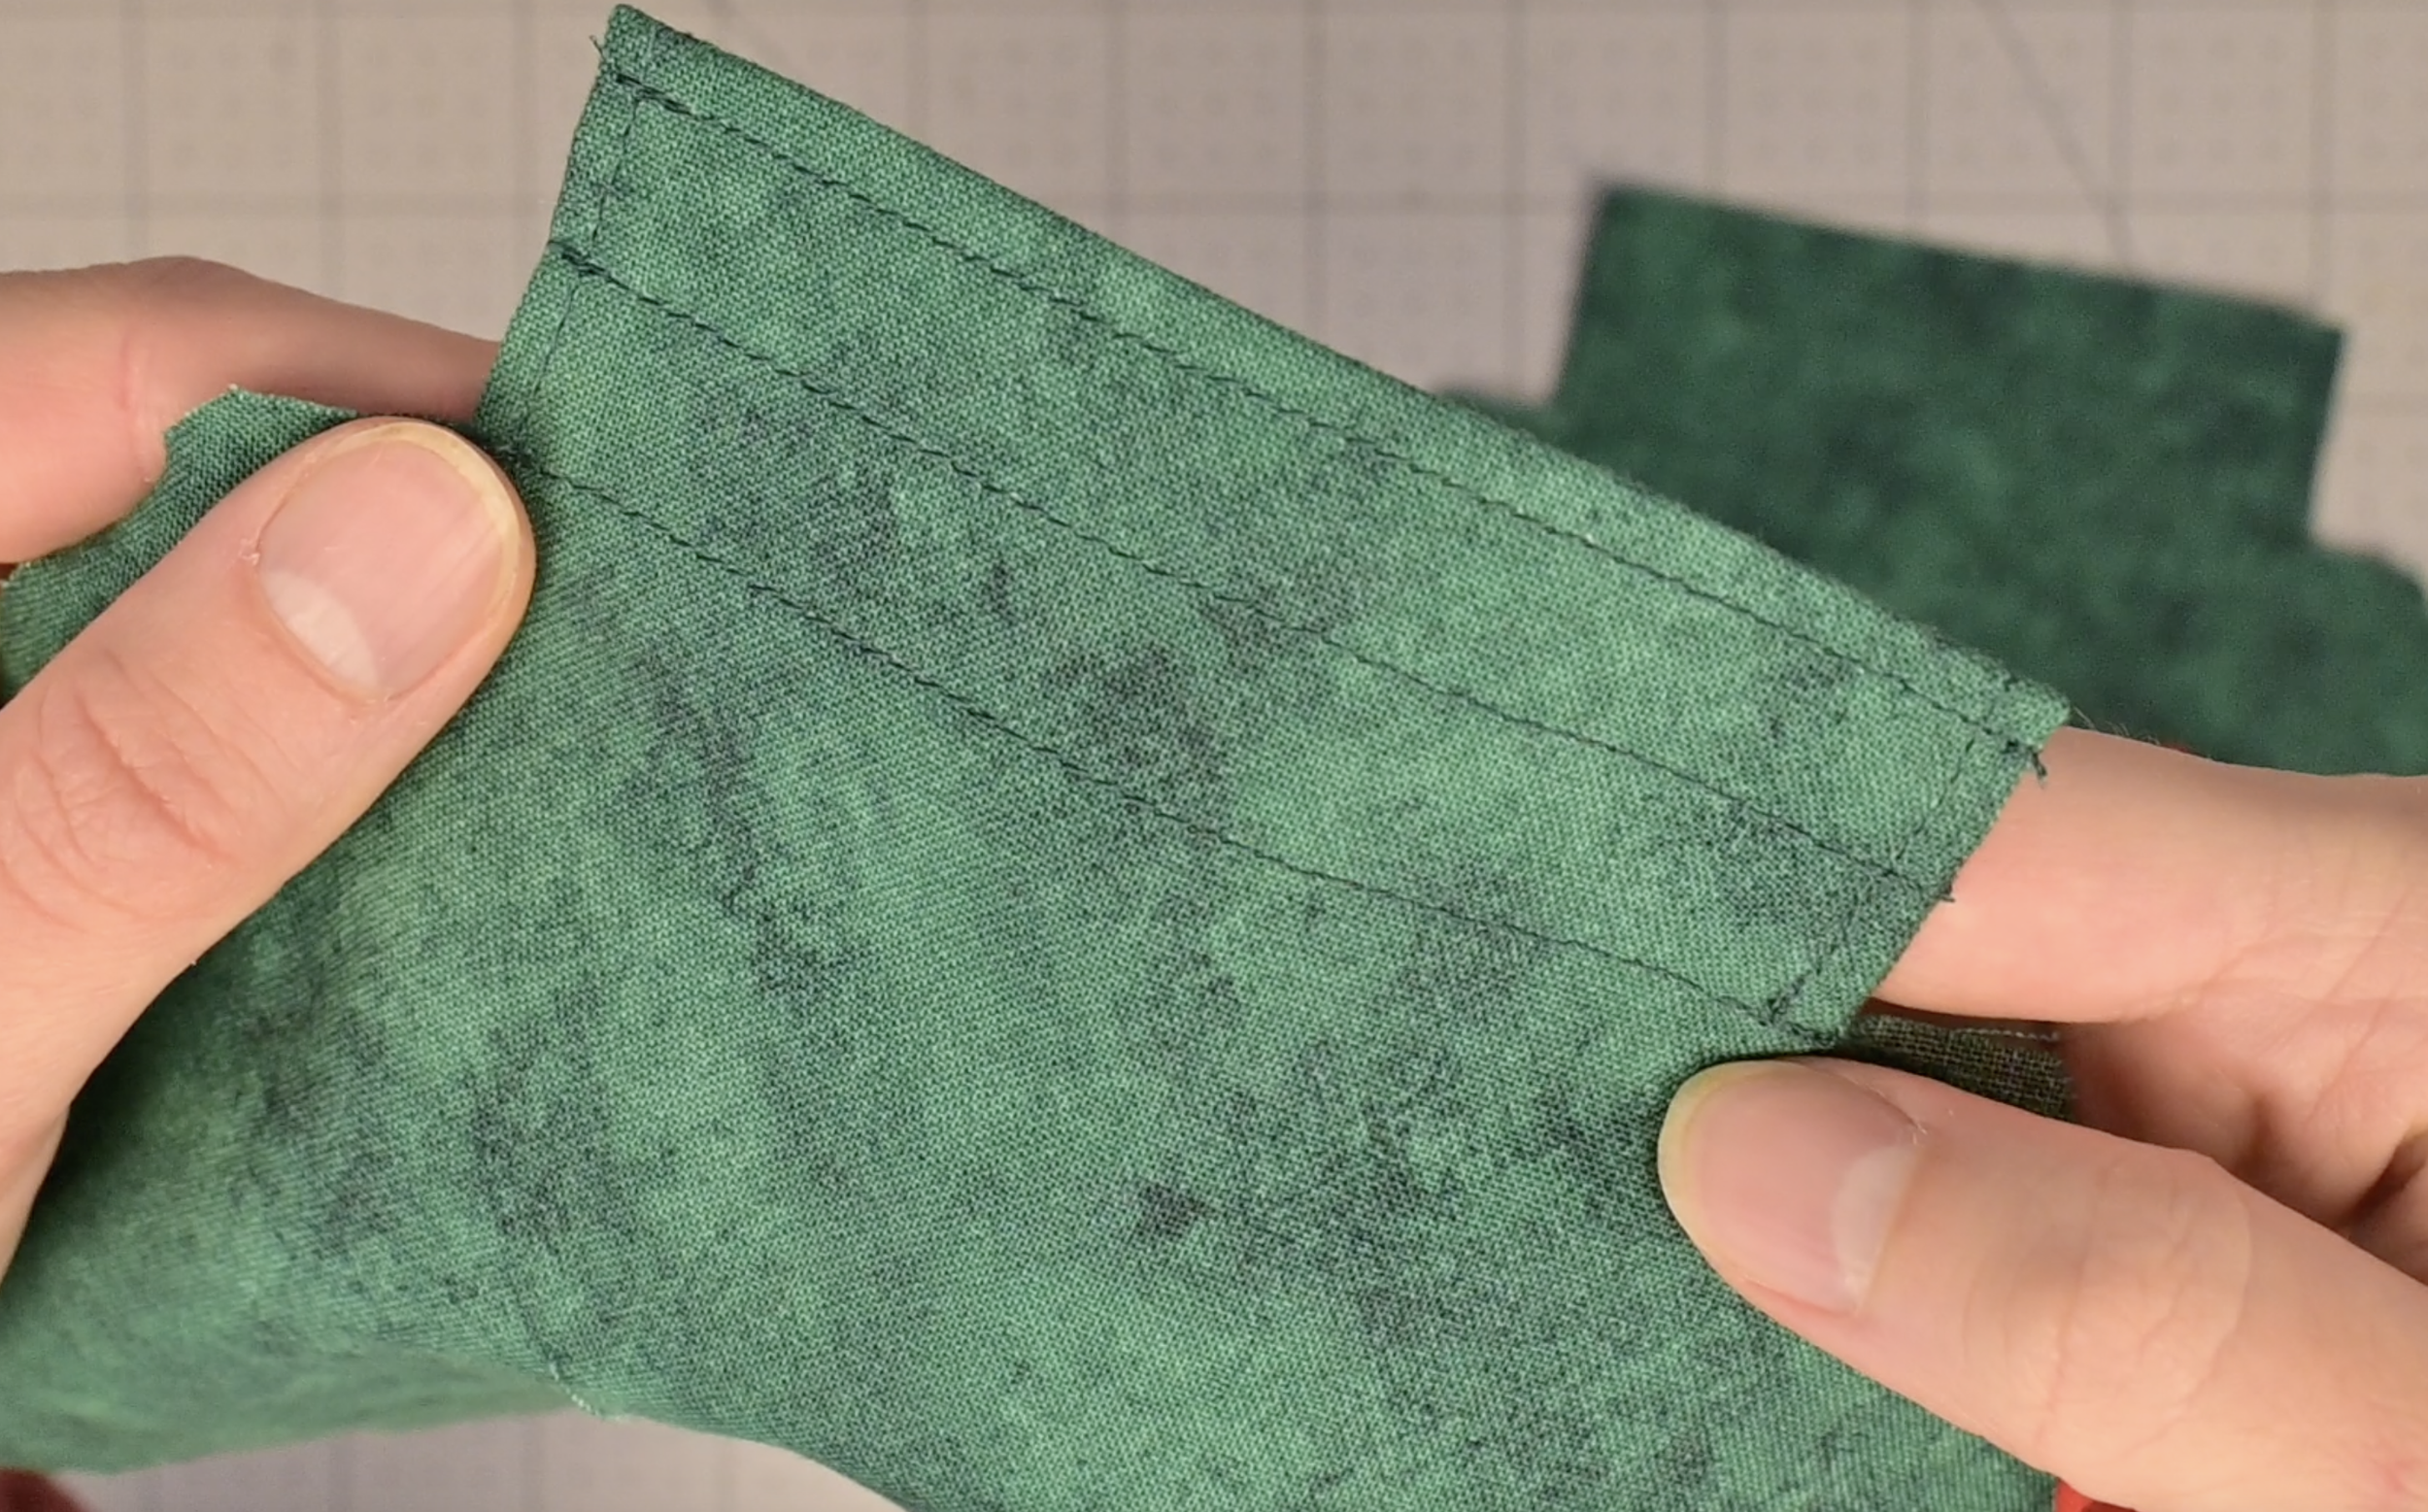
Sew a line to close the rectangular section
Sew a second line 1/2 inch down from the top folded edge
Sew a topstitch very close to the top folded edge
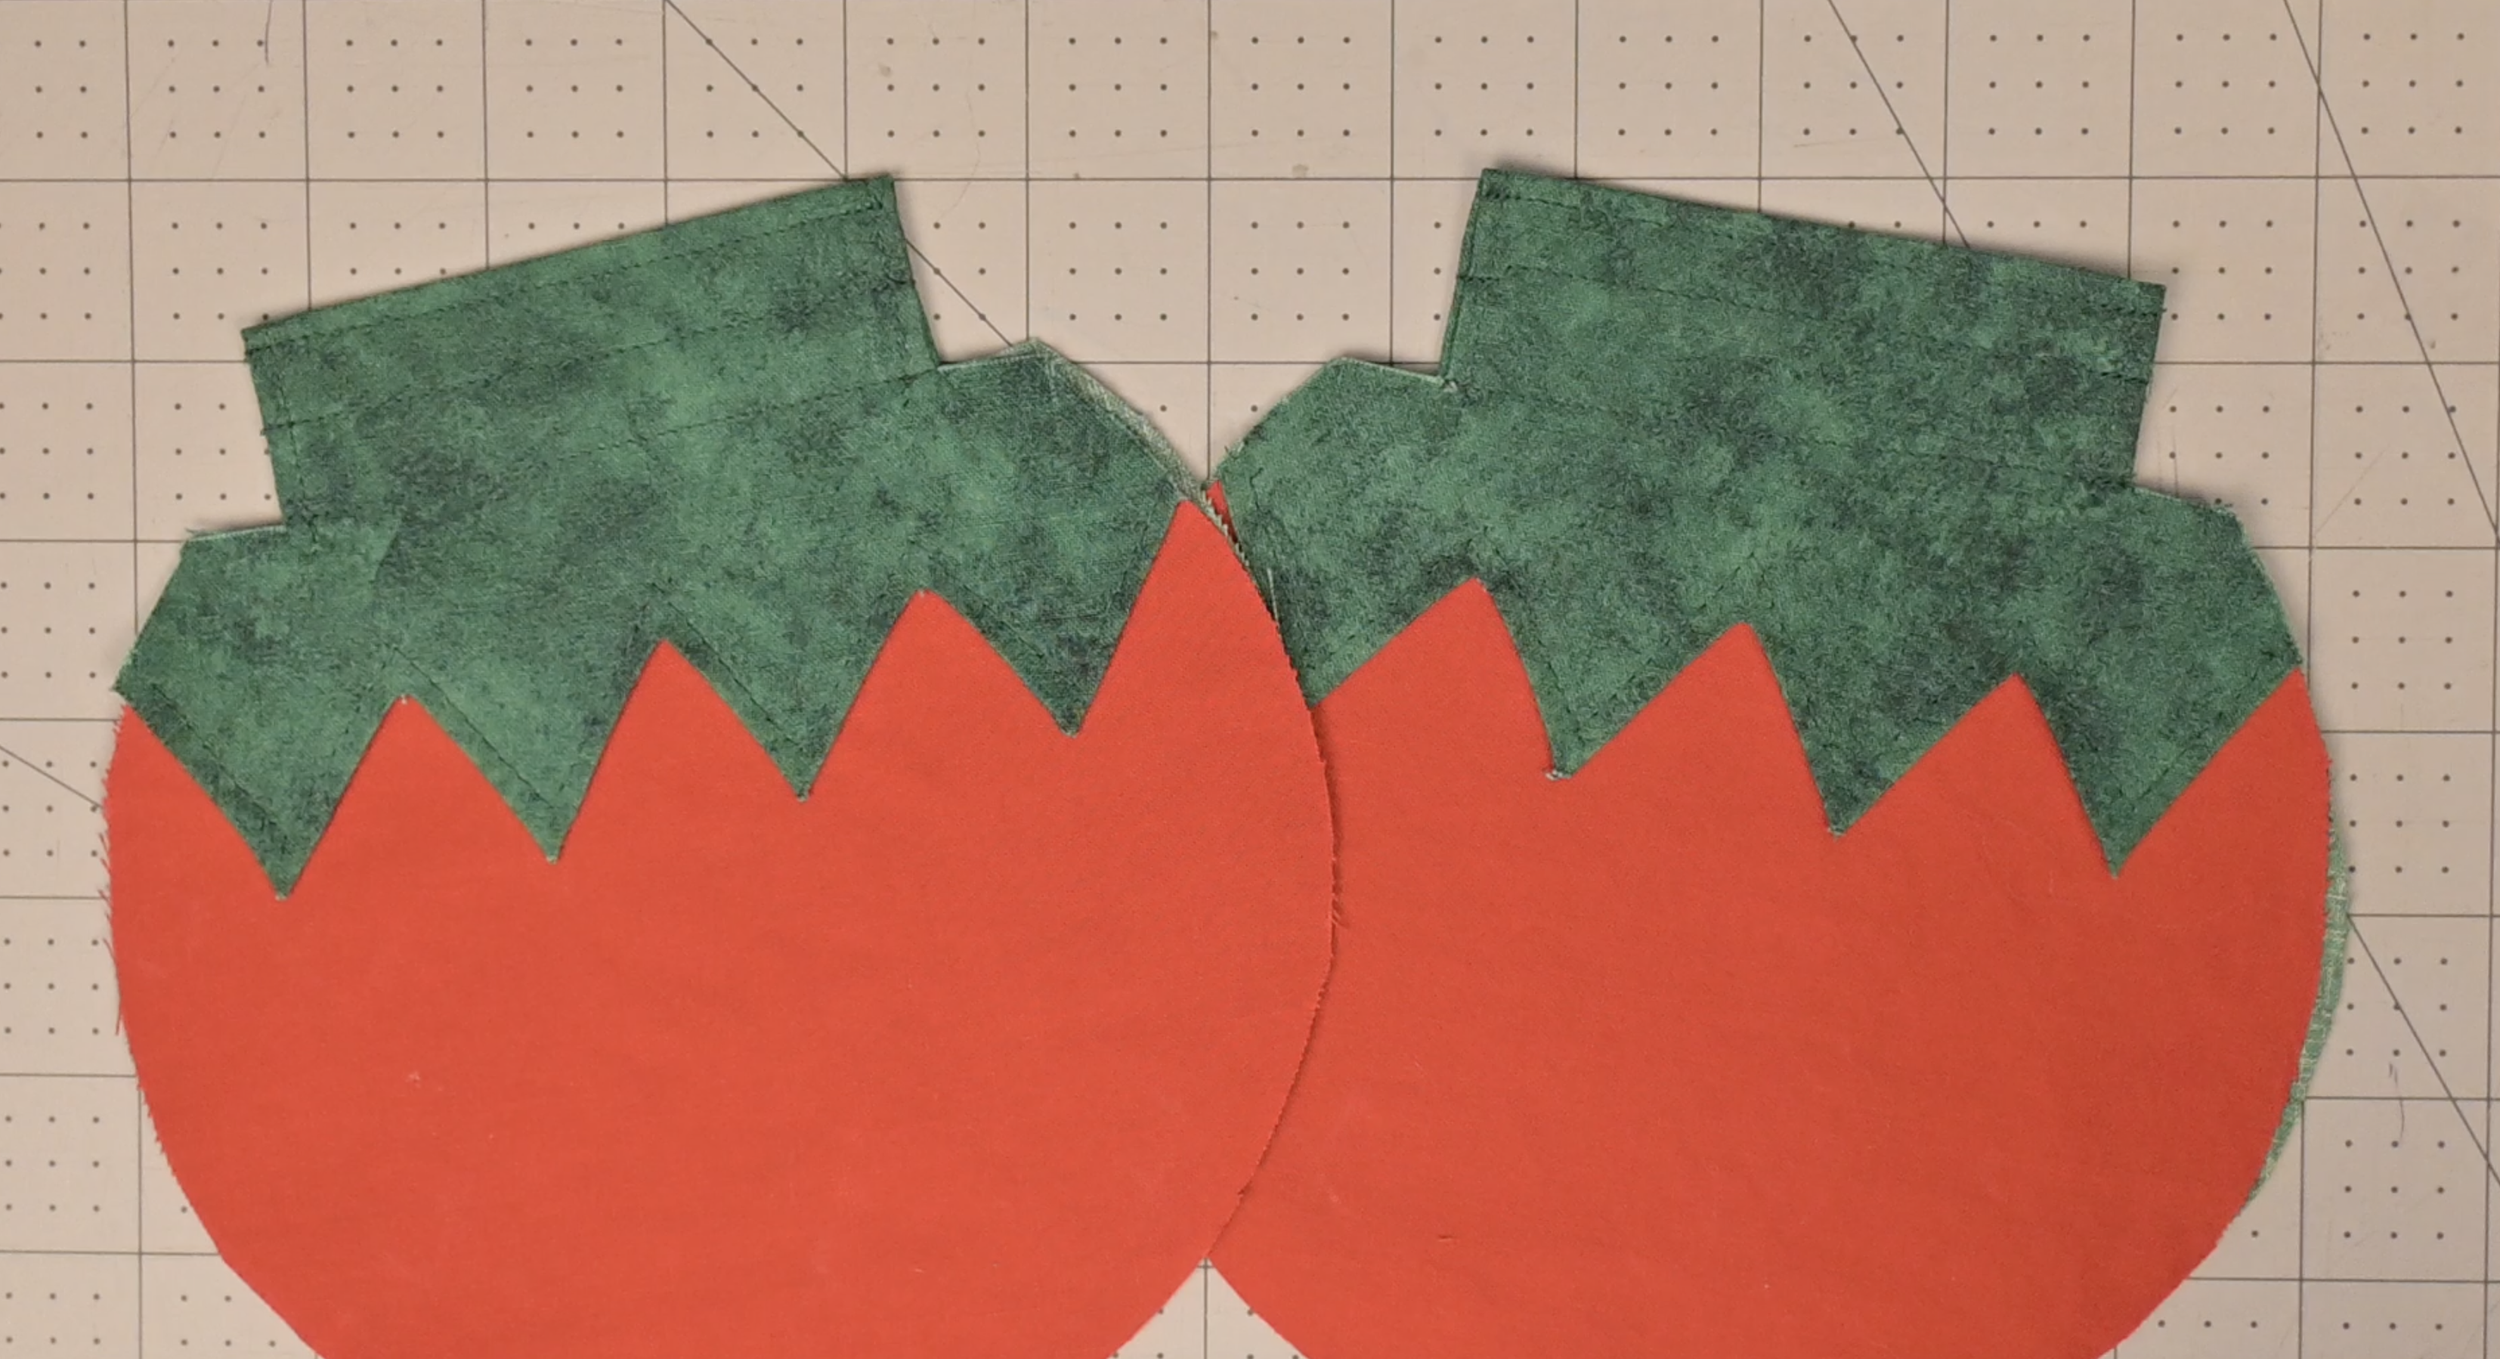
Repeat for the other panel
Step 7: Make the Keychain Loop
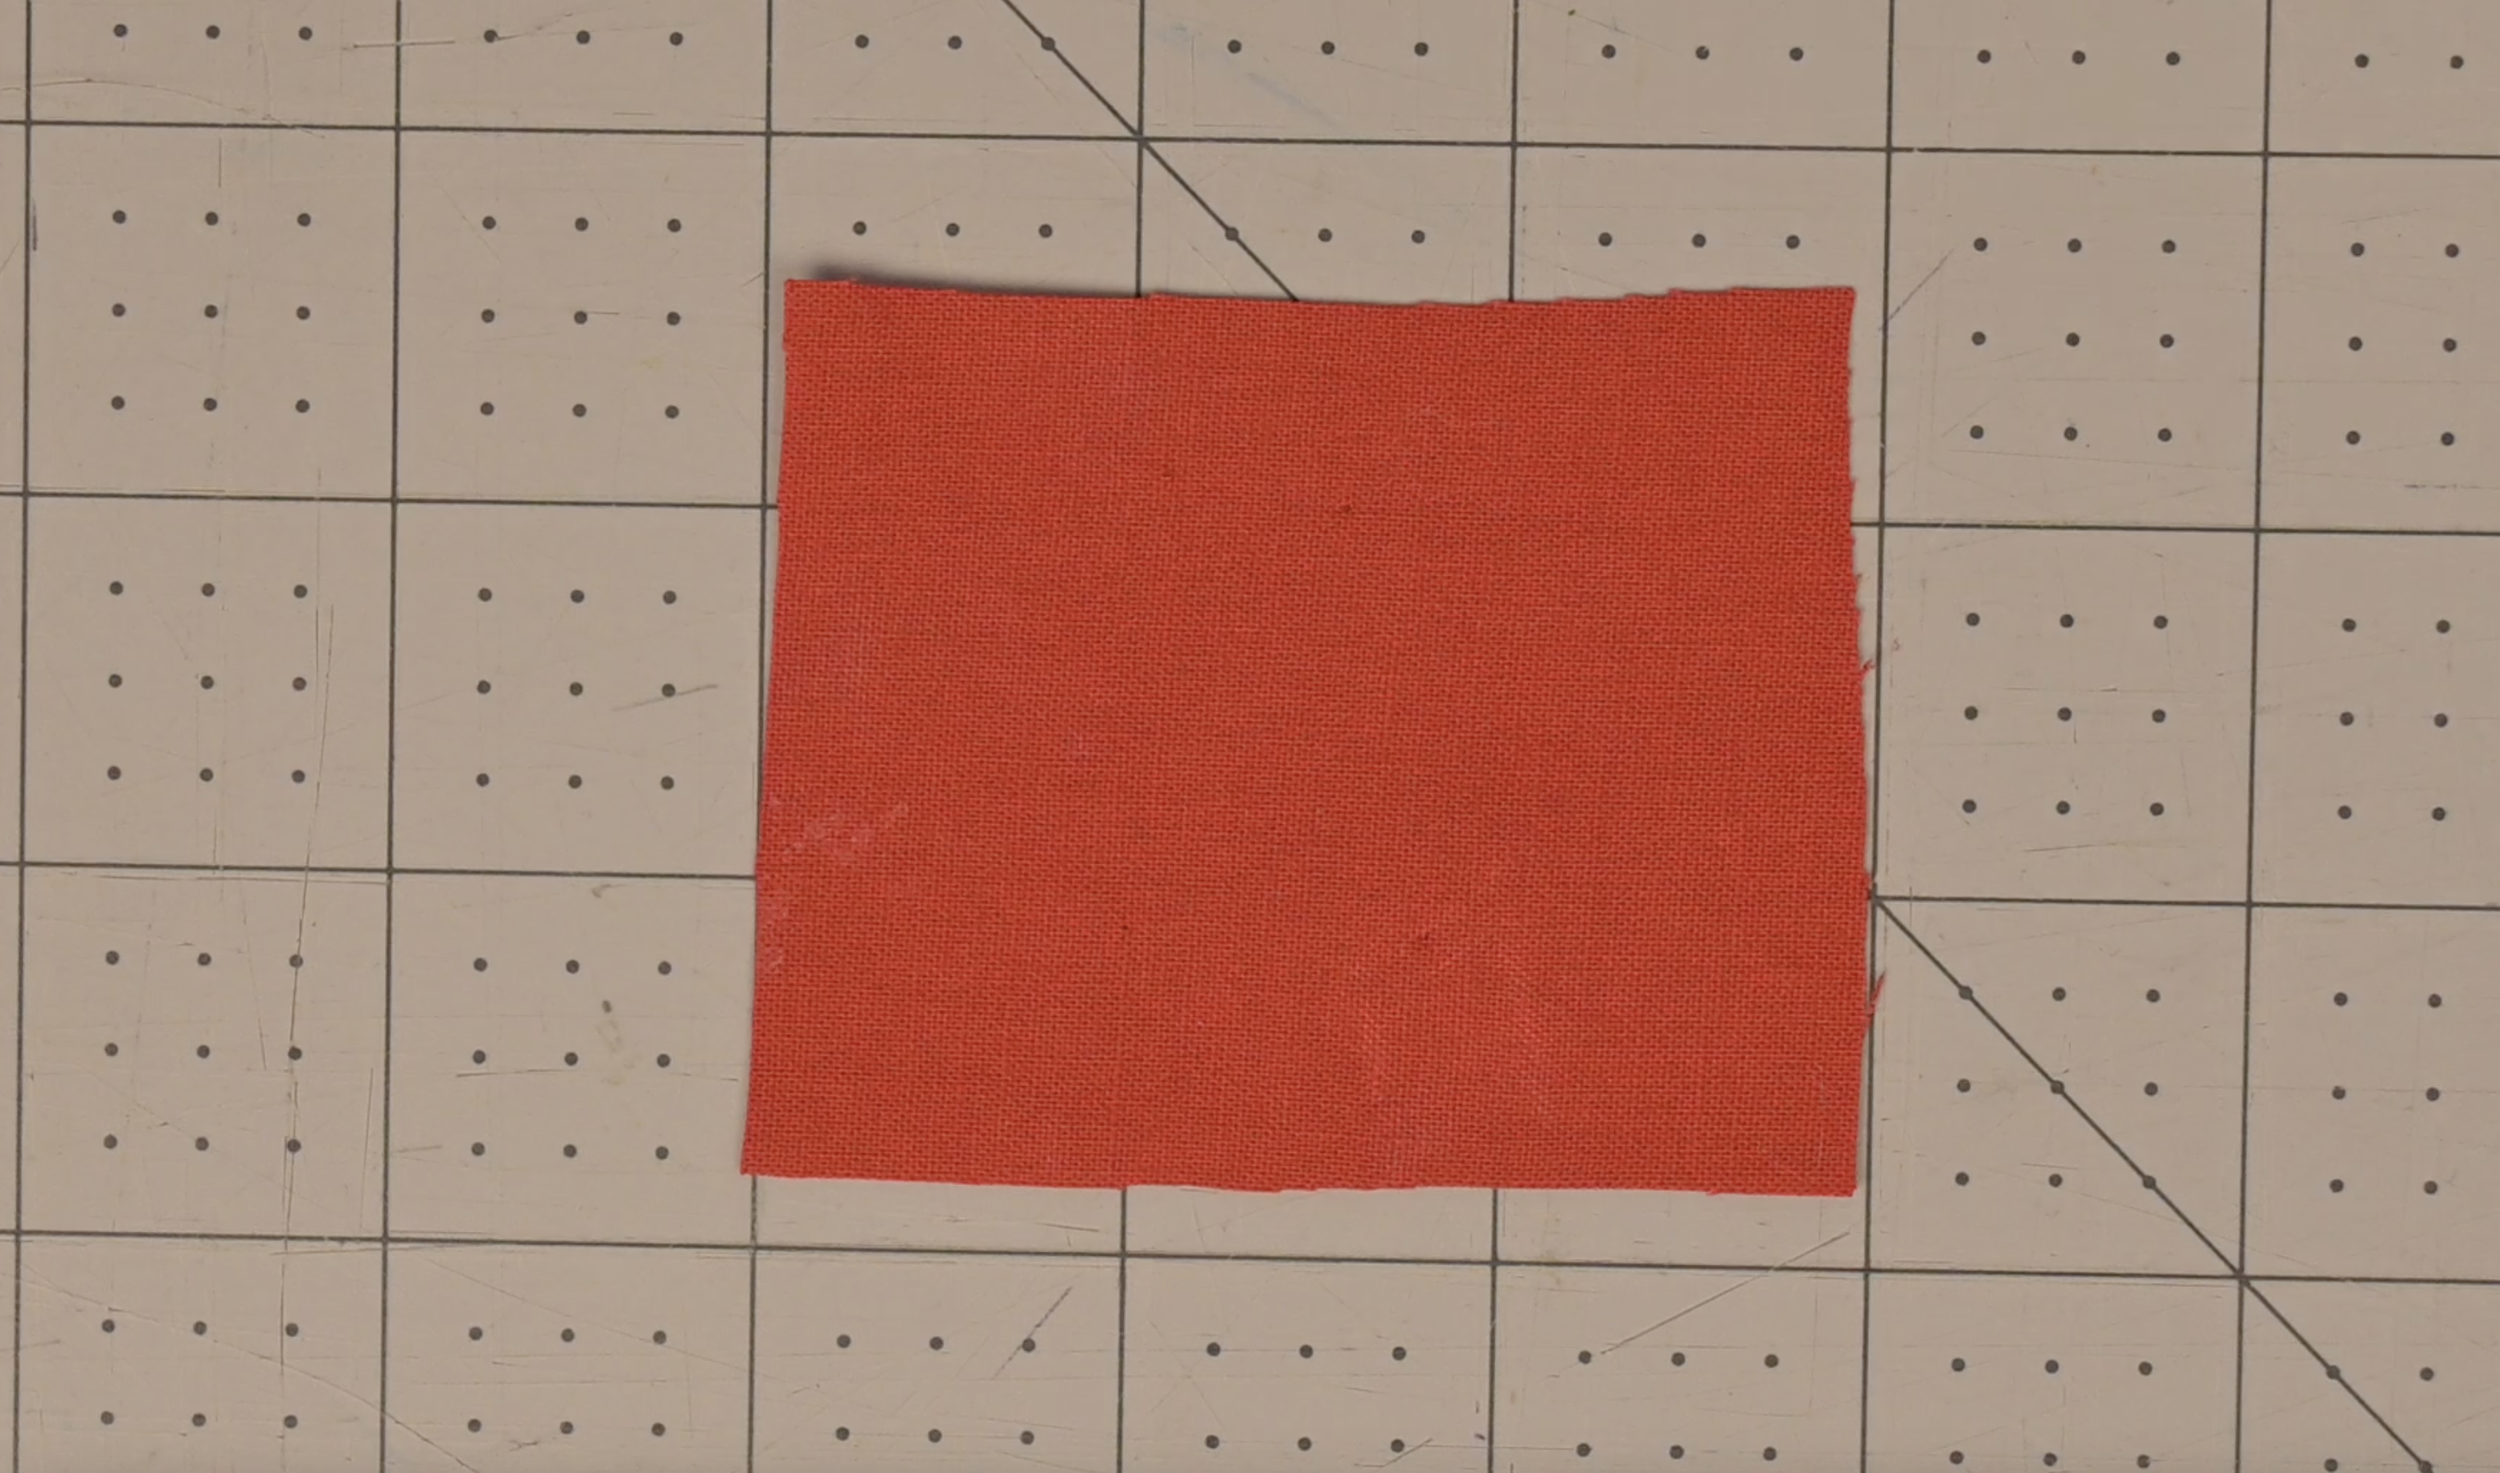
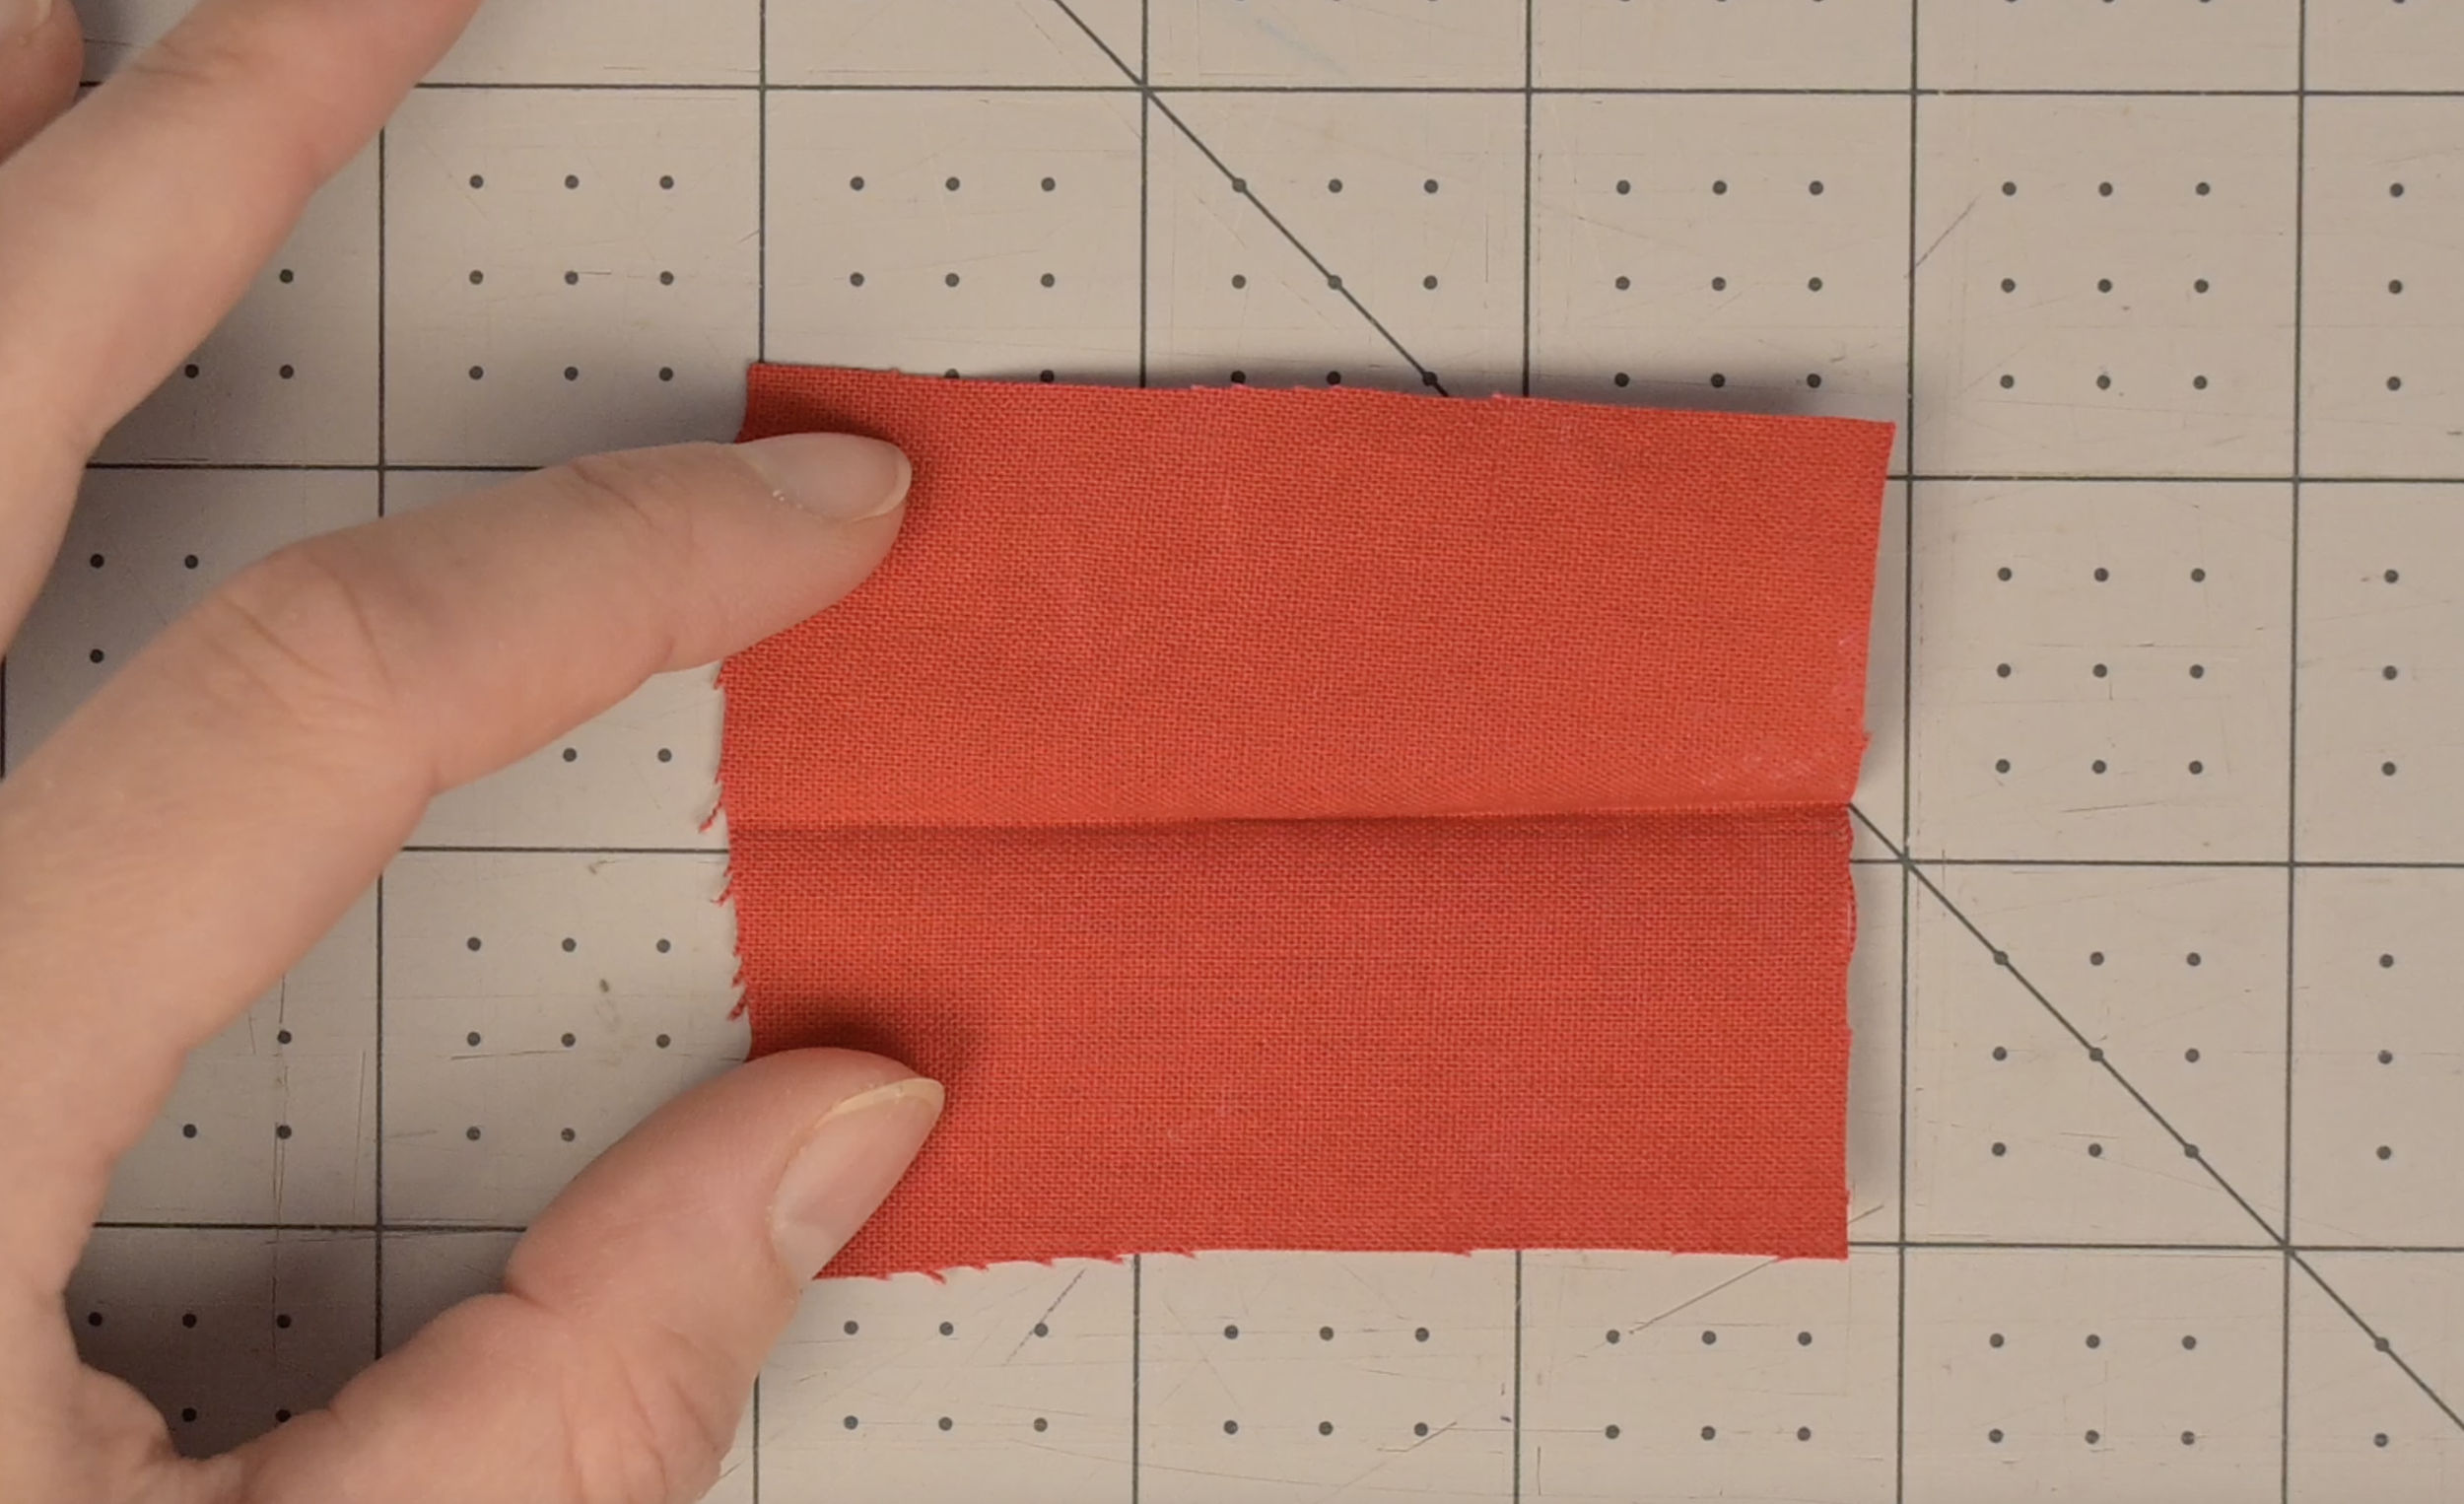
Fold the small rectangle in half lengthwise (right sides out) and iron a center crease
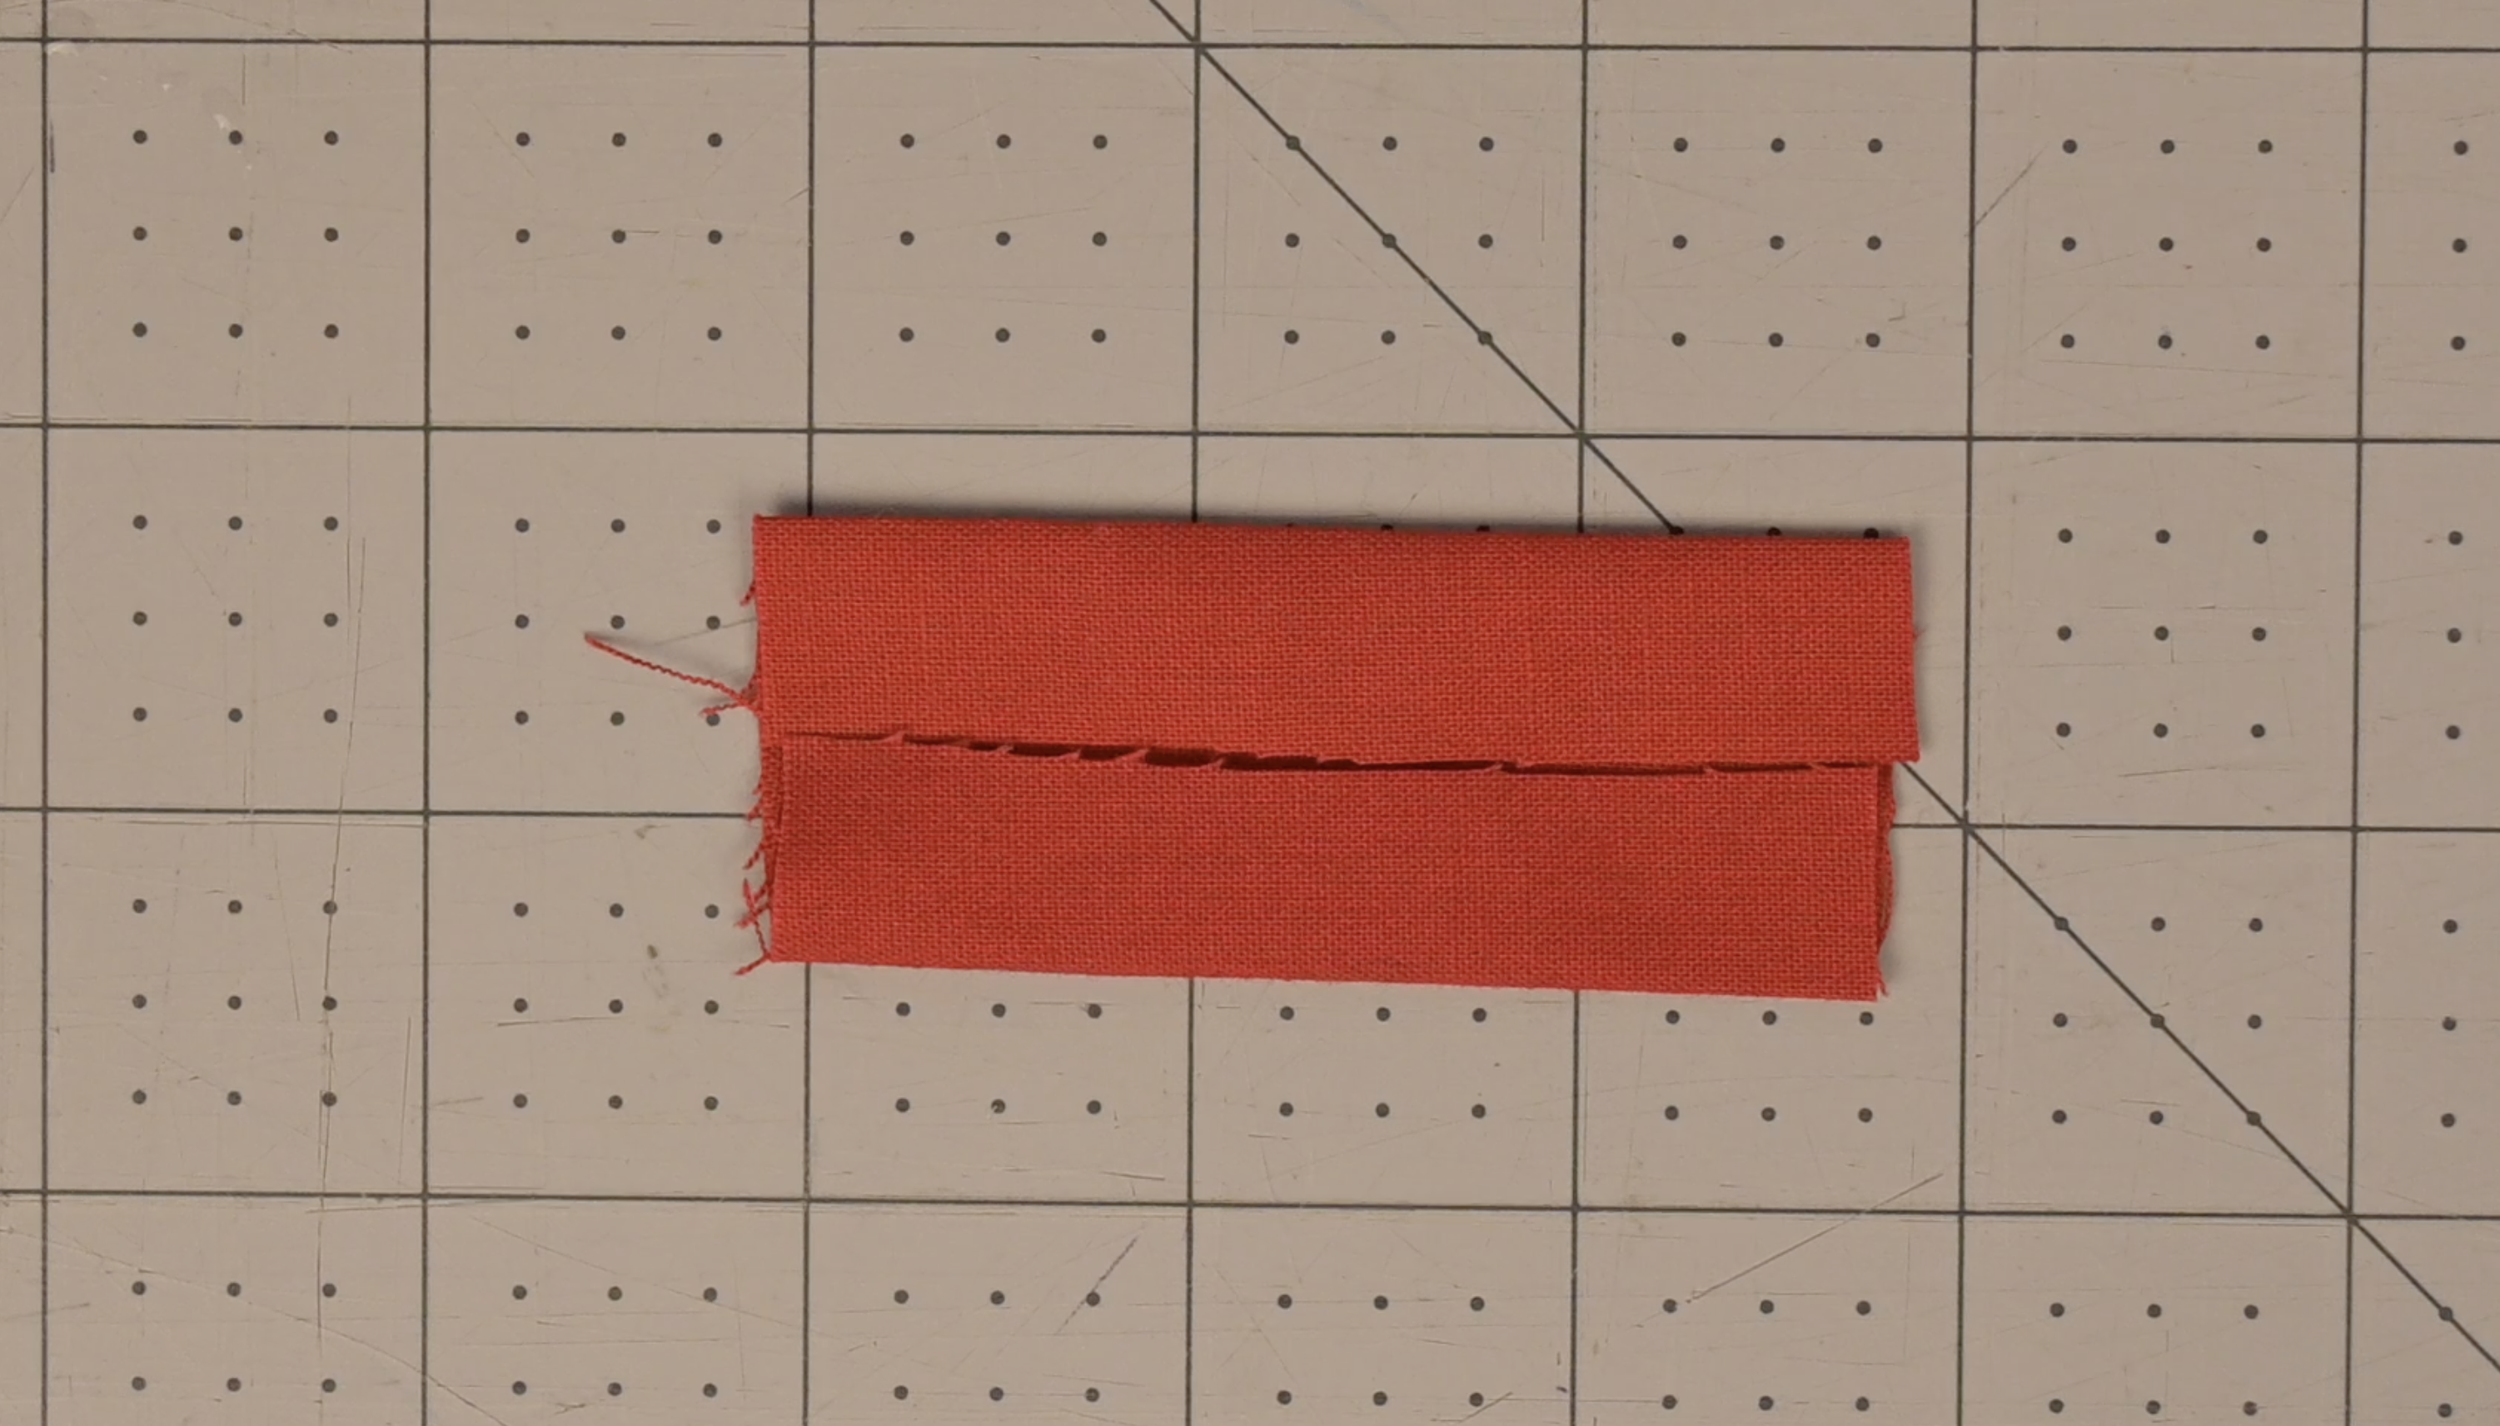
Open it up and fold both long raw edges inward to meet that center crease
Iron flat
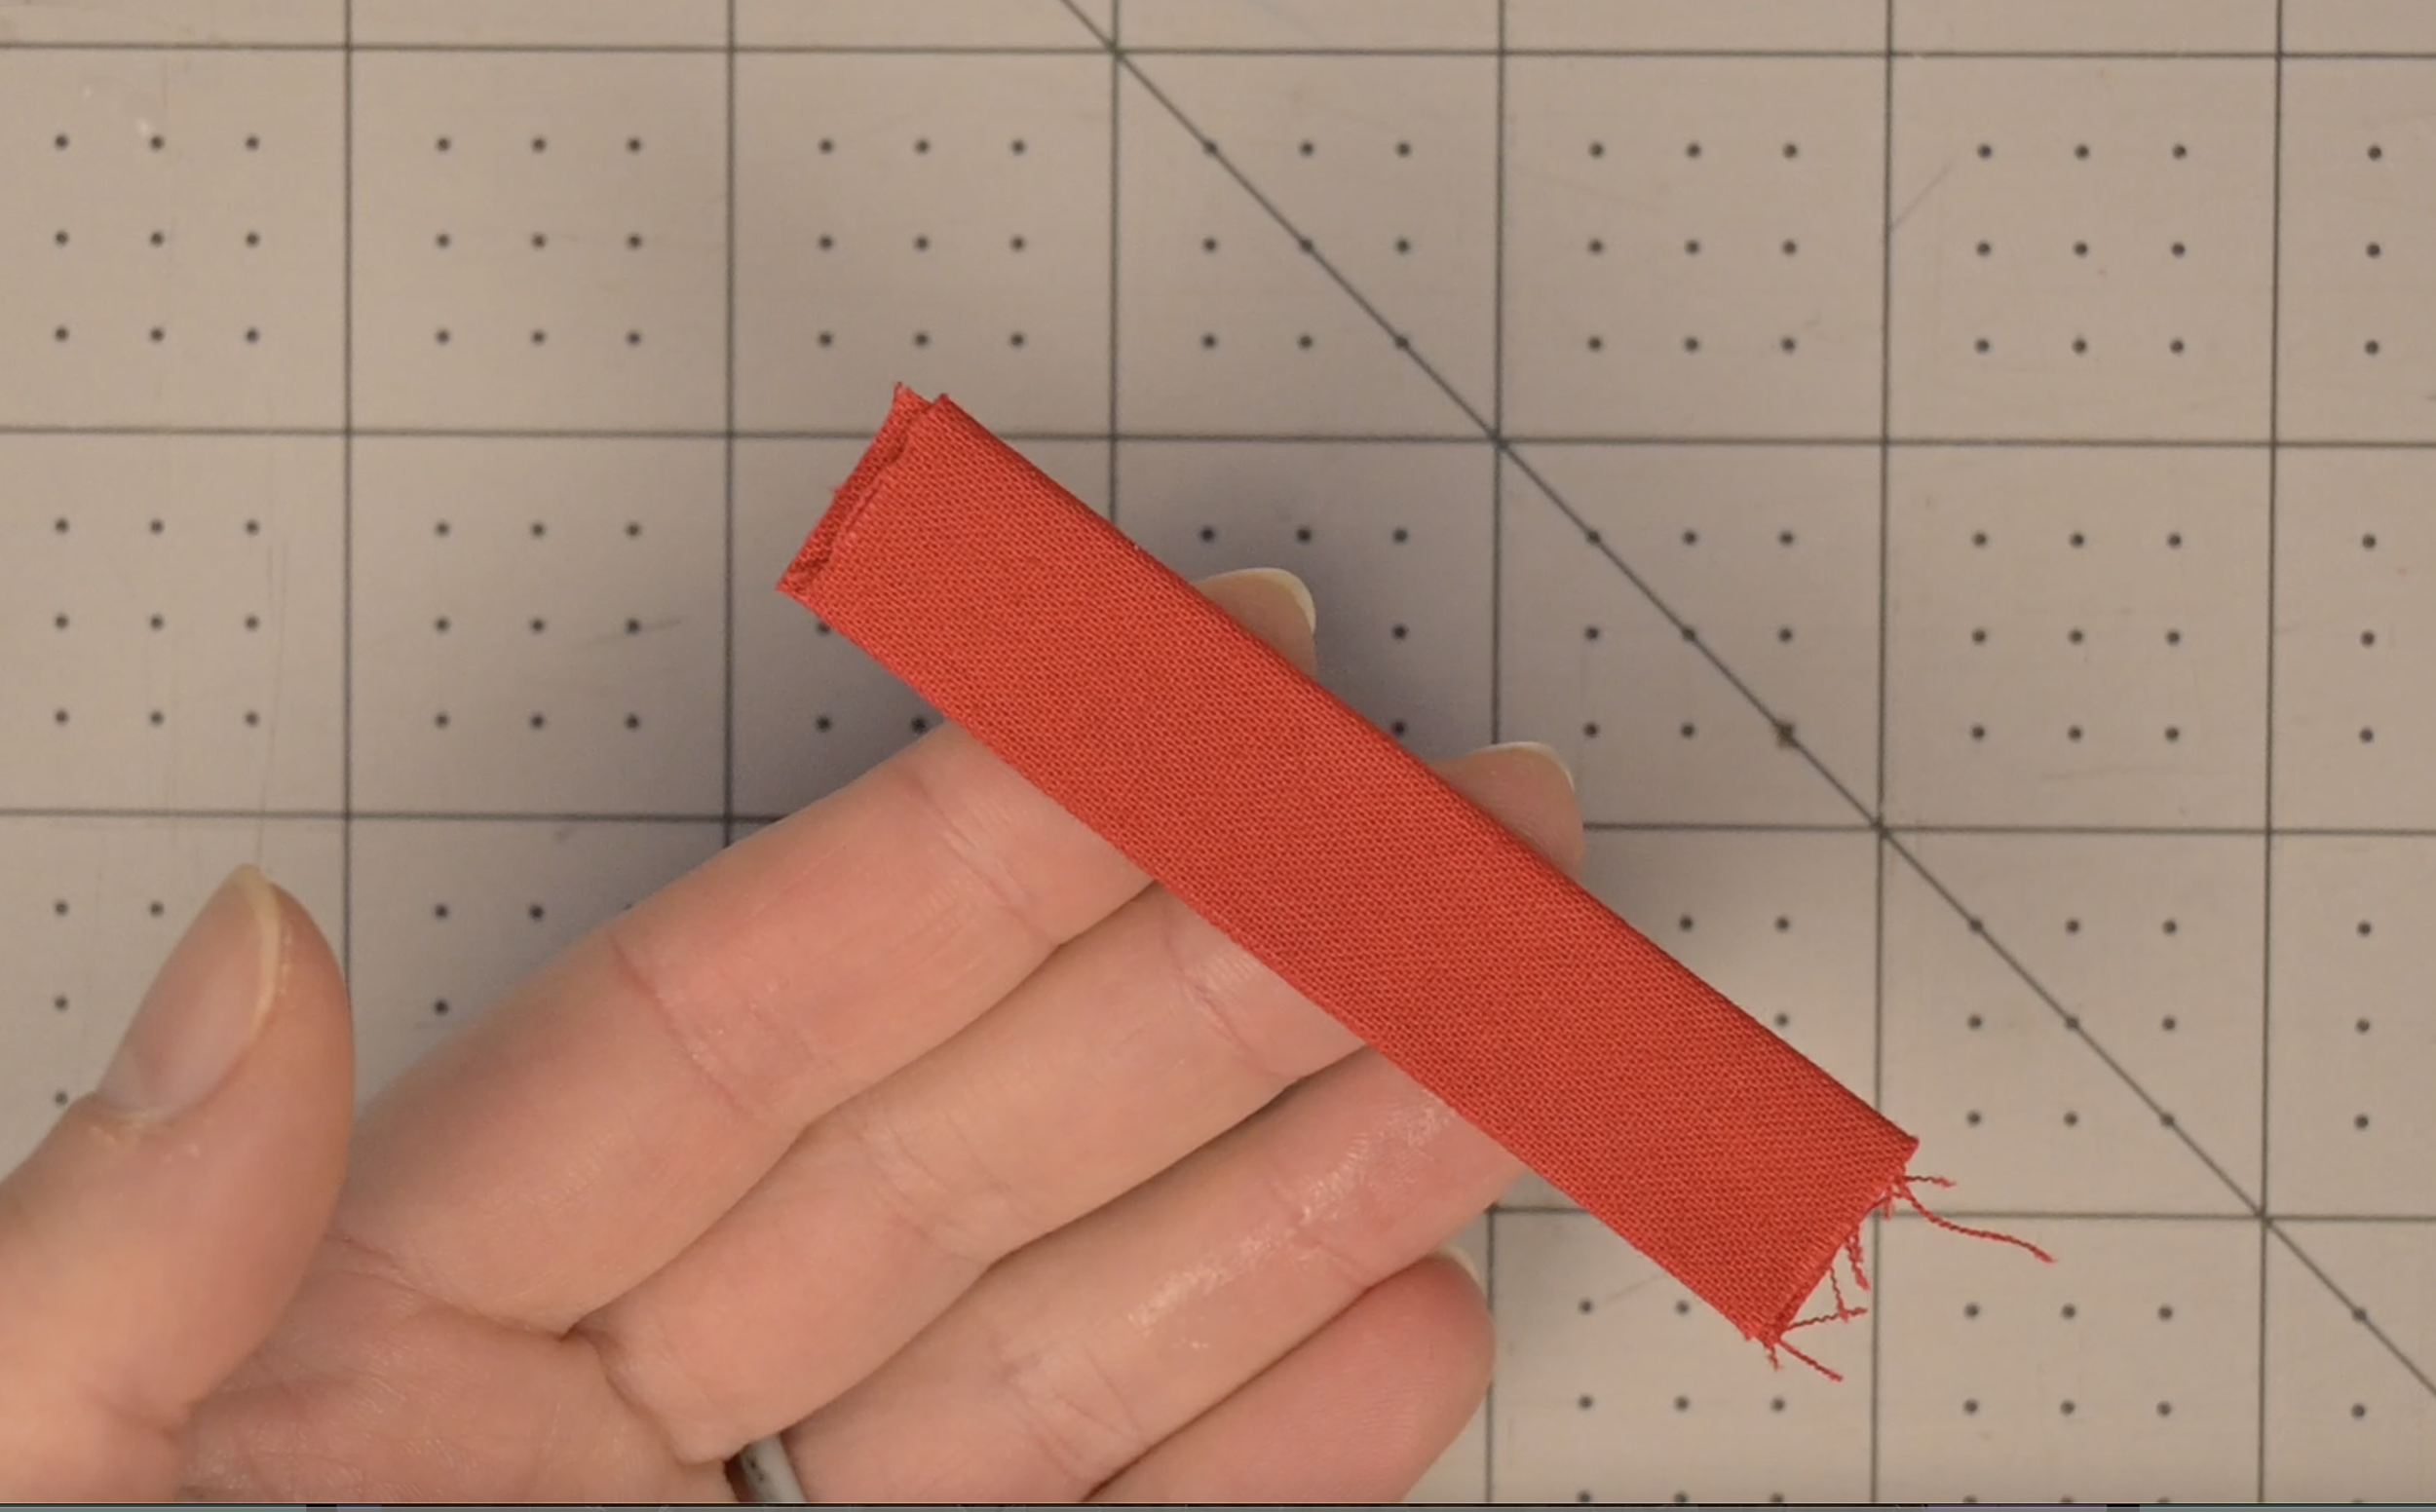
Fold the piece in half again along the original center crease and iron
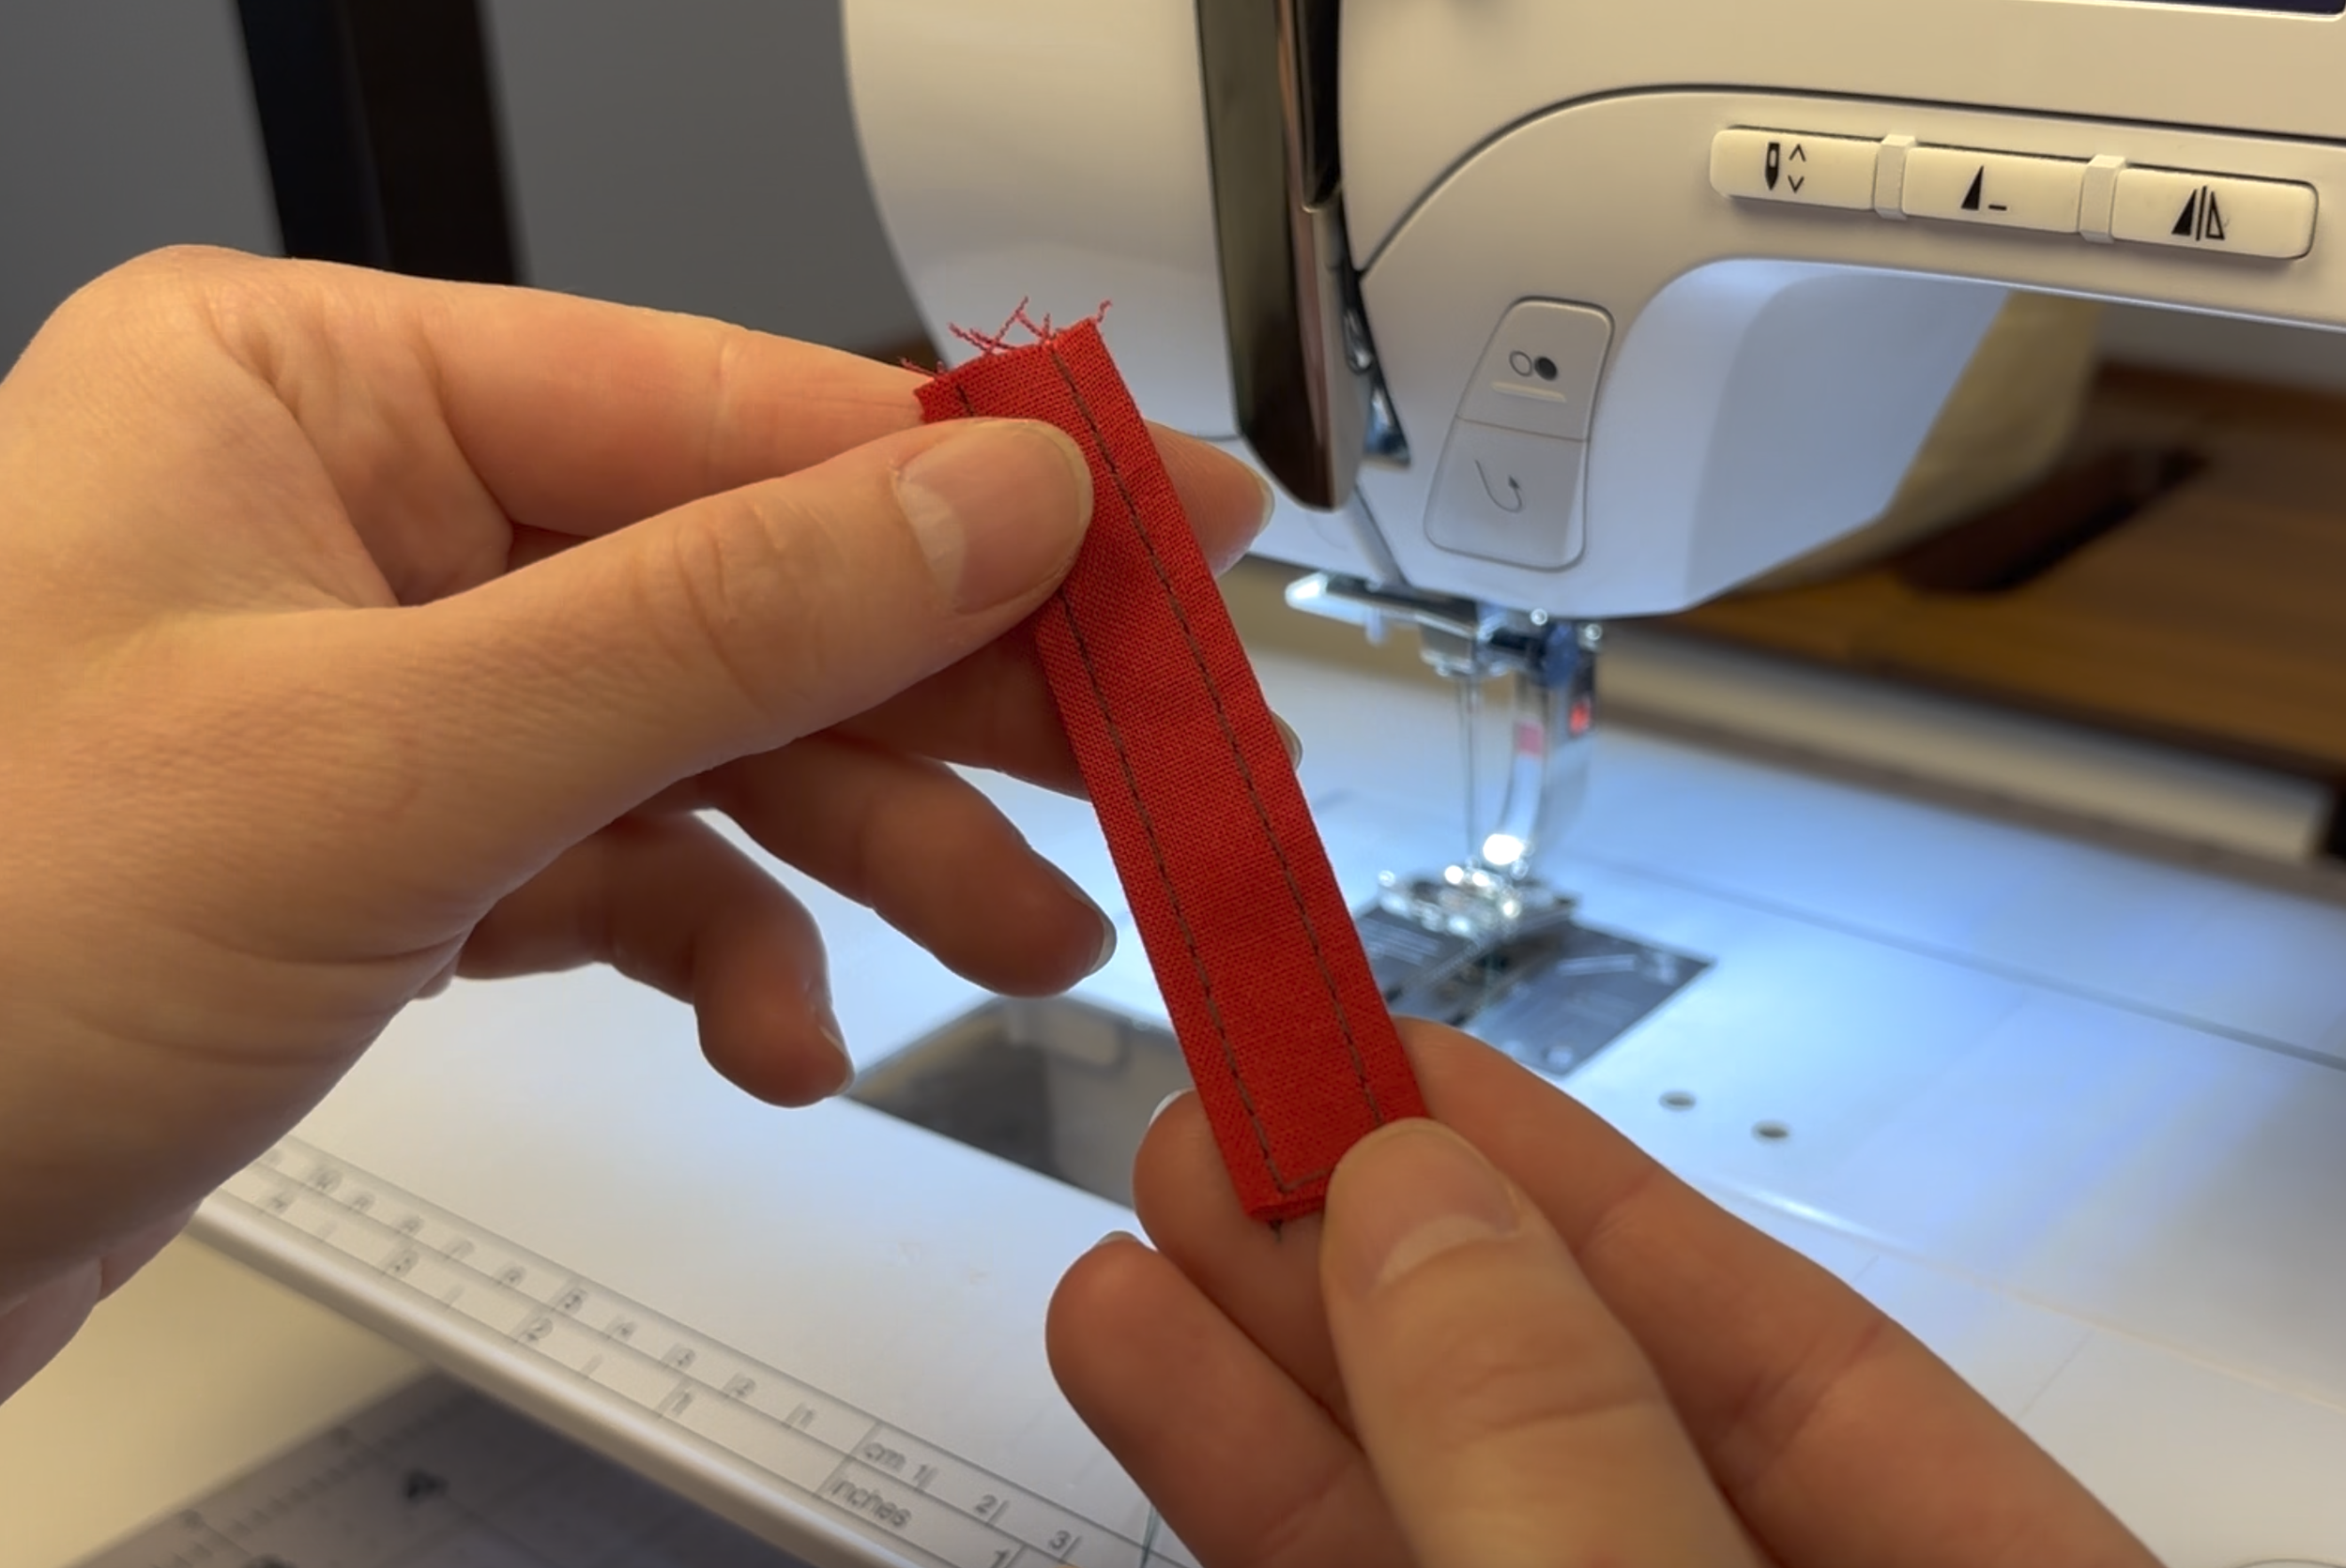
Topstitch down both long sides to close the loop
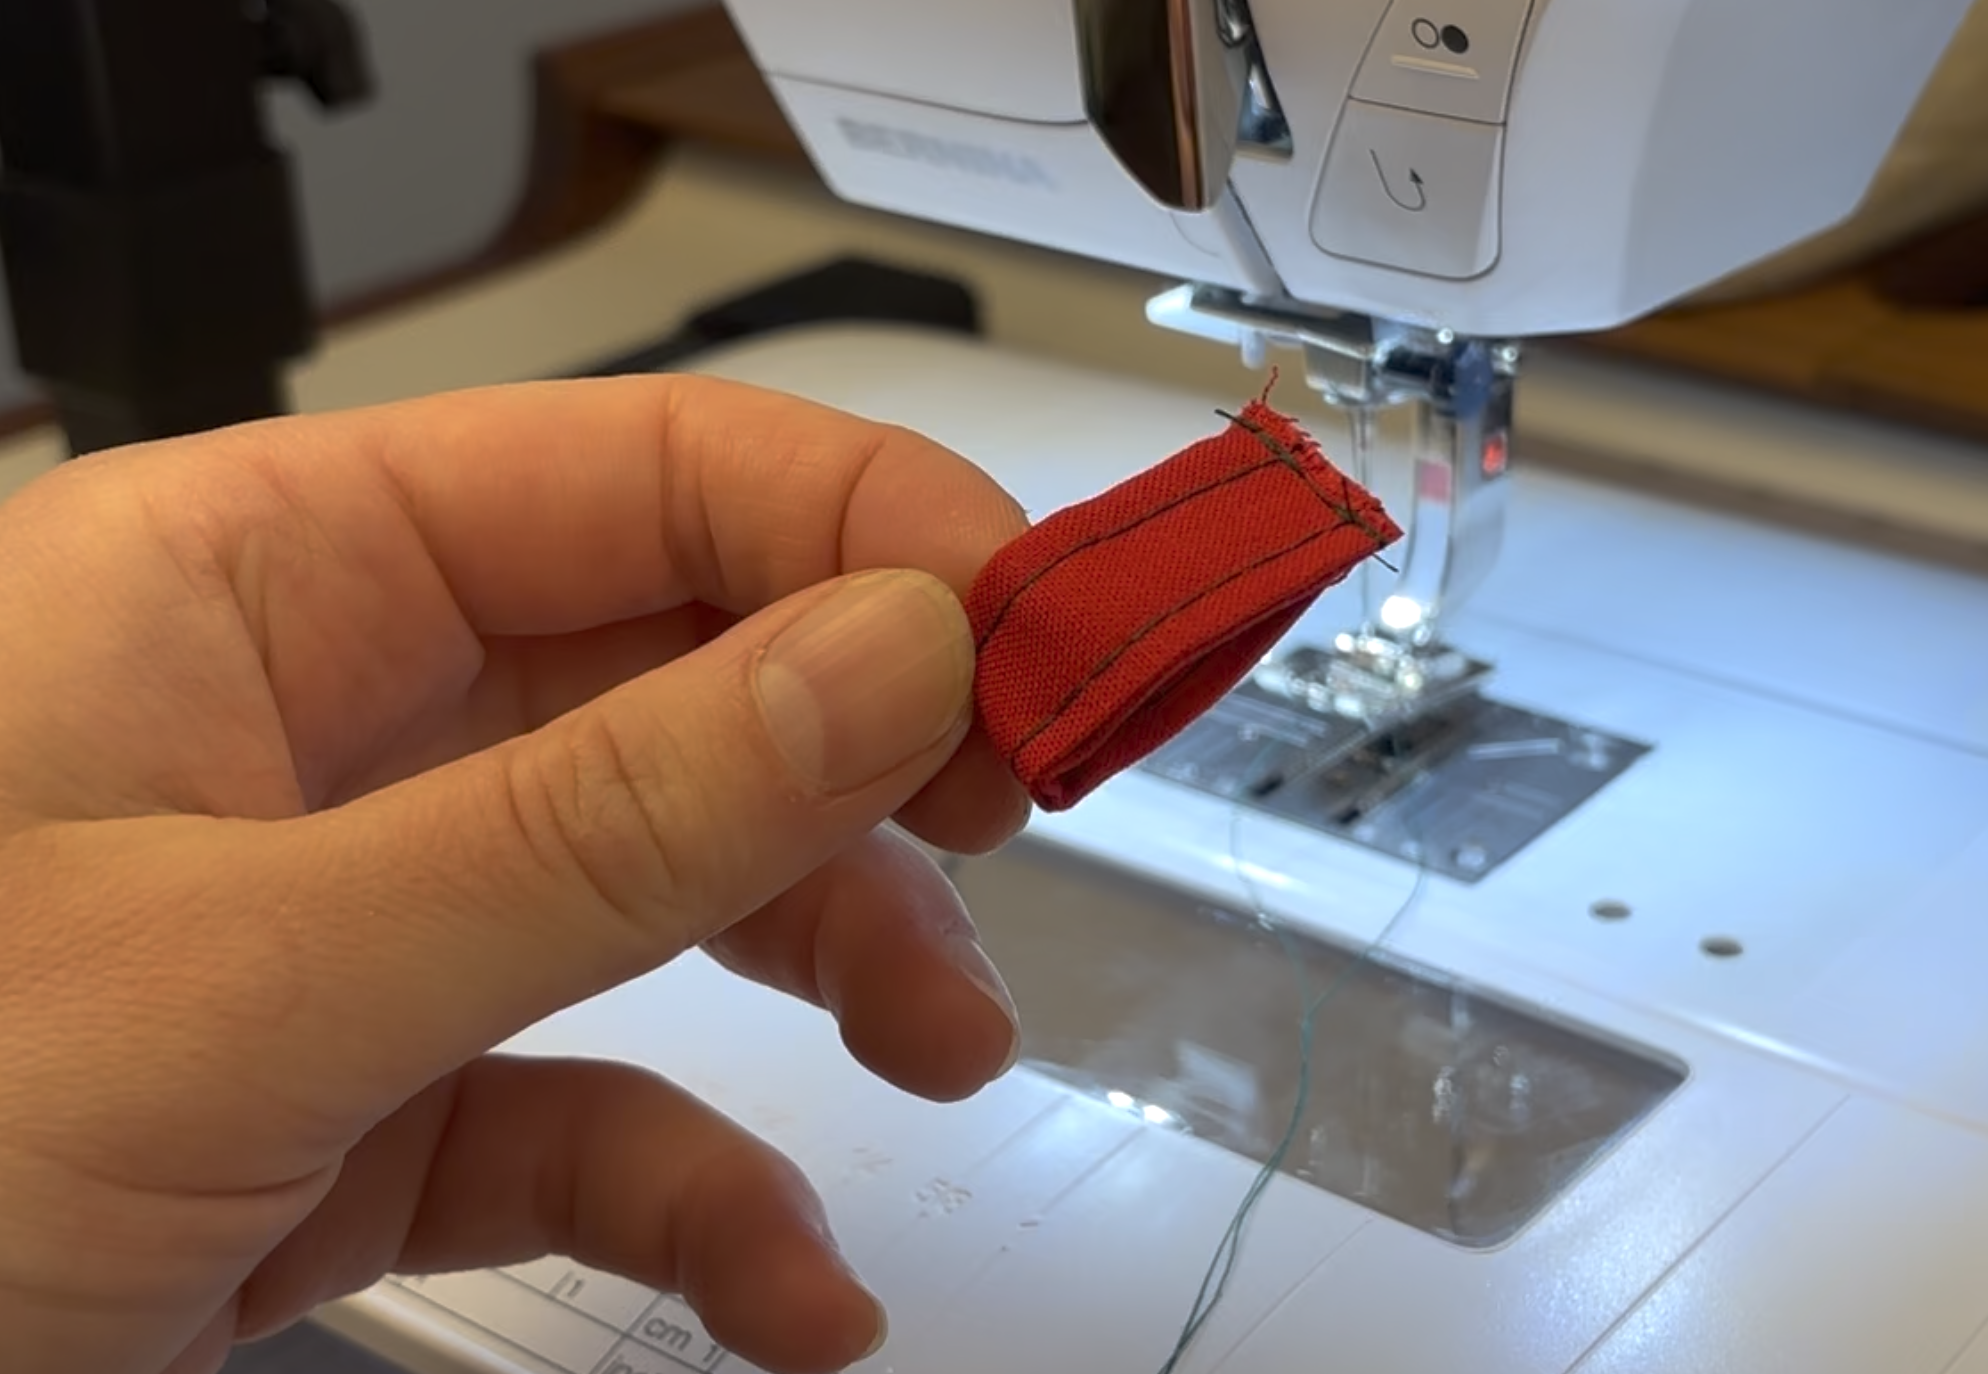
Fold the strip in half and sew the raw ends together to form a loop
Step 8: Final Assembly
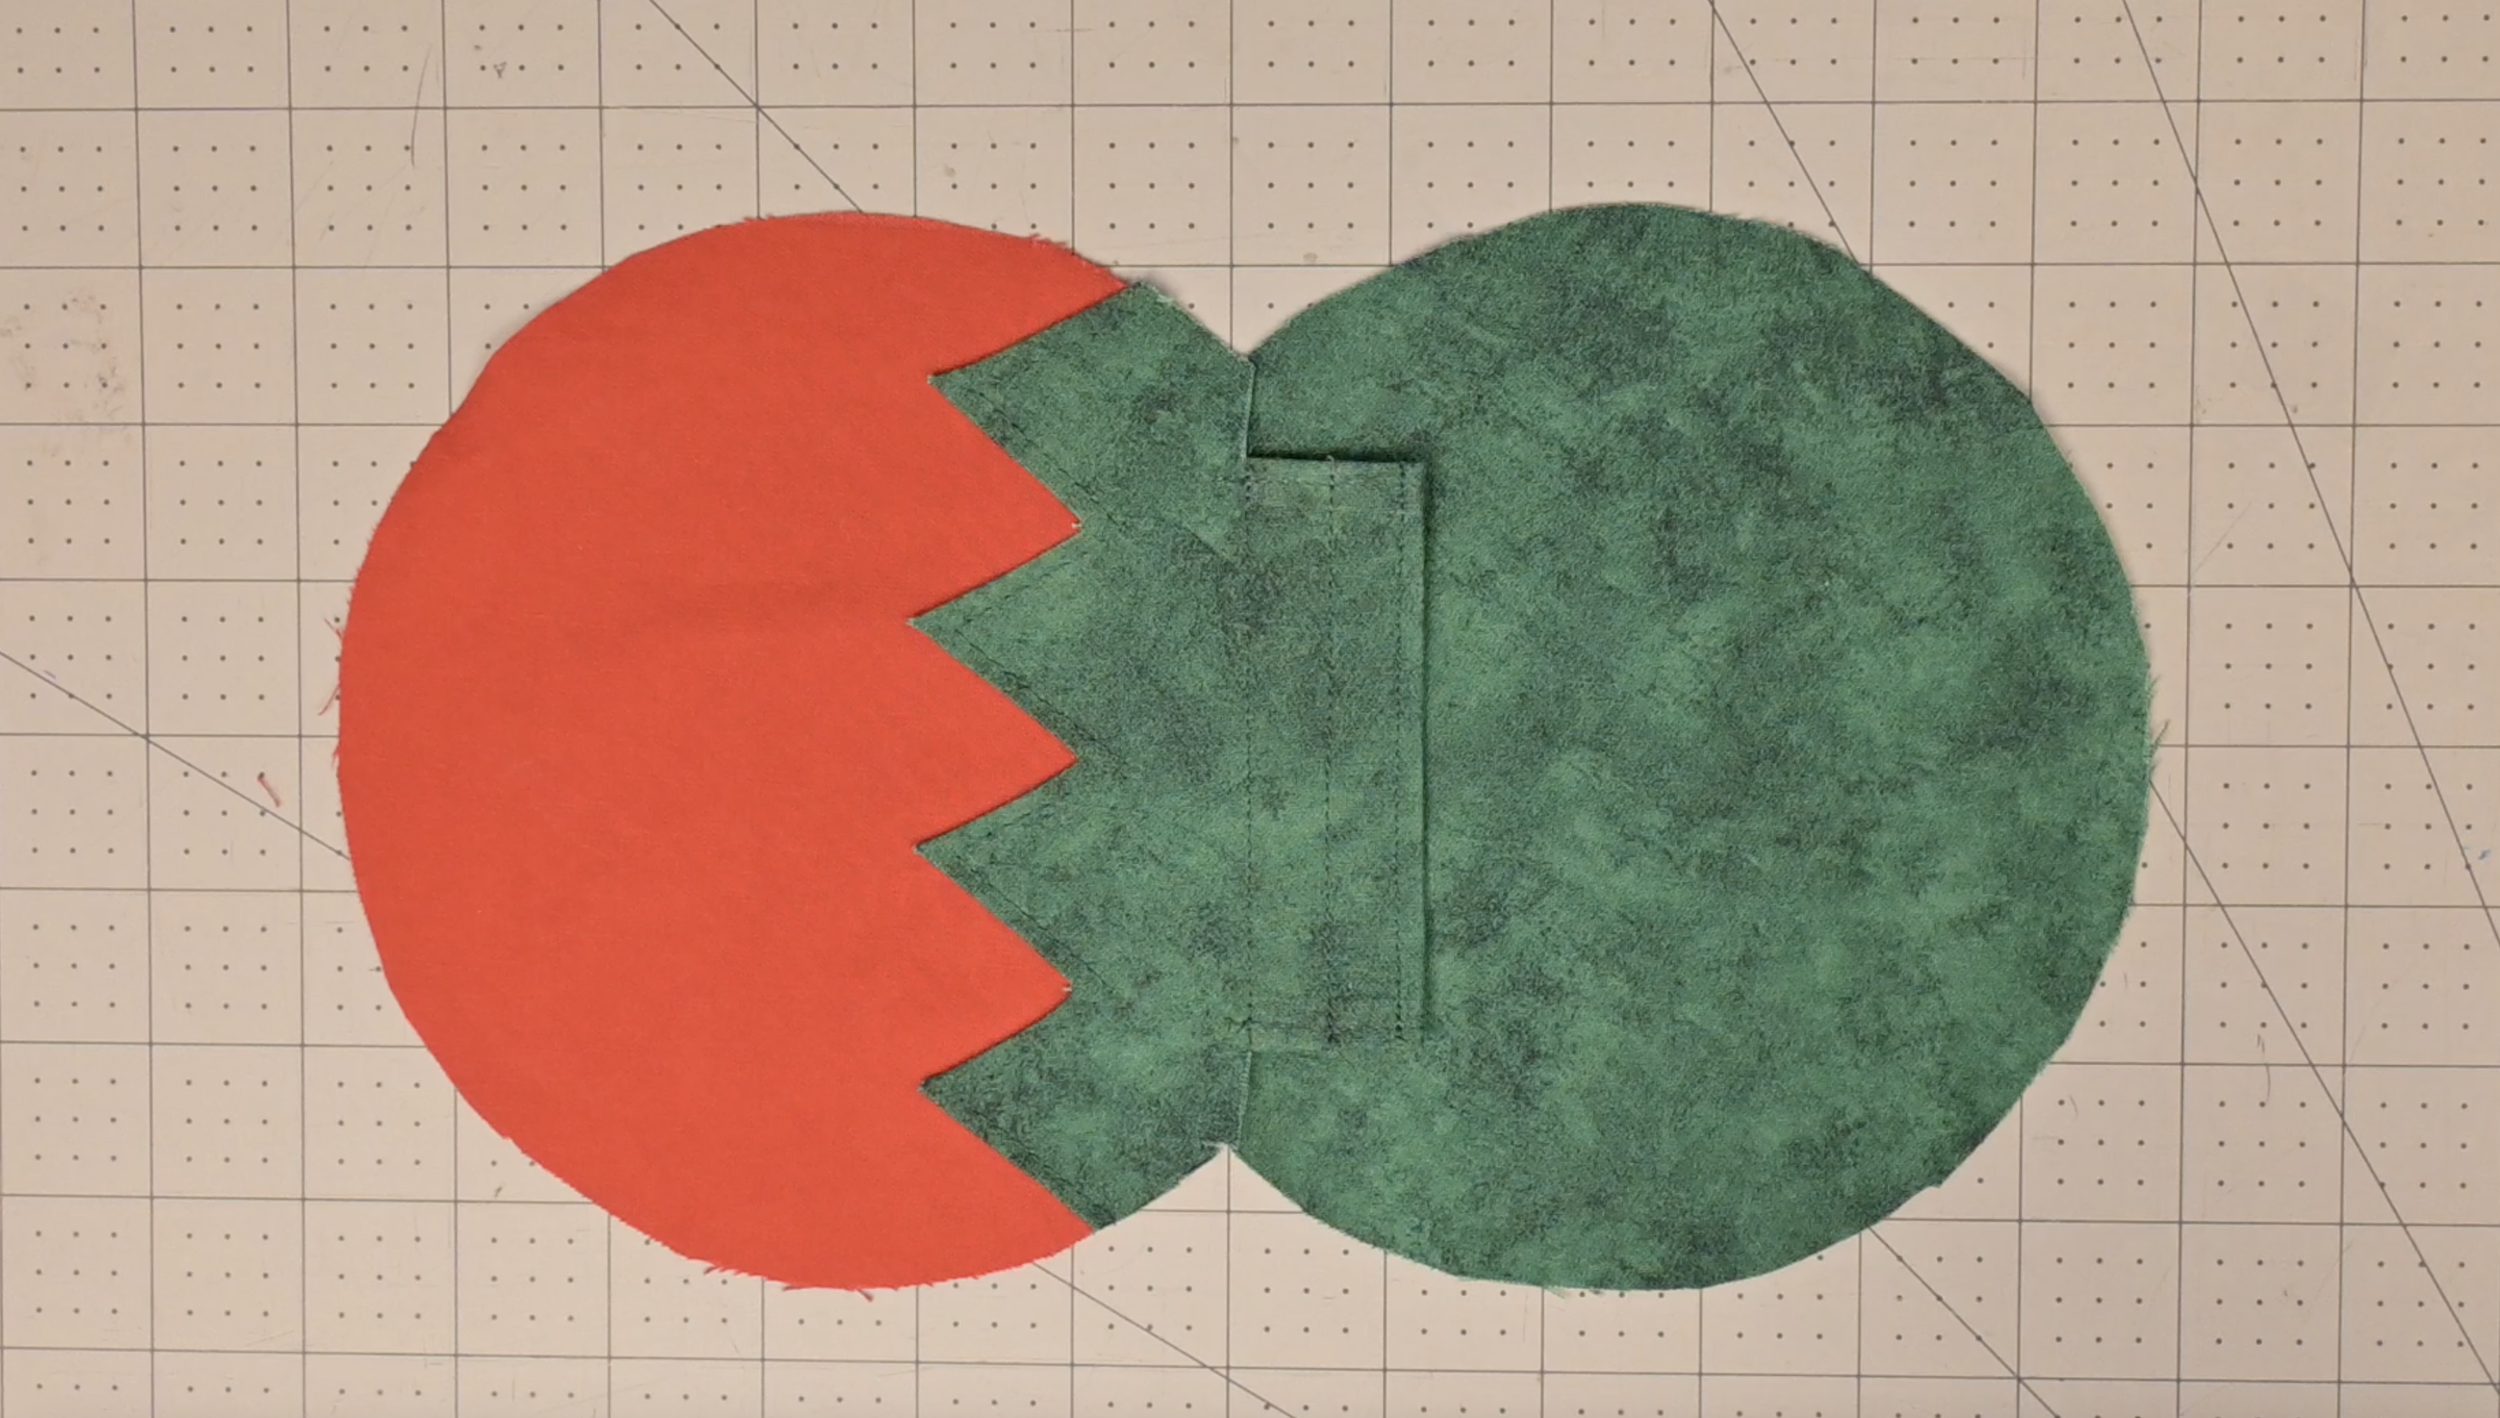
Pin or iron the tomato top down flat against the green fabric
Lay one panel flat, right side facing up
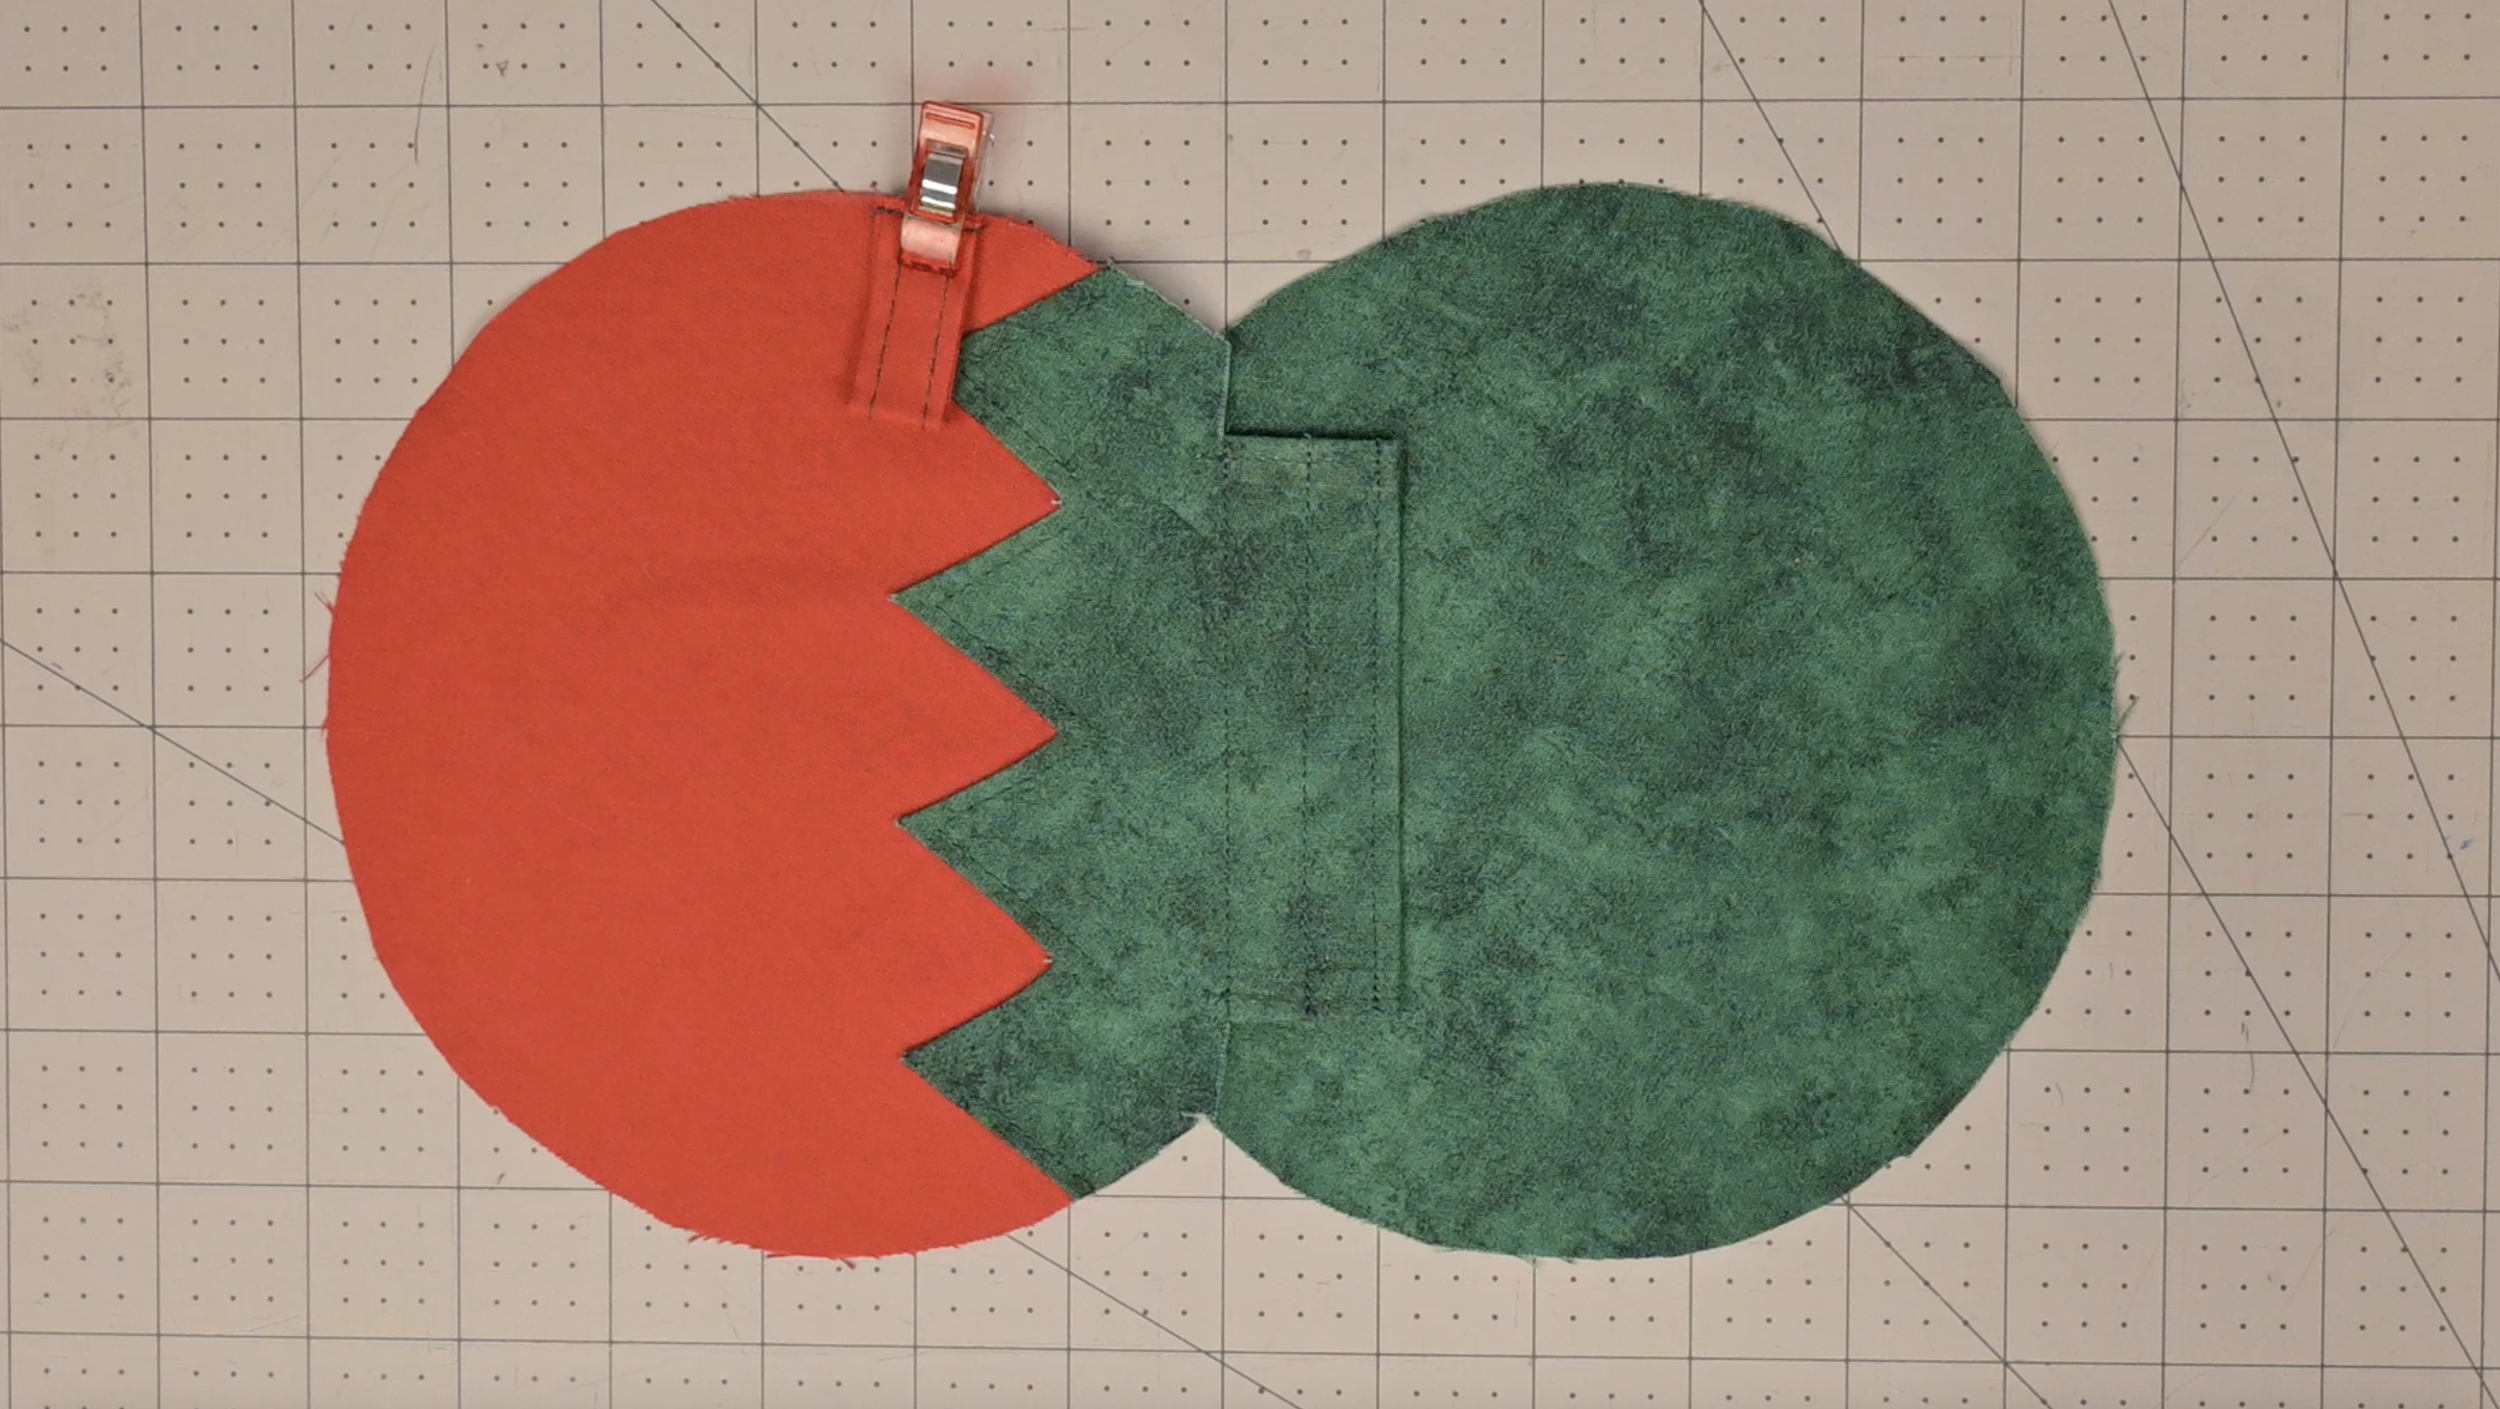
Place your keychain loop in your preferred spot (tucked inside pointing toward the center)
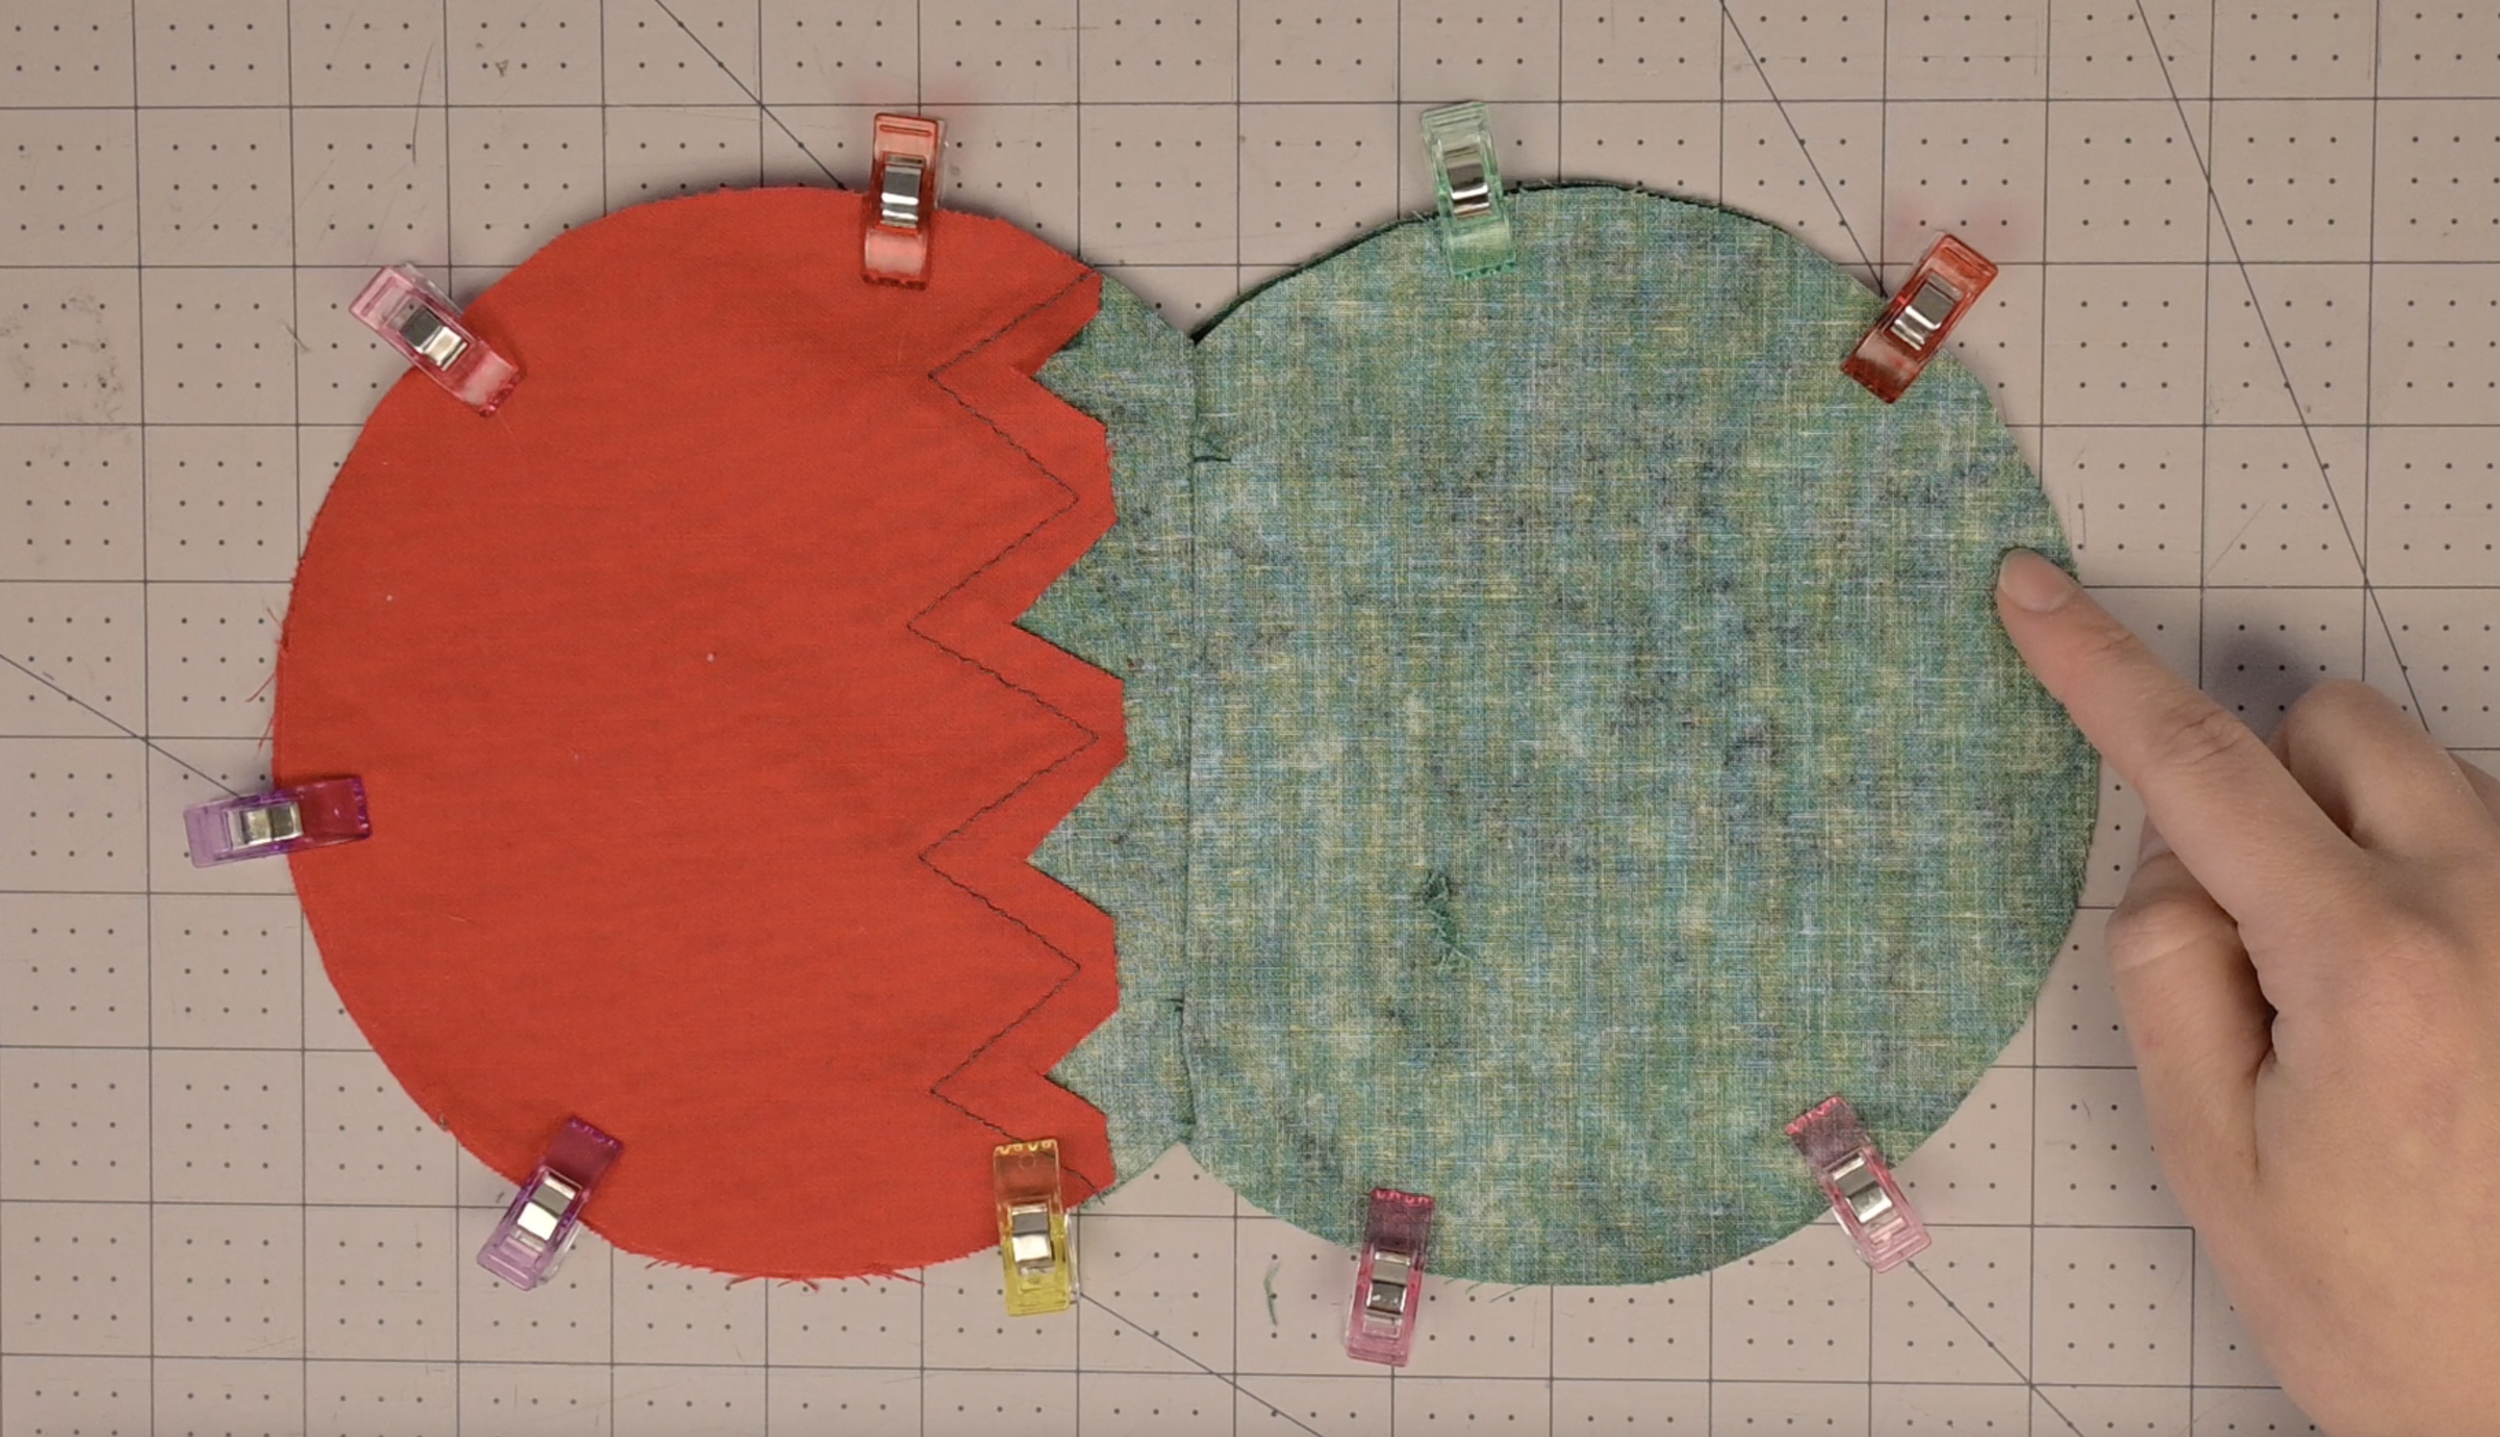
Place the second panel on top, right sides facing together. Align all edges and pin/clip thoroughly
Step 9: Sew and Trim
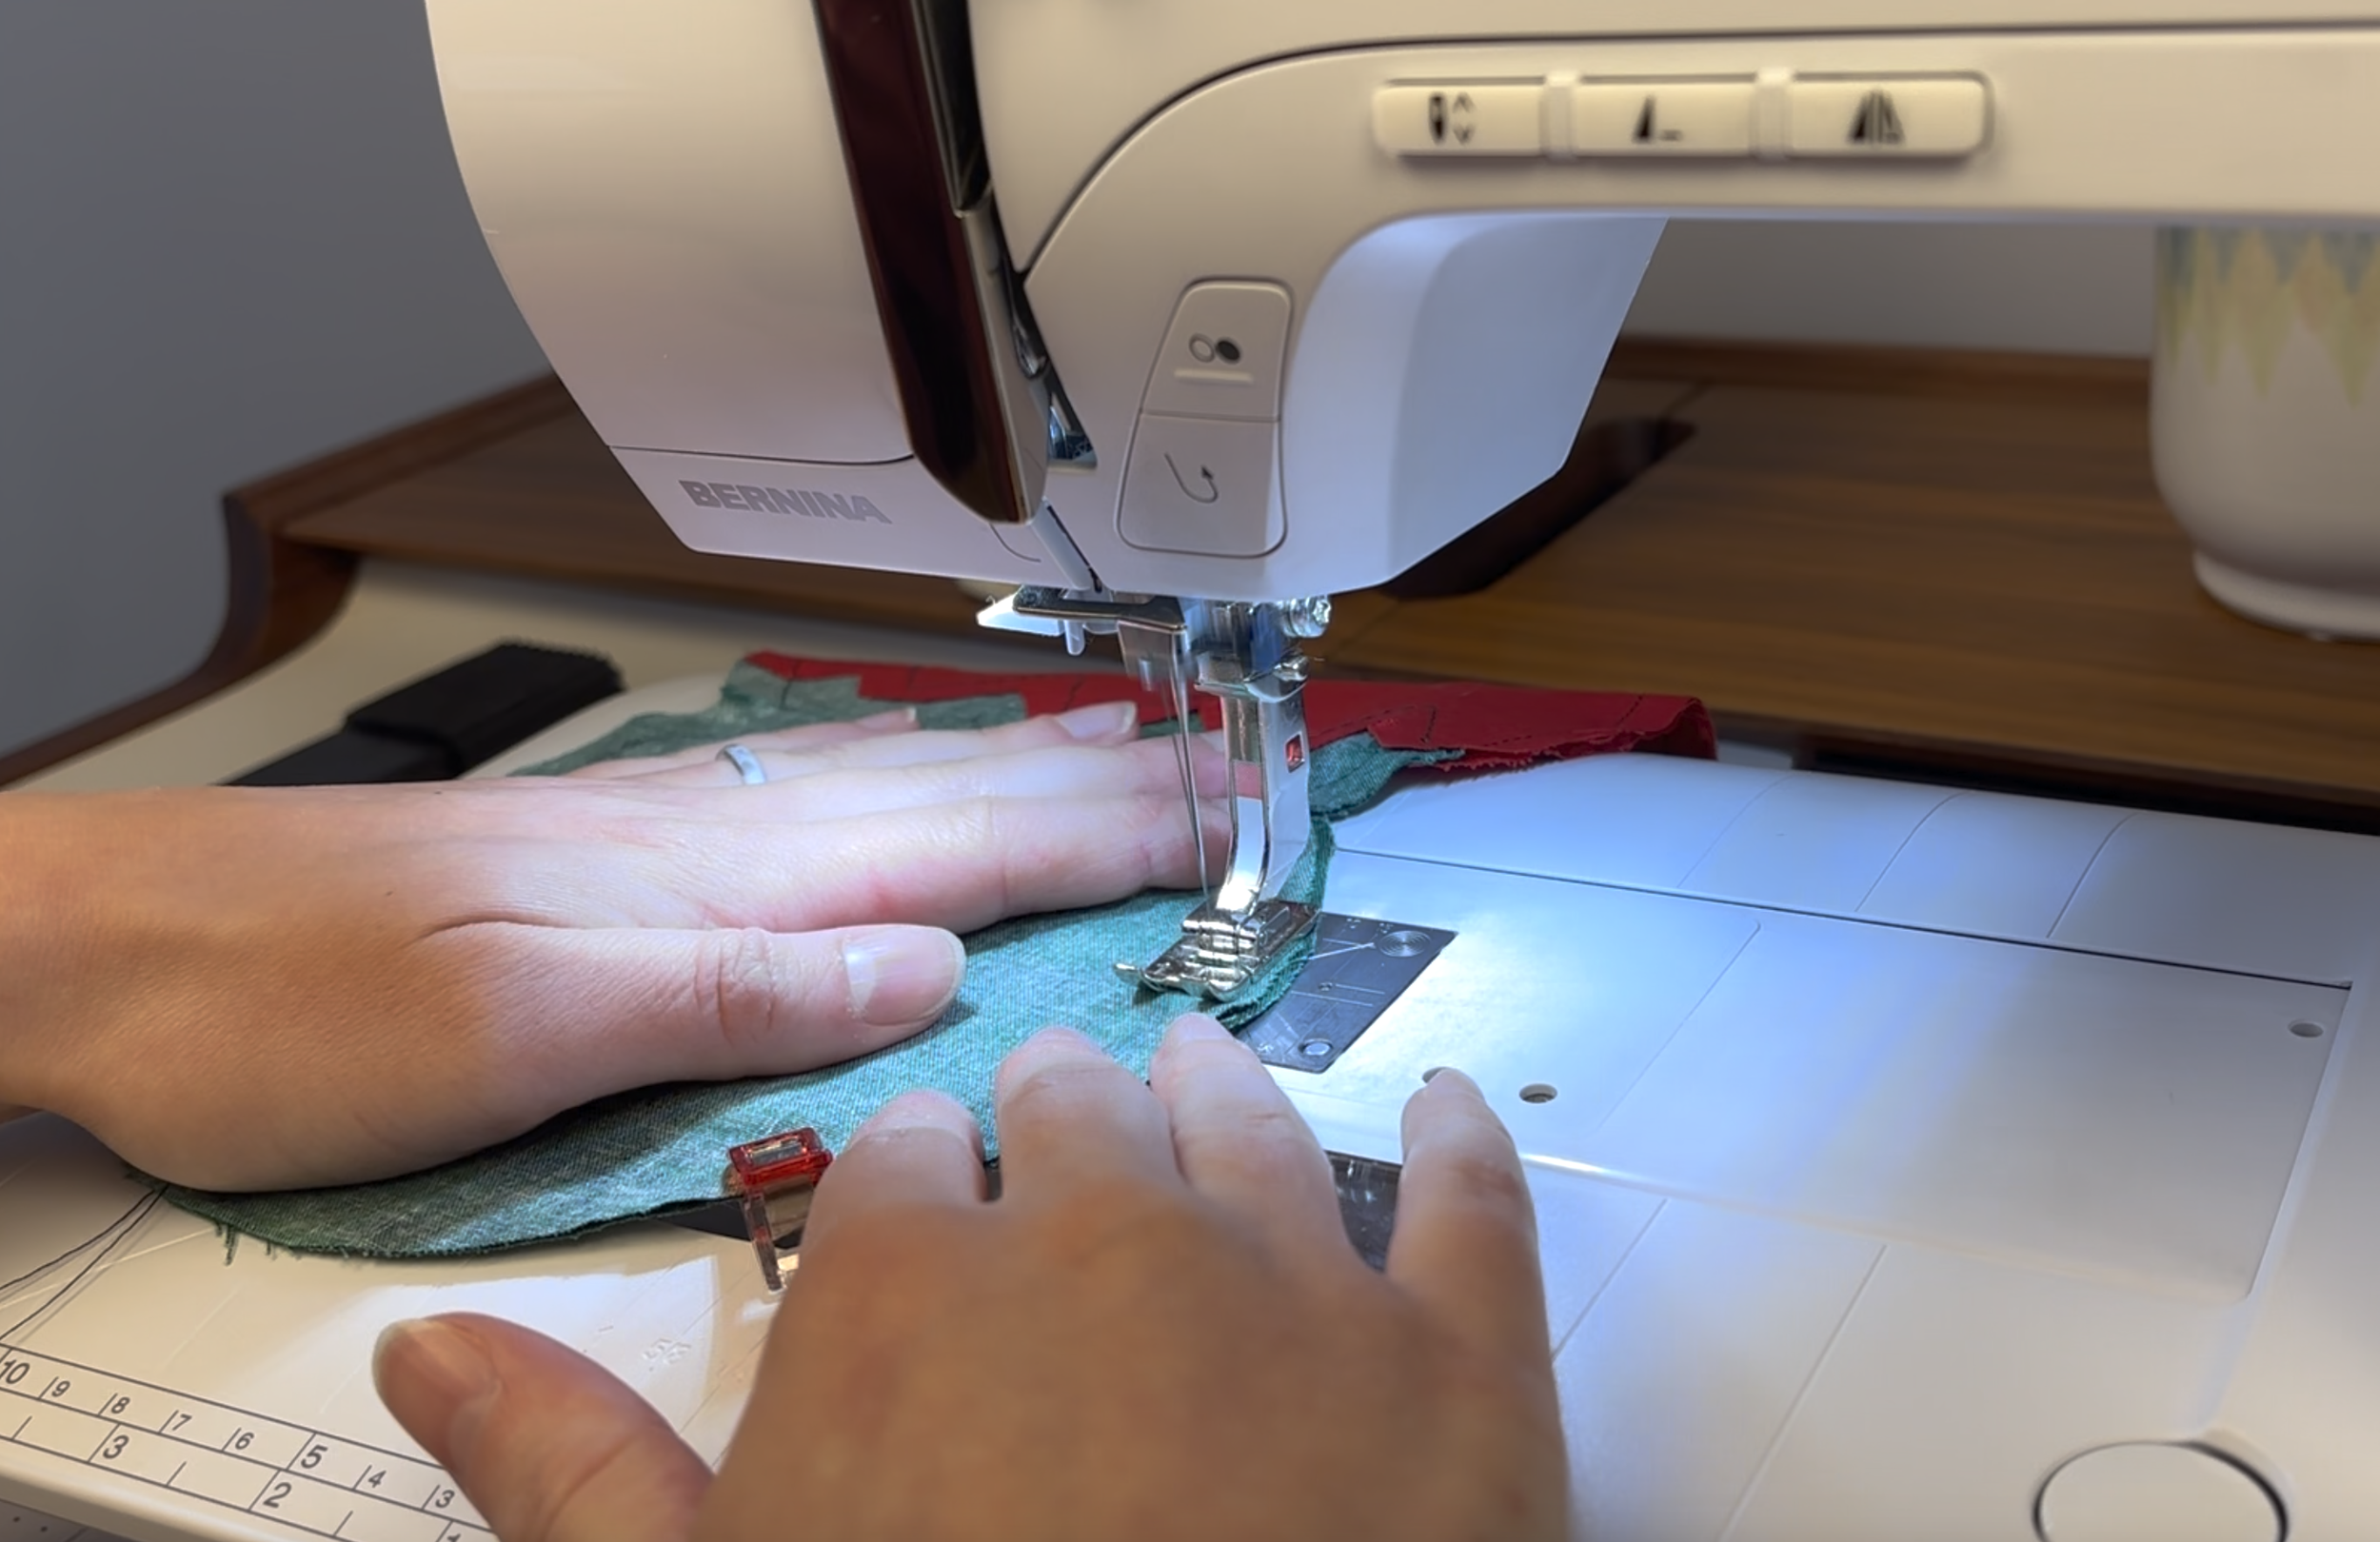
Sew around the entire perimeter of the pouch
Leave a 3-inch opening at the very bottom of the green lining fabric for turning
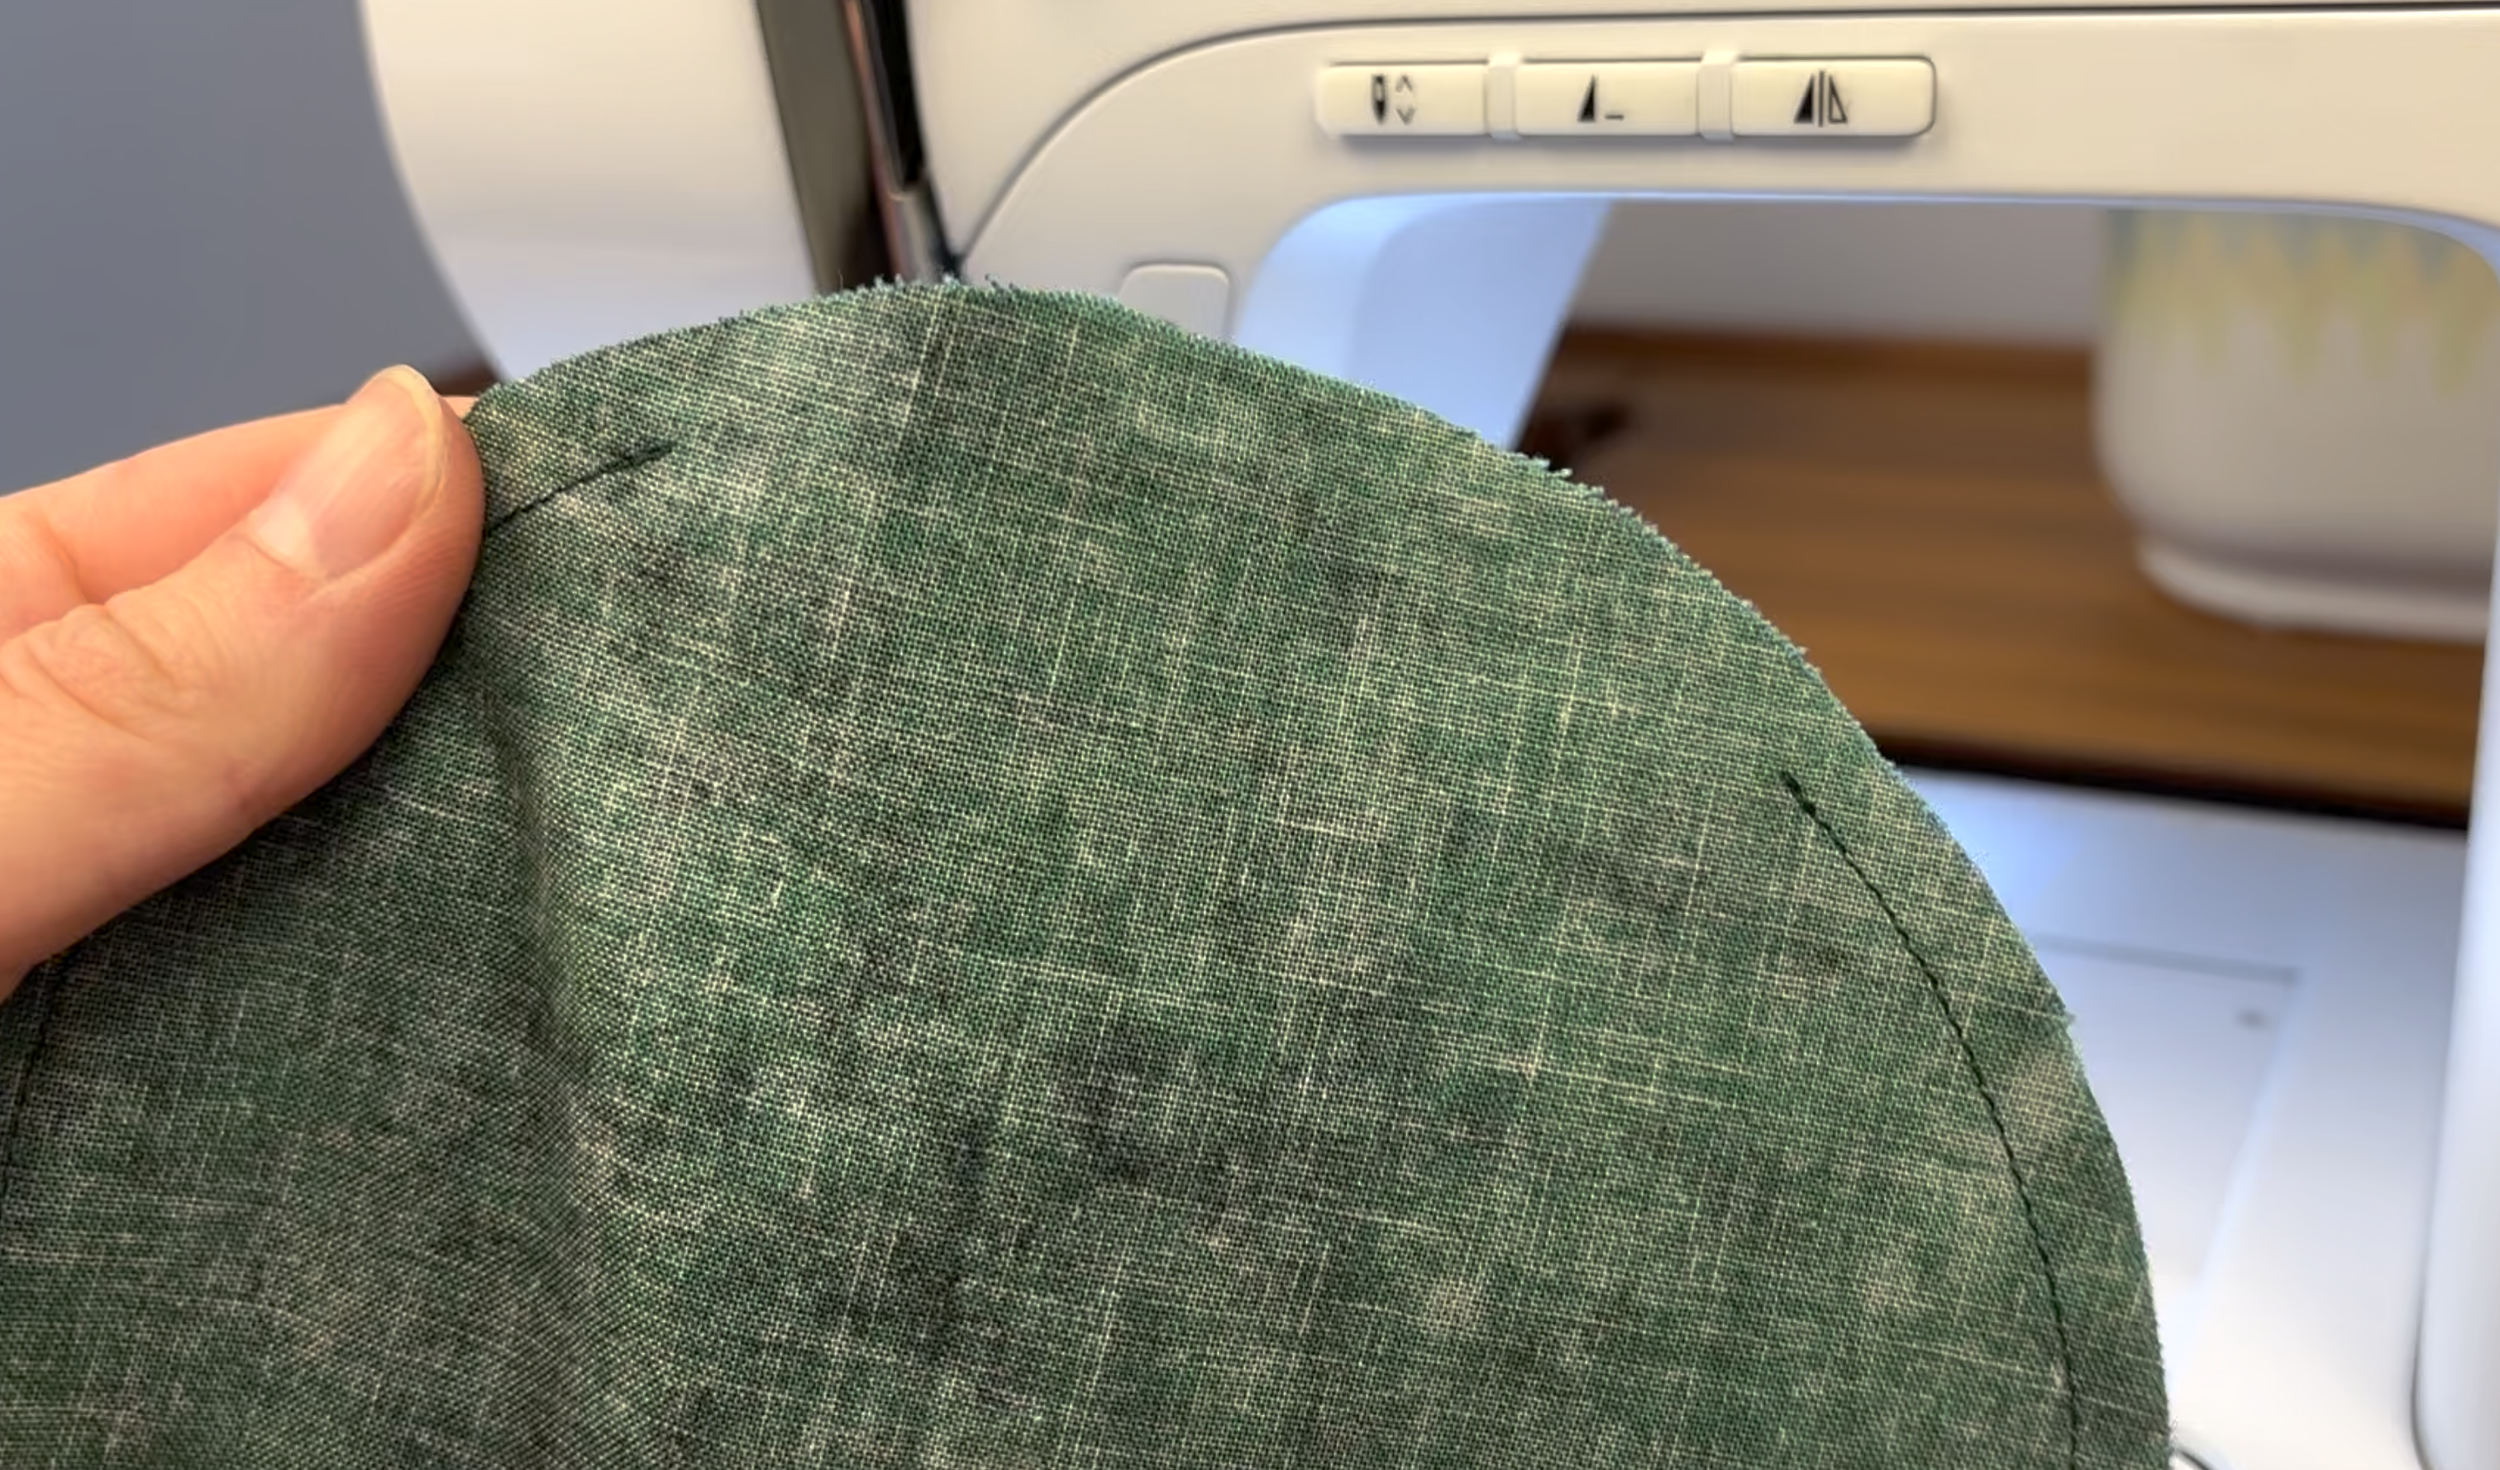
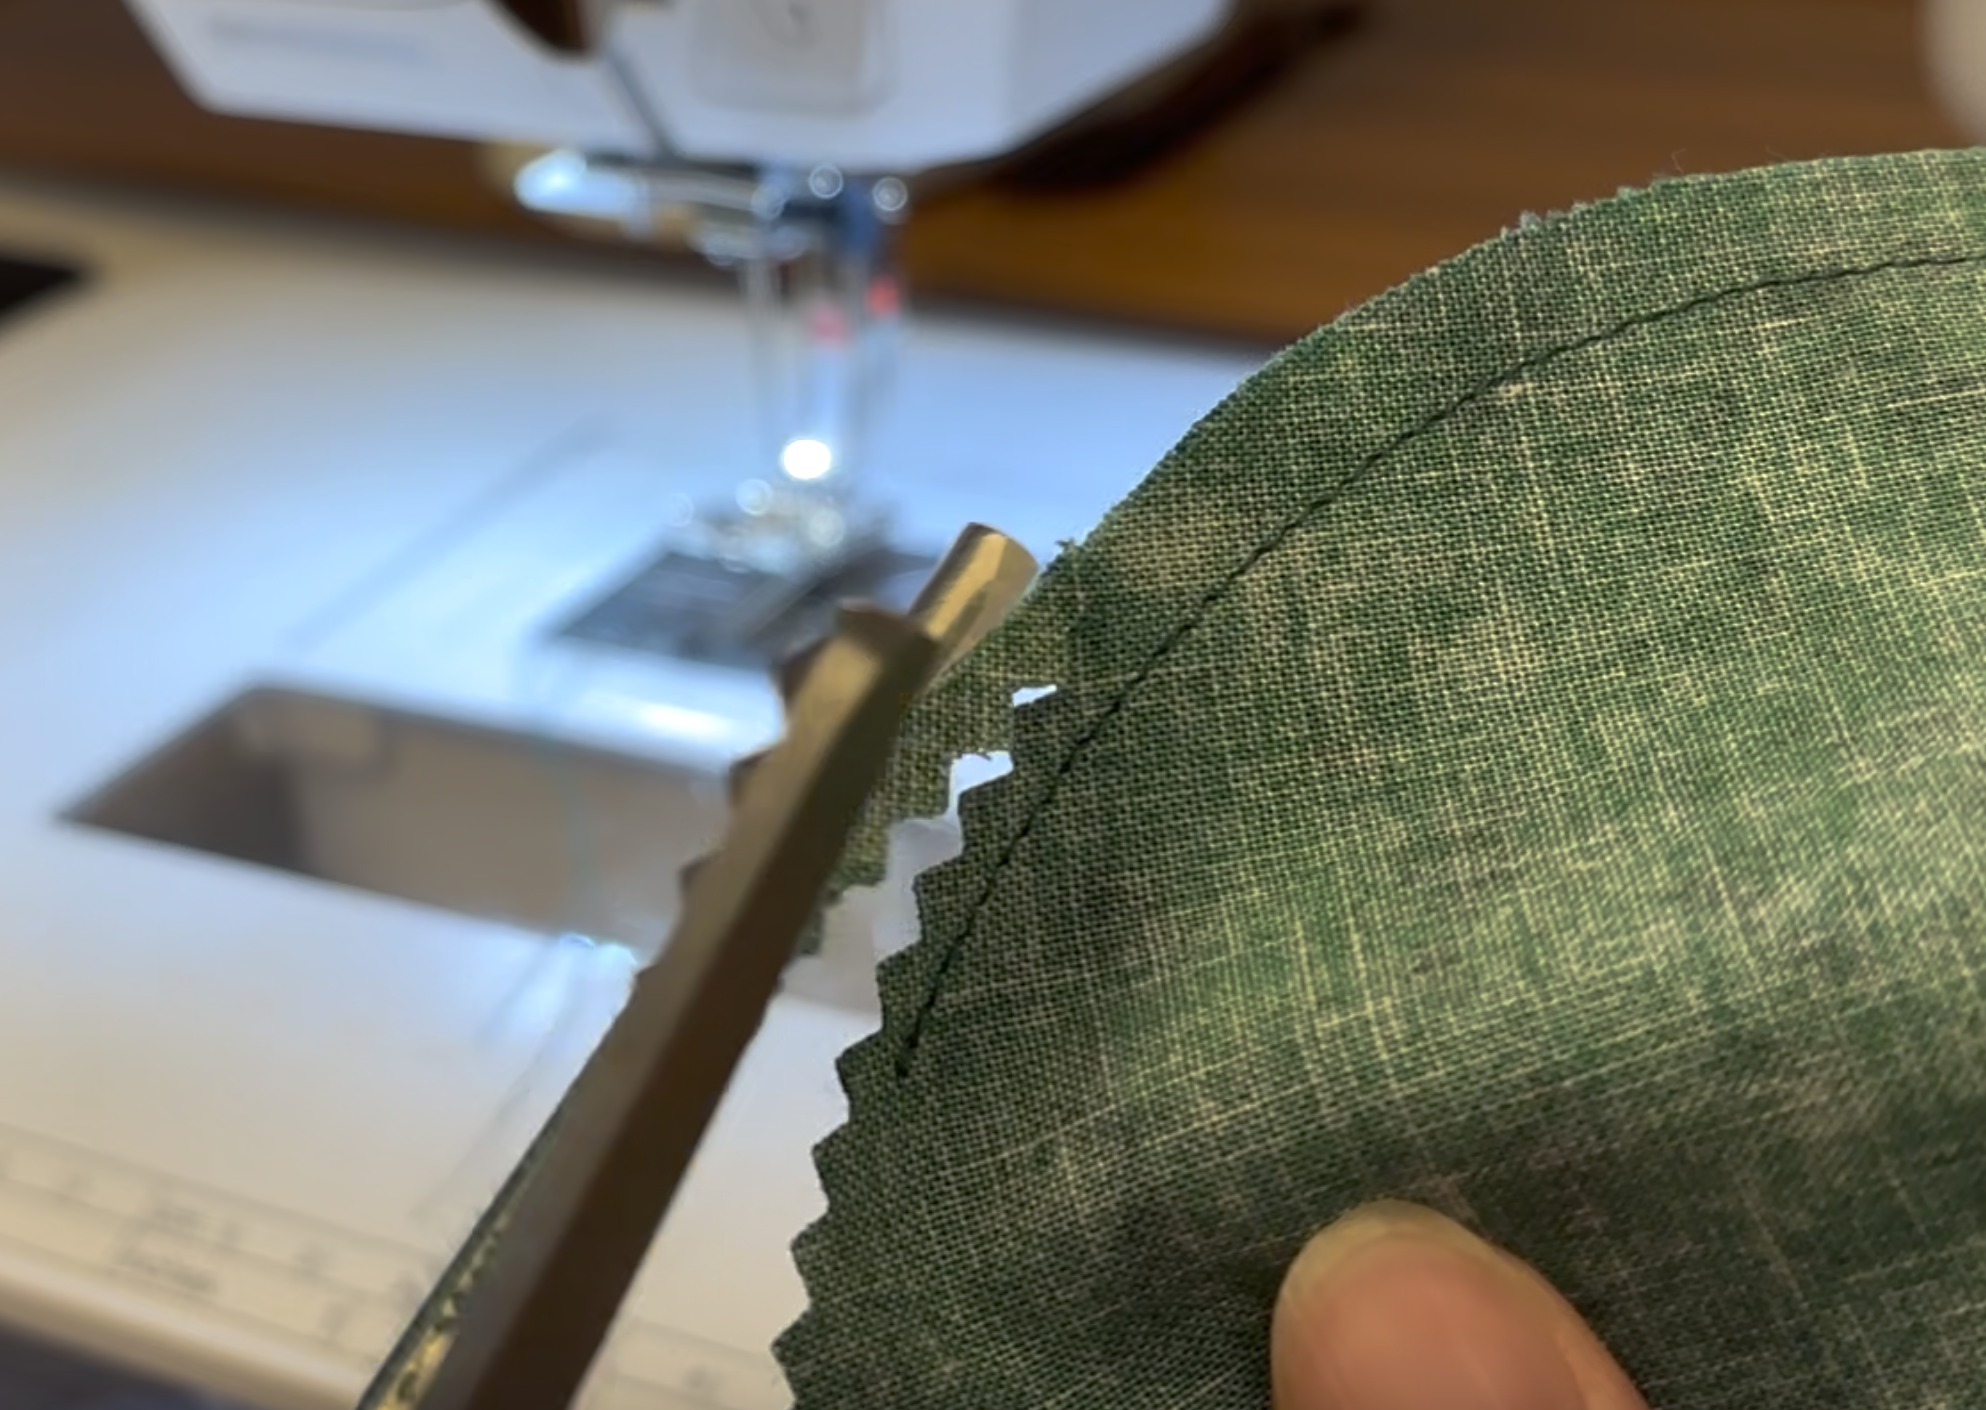
Using pinking shears, trim the seam allowance around the edges, being careful not to cut your stitches
You also can make small cuts around the edge if you do not have pinking shears
Step 10: Finishing Touches
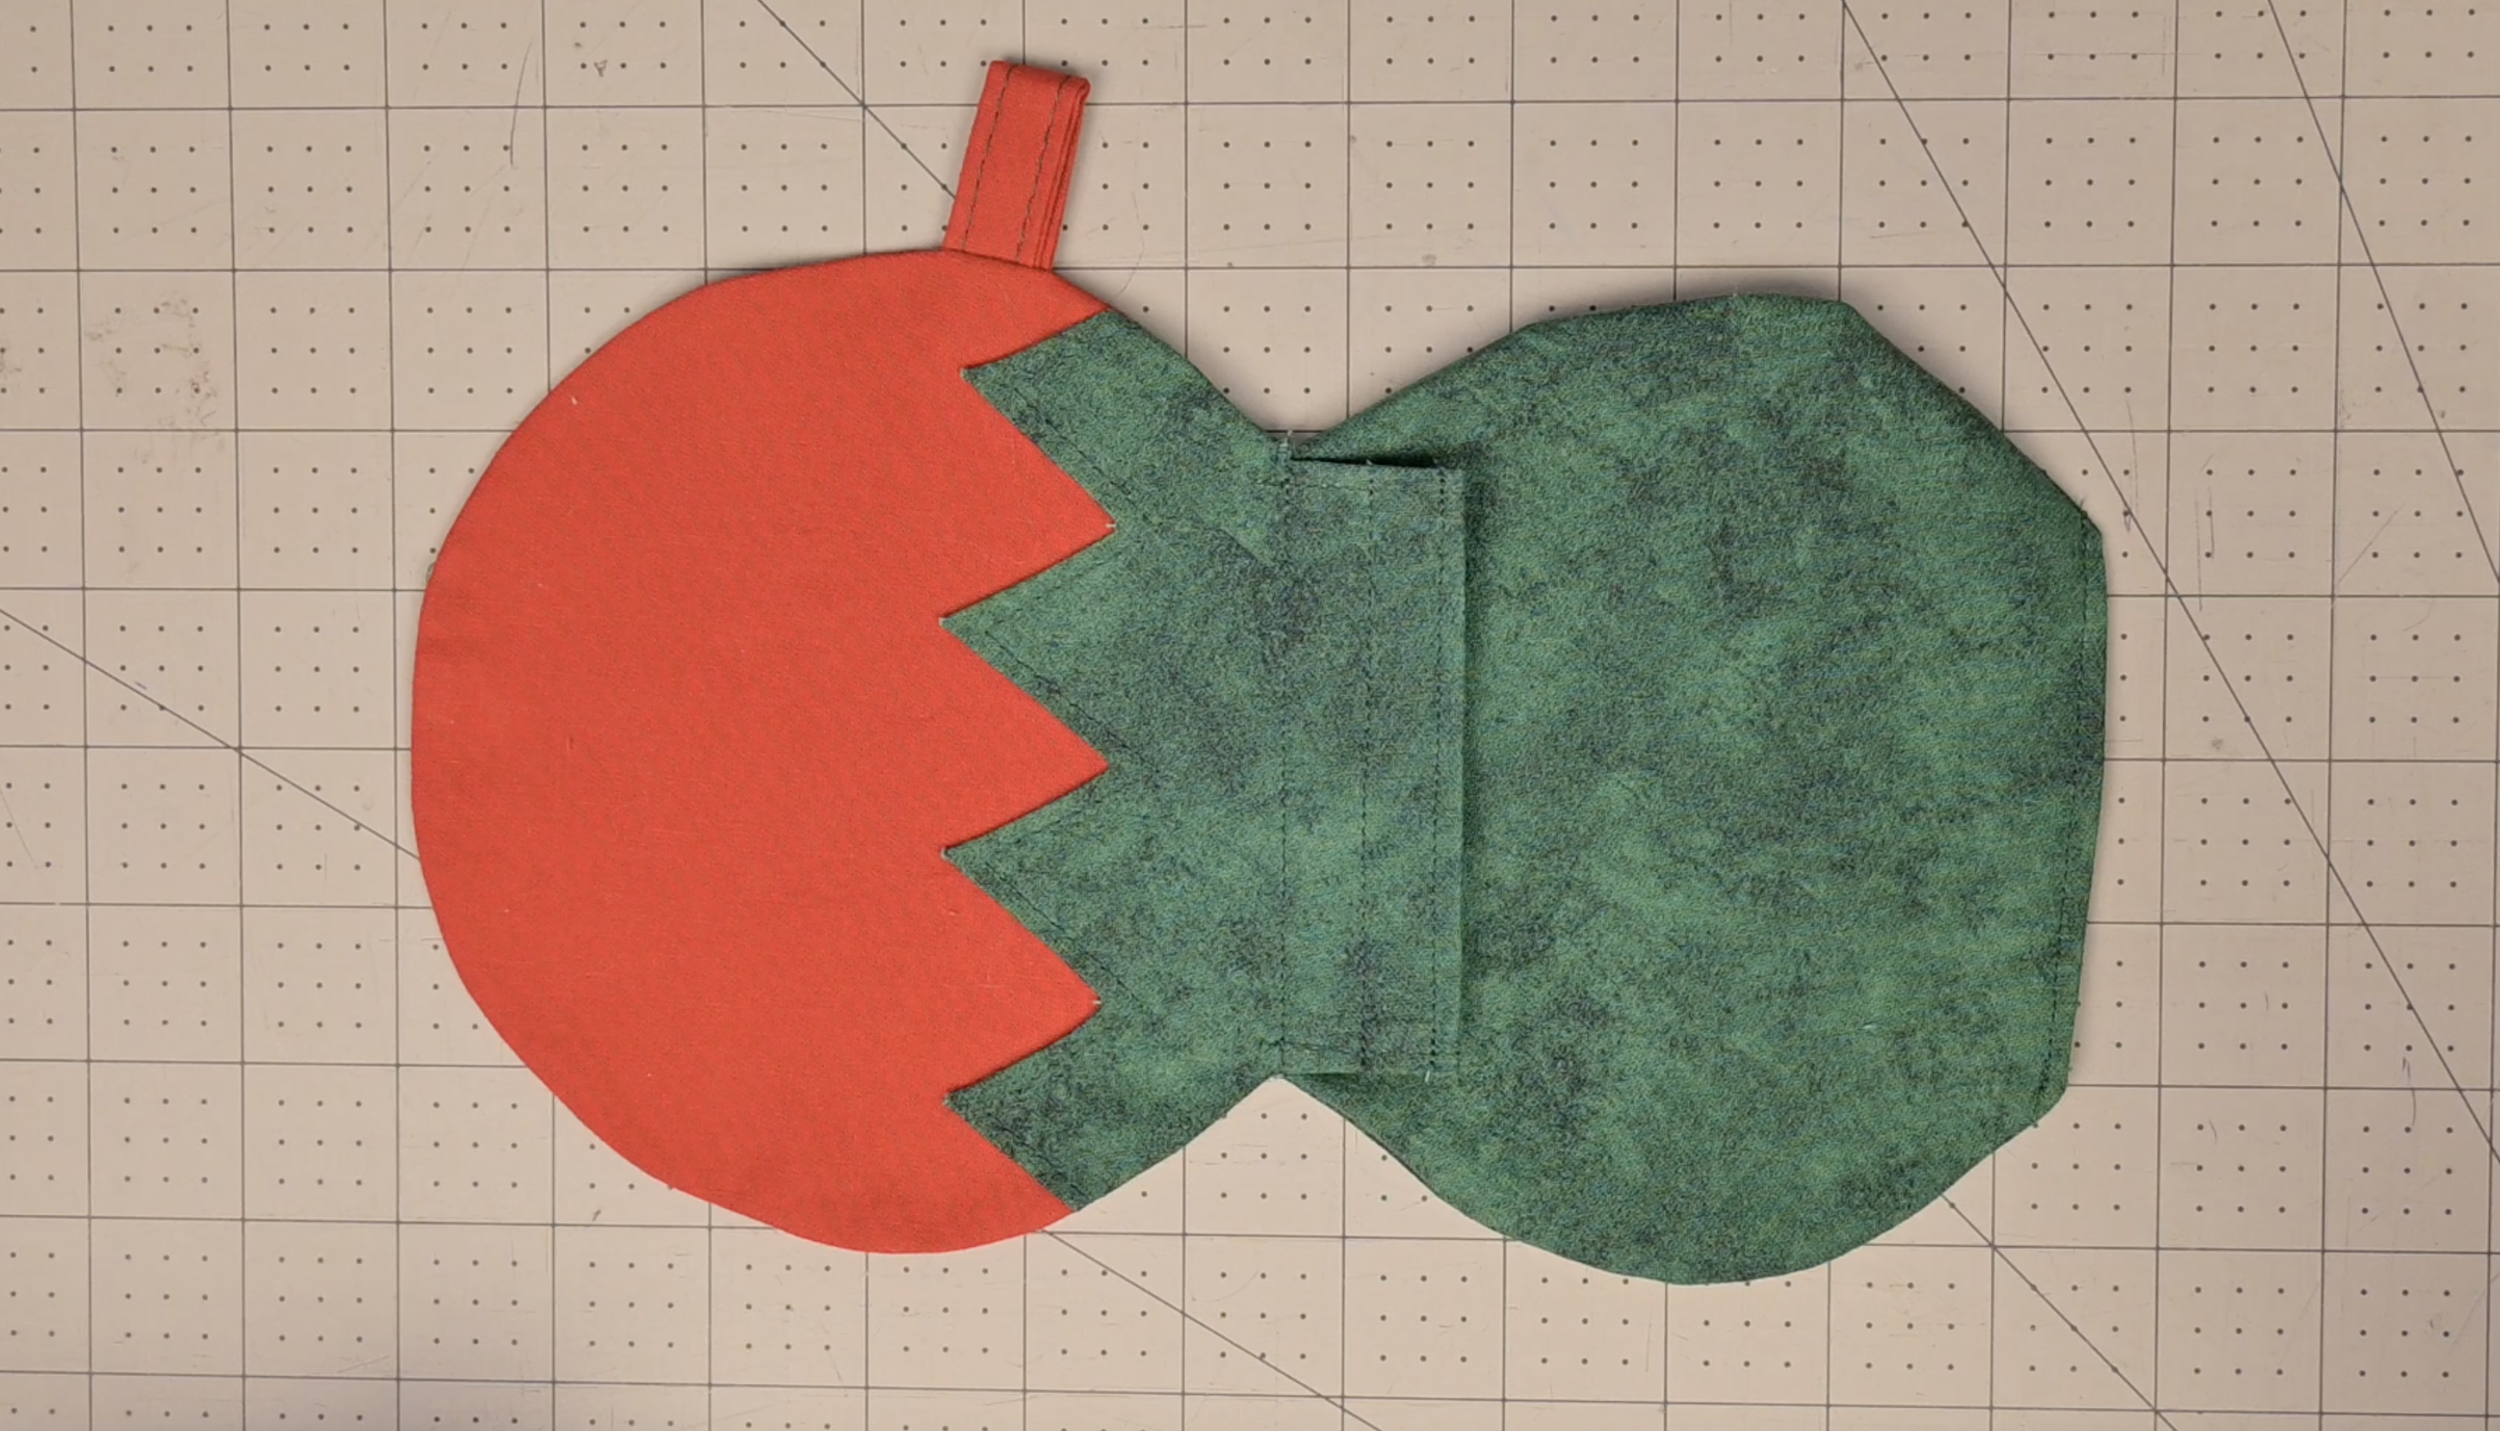
Turn the pouch right-side out through the 3-inch opening
Hand-stitch or machine-stitch the 3-inch opening closed
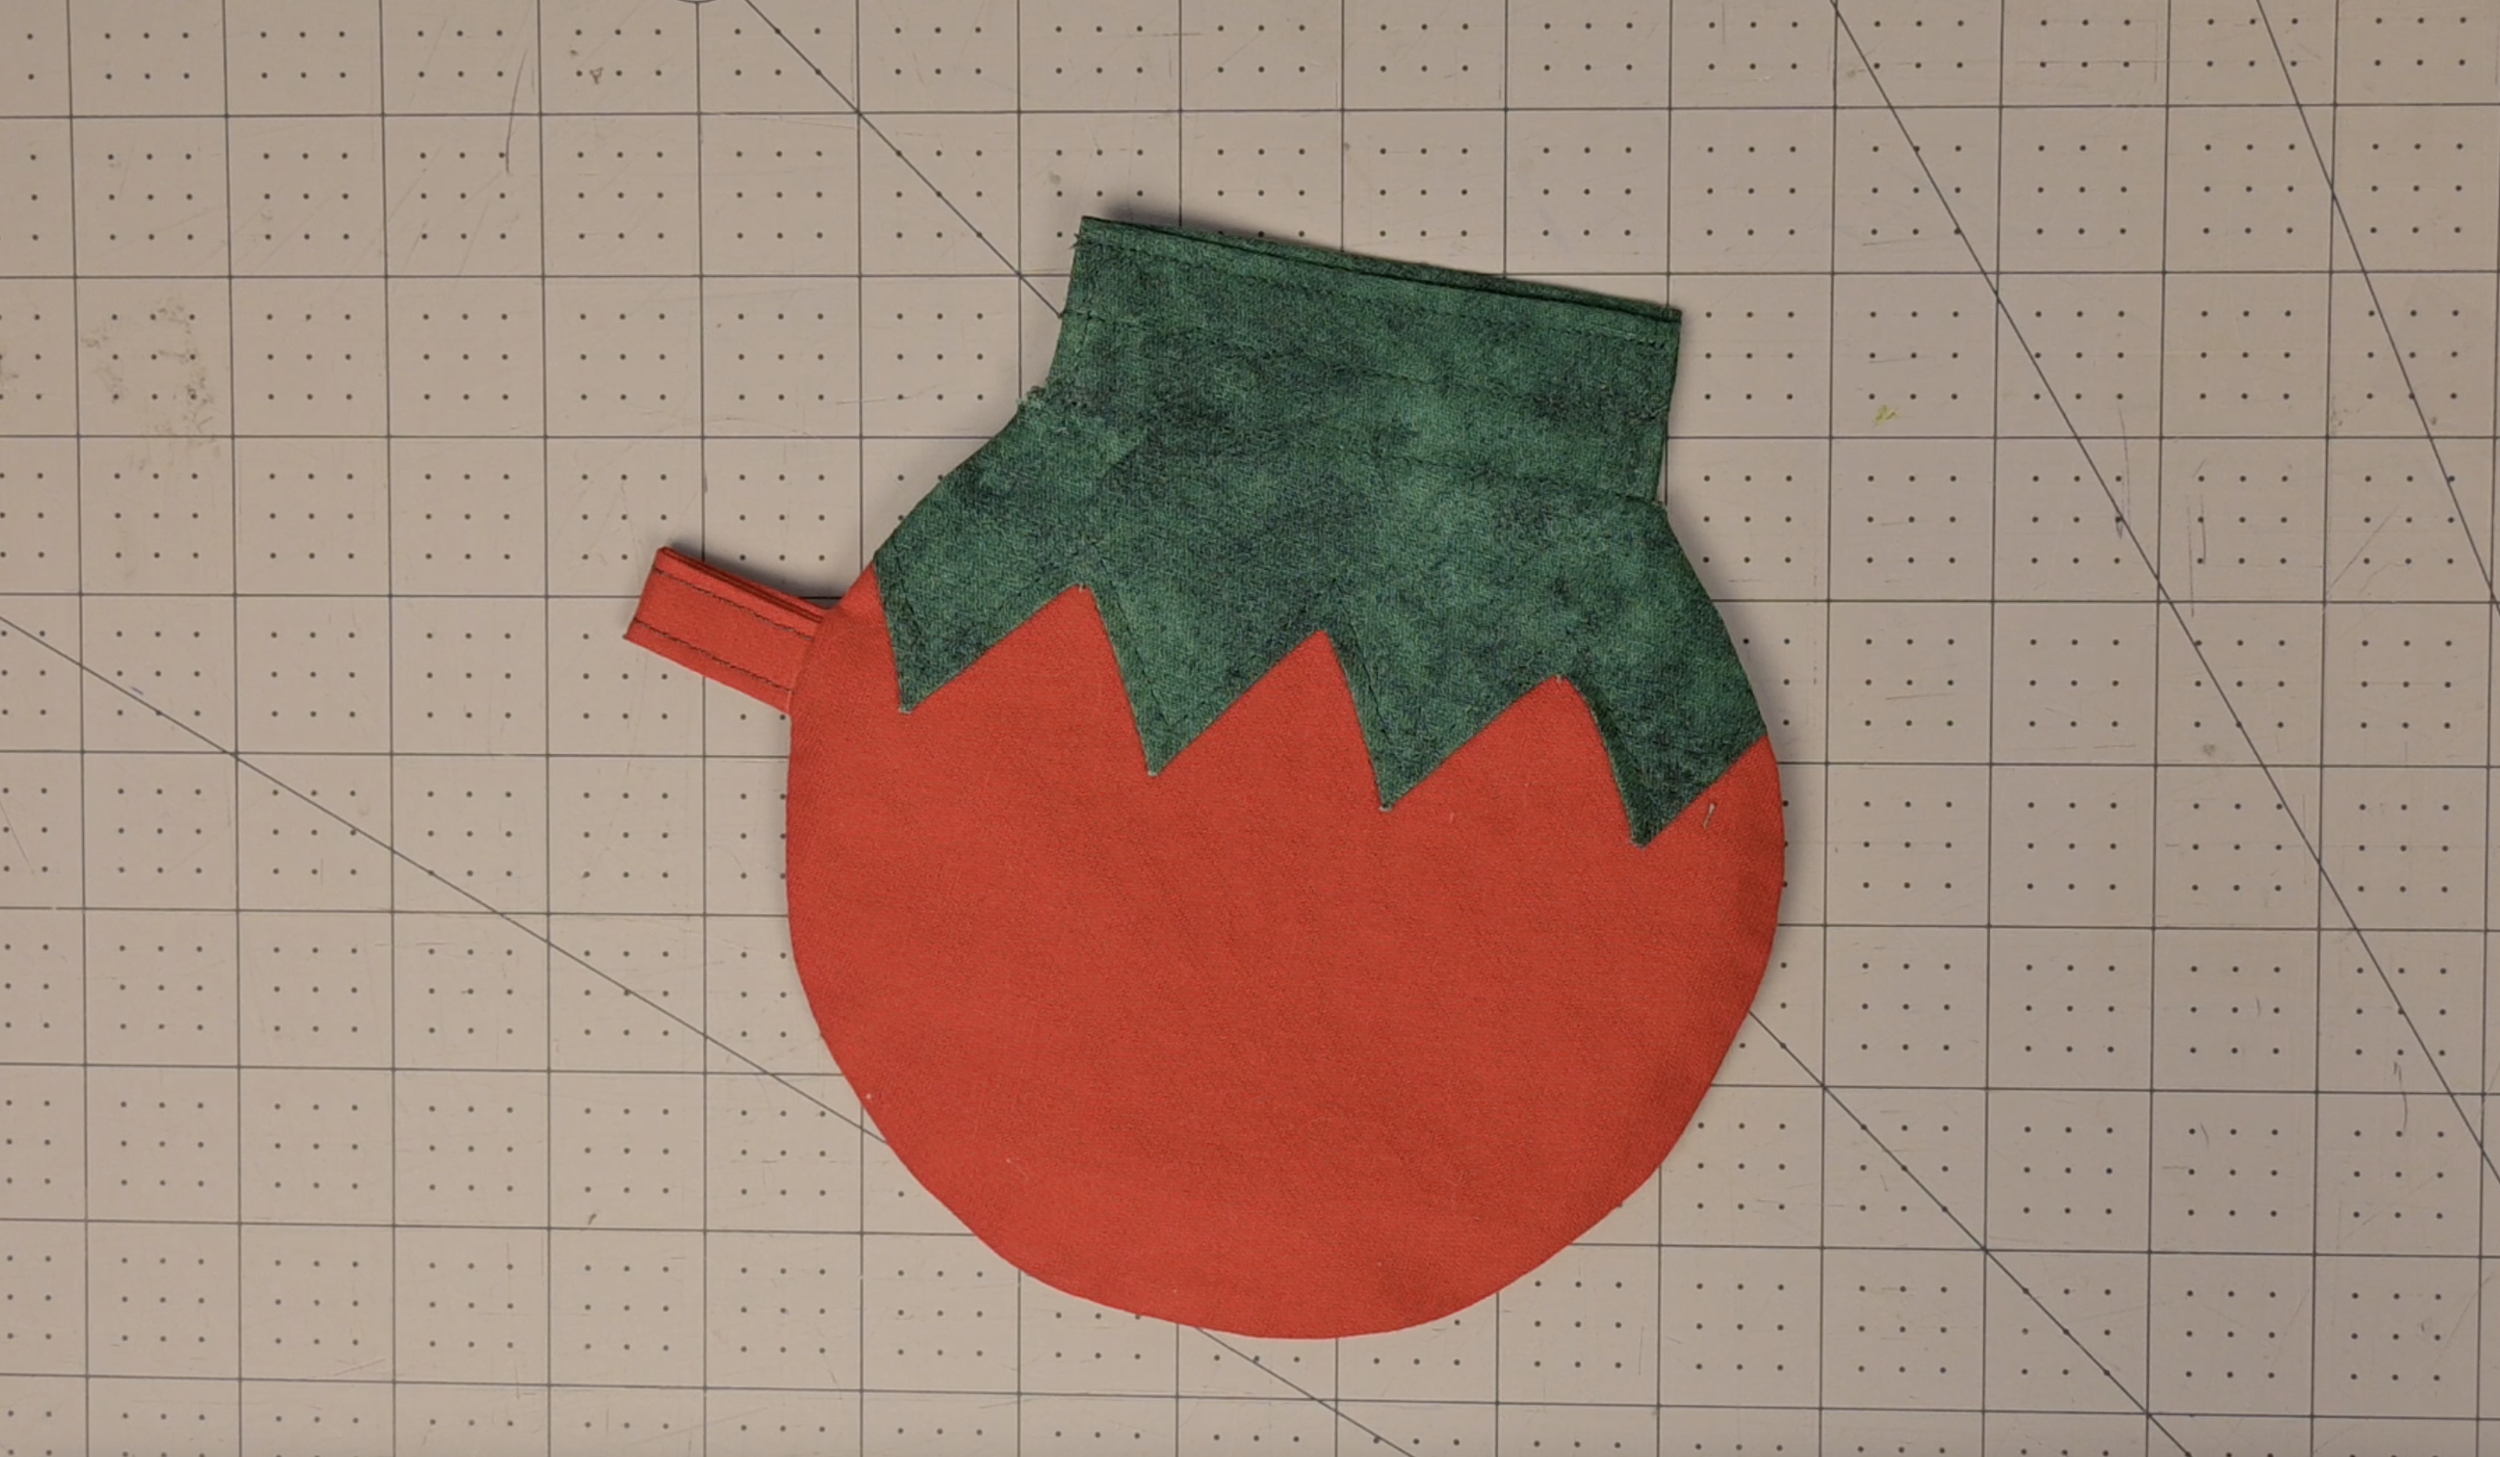
Push the green fabric into the red fabric to form the pouch
Step 11: Add the Drawstring
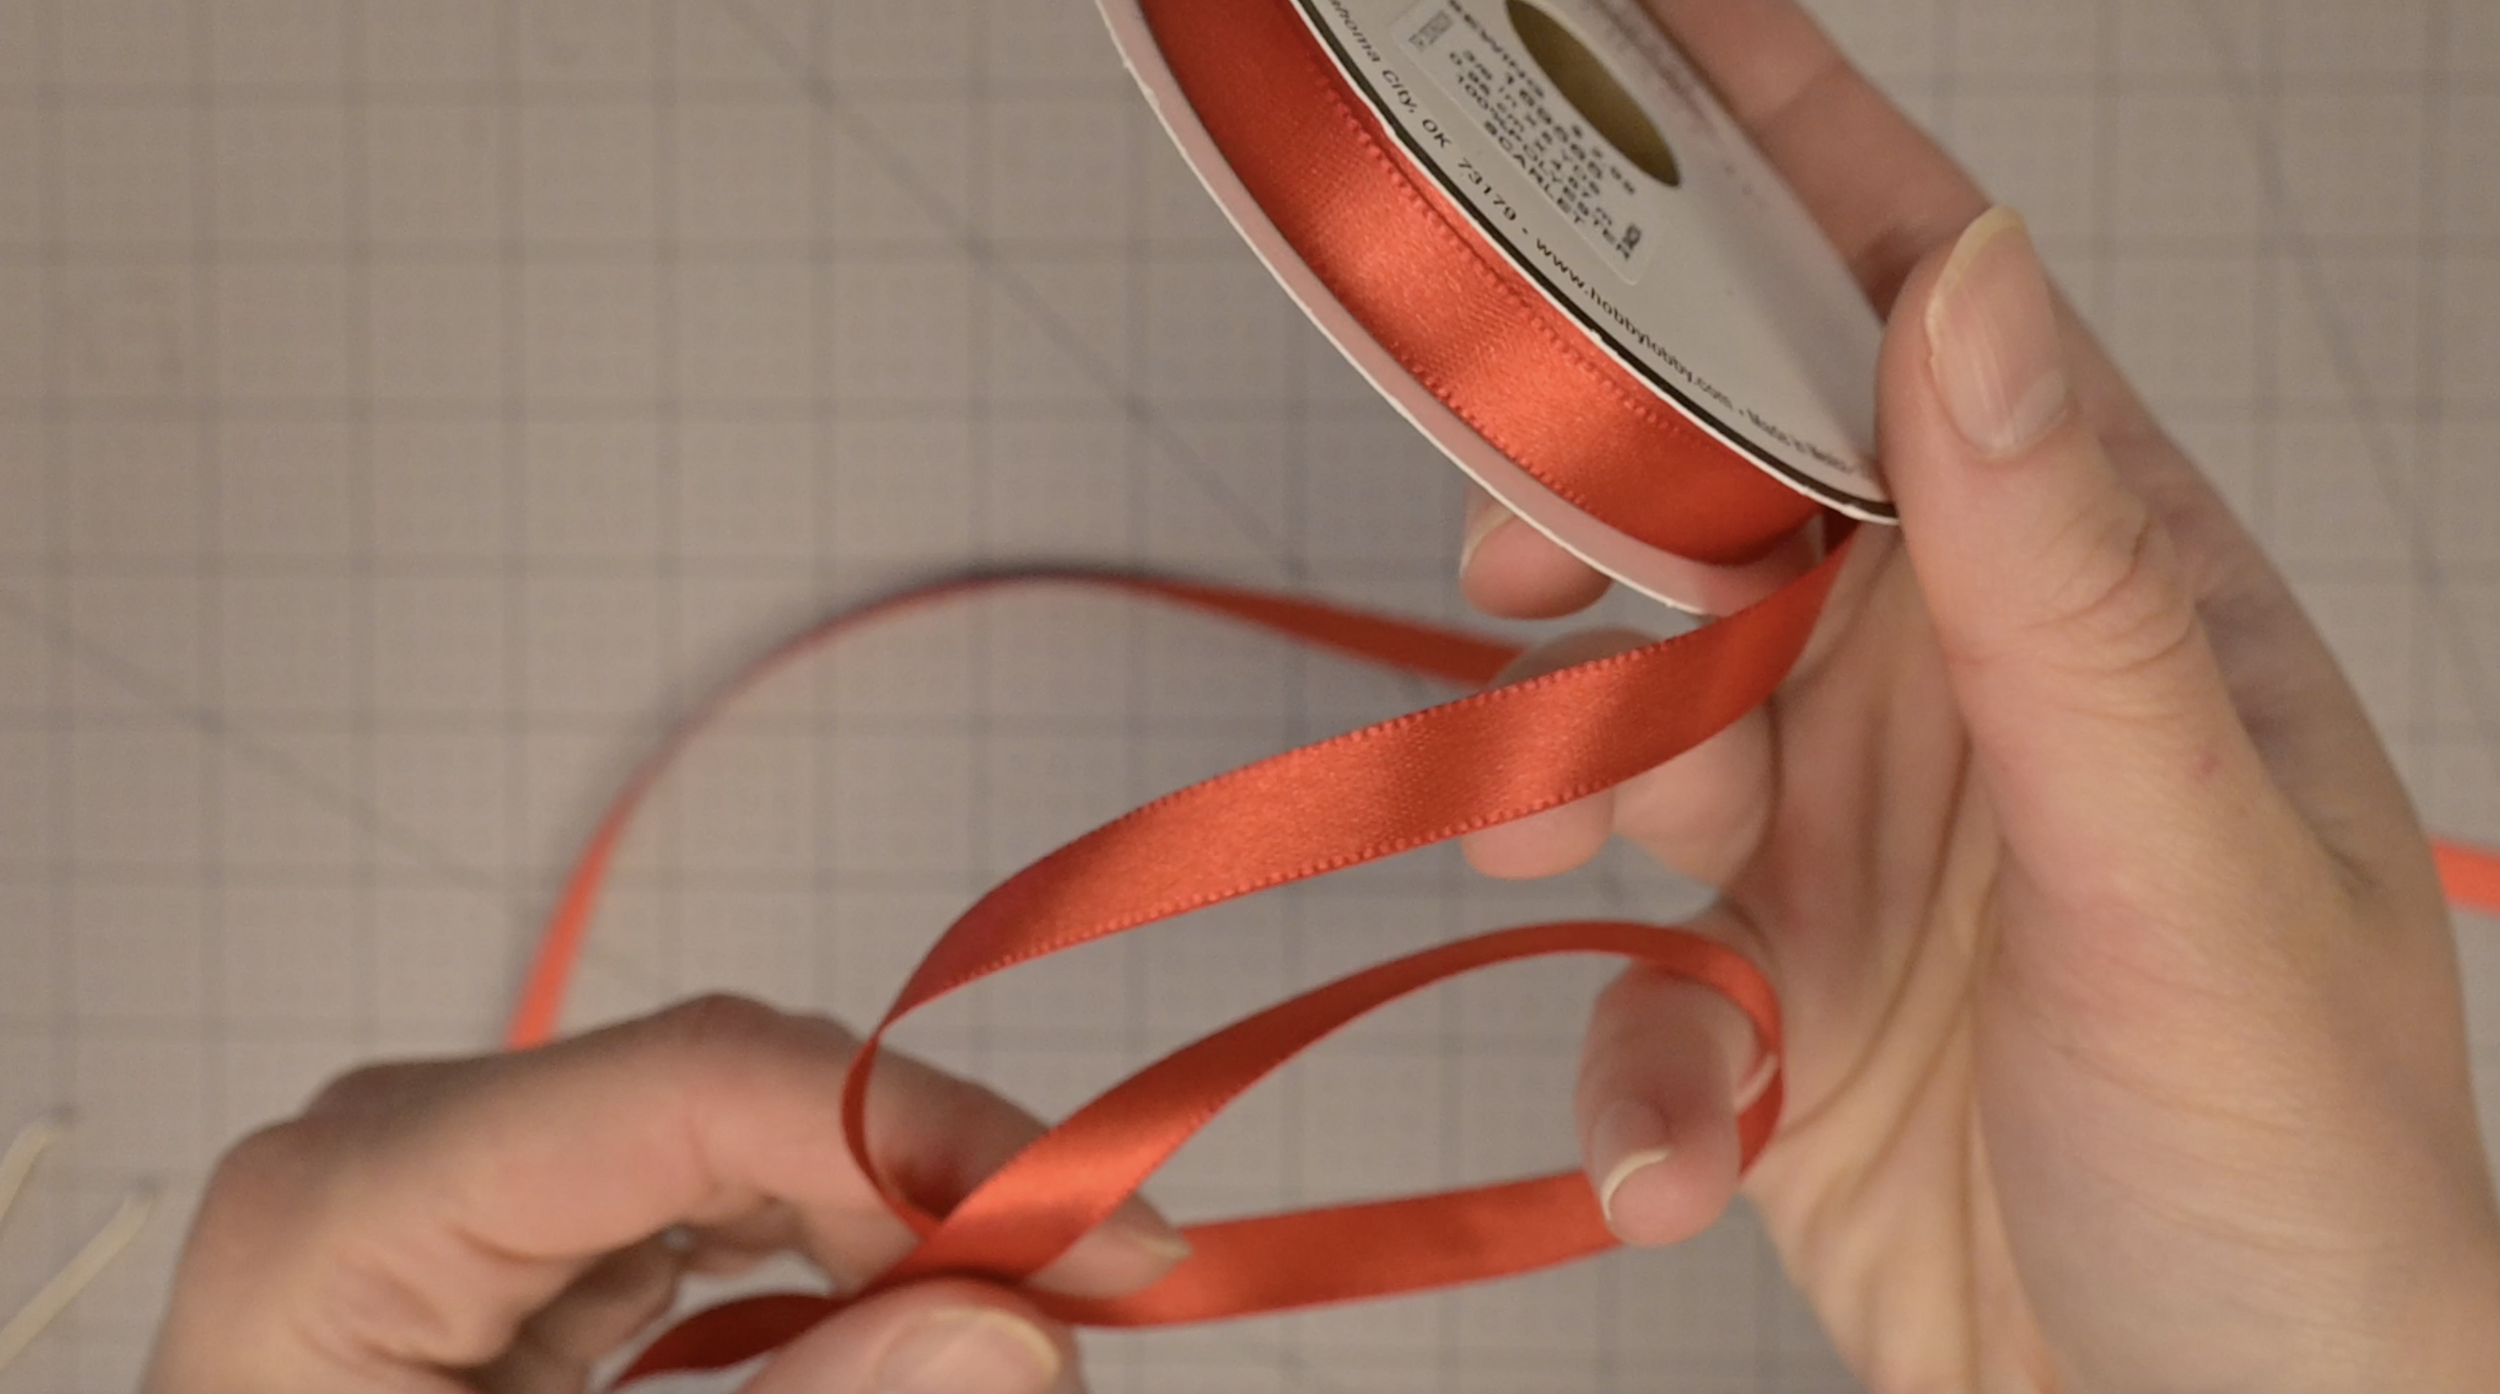
Cut your ribbon into two 20-inch pieces
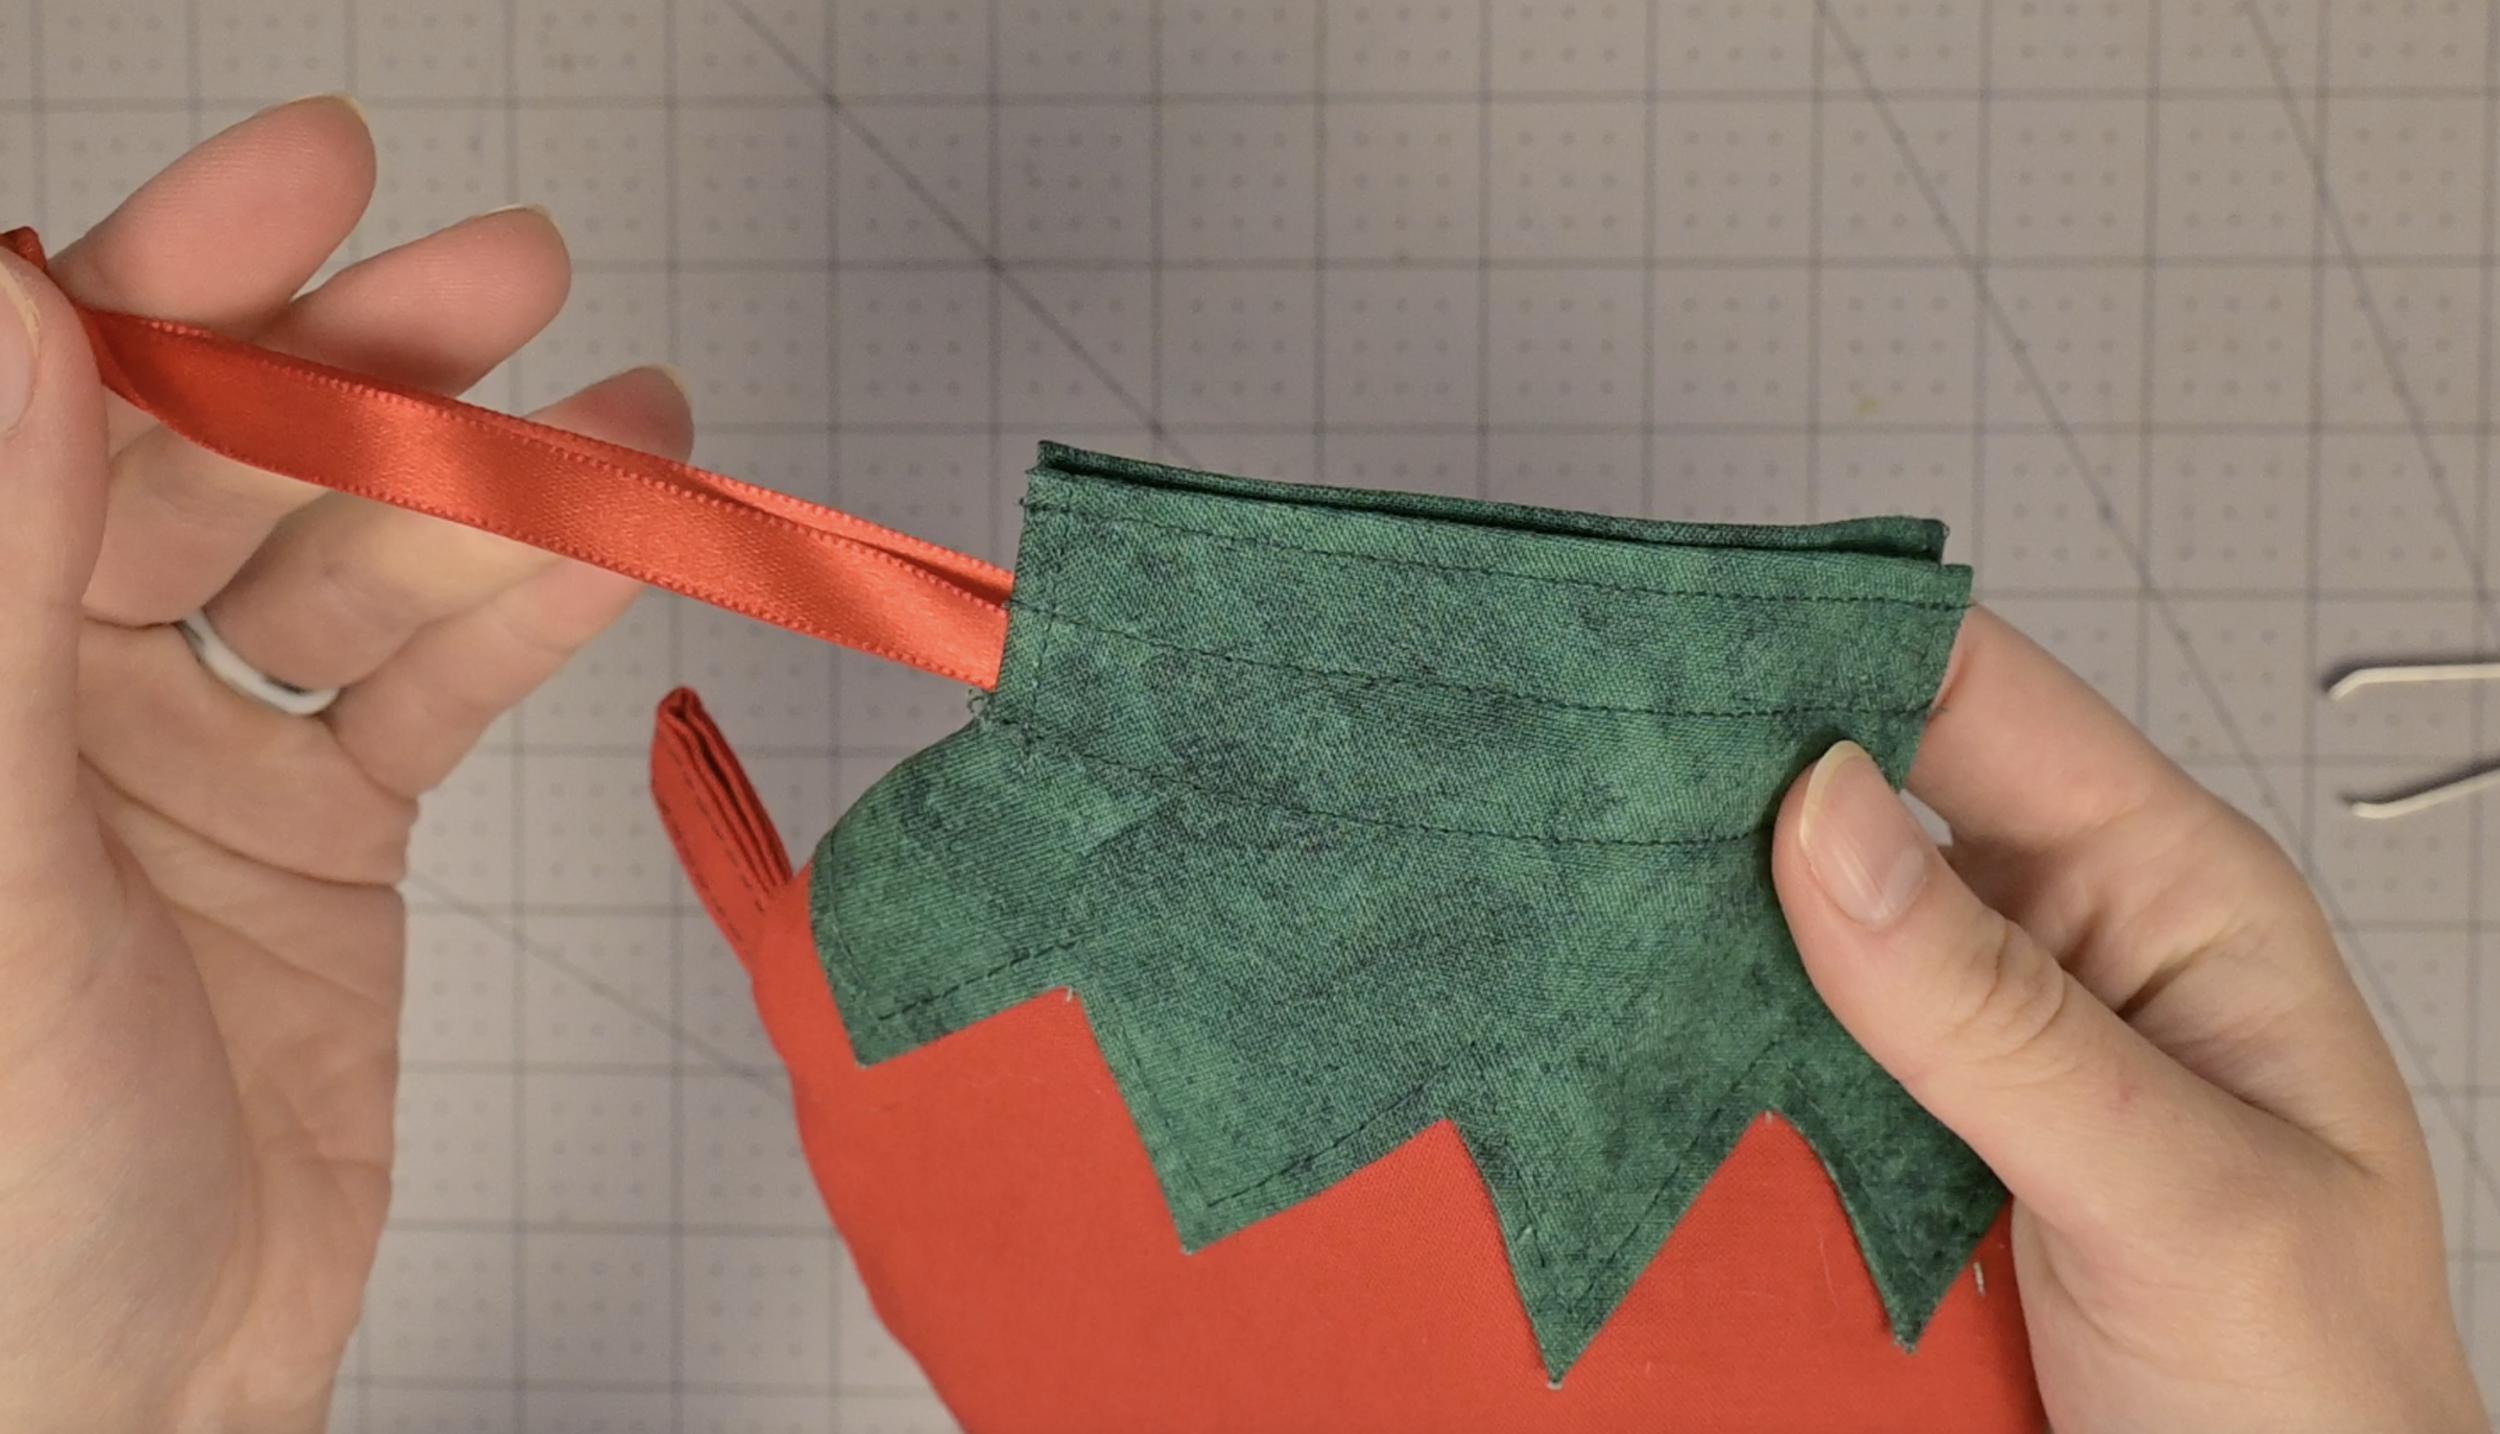
Using a safety pin or drawstring threader, thread the first ribbon through the front casing and continue through the back casing until it exits on the same side it started
Tie the ends
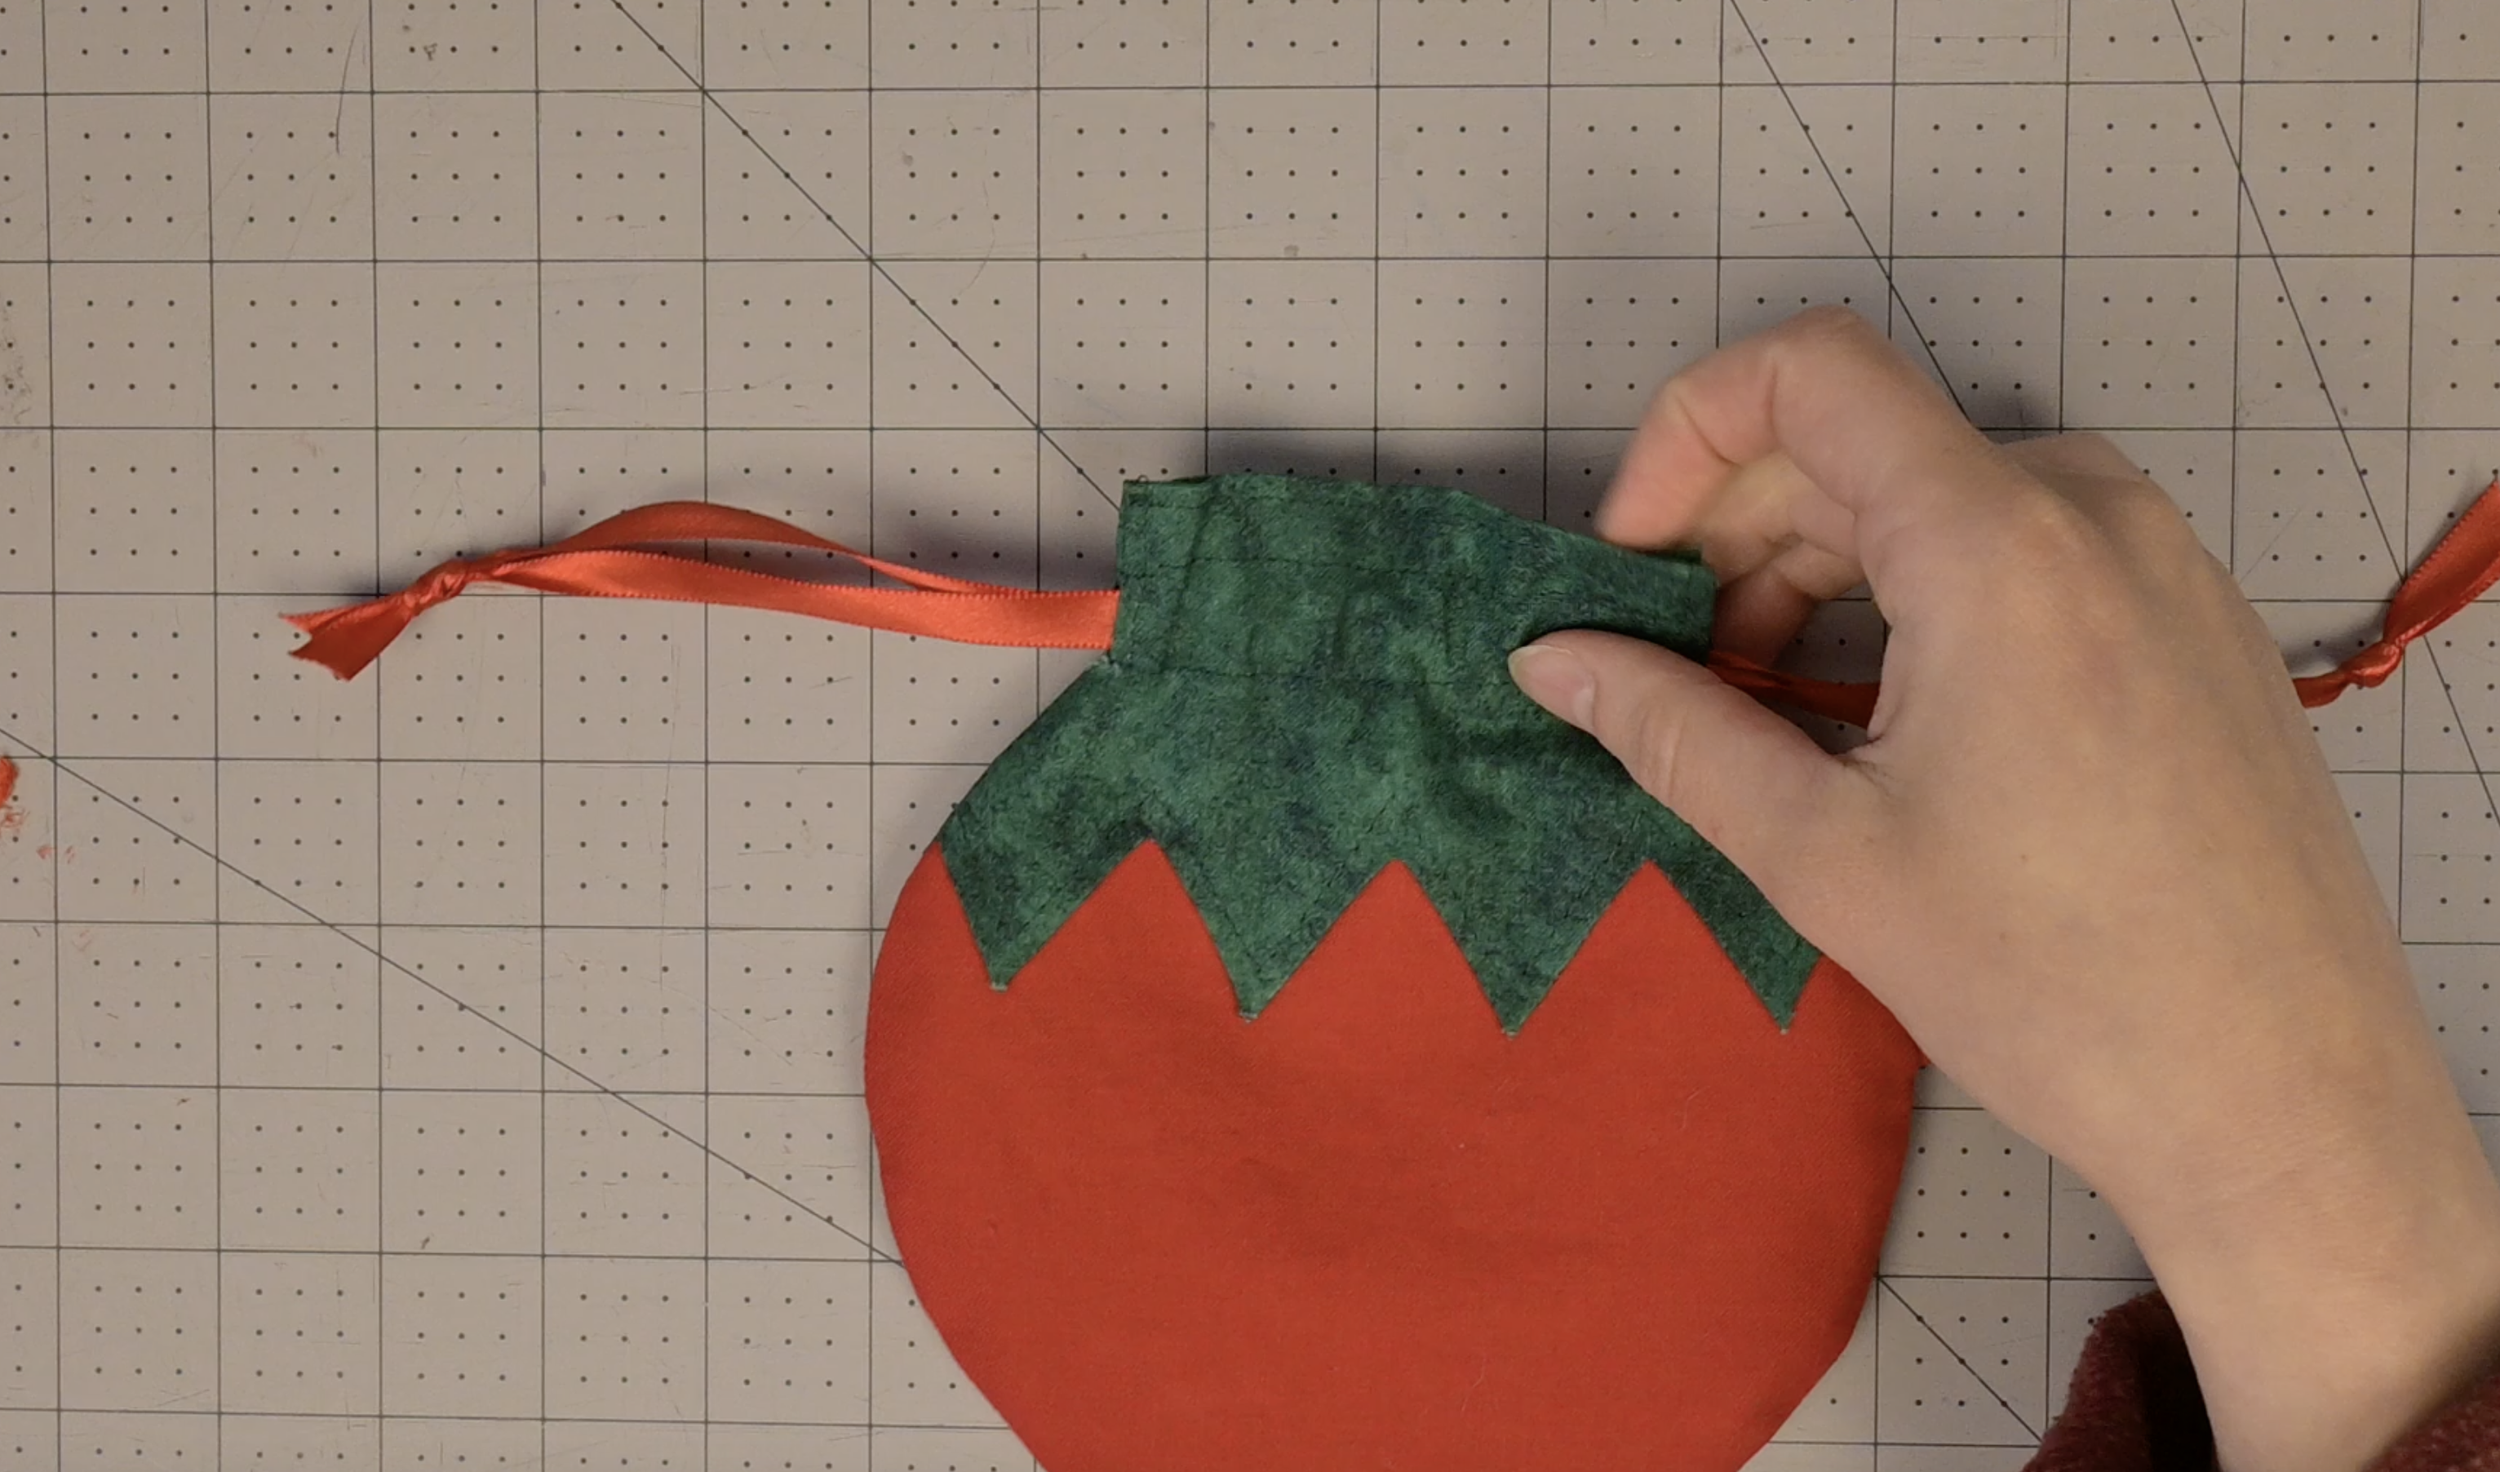
Repeat with the second ribbon, but start and end on the opposite side
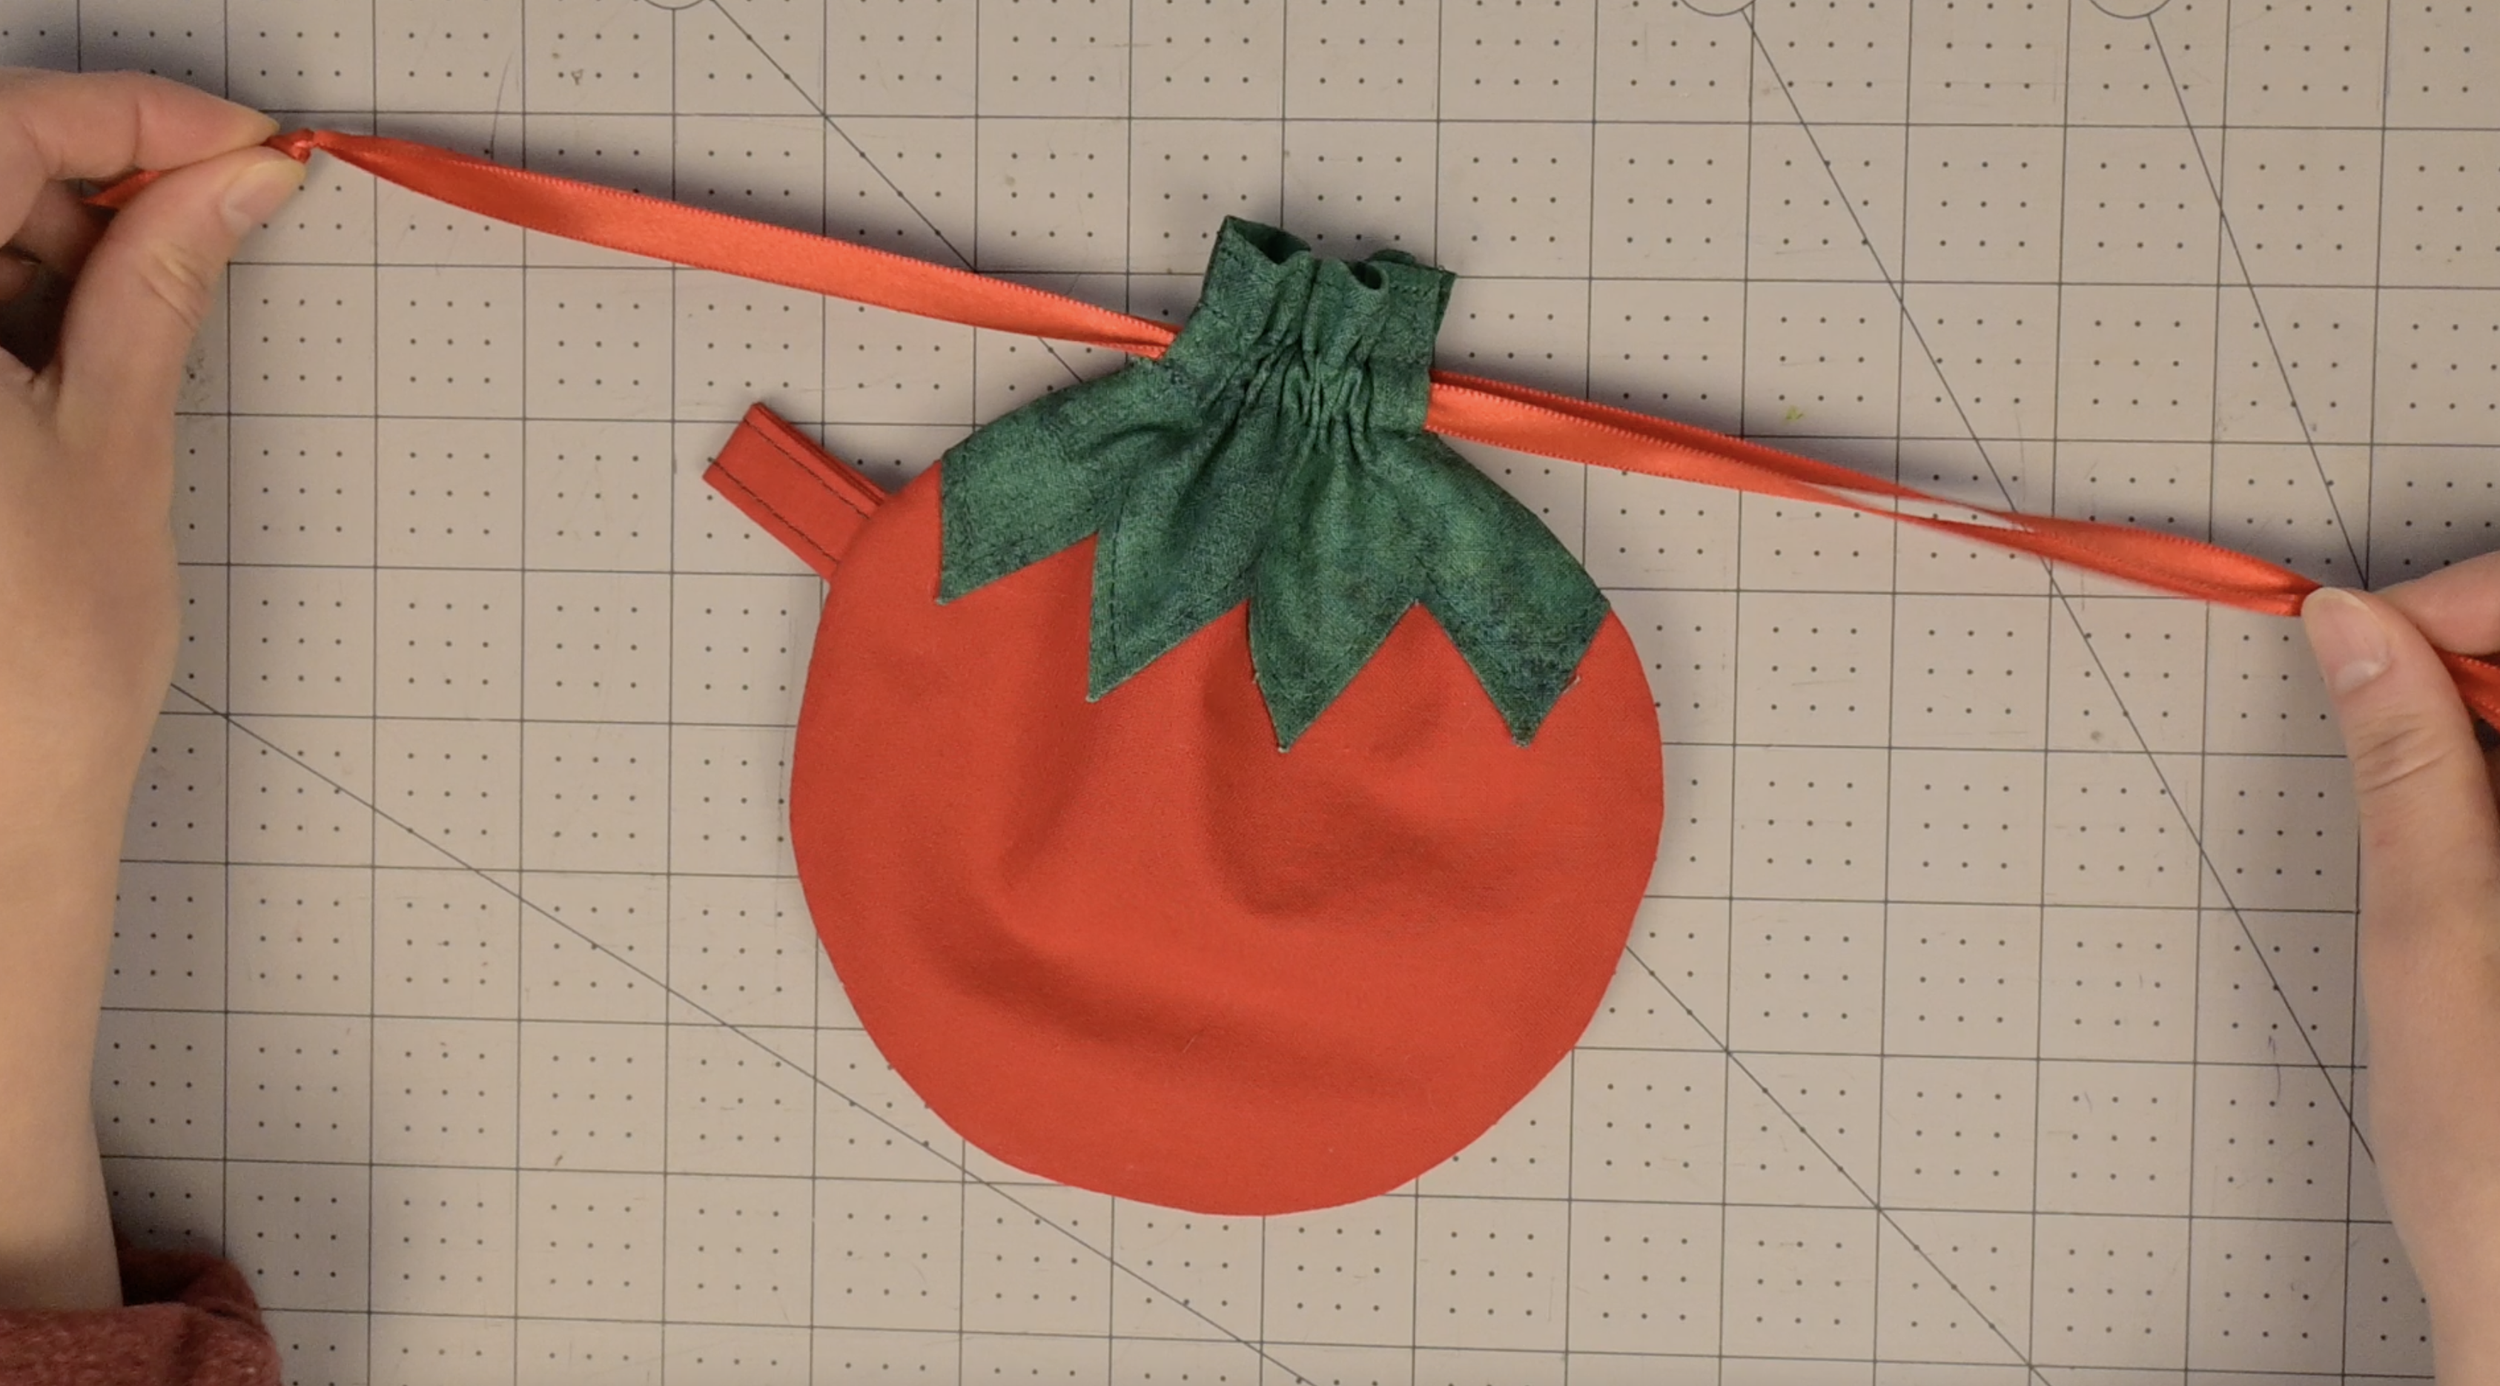
Pull both knots to cinch your tomato pouch closed!