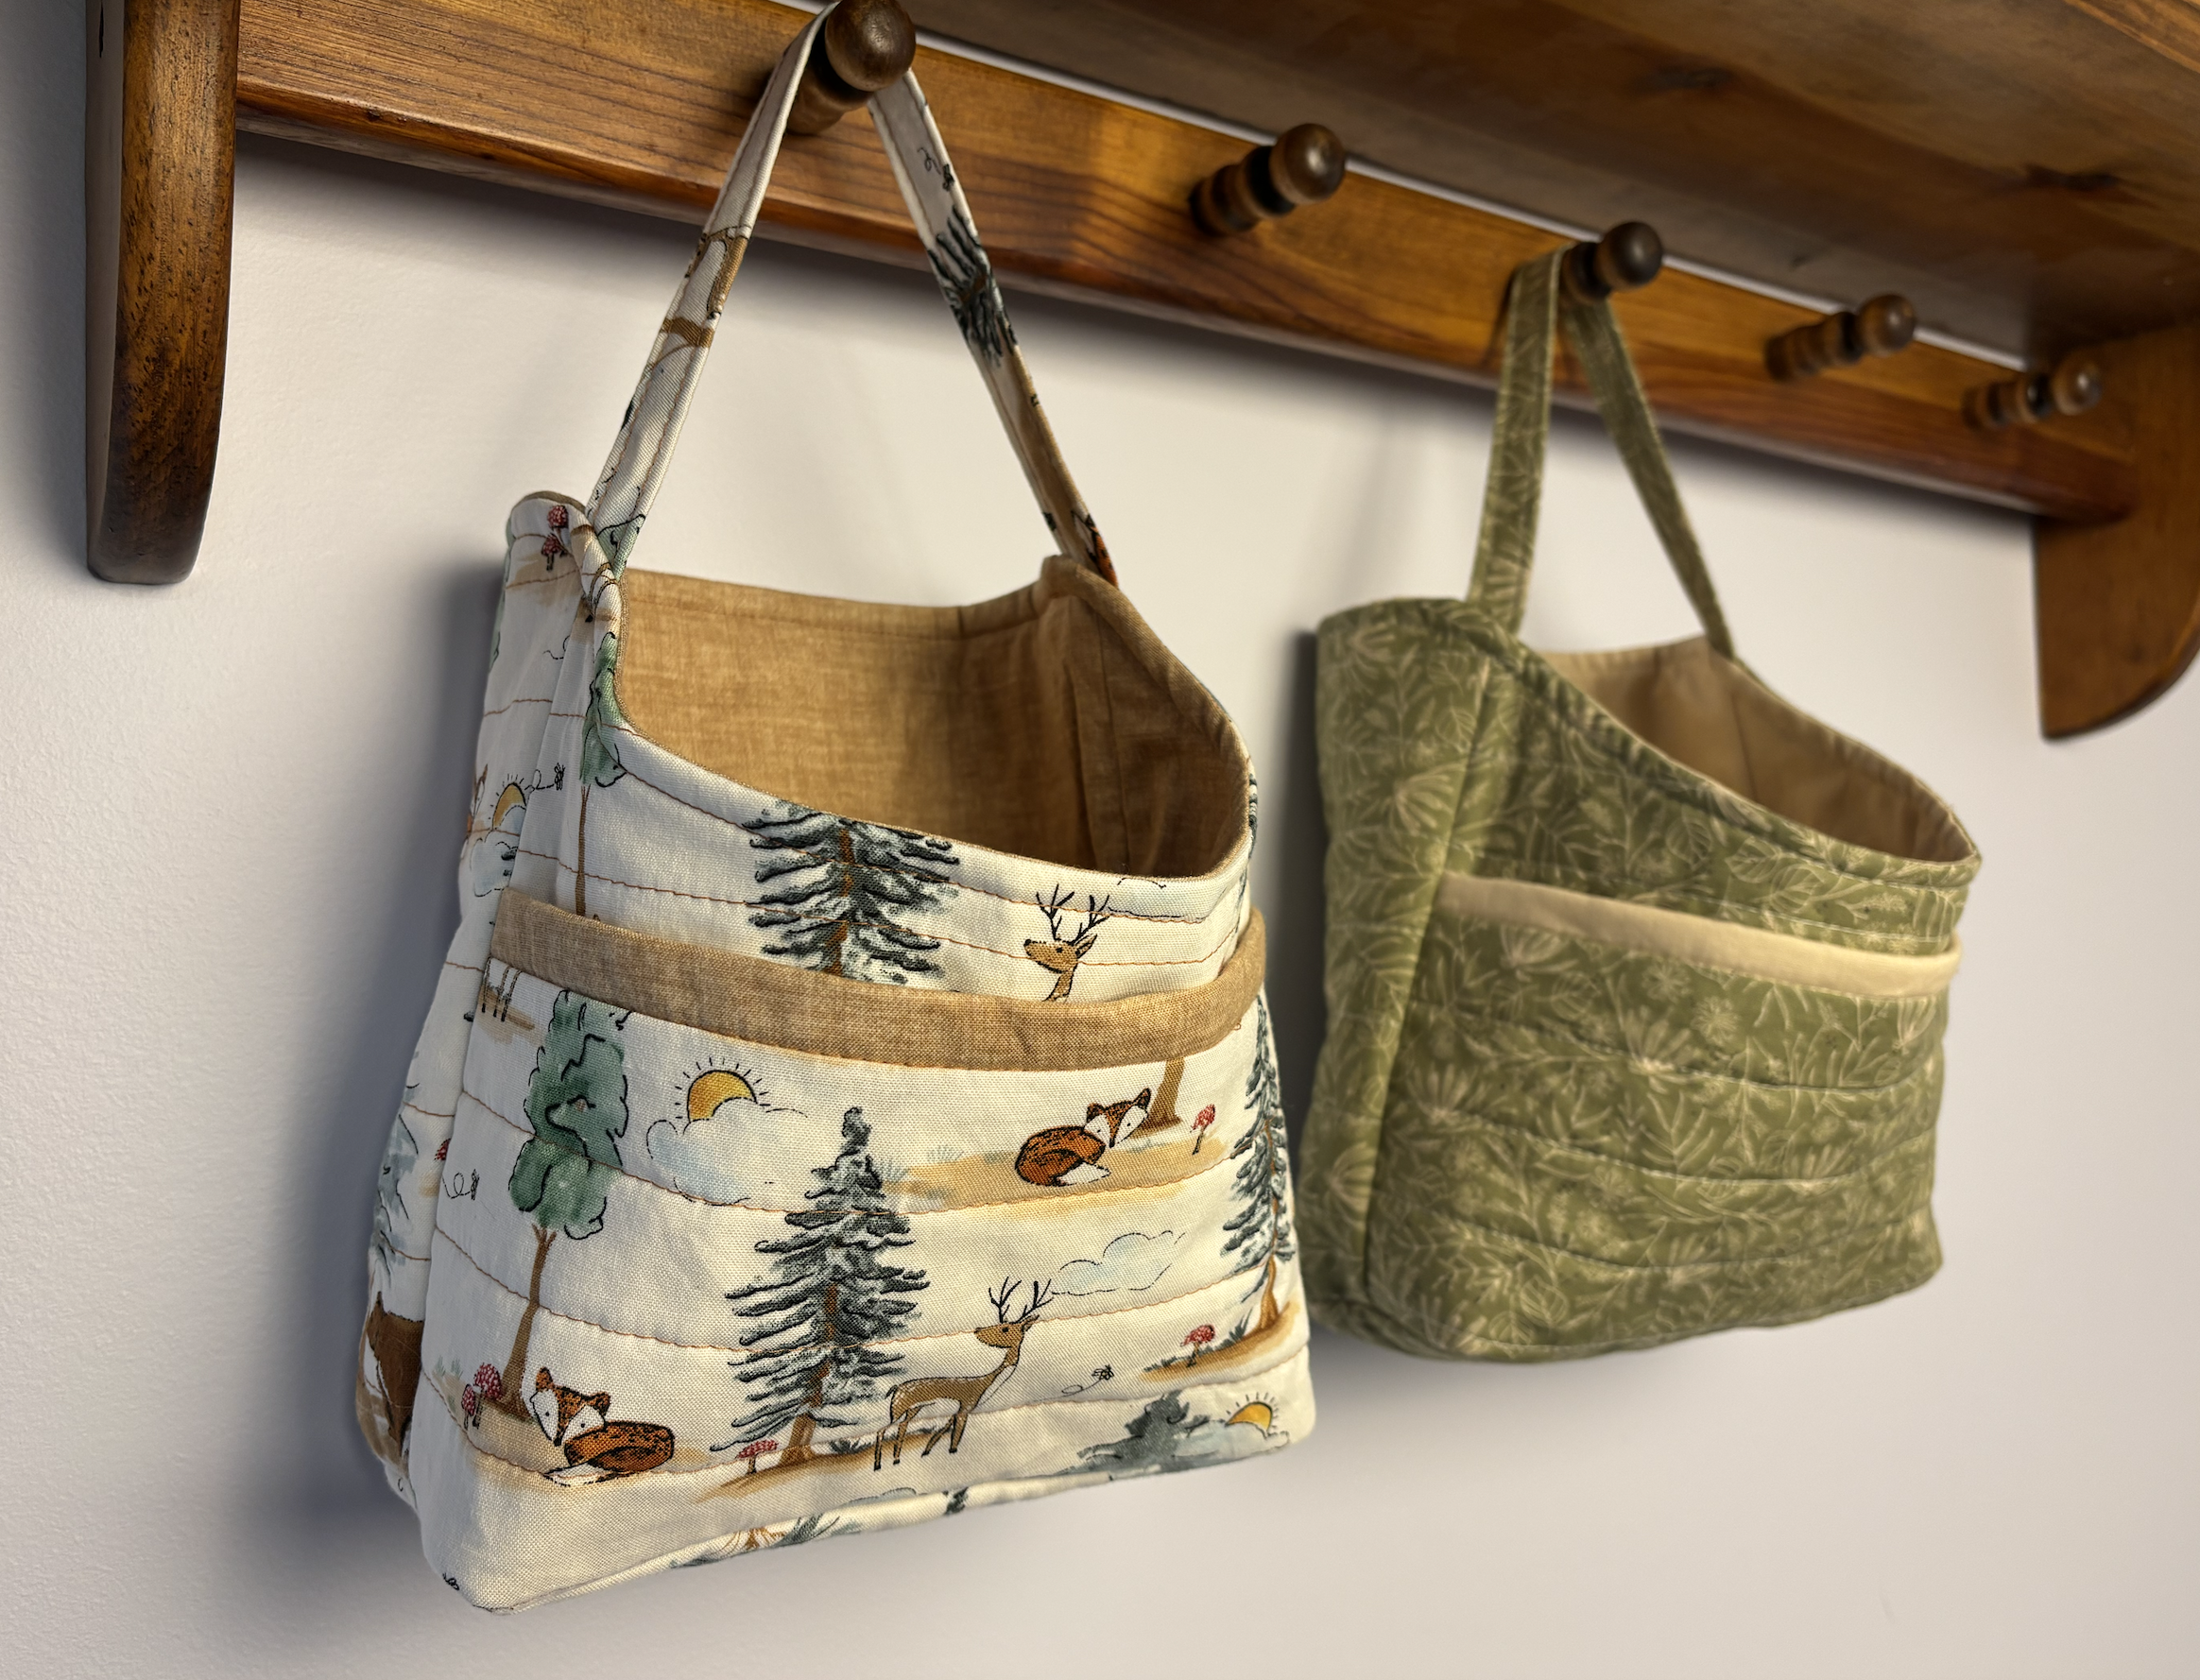
Hanging Storage Pod Step-by-Step Tutorial & Follow-Along: Make Your Own Pattern (For Free!)
Let’s make a fabric hanging storage pod! This tutorial will walk you through how to make your own pattern with no download or purchase needed. The hanging storage pod is a great organizational tool for wall hooks, door knobs, or play areas. Plus, it features a front pocket!
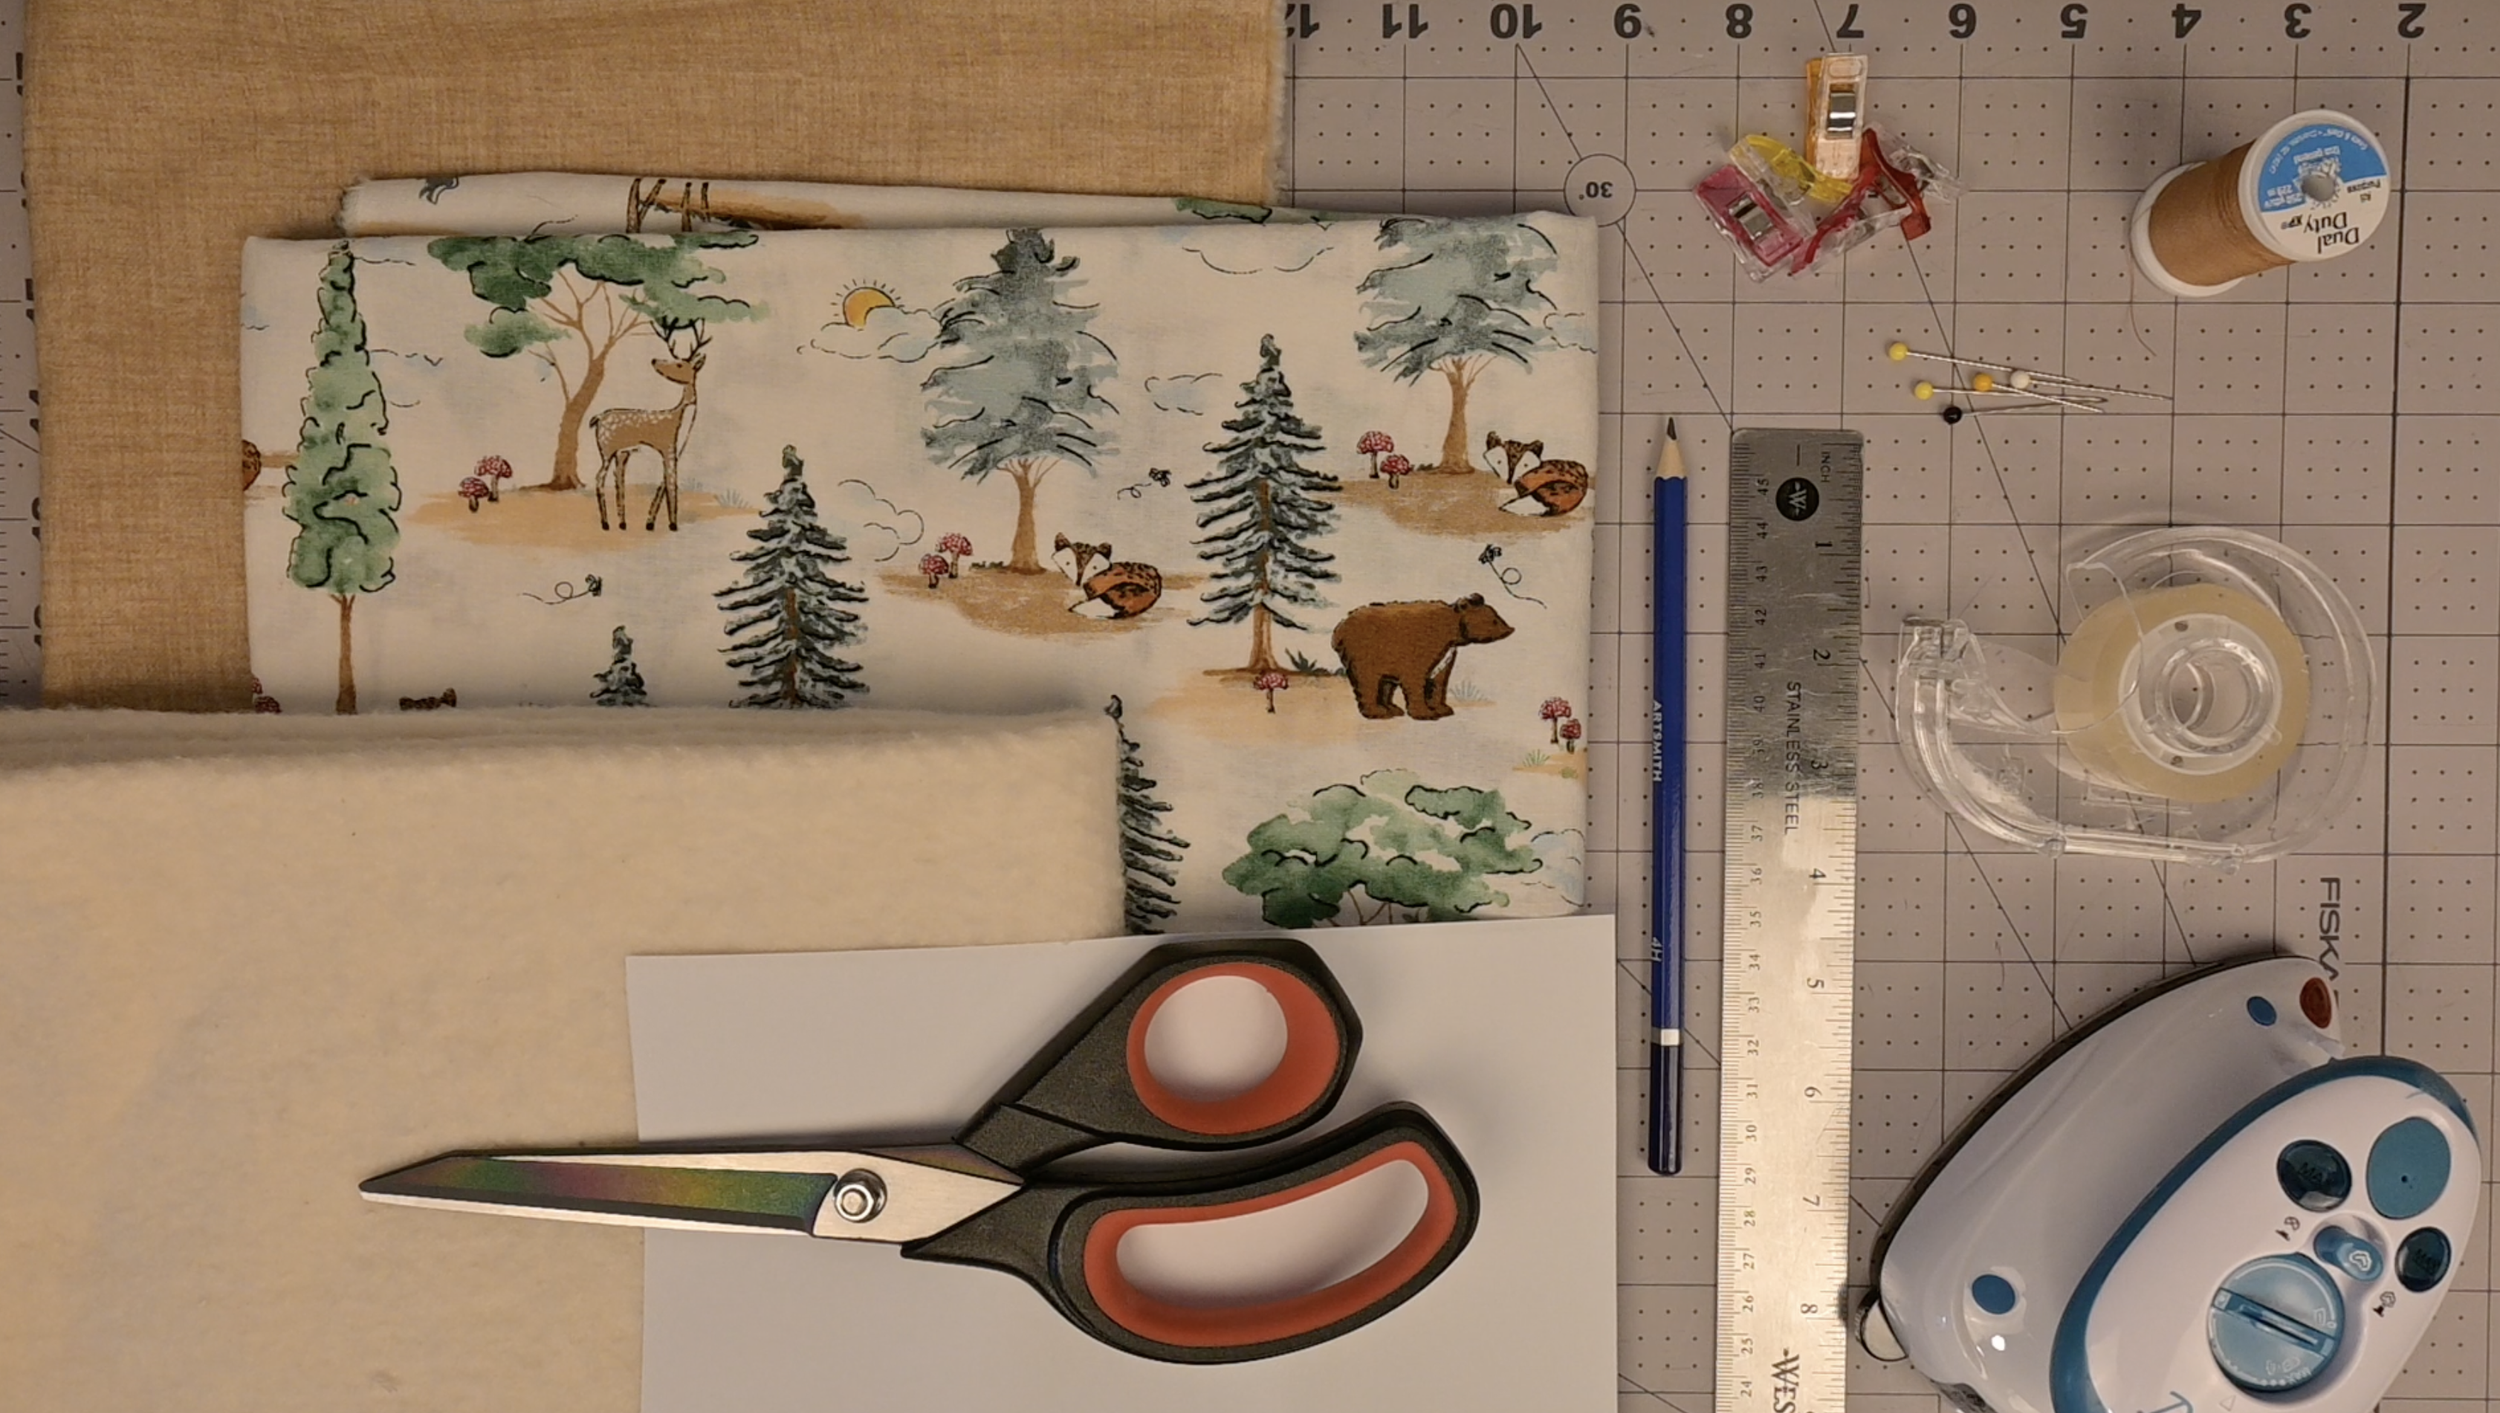
Materials Needed (As an Amazon Associate I earn from qualifying purchases):
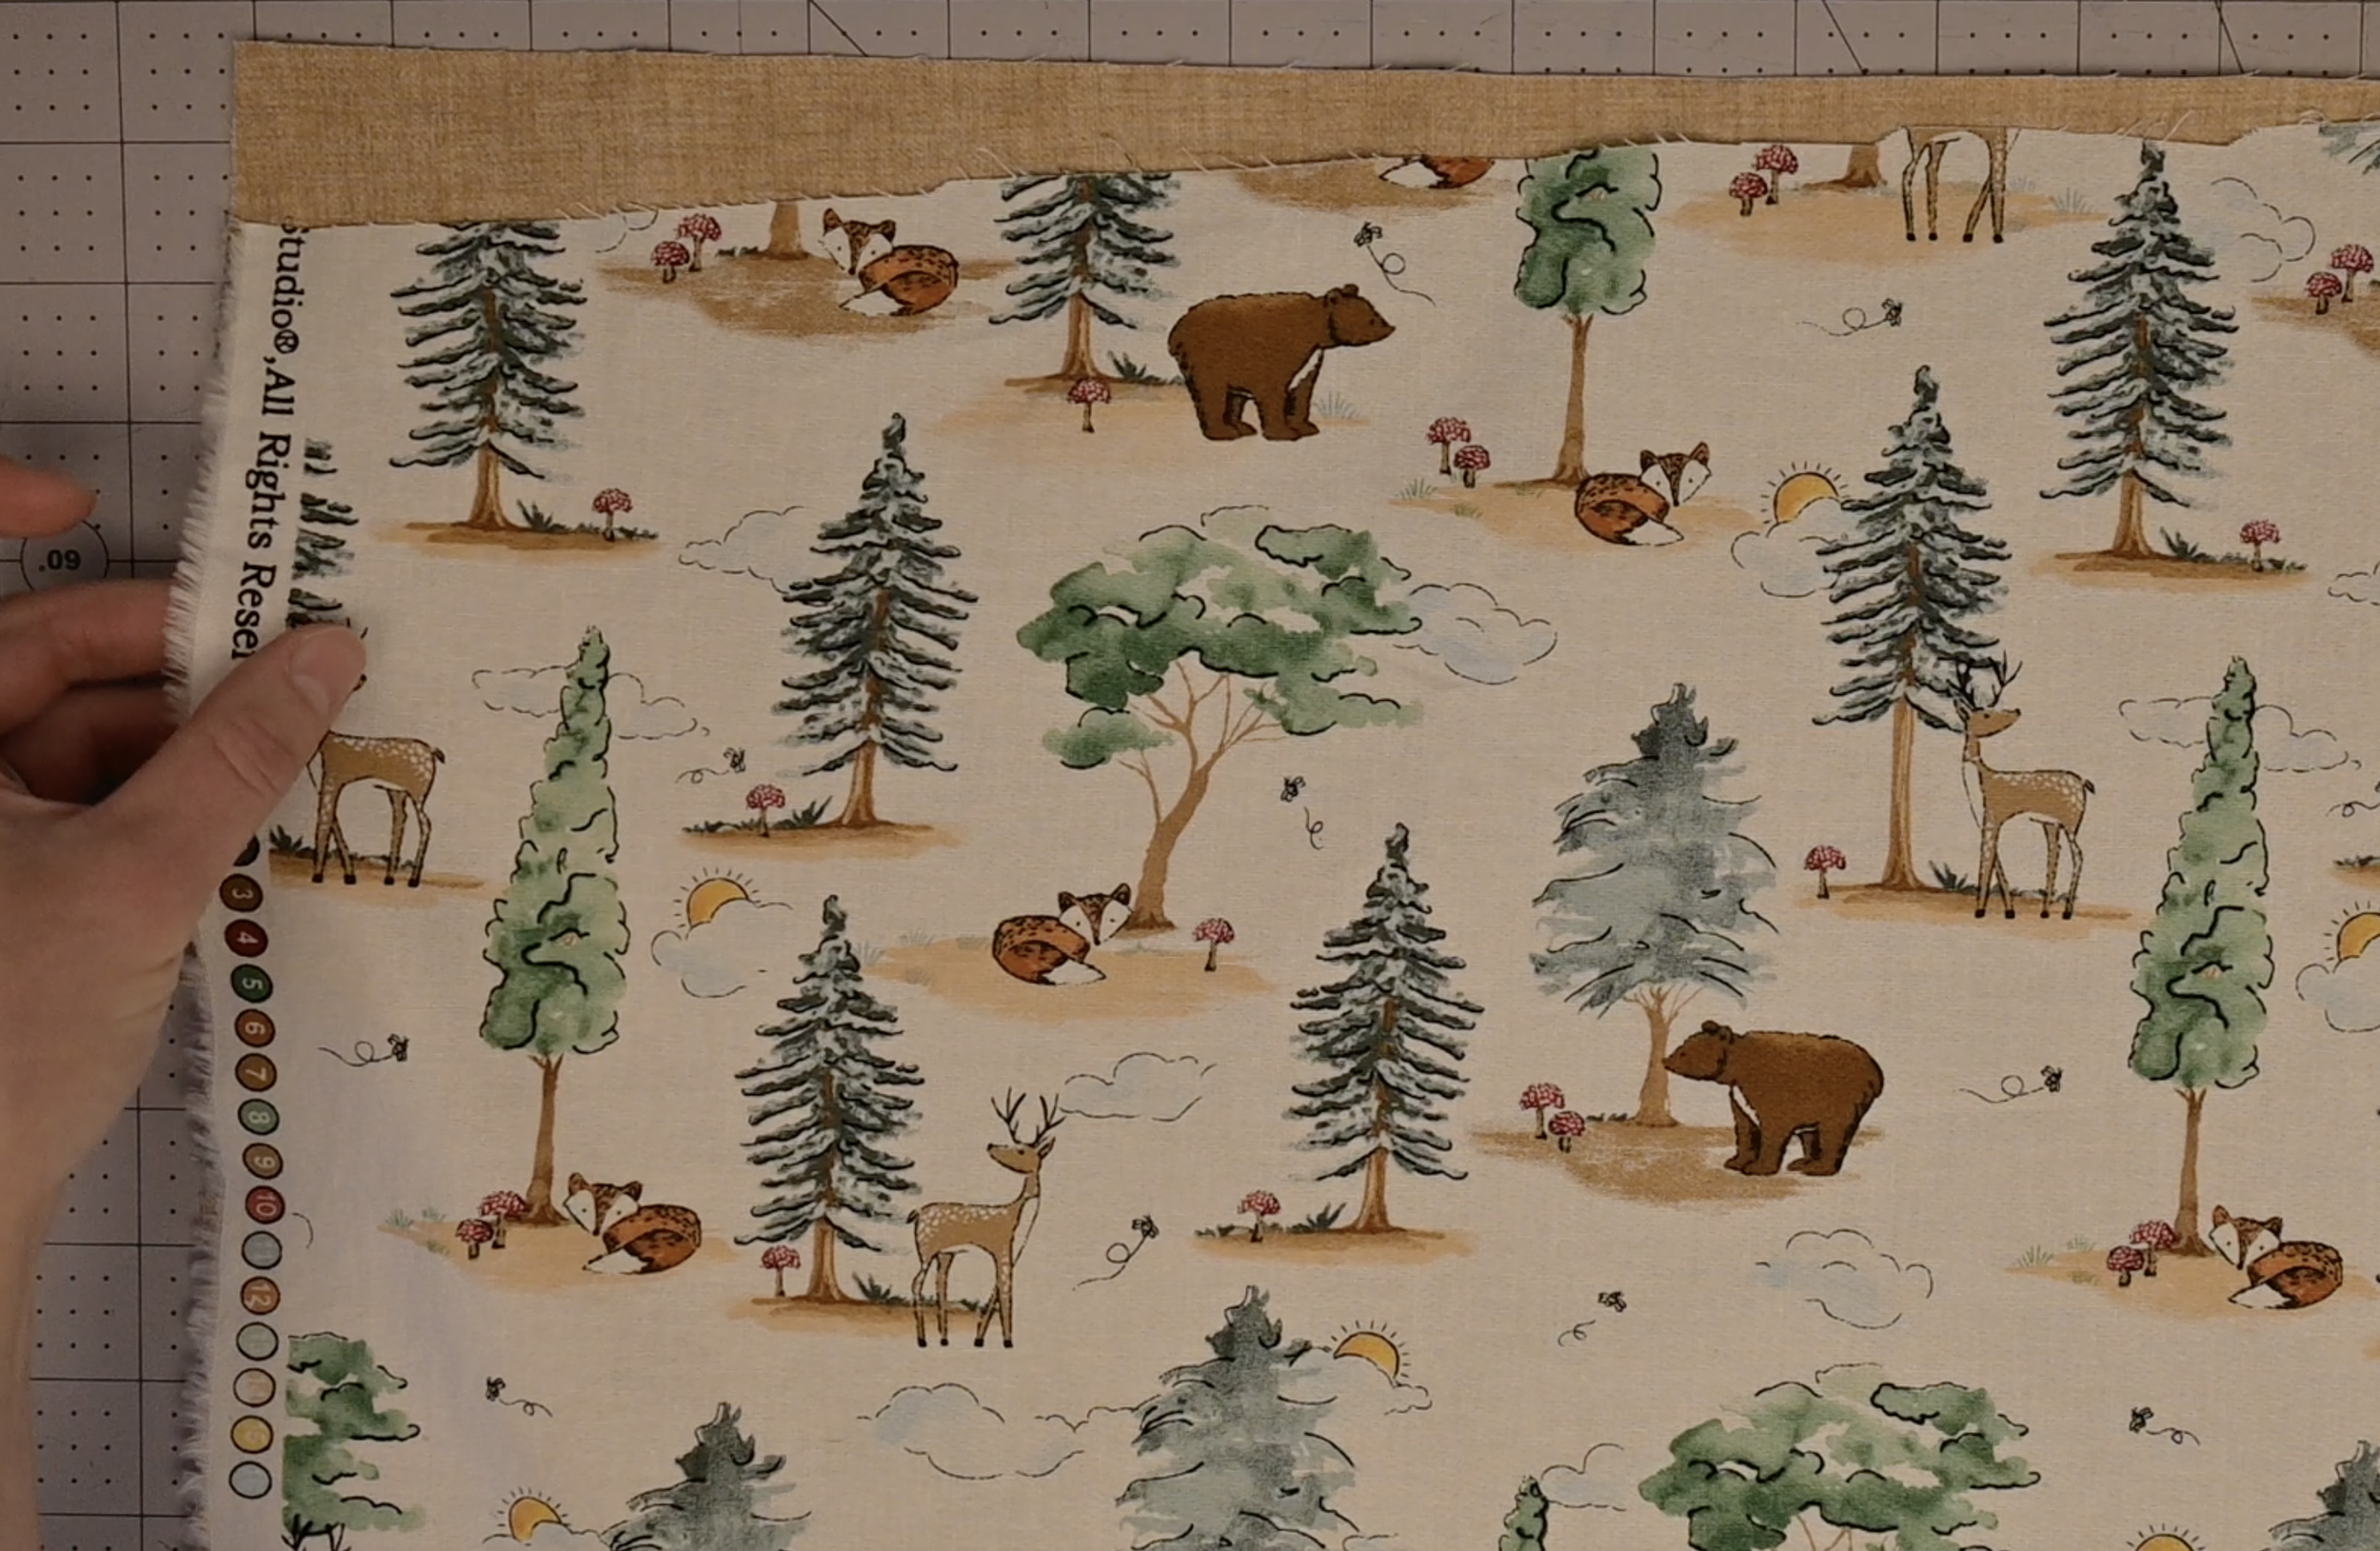
Outer fabric (I bought mine from Hobby Lobby)
Lining fabric (I bought mine from Hobby Lobby)
4 pieces of standard printer paper (8.5 x 11 inches)
Clear tape
Pencil and Ruler
Thread
Sewing machine (or needle)
Pins and/or sewing clips
Scissors
Ironing board
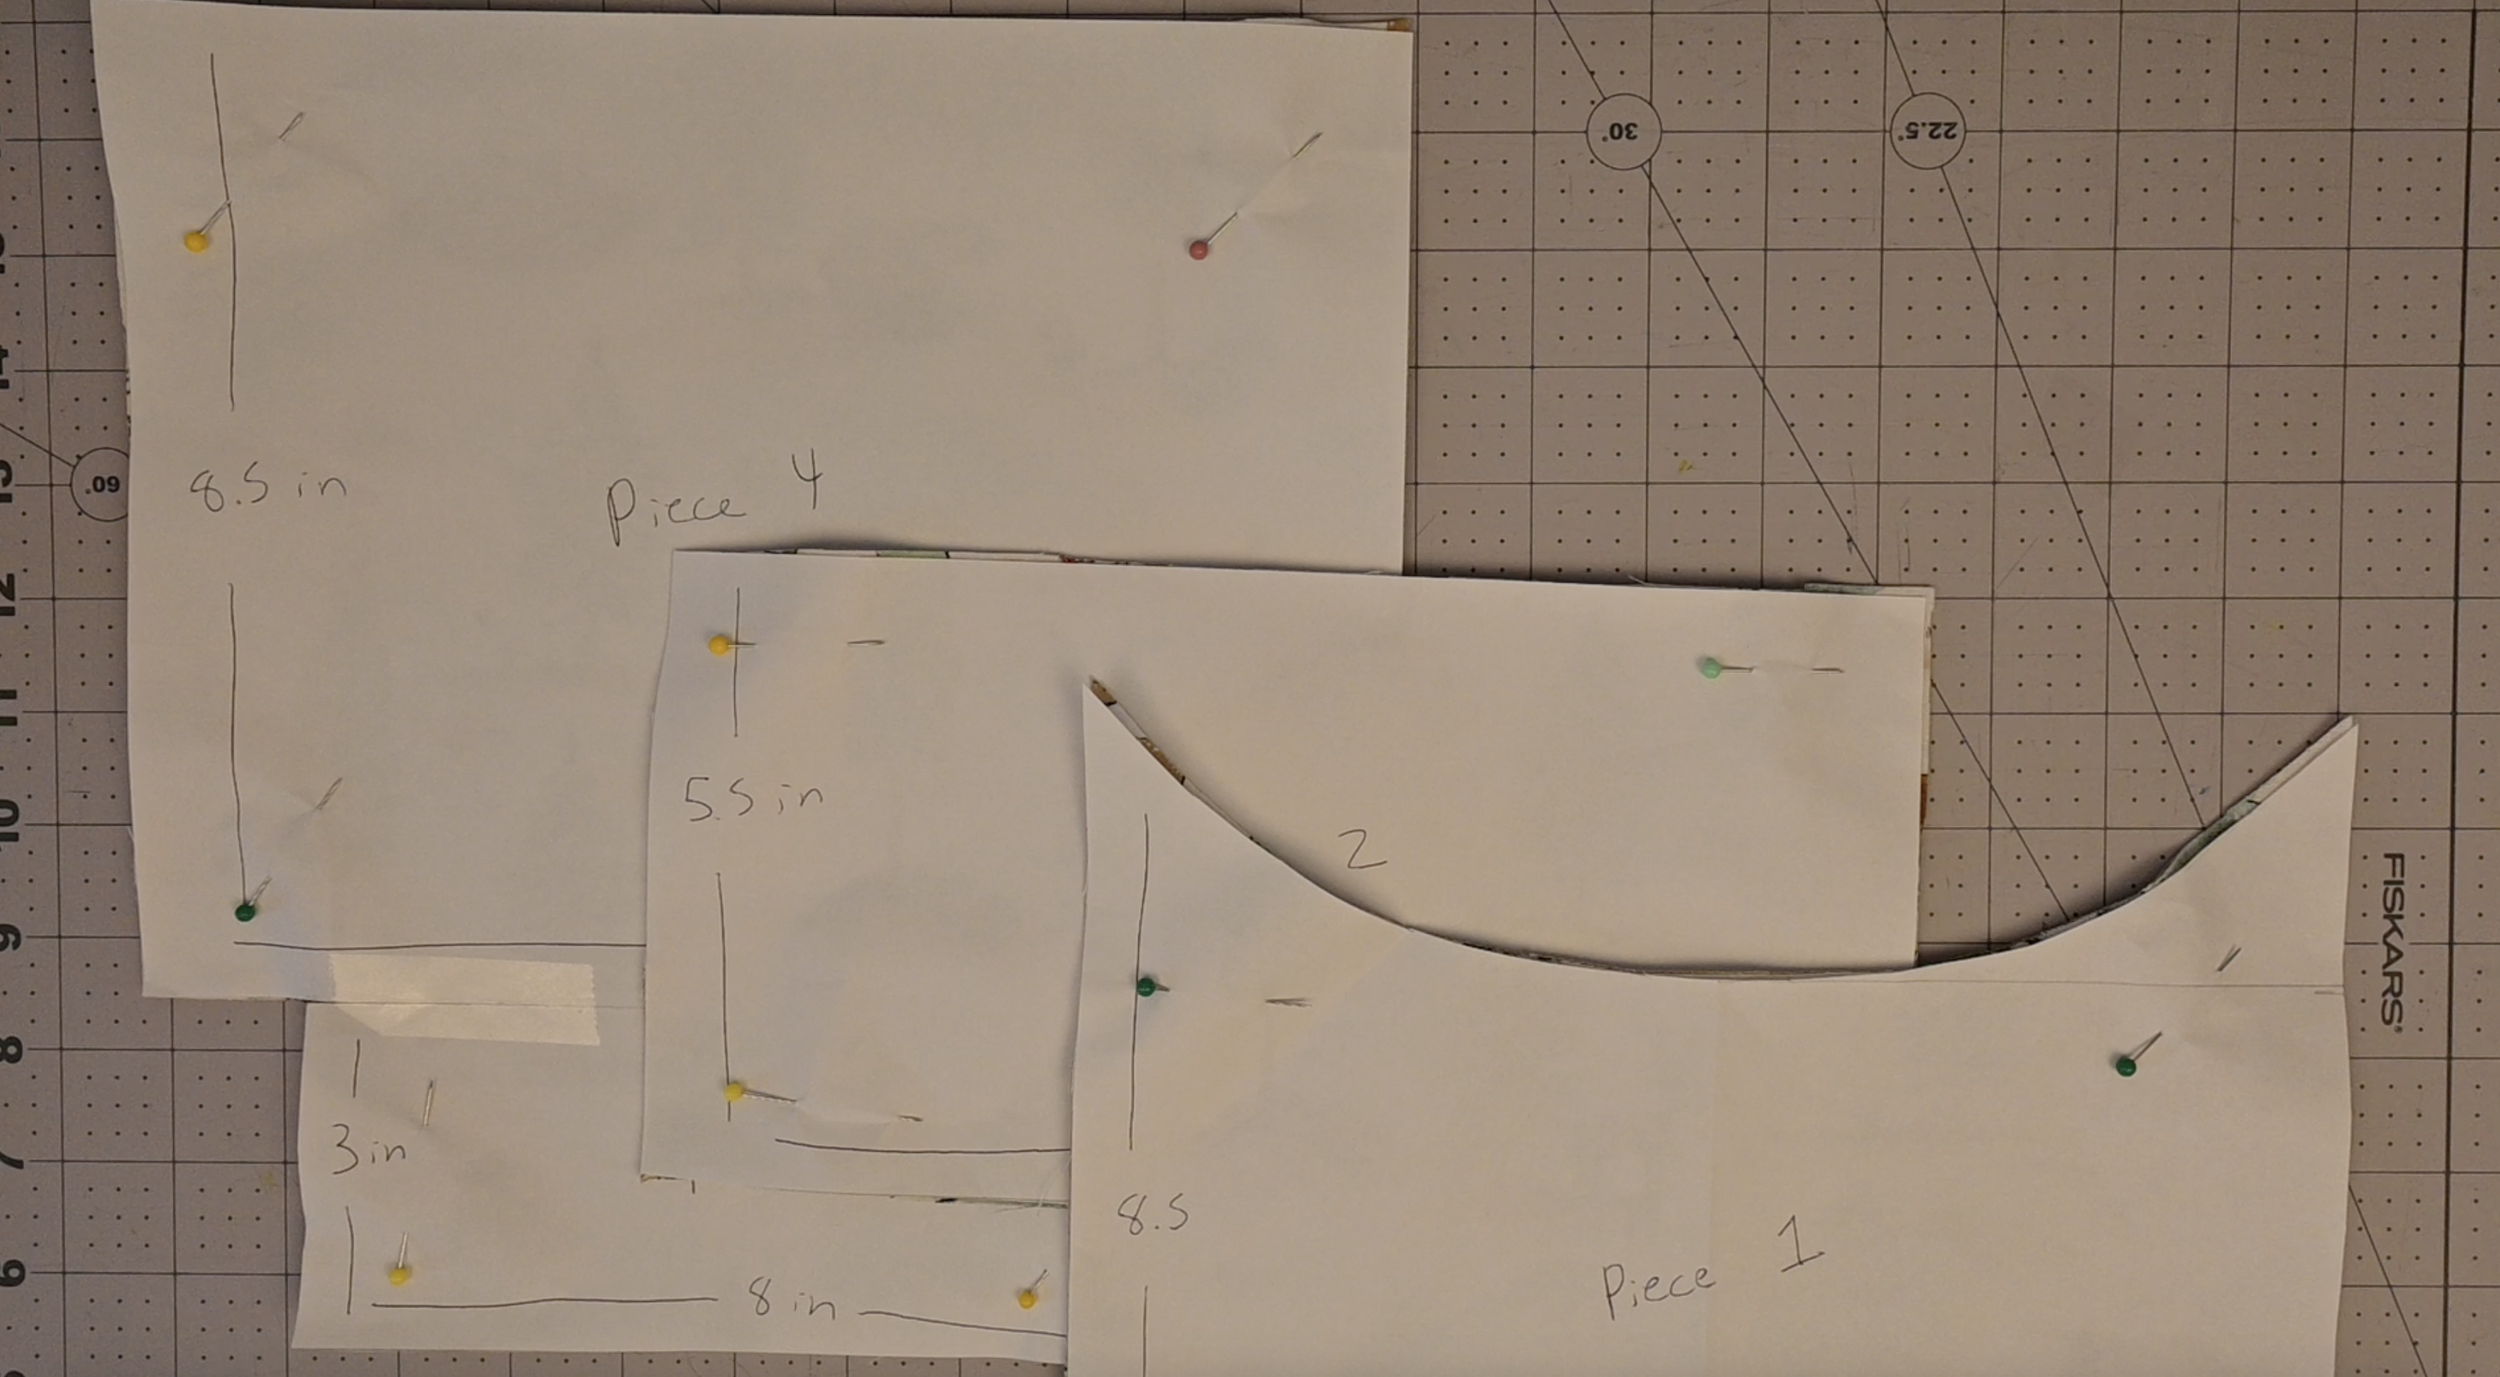
Step 1: Make the Paper Pattern
Paper 1:
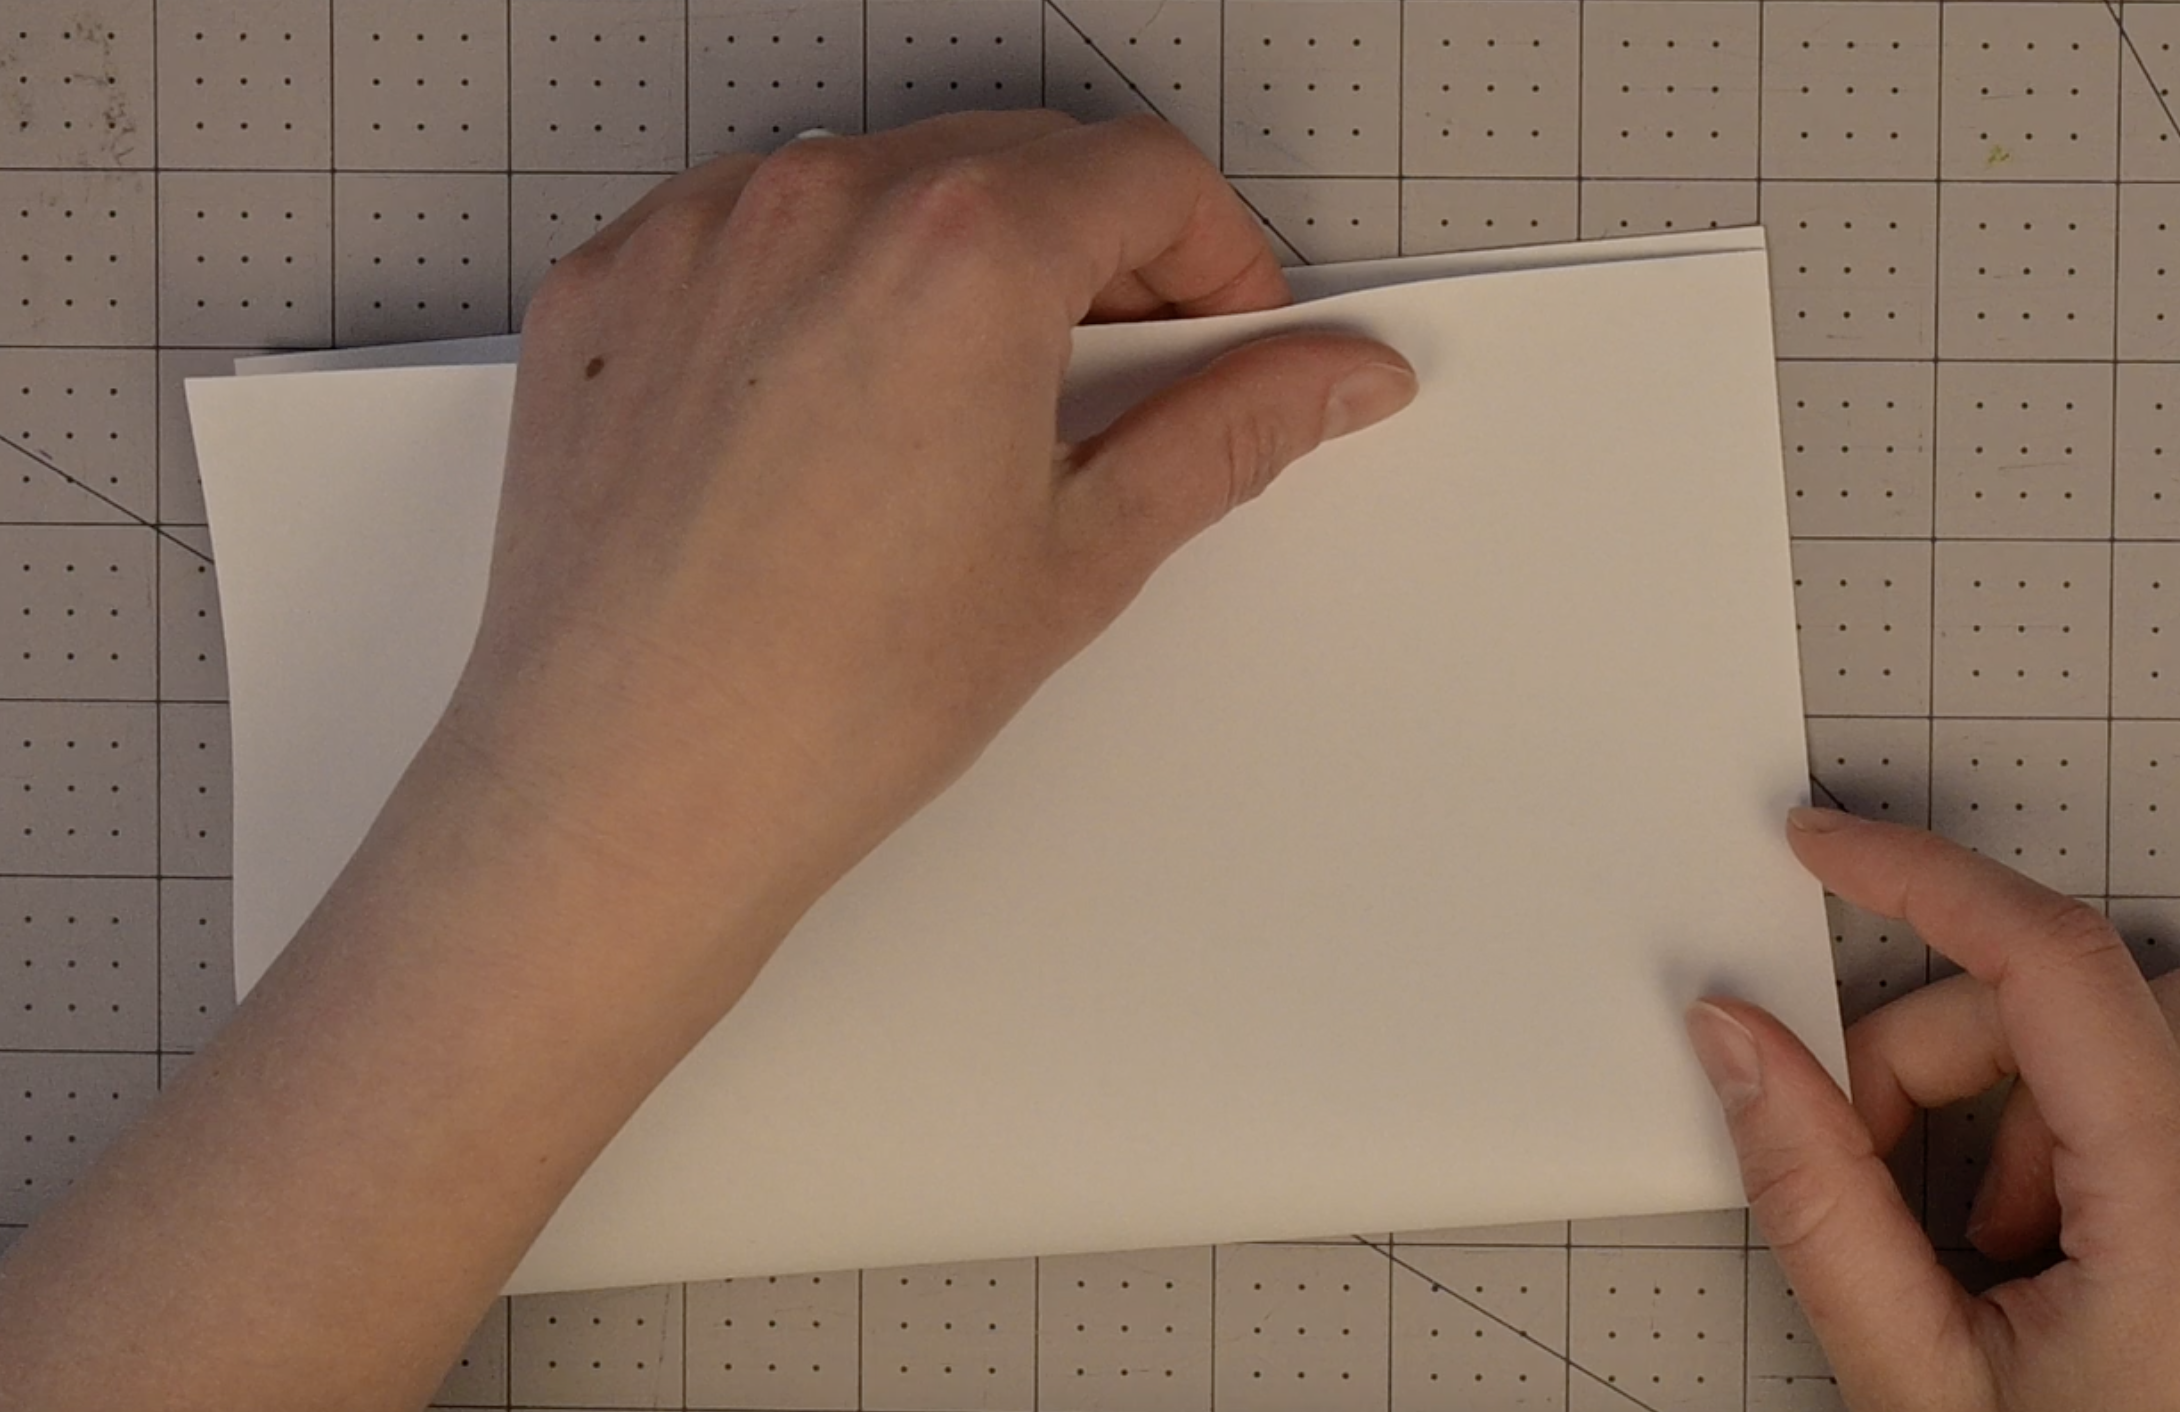
Take your 1st piece of 8.5 x 11 inch printer paper and fold it in half the short way (hamburger style)
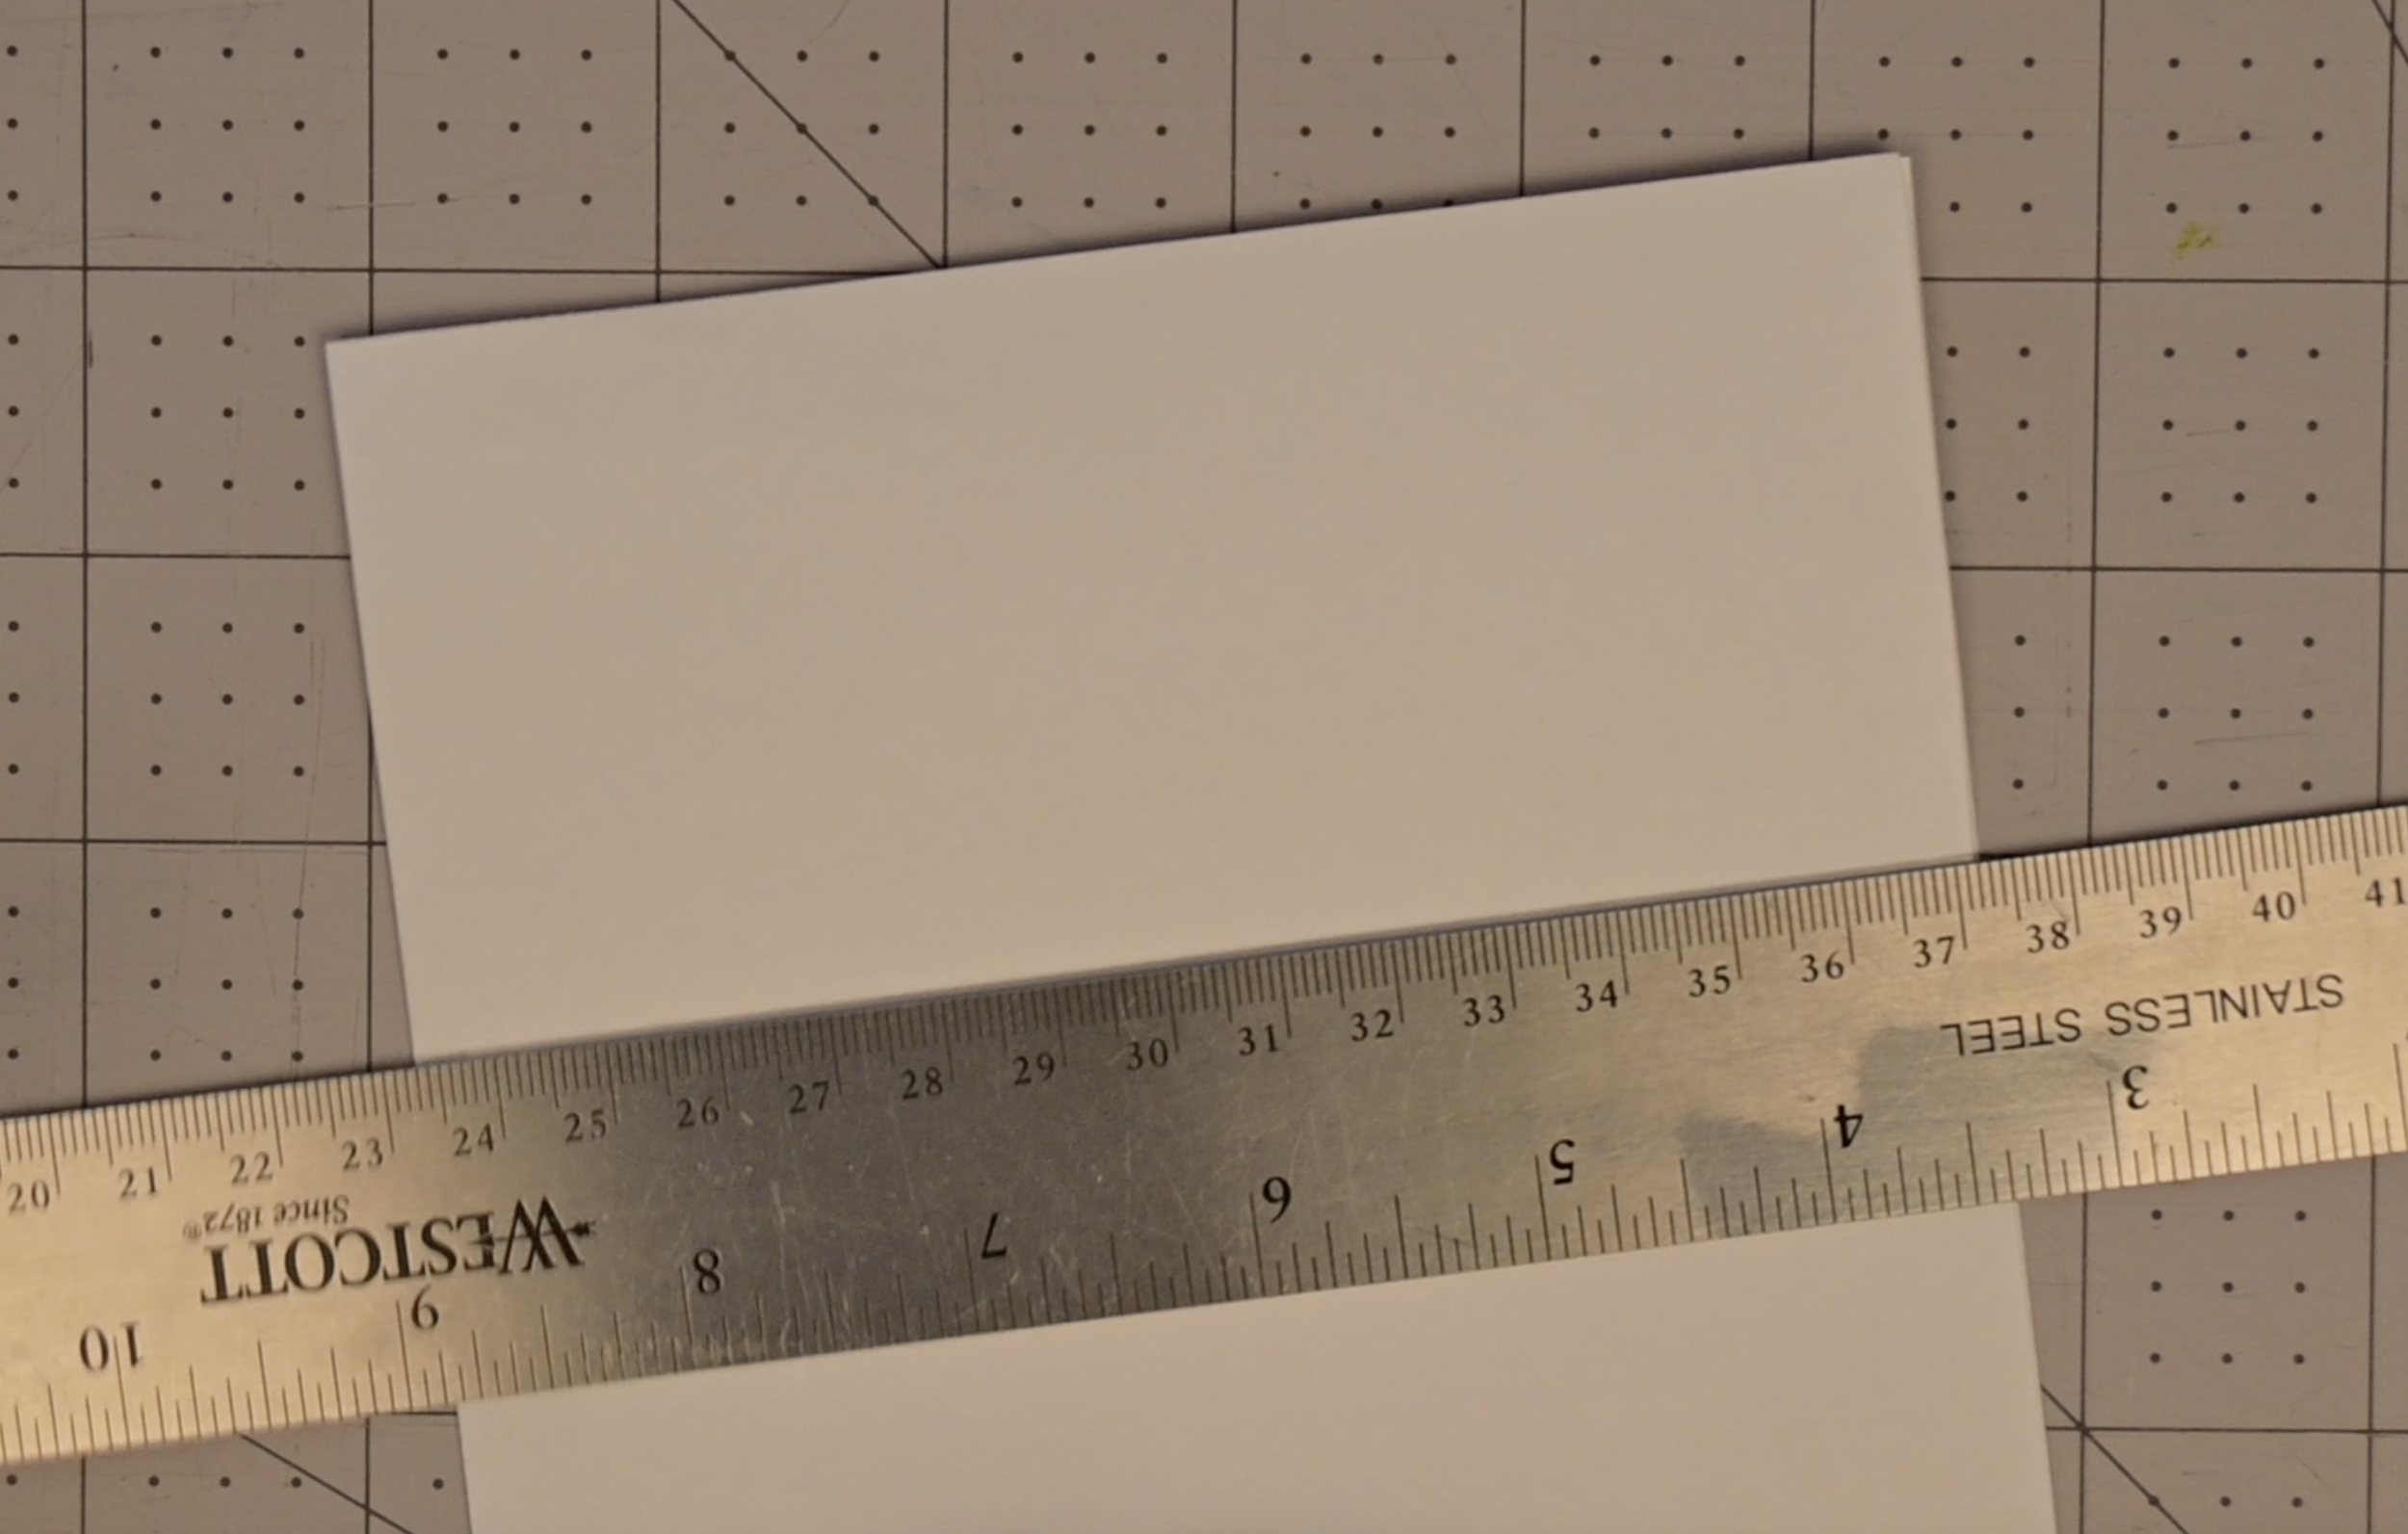
Measure and mark 2.5 inches from the top on the folded edge
Repeat this mark on the open end
Draw a straight line connecting the two marks
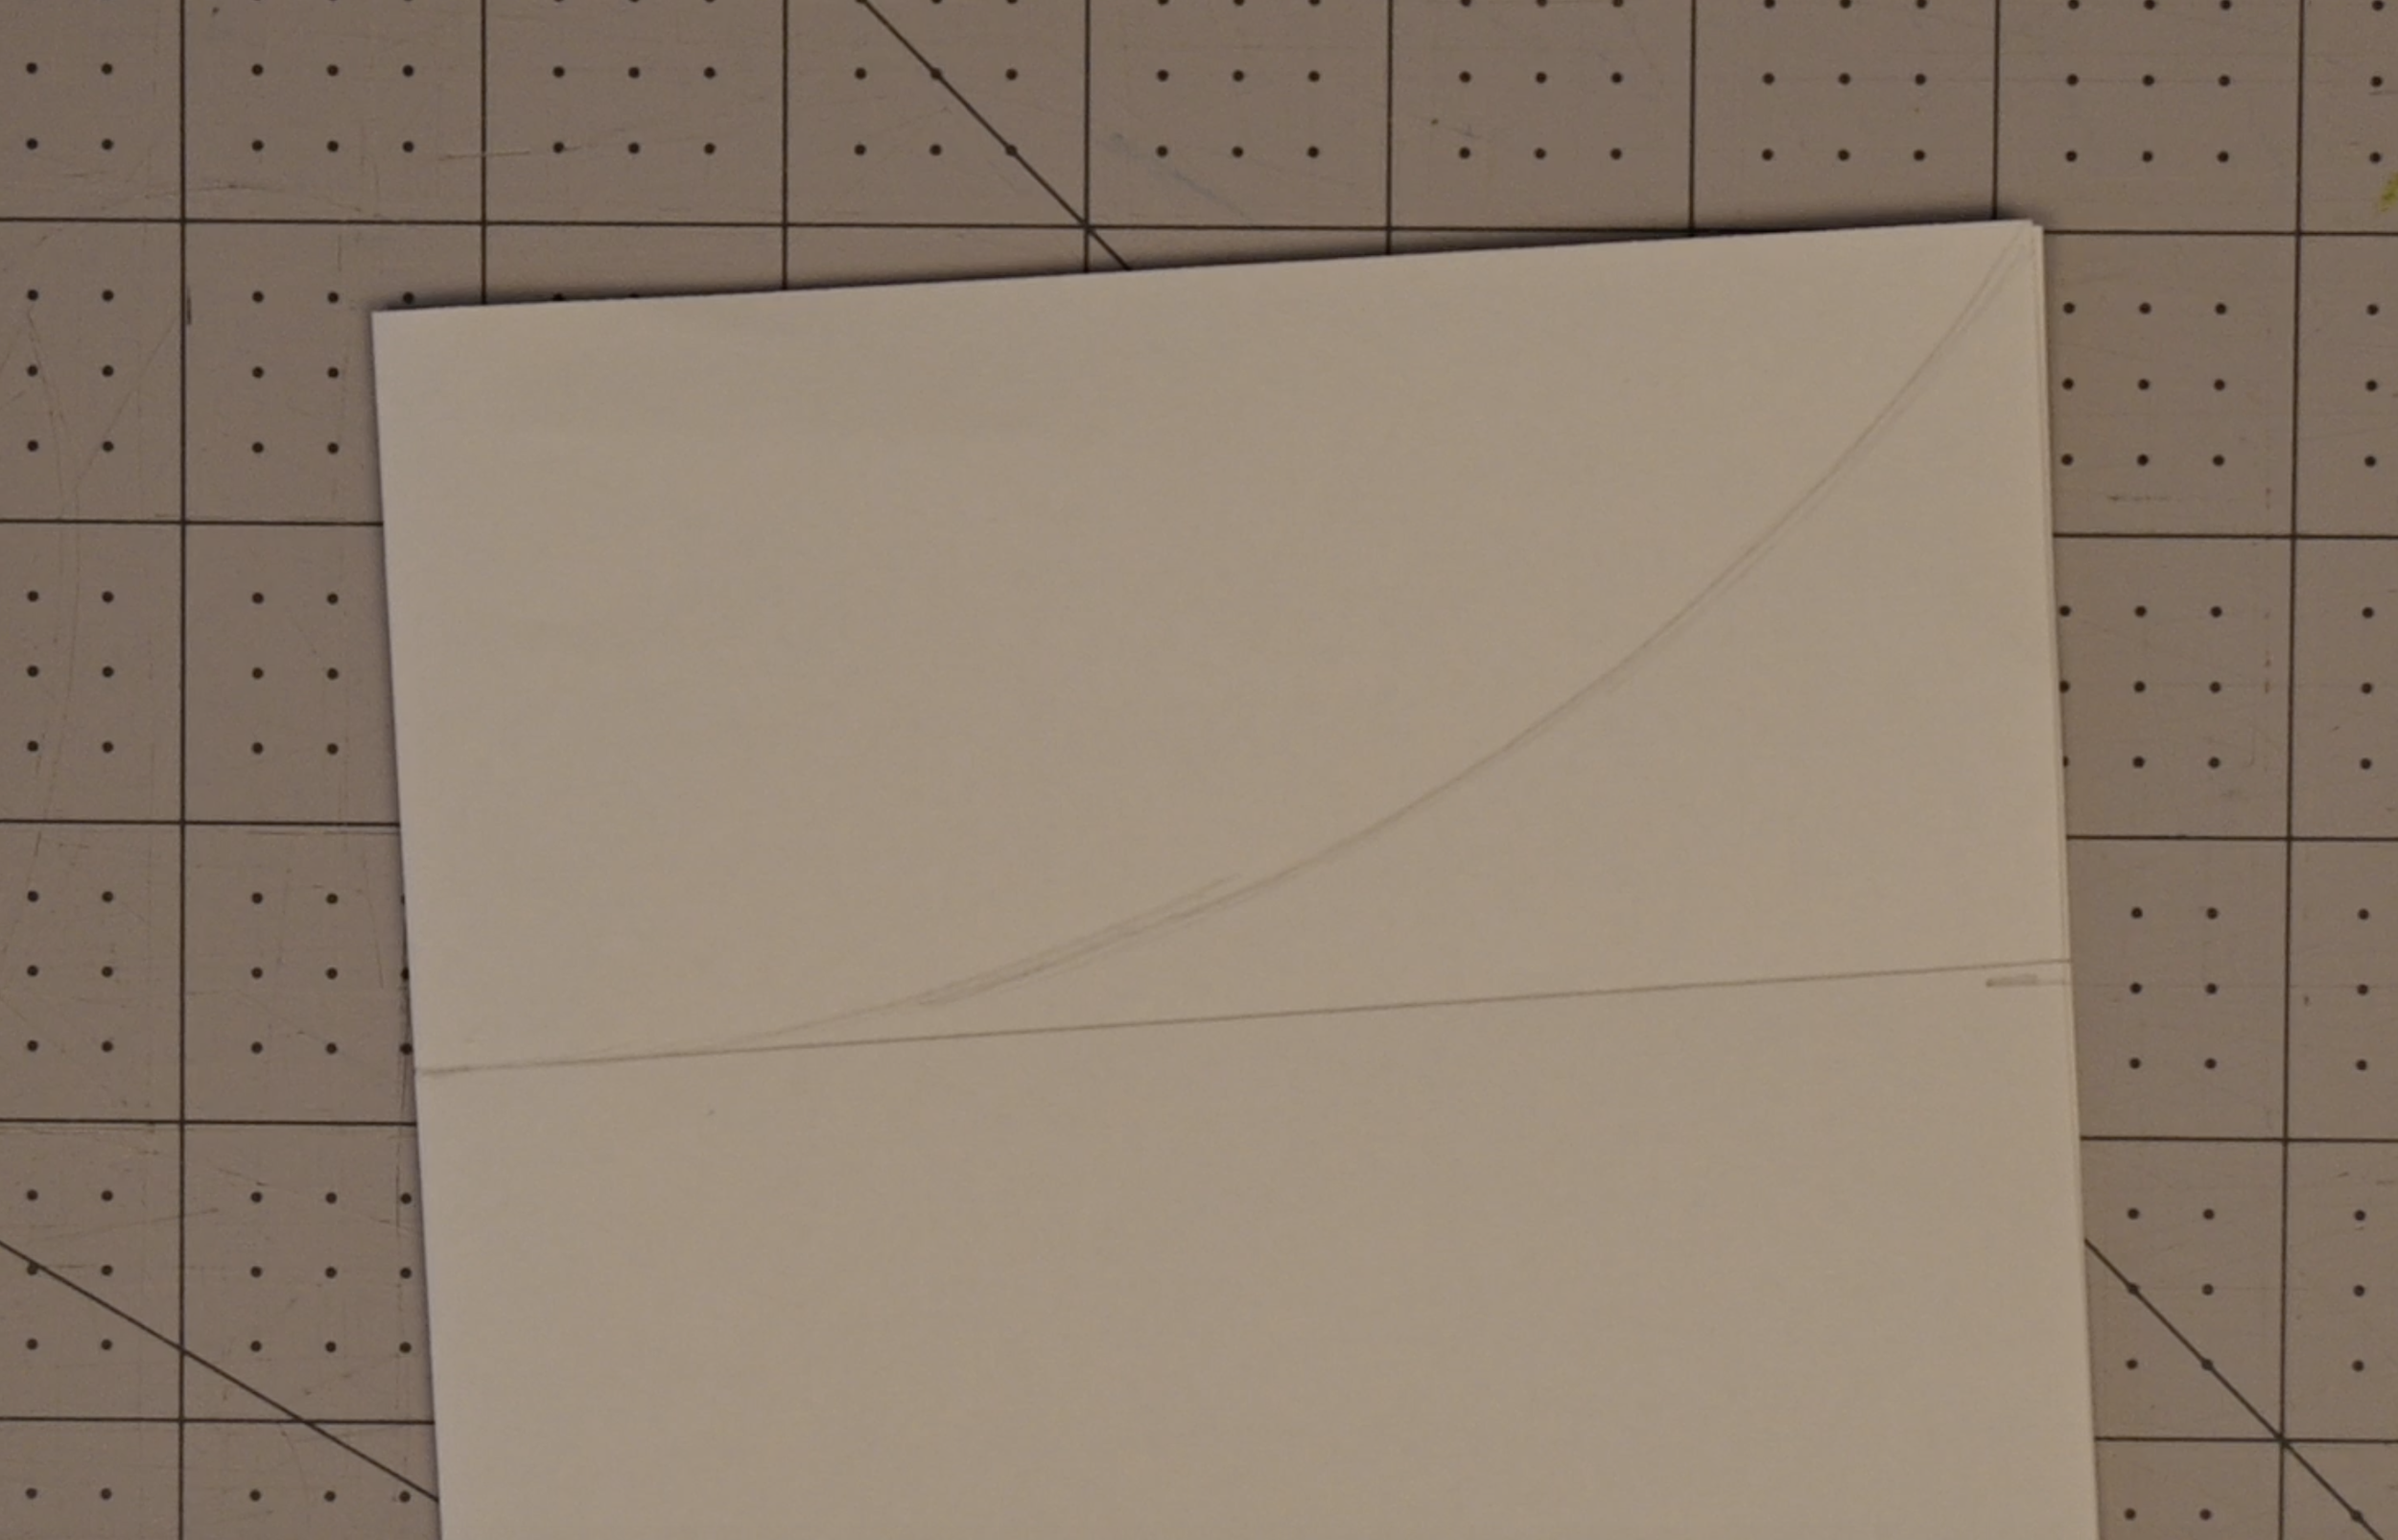
From the mark on the center fold, draw a slight curve connecting the two points
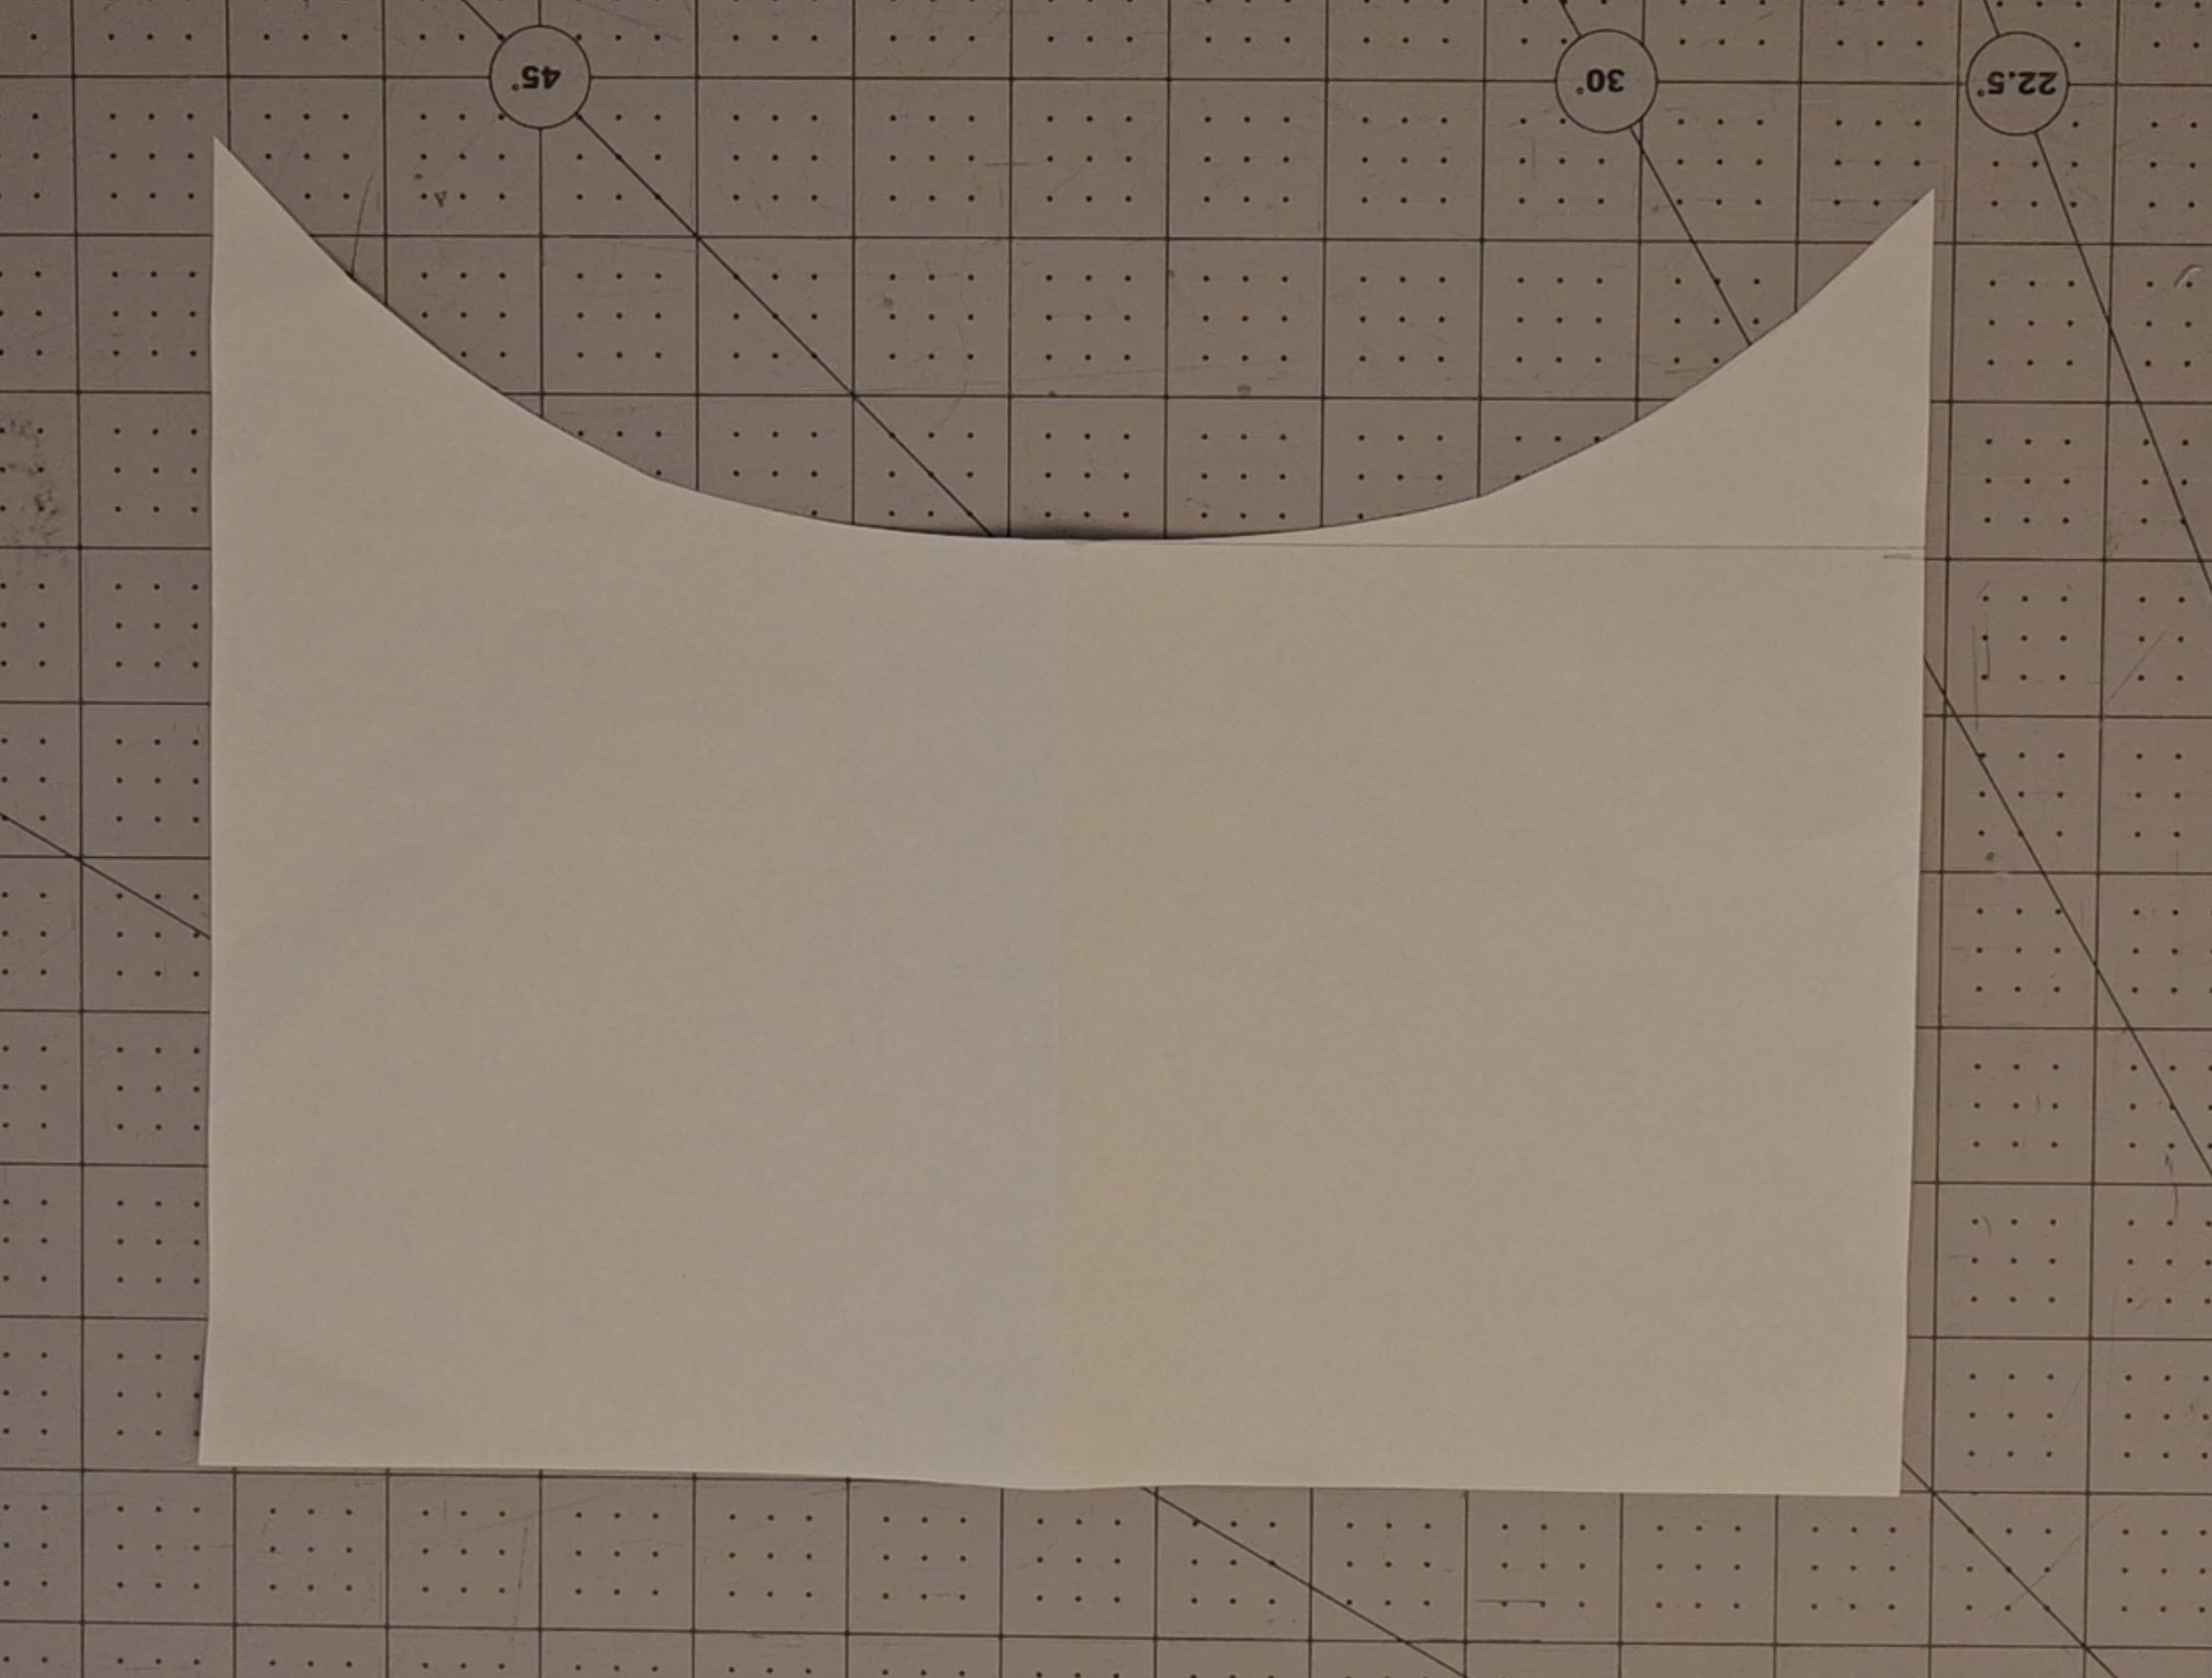
Using your scissors, cut off the curved section
Paper 2:

Measure and mark 5.5 inches on both short sides
Cut across the line
Draw a line connecting the marks and cut across it. You will now have a piece that measures 5.5 x 11 inches
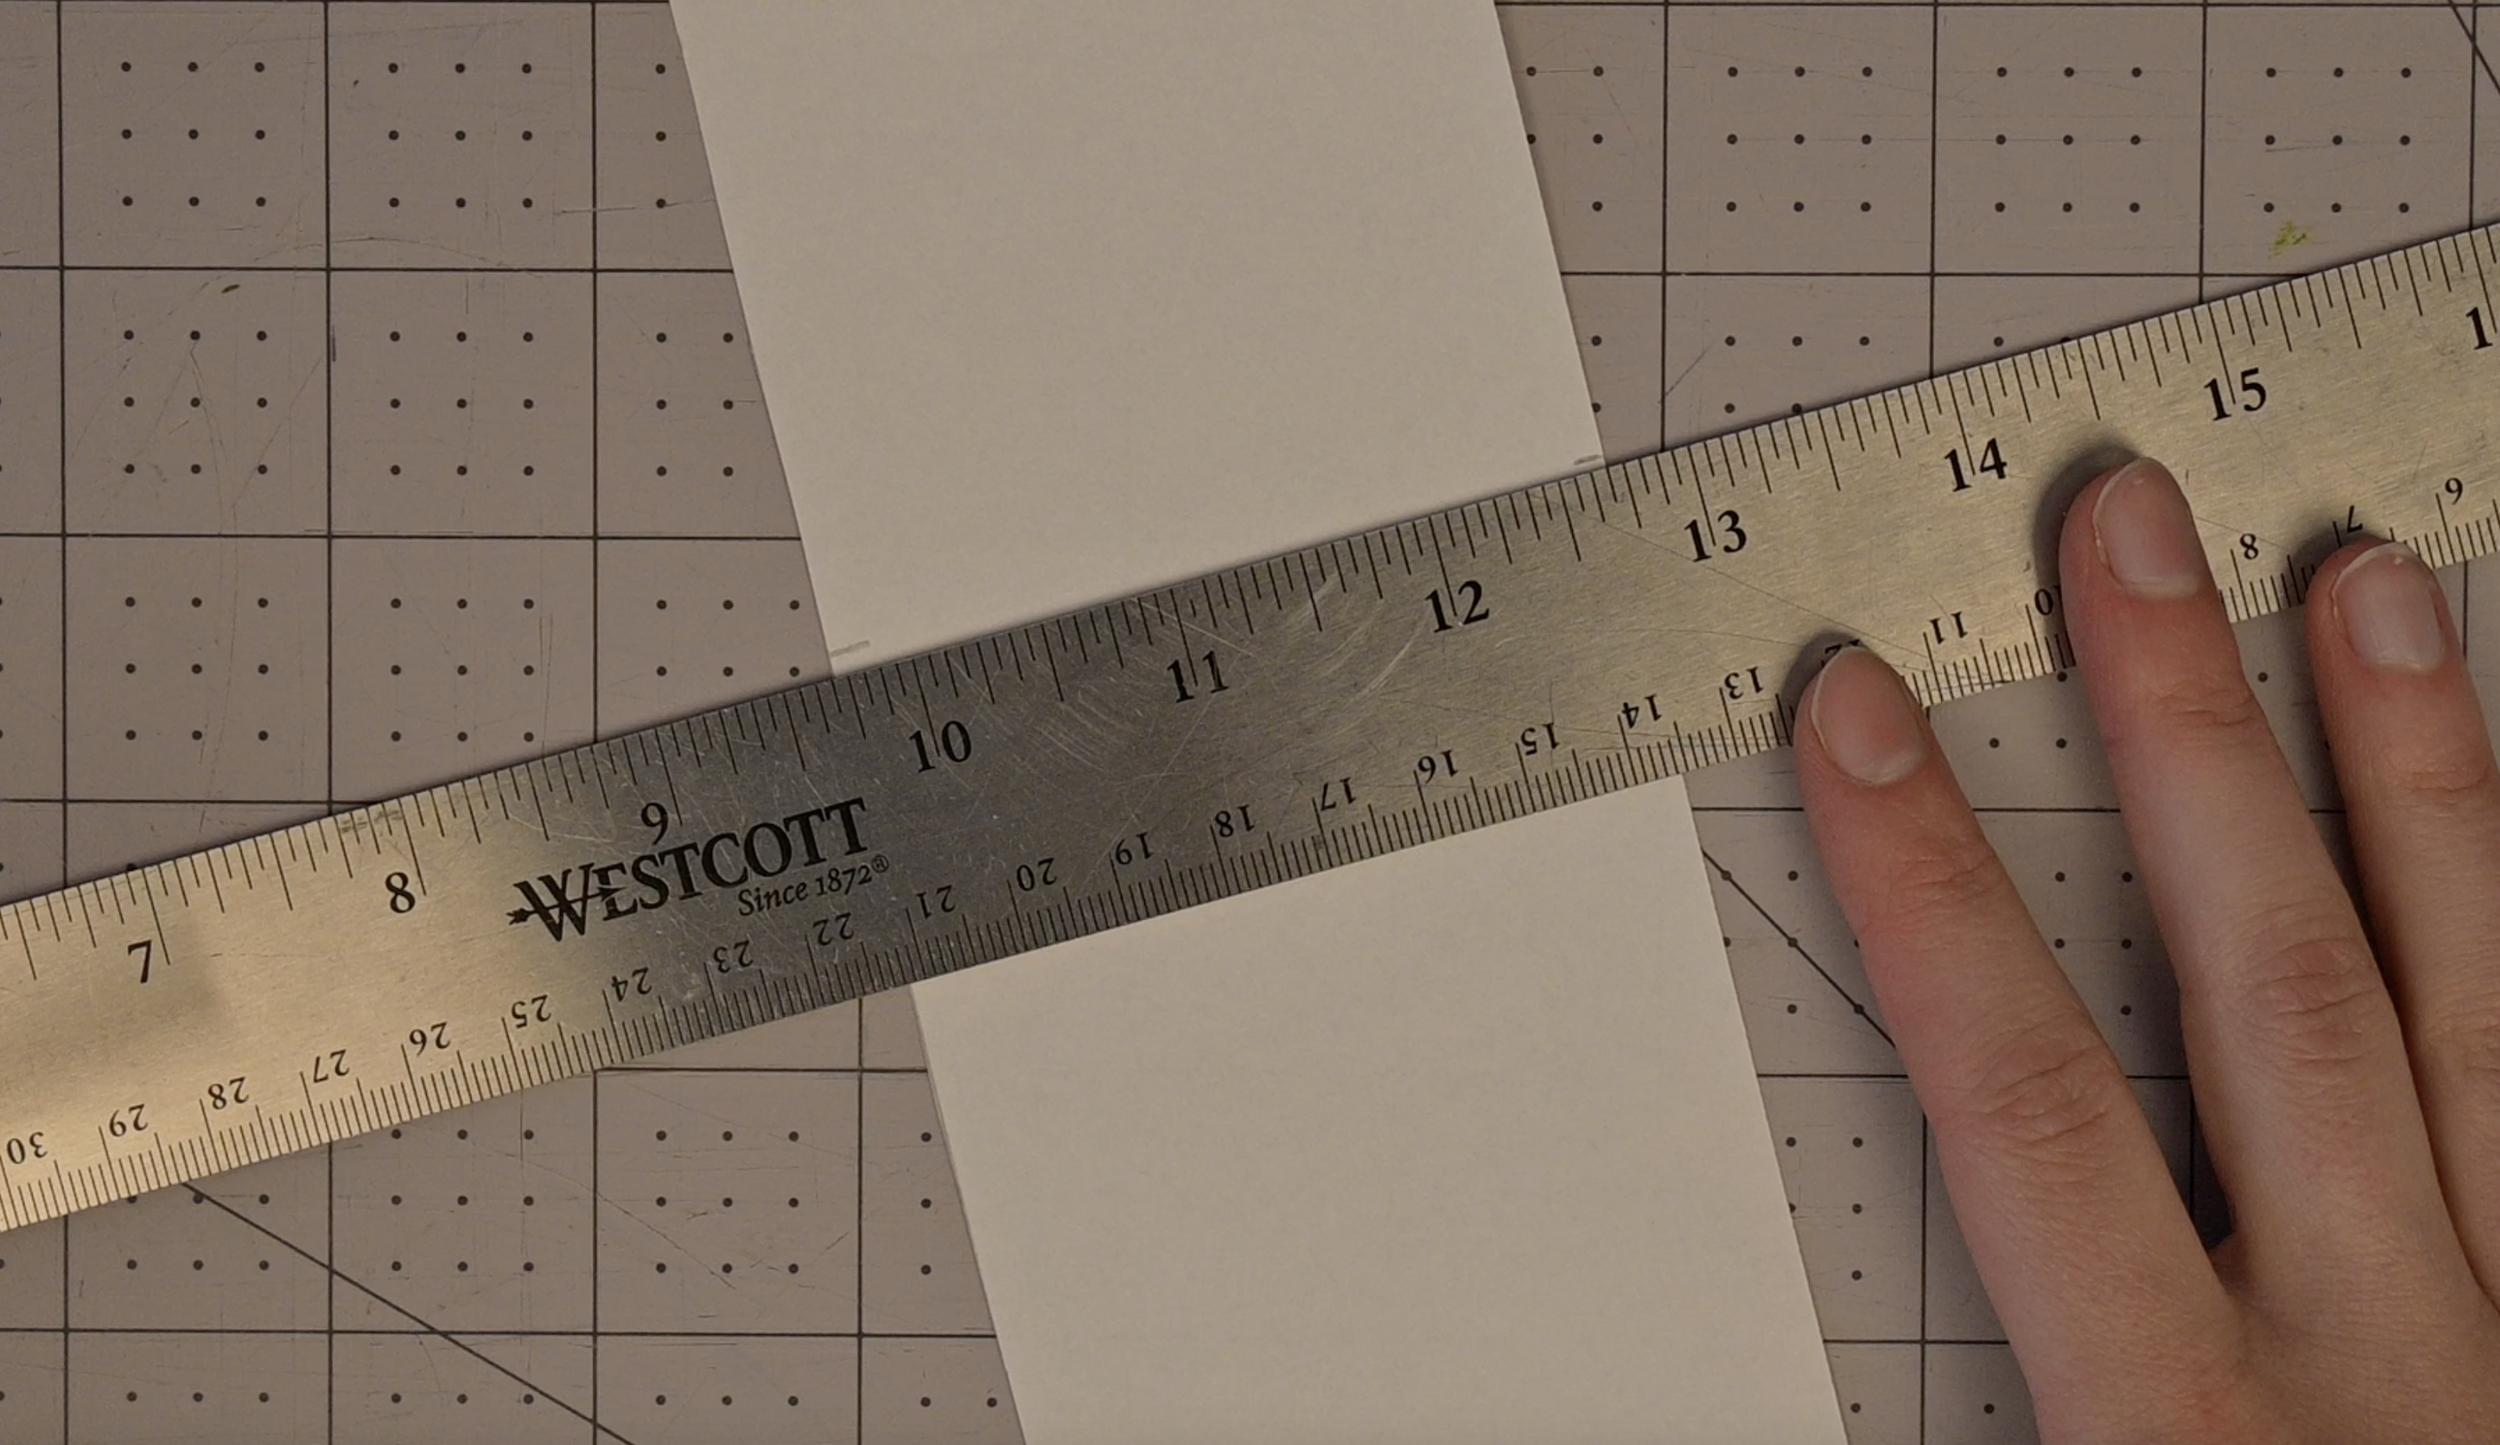
With the remaining paper scrap, cut out a small rectangle that is 3 x 8 inches in size
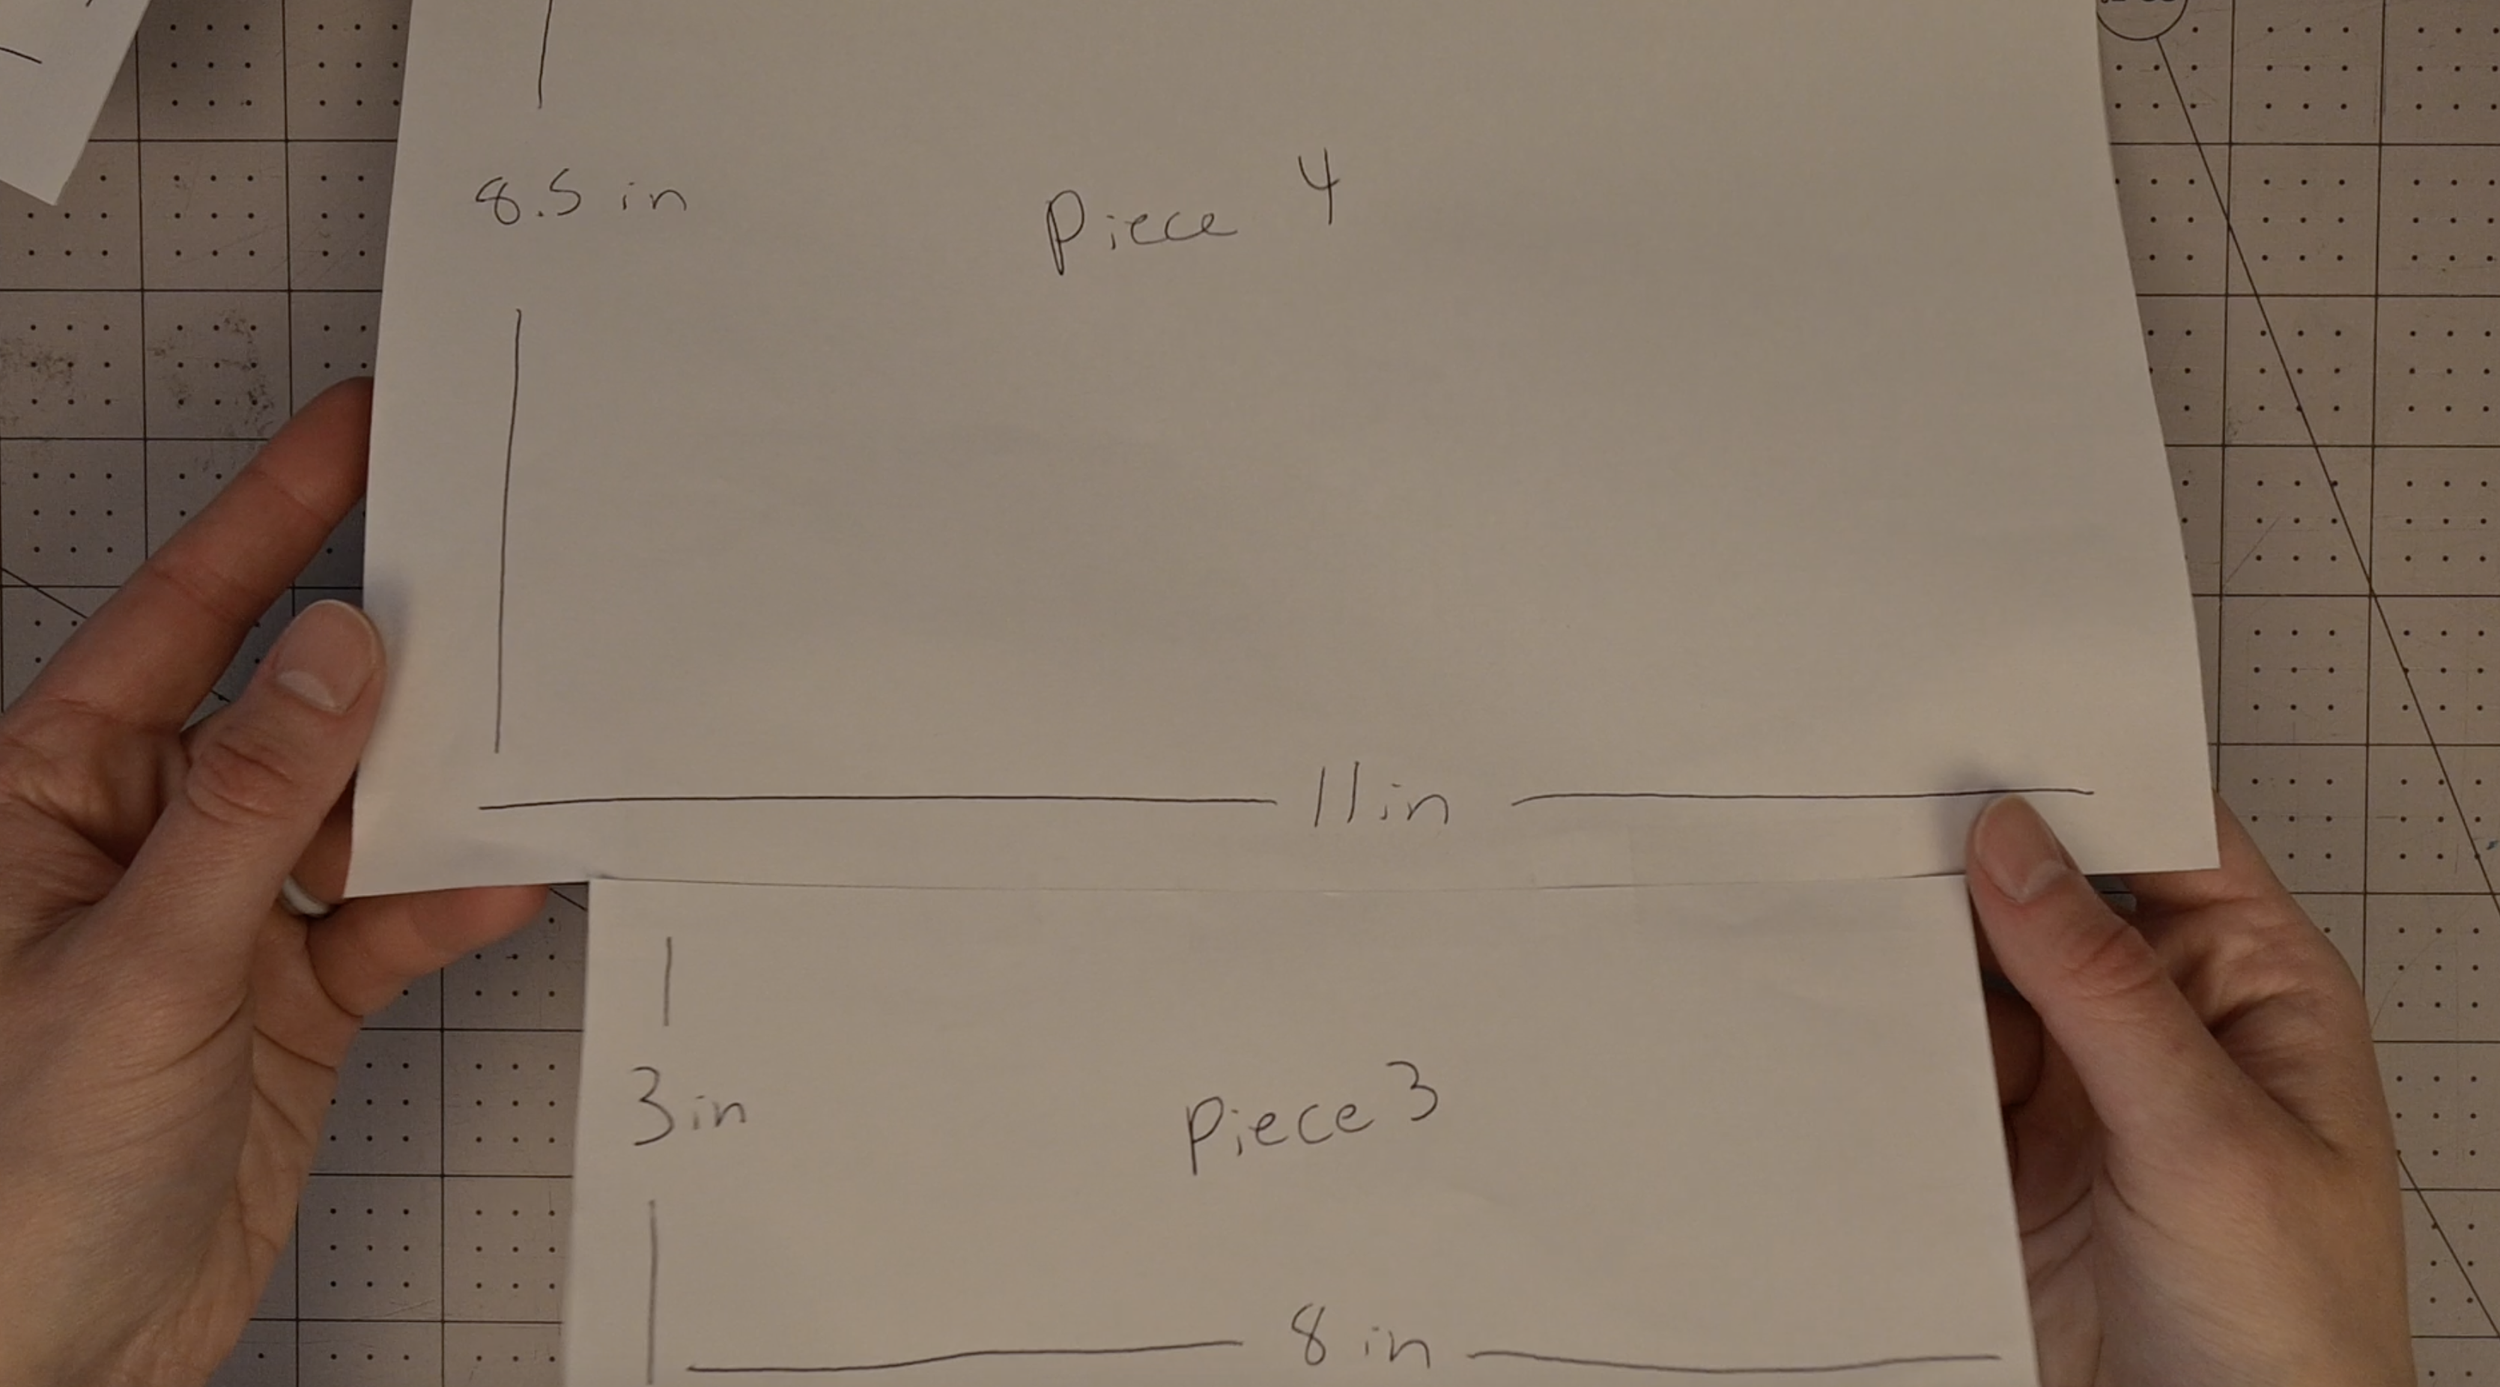
Paper 3:

Take your 3rd and 4th piece of paper. On its long side, center the 3 x 8 inch paper section along the edge
Tape the edges together
The Completed Pattern:


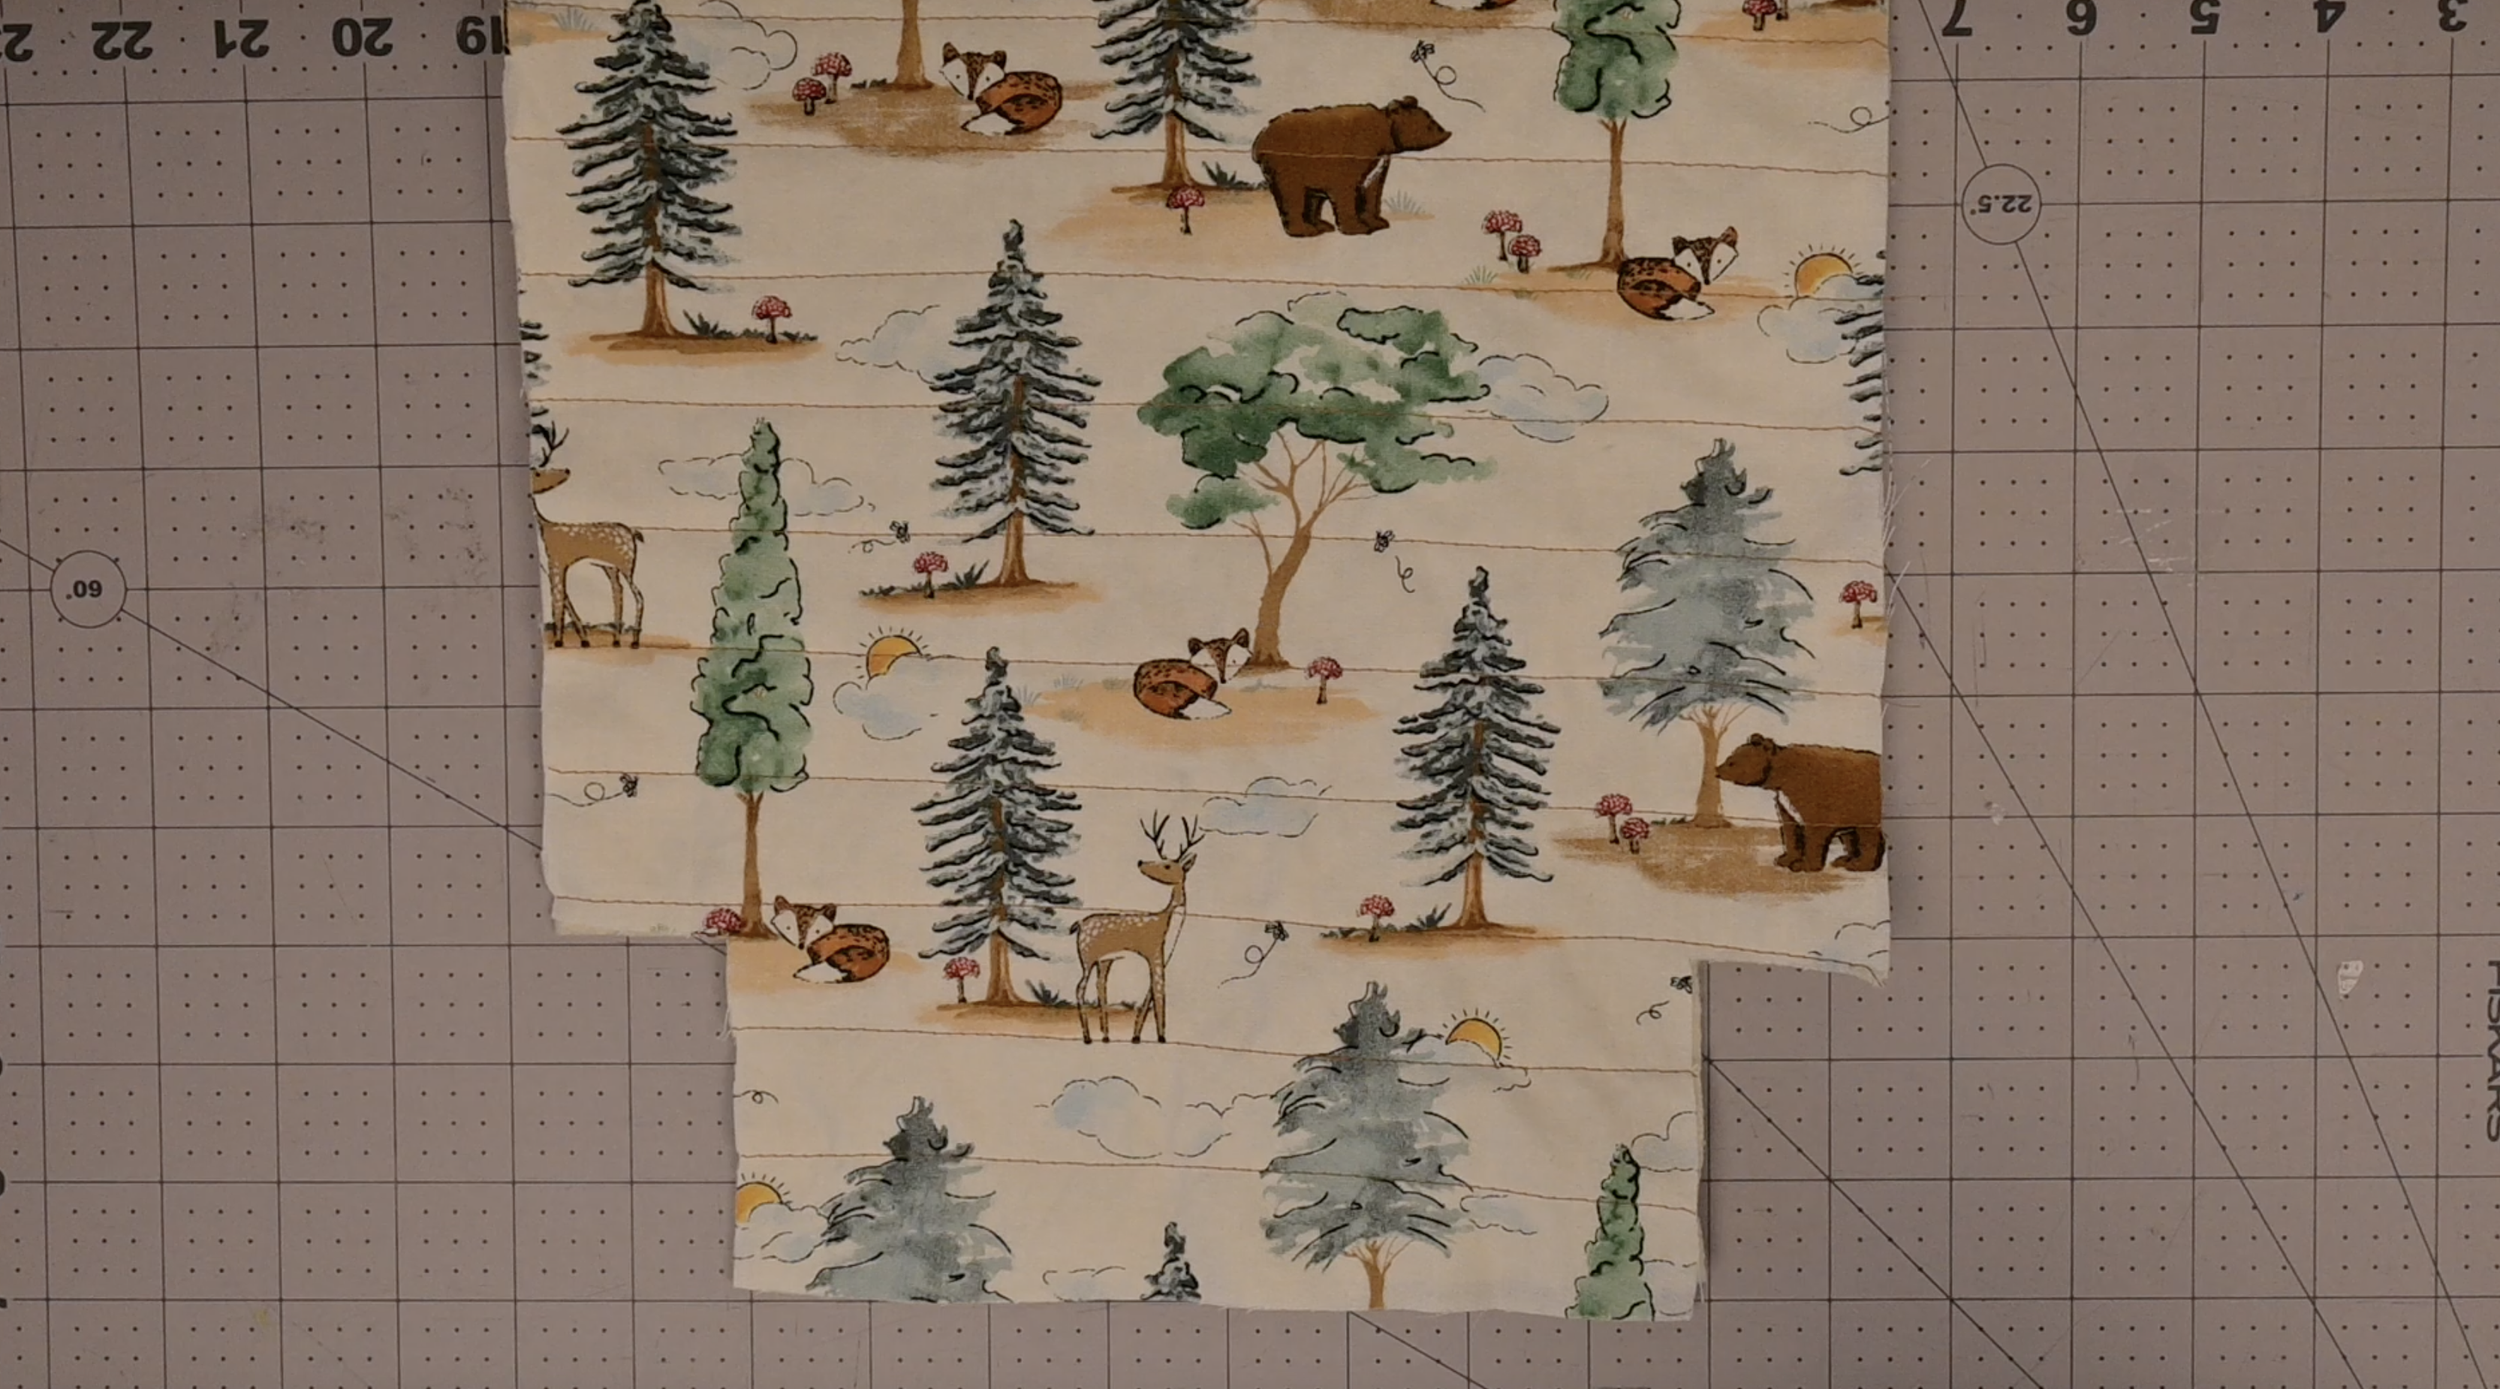
Step 2: Cut the Fabric Using the Pattern
Layer your main outer fabric on top of your lining fabric

Pin your paper pattern pieces through both layers

Cut out the fabric shapes
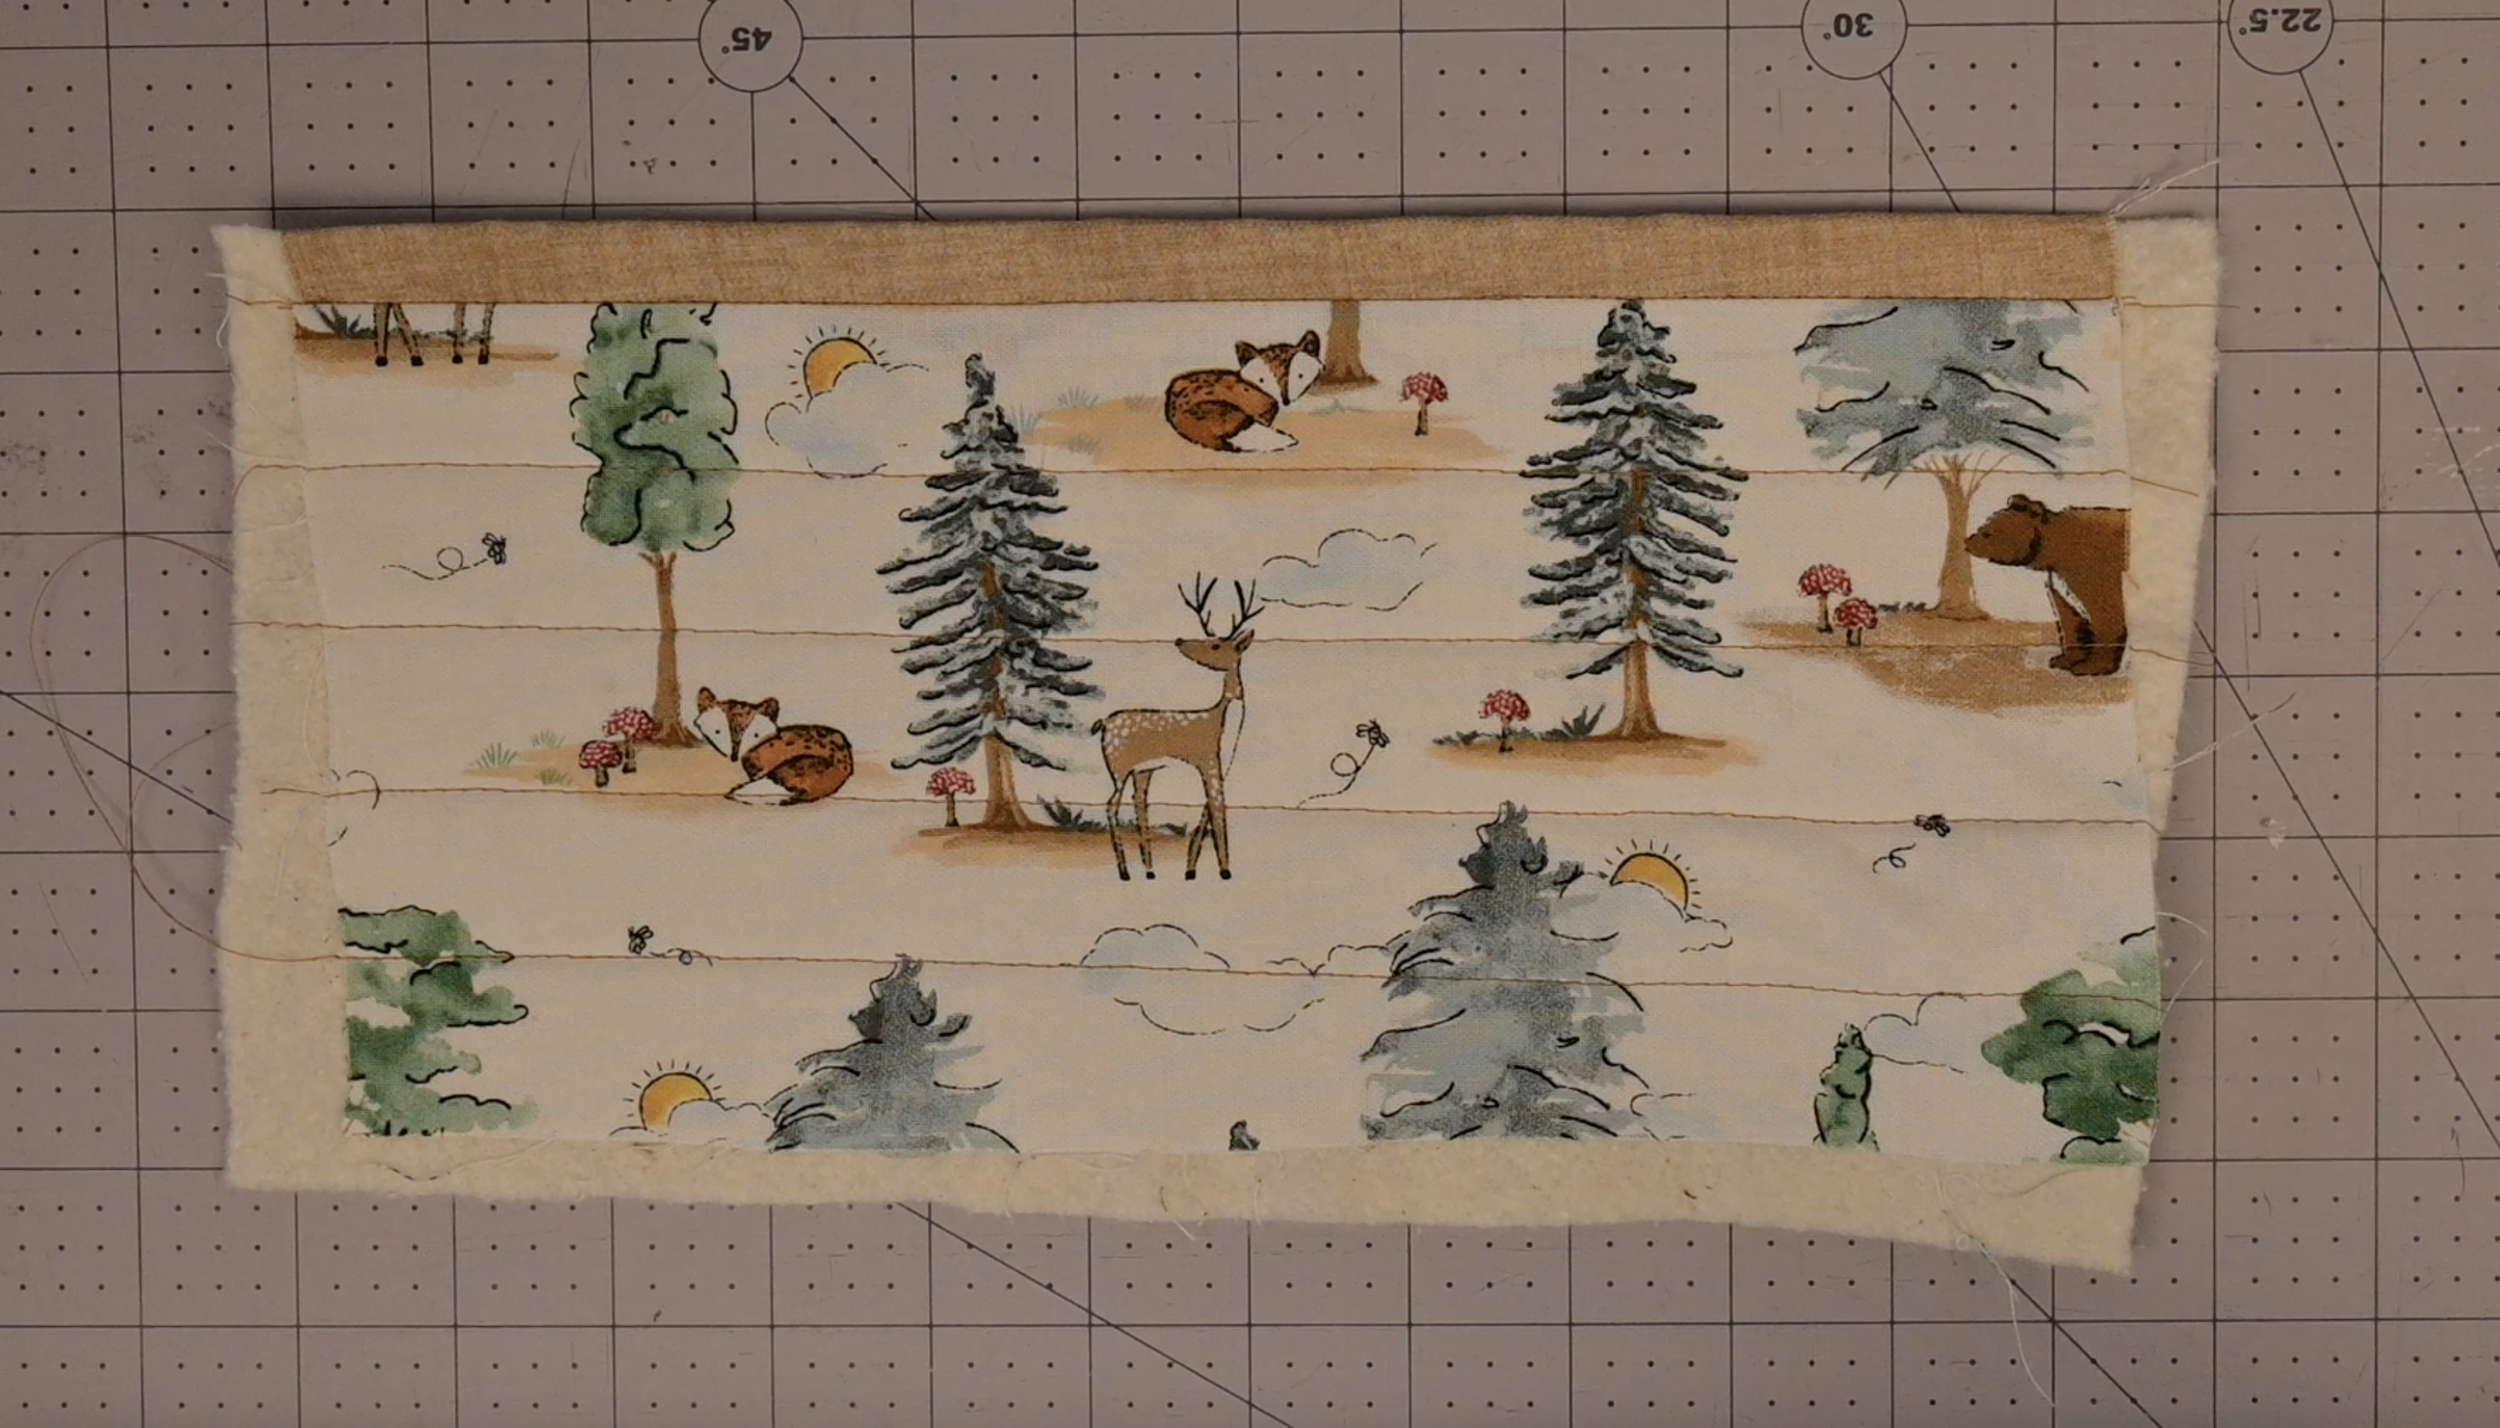
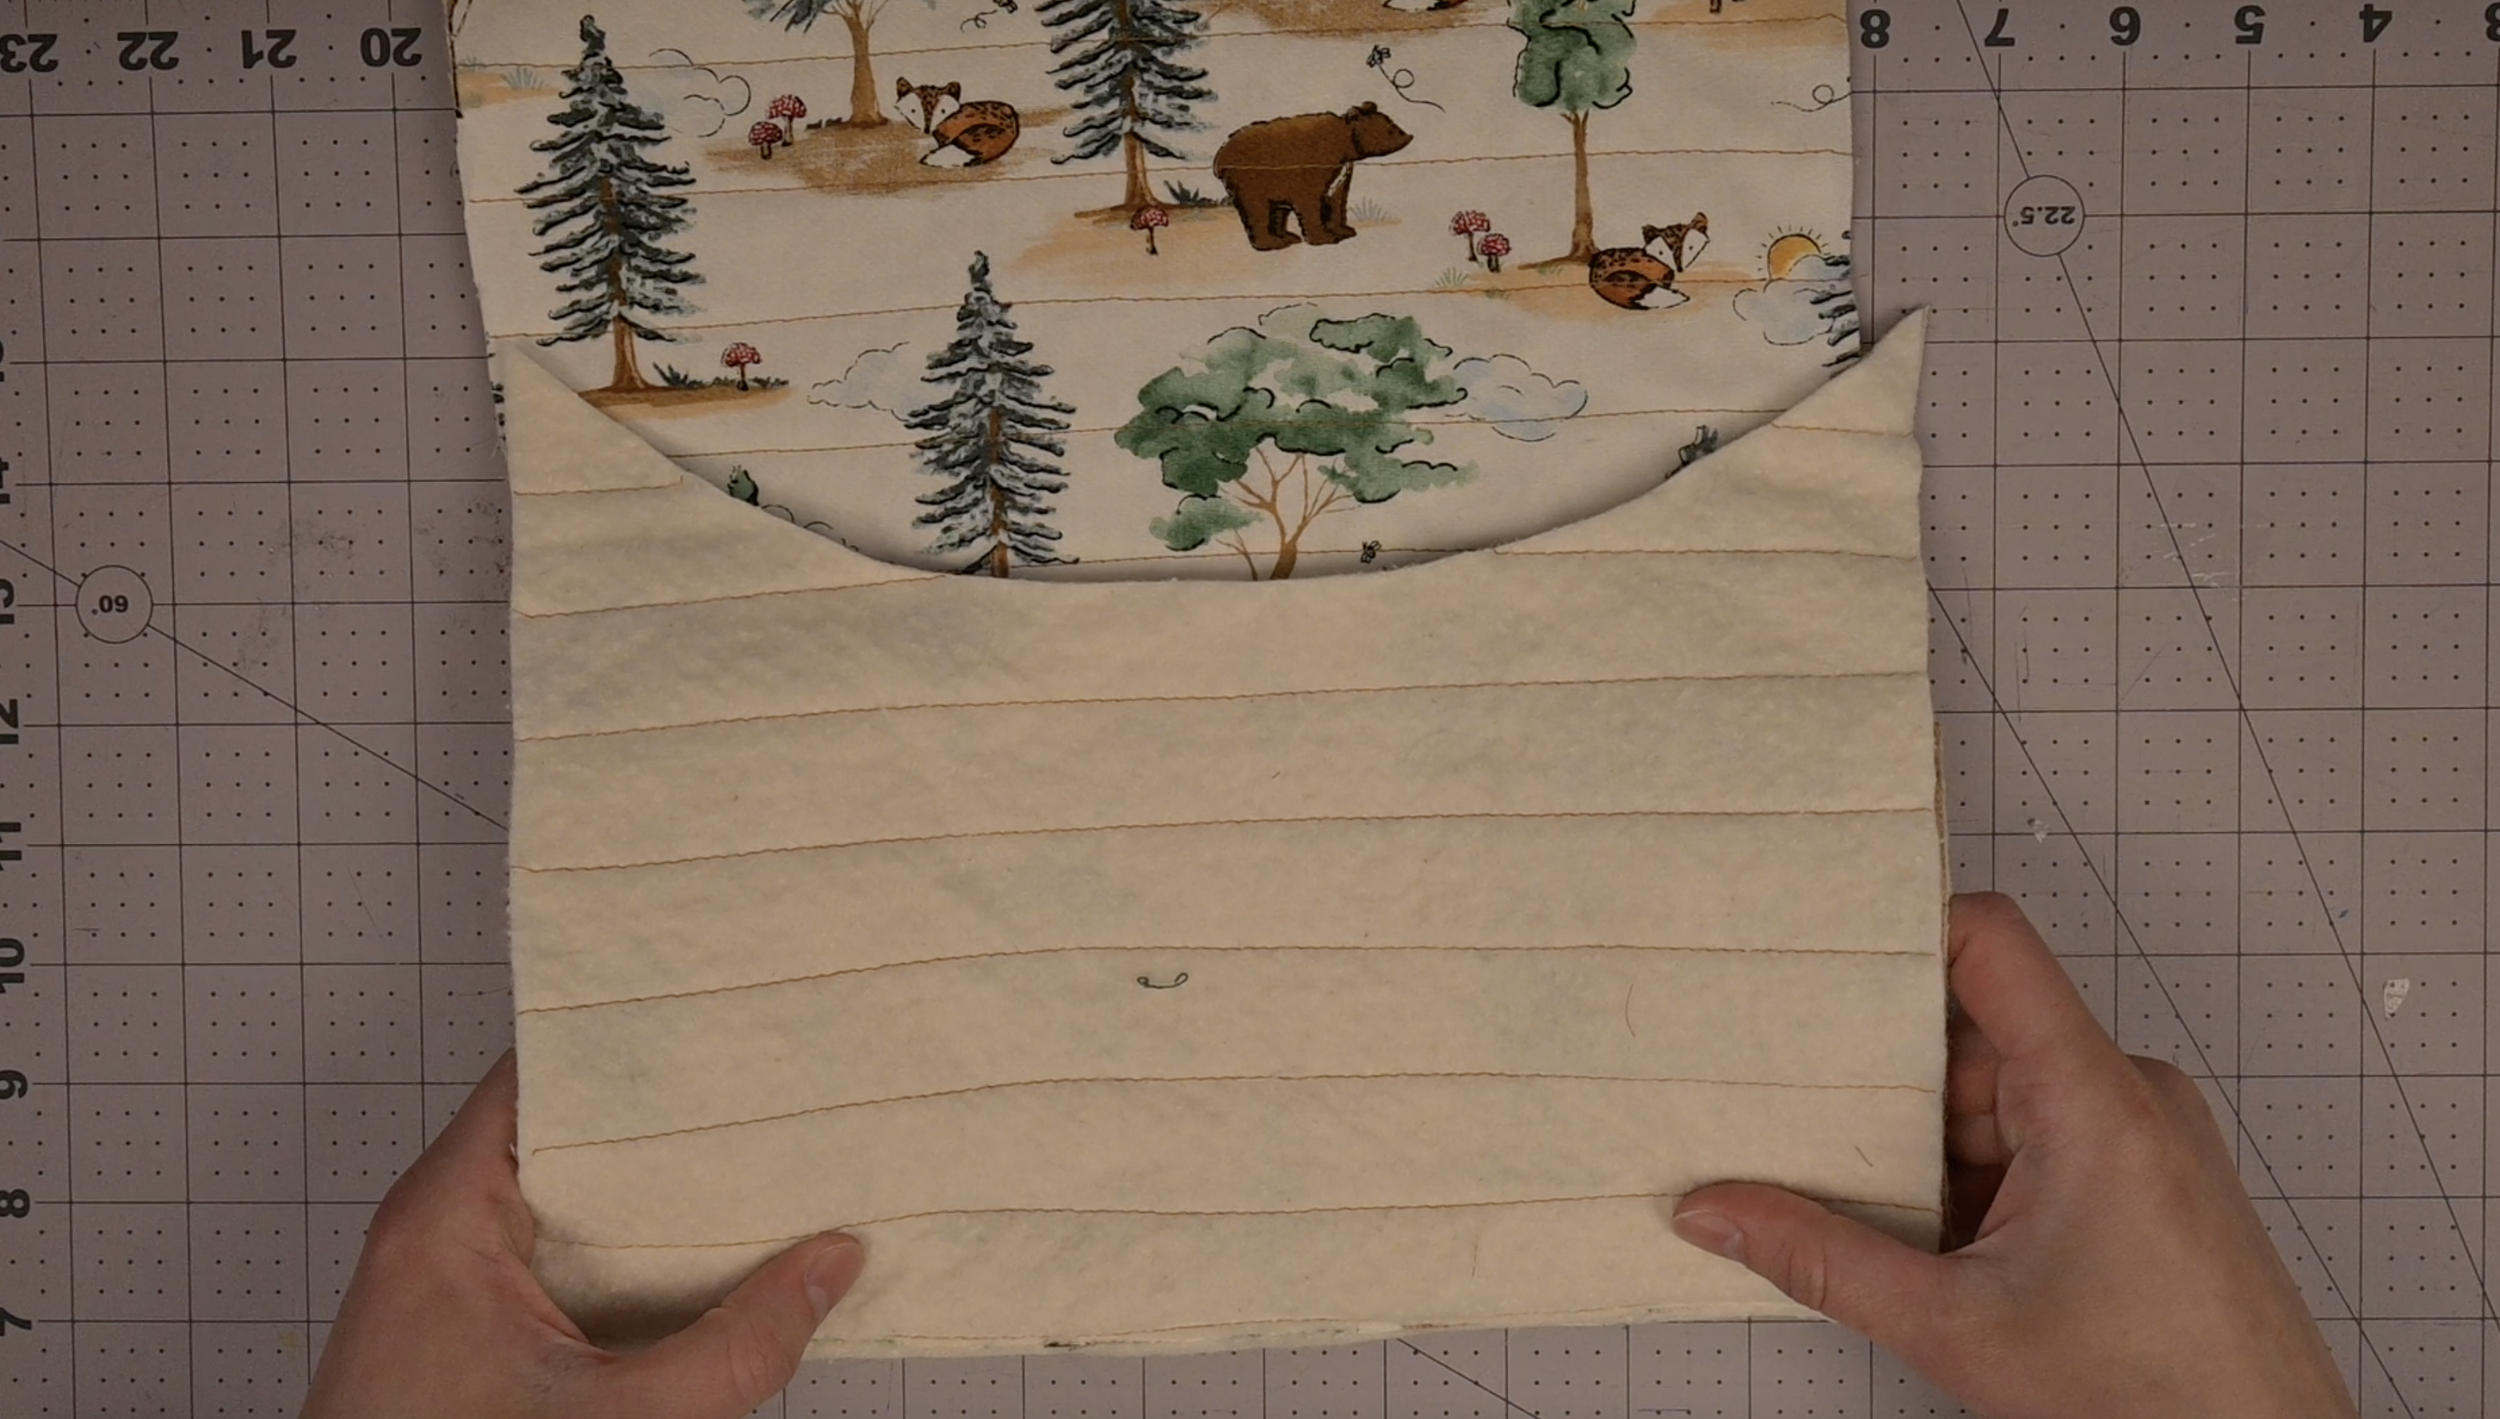
Step 3: Cut Out the Batting
If you desire to make this project without batting, skip steps 3 and 4
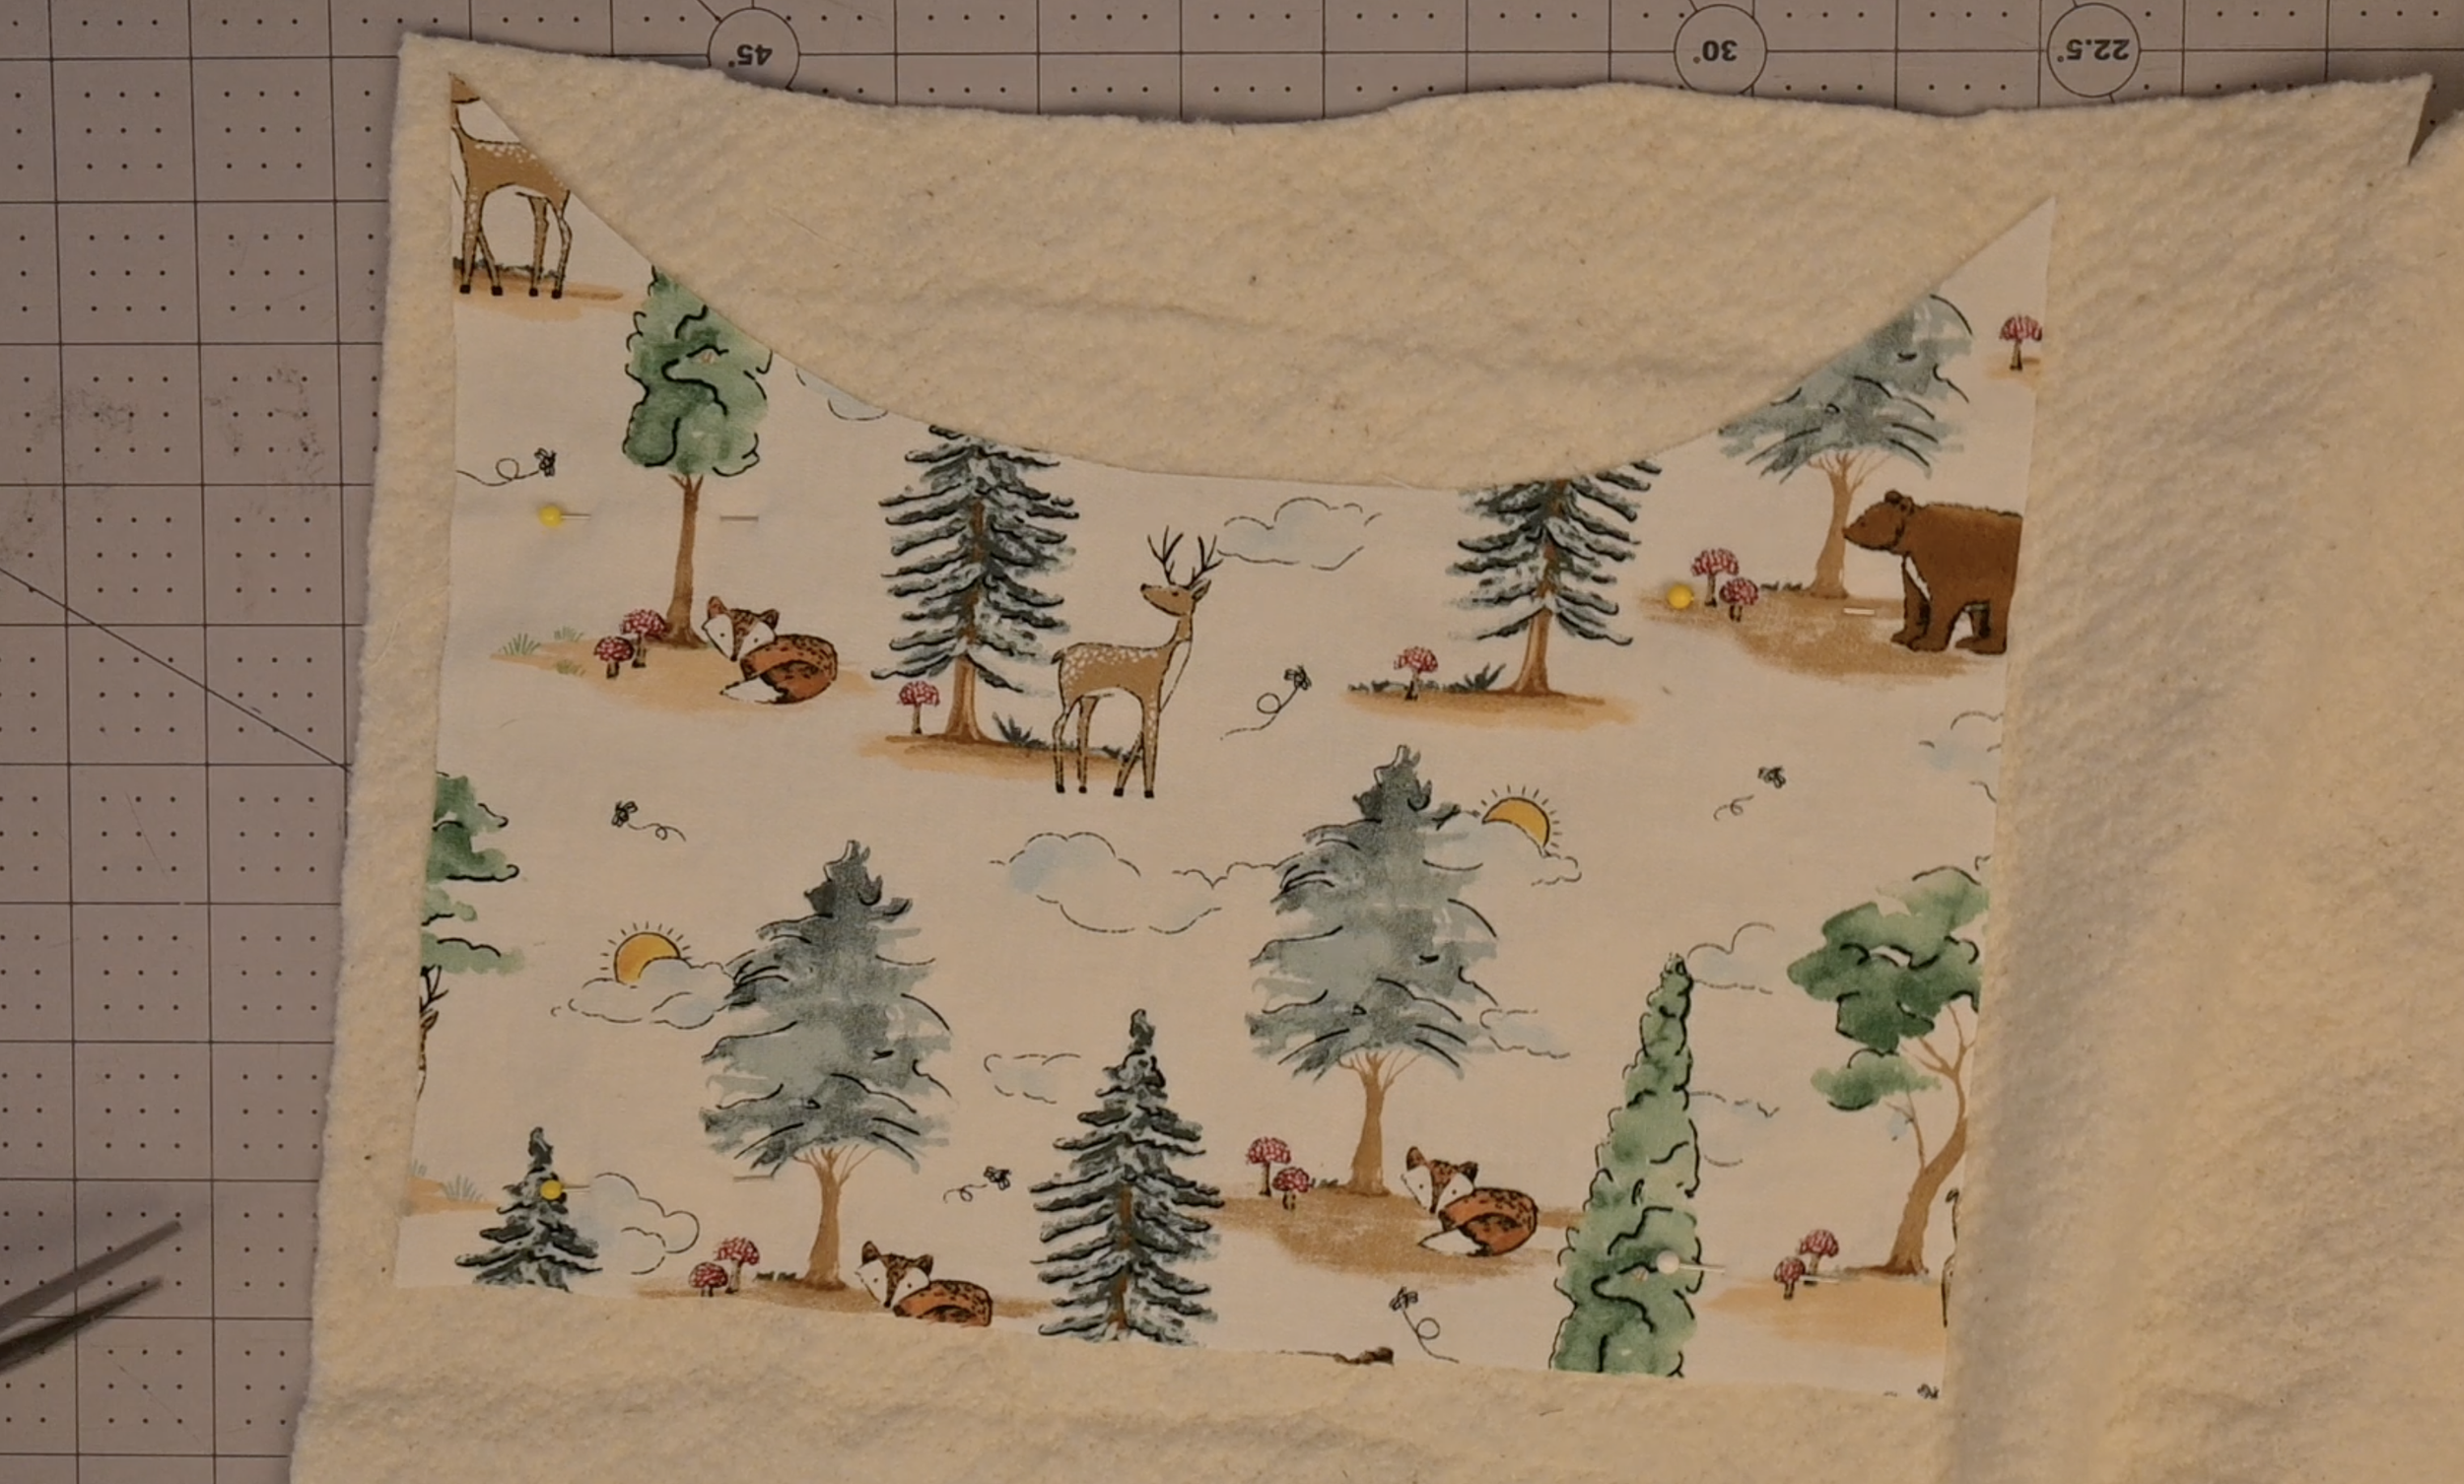
Lay out your batting
Pin the cut main fabric piece #1 to the batting
Cut around each main fabric/batting piece, leaving extra space around the edges

Repeat on the main fabric piece #3/4
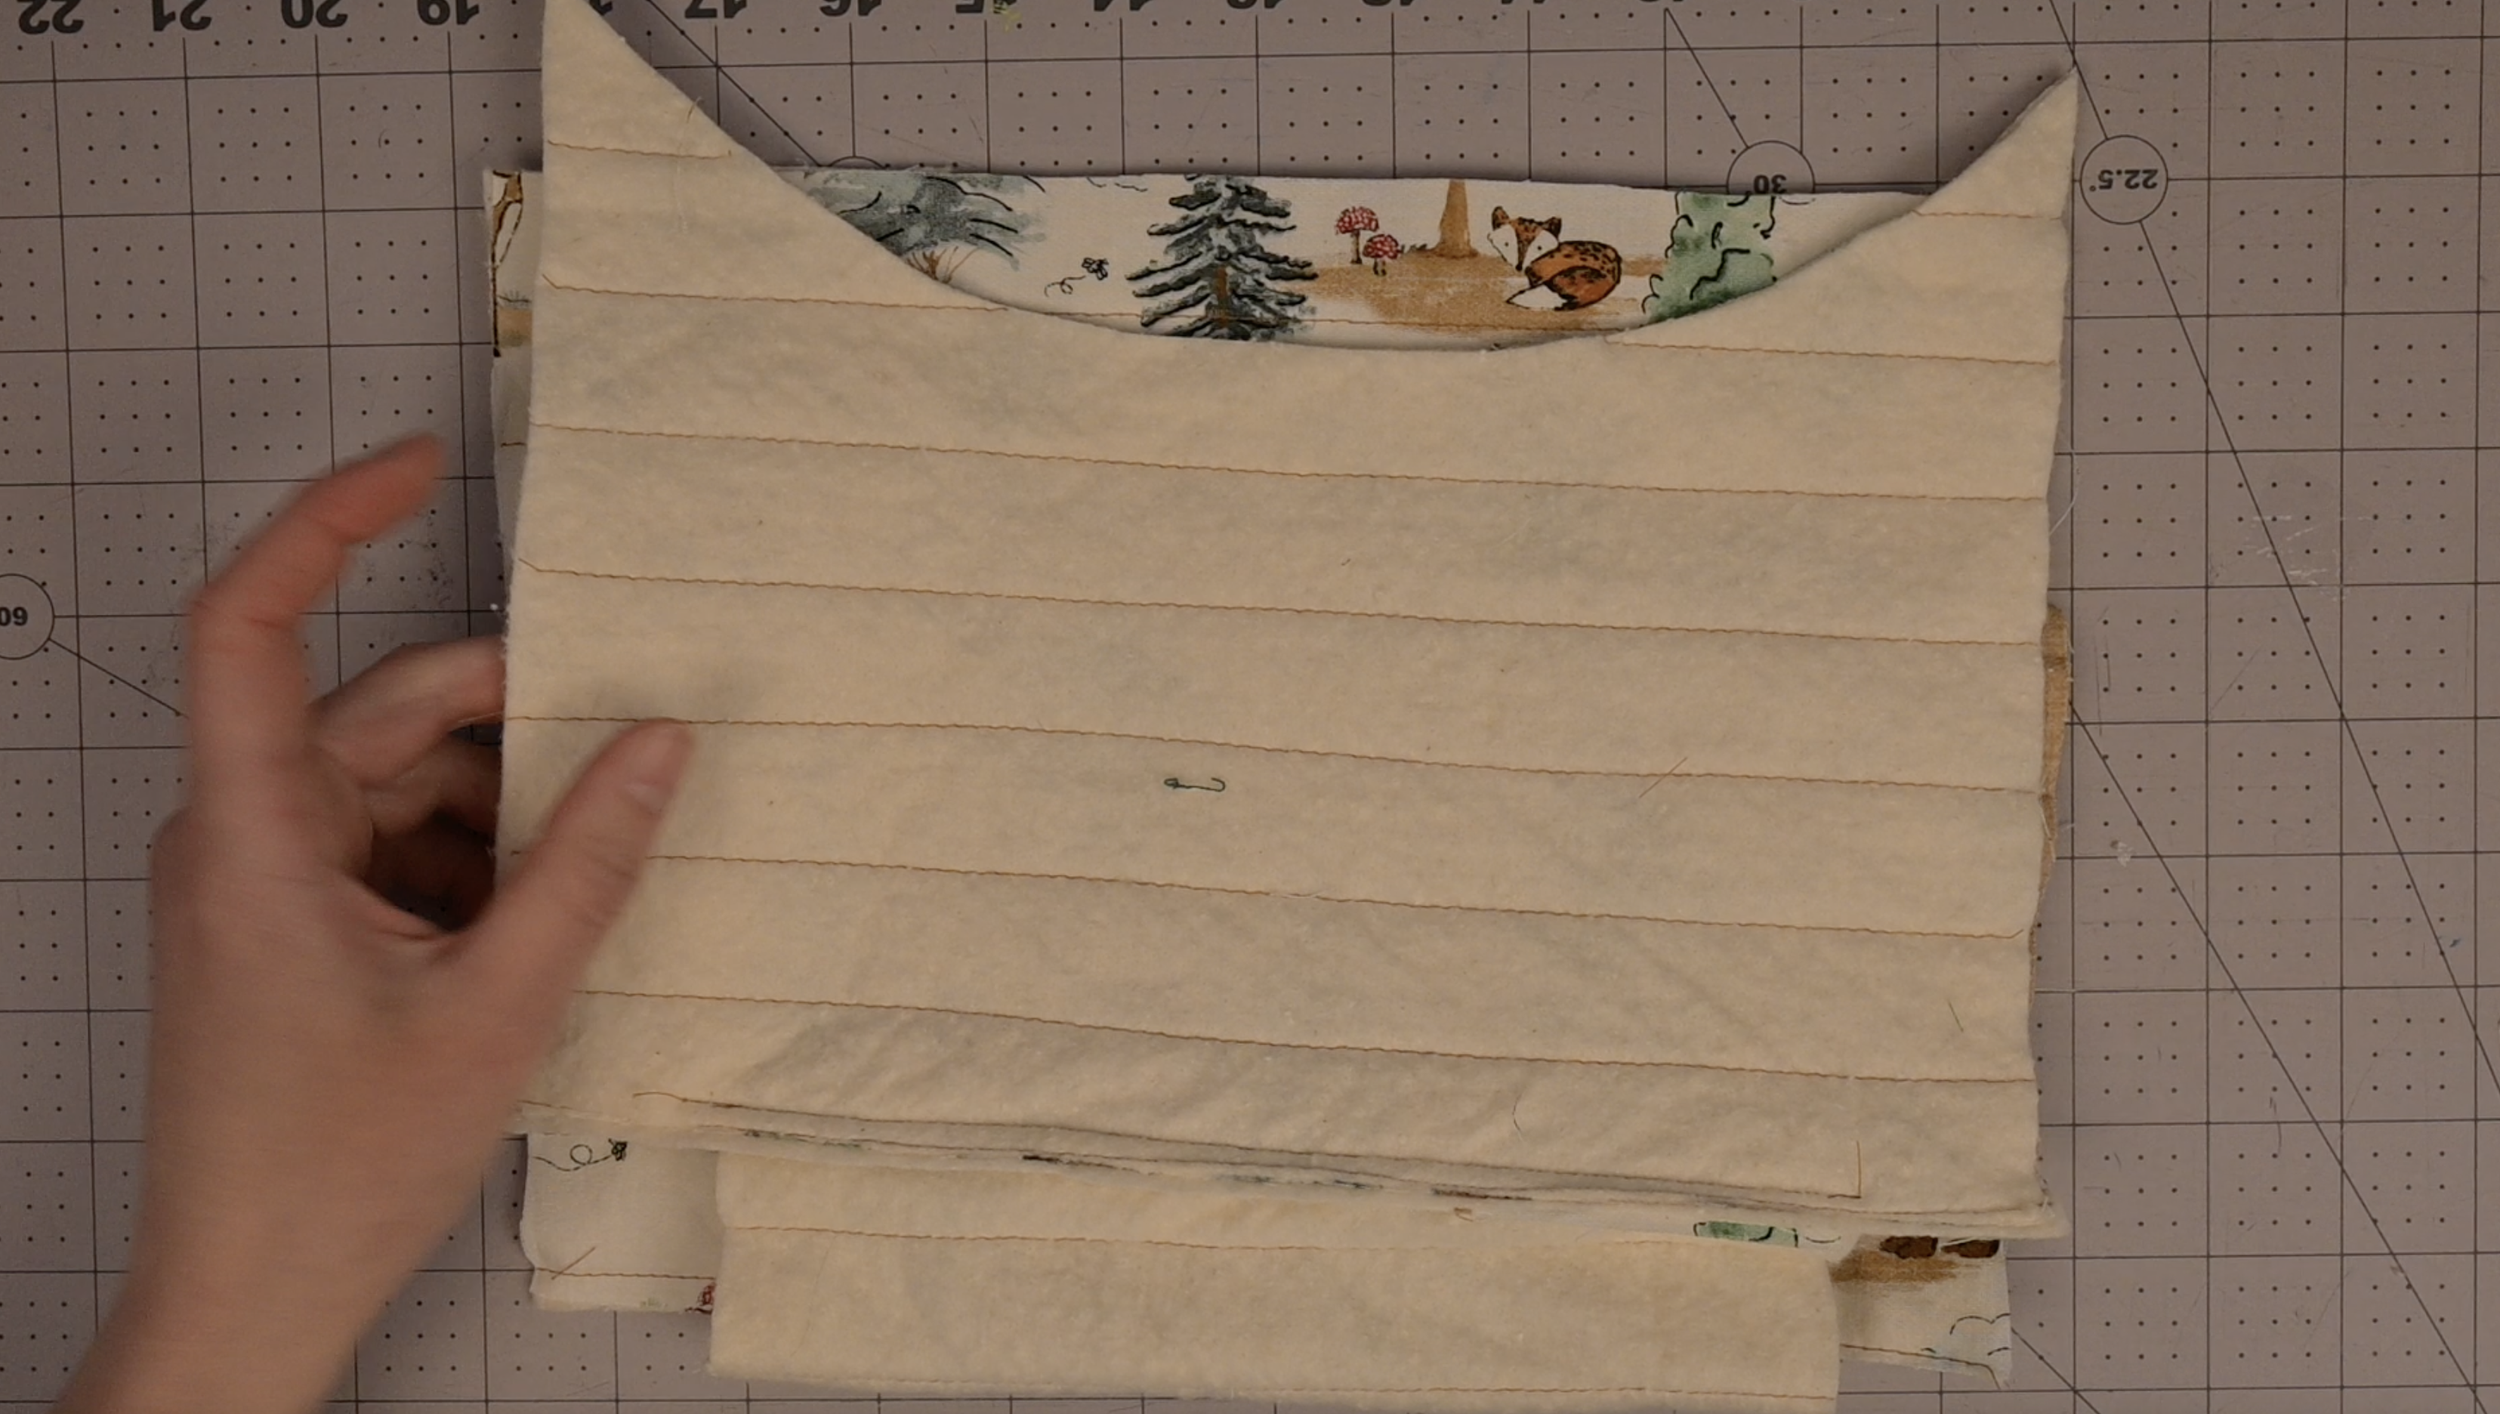
Step 4: Attach the Batting
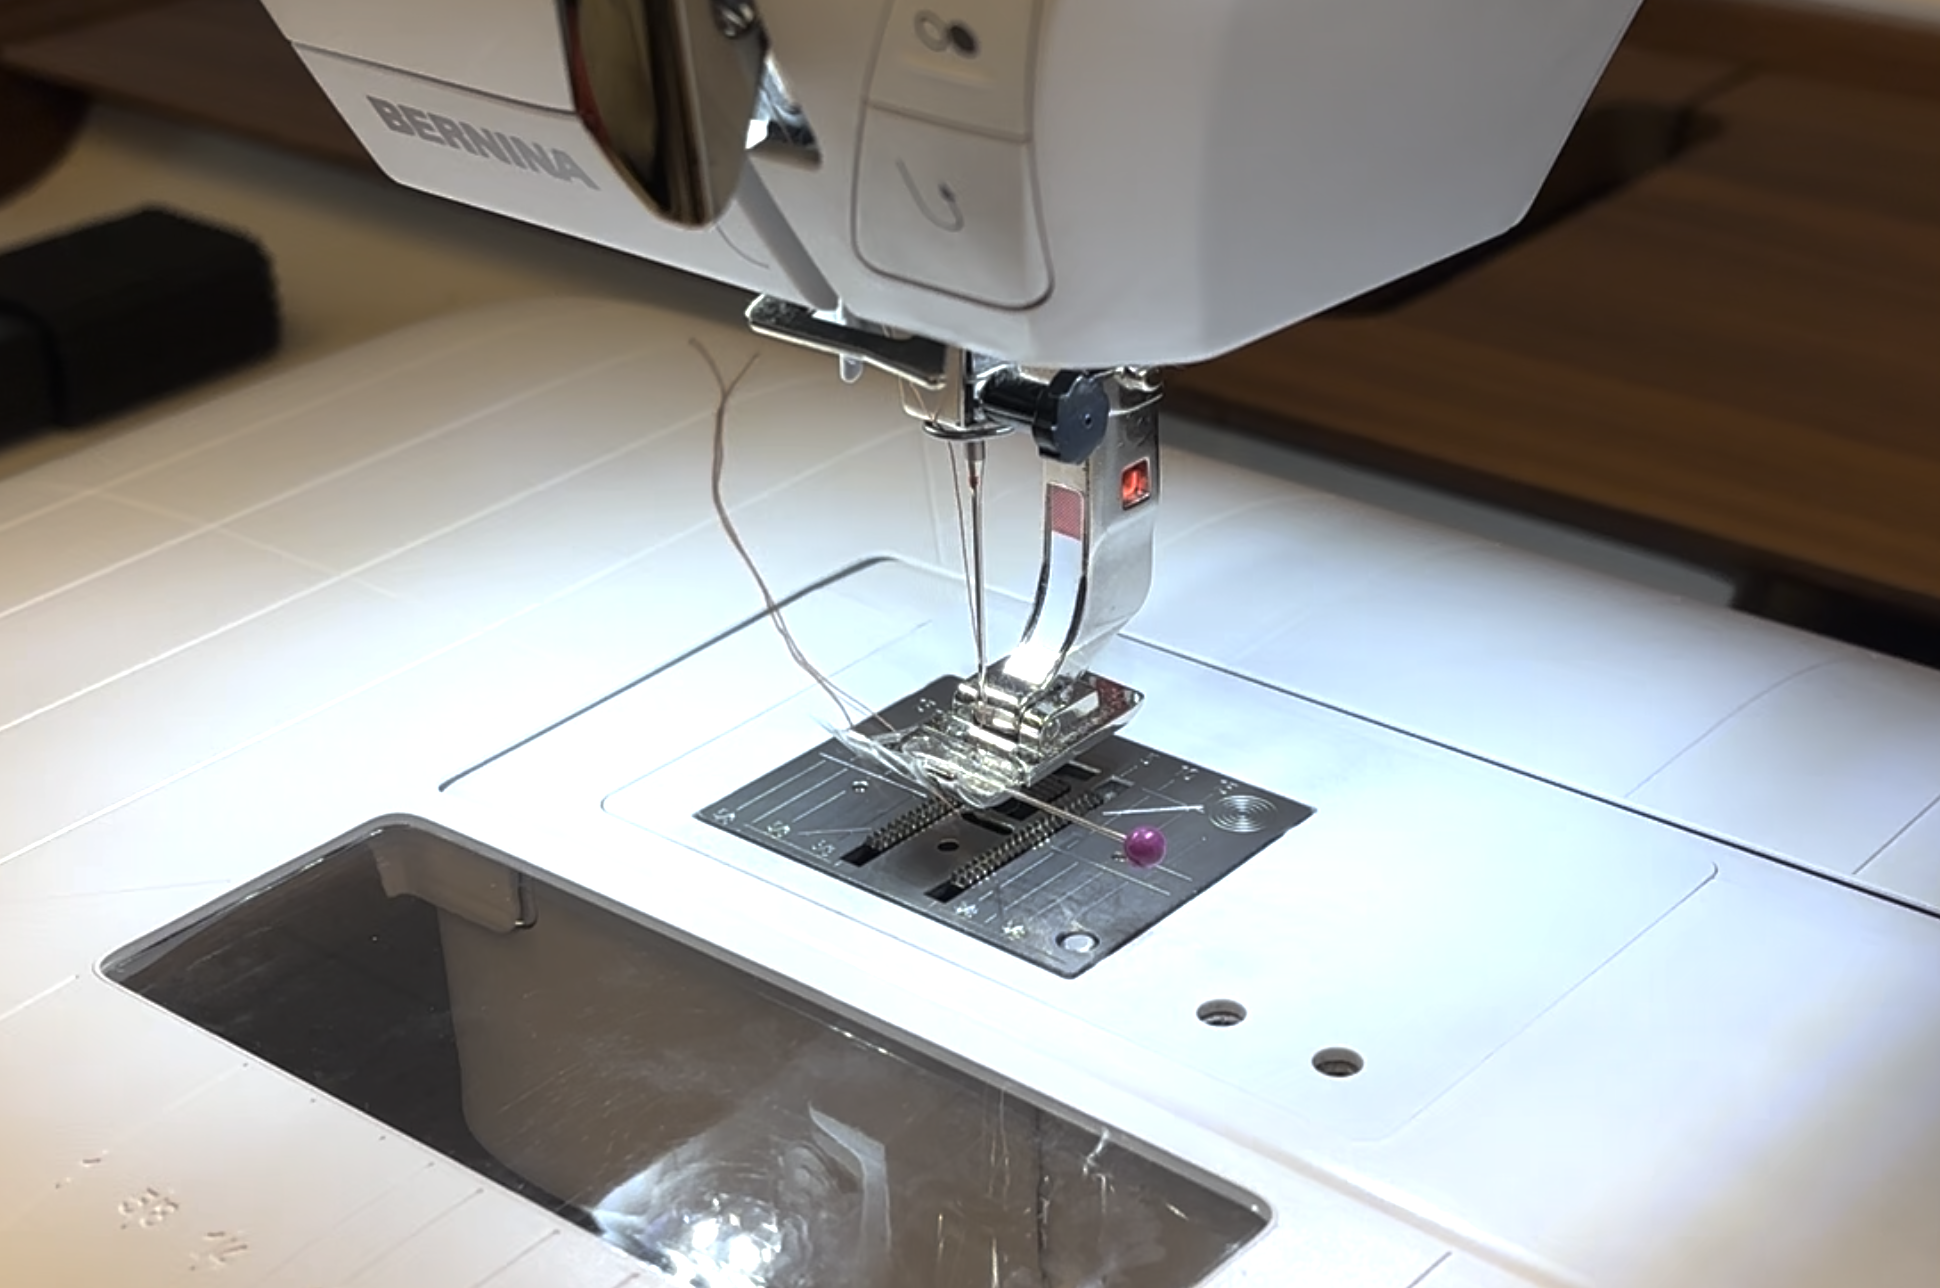
If you have a walking foot attachment for your sewing machine, swap it out now
If you do not have one, you can tape a pin to your regular foot to help create equal spacing
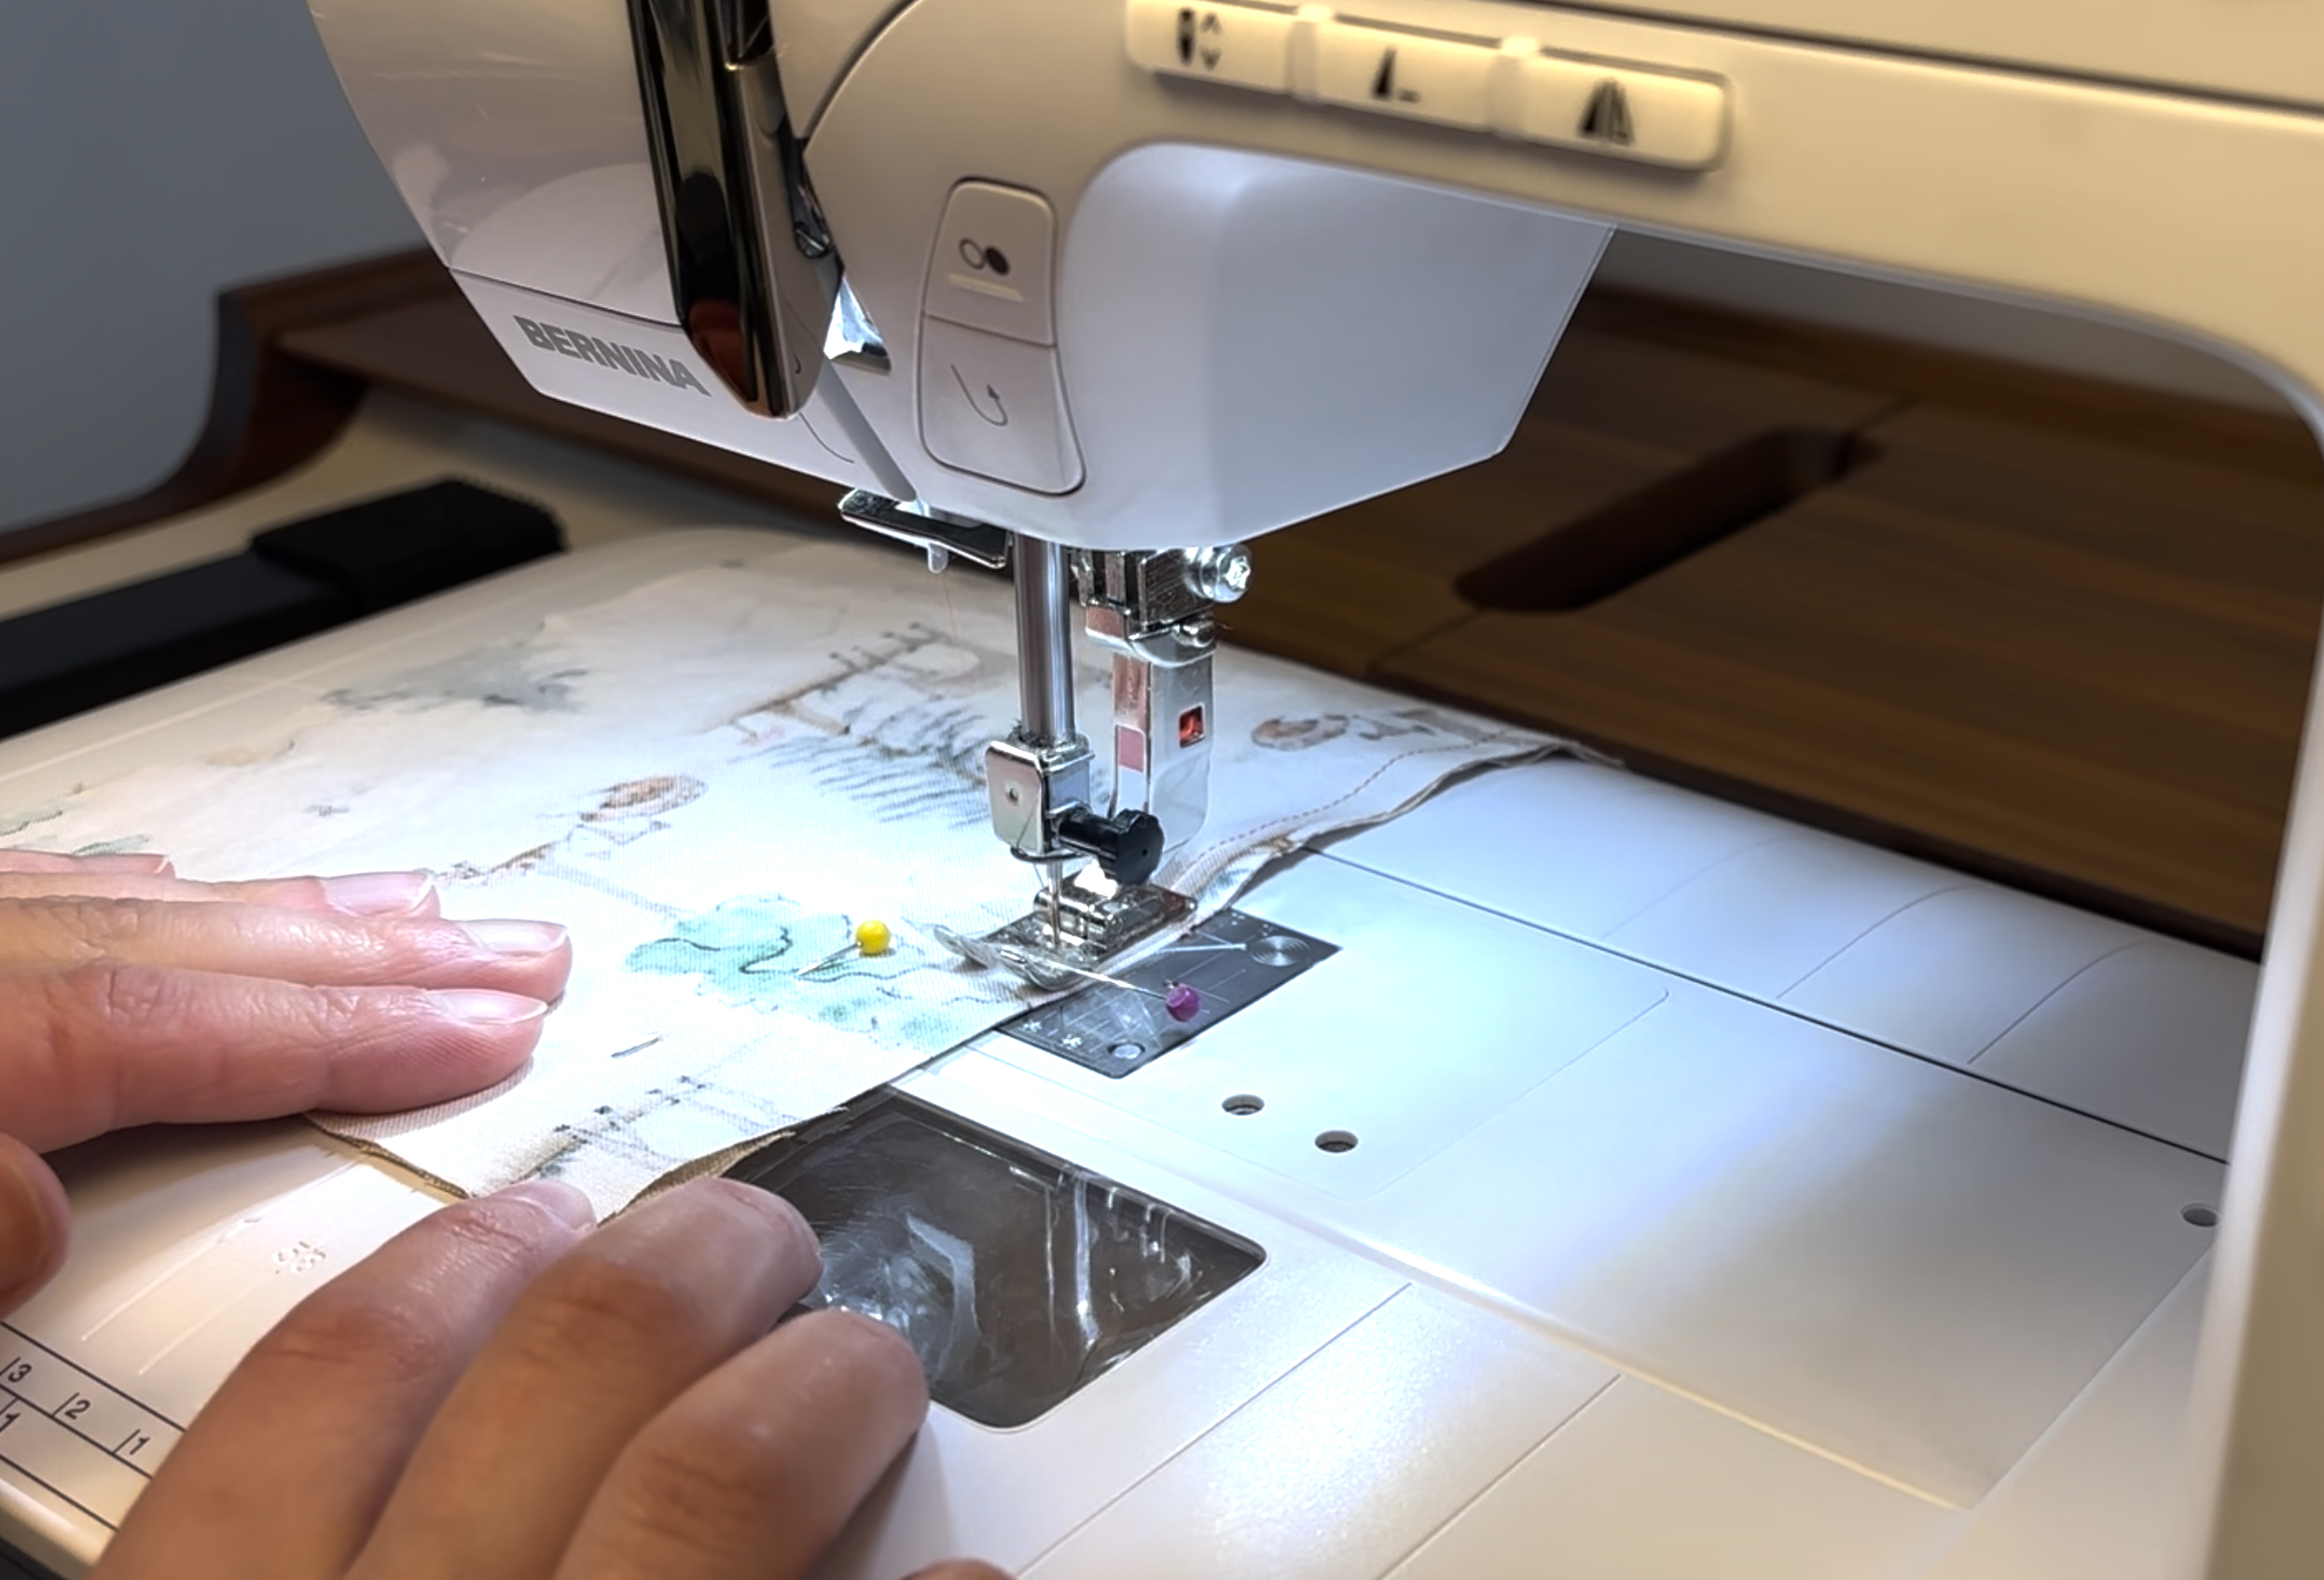
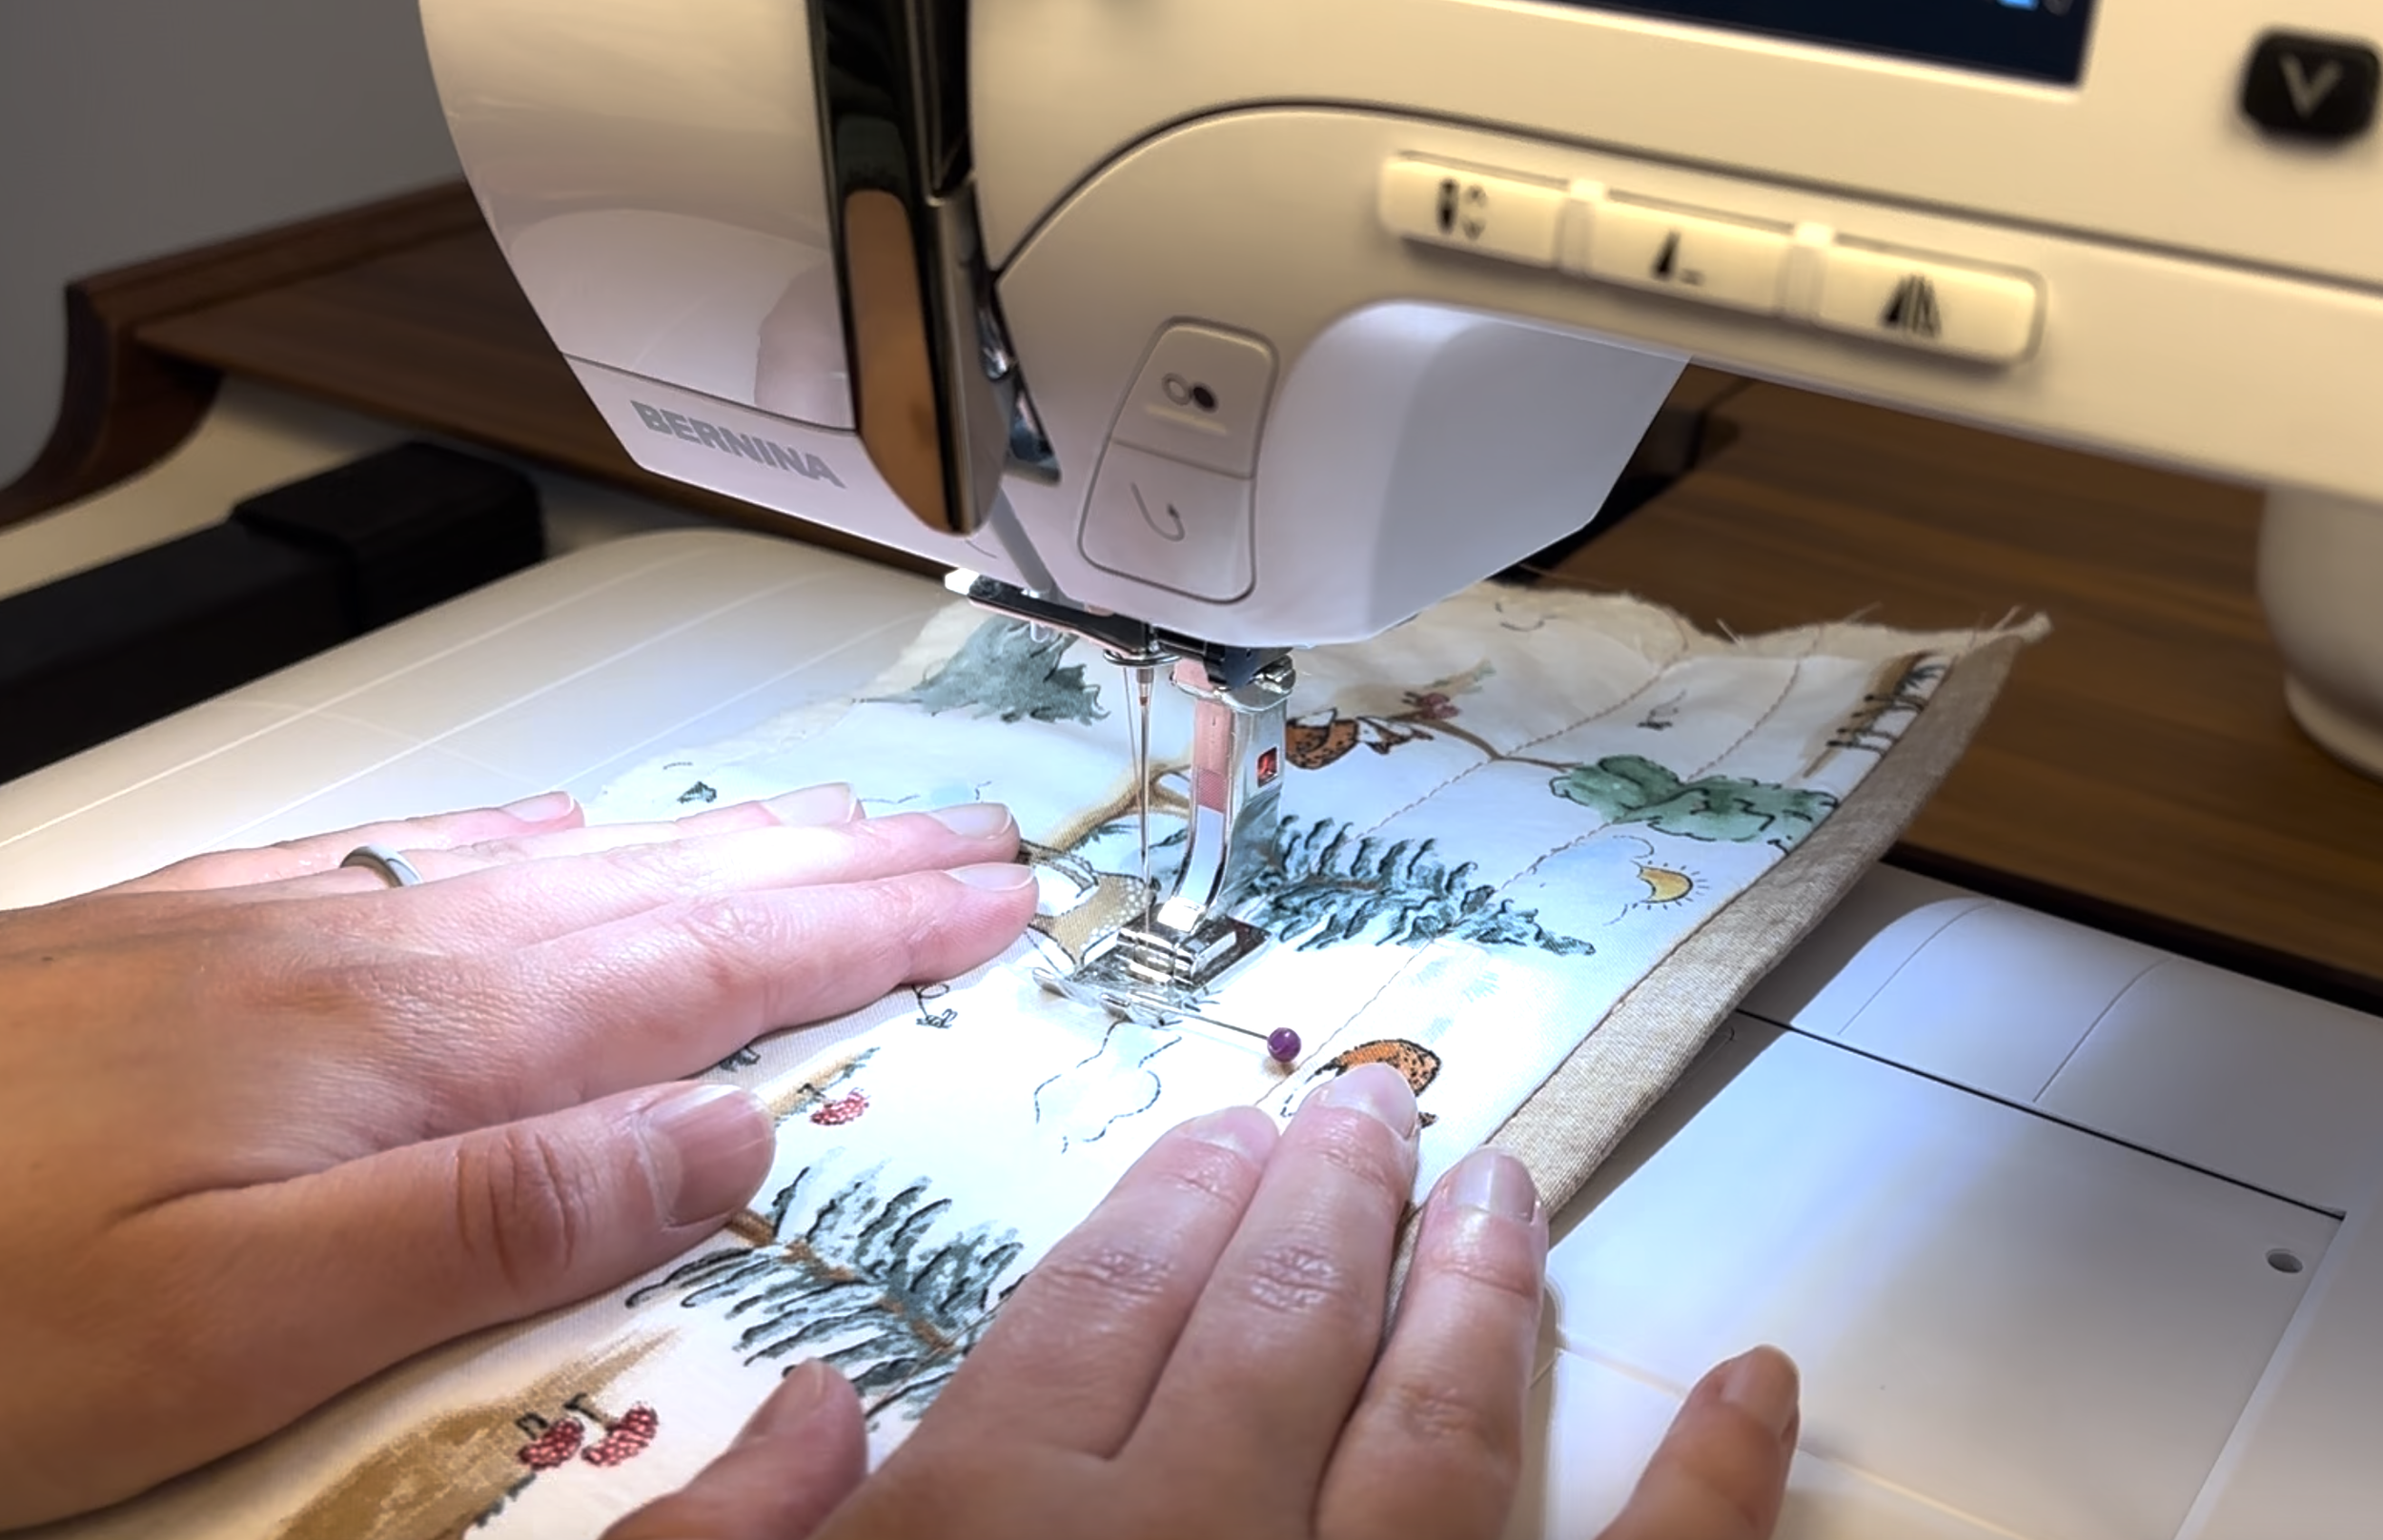
I used 1 inch spacing
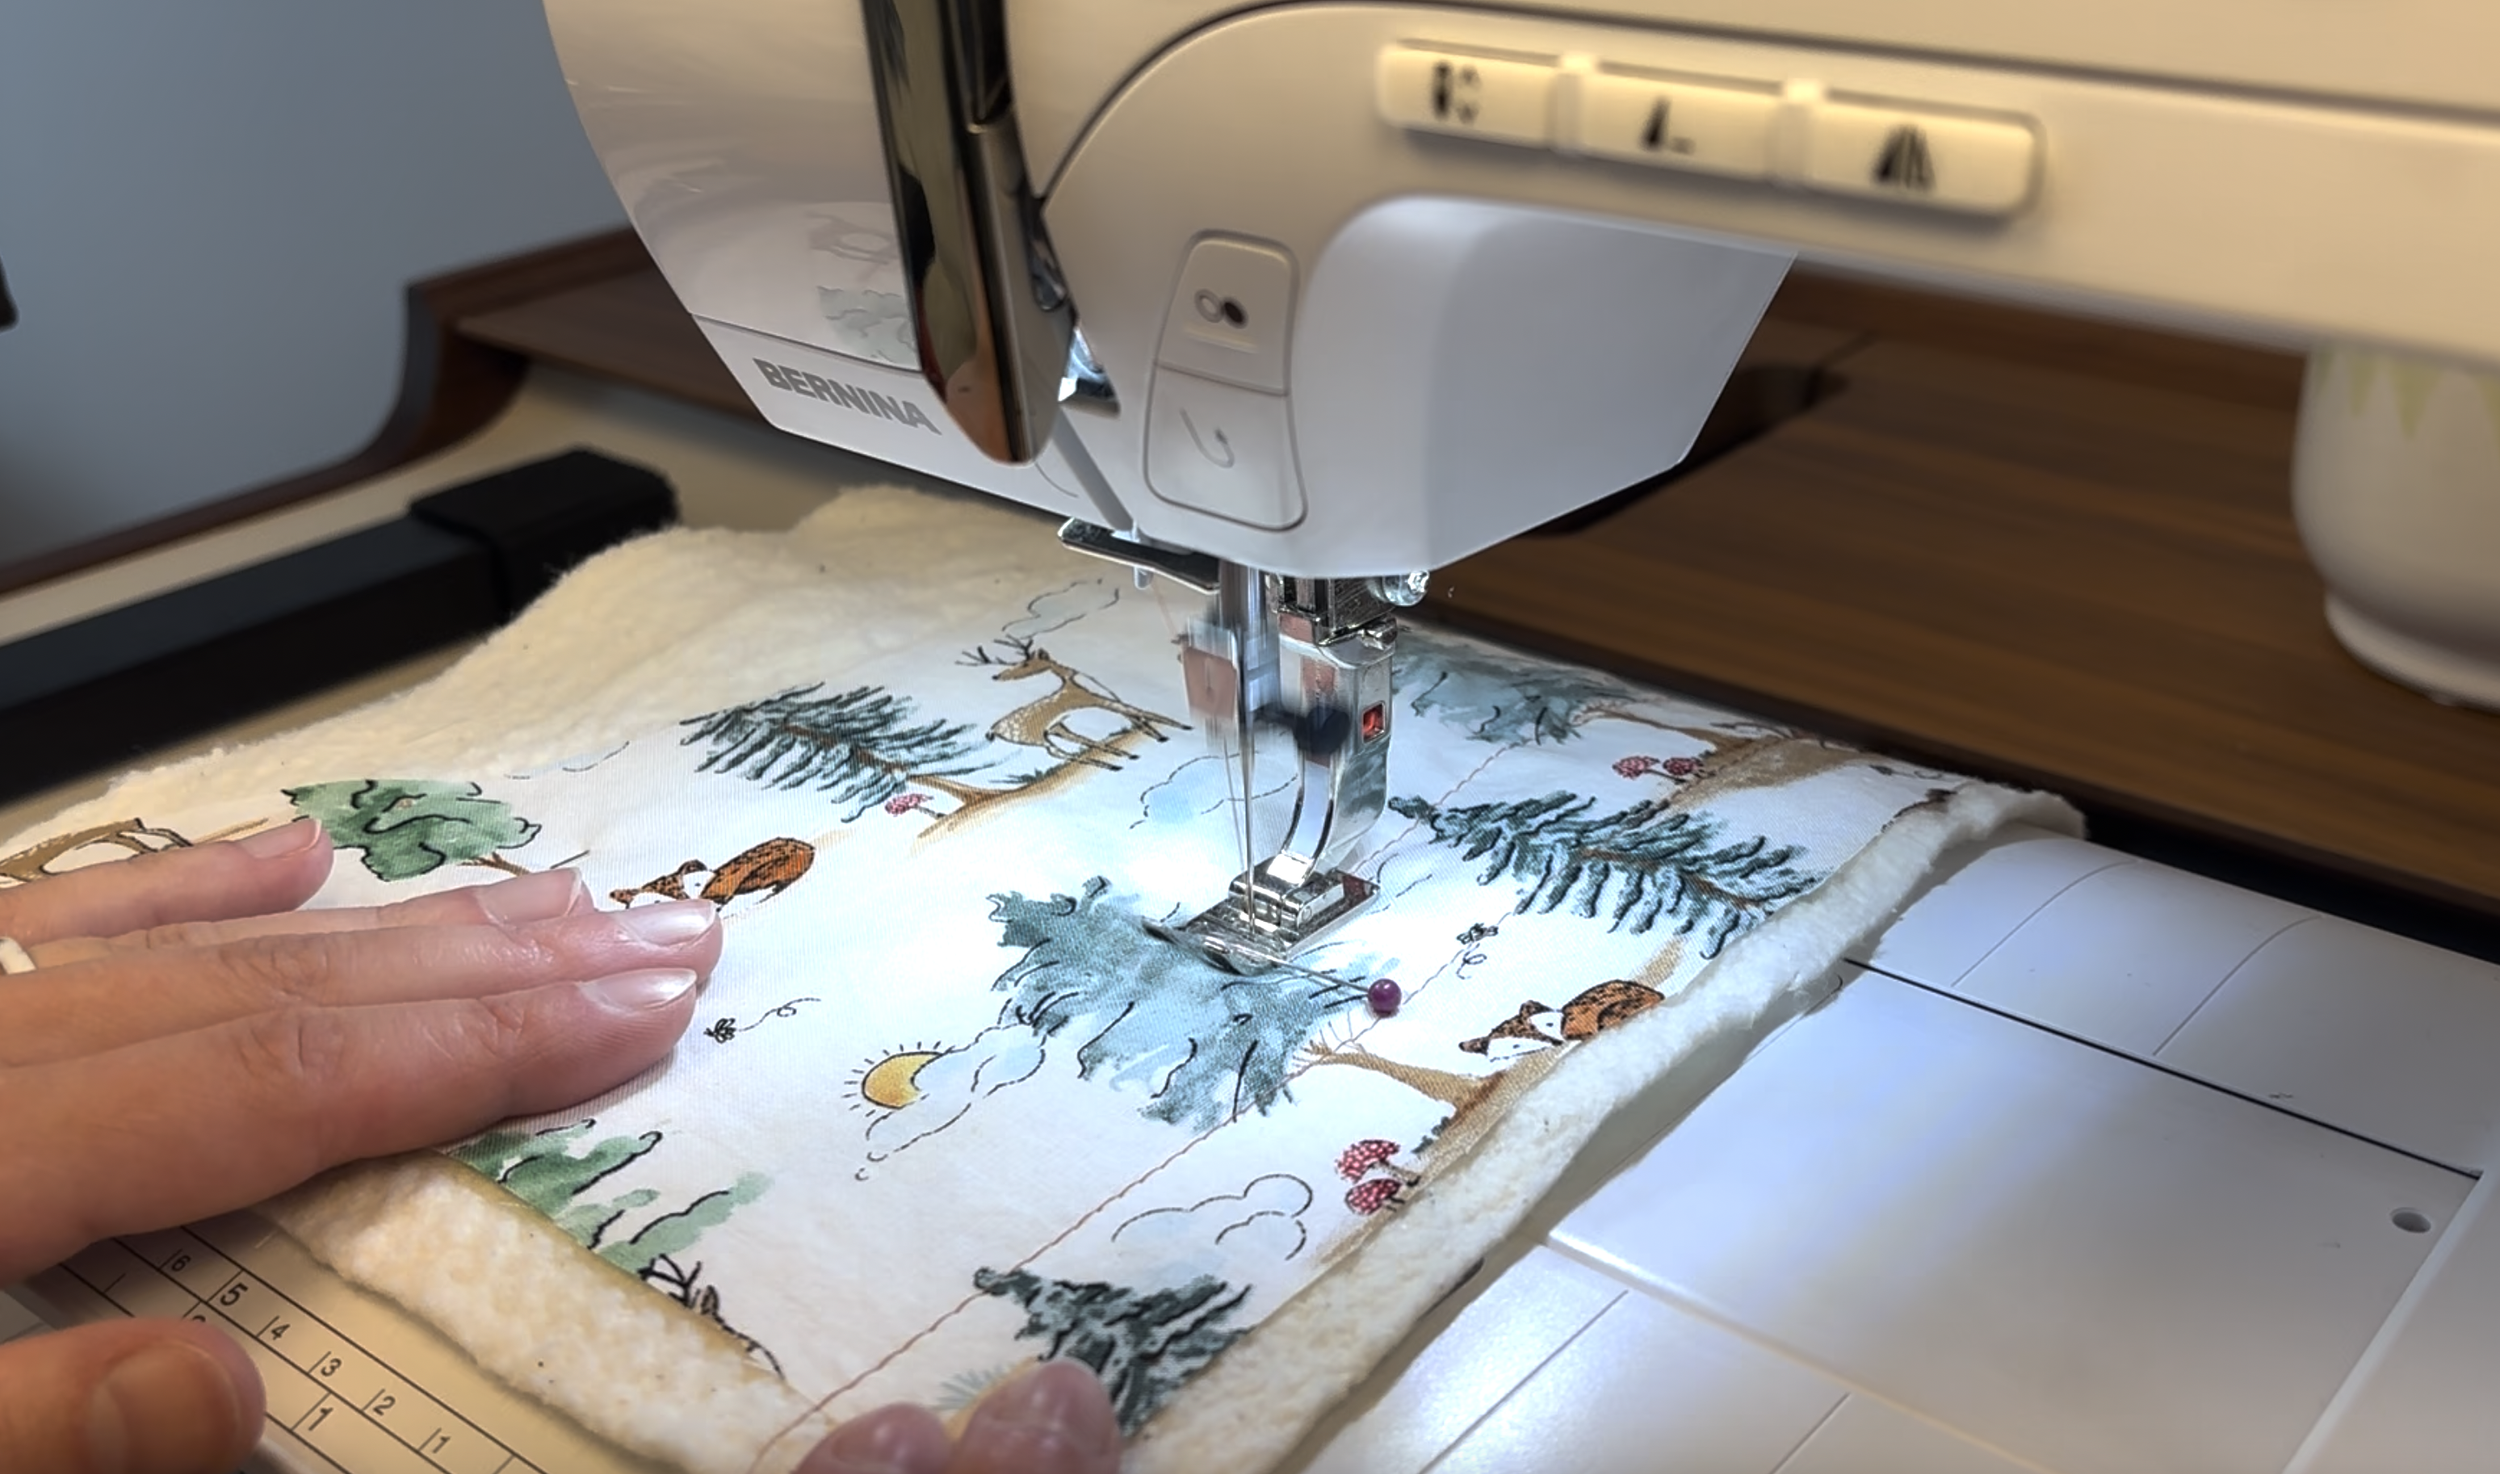
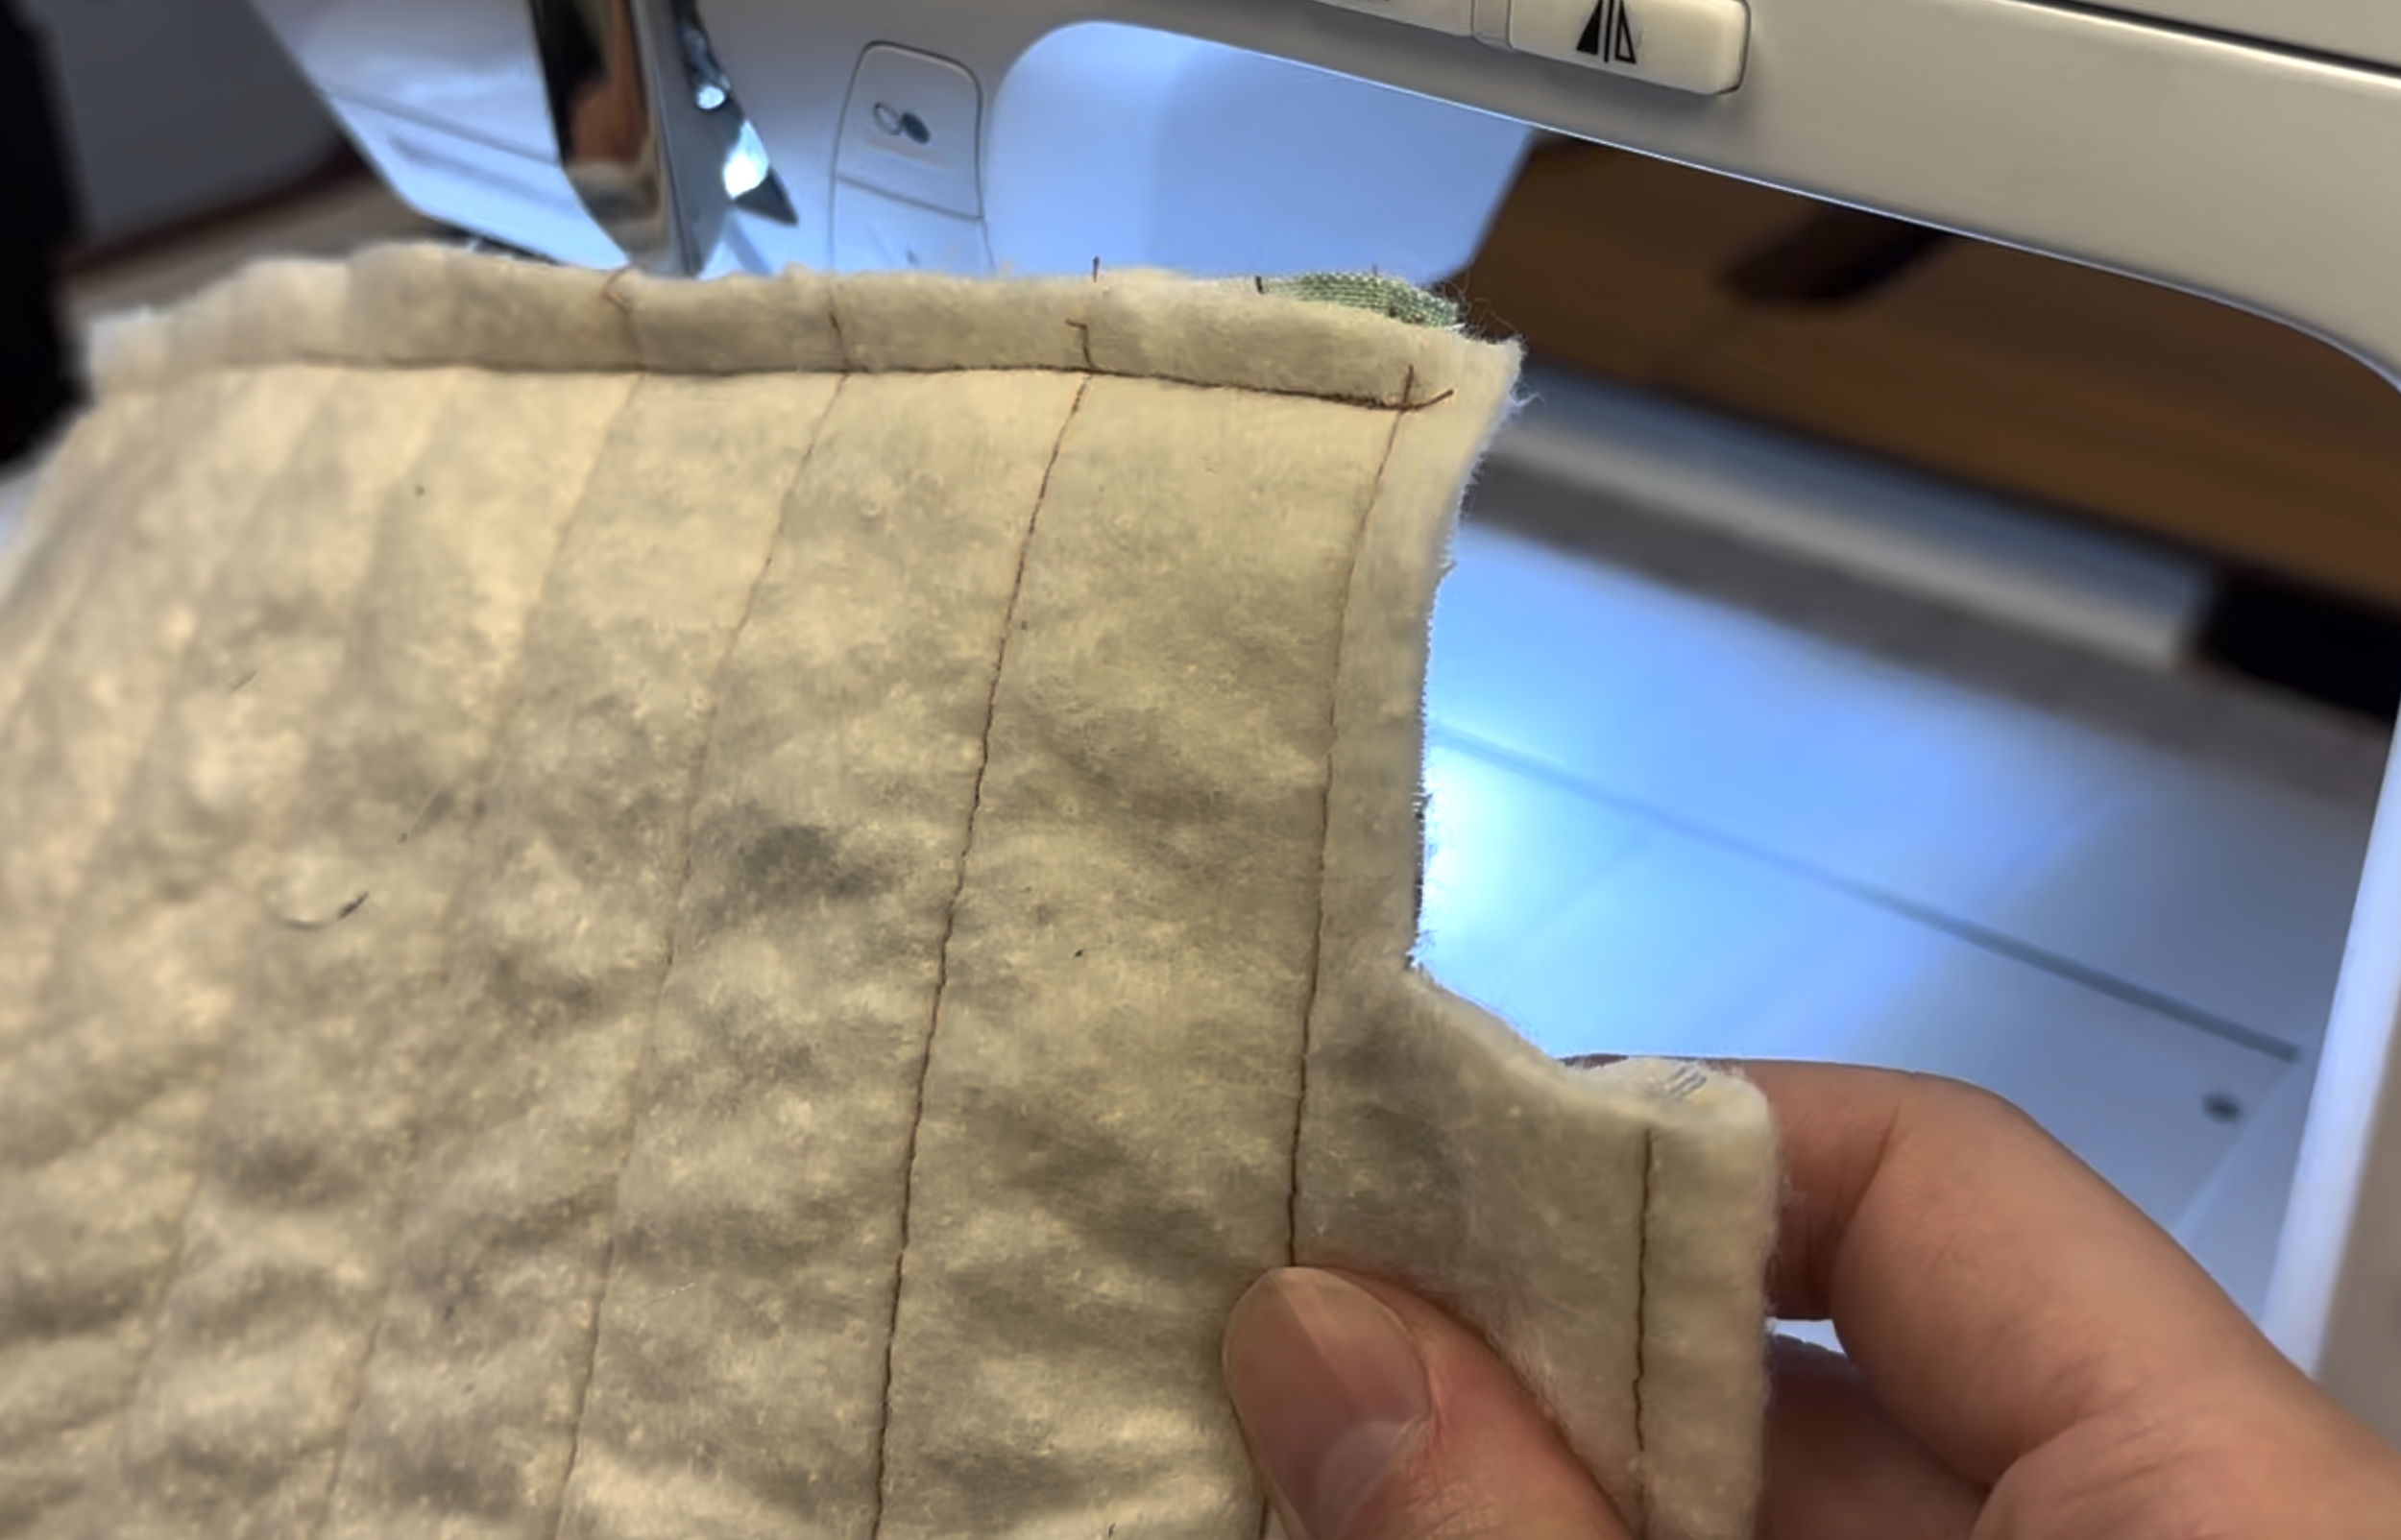
Sew horizontal lines through each pattern piece to quilt and attach the main fabric to the batting
You may change your quilting pattern if you desire


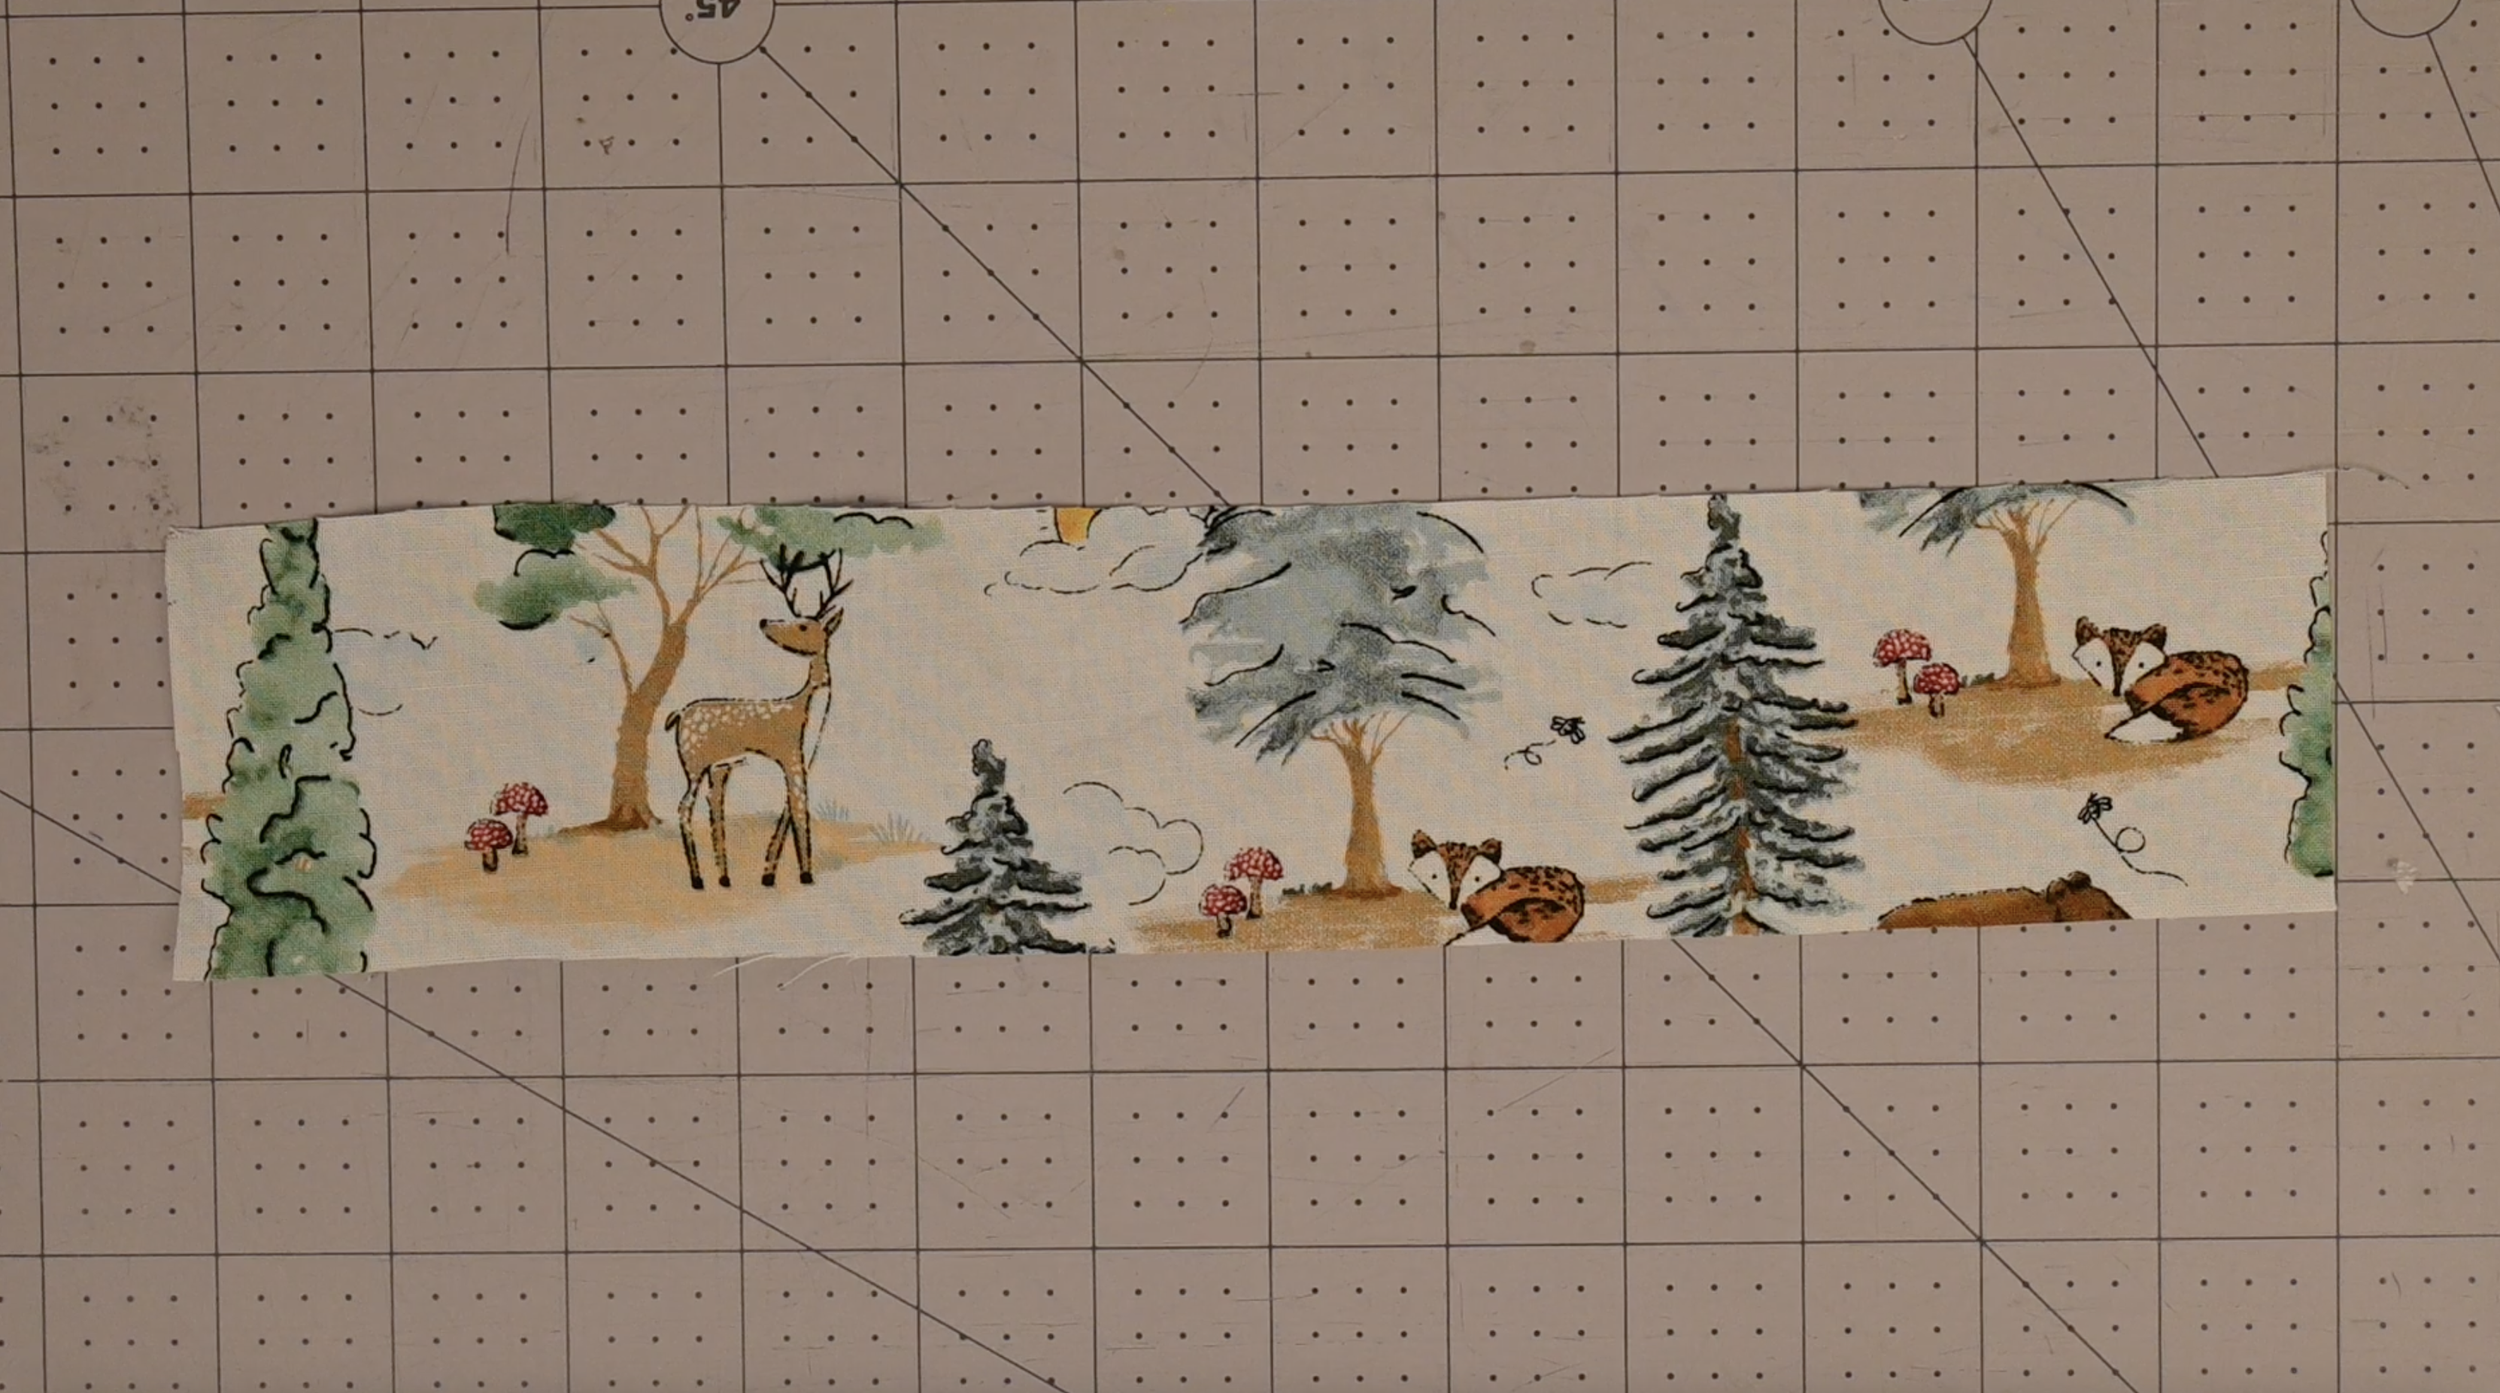
Trim off the extra batting from around the edges of each fabric piece
Step 5: Binding the Pocket

Place your main fabric pocket piece (pattern piece #2) in front of you, right side facing up
Place the lining fabric pocket piece directly on top of it, right side facing down
Pin in place
Sew along one long edge

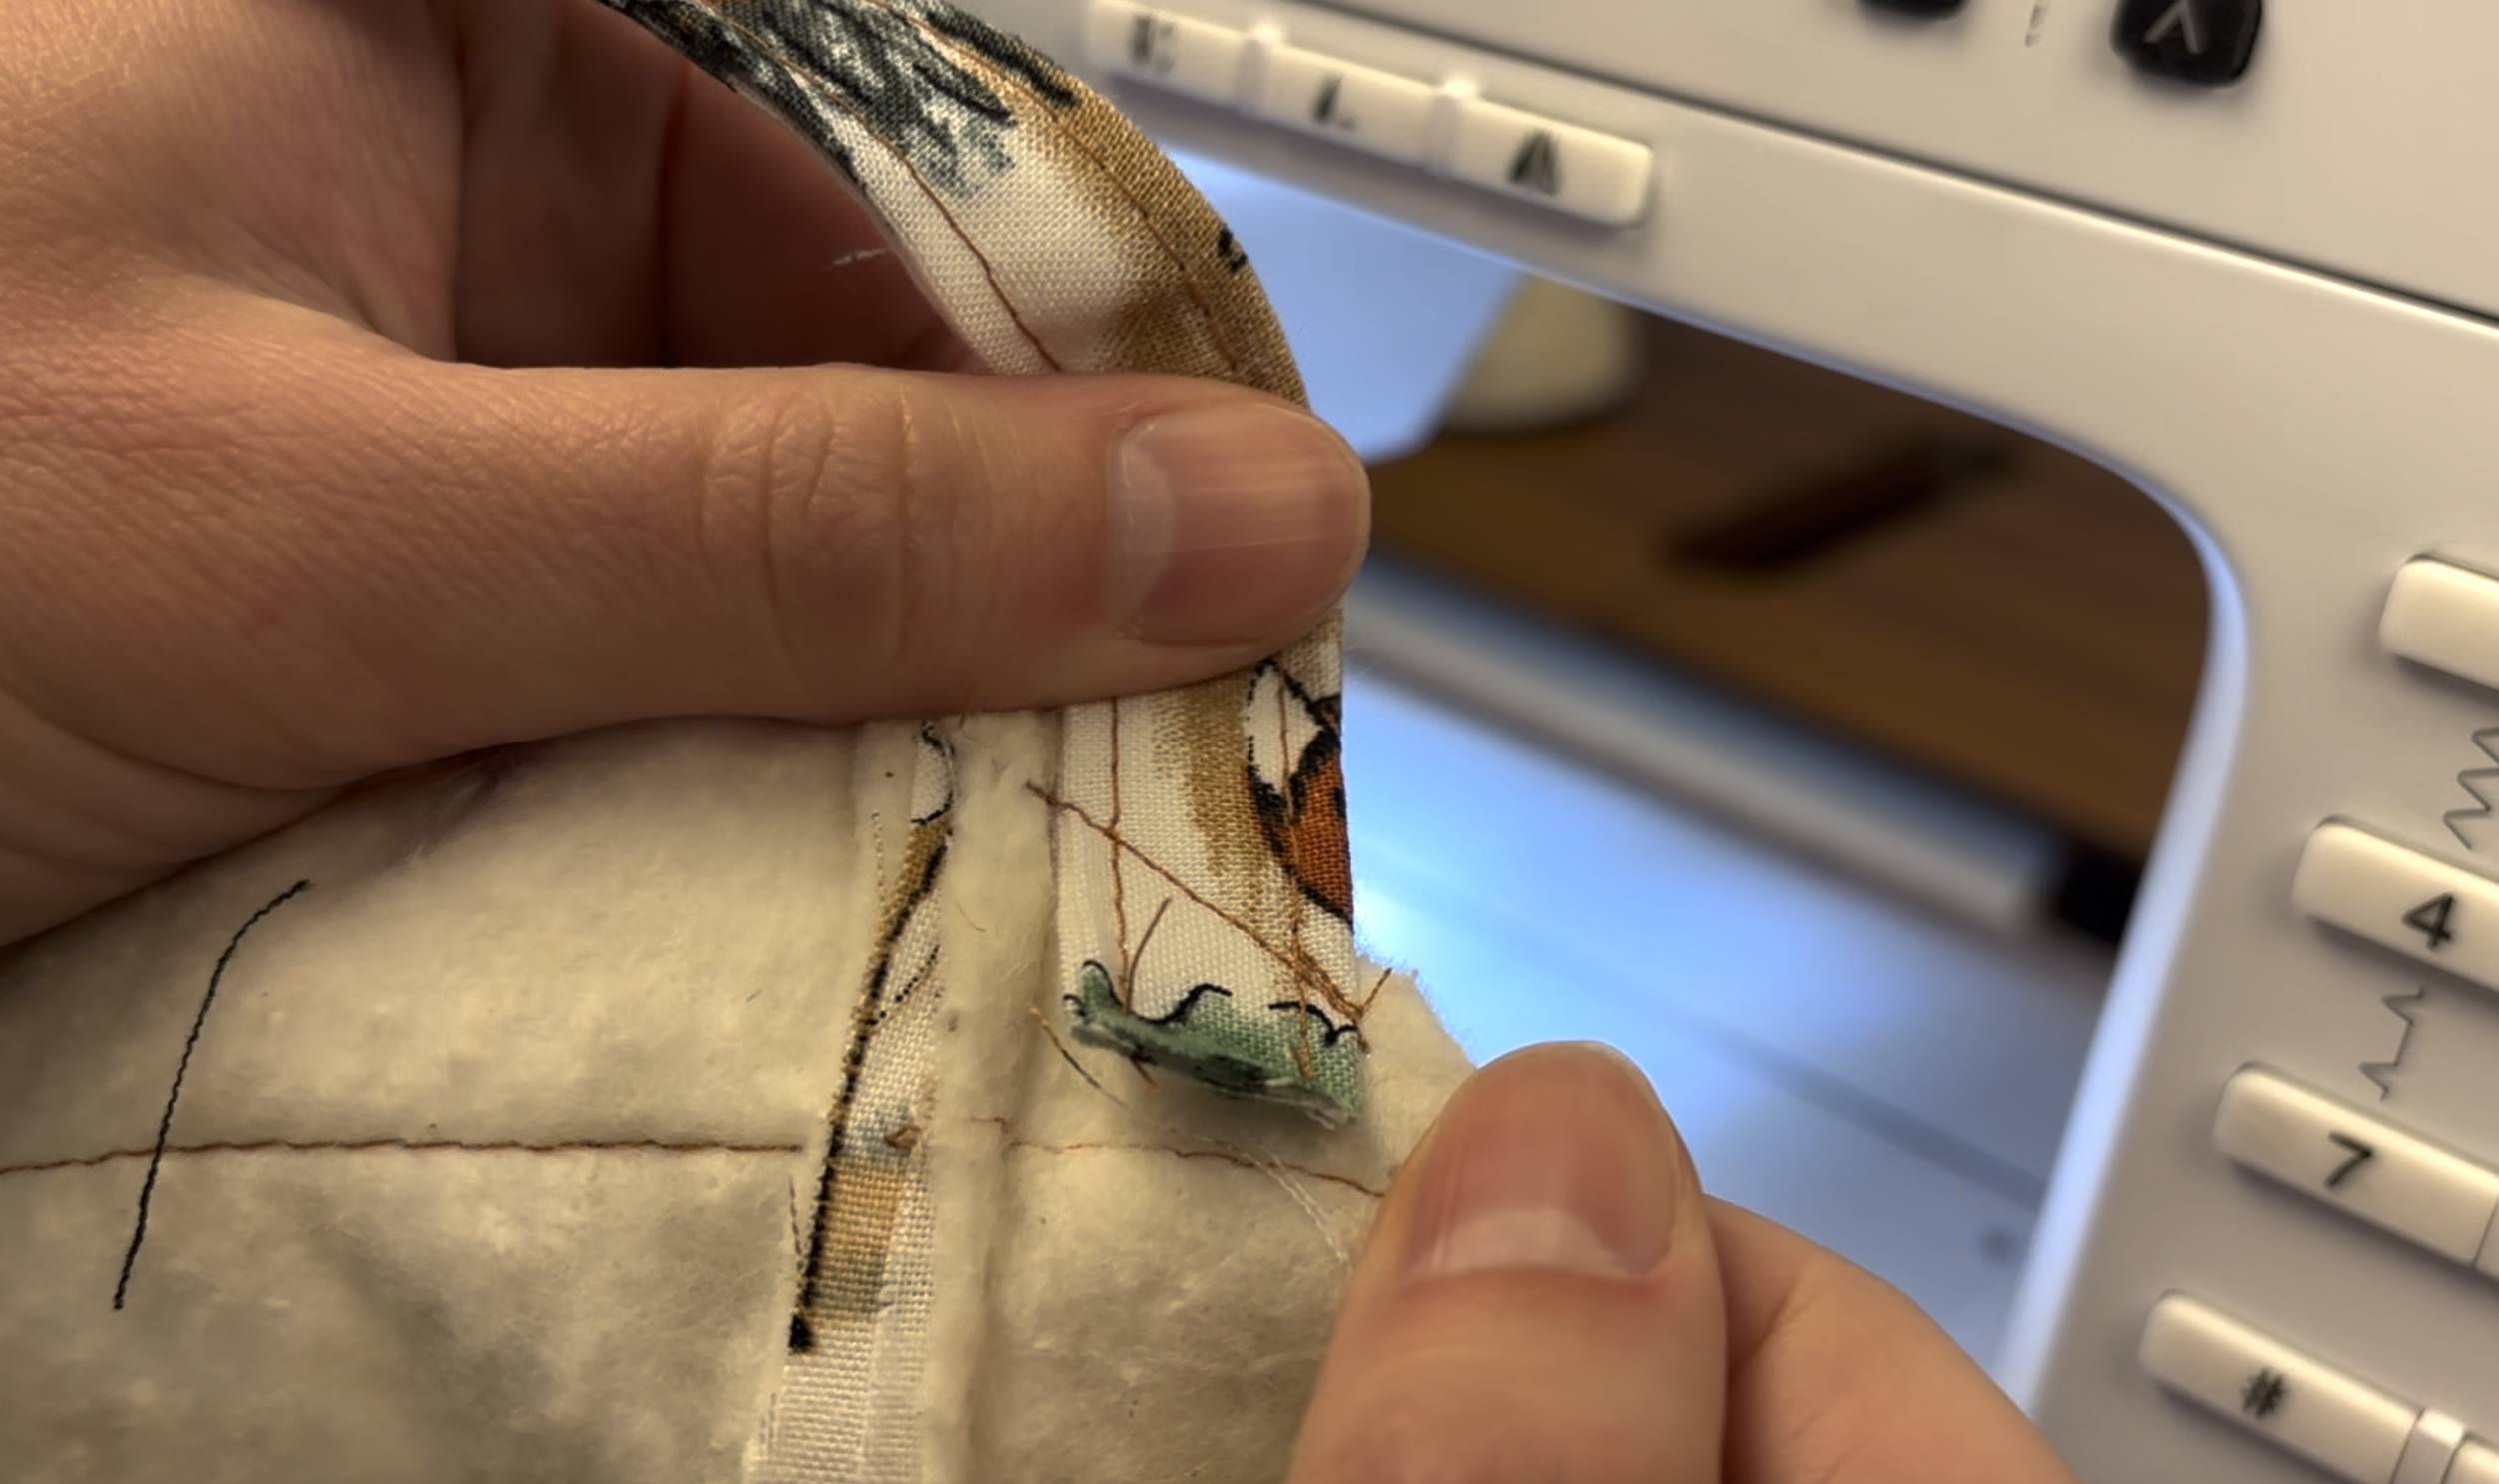
Turn the pocket right side out and iron it so that .5 inch of the lining fabric shows over onto the front side
Iron flat

Place your batting inside the two layers, ensuring it is tucked tight into the crease
Pin it in place
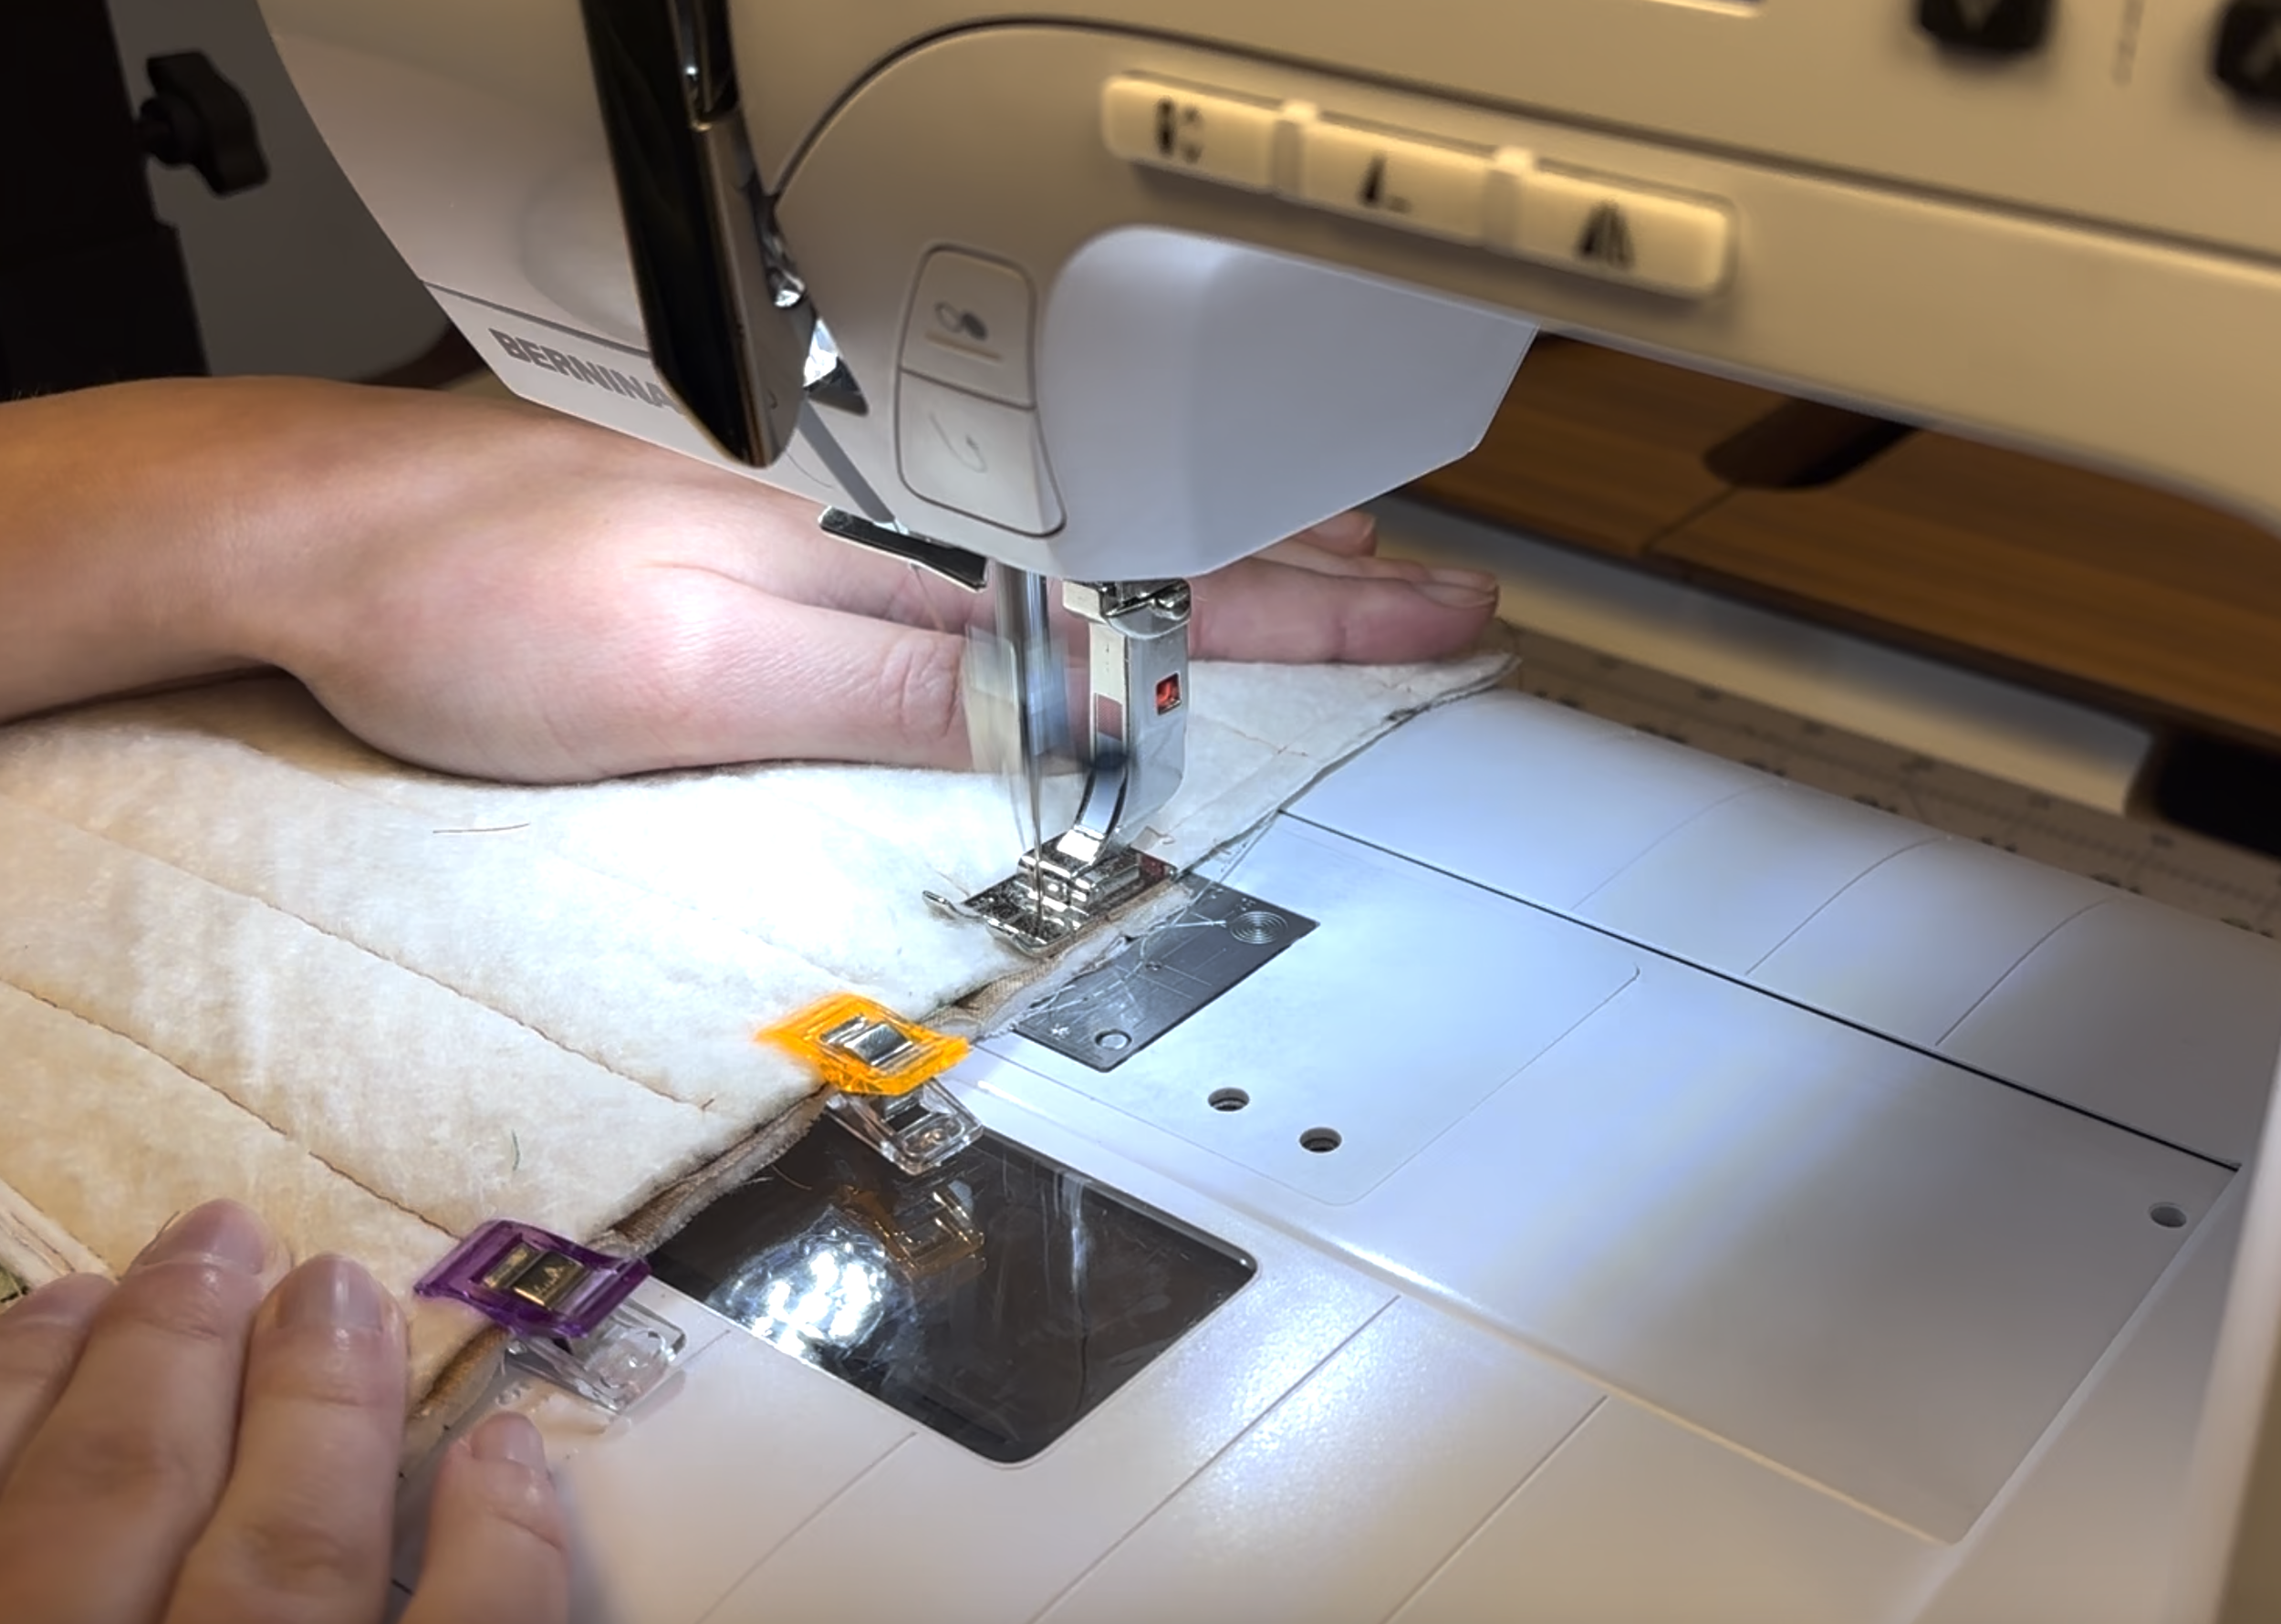
Sew a straight line right where the two fabrics meet
Continue to secure the batting by sewing horizontal lines every 1 inch

Flip it over and cut off any extra batting extending past the edges
Step 6: Making the Loop
Cut a piece of fabric in your desired print measuring 2.5 x 12 inches long

Fold the rectangle in half lengthwise (right sides facing out) and iron a center crease
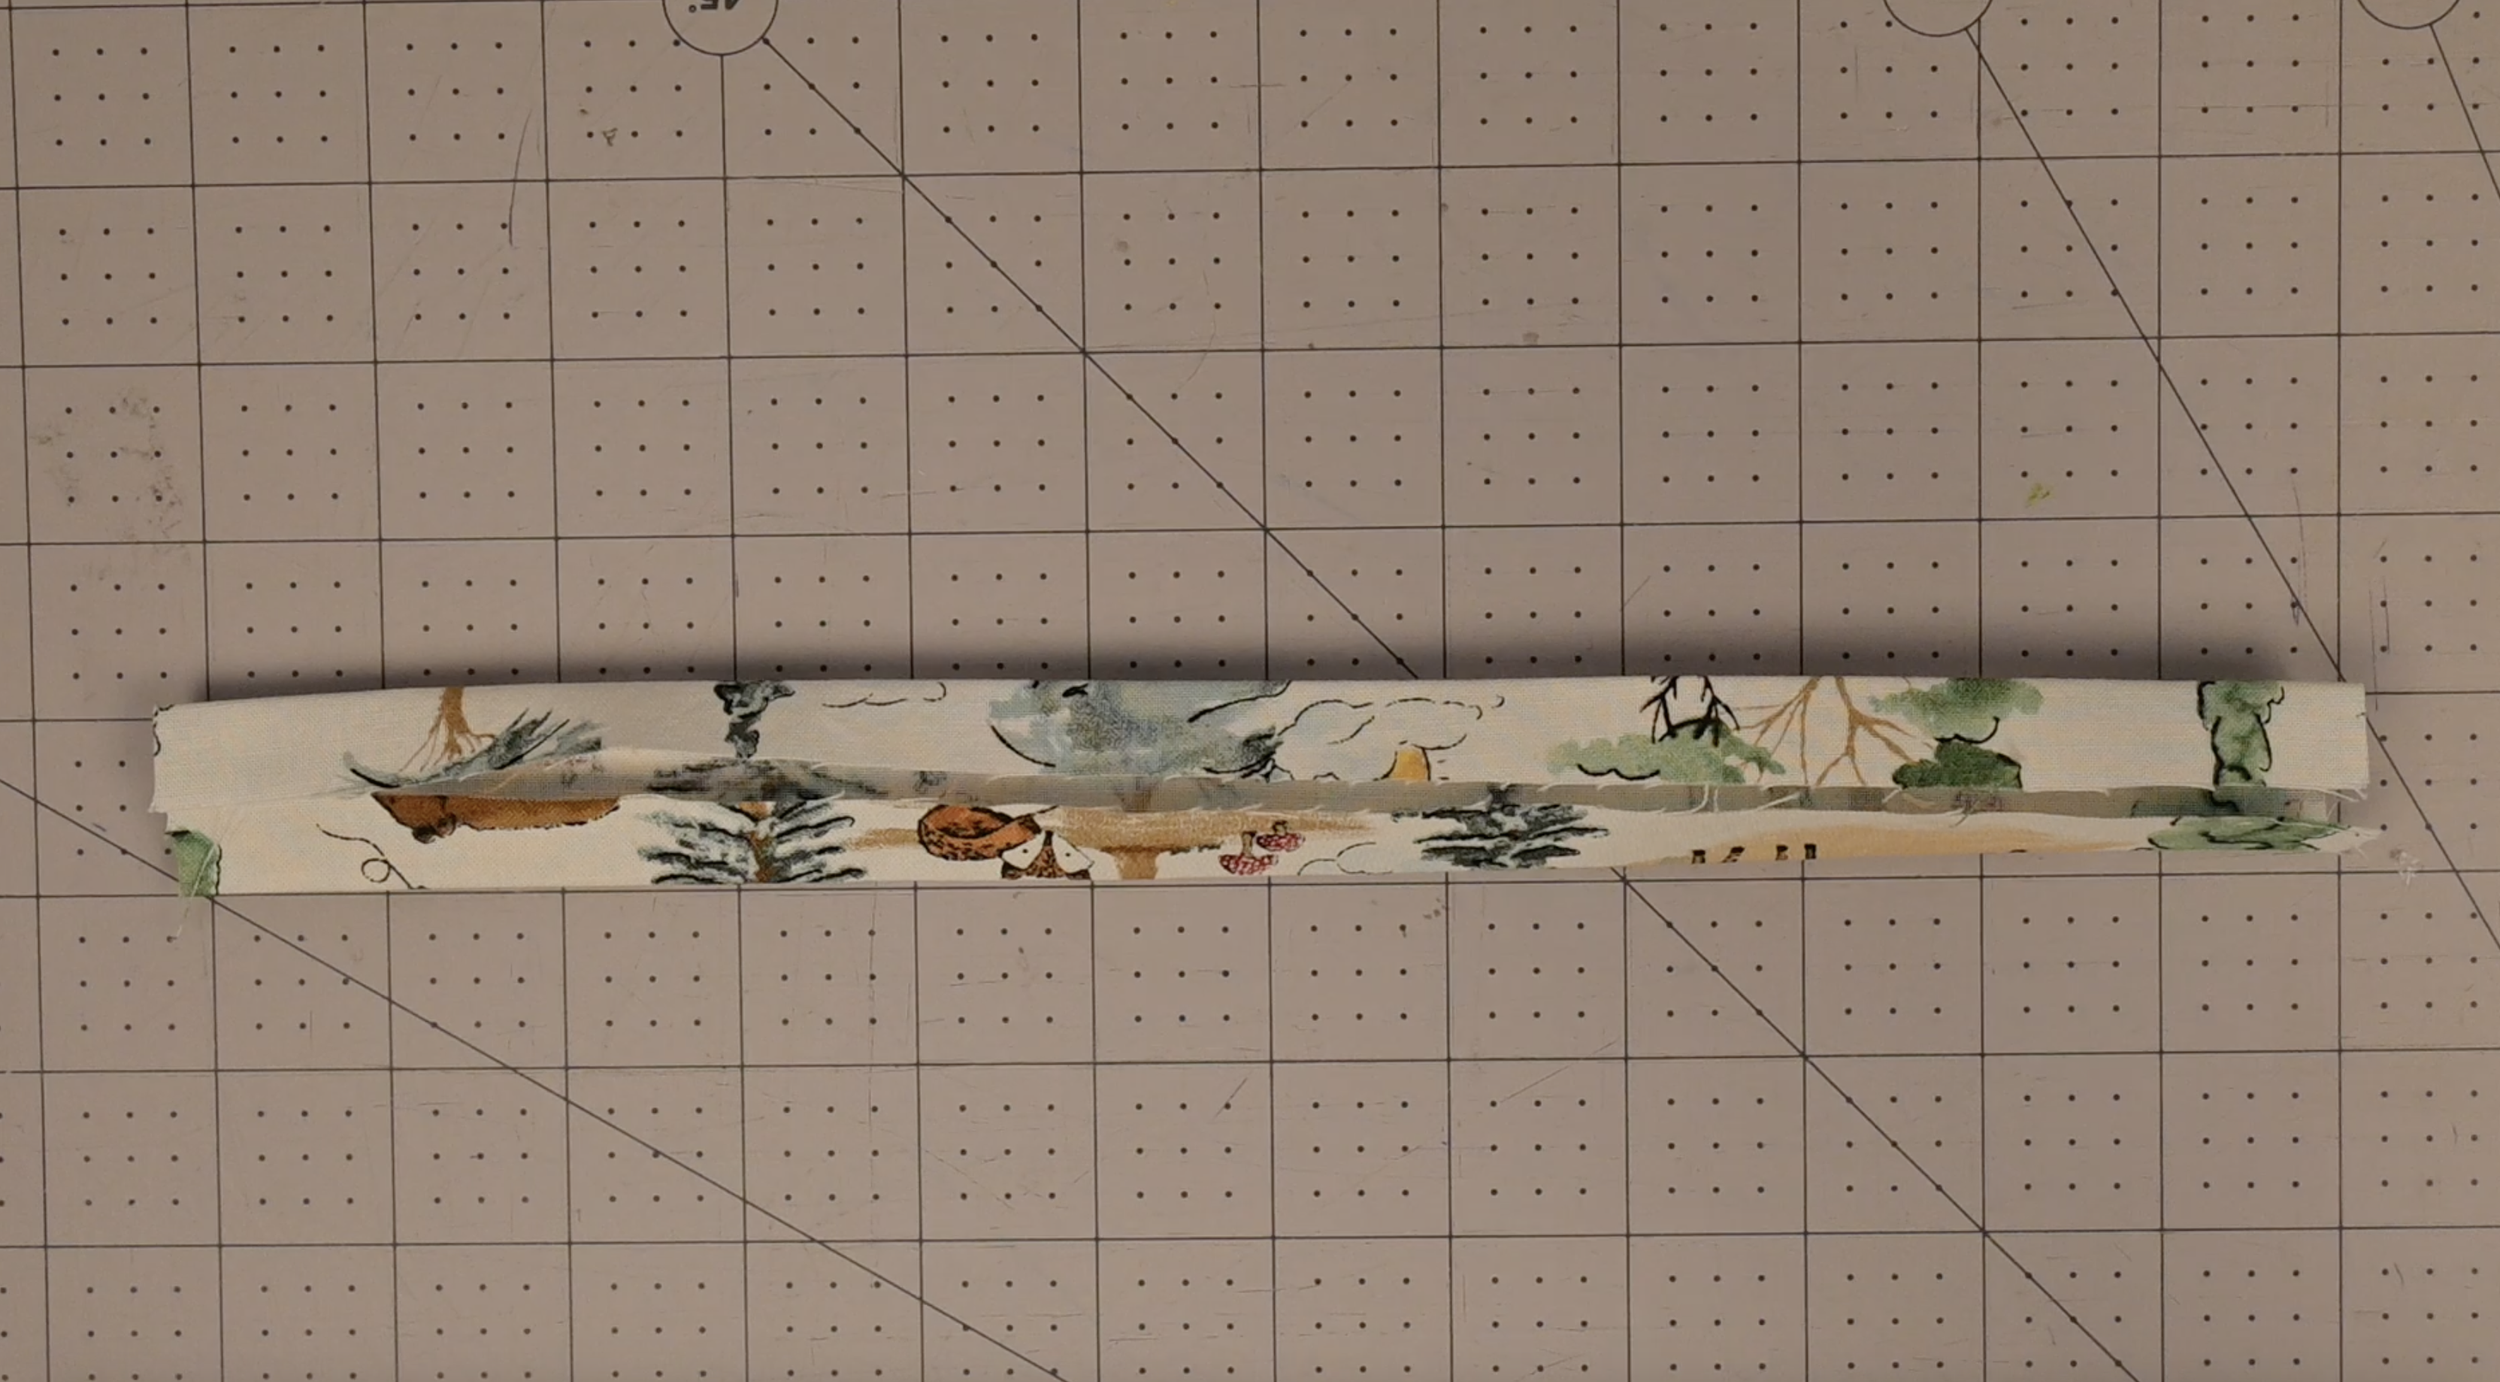
Open it up and fold both long raw edges inward to meet that center crease
Iron flat

Fold the piece in half again along the original center crease and iron
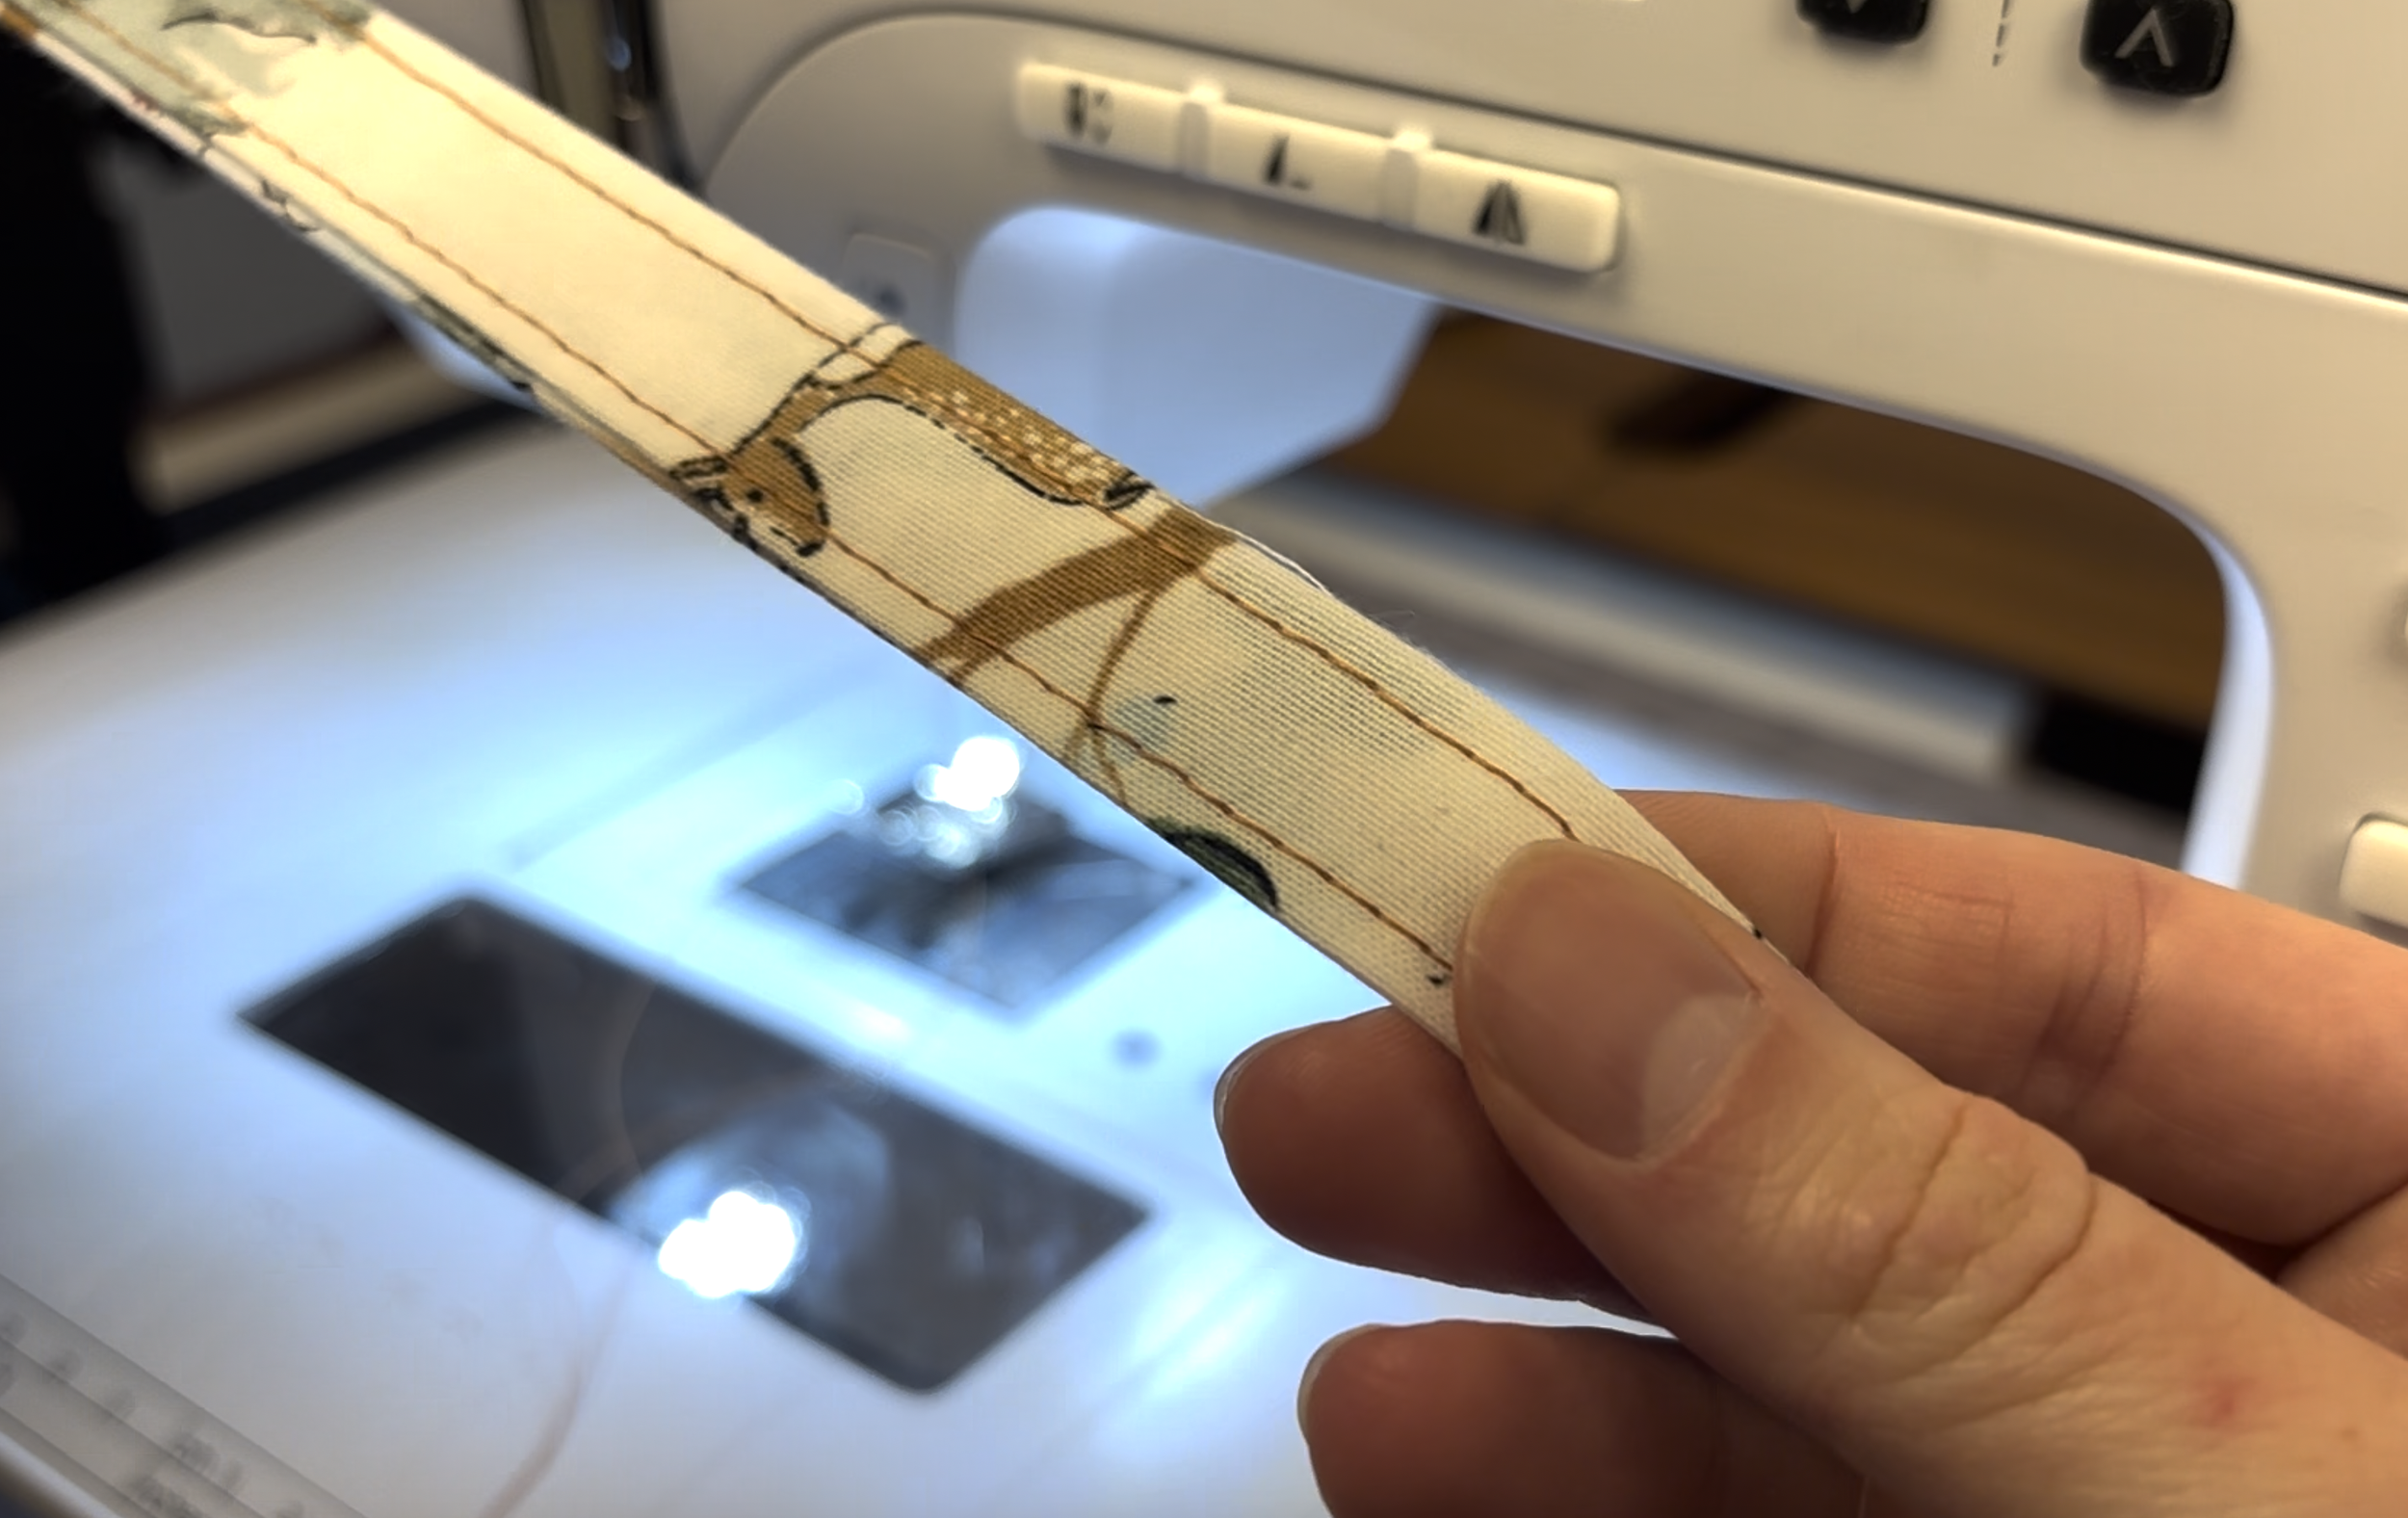
Topstitch down both long sides to secure the loop
Step 7: Attaching the Pocket

Lay the pattern piece with the curve in front of you, main fabric facing up
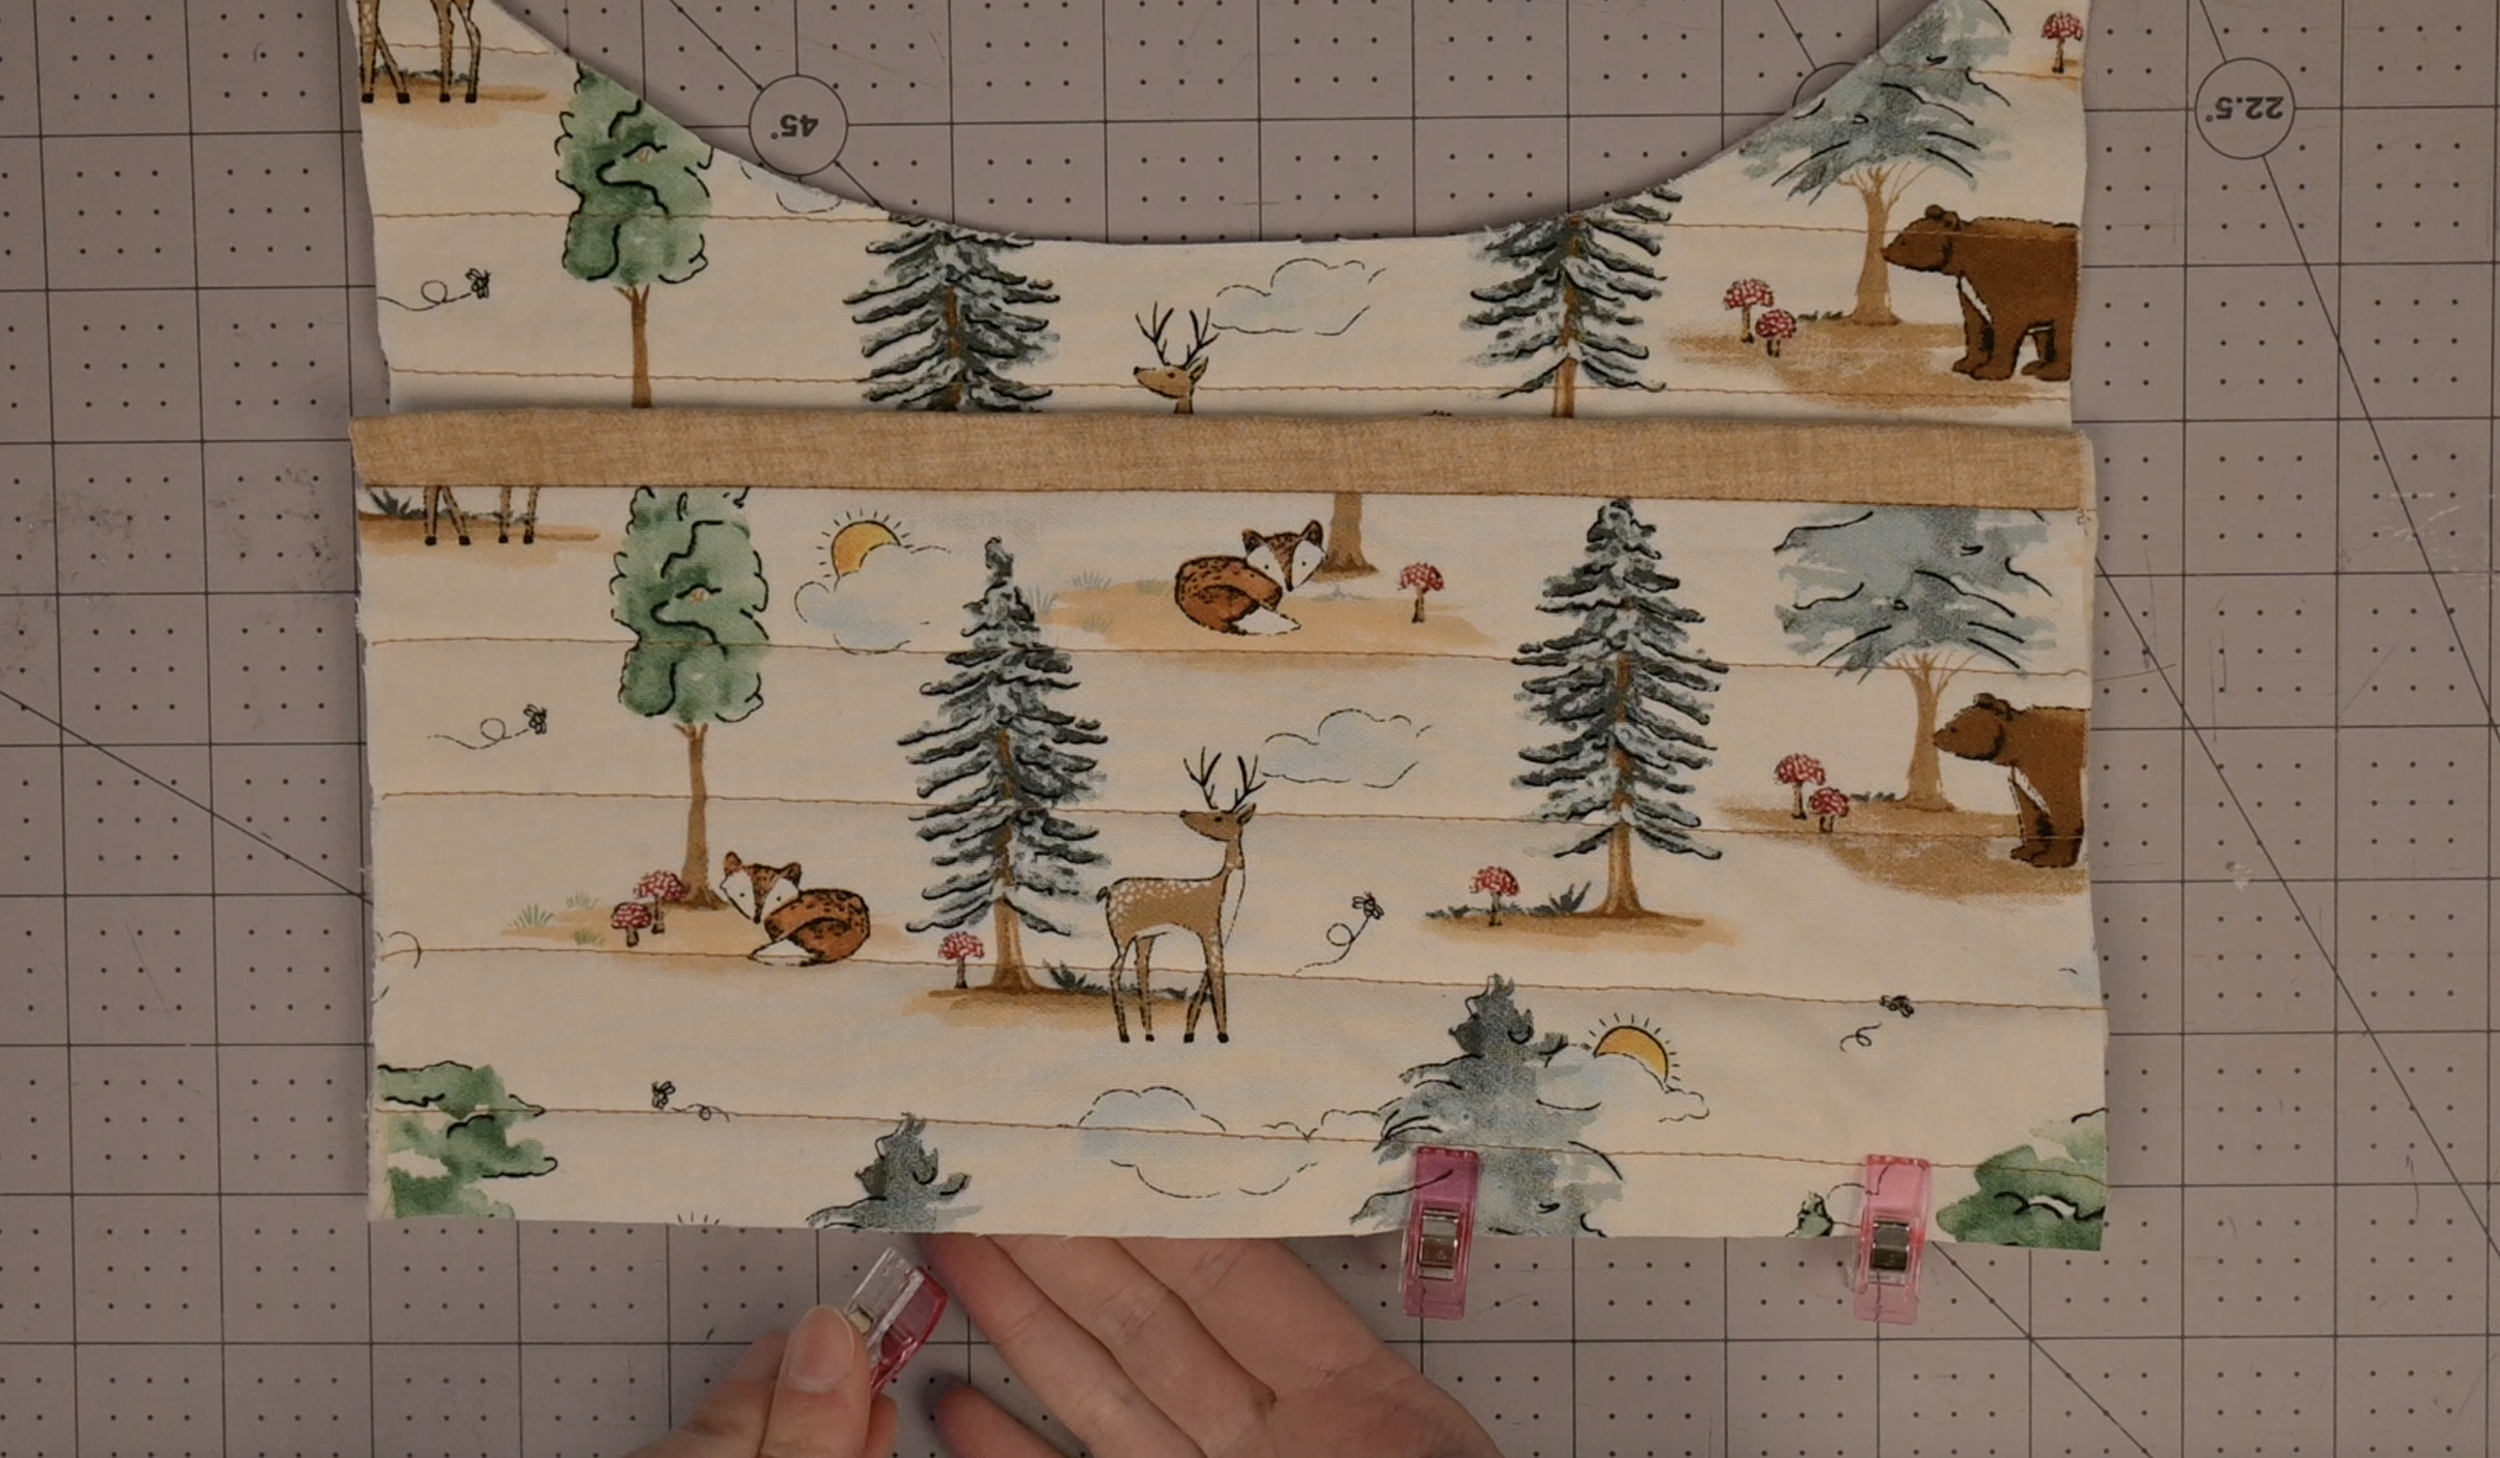
Place the pocket piece on top, main fabric facing up, aligning the bottom edges
Pin or clip in place
Sew closely along the bottom edge to secure
Step 8: Begin the Assembly
Lay the large fabric pattern piece in front of you, main fabric facing up
Lay the pocket piece down on top of the large piece, aligning the straight long edge with the shorter edge

Pin or clip in place

Sew along the short bottom edge
Step 9: Construct the Sides
Fold the large piece you just stitched in half, aligning the left and right edges

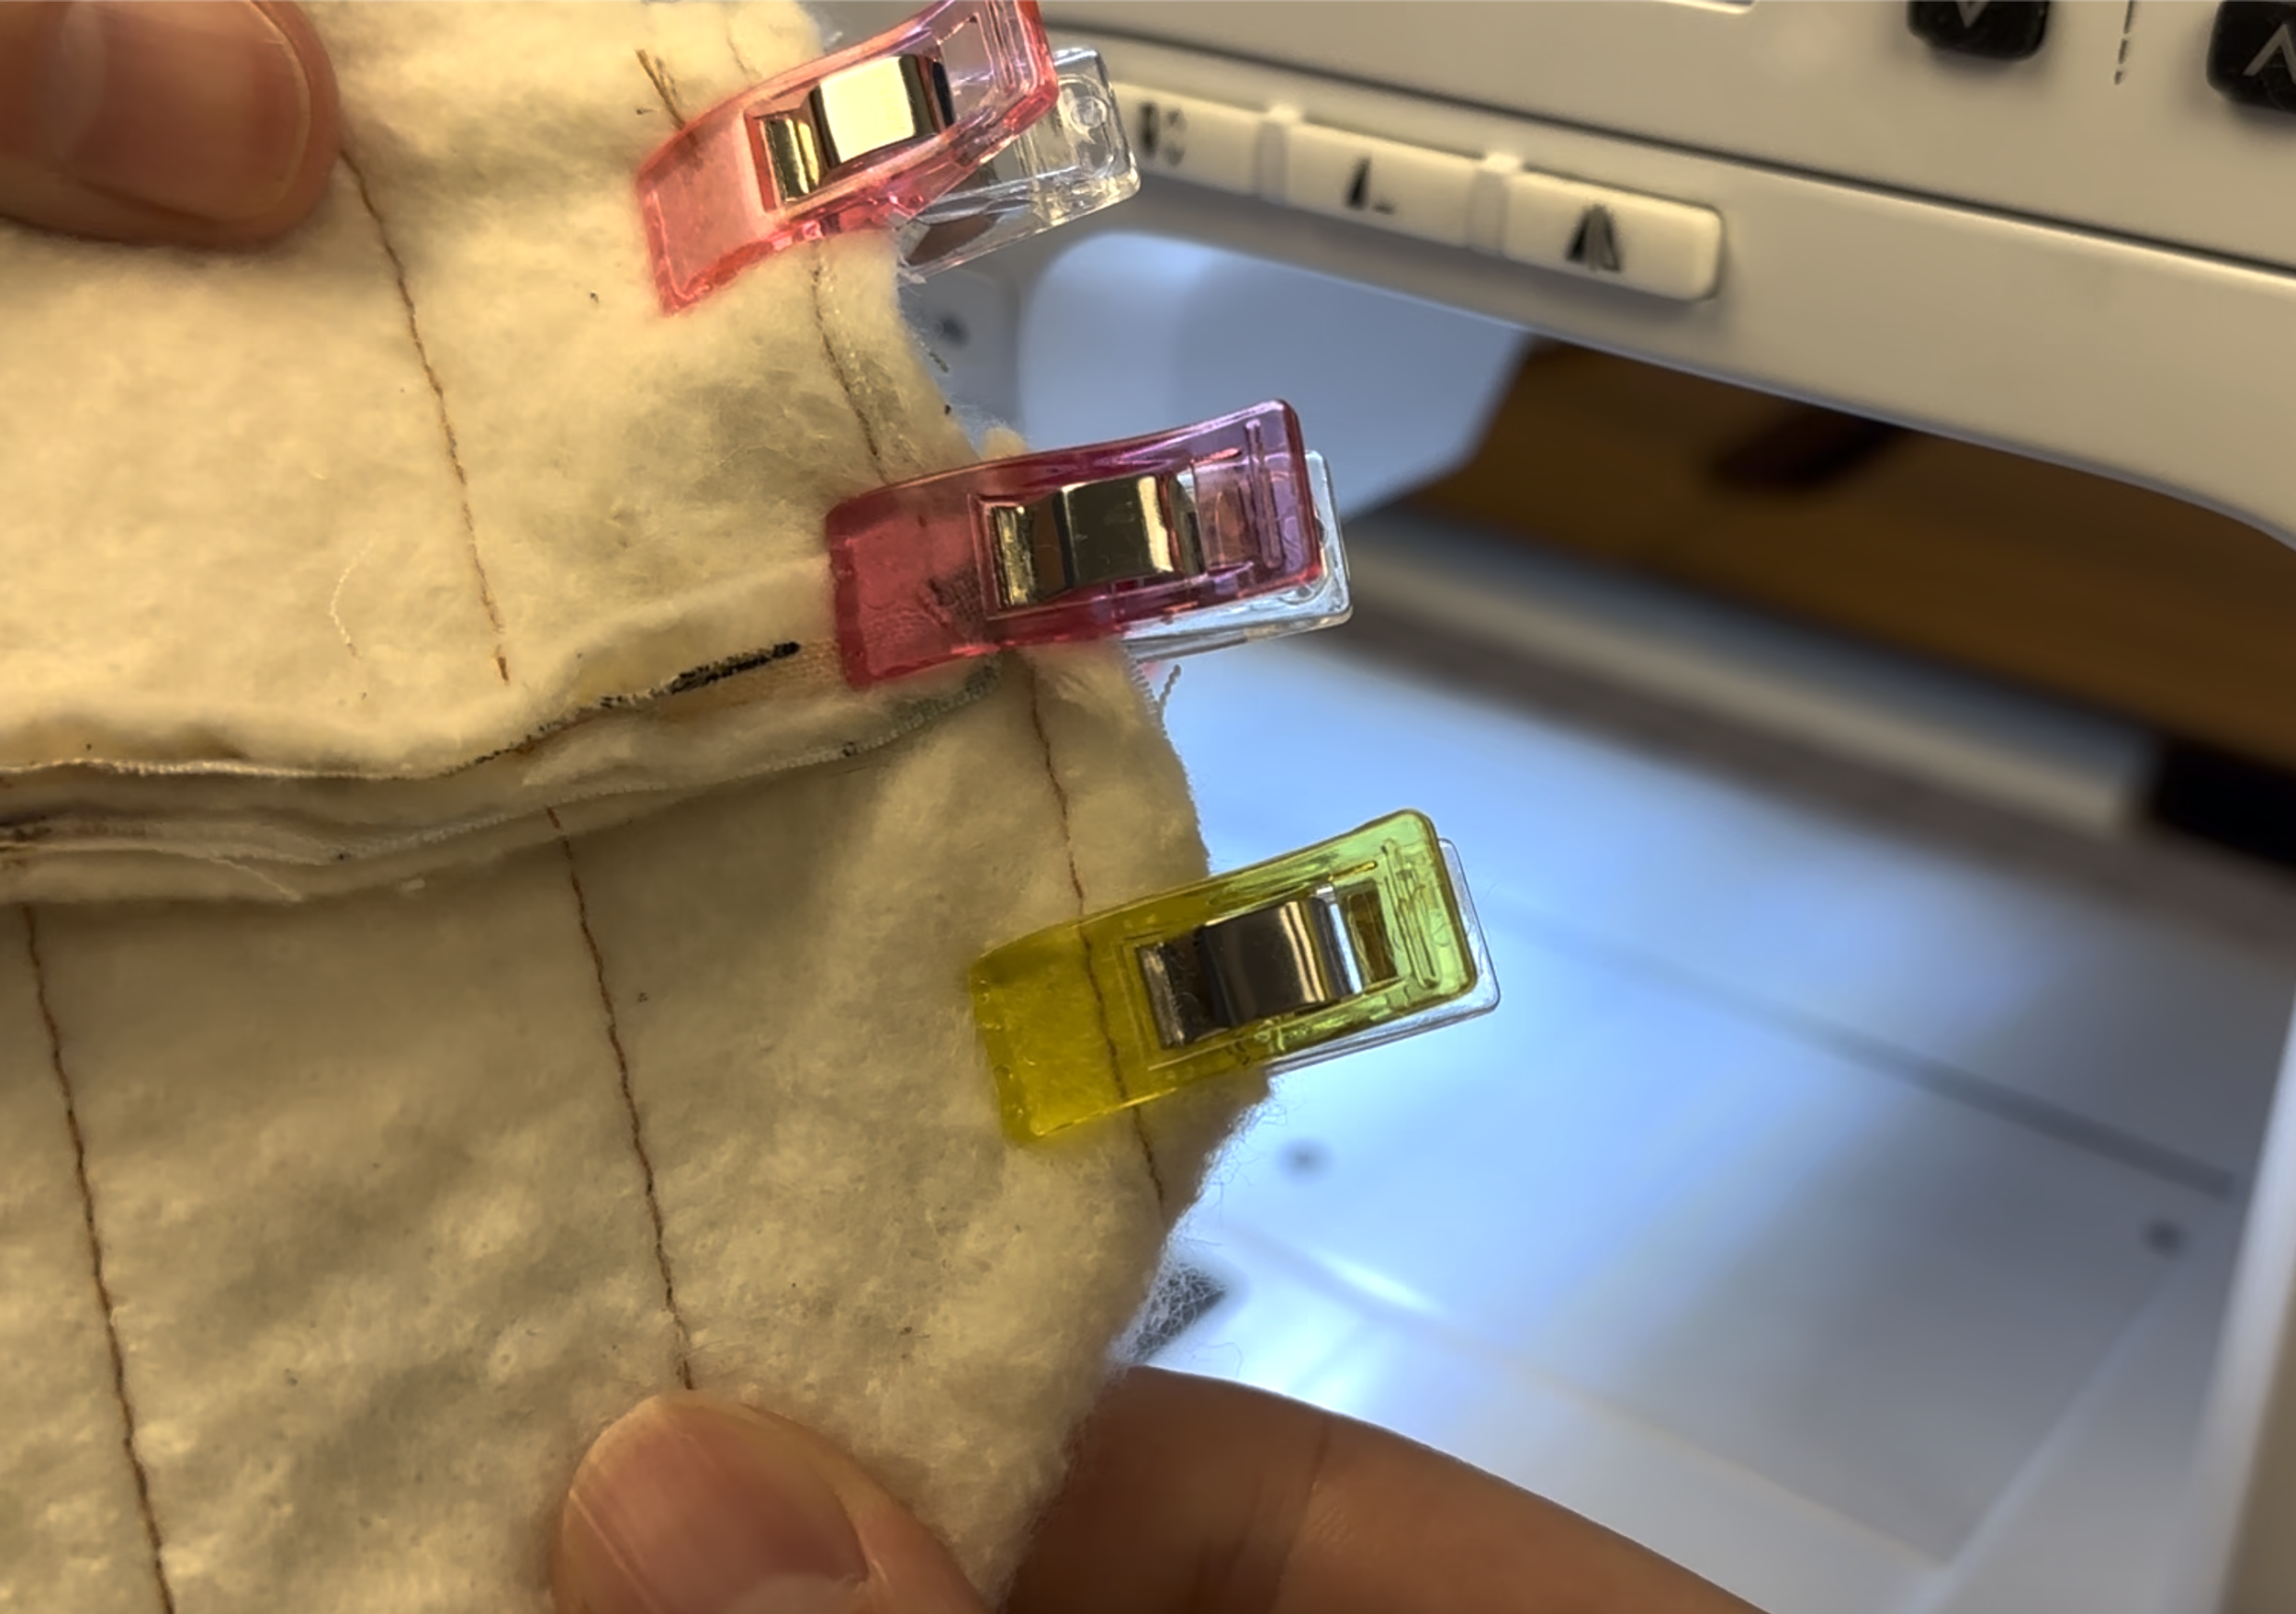
Pin or clip the sides in place
Sew along both side edges
Step 10: The Lining Fabric
Repeat steps 8 and 9 using your lining fabric pieces
ONE CHANGE: Leave a 3 inch opening unsewn when stitching the short bottom edge together
You will need this opening for turning the pod later on
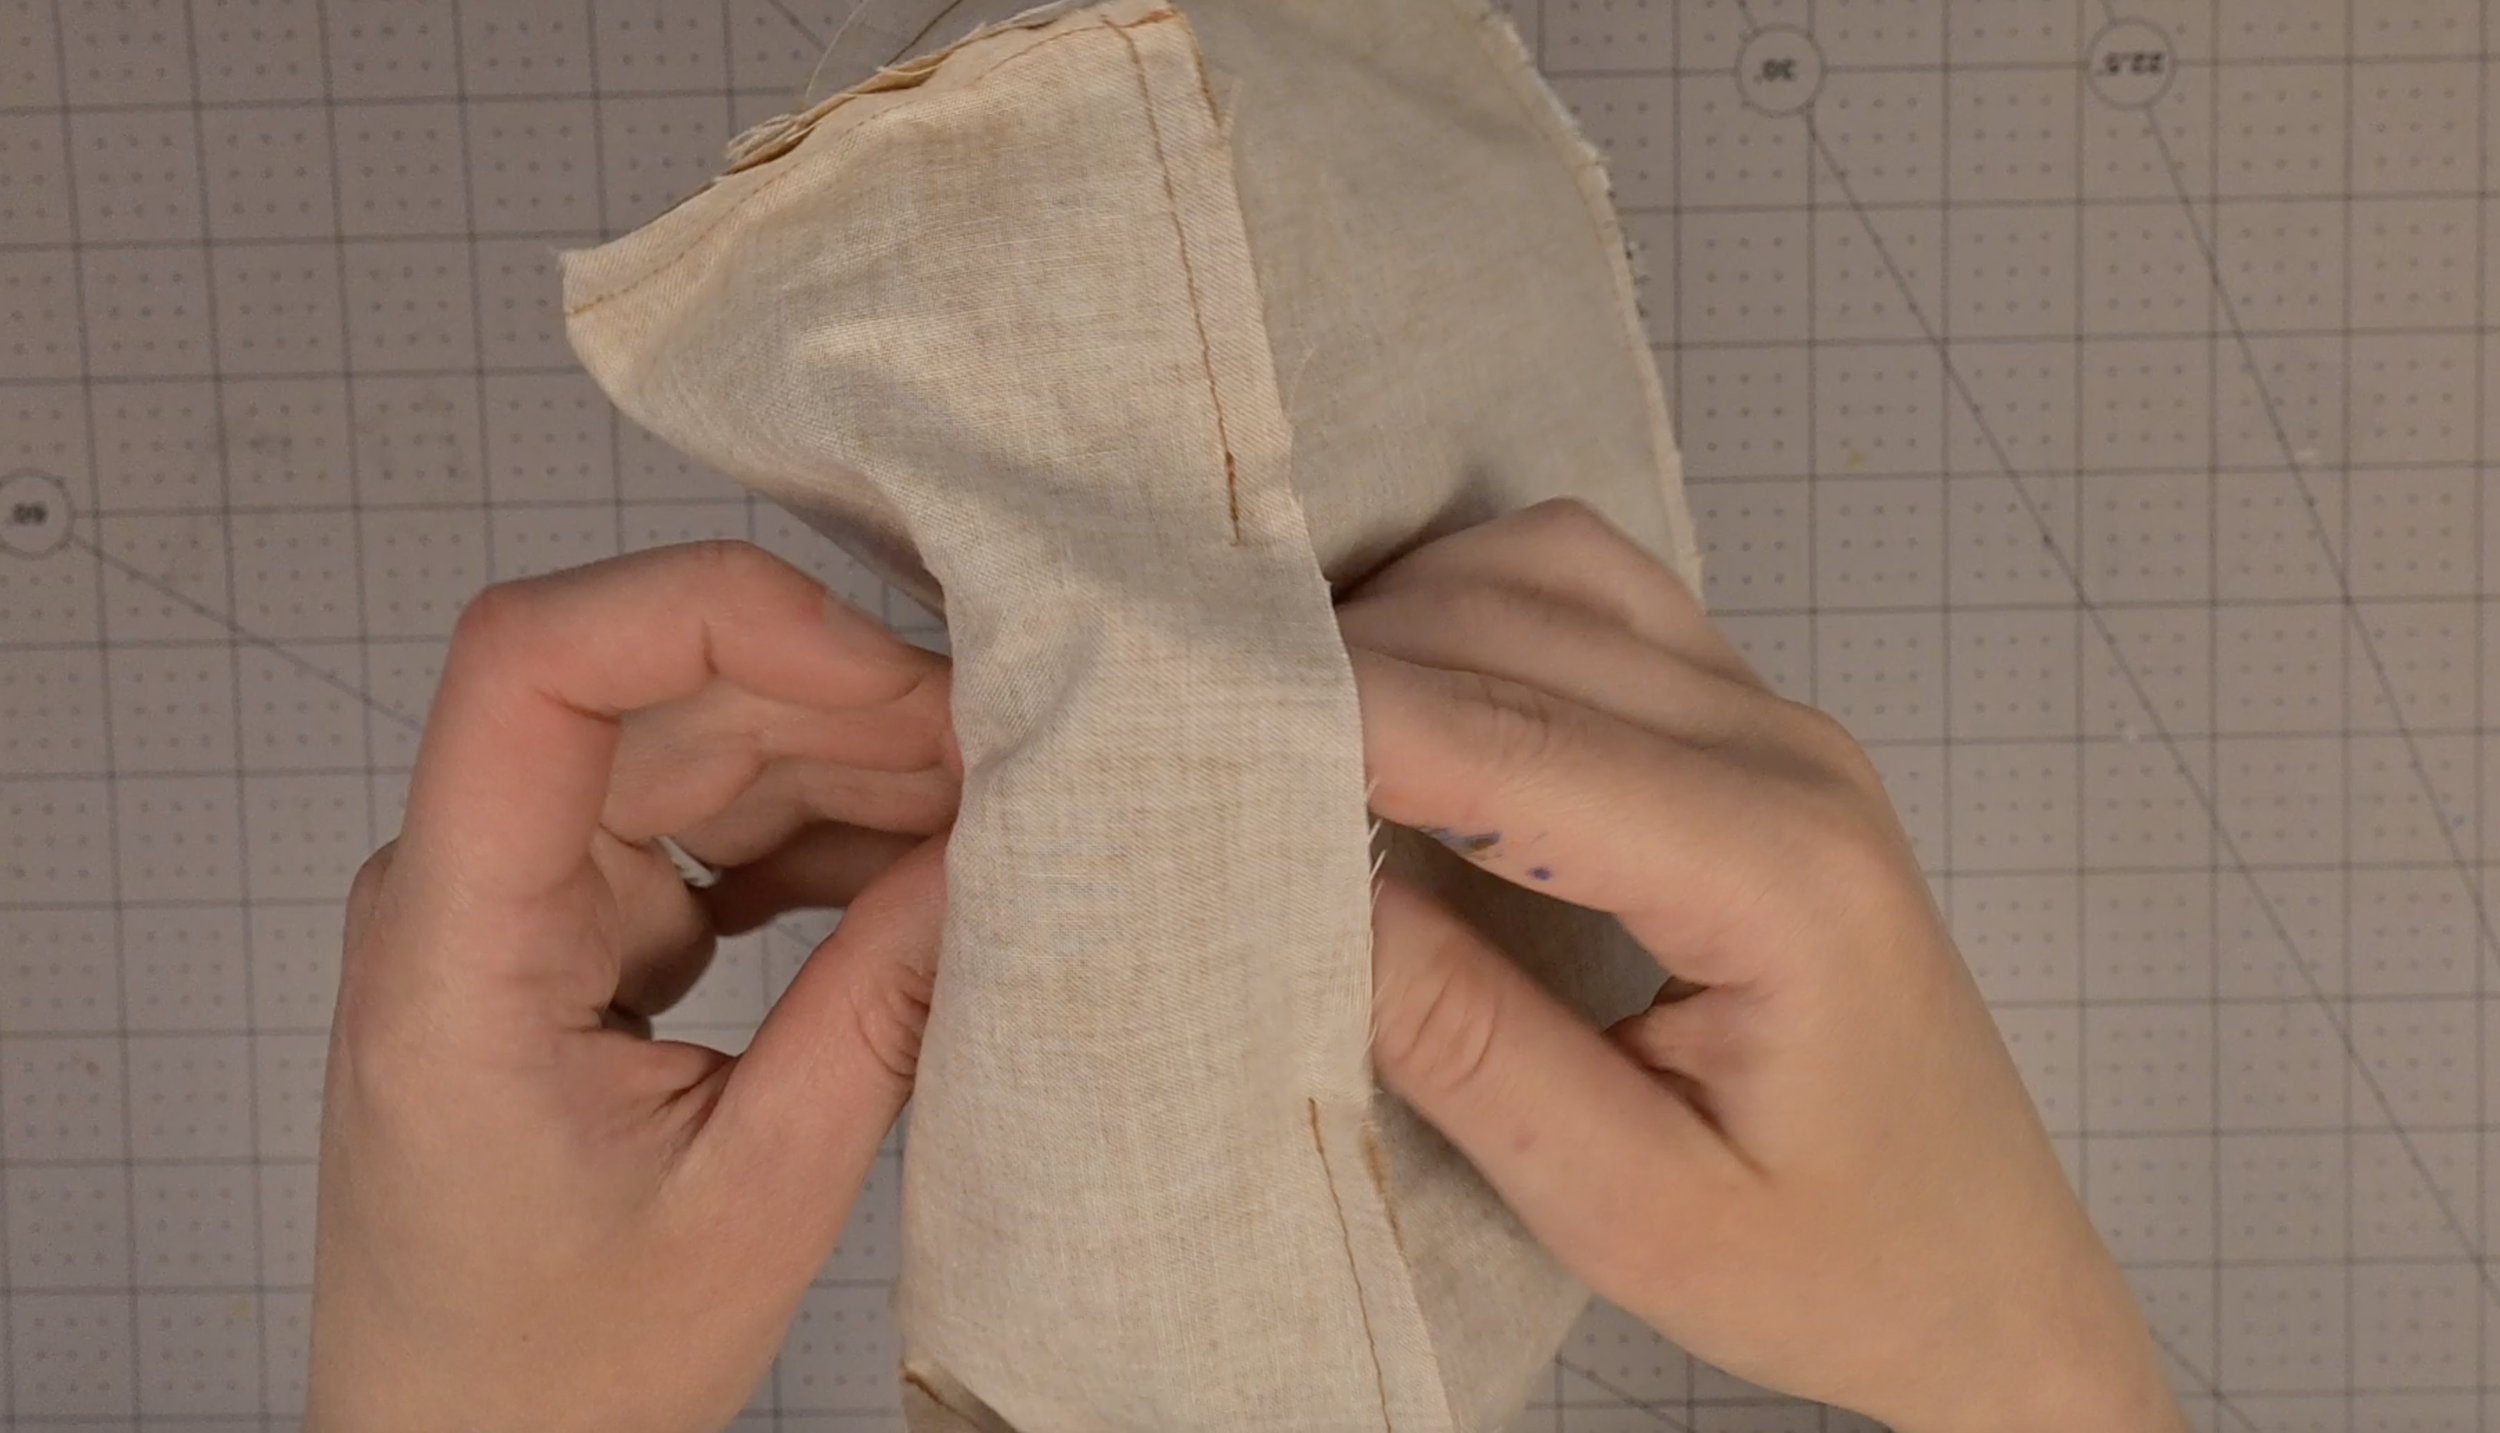
Step 11: The Corners
For both the main fabric body and the lining fabric body, open the bottom corners and flatten them so the seam runs down the middle of the corner
Clip in place

Sew the corner flat to box it
Repeat this on the remaining 3 corners
Step 12: Attaching the Loop

Turn the main outer fabric body right side out
Fold your loop piece in half and clip it to your desired location on the main fabric
Sew the loop securely to the main fabric
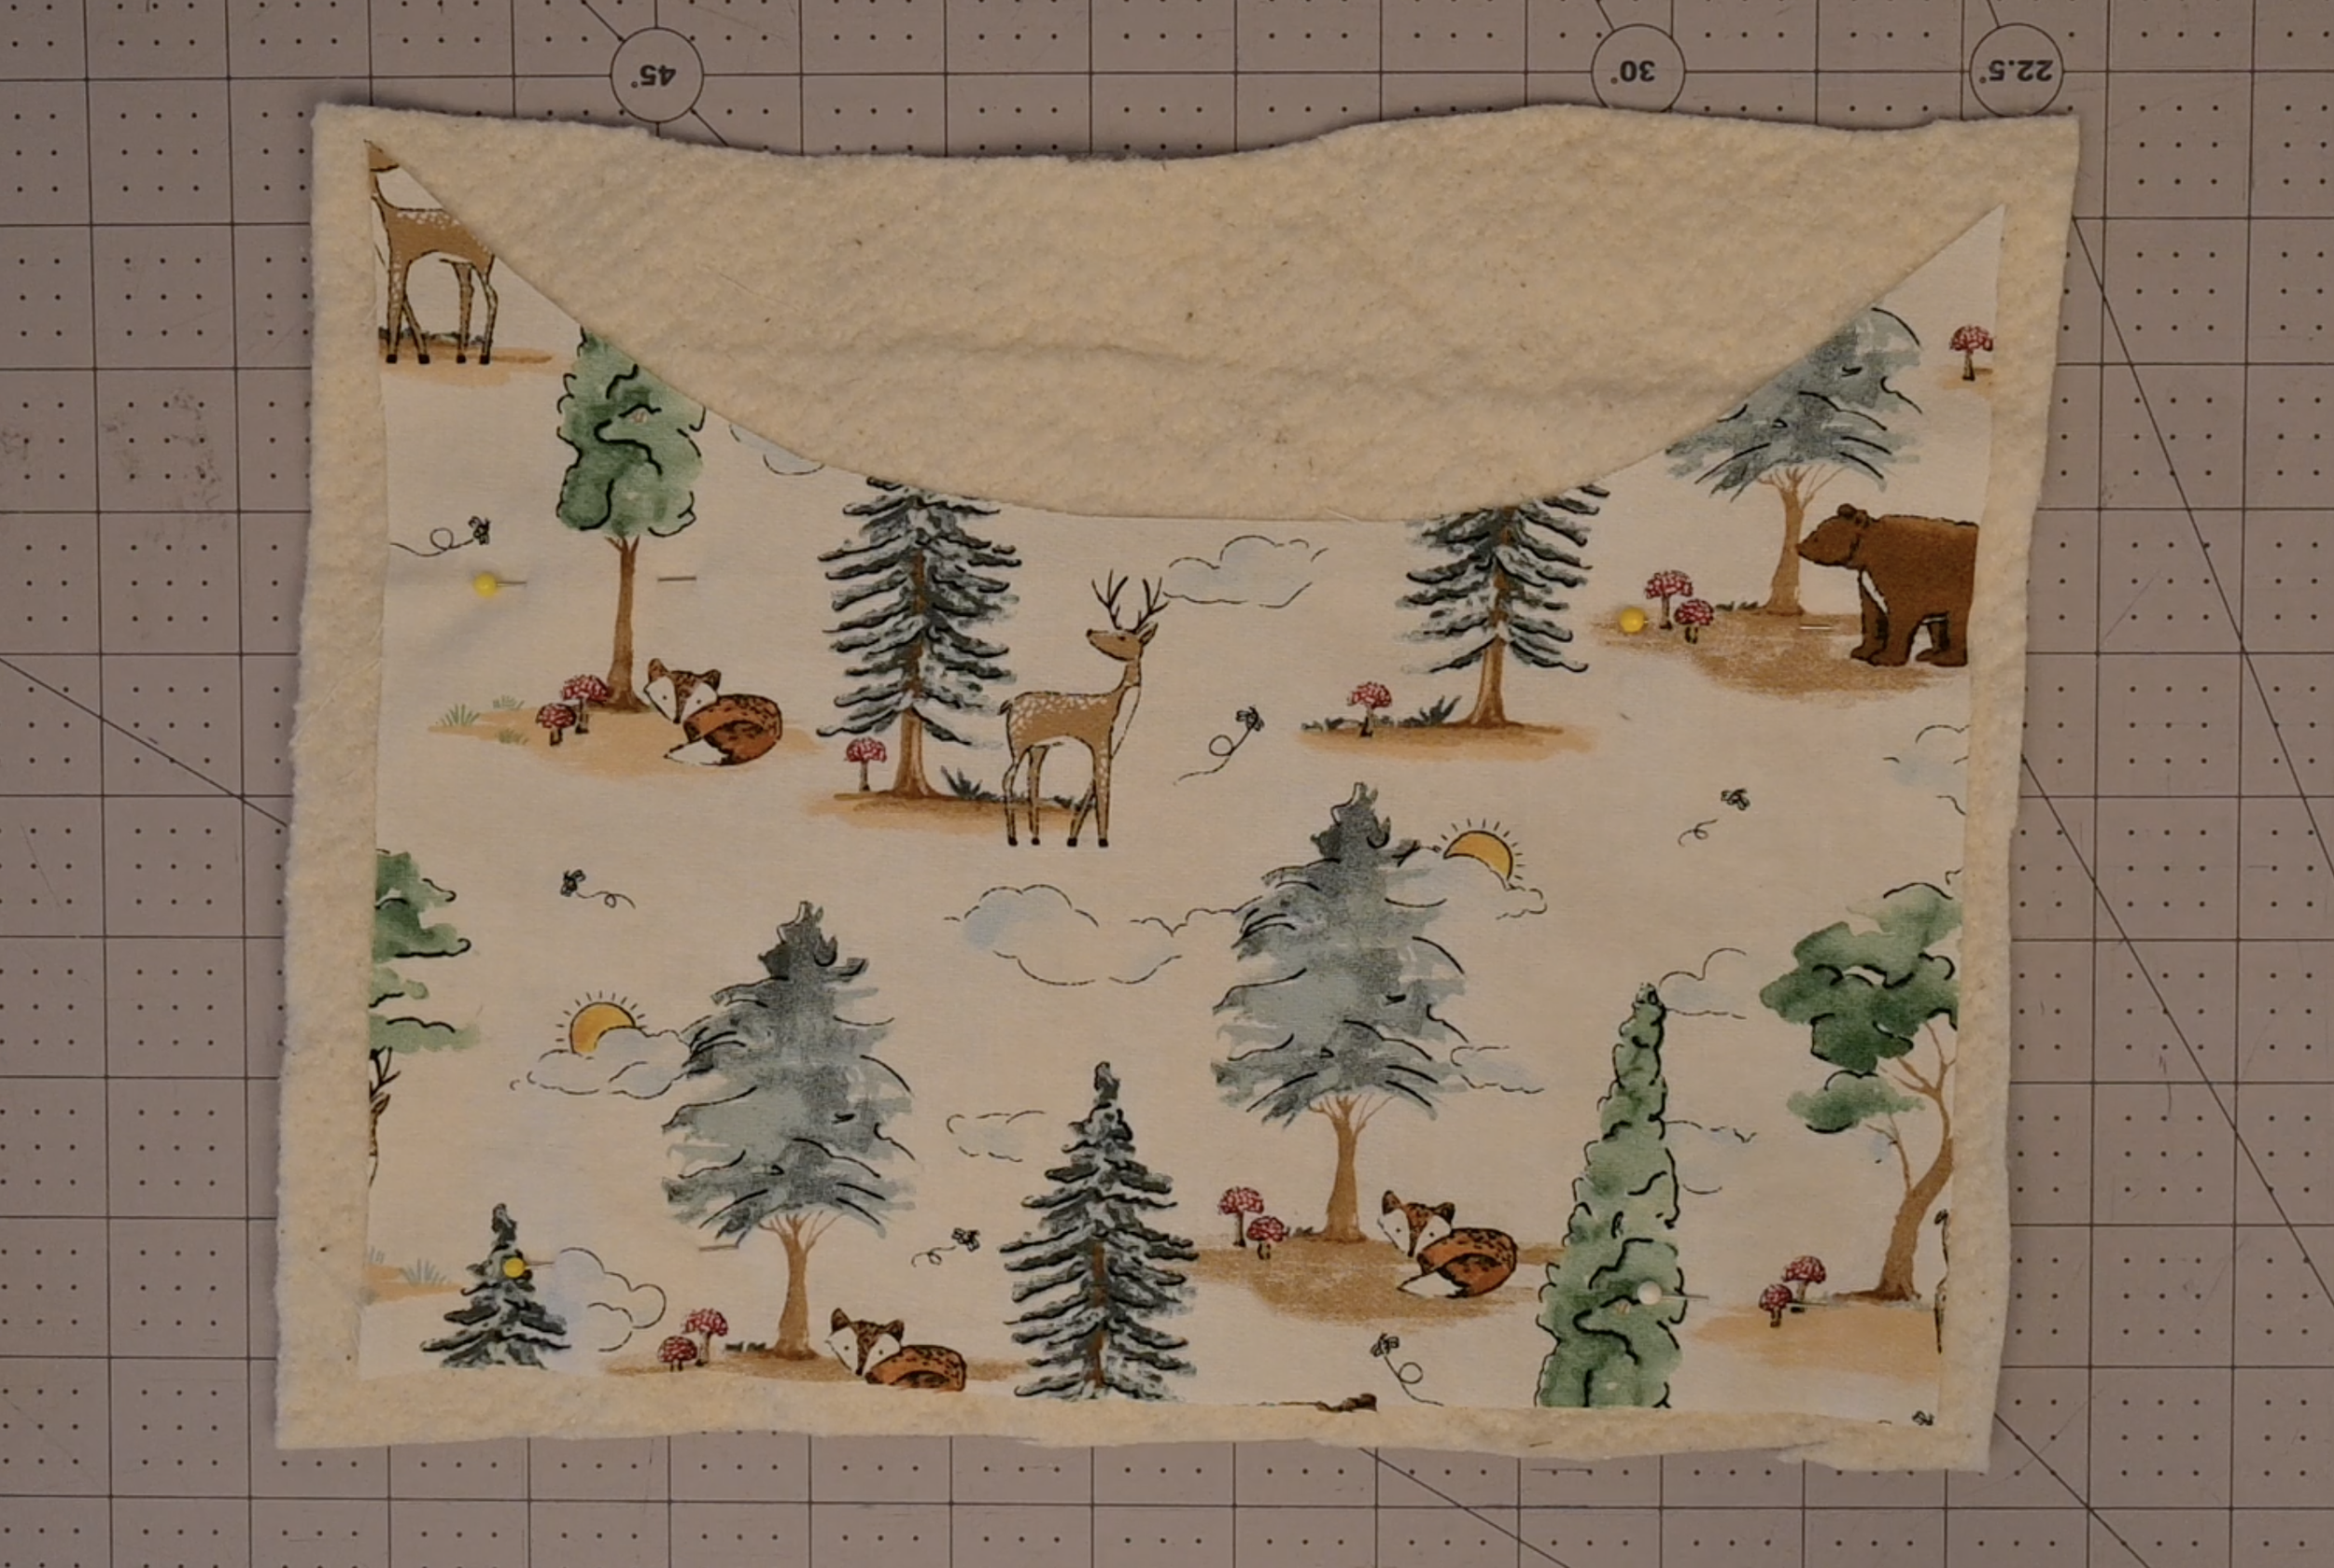
Progress Update:
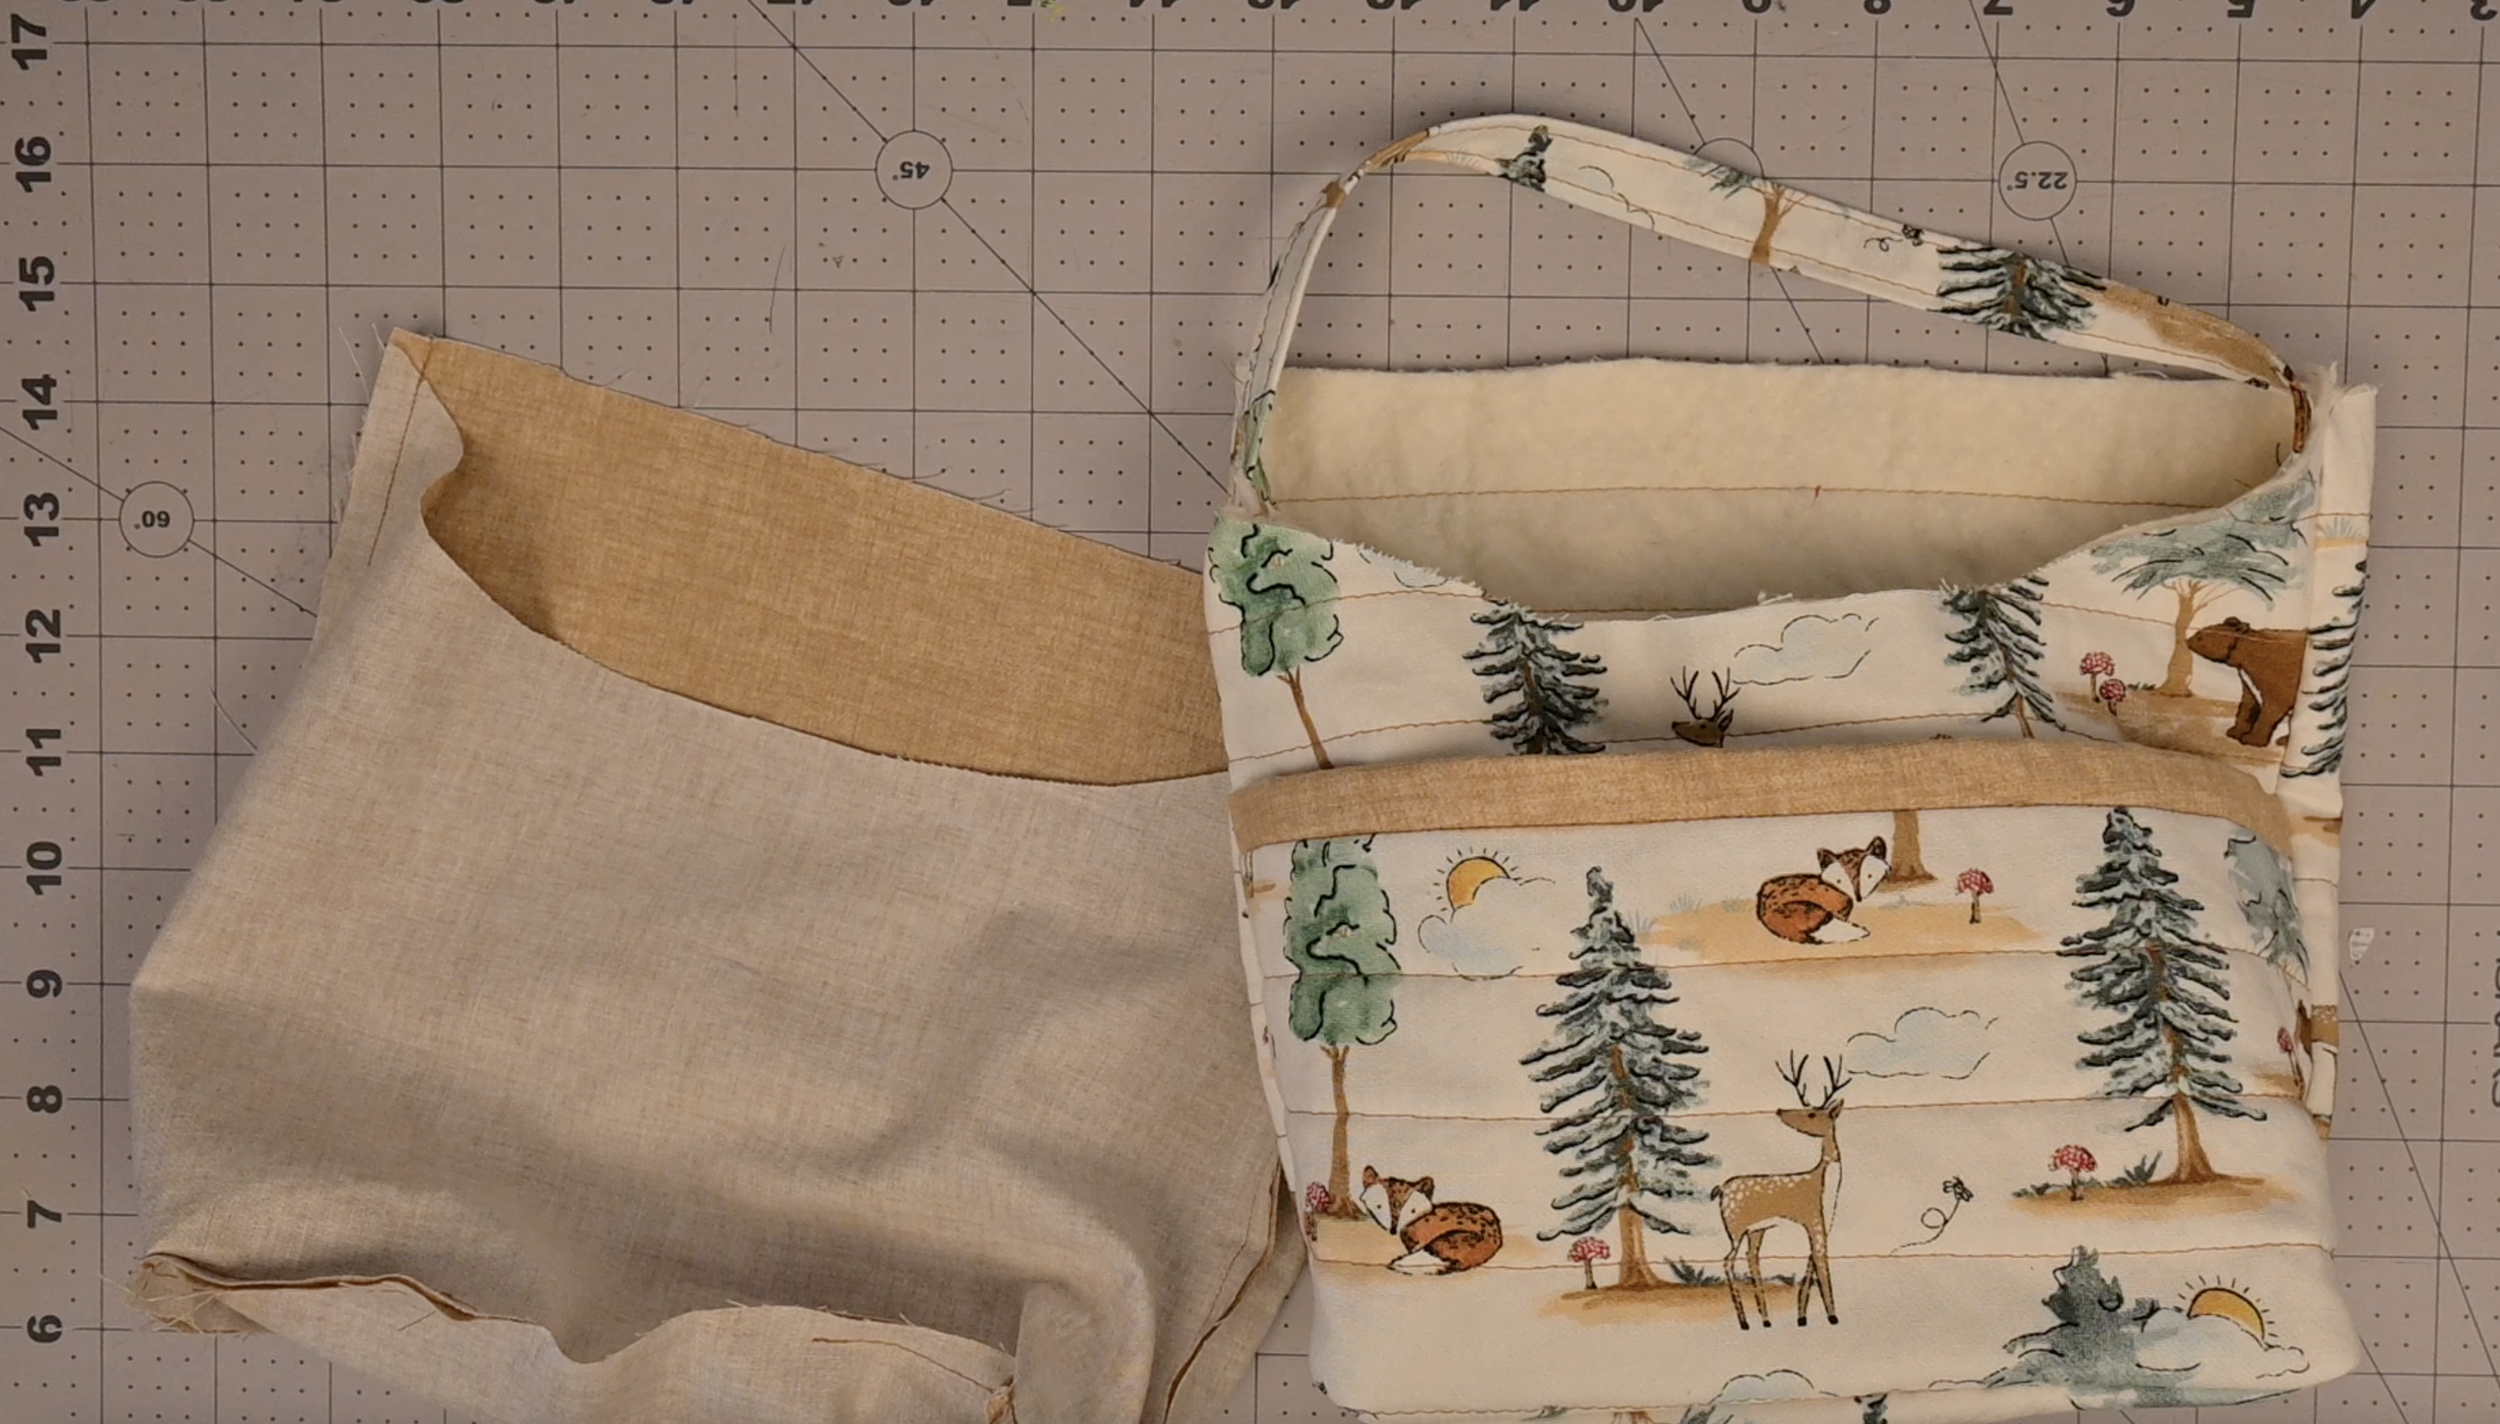
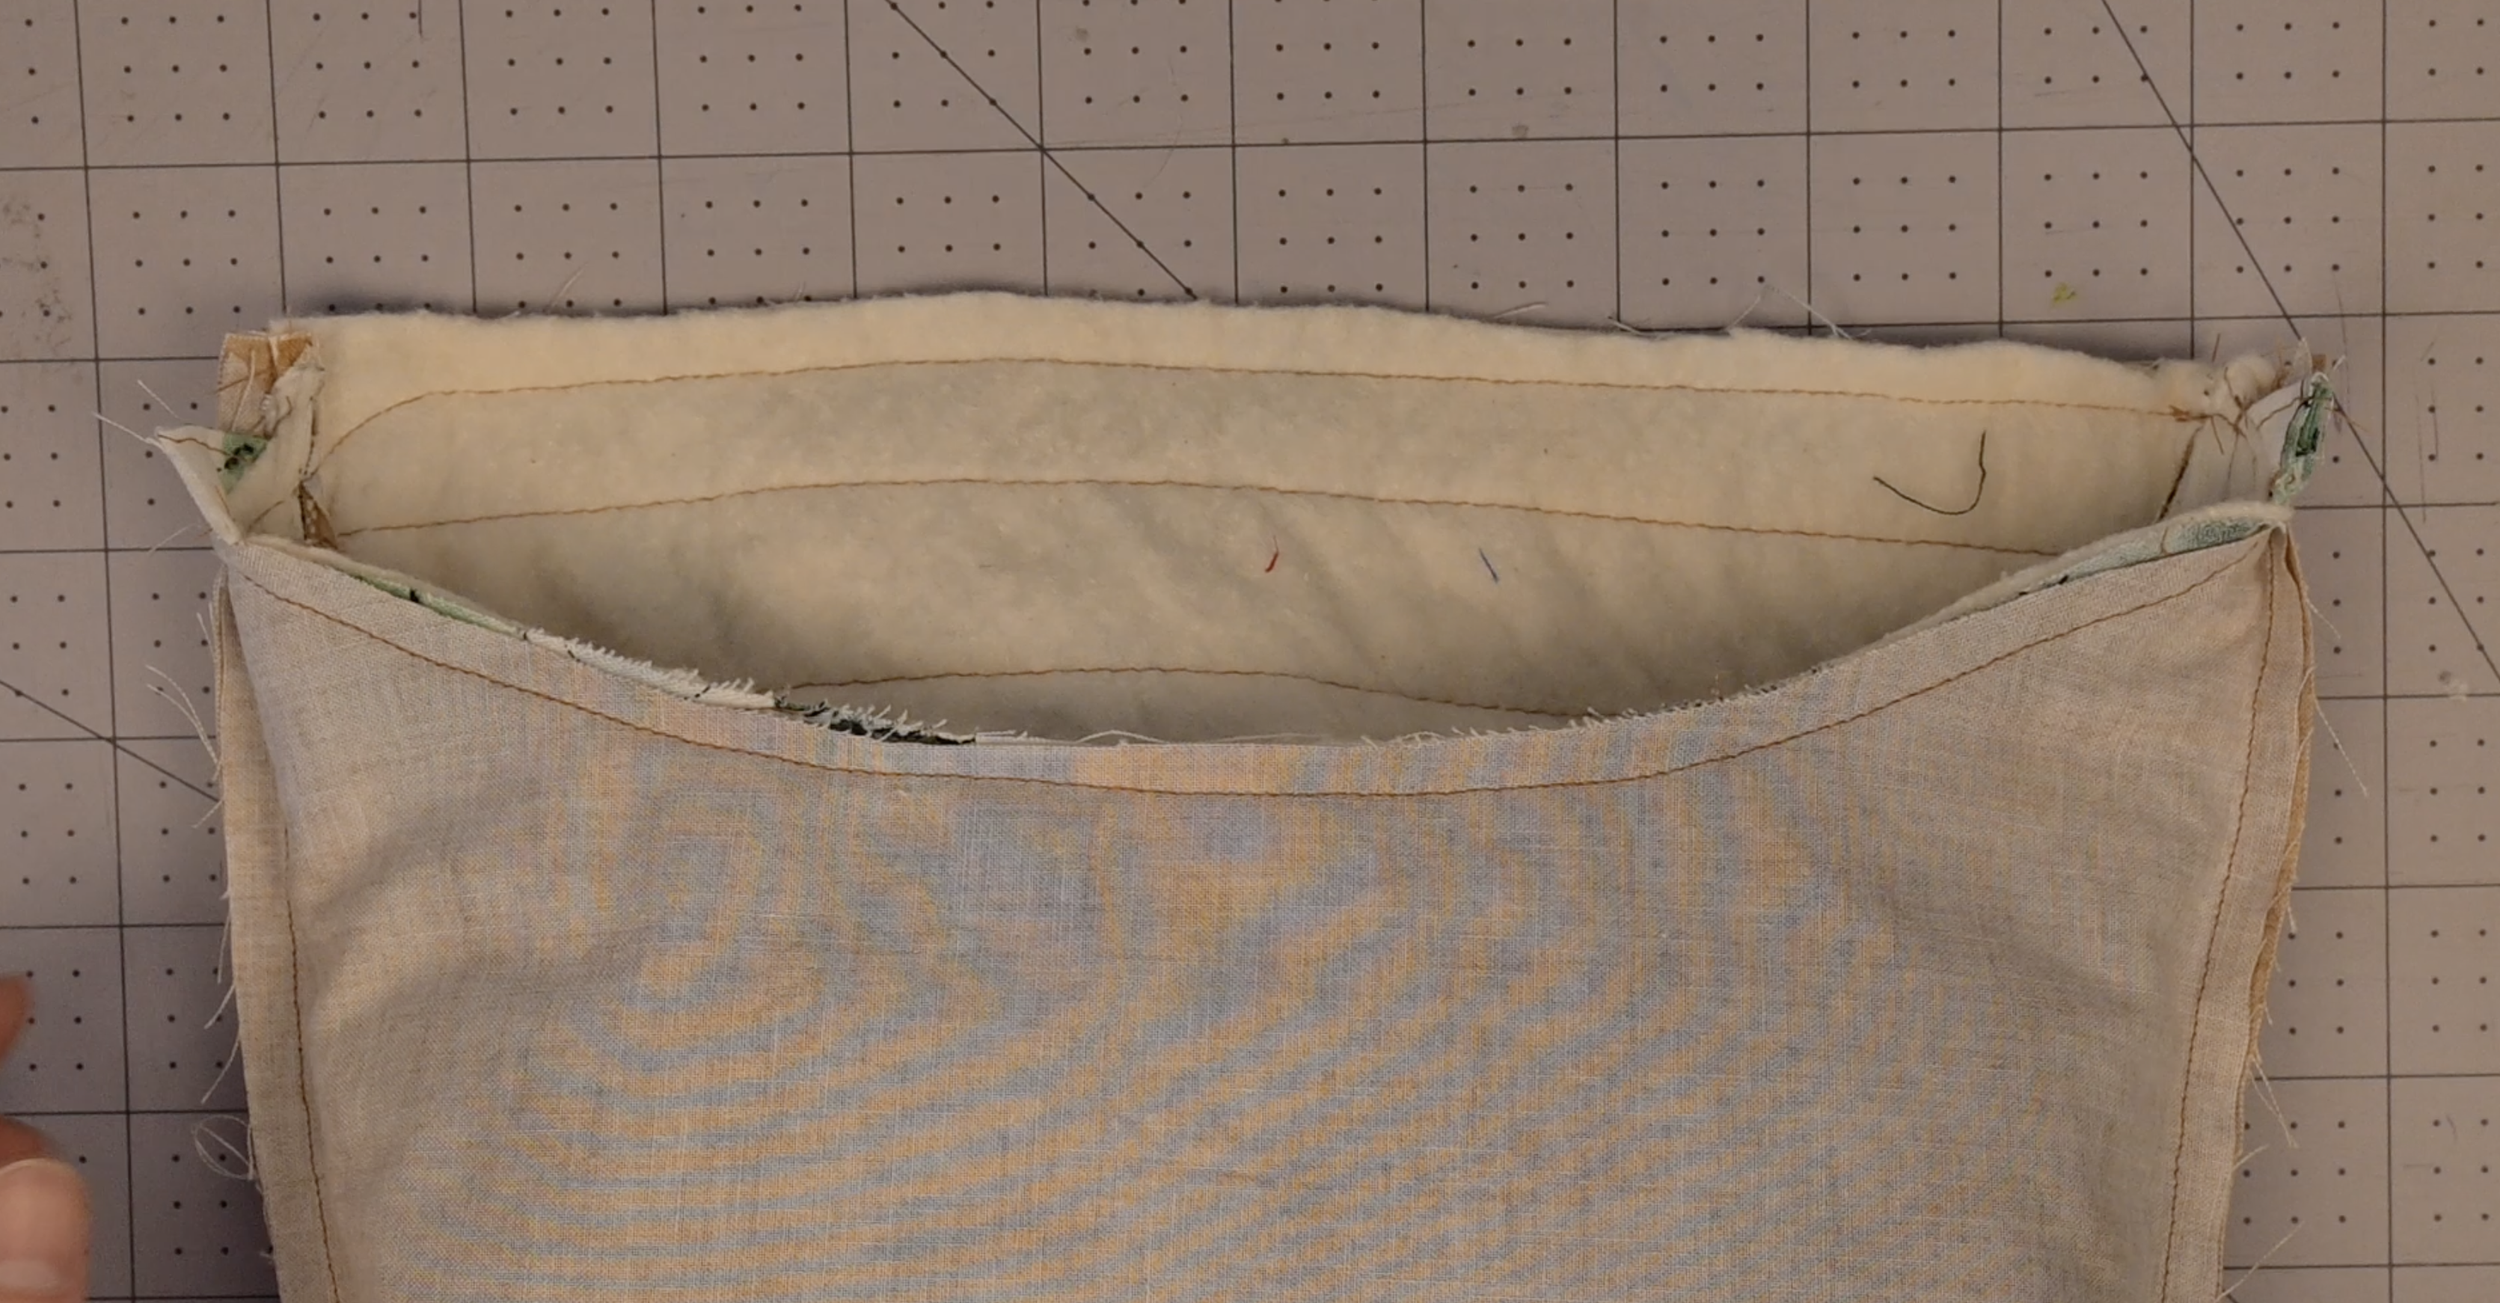
Step 13: Adding the Lining
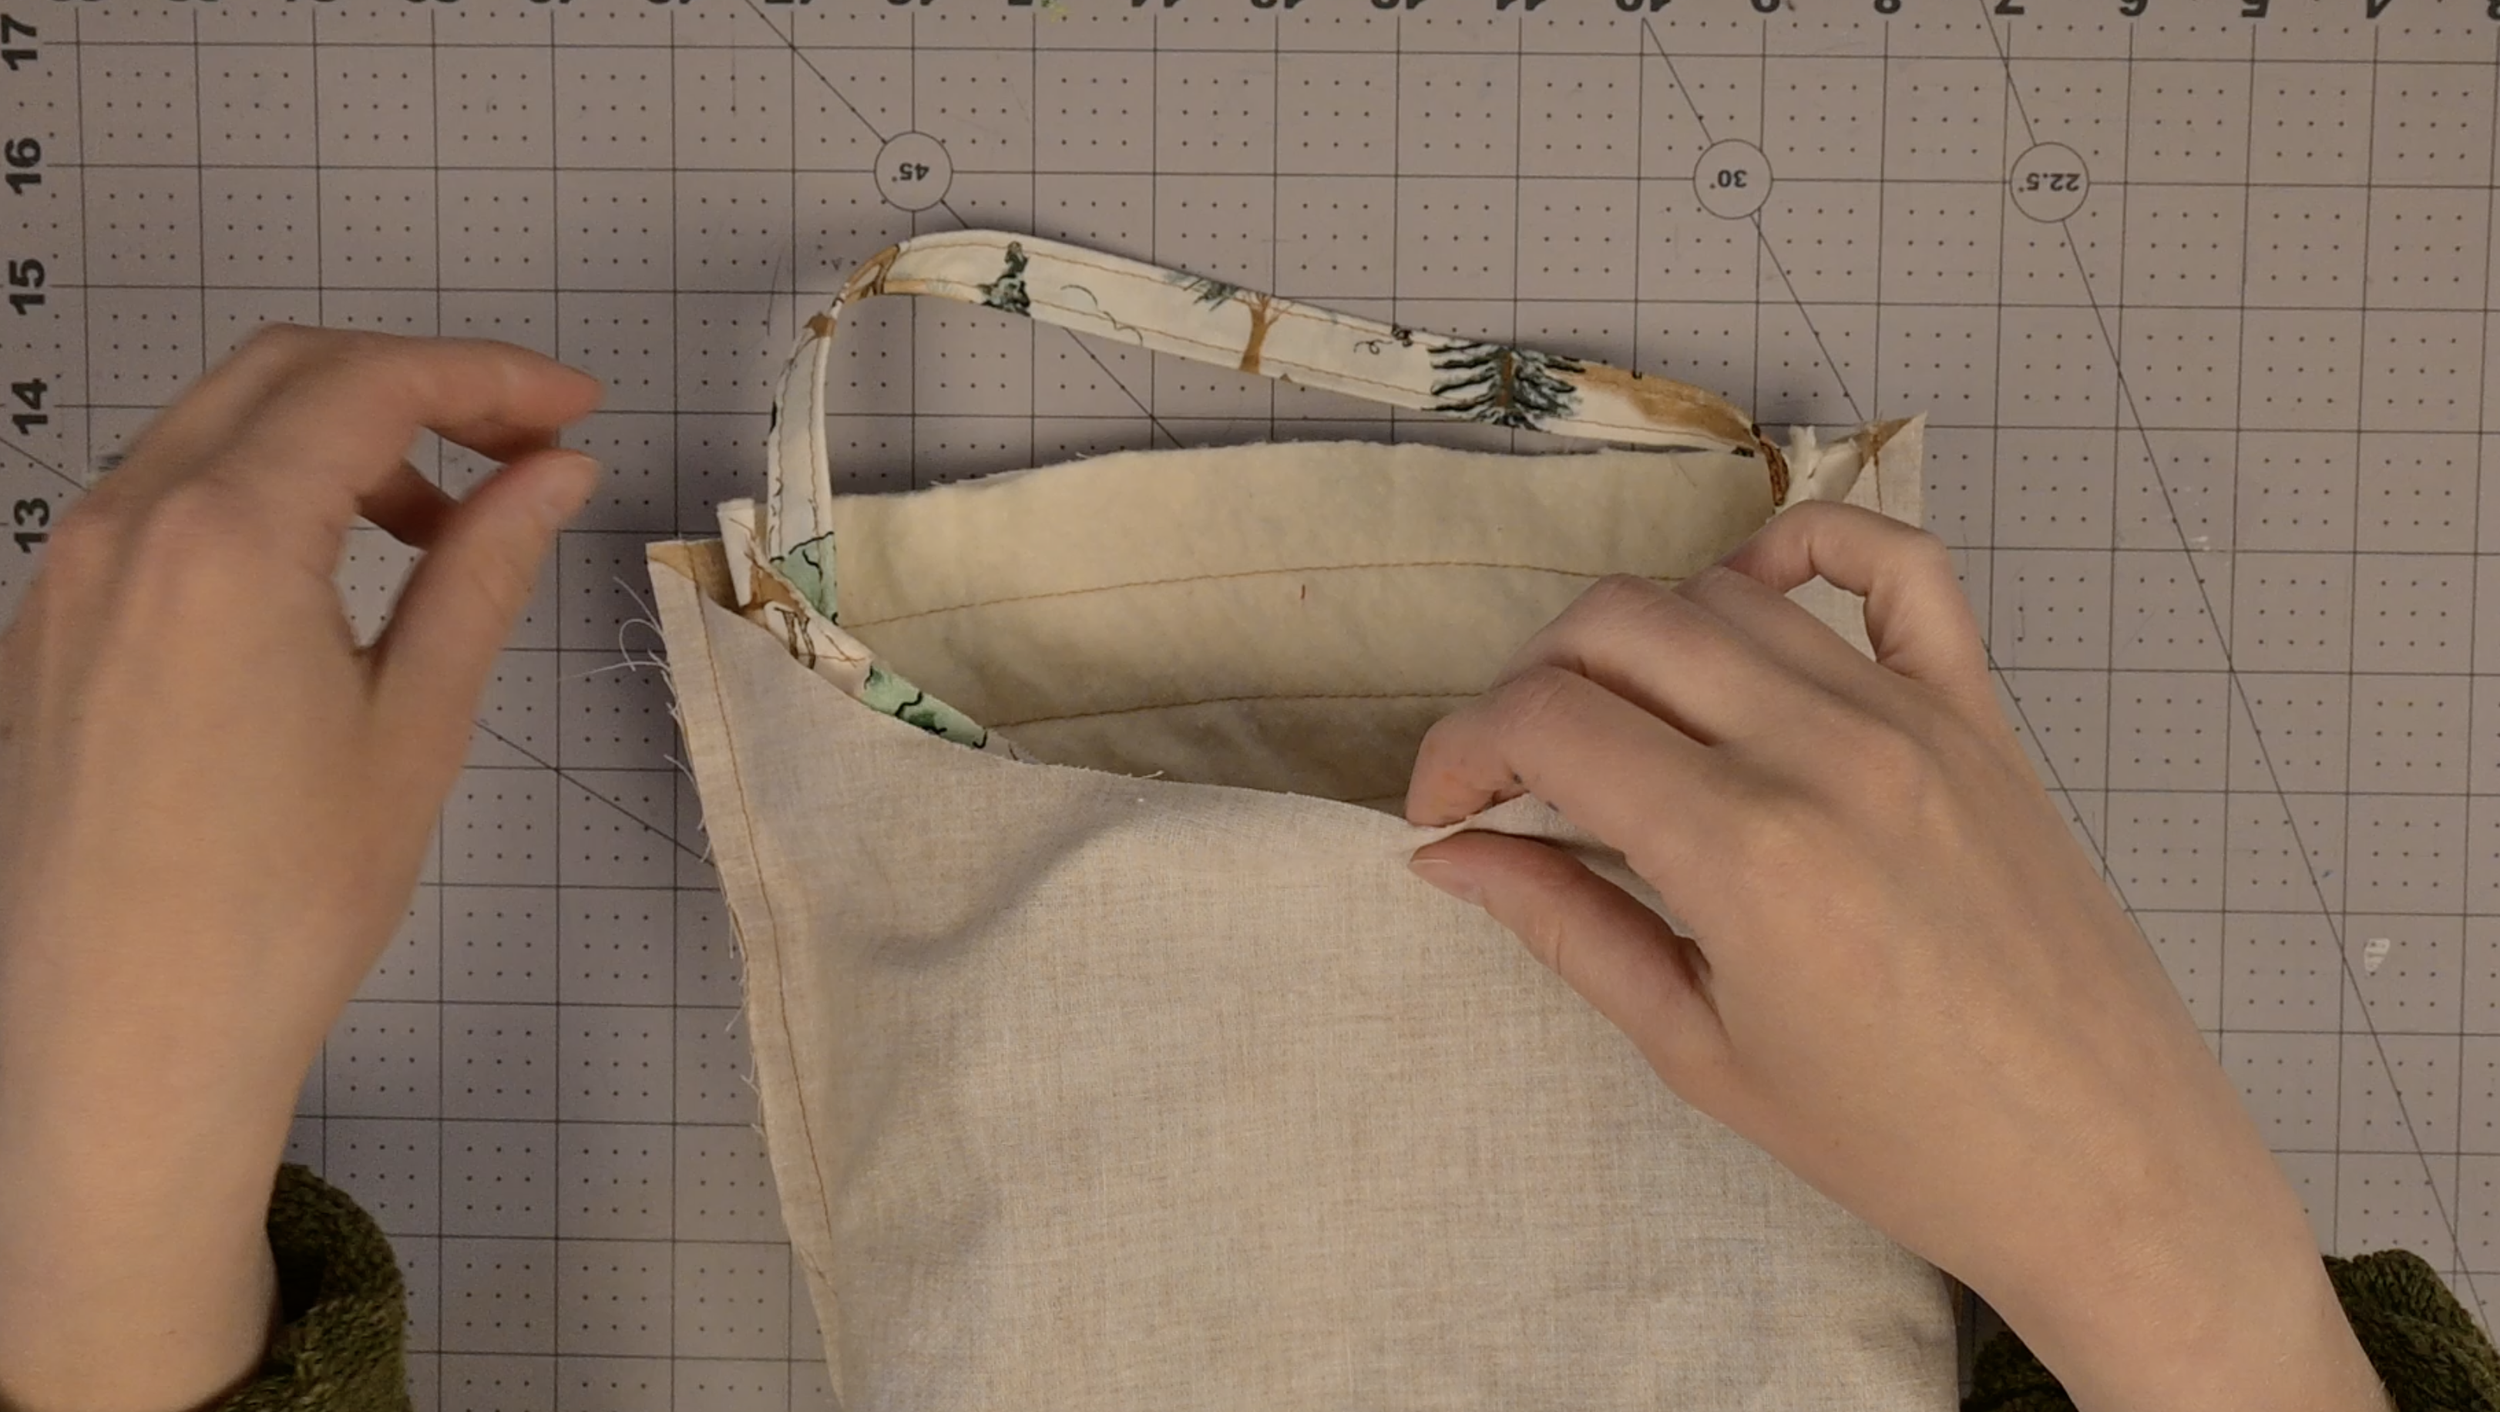
Pull the lining fabric body over the main fabric section
The right sides of the fabrics should be facing each other (the raw edges of the lining will be facing out)
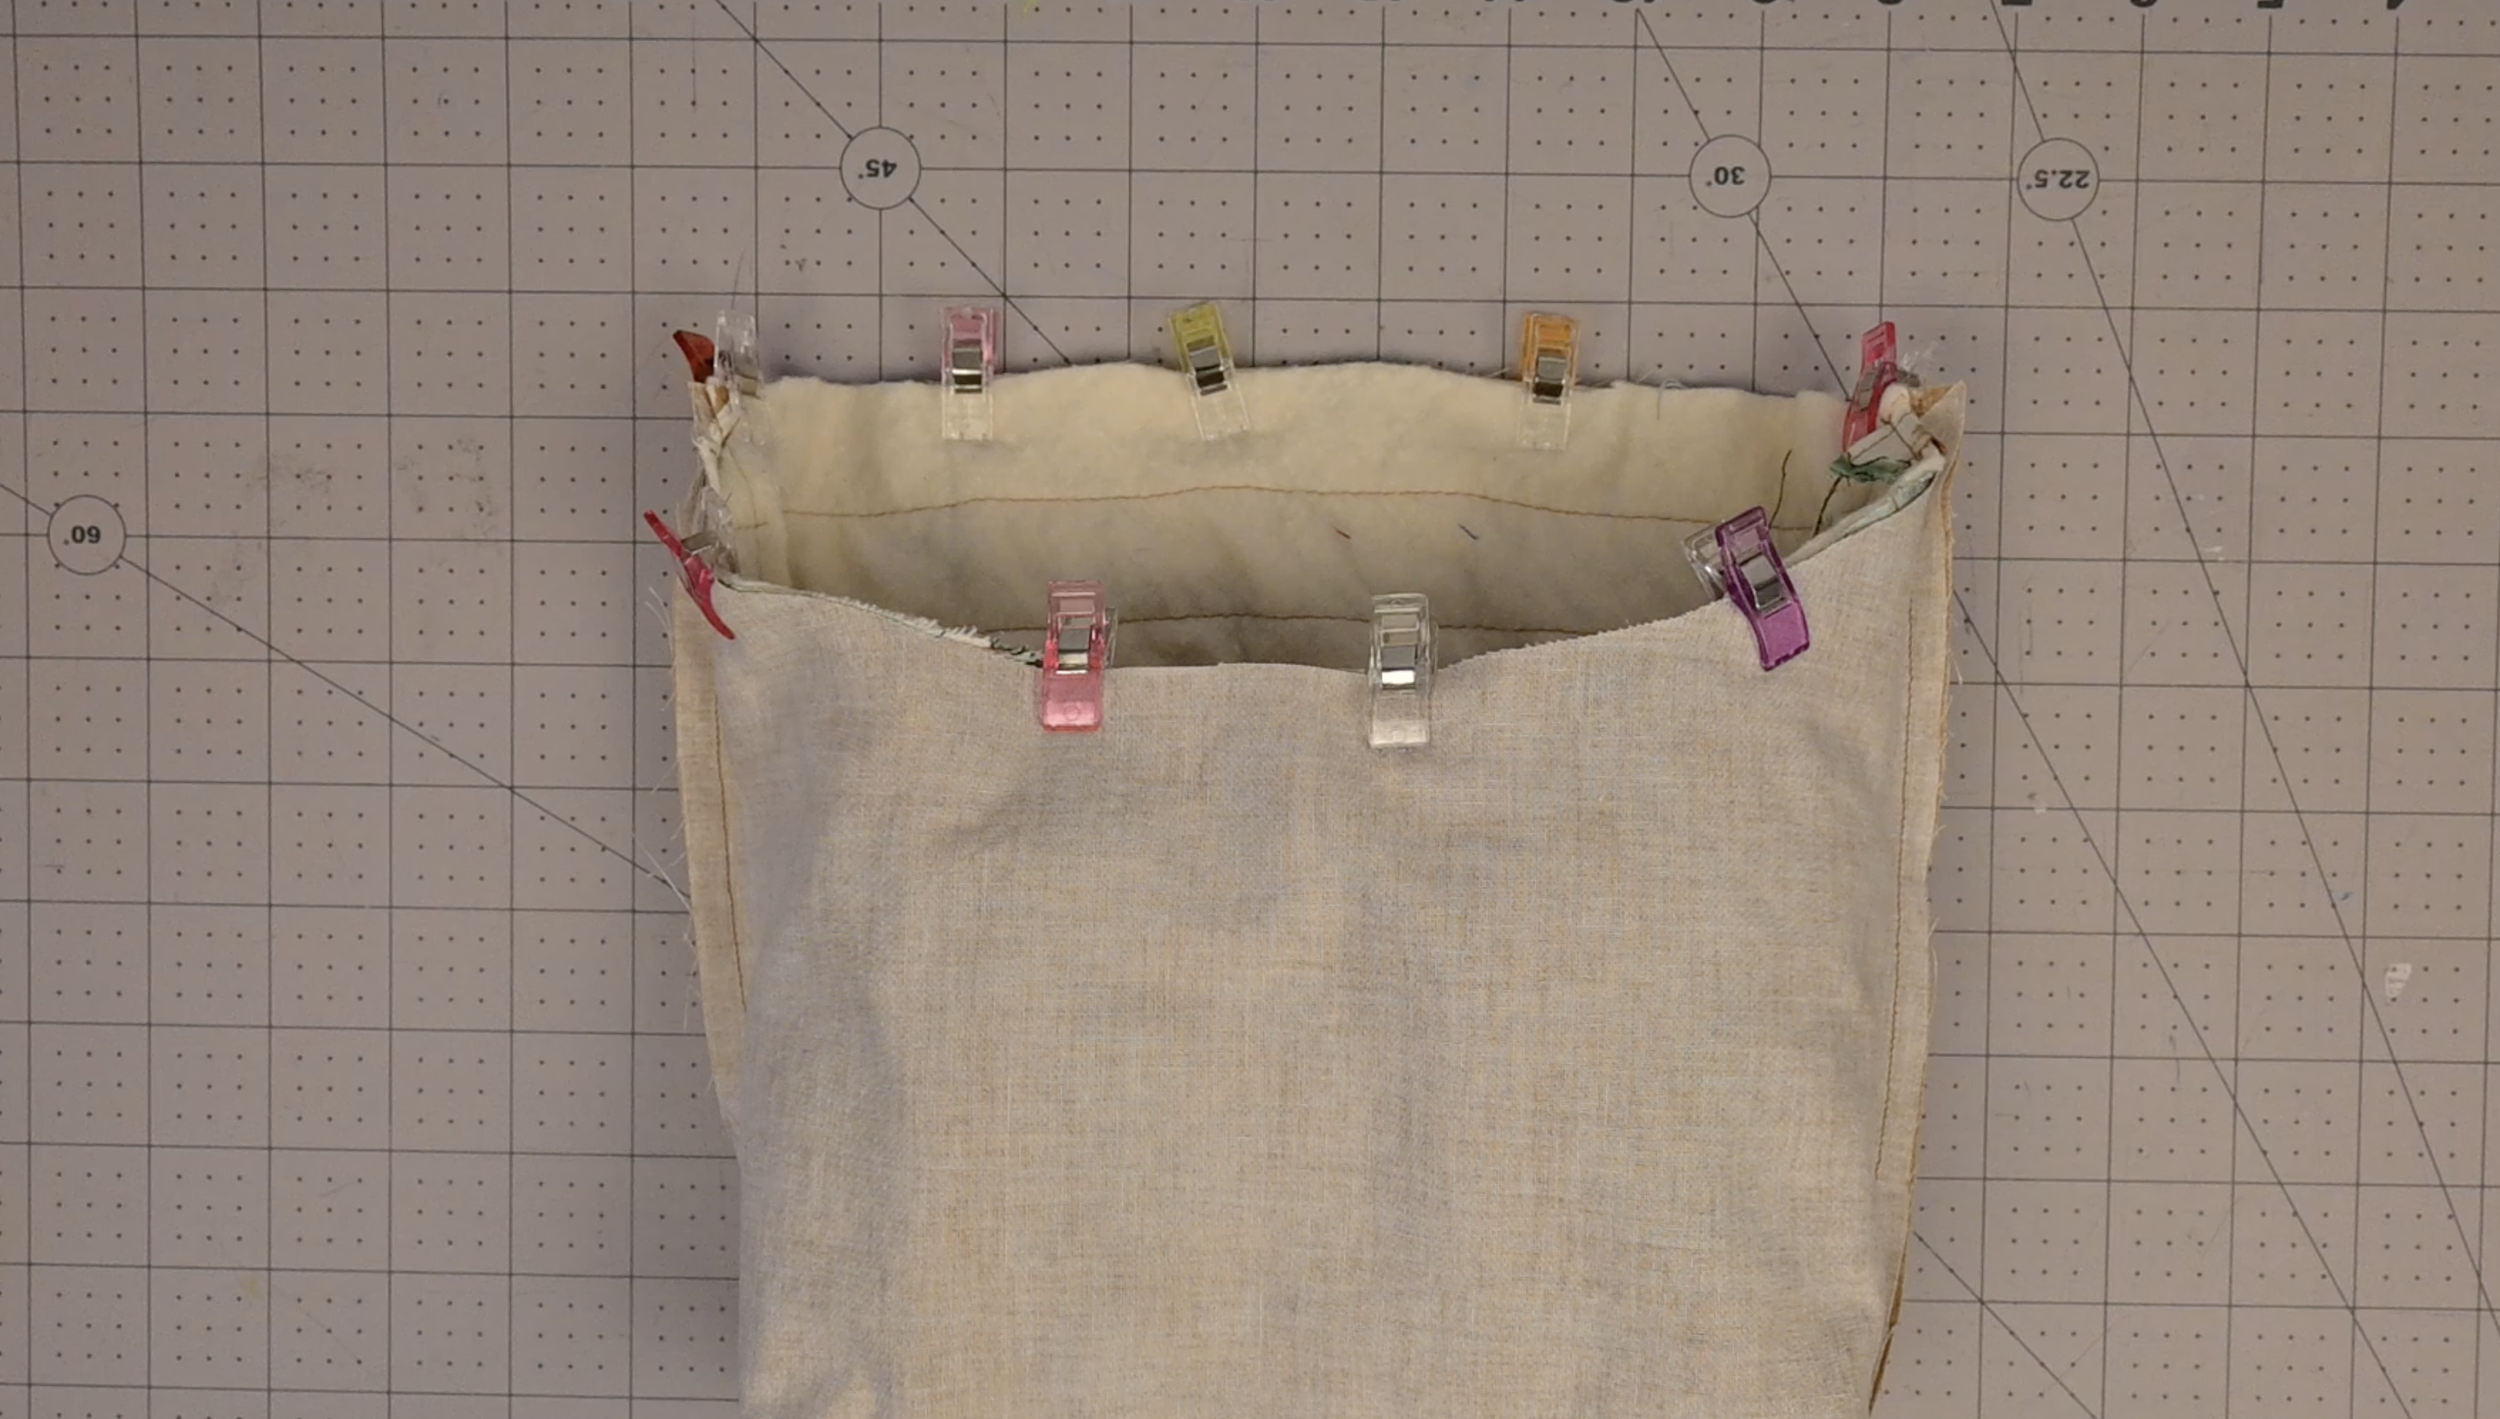
Align the top circular edges together and clip them in place
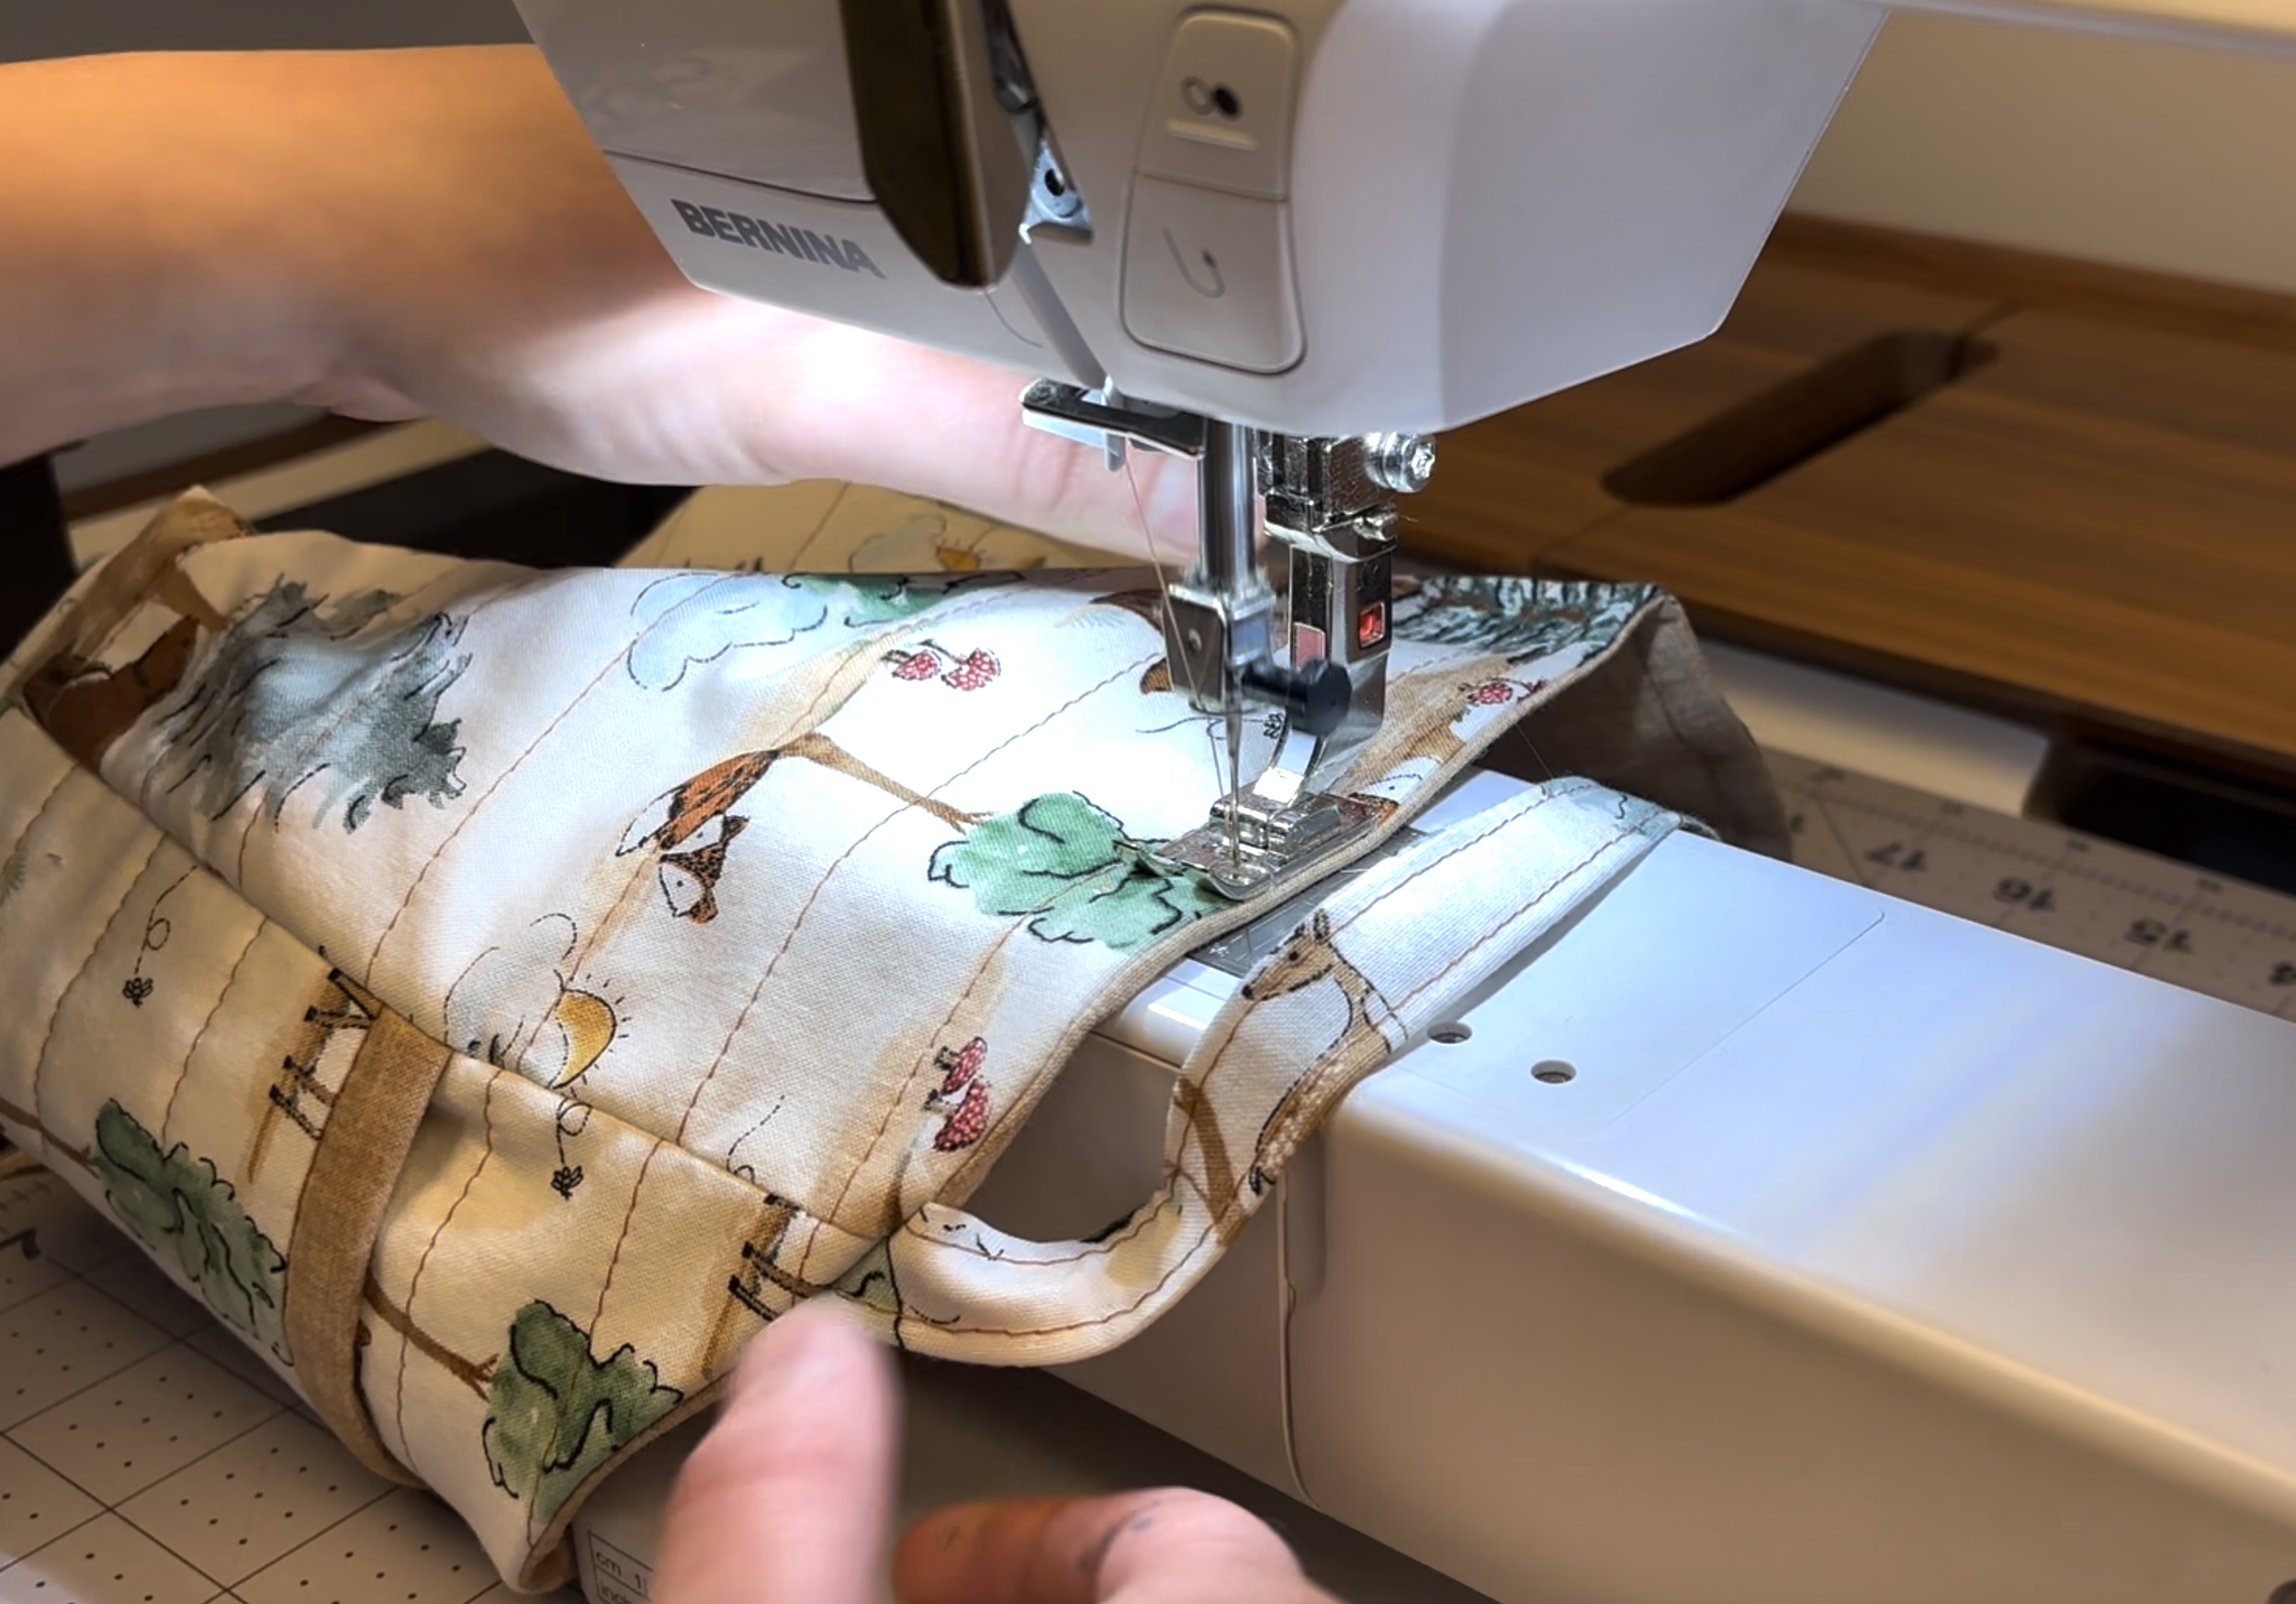
Sew fully around the top edge, being aware when sewing over the loop location

Using a scissors, make small slits around the curved edge, ensuring not to cut the thread
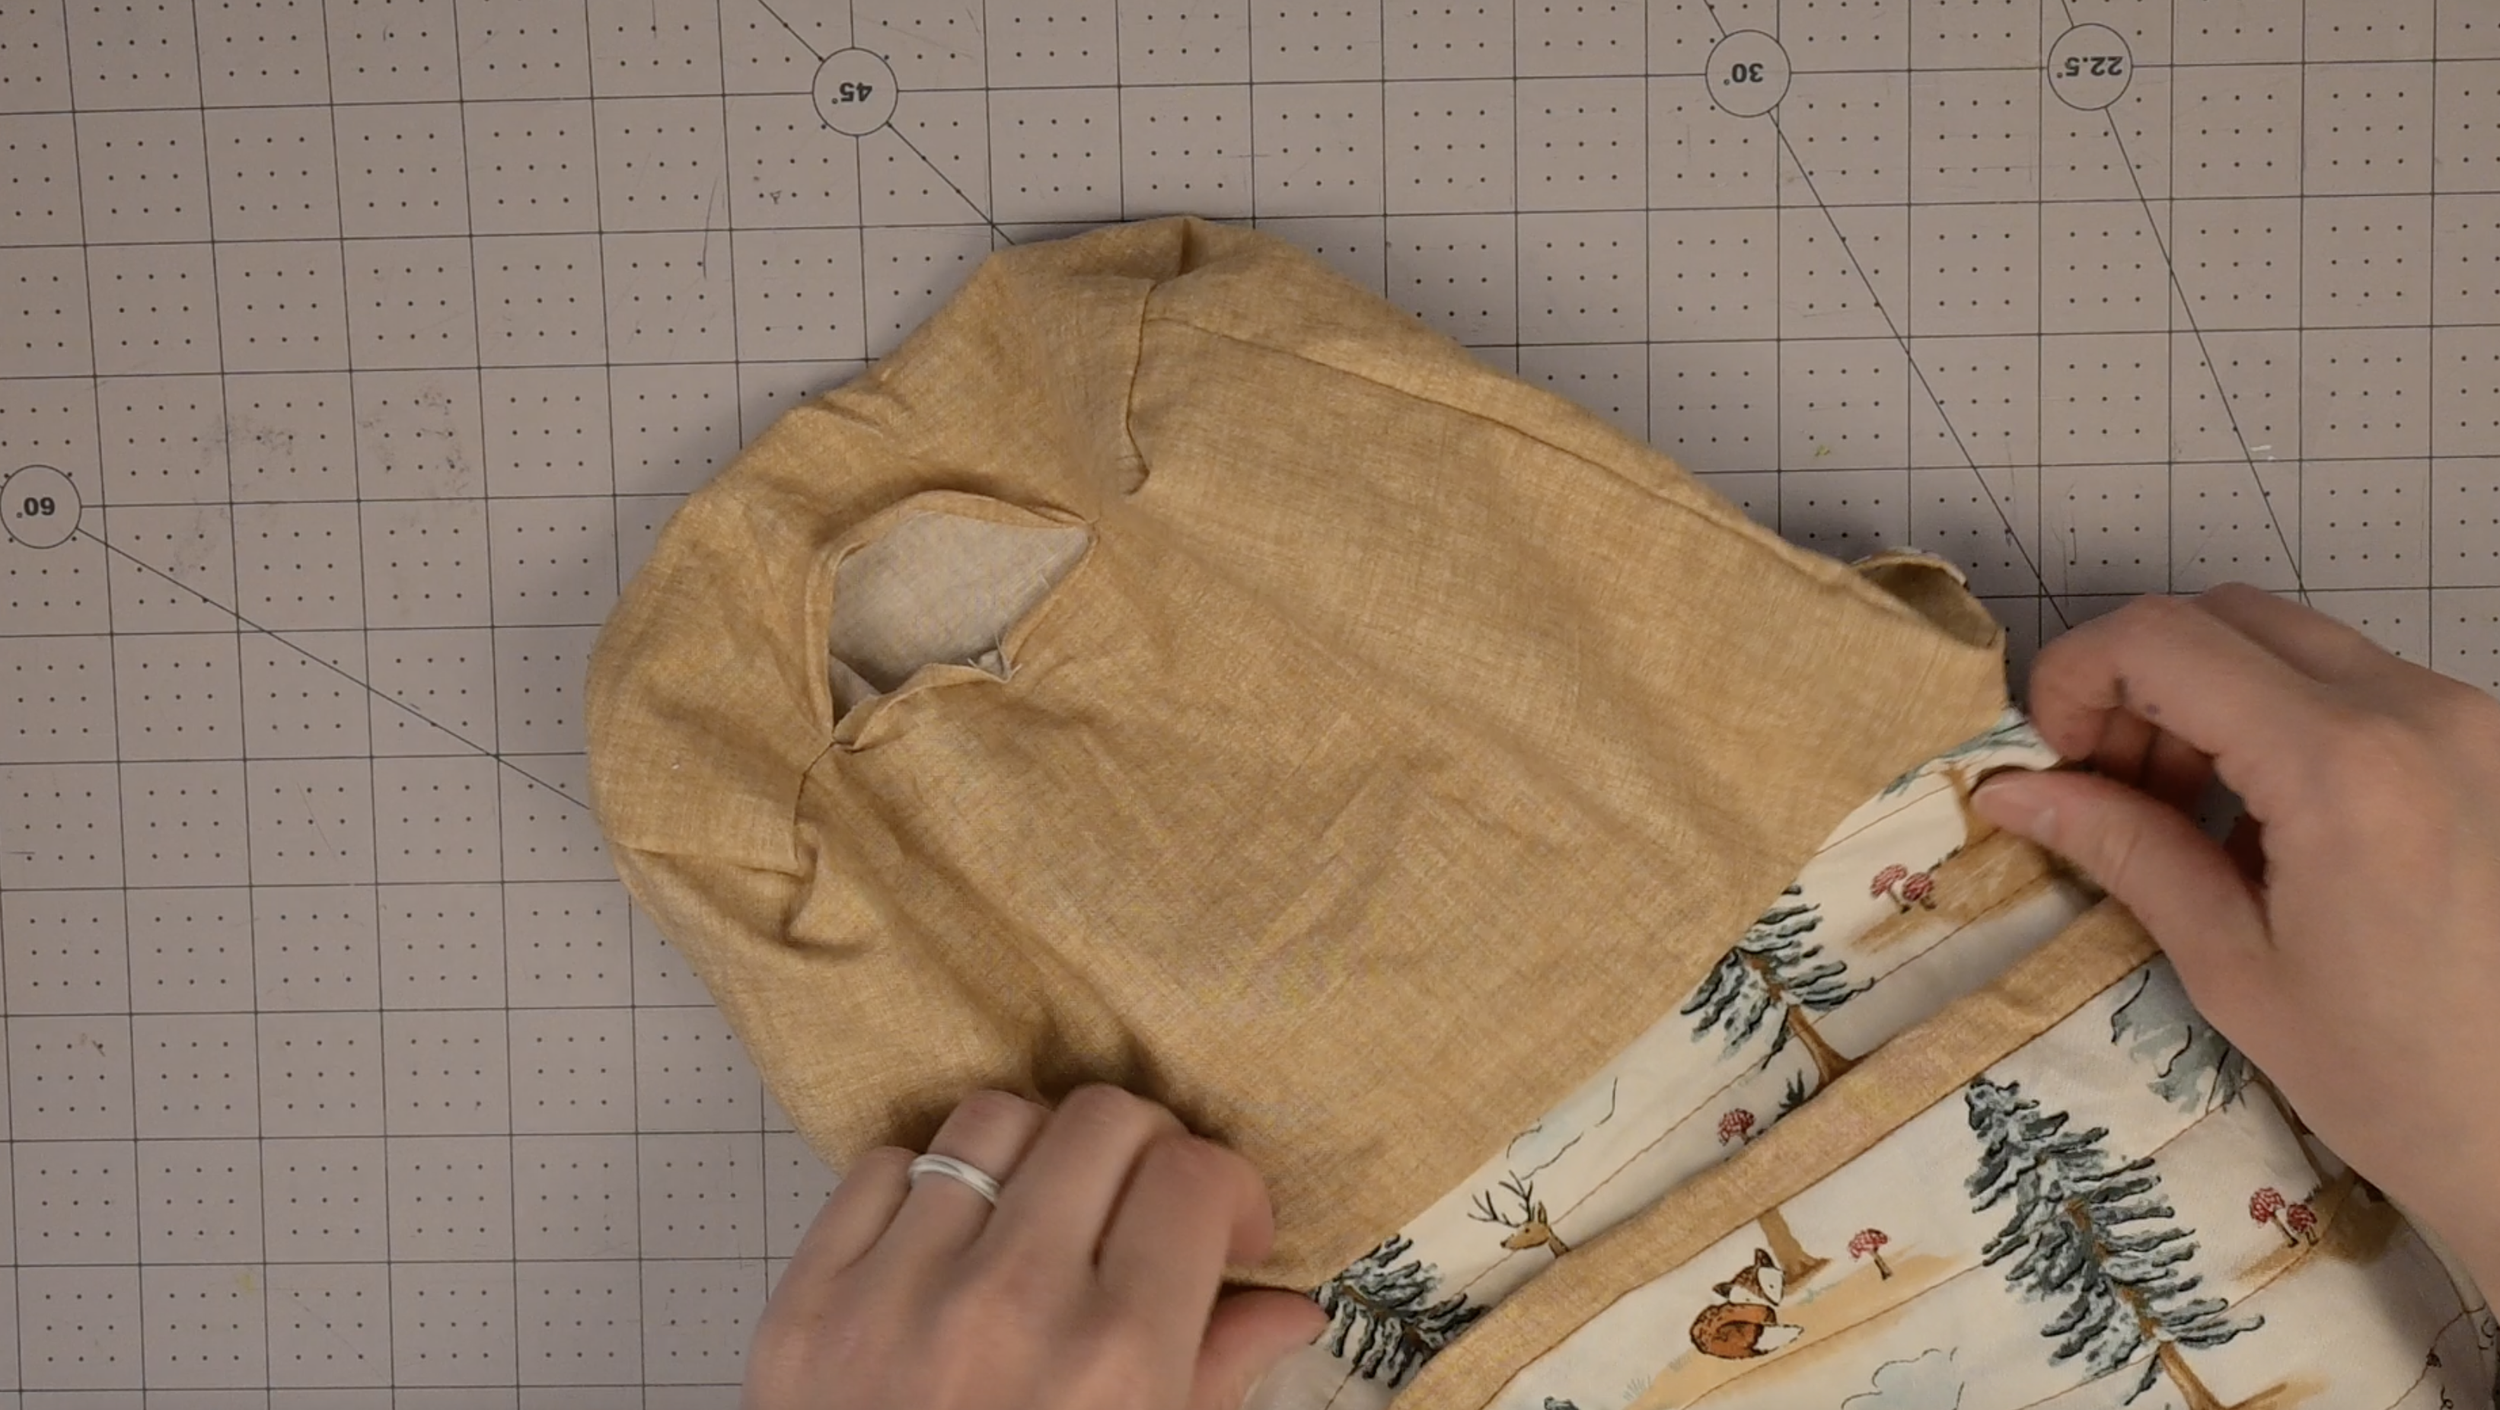
Step 14: Turn the Fabric
Reach through the 3 inch hole left in the lining and carefully pull the entire fabric pod right side out

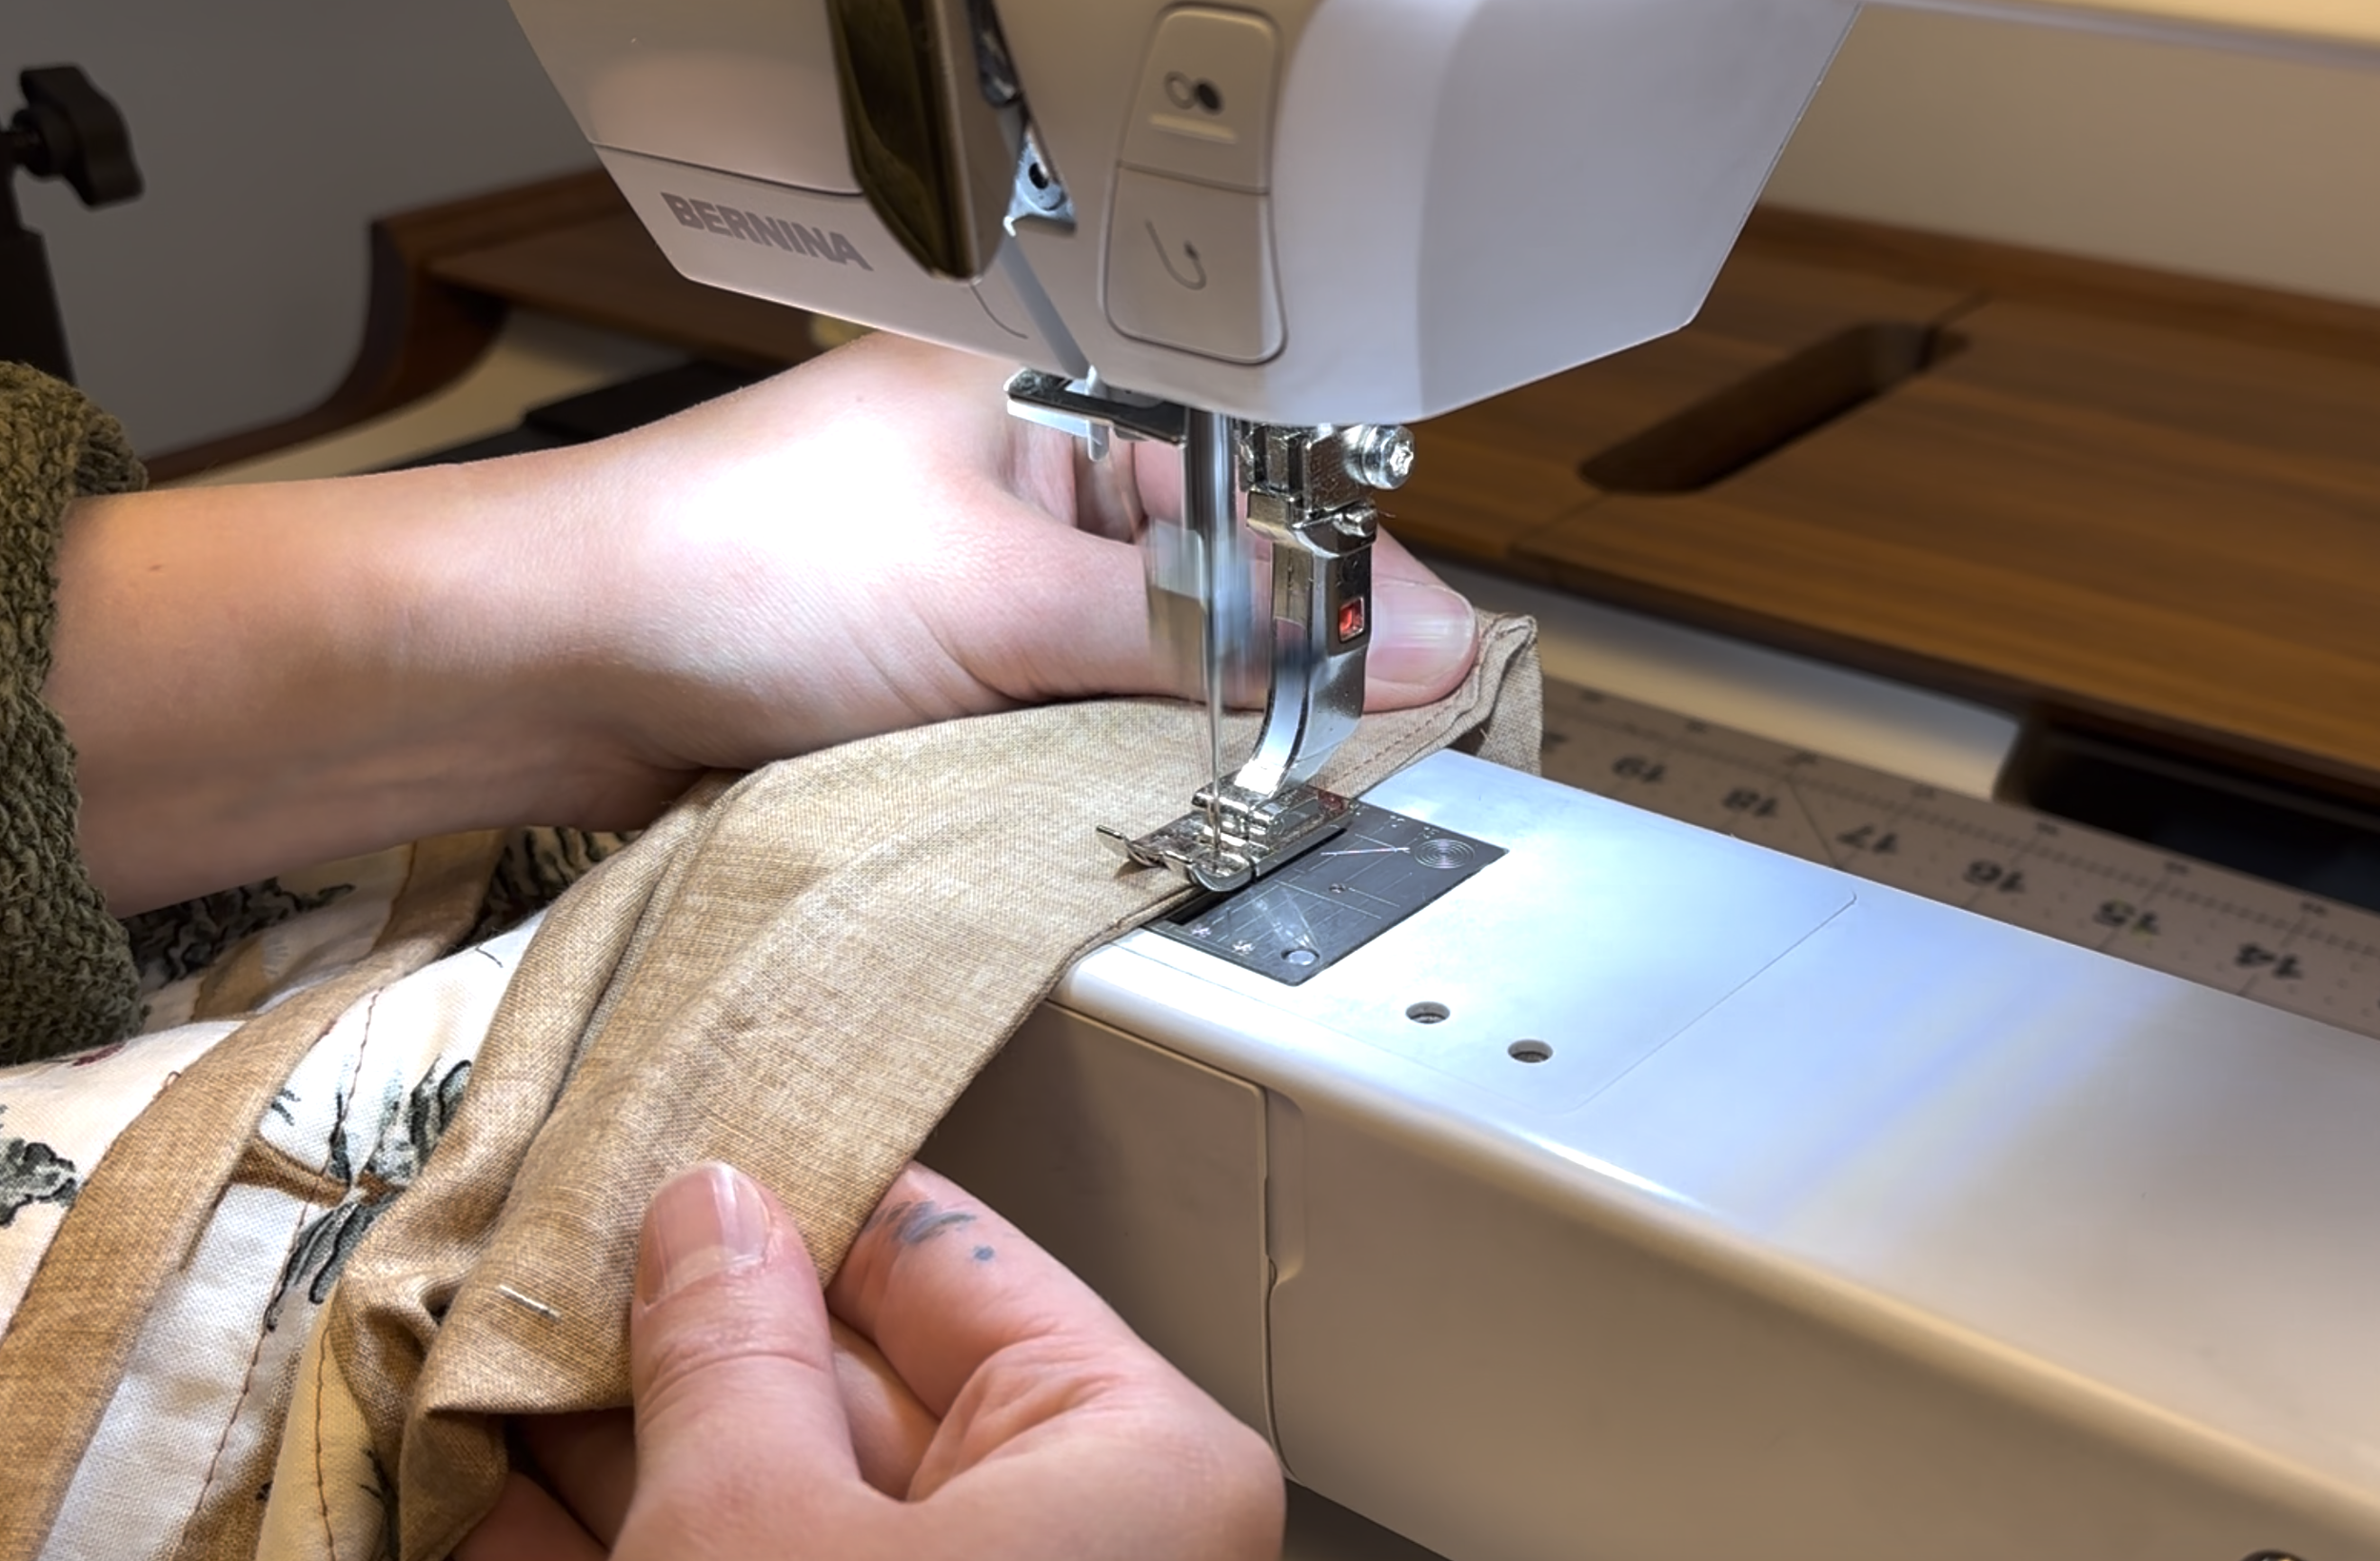
Tuck the raw edges of the opening inward and sew the hole closed
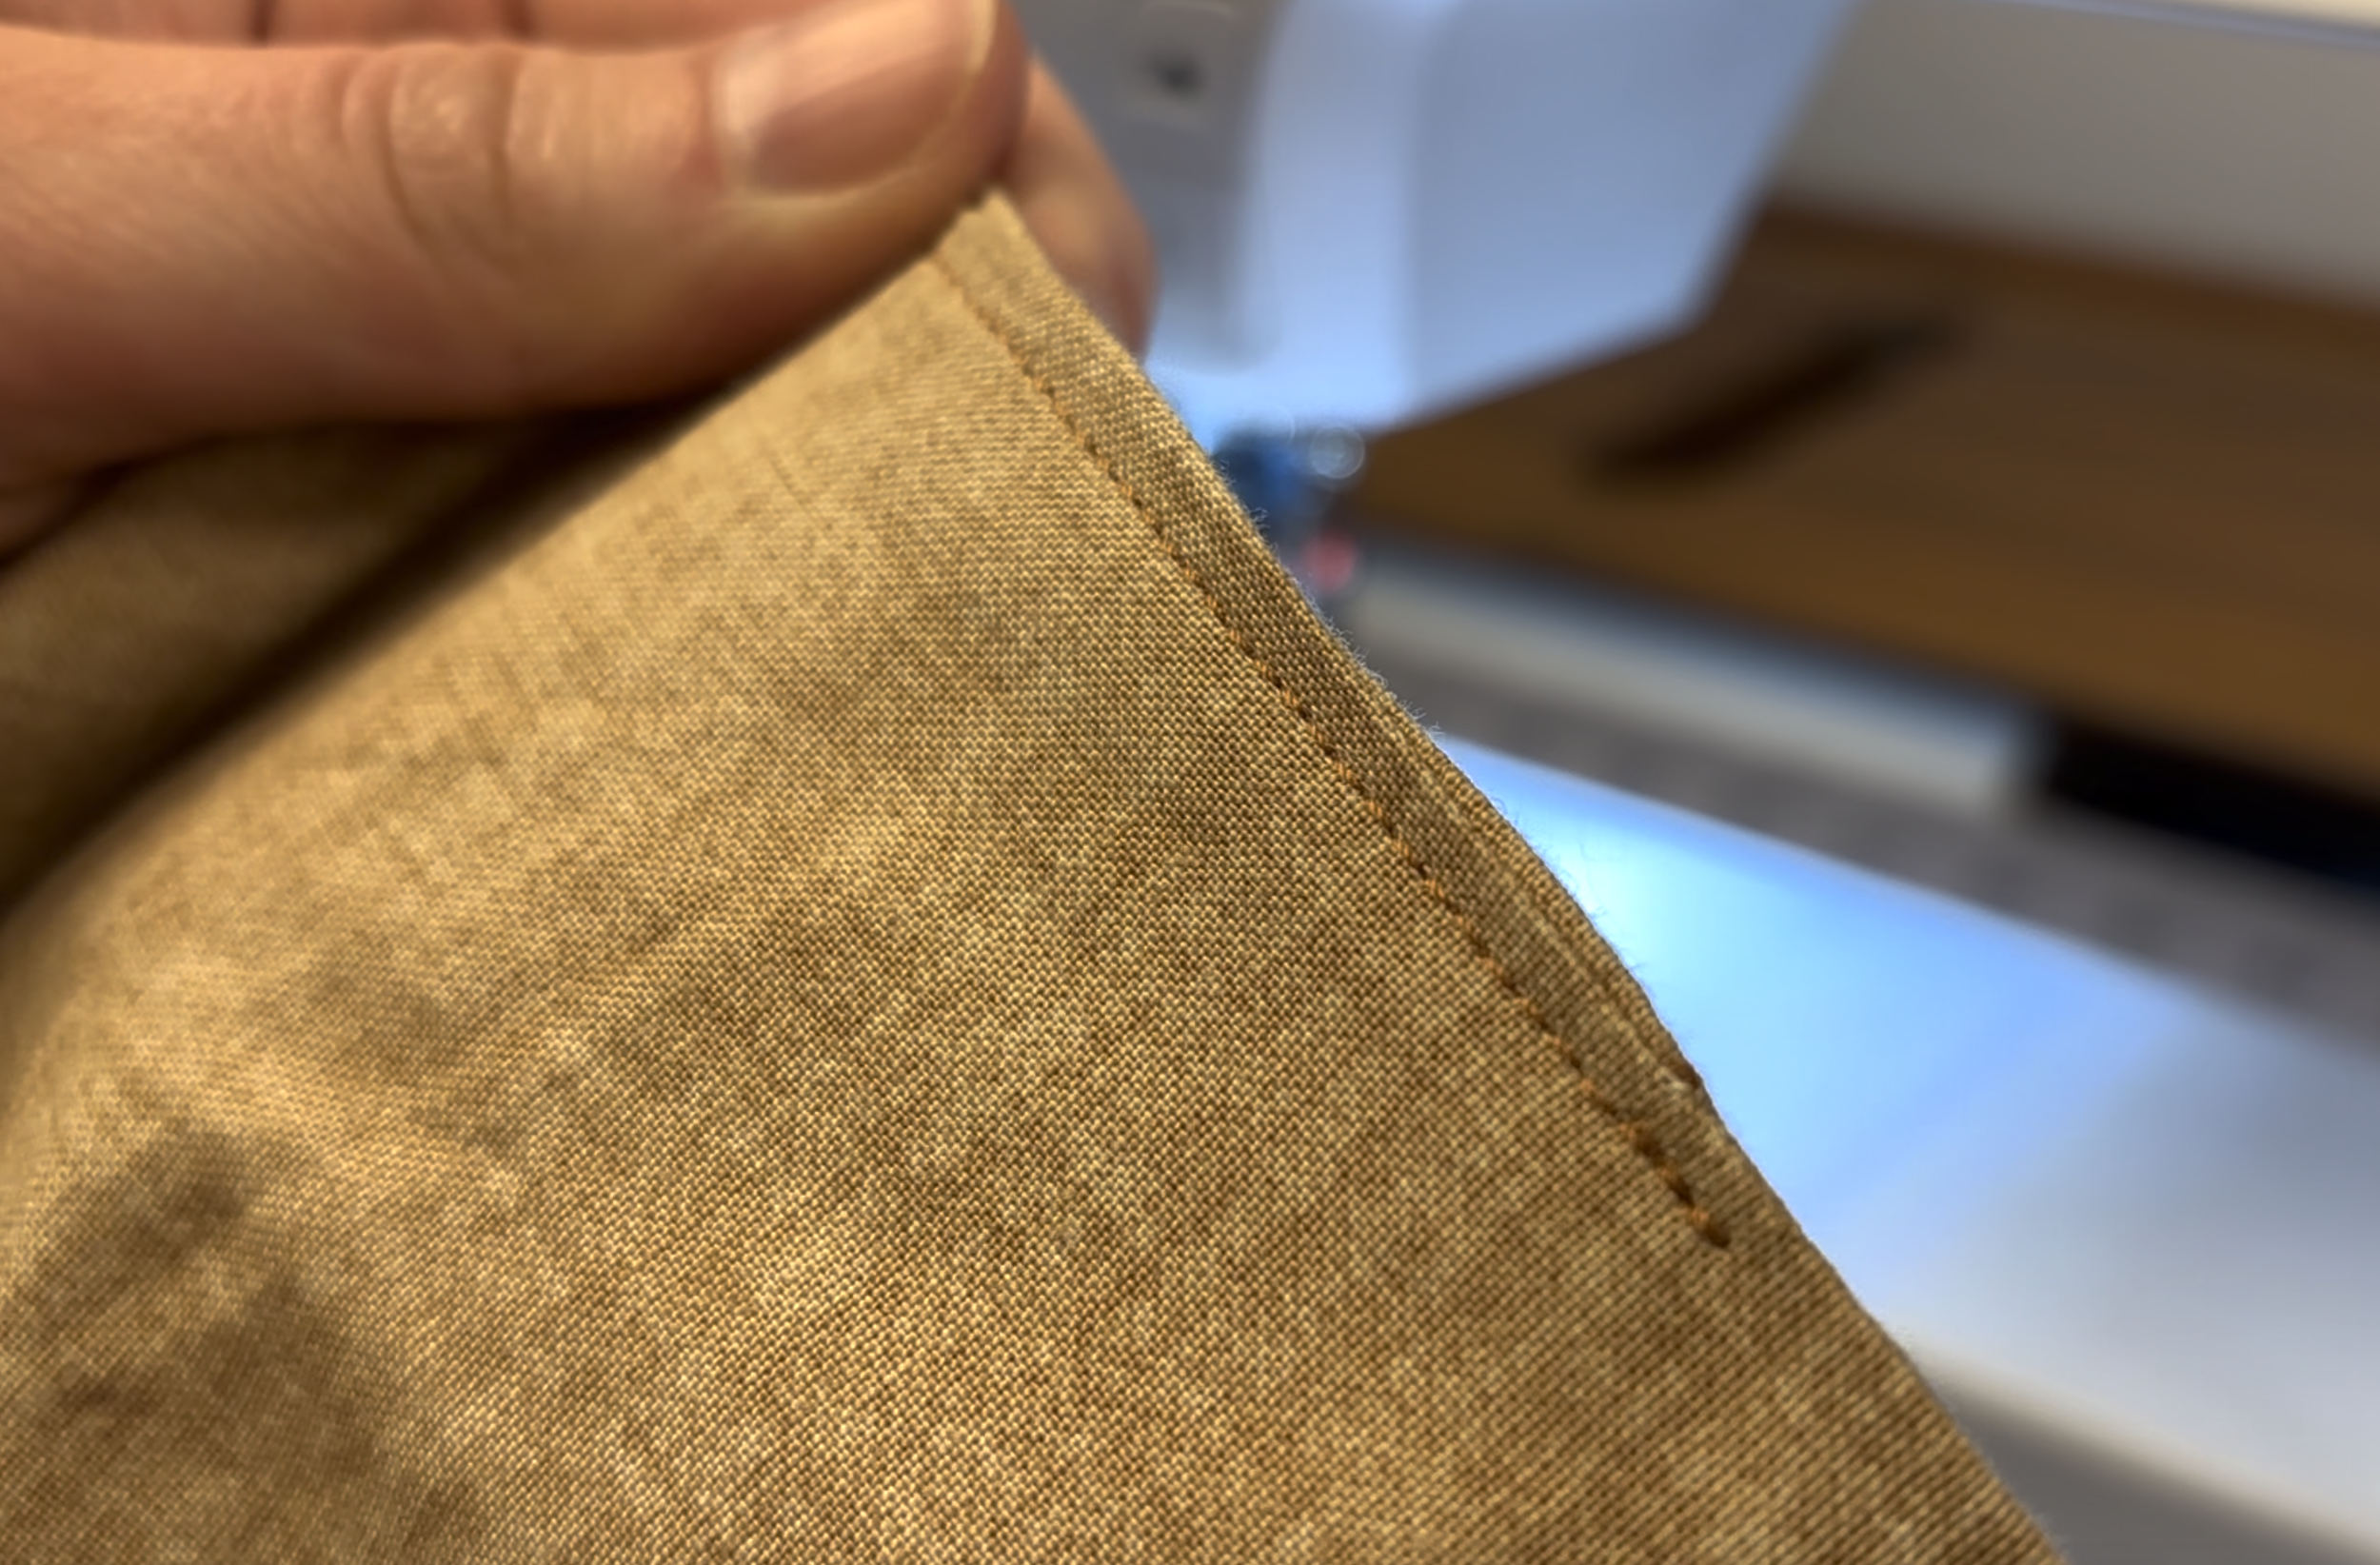
Step 15: Final Touches

Push the lining fabric down into the main outer section
Iron the top edge flat
Topstitch fully around the top edge for a clean, finished look