
Zigzag Paper Weave
Ready to spruce up your paper weaving? Get ready to try a zigzag weave. This weave adds an unexpected flair to any weaving project. Let’s get started!
Materials (As an Amazon Associate I earn from qualifying purchases):
Two pieces of contrasting construction paper (the tutorial uses 9x12 inch paper)
Scissors or a craft knife (with a cutting mat if using a craft knife)
Pencil
Optional: Clear tape

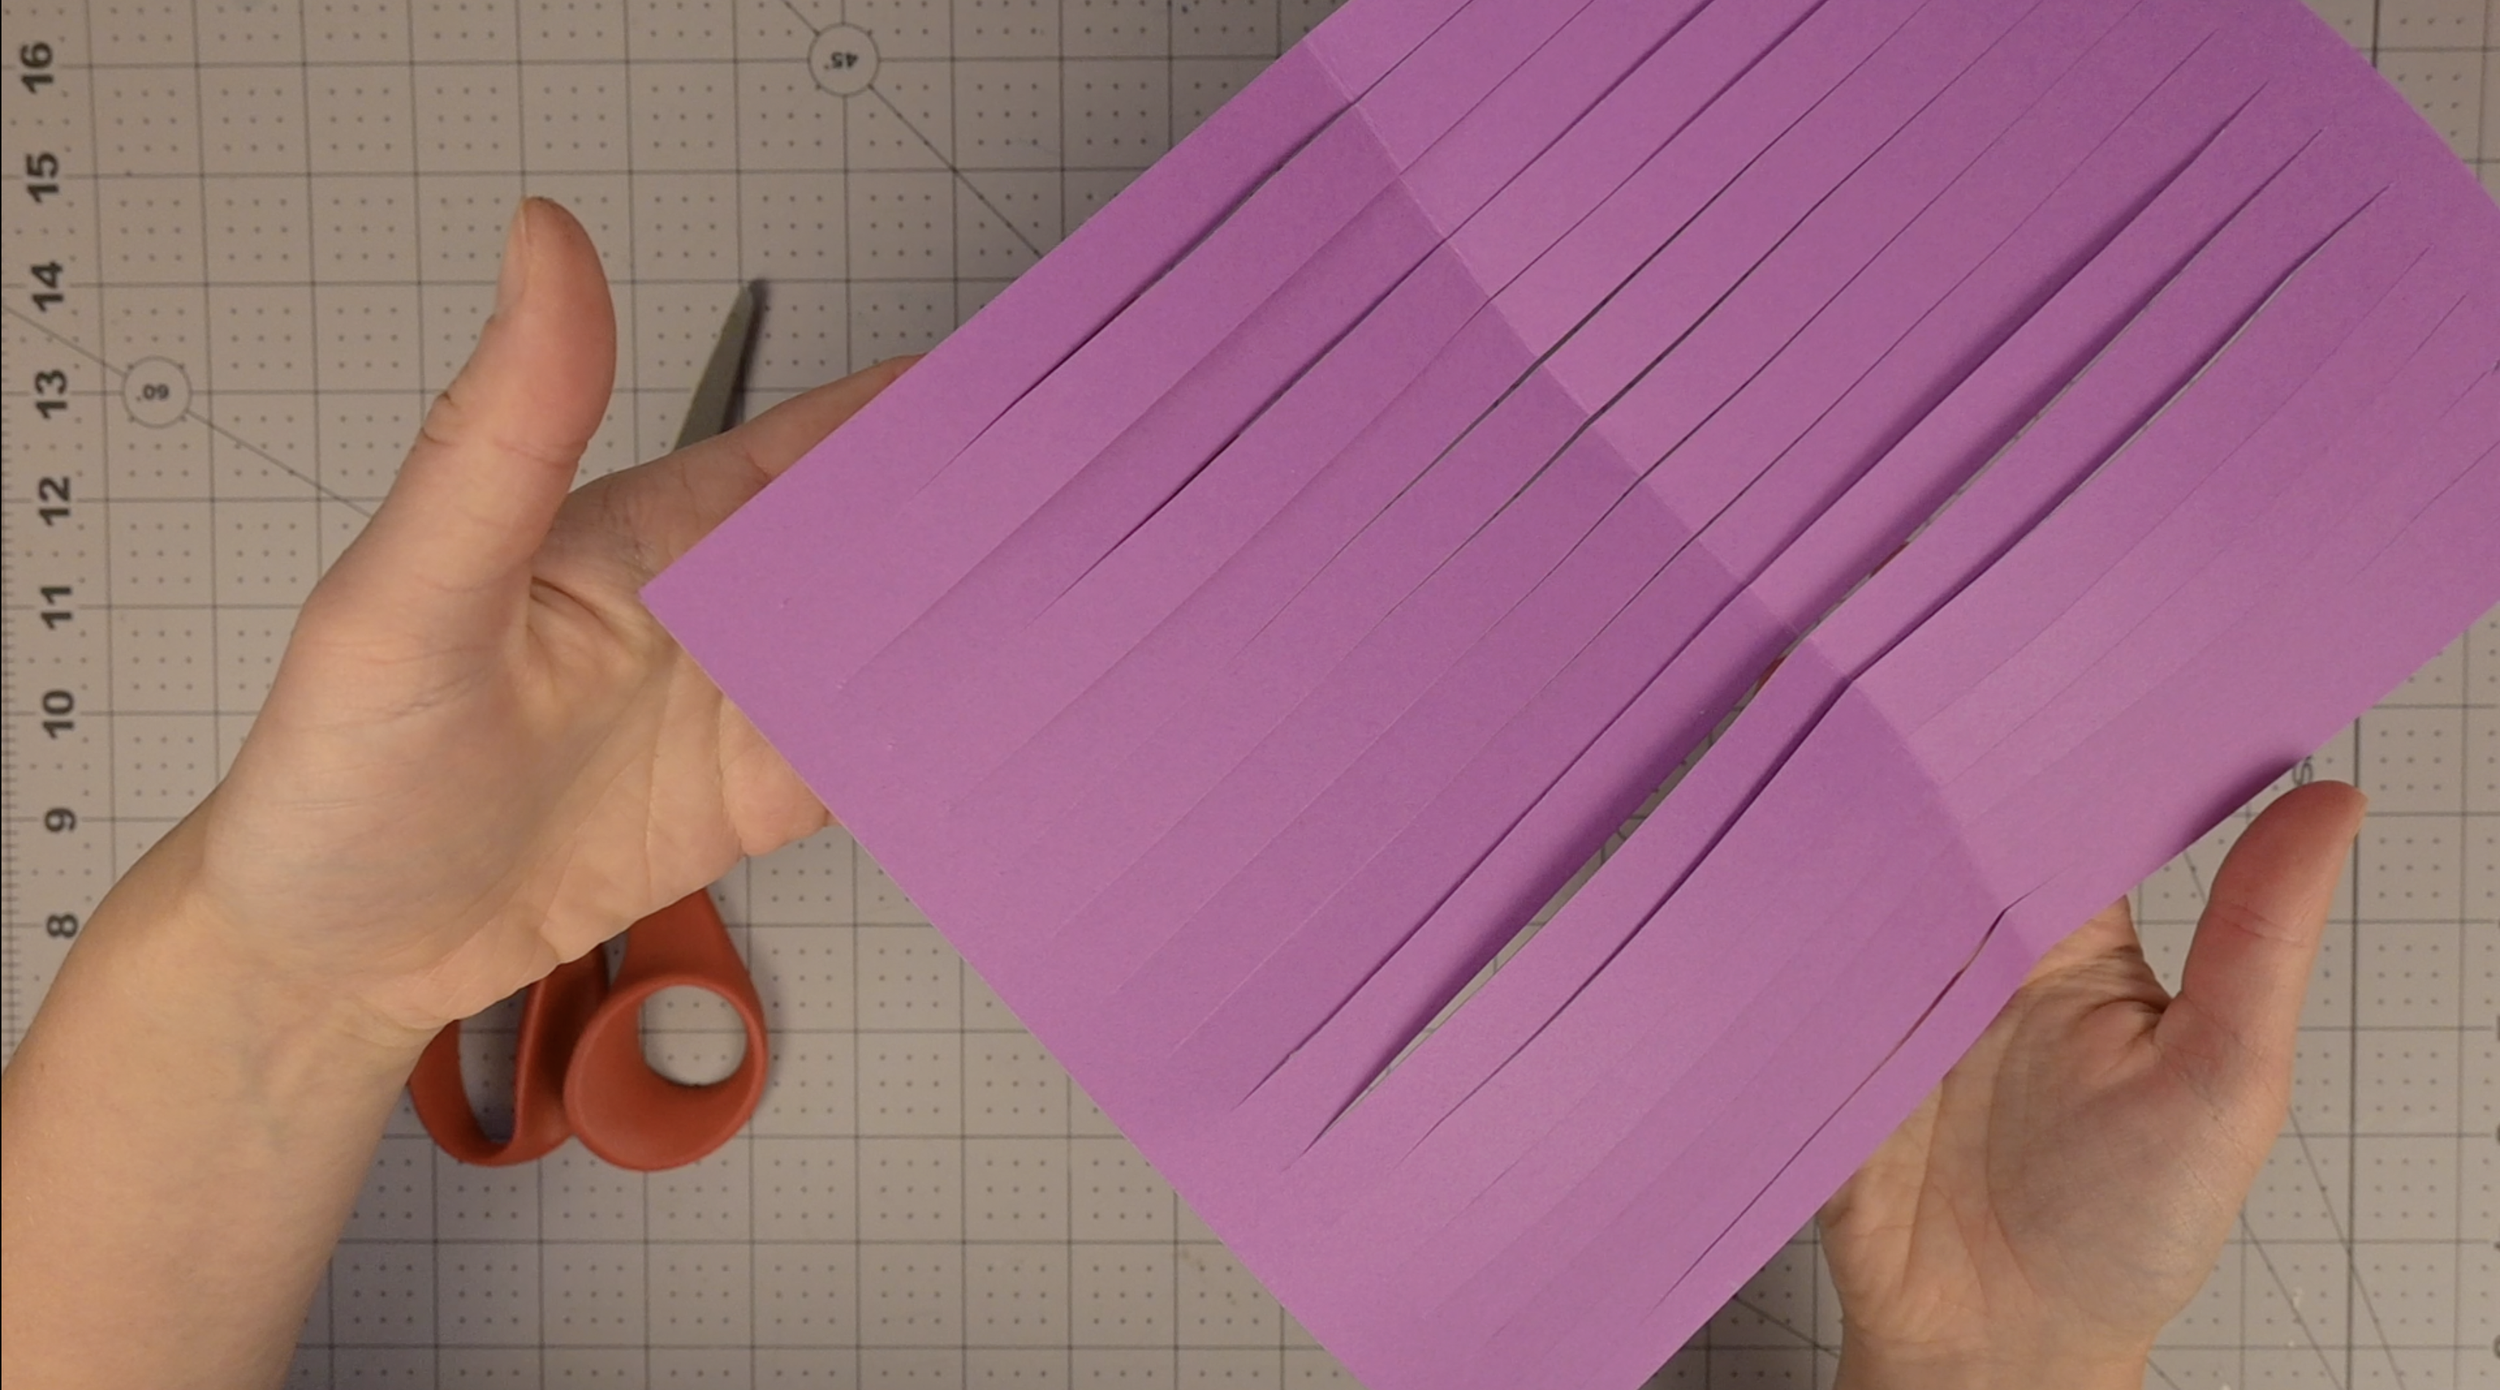
Step 1: Prepare Your Base Paper
You'll create the "base" for your weave from one piece of paper. This is the paper you'll weave through.
If You're Using Scissors:
Fold your paper in half horizontally (hamburger bun style).
On the open side of the fold, use your ruler and pencil to measure and mark a point 1/2 inch in from each short edge. Draw a light line connecting these two points. This creates a guideline.
Now, along the guideline you just drew, make a mark every 1/2 inch.
Repeat this marking process on the folded side of the paper.
Use your ruler and pencil to connect the corresponding marks from the open side to the folded side, creating a series of vertical lines.
Cut along these vertical lines. Important: Do not cut past the horizontal guideline you drew in step 2! This keeps your strips connected at the top and bottom.


If You're Using a Craft Knife:
On both vertical sides of the paper, use your ruler and pencil to measure and mark a point 1/2 inch in from each short edge. Draw a light line connecting these two points.
Along both edges, make a mark every 1/2 inch.
Use your ruler and pencil to connect the corresponding marks, creating a series of vertical lines.
Place your paper on a cutting mat. Using your craft knife and ruler, carefully cut along these vertical lines. Remember: Stop cutting when you reach the horizontal guideline!
New to craft knives? Check out my "Cut with Confidence: Essential Craft Knife Safety Tips" blog post for important safety information before you start!


Step 2: Create Your Weaving Strips
Take your second piece of contrasting paper.
Using your scissors or craft knife, cut 1/2 inch wide strips all along the long side of this paper. These are the strips you'll weave through your base.

Step 3: Begin Weaving Your Zigzag Pattern
The zigzag pattern is created by repeating a specific sequence of "over" and "under" weaving.
To make this step easier, you might find a visual template helpful. Linked below is the free downloadable file:

Here are the four repeating row orders:
Row 1: Take a strip and weave it over 3 base strips, then under 3 base strips. Continue this "over 3, under 3" pattern all the way across.
Row 2: Take a new strip. Start by weaving it over 1 base strip, then under 2 base strips. (Look closely at a photo or template if you have one to see exactly where this row starts its pattern!)
Row 3: Take another strip. Start by weaving it under 3 base strips, then over 3 base strips. Continue this "under 3, over 3" pattern all the way across.
Row 4: Take a fresh strip. Start by weaving it under 1 base strip, then over 2 base strips. (Again, a photo or template is great for visualizing this starting point!)
Keep repeating Rows 1-4 until your weave reaches the desired length. Gently push each woven strip snugly against the one before it to keep your pattern tight and even.


Step 4: Secure Your Weave
Once you've finished weaving, you'll want to secure the ends so your weave doesn't unravel.
Using a Glue Stick:
Apply a small amount of glue stick to the loose ends of your woven strips and press them firmly onto the back of your base paper.

Optional If Using Clear Packing Tape:
Carefully turn your finished weave over.
Completely cover the entire back of the weave with clear tape. This will hold everything securely in place.
Trim any excess tape from the edges.

