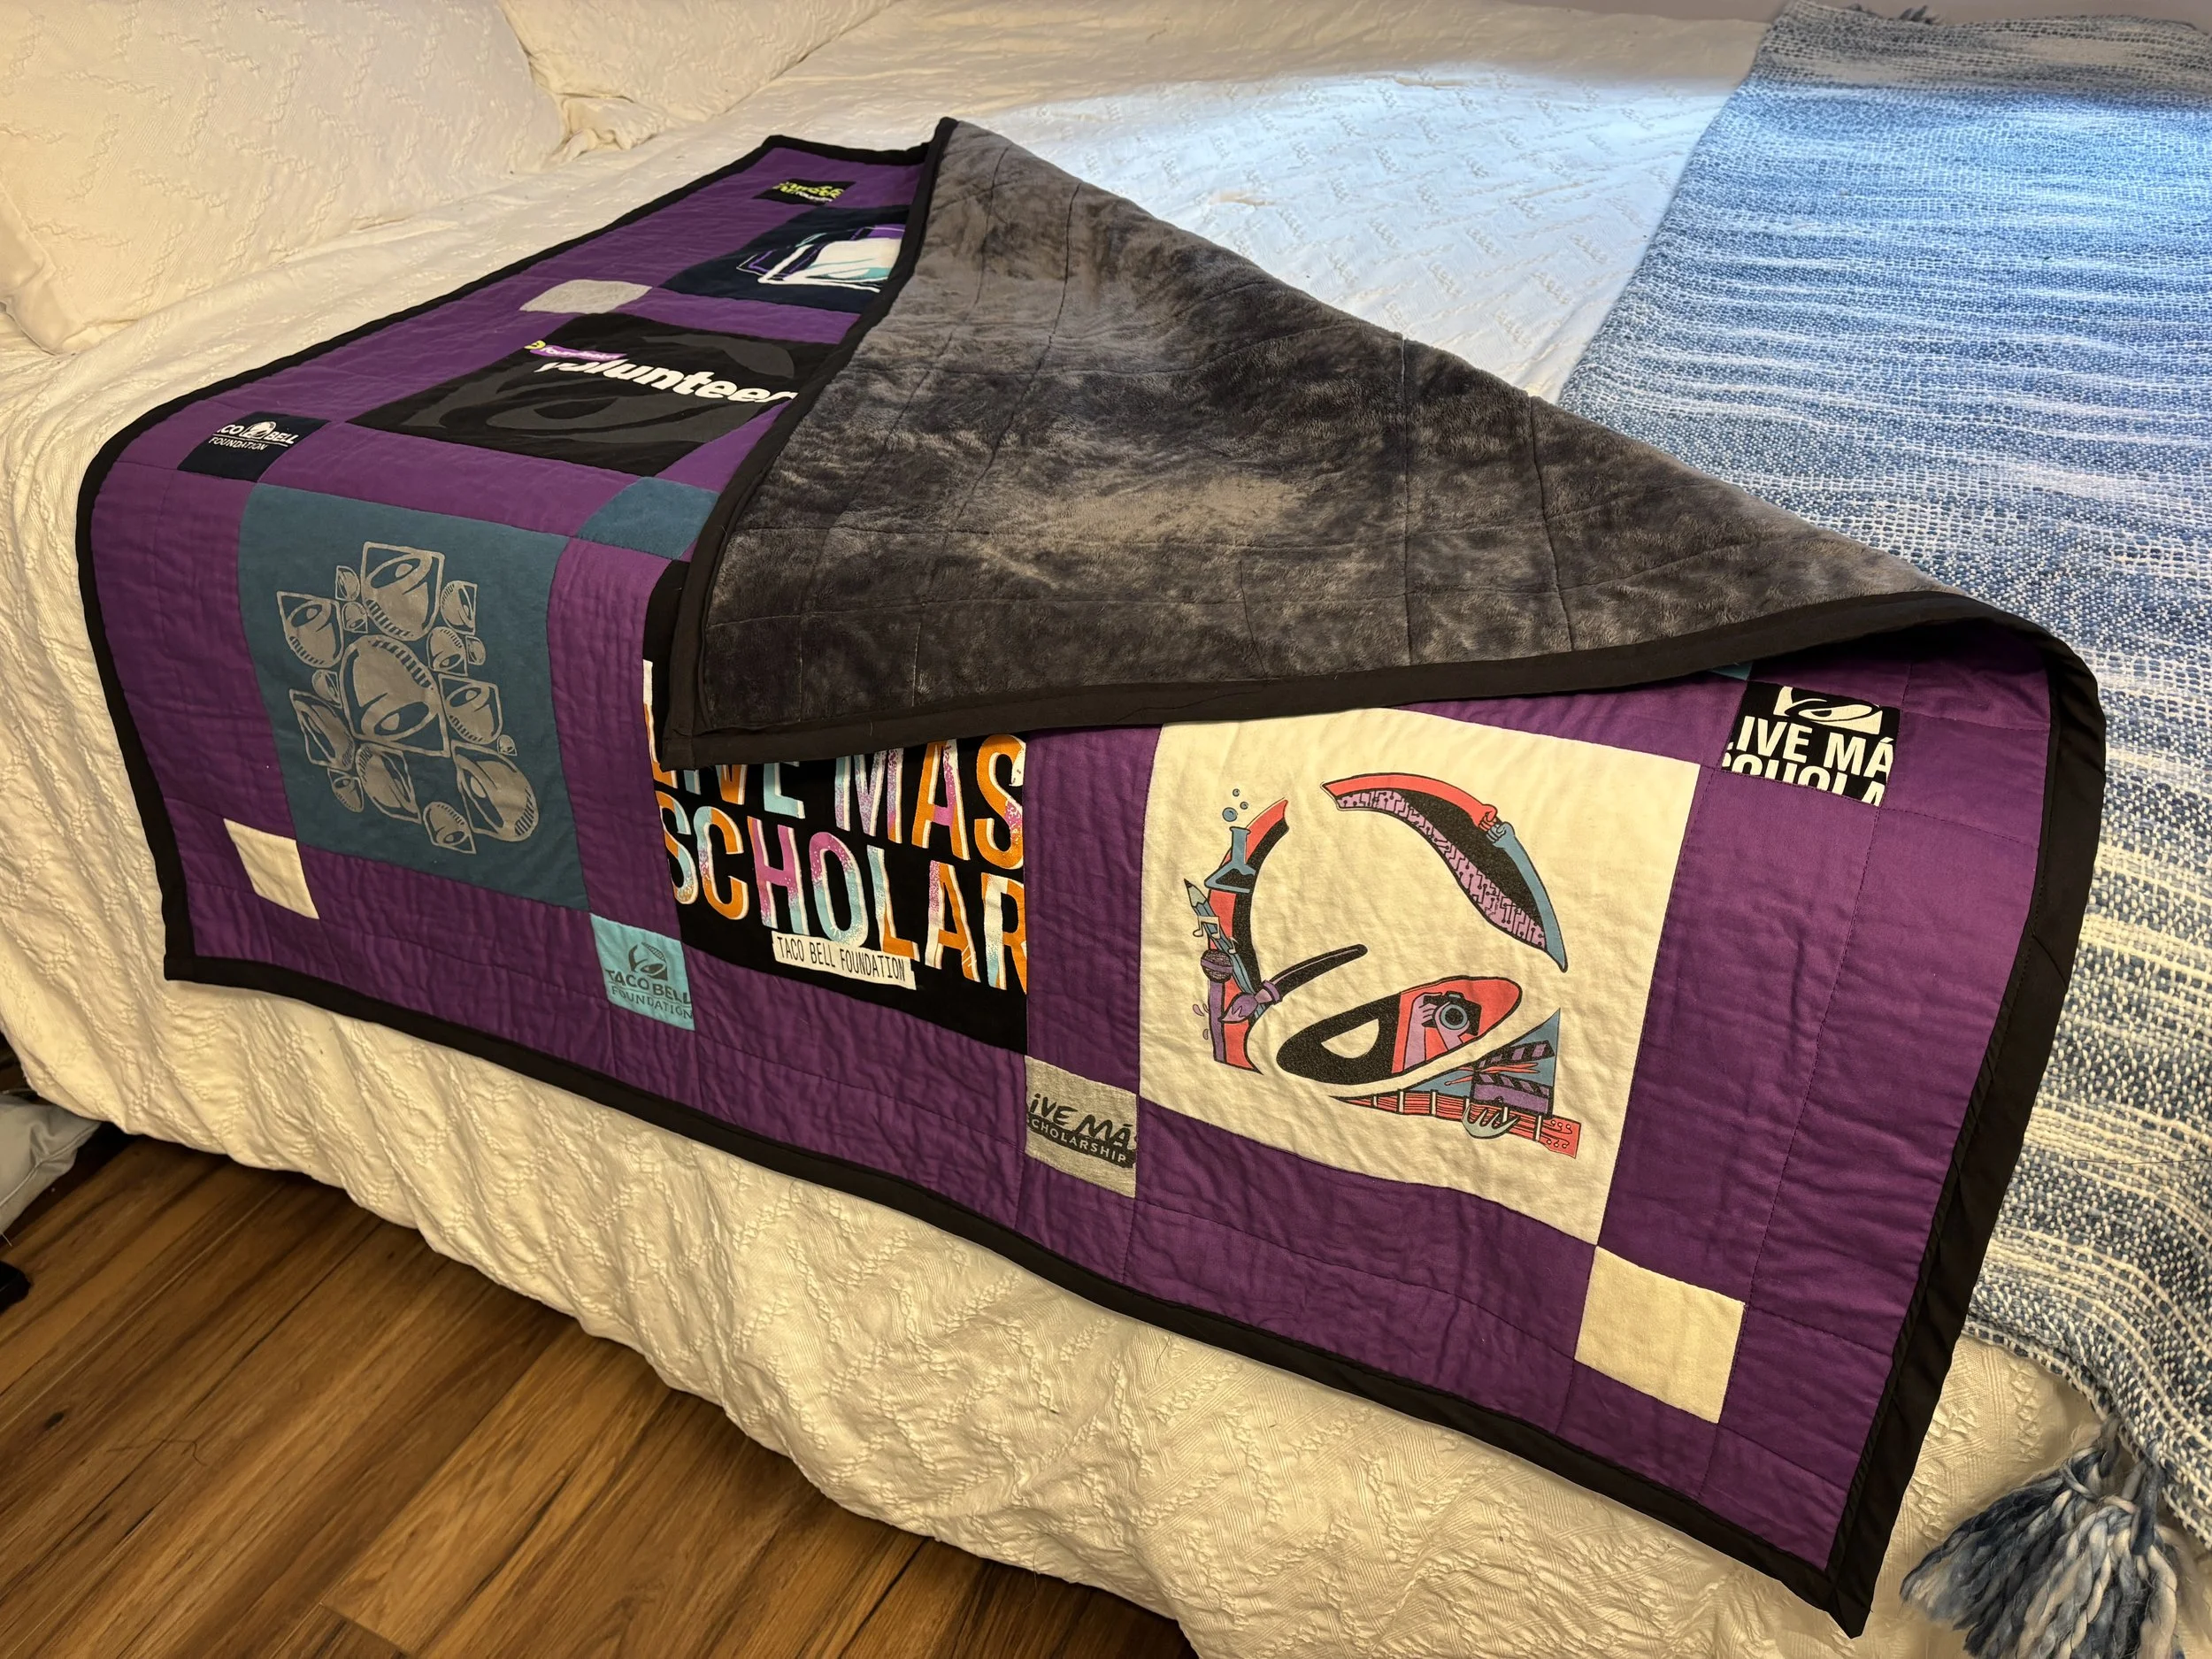
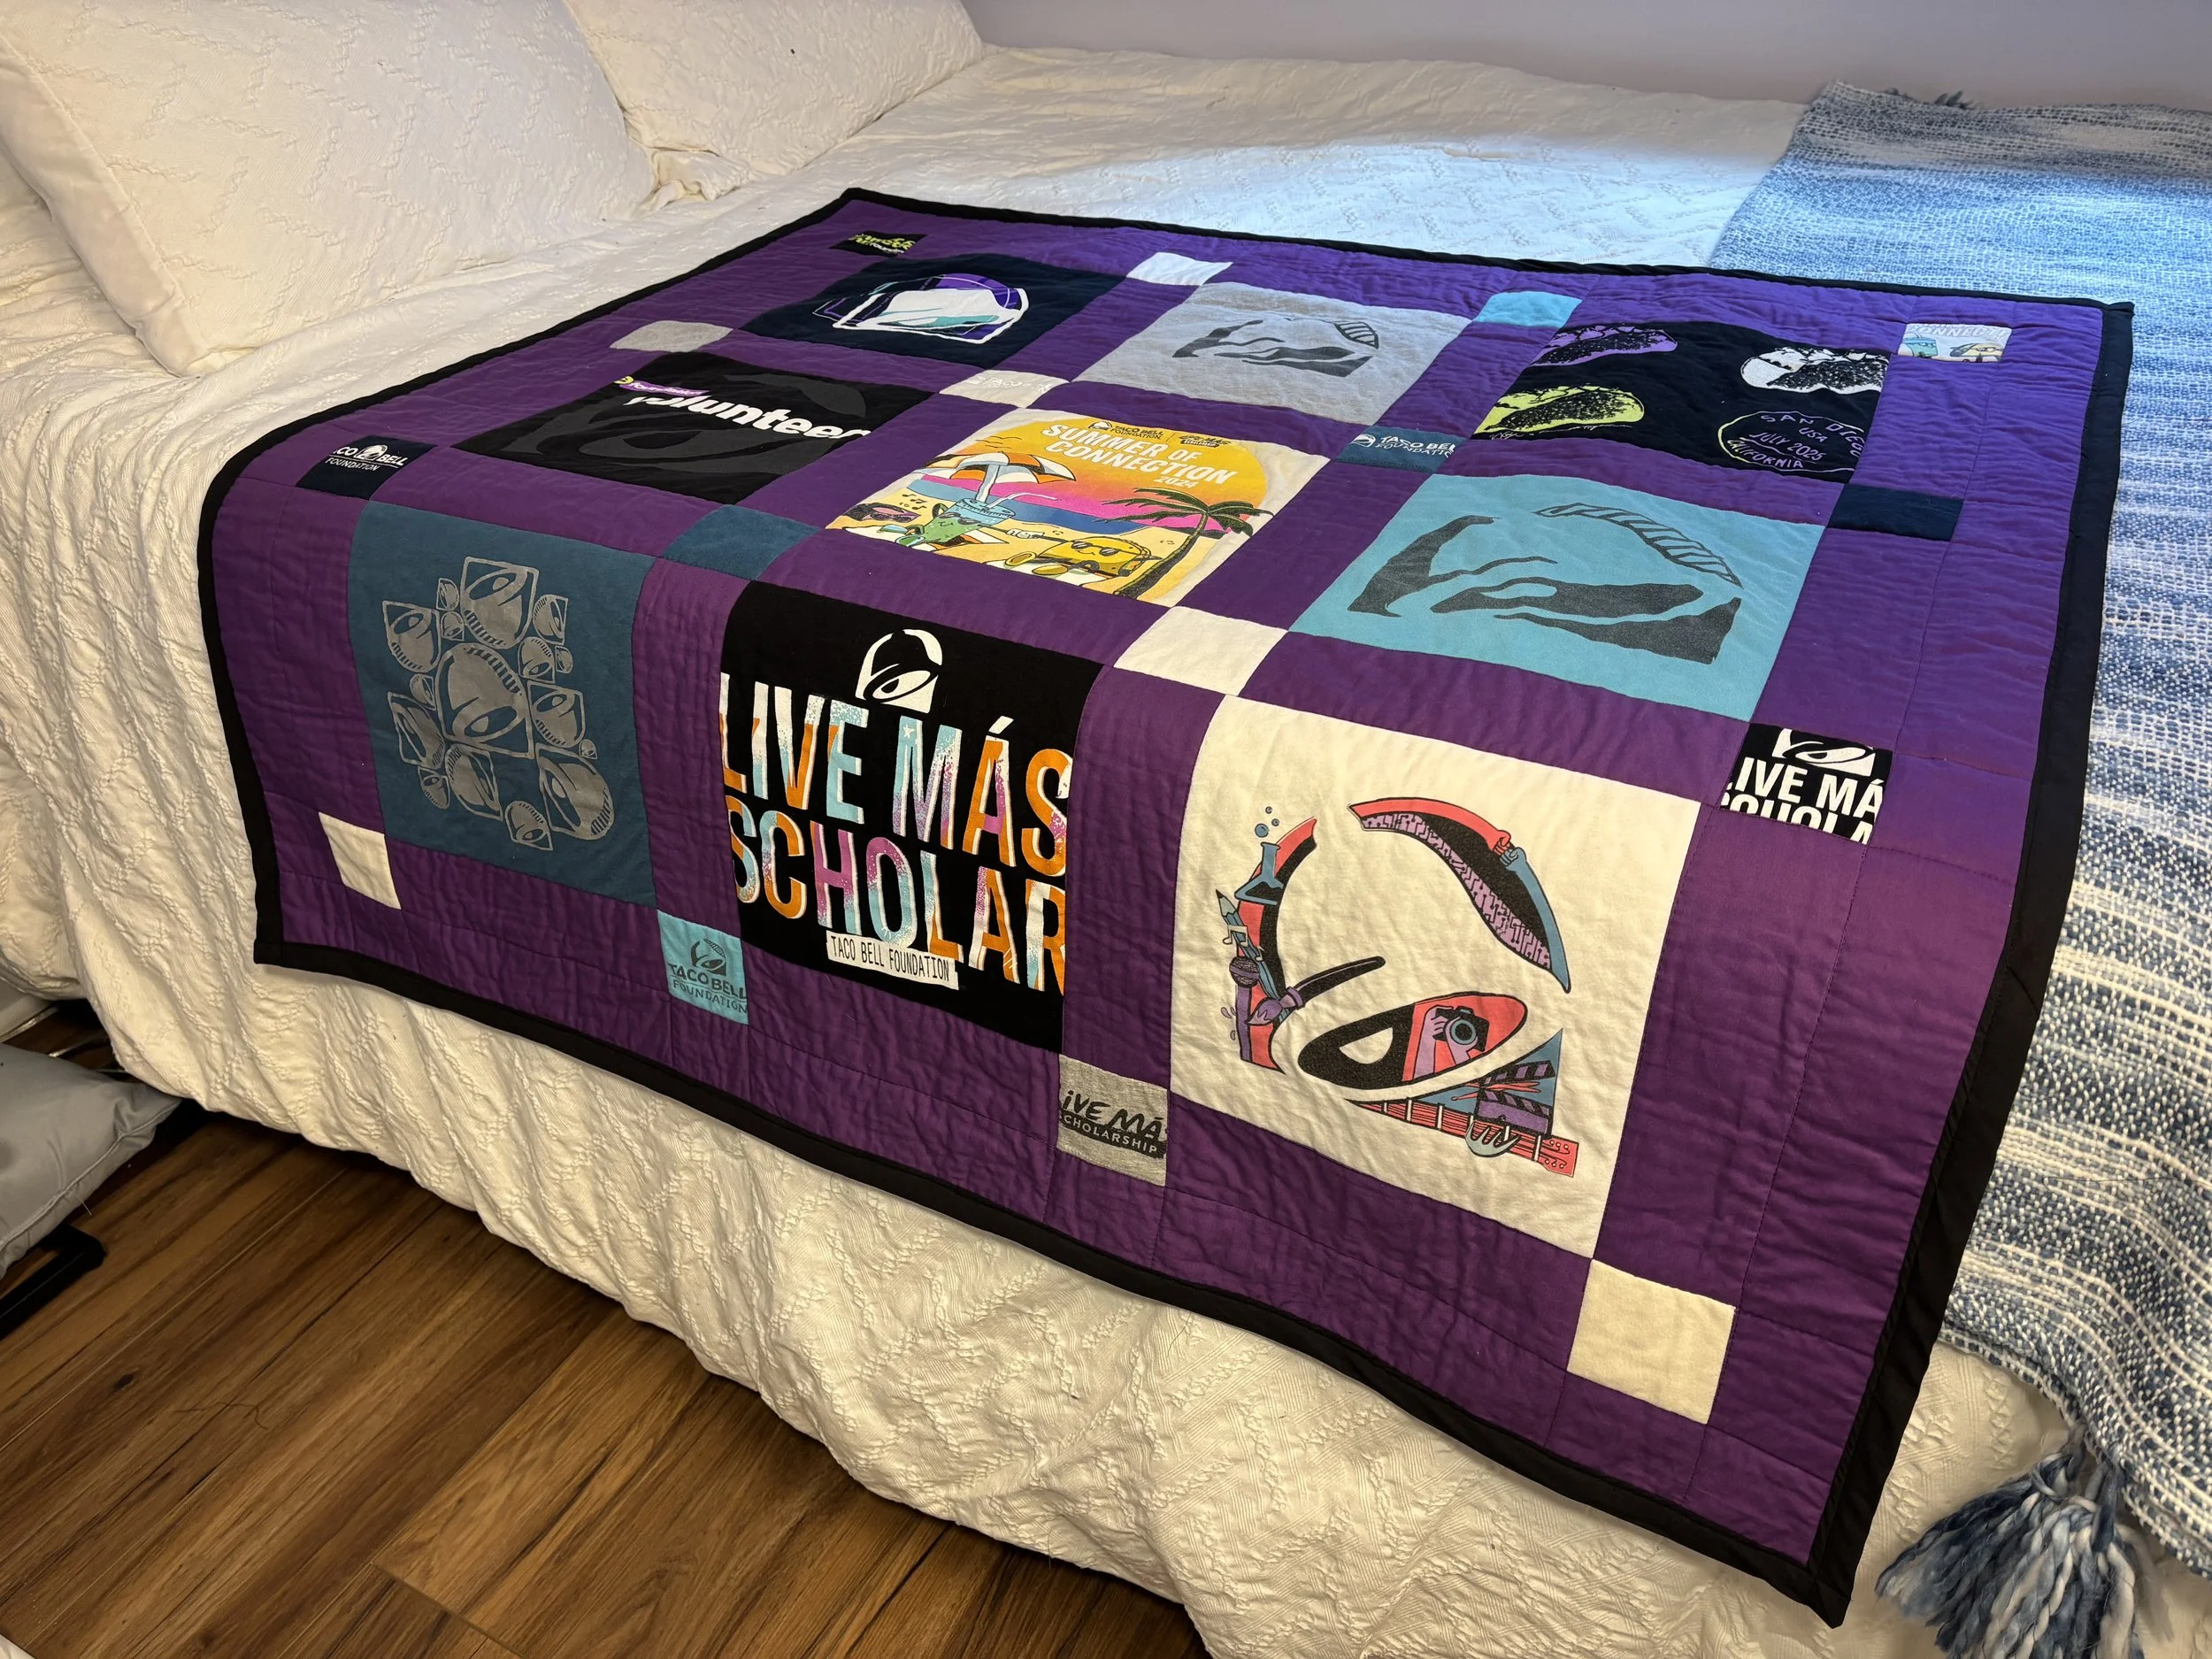
Read This Before Making Your First T-Shirt Quilt! (10 Tips / Sewn on a Domestic Sewing Machine)
I just made my first t-shirt quilt! Here are ten things I wish I knew before I started.
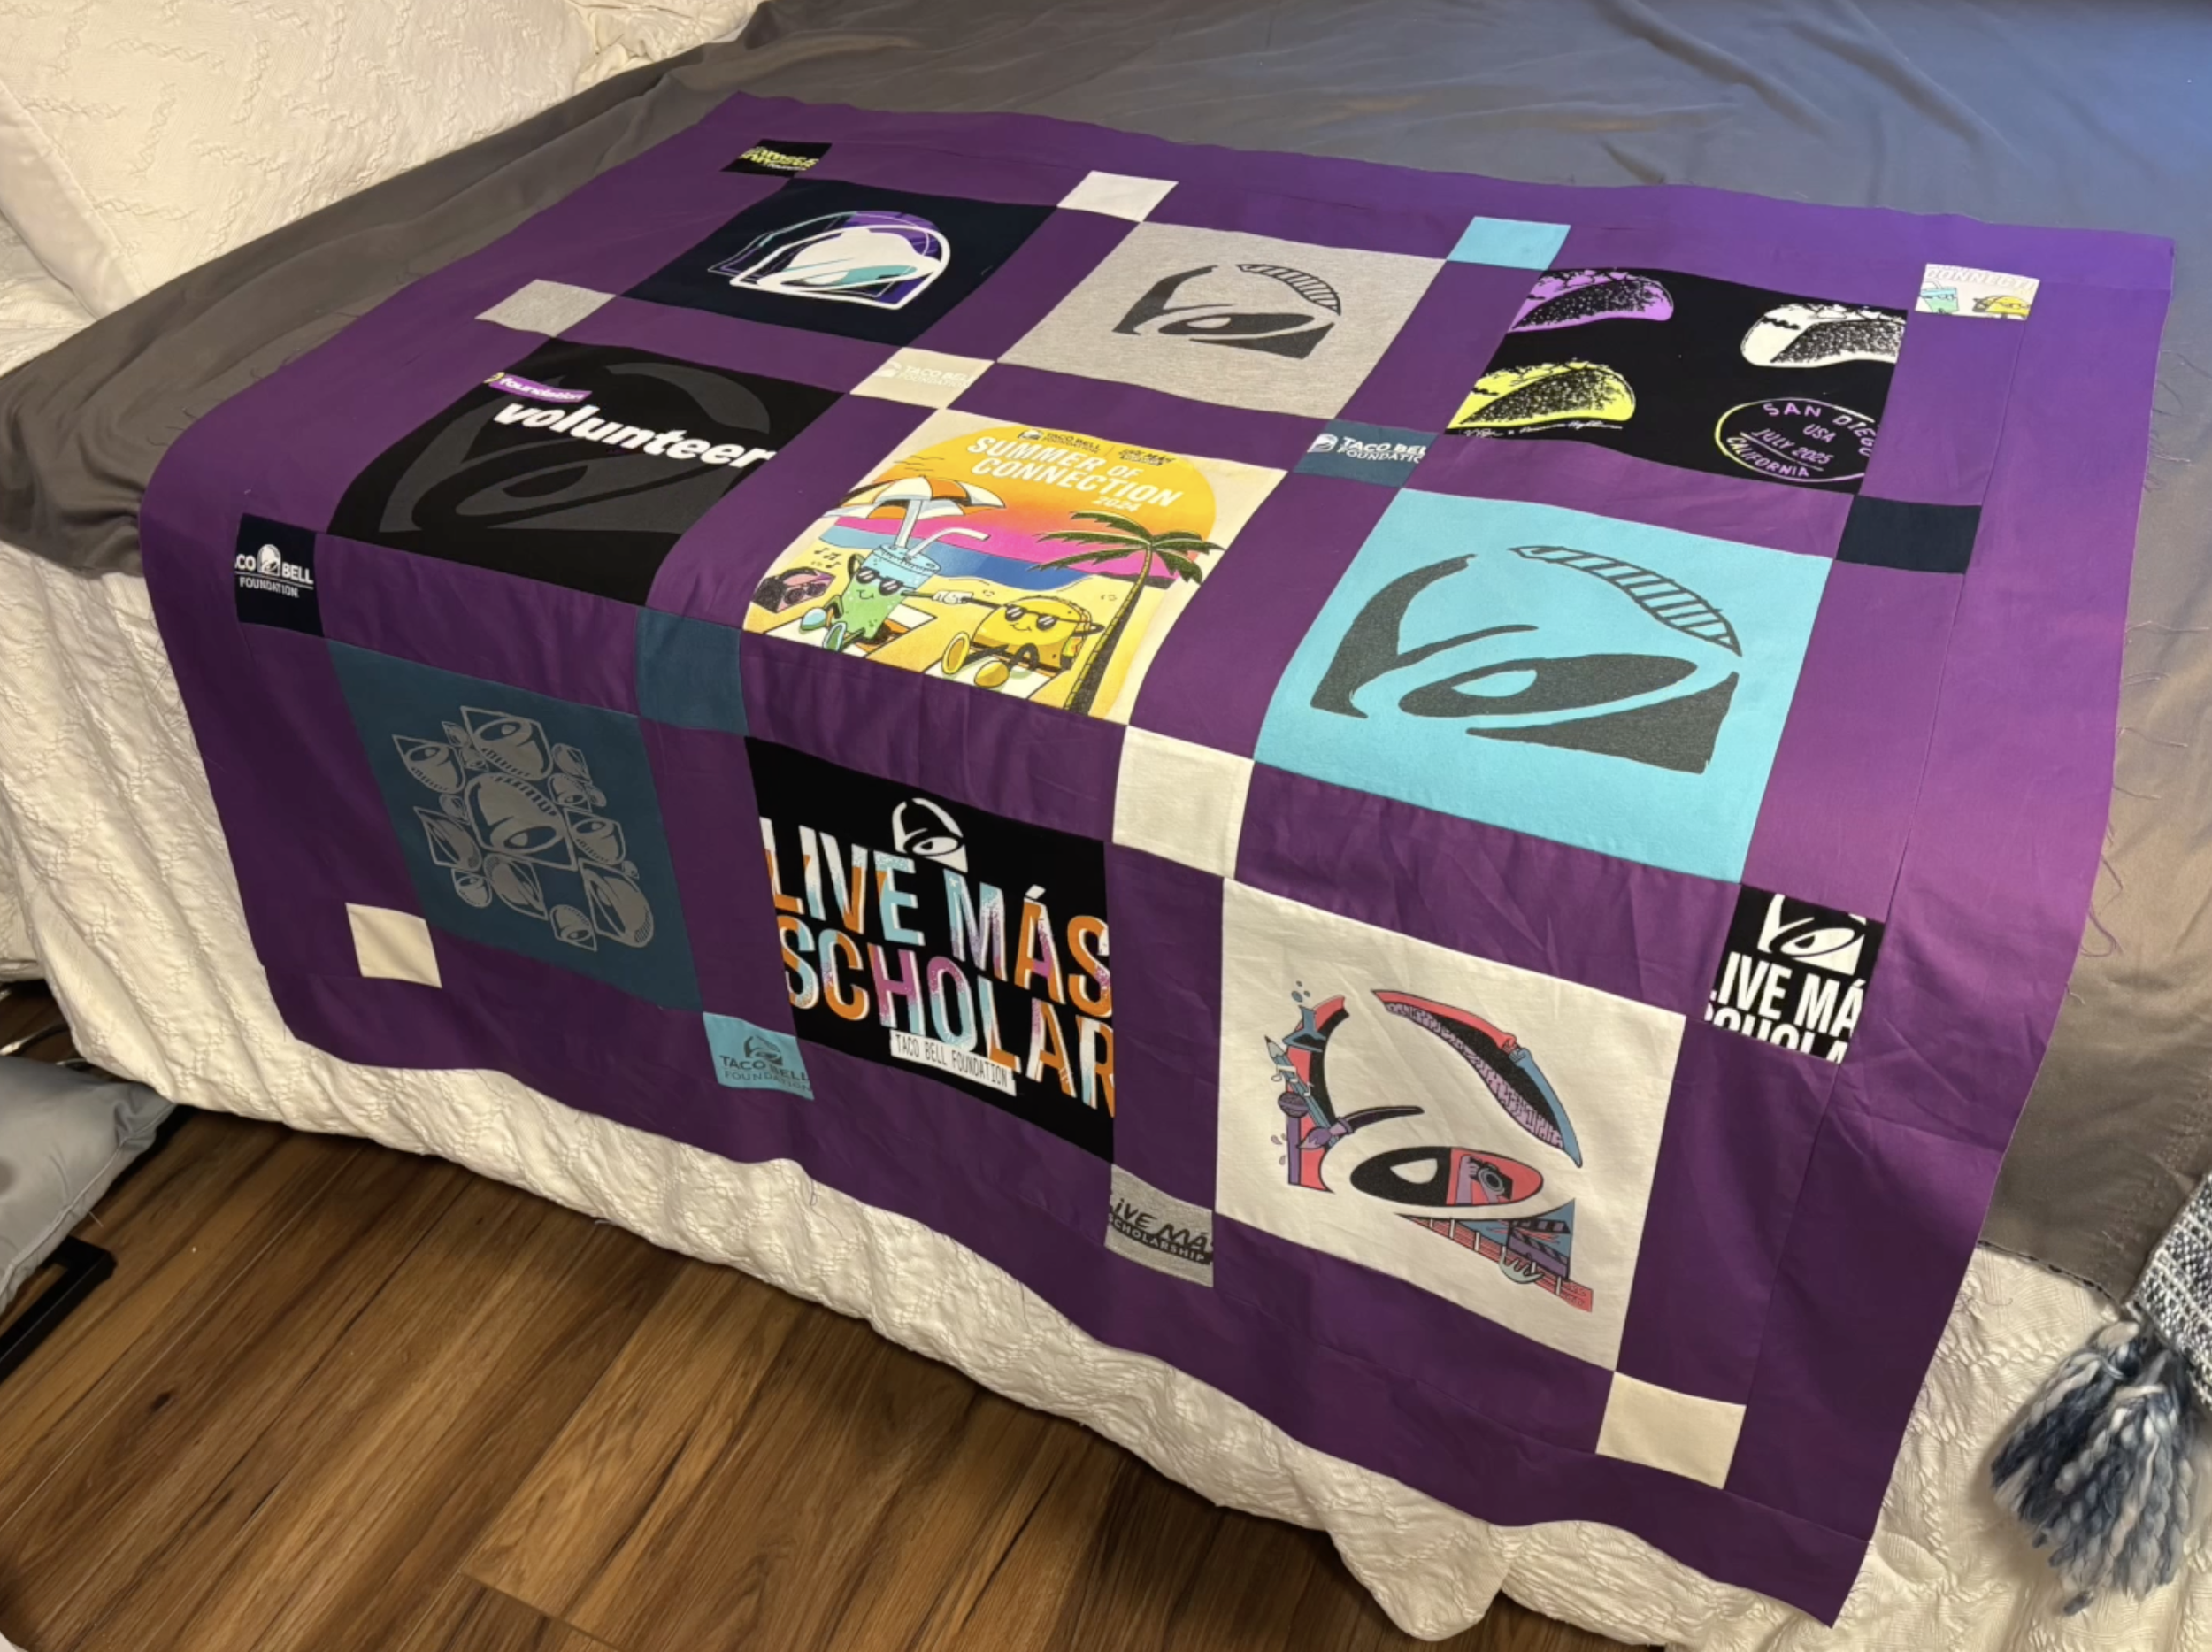
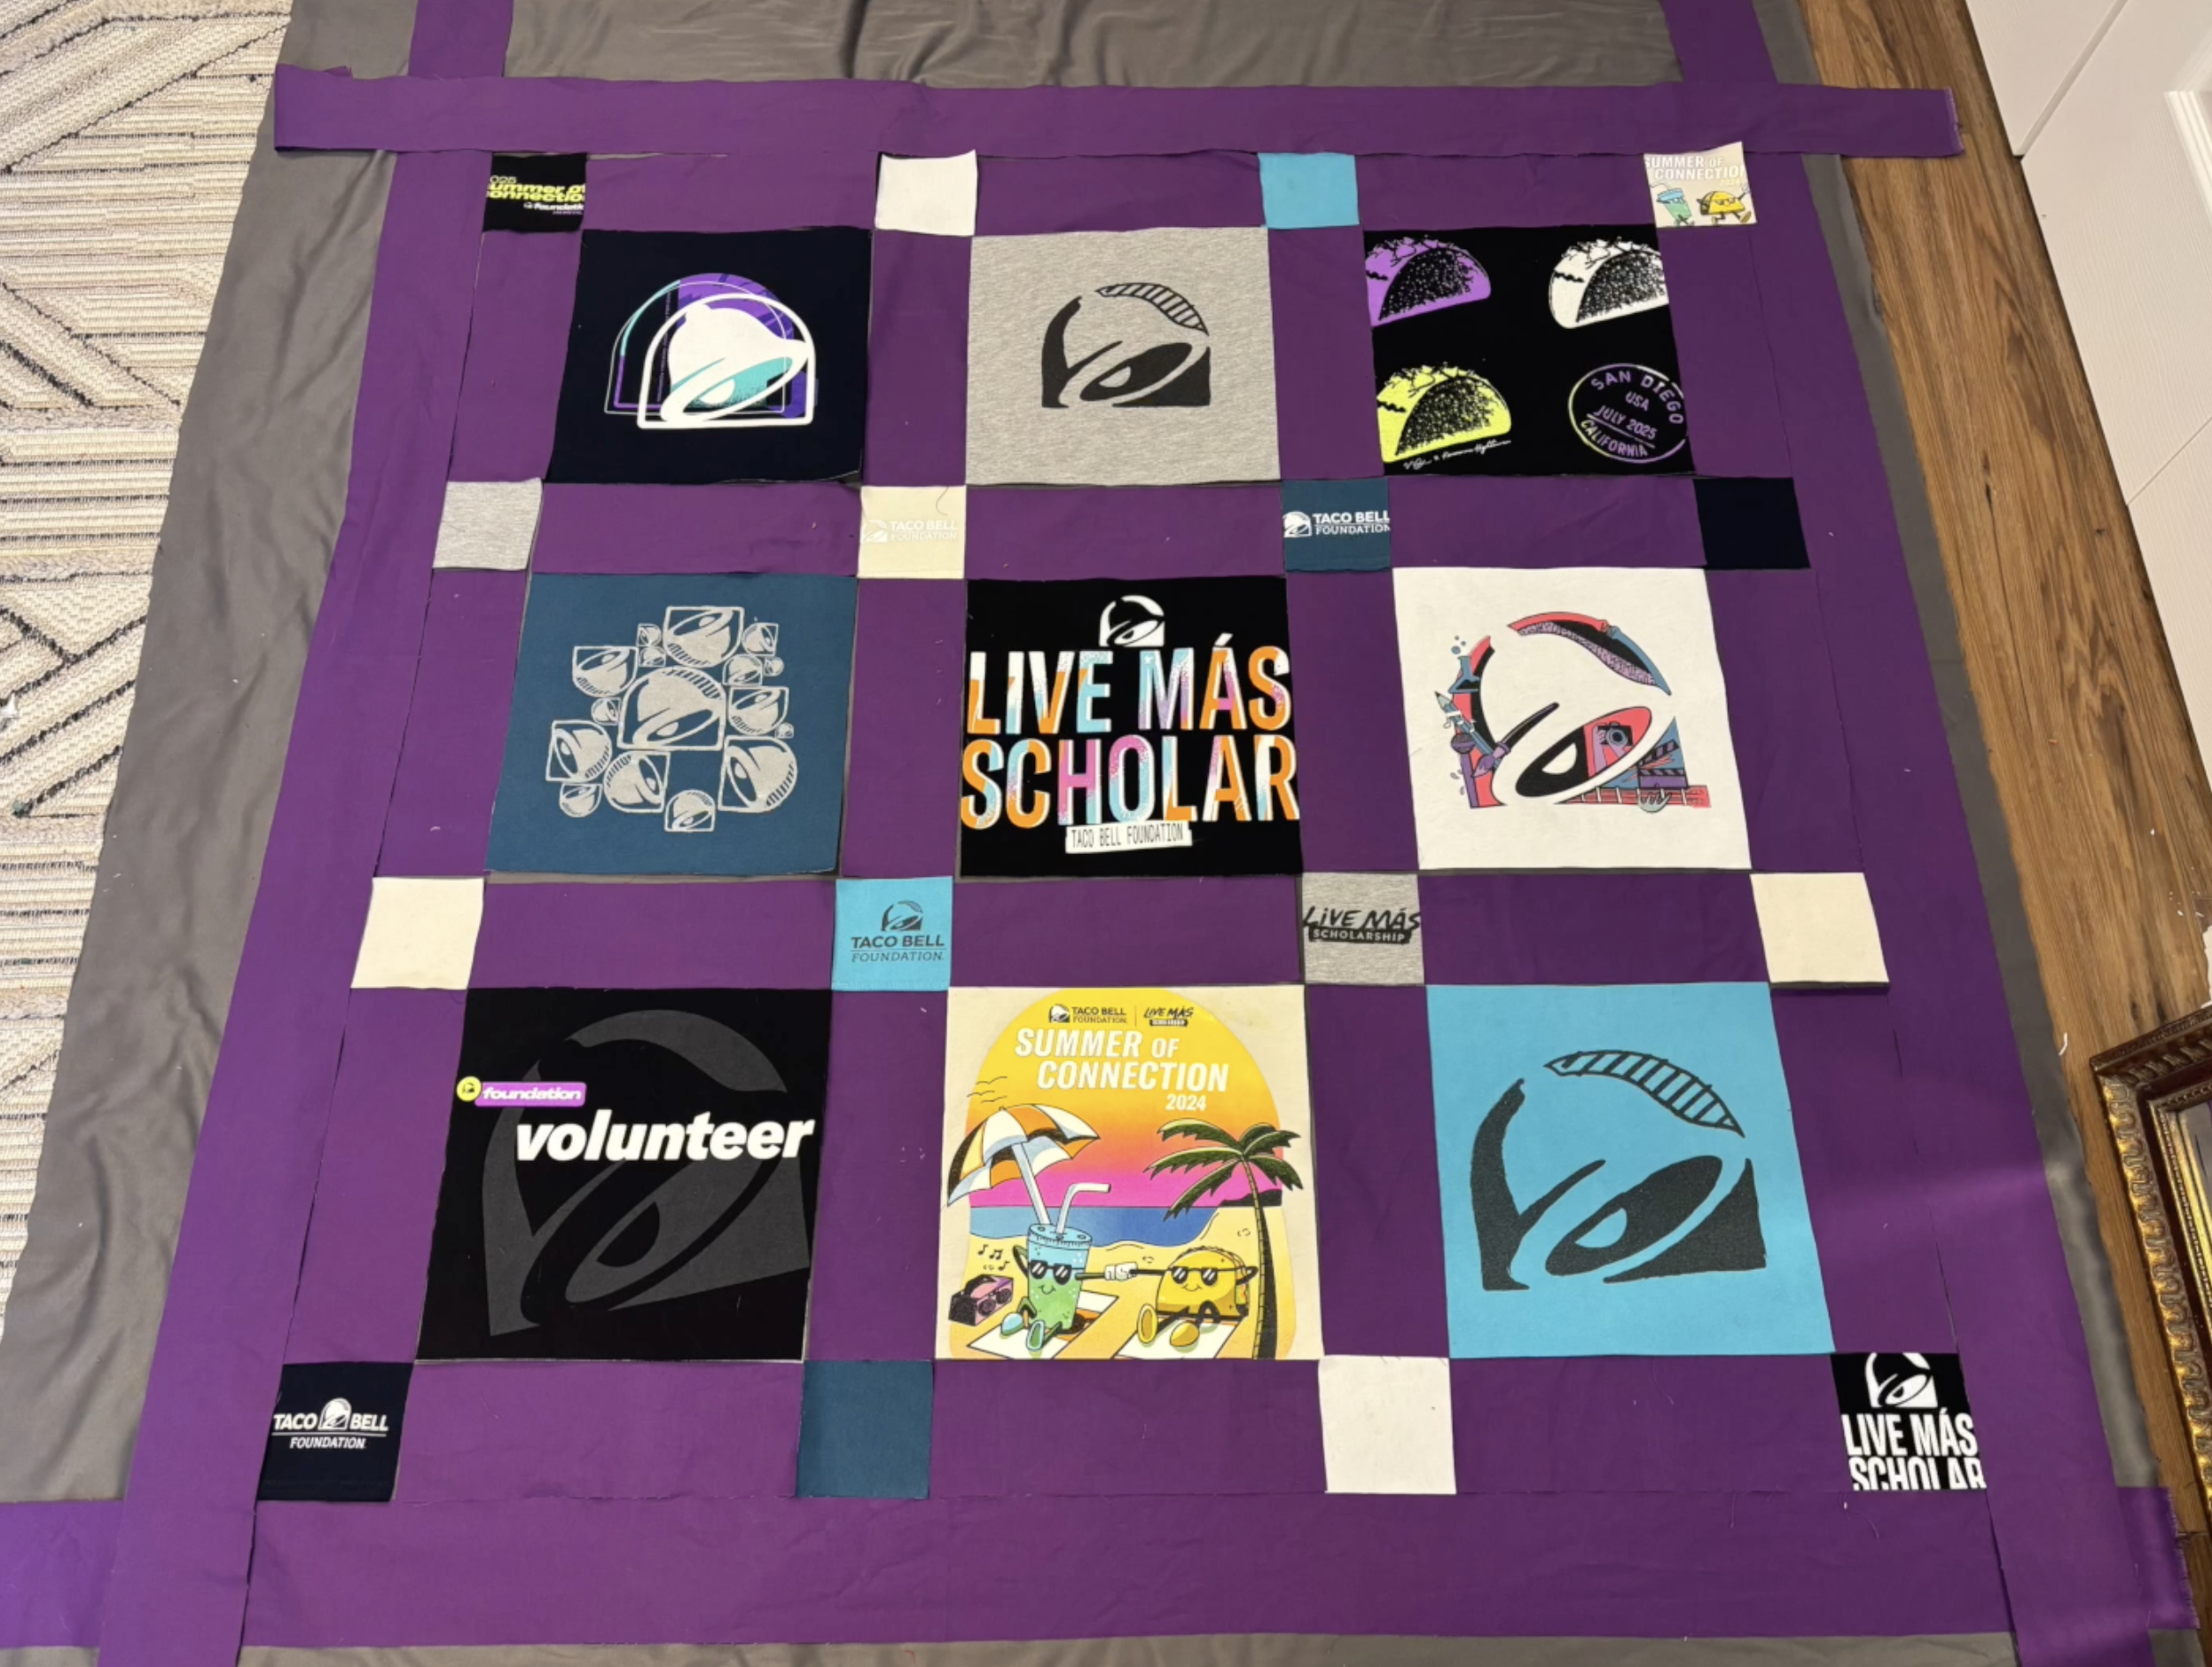
For context, I have been sewing for a long time, but I am newer to quilting. This quilt was made from start to finish on a standard domestic sewing machine using an all-purpose sewing foot. In total, I used 9 t-shirts. If you wish to copy my pattern, here are the measurements I used pre-sewing. This size was manageable on a regular home machine.
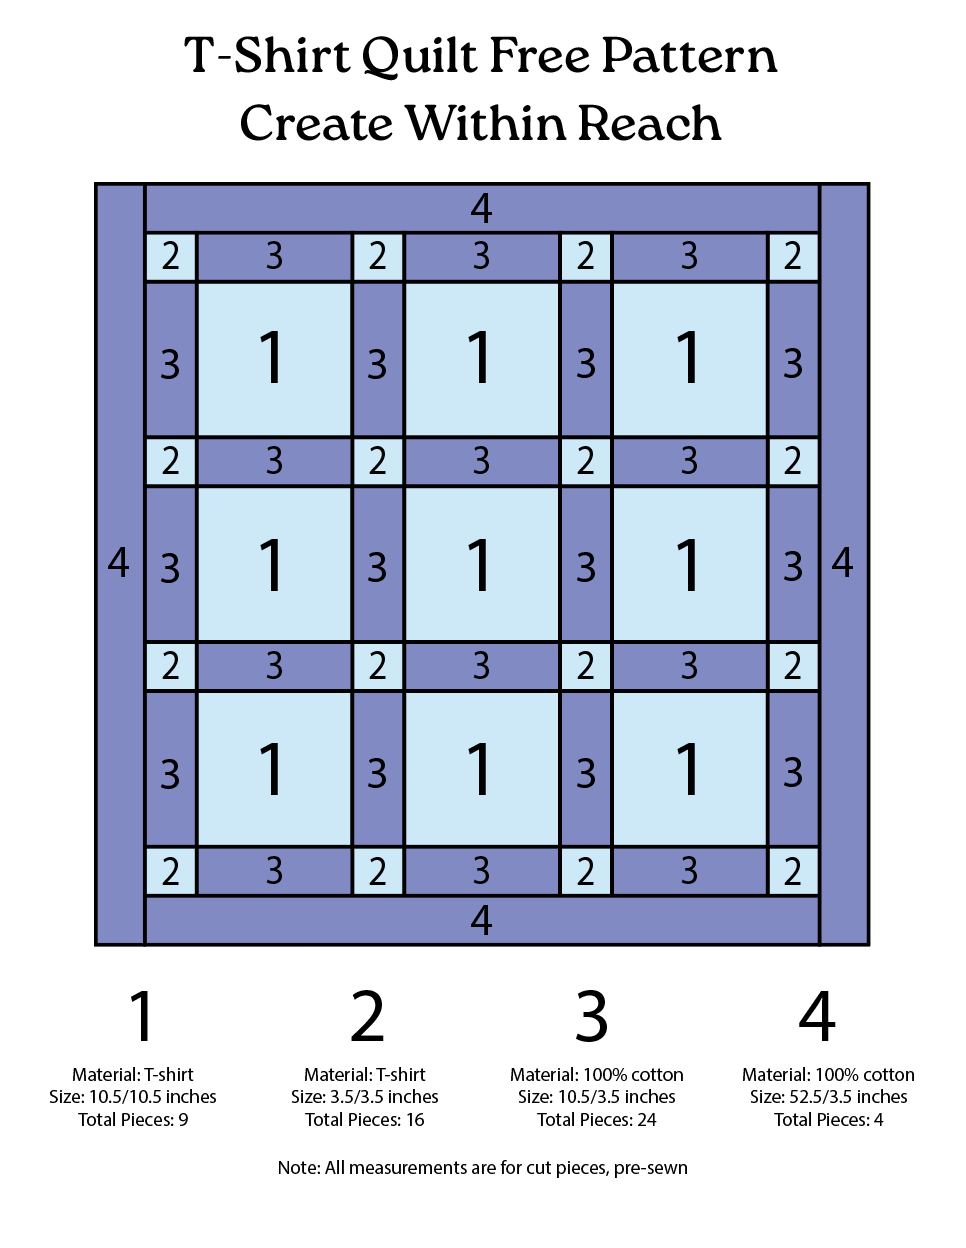
The Downloadable Pattern:
Linked below is the free downloadable file:
The following tips are arranged in the exact order you will need them when making your quilt. Let’s begin!
Note: As an Amazon Associate I earn from qualifying purchases, which is relevant to each item link below.
1. Fusible Interfacing is Your Best Friend!
T-shirt knit fabric stretches in every direction, making it very difficult to sew into crisp squares without puckering or warping. To prevent this, use a lightweight, iron-on fusible interfacing. I cut my t-shirts in half along the seams first, ironed the interfacing to the back of the graphic, and then cut out my final panel sizes. Just be sure to follow the instructions for your specific brand of interfacing.
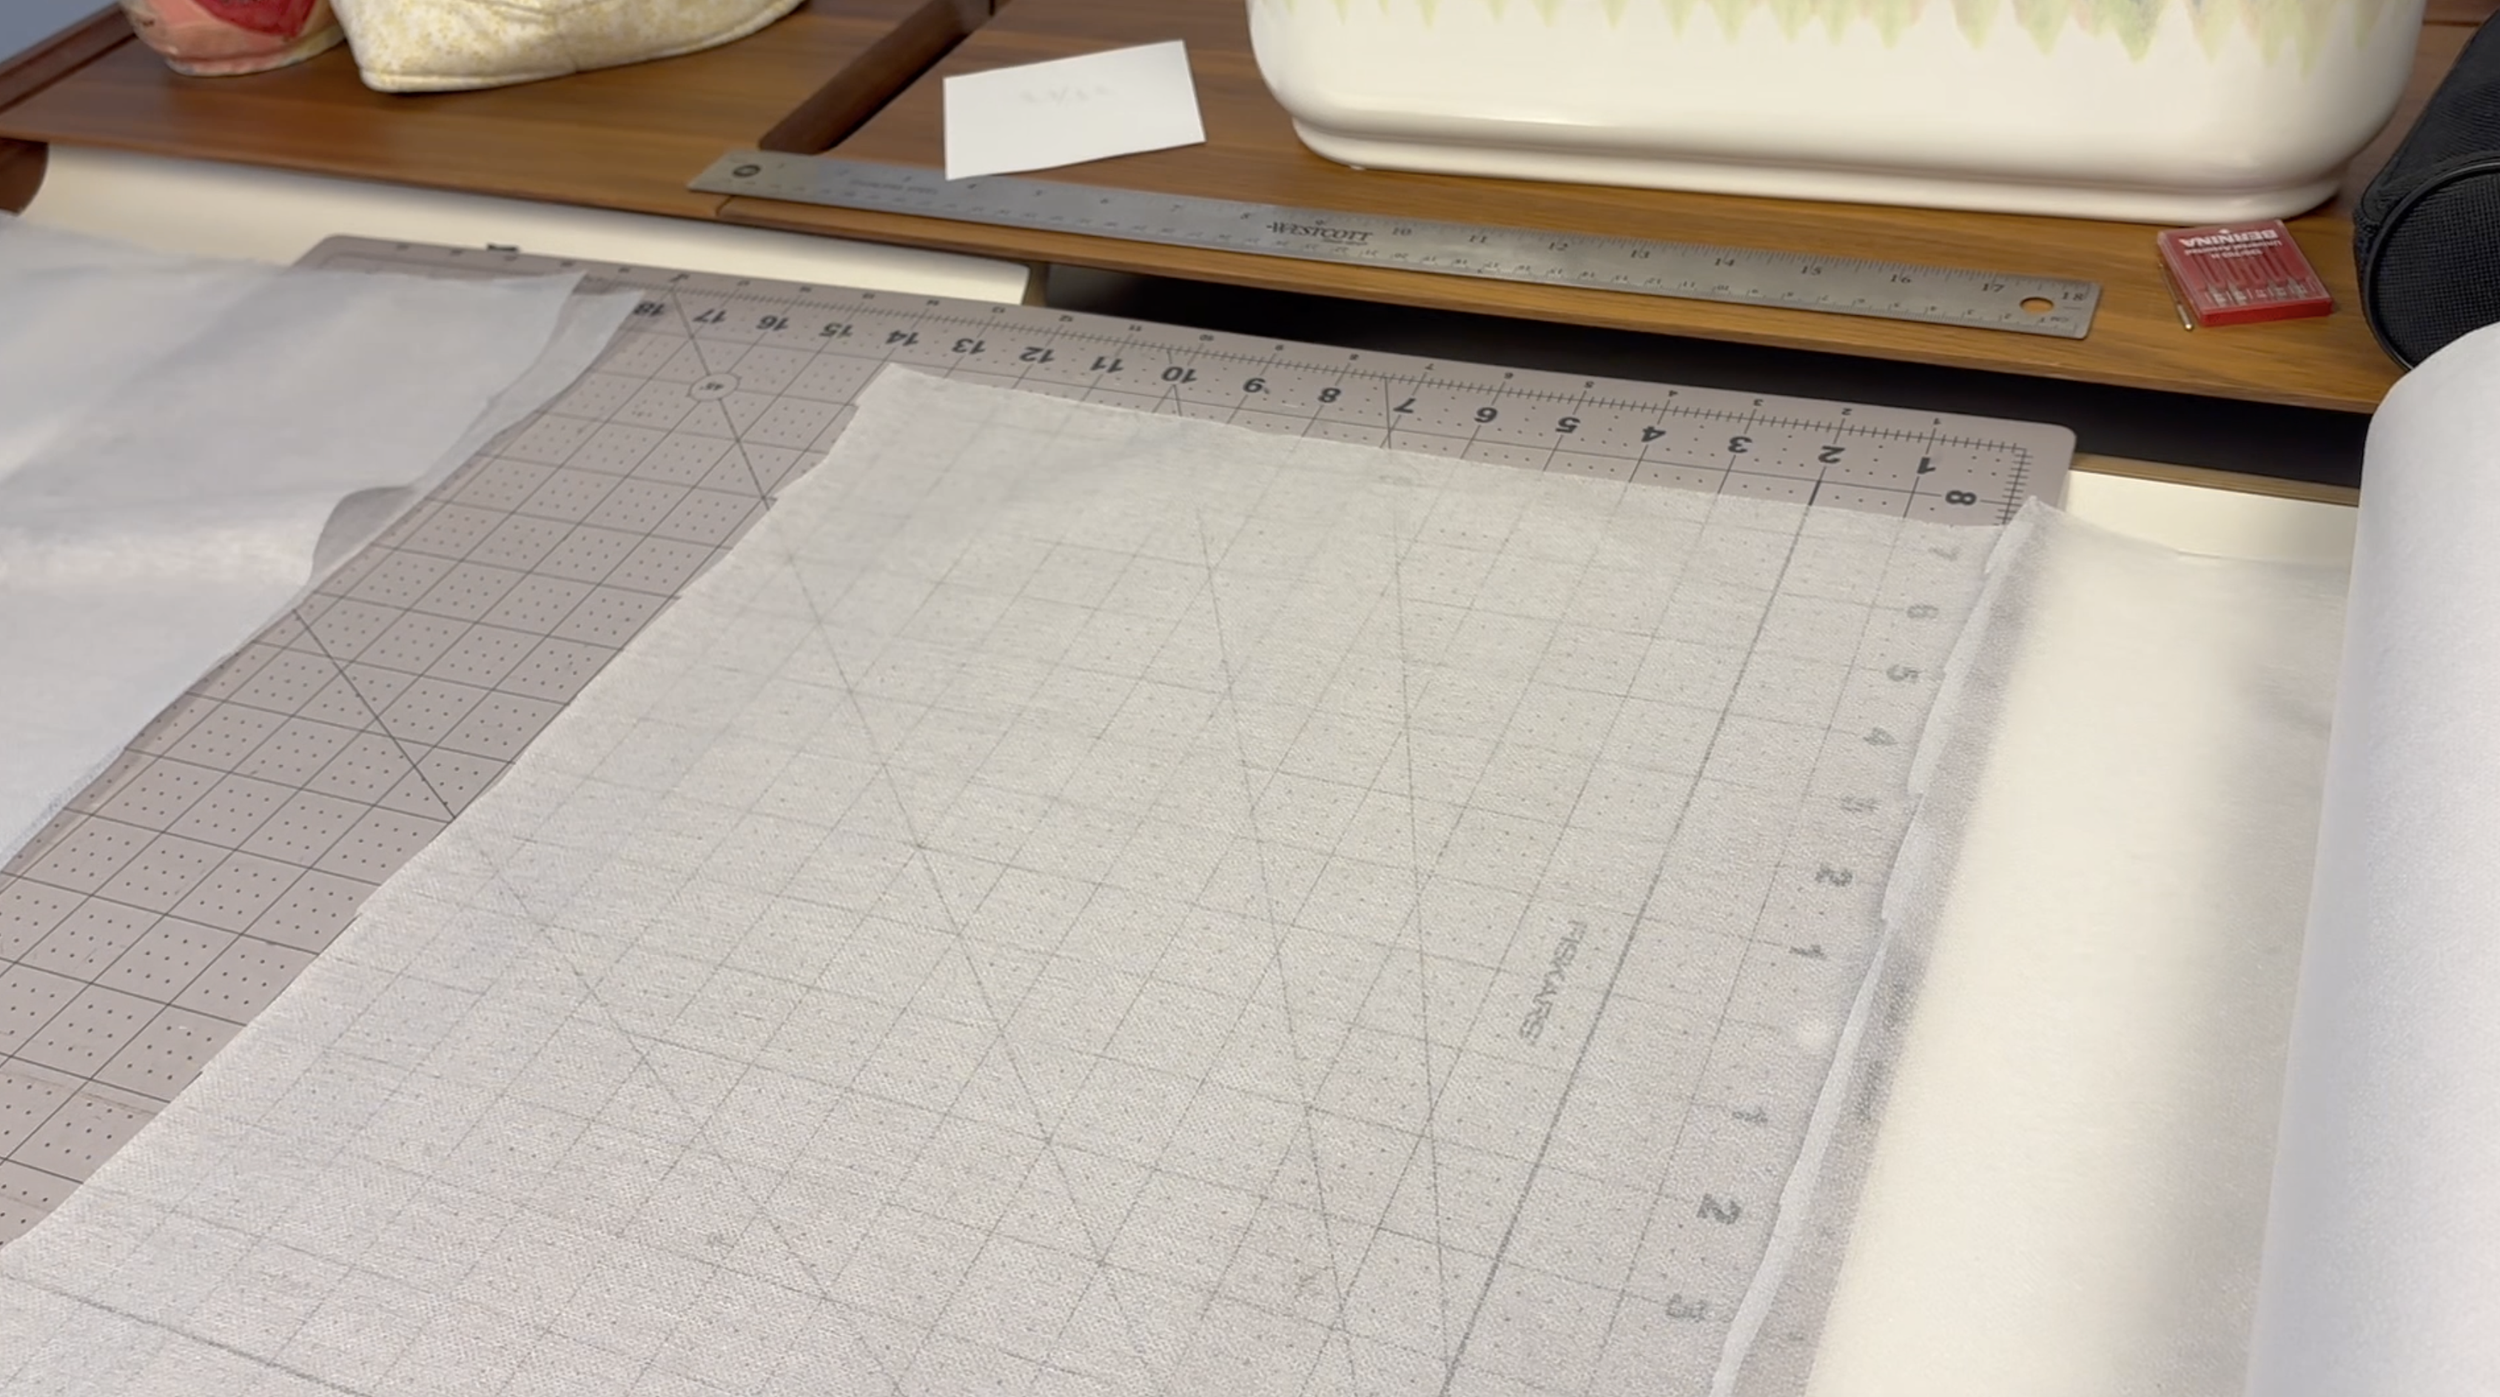
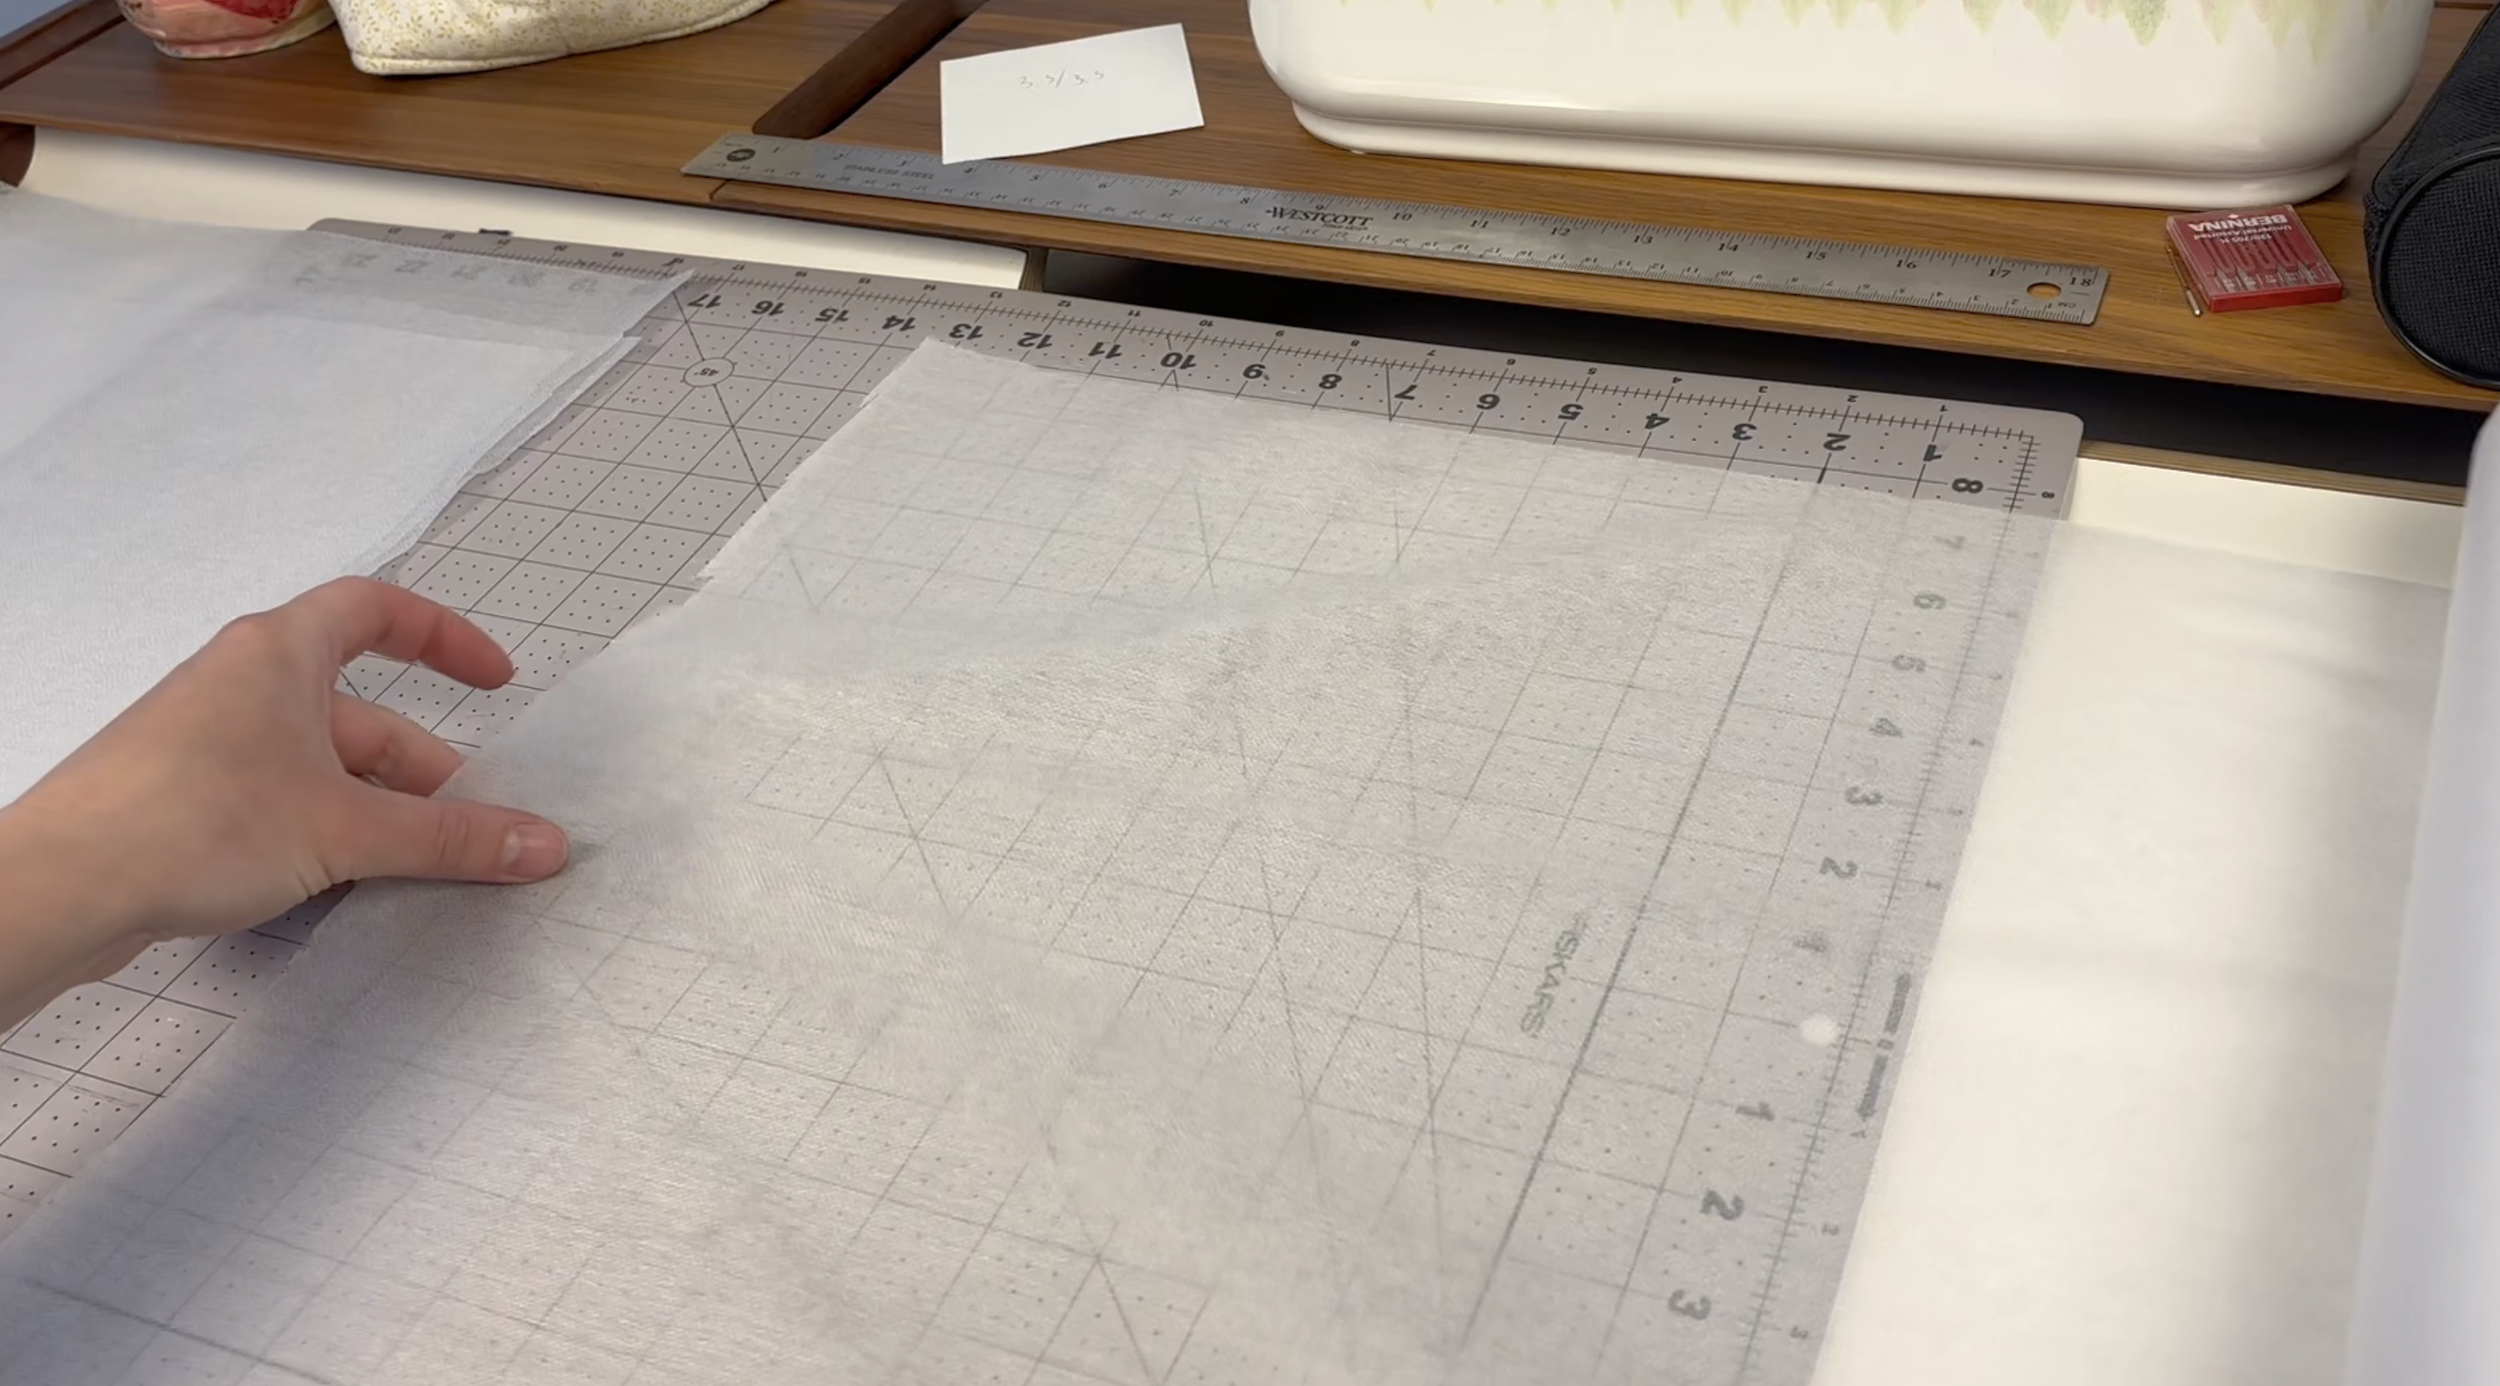
Purchase the same interfacing here: https://amzn.to/3R9Fe4u
2. Protect Your Iron: Be Aware of Ink
Direct heat can instantly melt and smear screen-printed t-shirt graphics onto your iron's soleplate. To prevent this, I used the back of a spare t-shirt I wasn't using in the quilt as a protective barrier. You can also use parchment paper or a pressing sheet to get the same safe results.
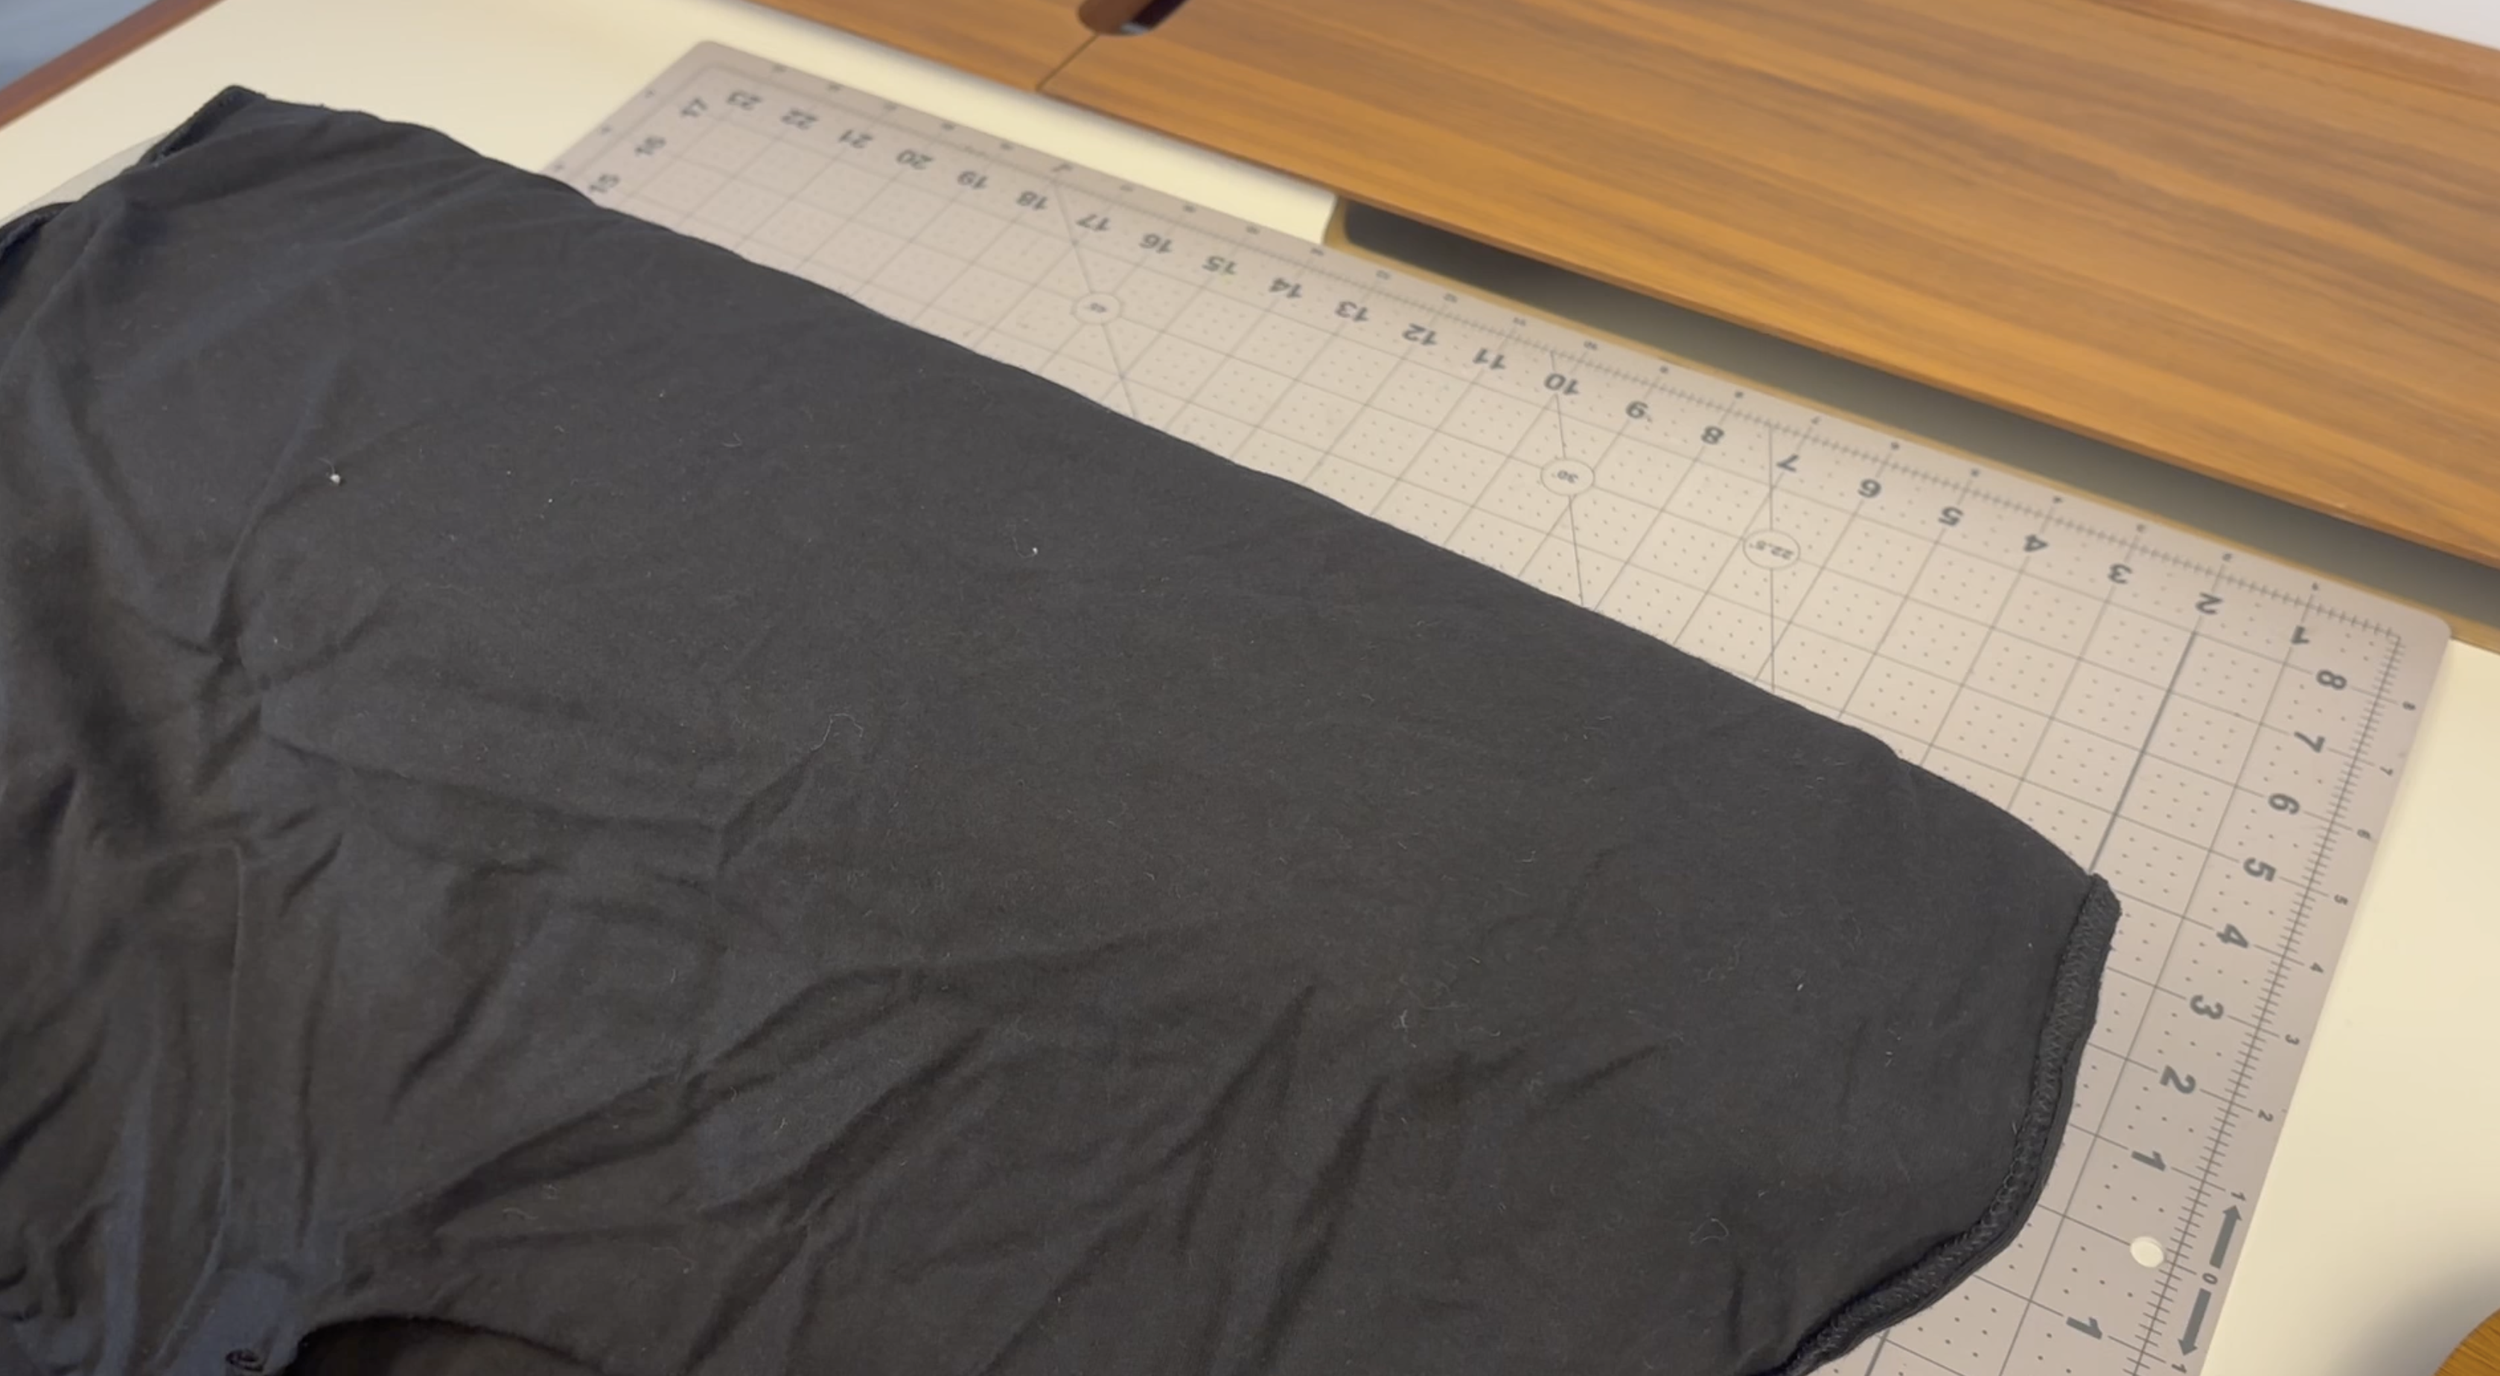
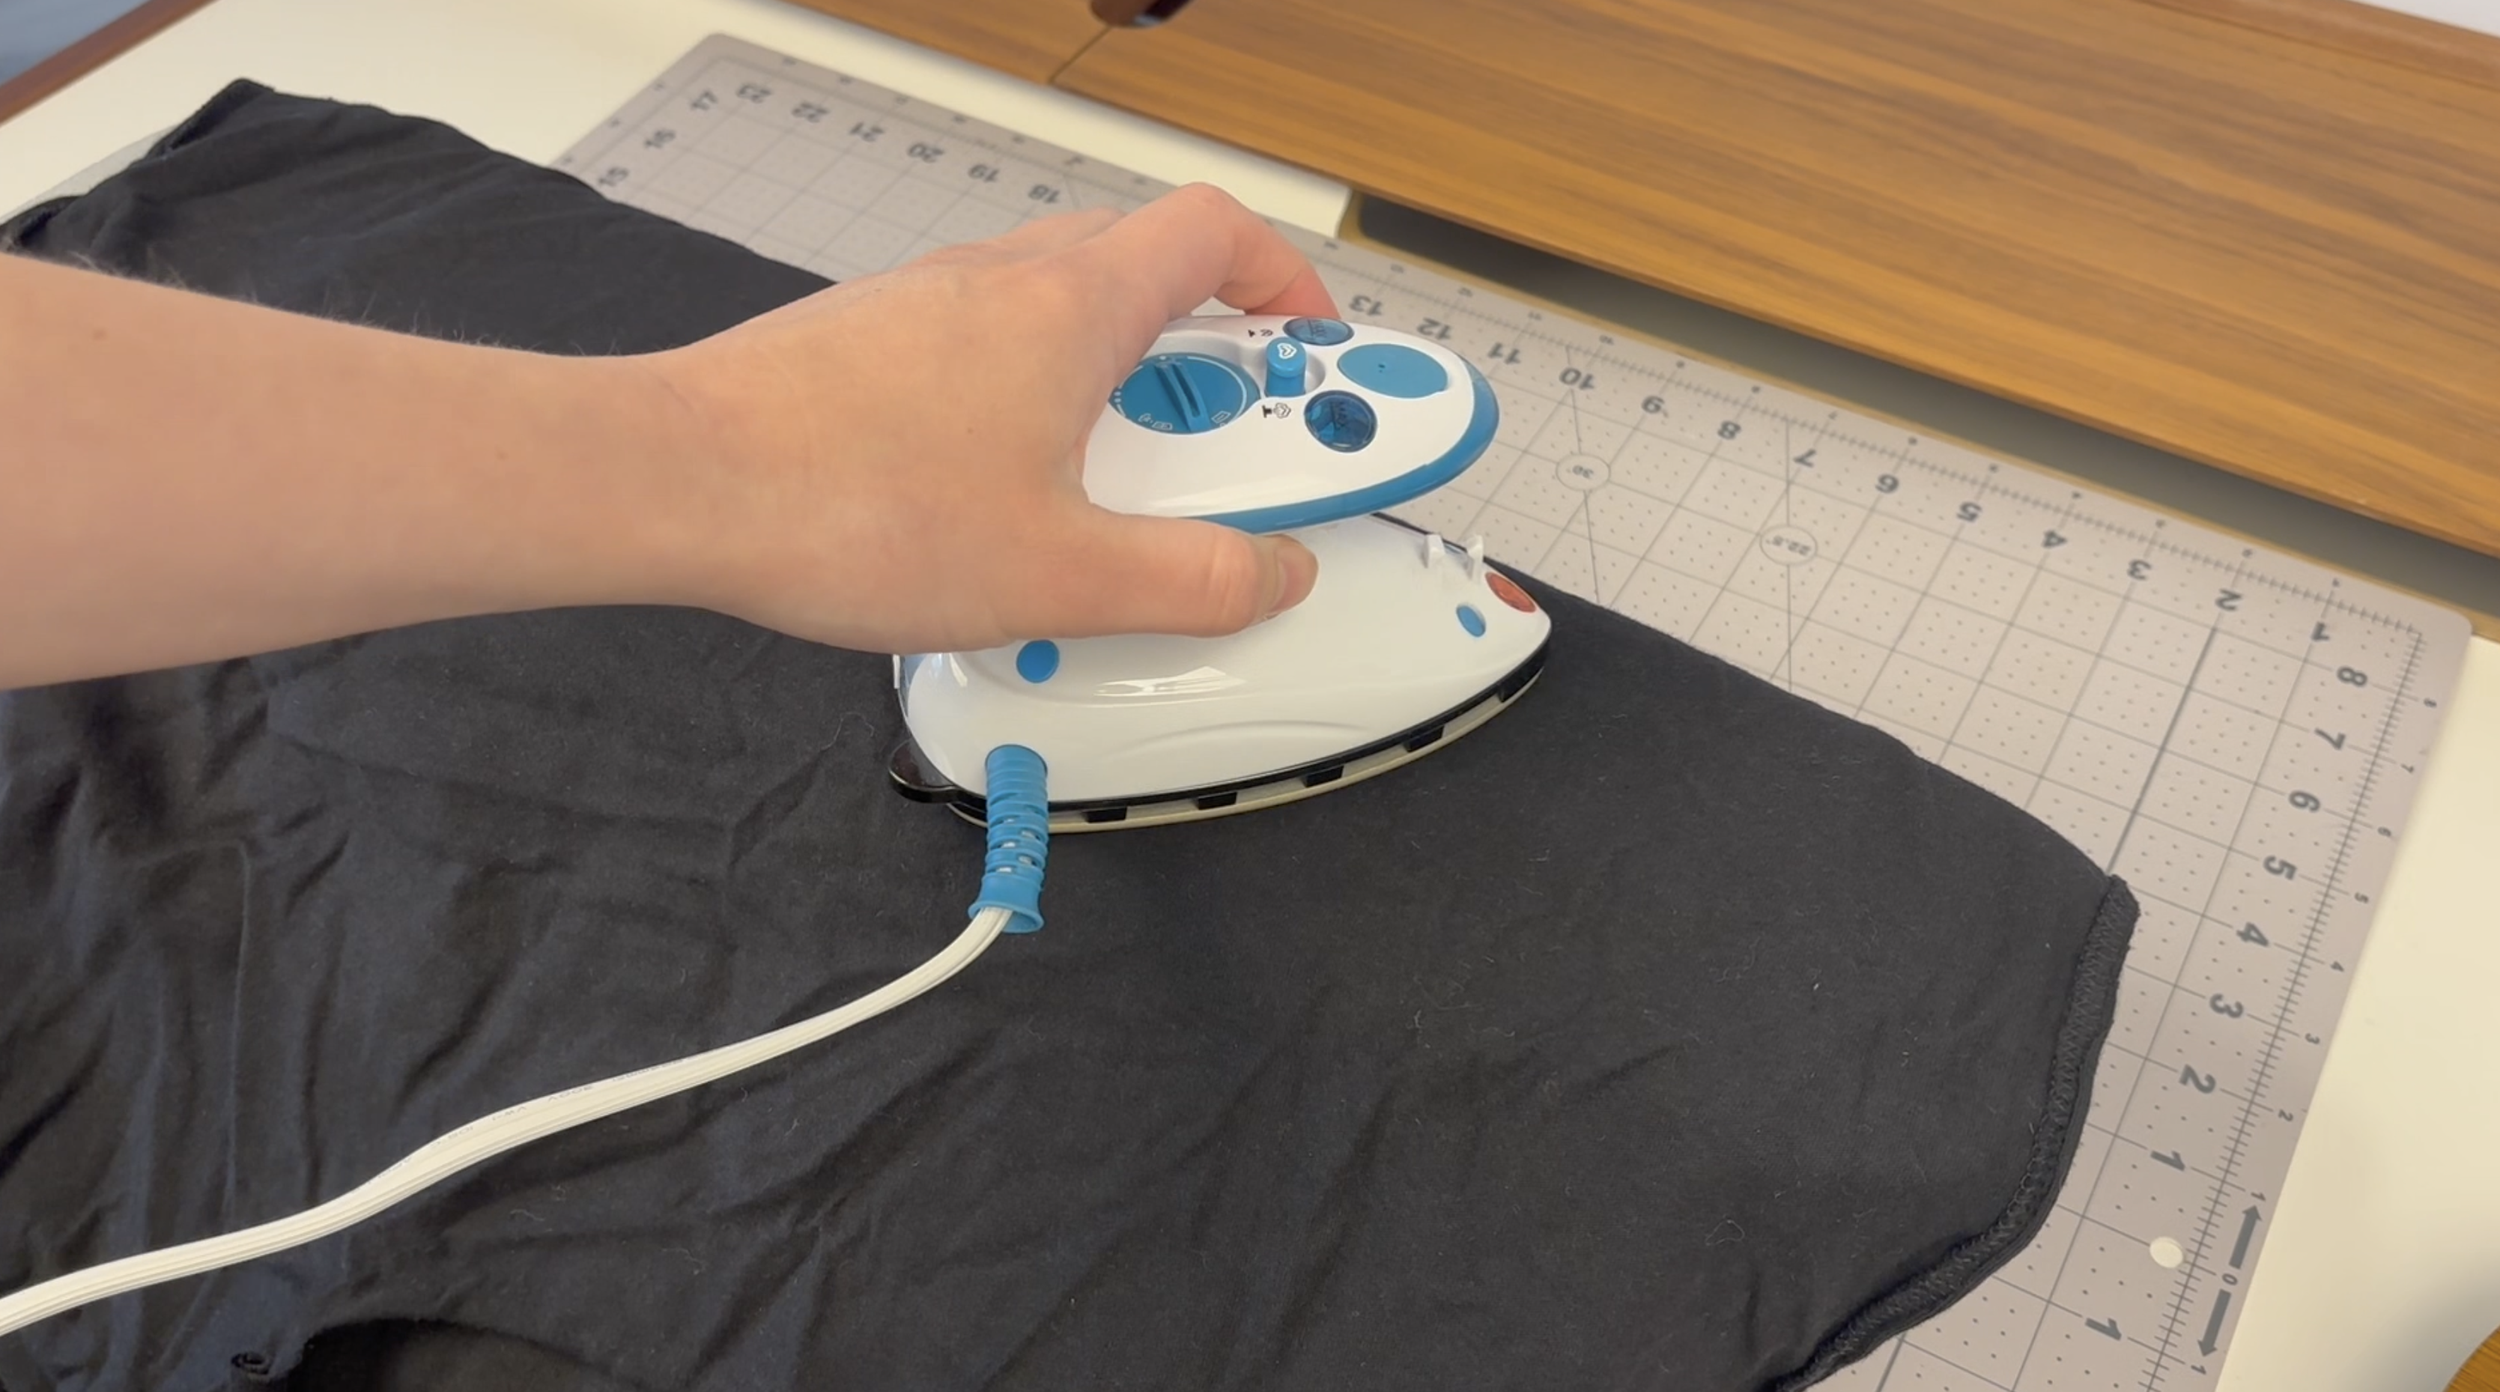
Purchase the same iron here: https://amzn.to/4vYHLxK
3. A Grid Quilt Ruler and a Rotary Cutter are Worth the Investment
A large acrylic grid ruler and a rotary cutter make cutting identical quilt pieces so much easier than using scissors. They allow you to center the graphic perfectly and cut exact dimensions in one swipe. If you don't have these tools, make a cardboard or paper template for each of your block sizes to trace. When doing this, be aware that scissors can pull and distort knit fabric as you cut.
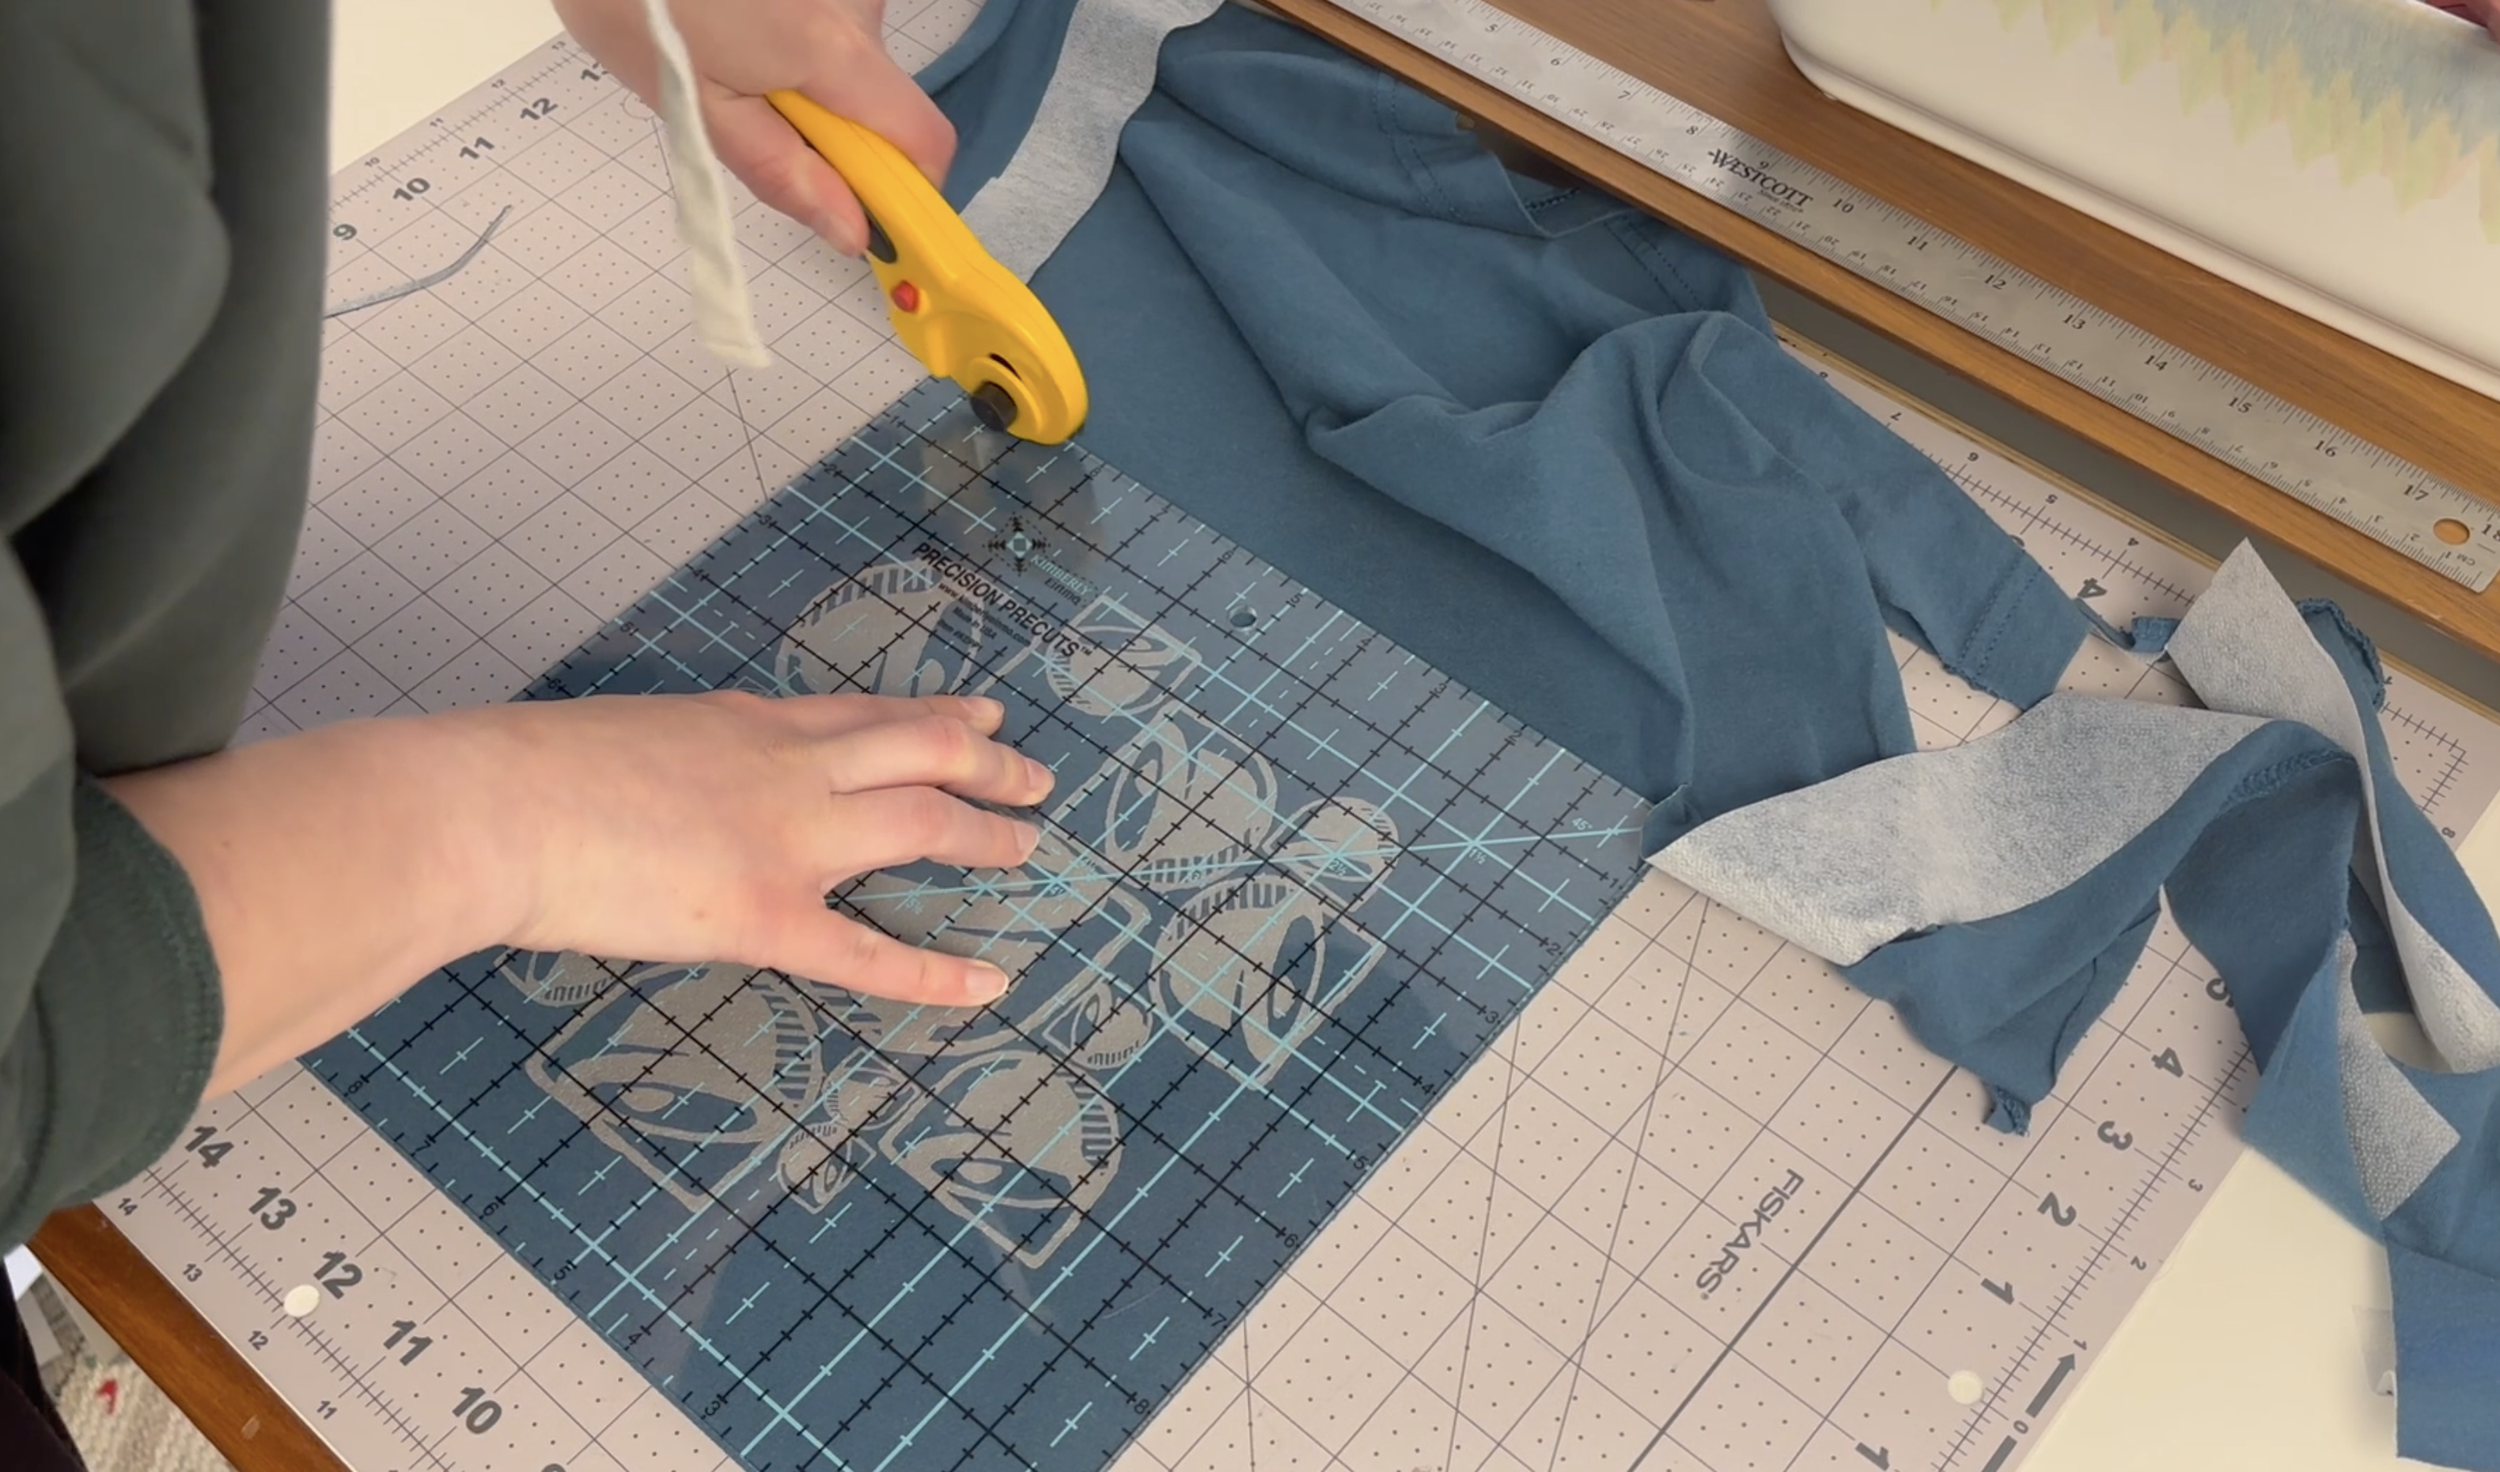
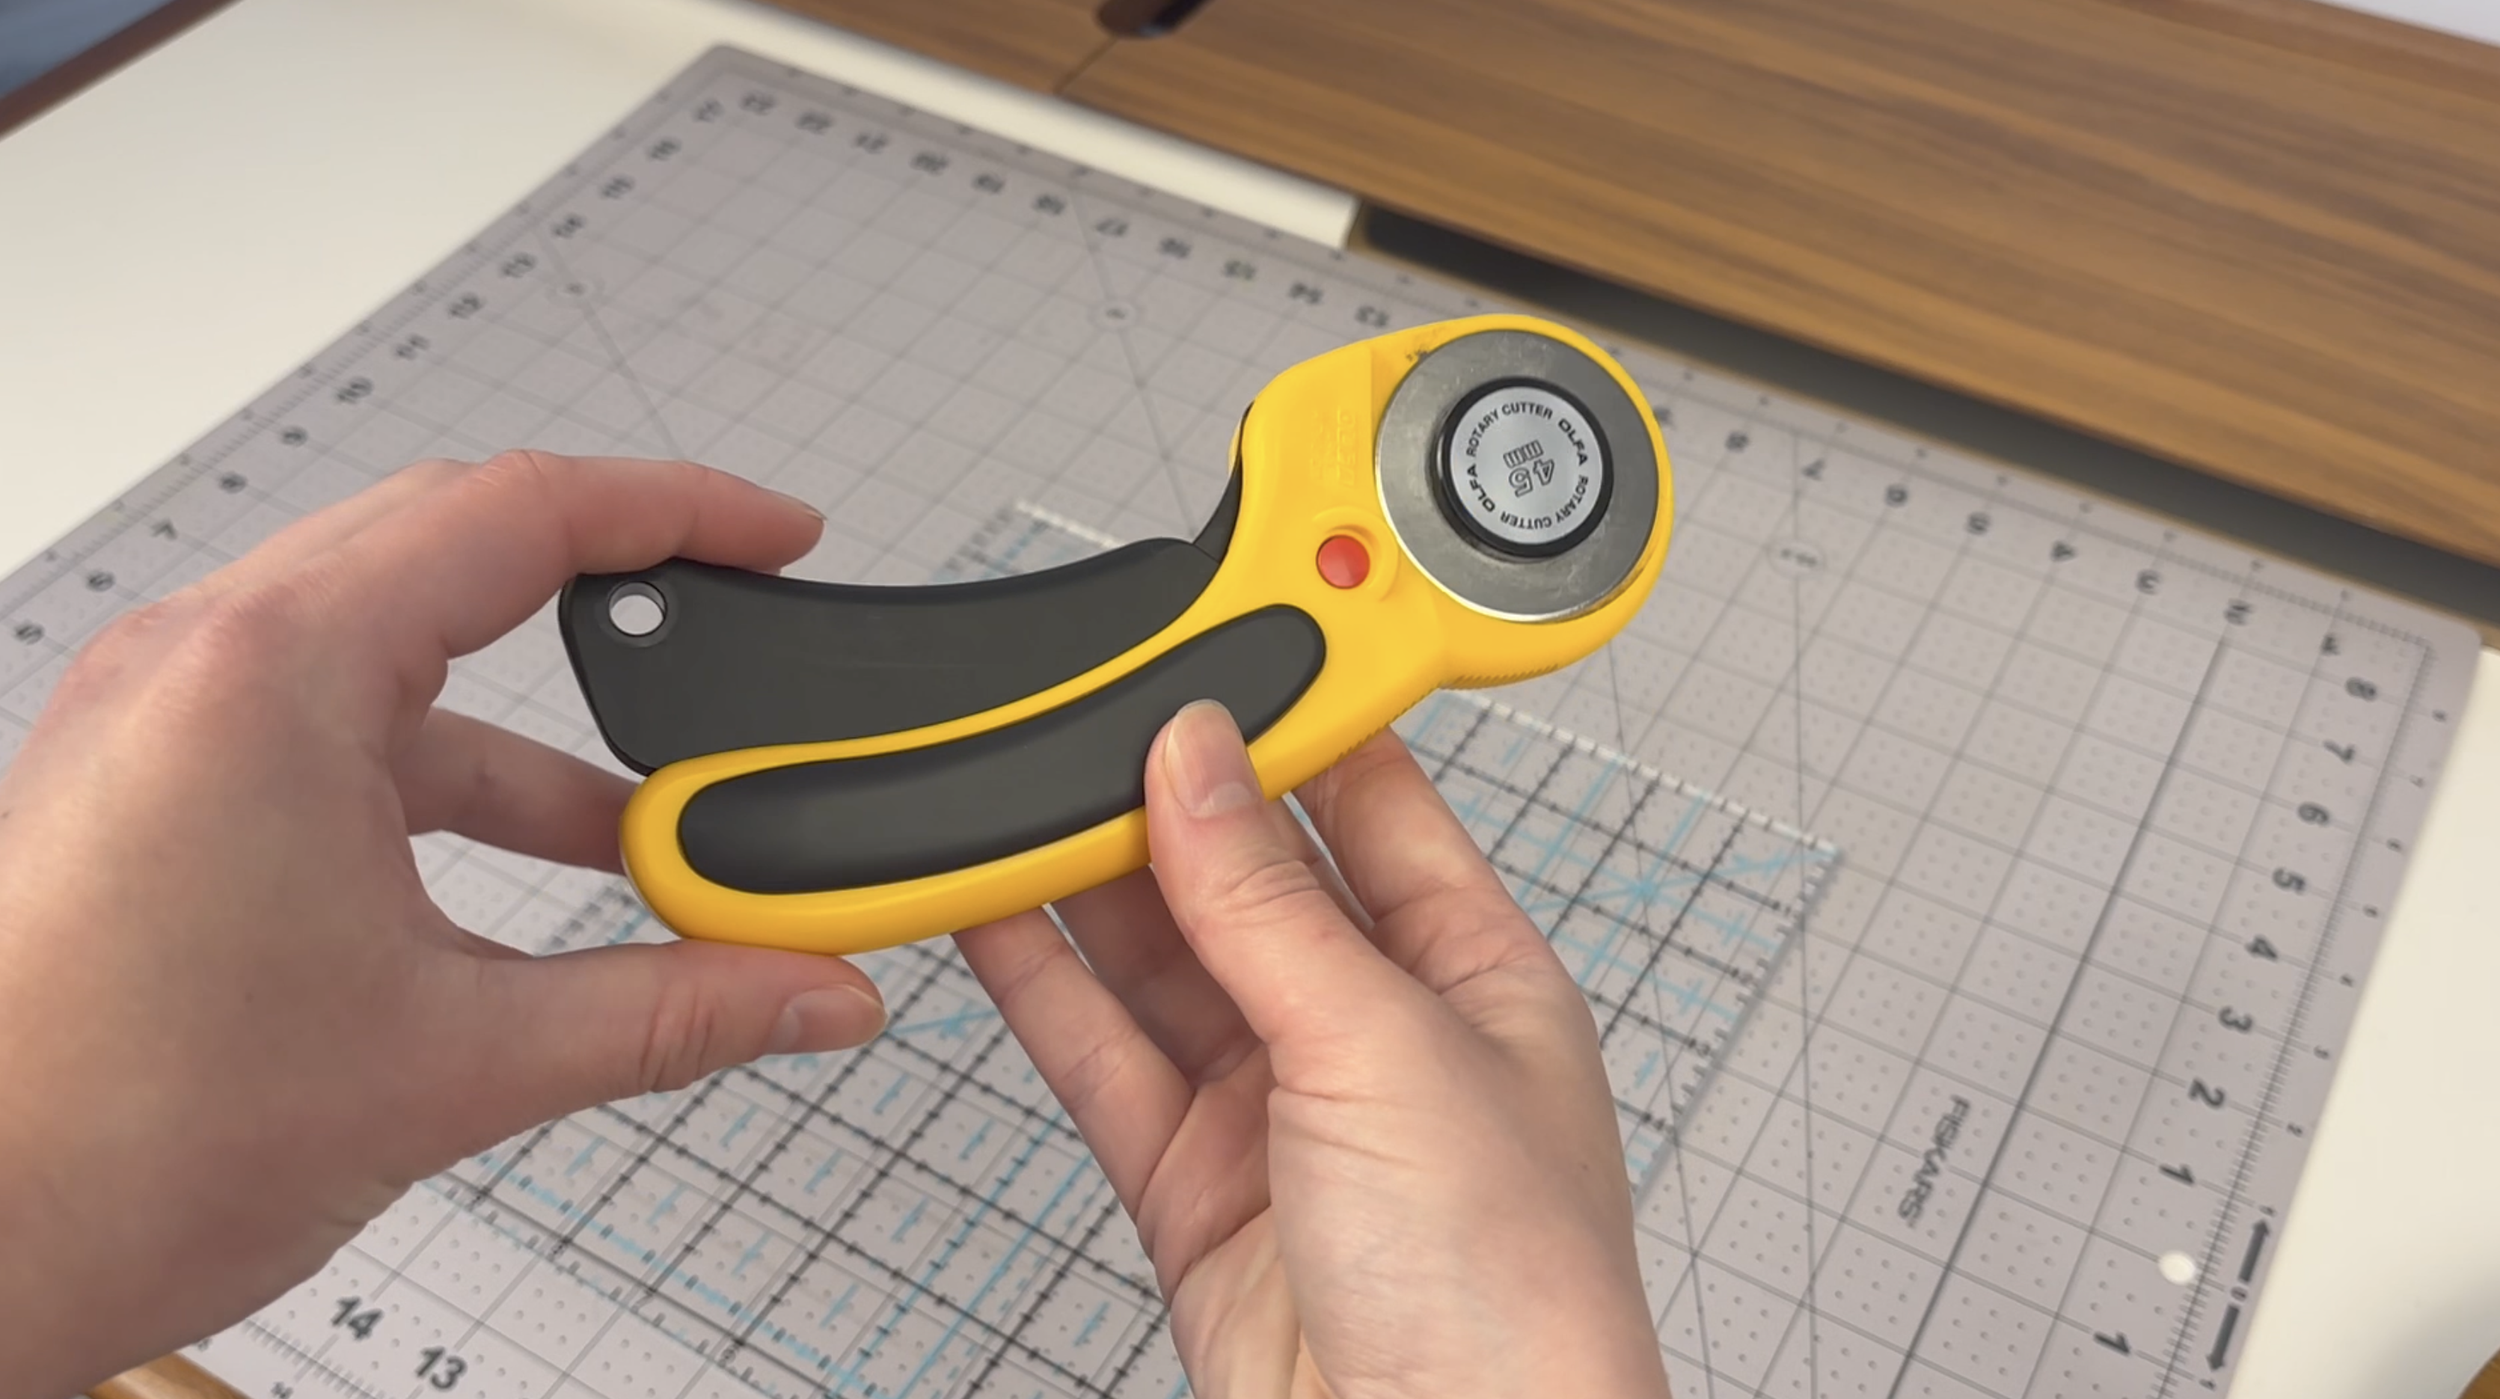
Purchase the same rotary cutter here: https://amzn.to/4f4swMj
4. Match the Stretch Level of Non-T-Shirt Fabrics
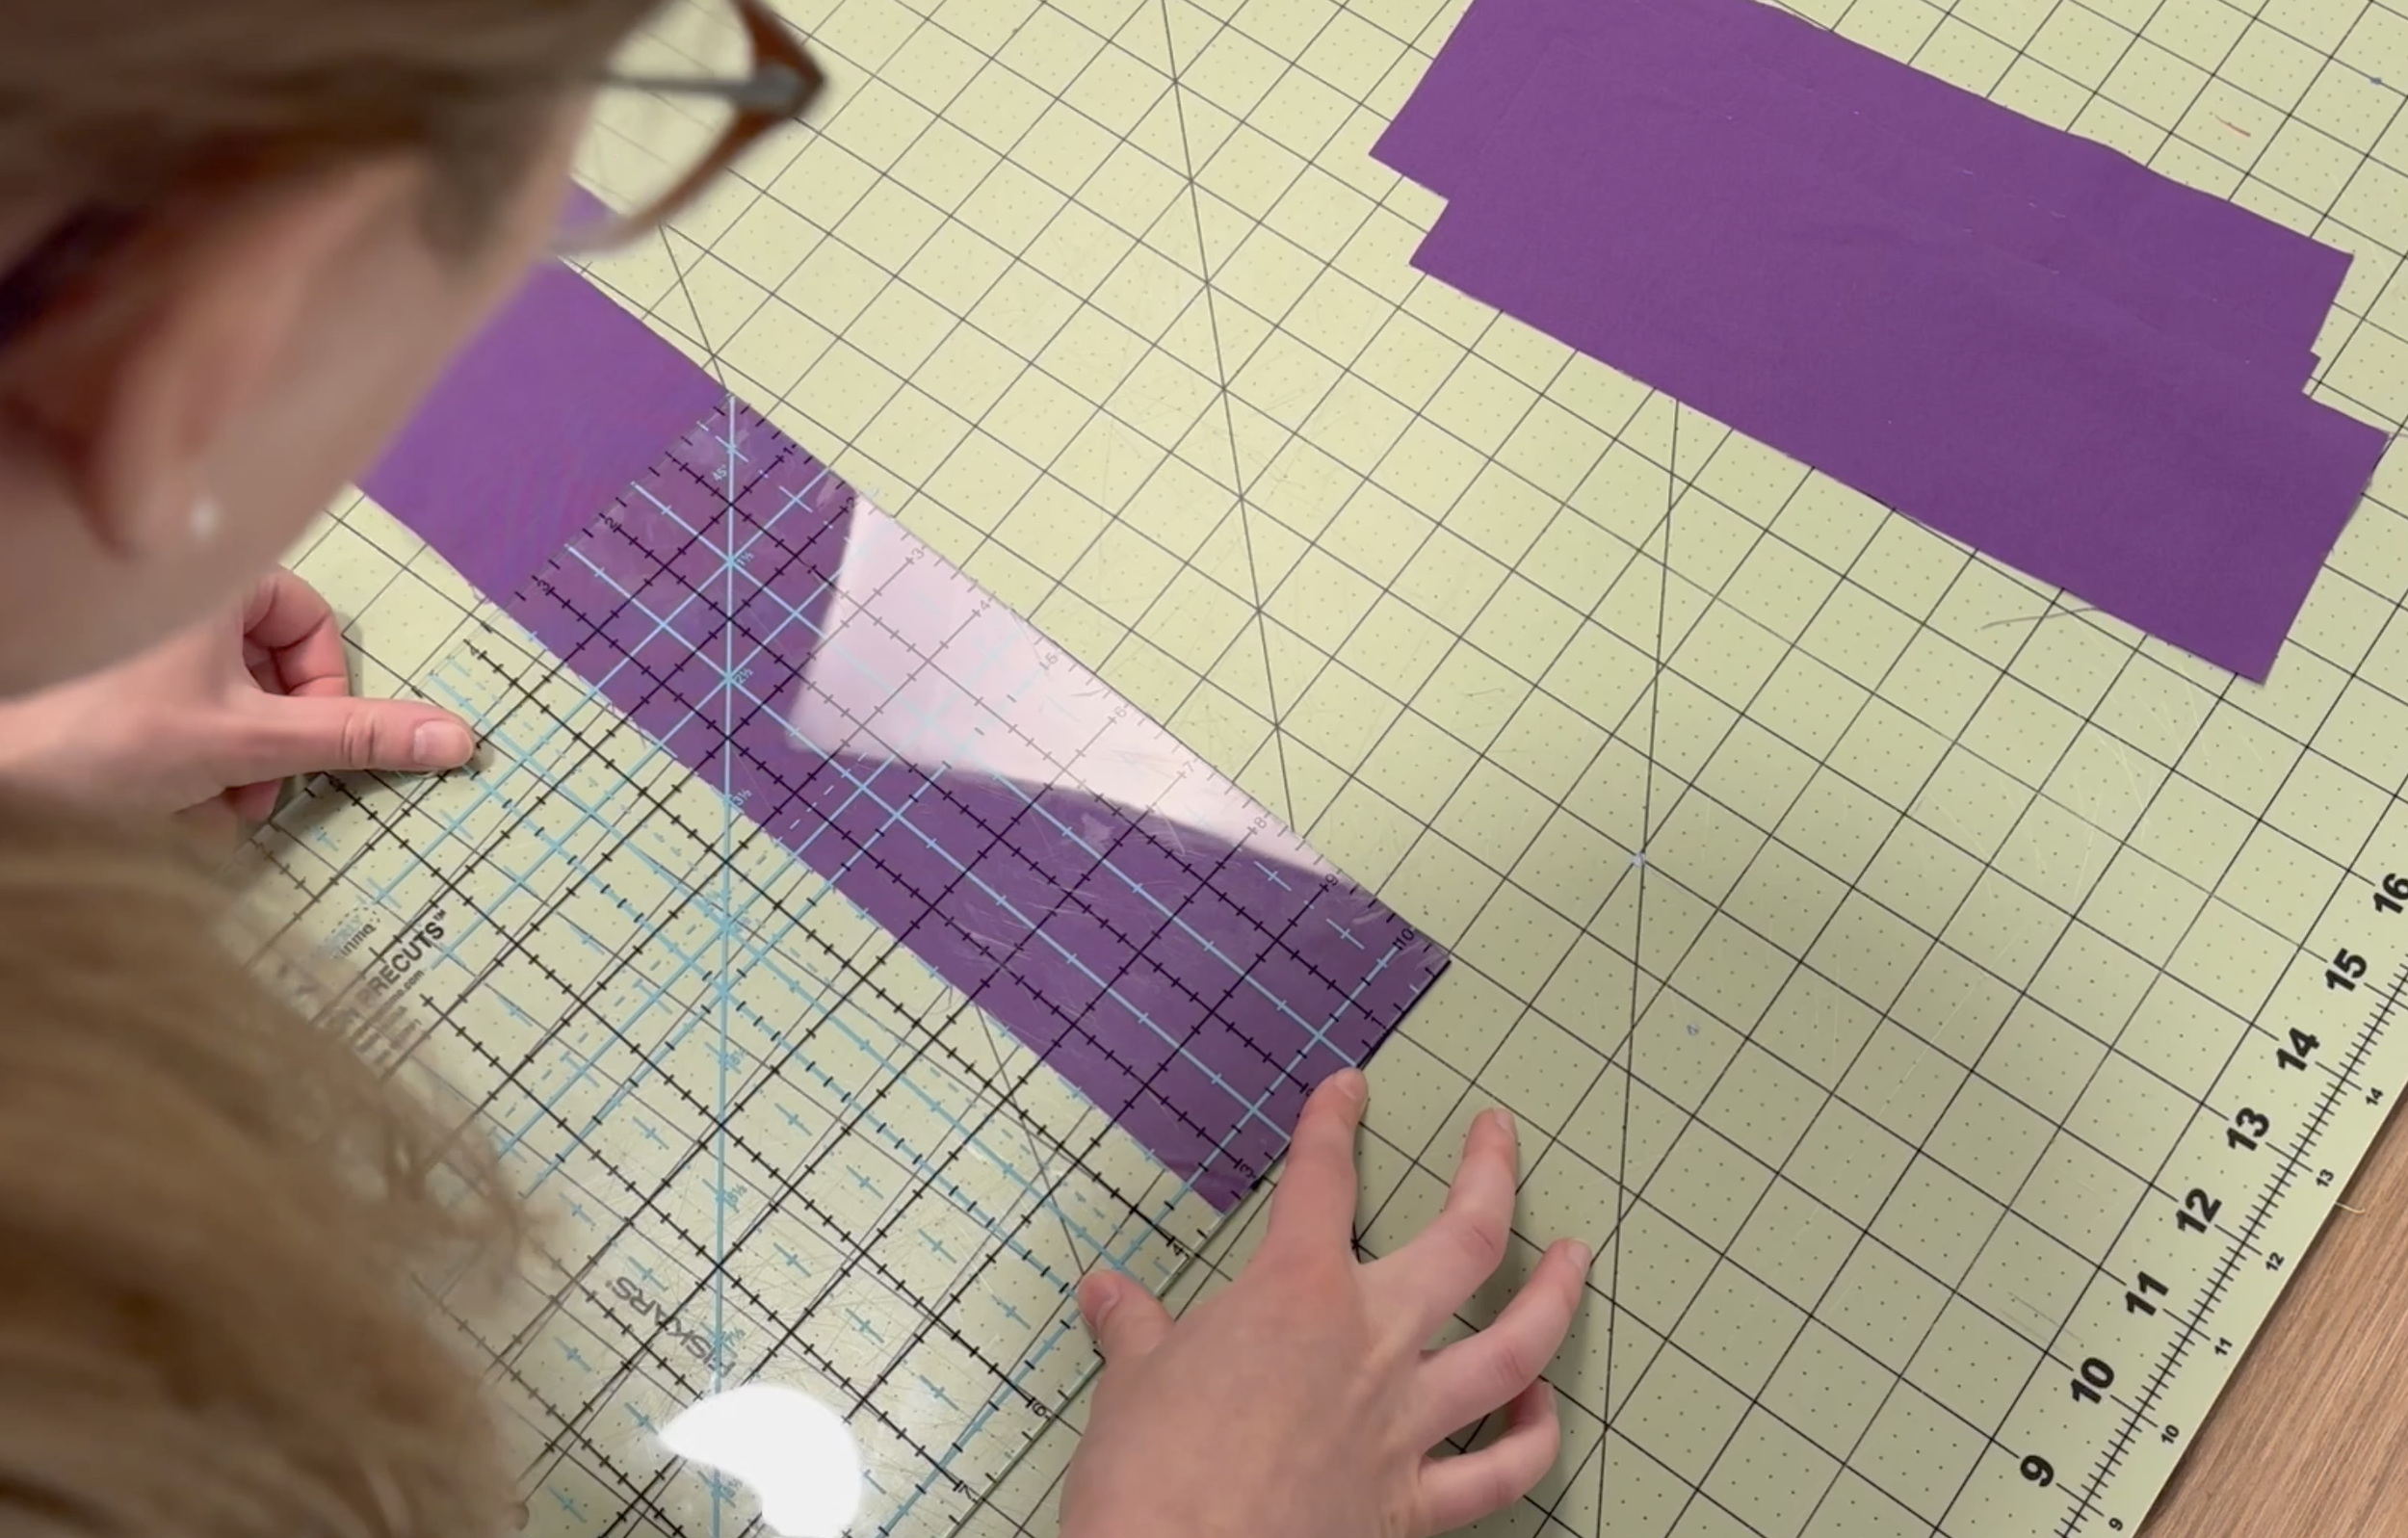
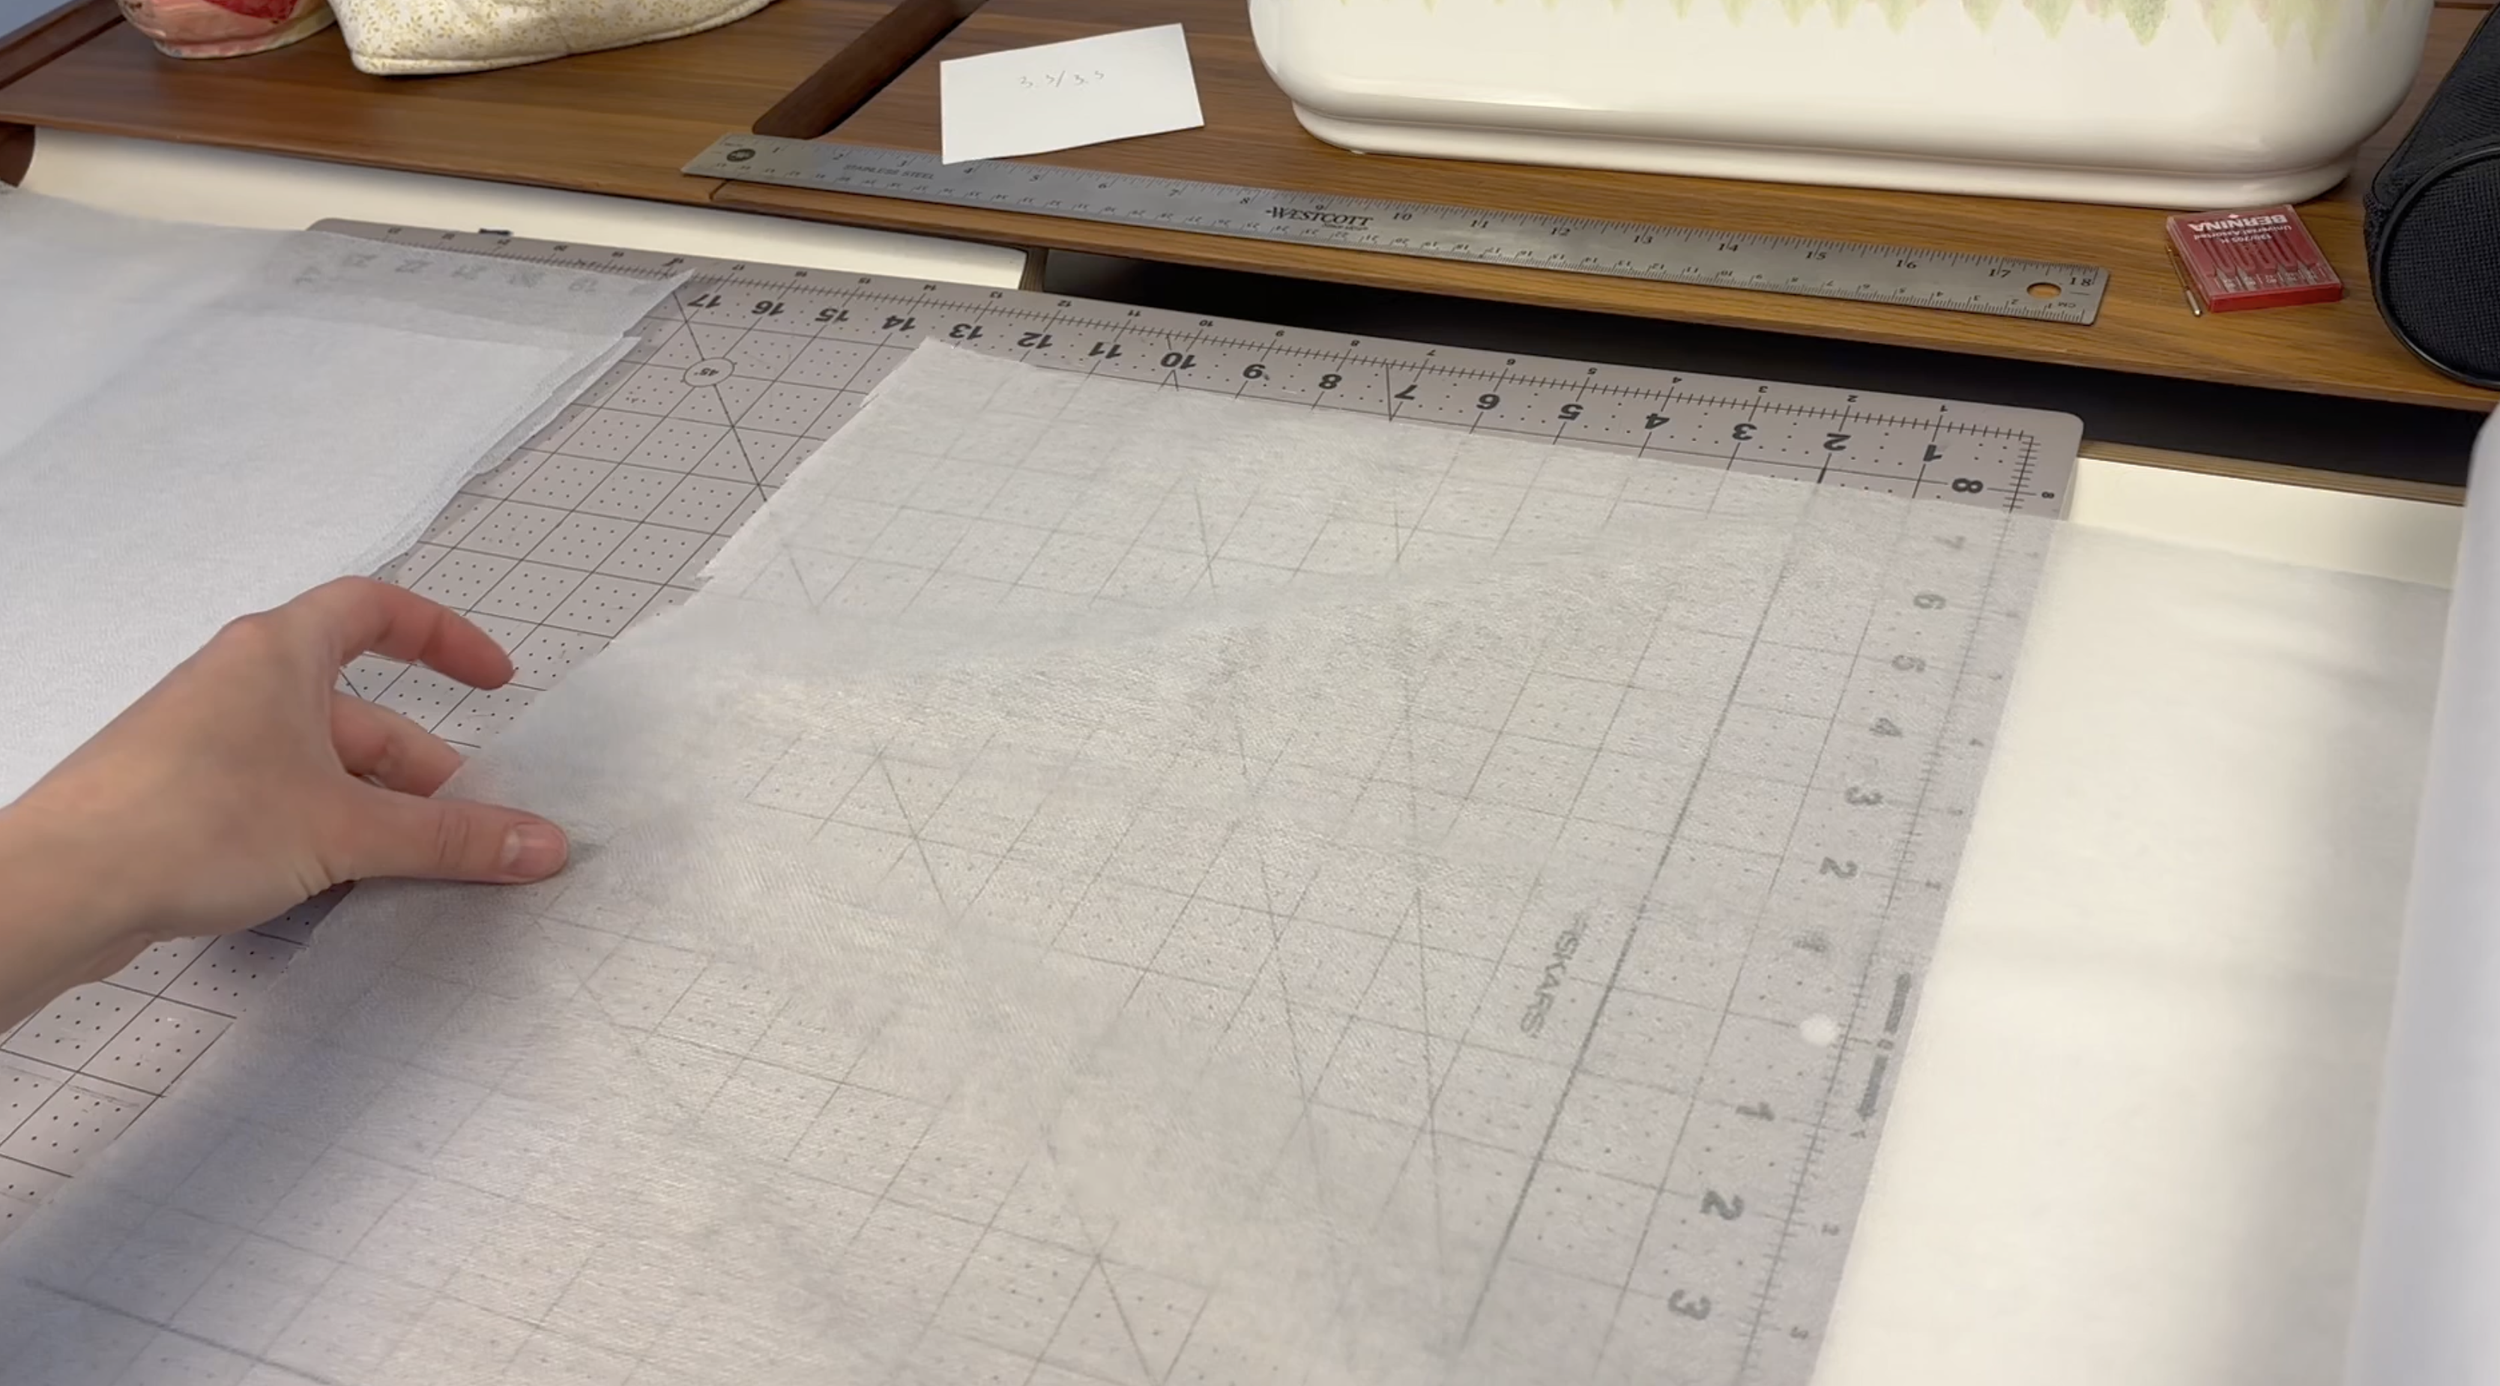
This was one of my main mistakes! I used a 100% cotton purple fabric for my borders and pre-washed it to handle the shrinkage. However, washing removed the factory starch. Because the stabilized t-shirts and the soft cotton had completely different stretch levels, it was difficult to get perfectly aligned corners. Next time, I will use starch spray or add fusible interfacing to the cotton fabric as well. Stabilizing both elements ensures they behave the exact same way under the needle.
Purchase the same interfacing here: https://amzn.to/3R9Fe4u
5. You Need Space
Making a quilt is not a small sewing project. Before you begin, ensure you have a large table to sew on, and enough open floor space or a spare bed where you can layout and leave the entire design untouched.
6. Pay Close Attention to Your Pattern Layout
This was the other big mistake I made - I accidentally sewed a large panel into the wrong spot! To prevent this, take a quick photo of your final layout on your phone before sewing, and use painter's tape to label each block by row.
7. Buy the Basting Spray
For smaller quilting projects, I’ve always just used pins. For a t-shirt quilt, basting spray is worth using because it holds the heavy fabric layers perfectly flat the entire time. Work in small sections, spray, smooth the layers out, and then trim off the excess batting and backing fabric.
A quick warning: Basting spray is incredibly sticky! If you spray outside for ventilation, cover the ground with an old top sheet or drop cloth so dirt and grass don't get permanently stuck to your project.
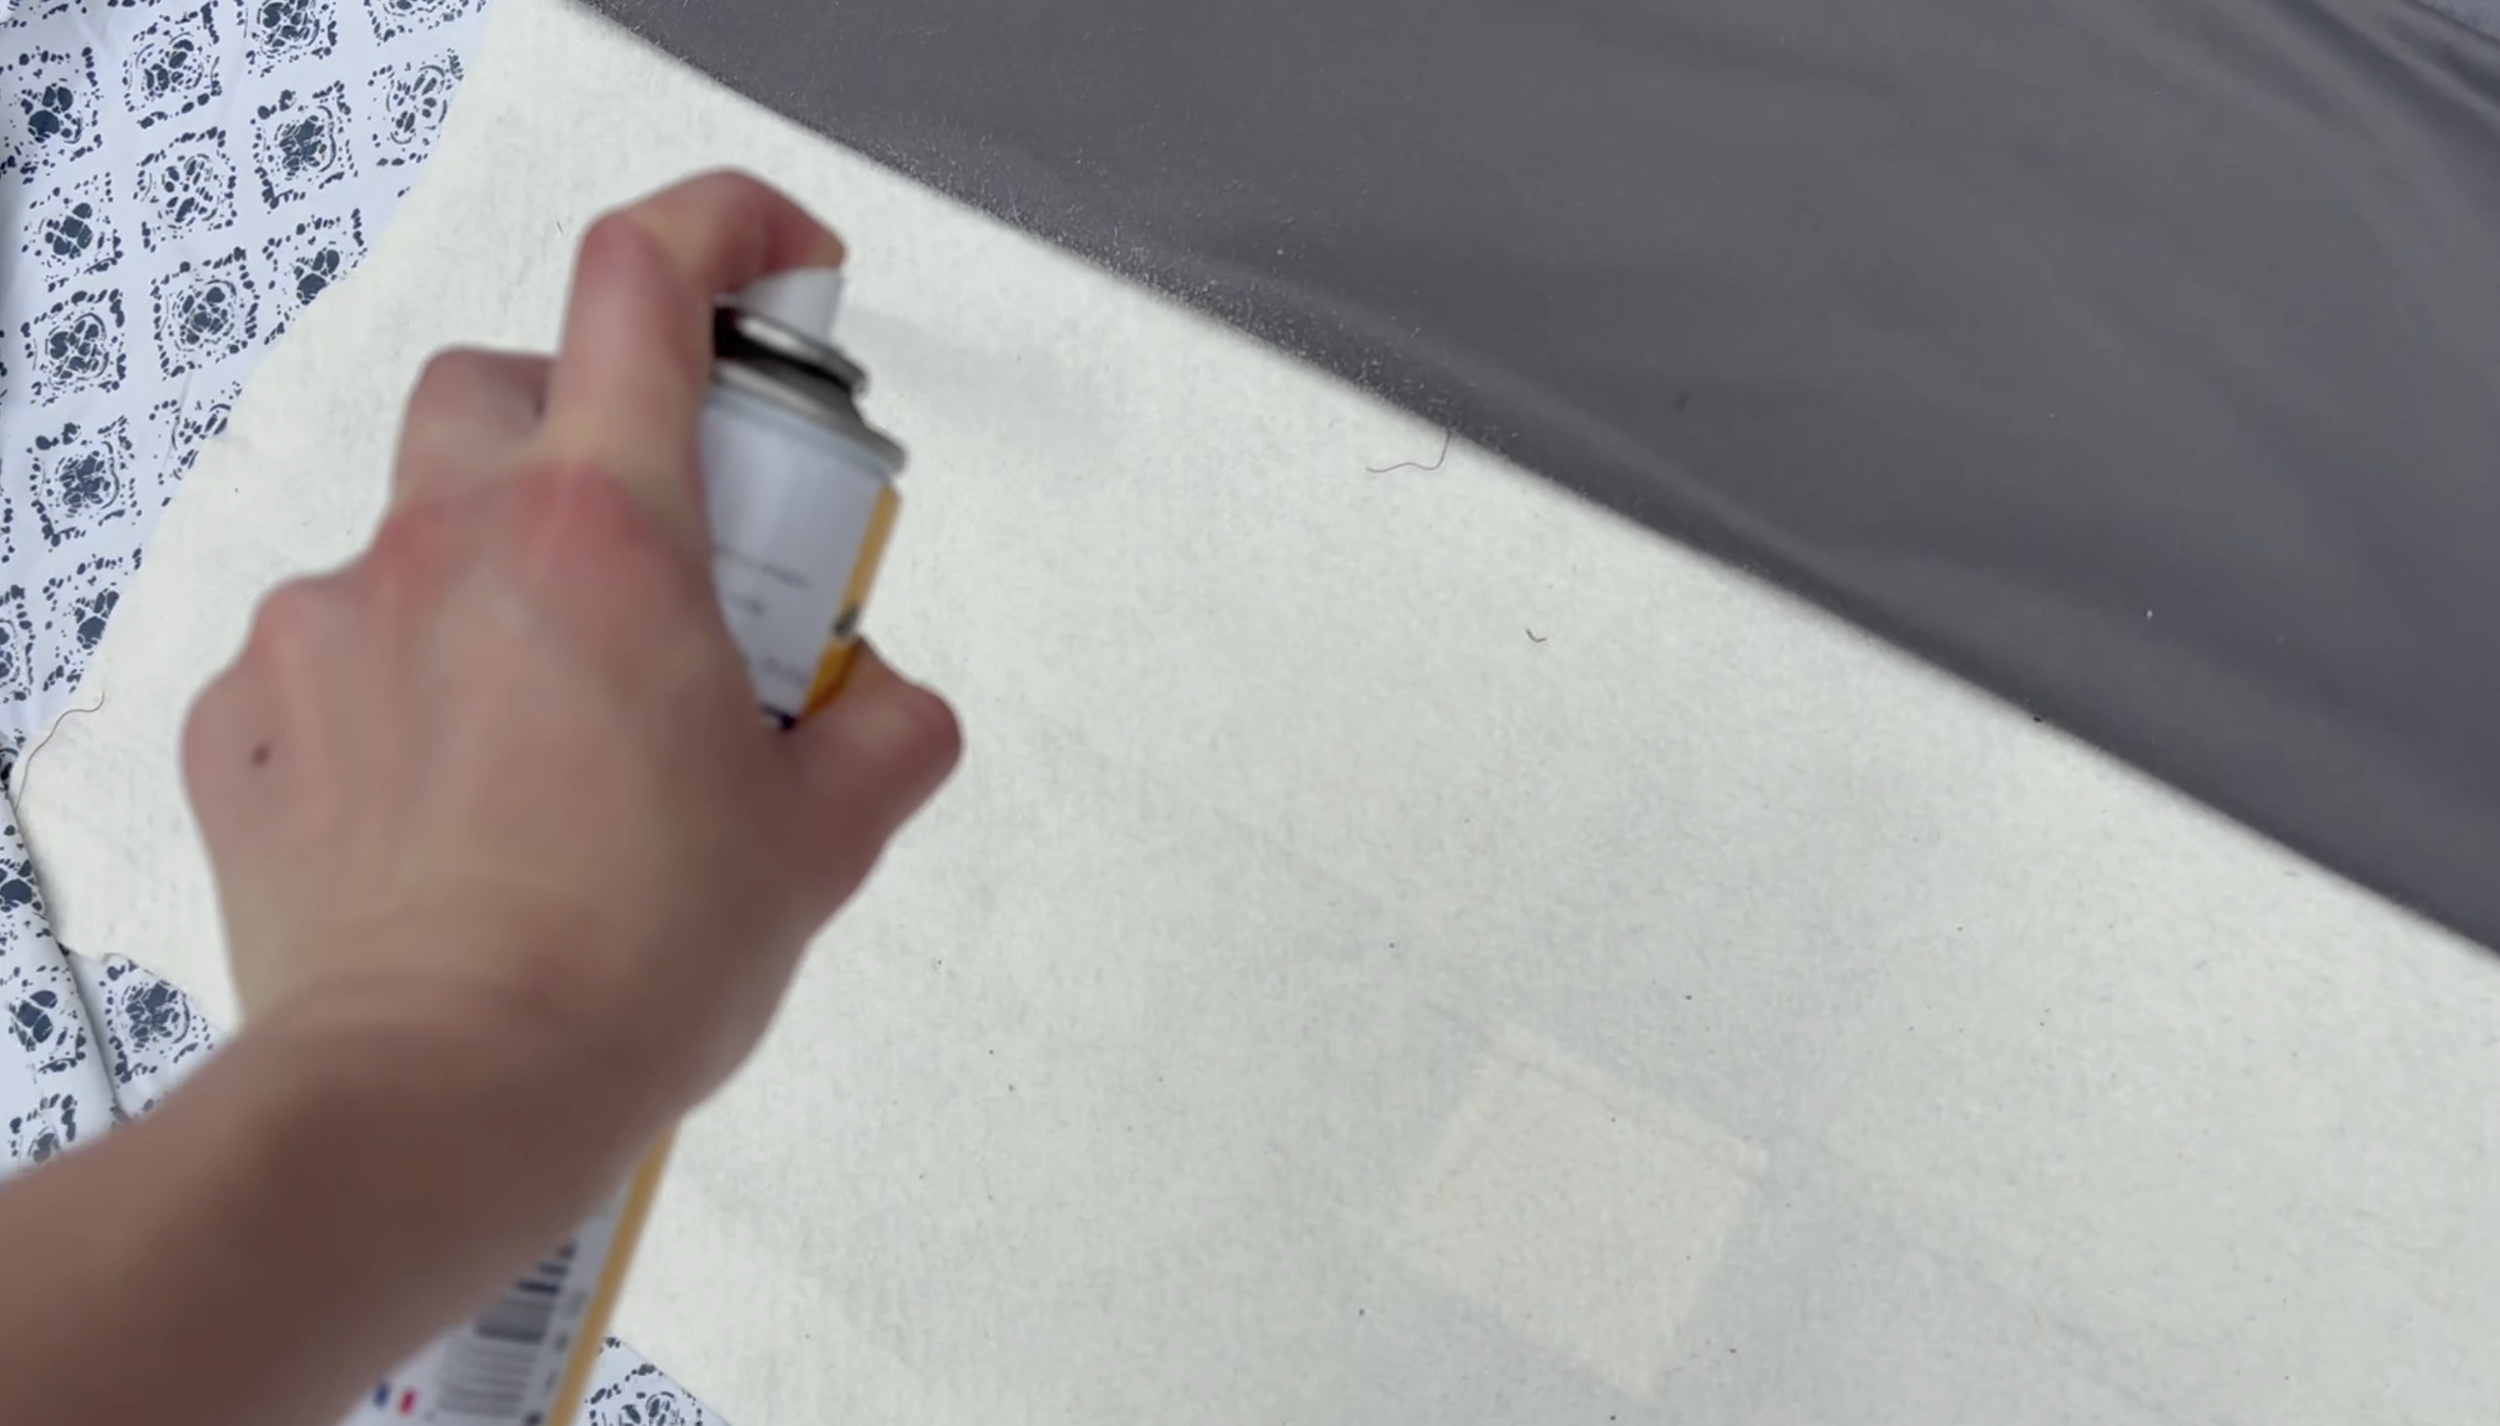
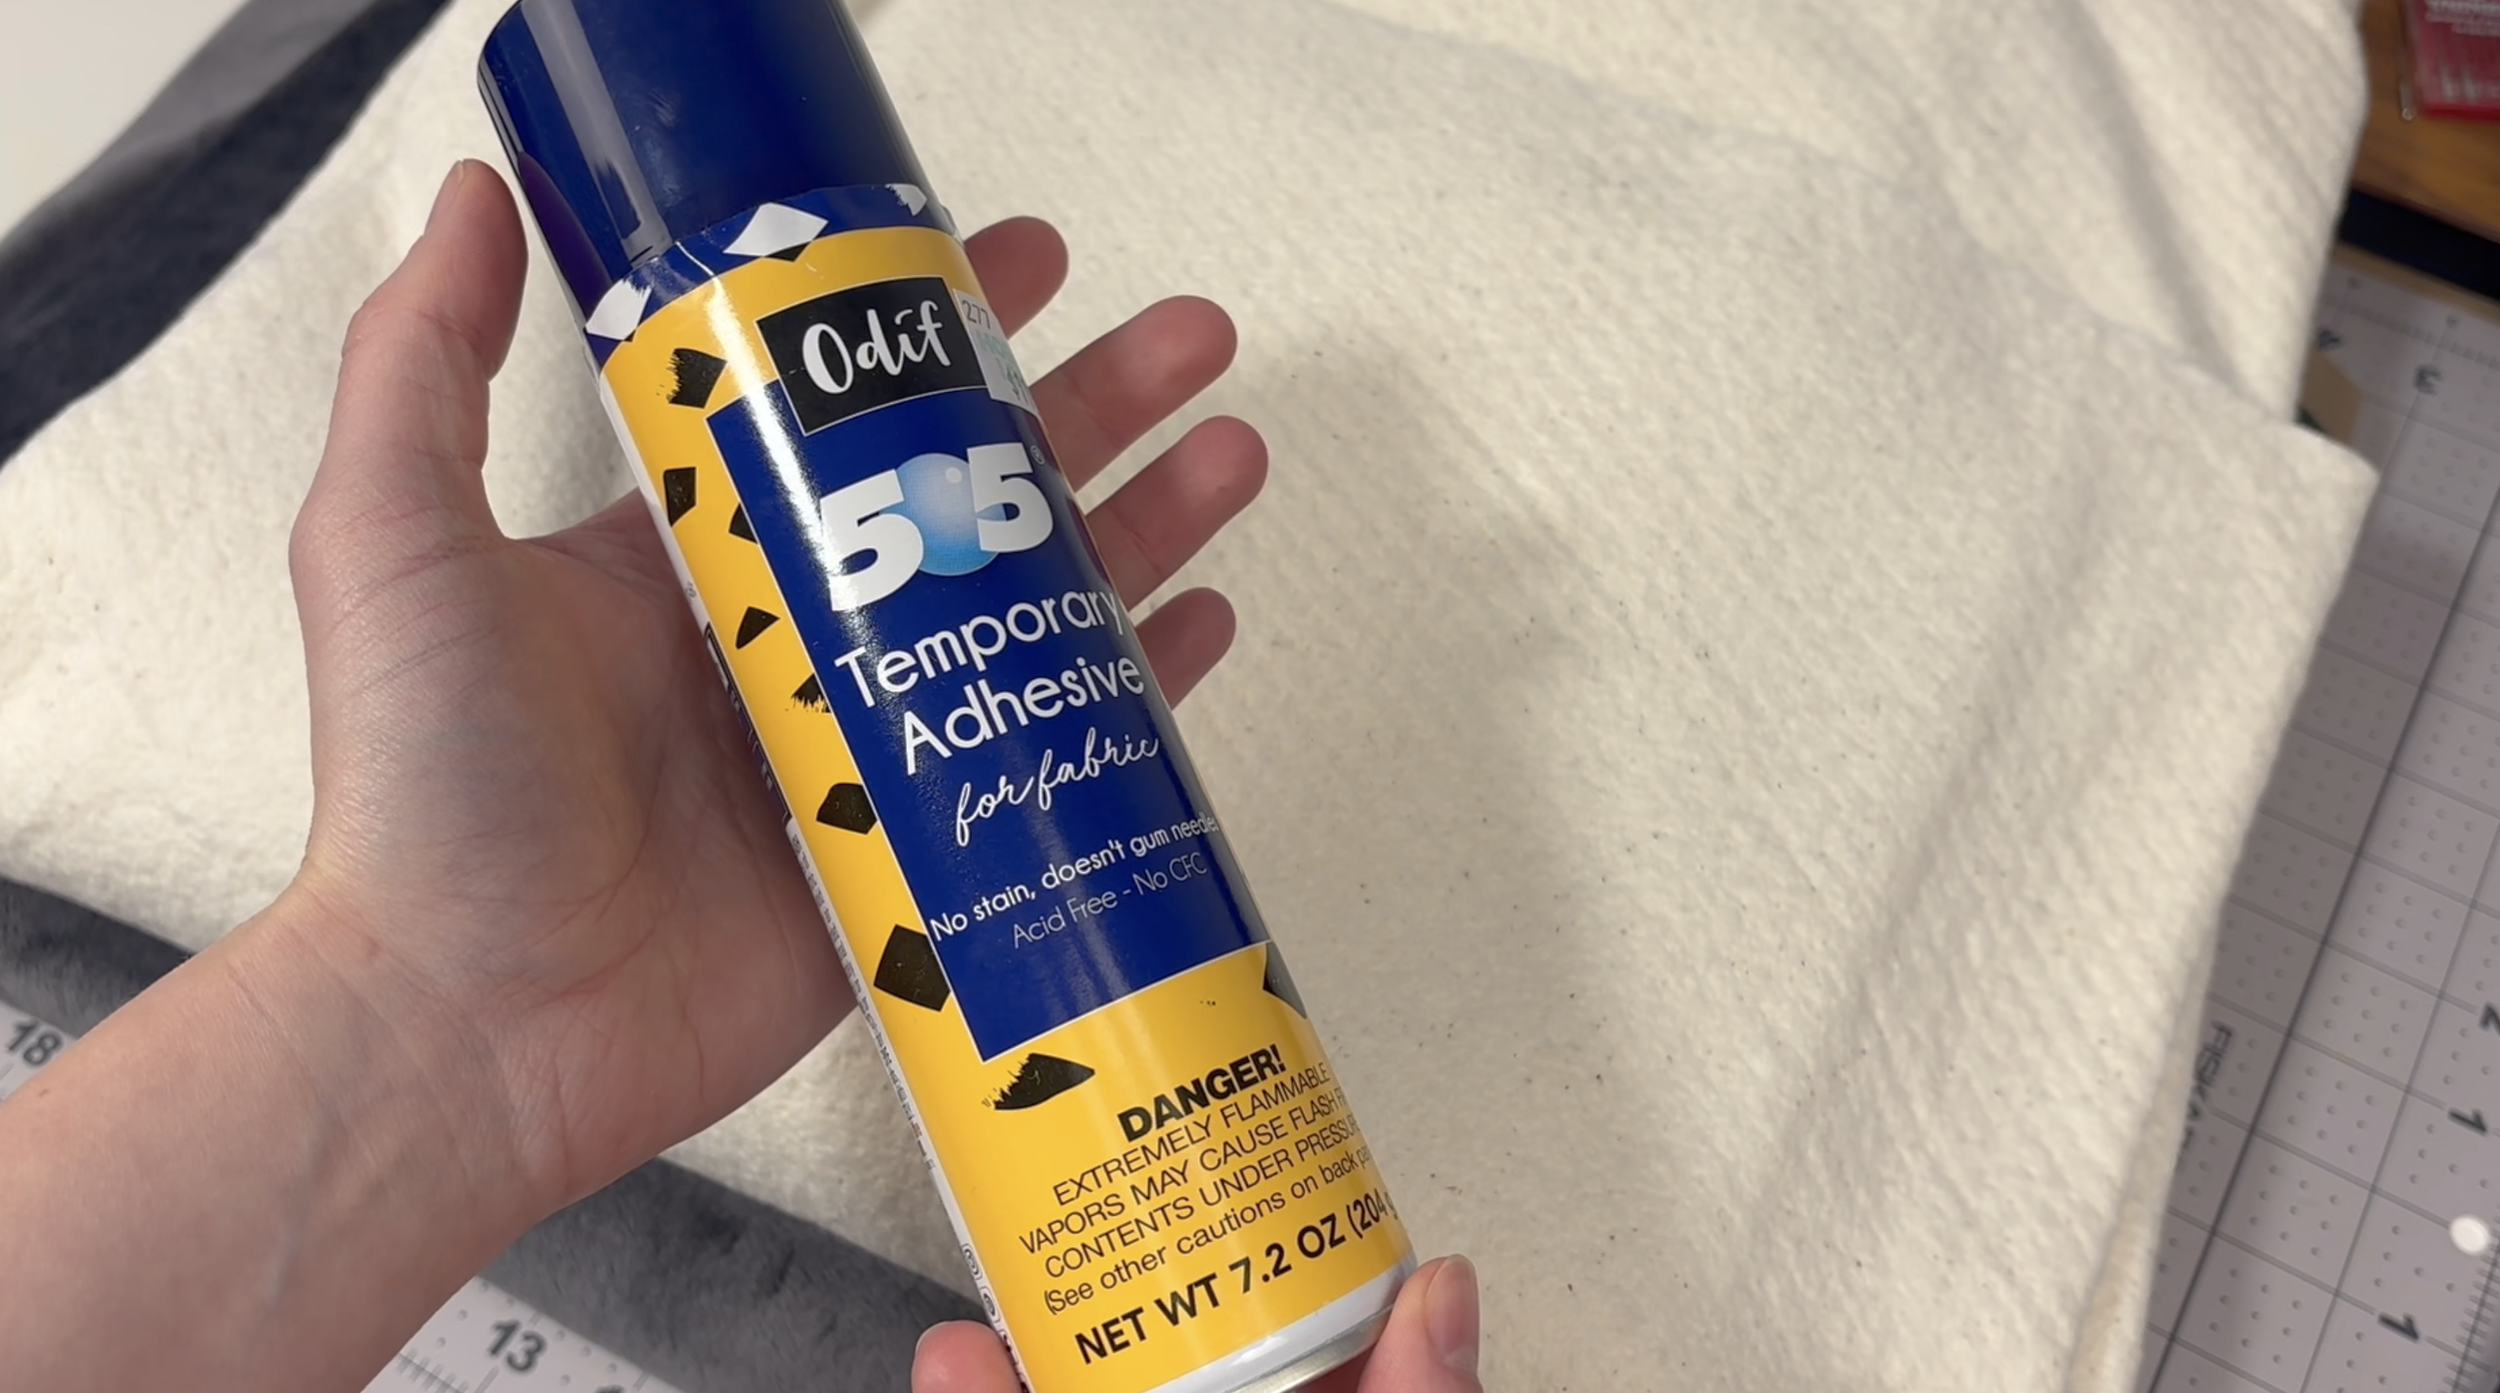
Purchase the same basting spray here: https://amzn.to/3RsVvlg
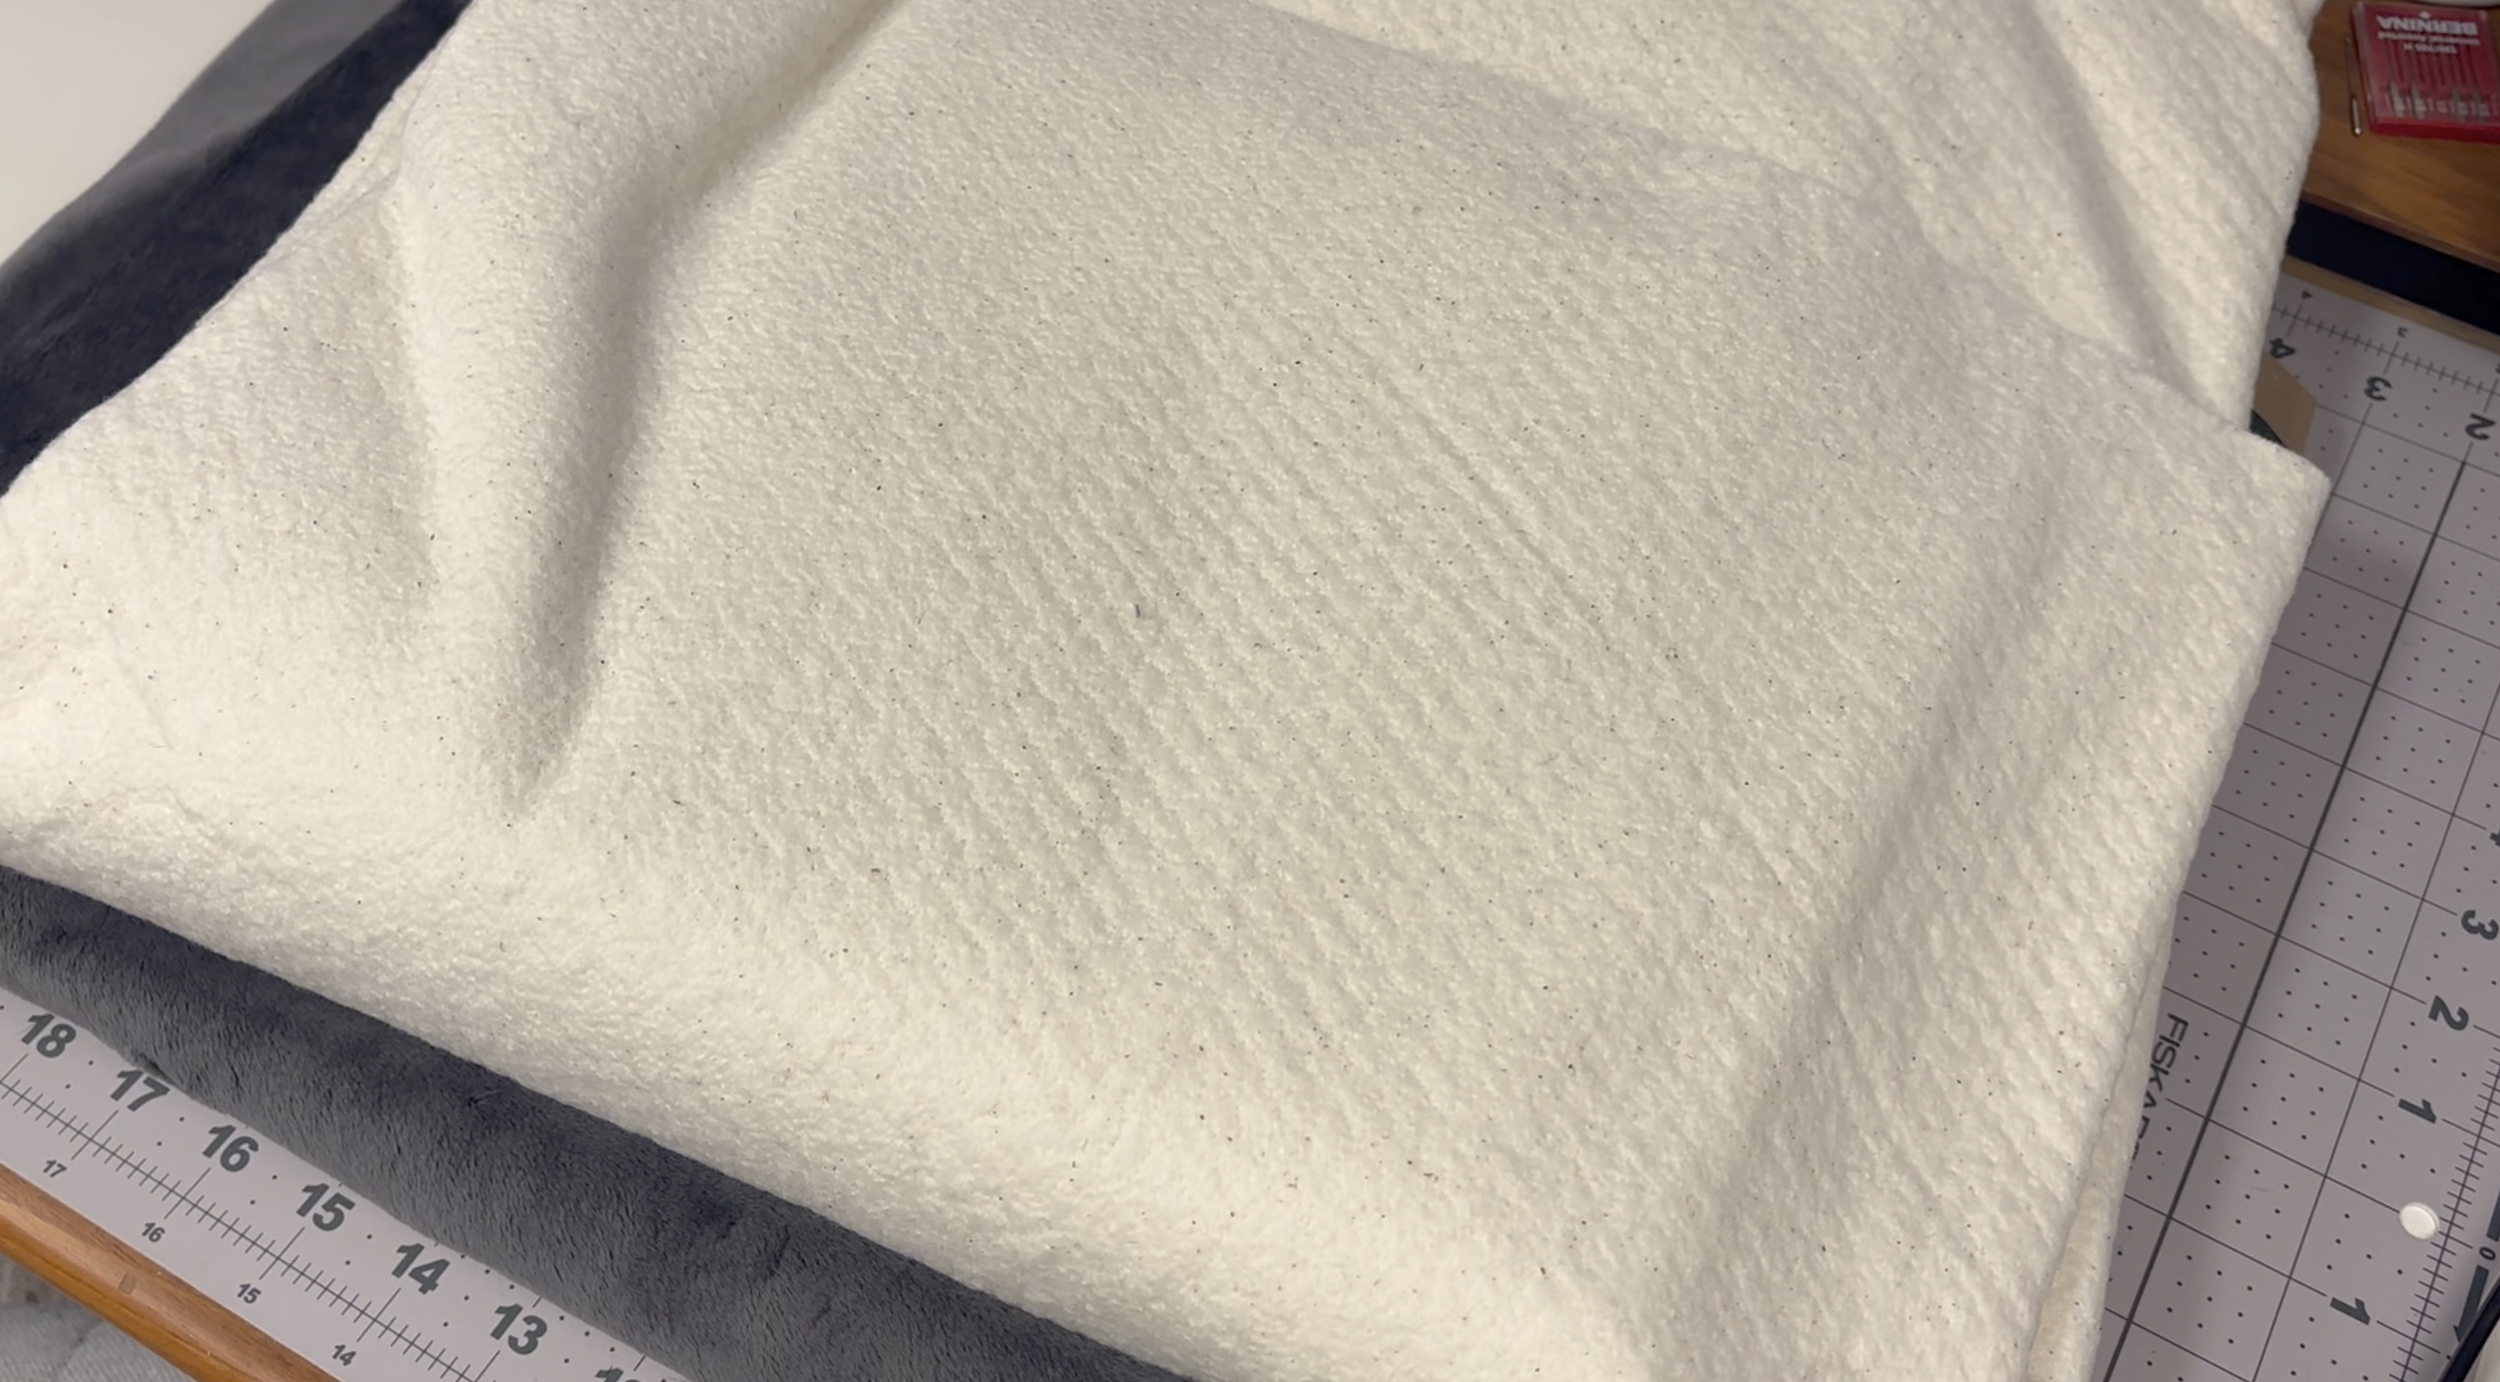
Purchase the same batting here: https://amzn.to/4y7pYGh
8. Test Your Tension and Stitch Length
Start with a new, sharp needle since you will be sewing through multiple heavy layers. Test your tension and stitch length on scrap fabric before touching the actual quilt. Keep in mind that areas with thick graphic ink will increase needle resistance. Slow your sewing pace way down when crossing over heavy graphics.
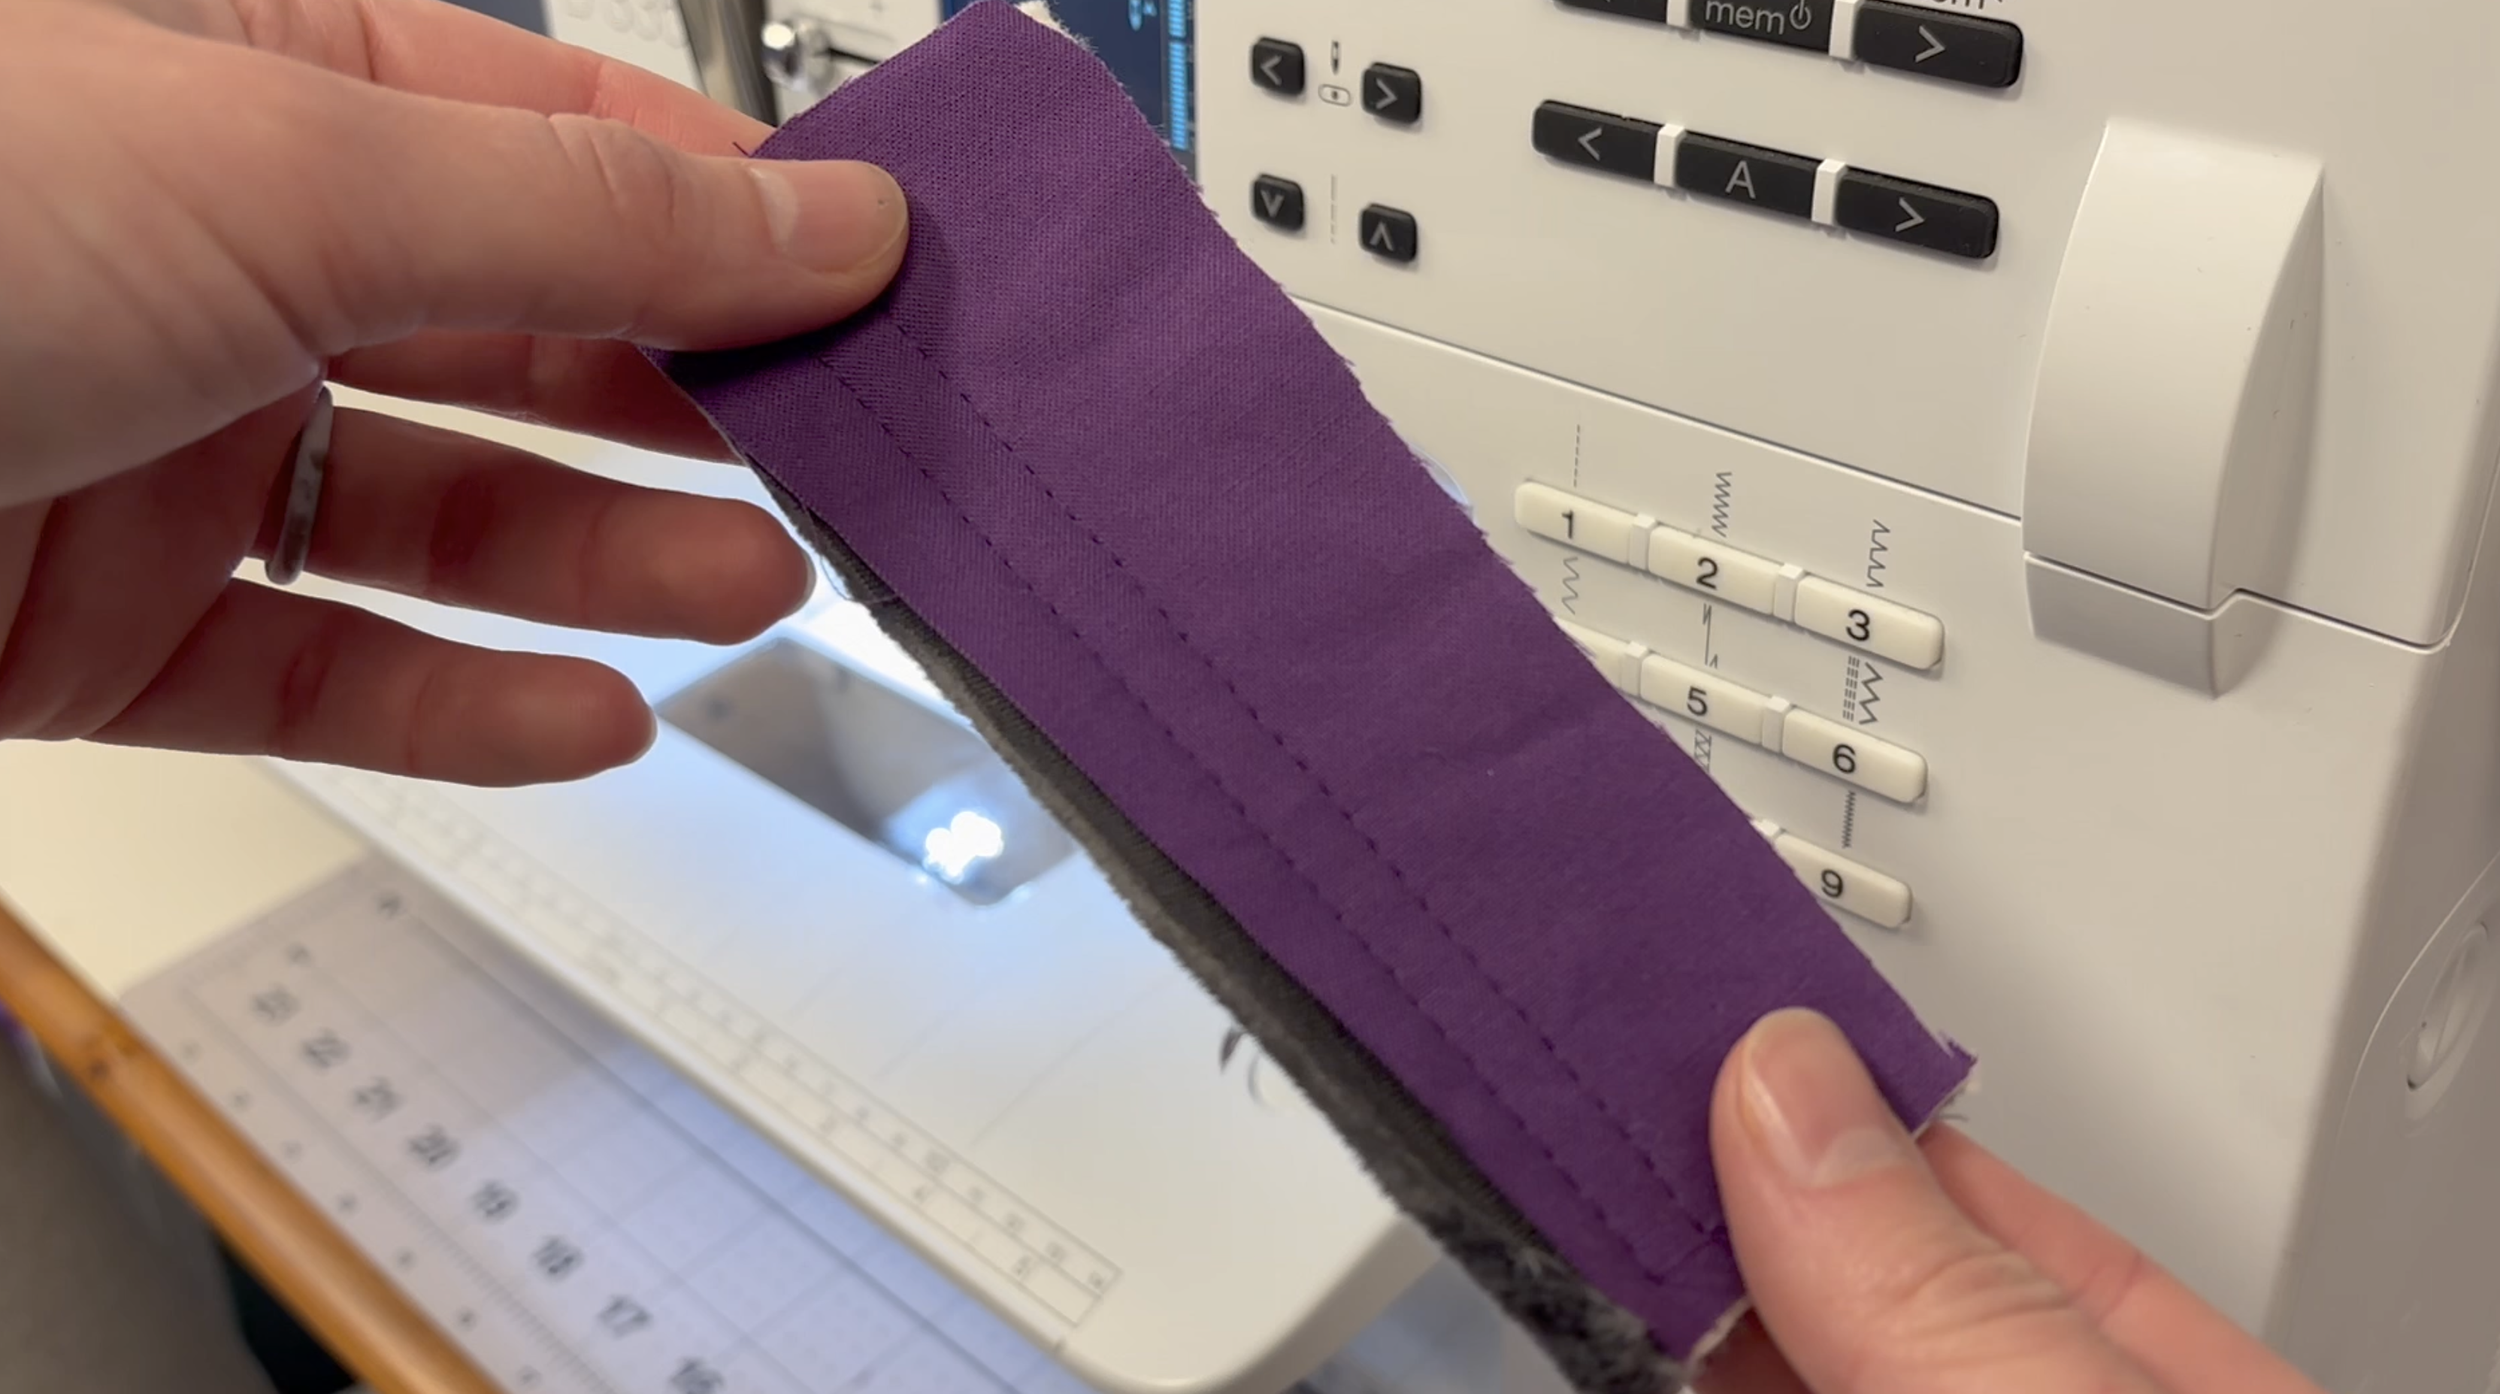
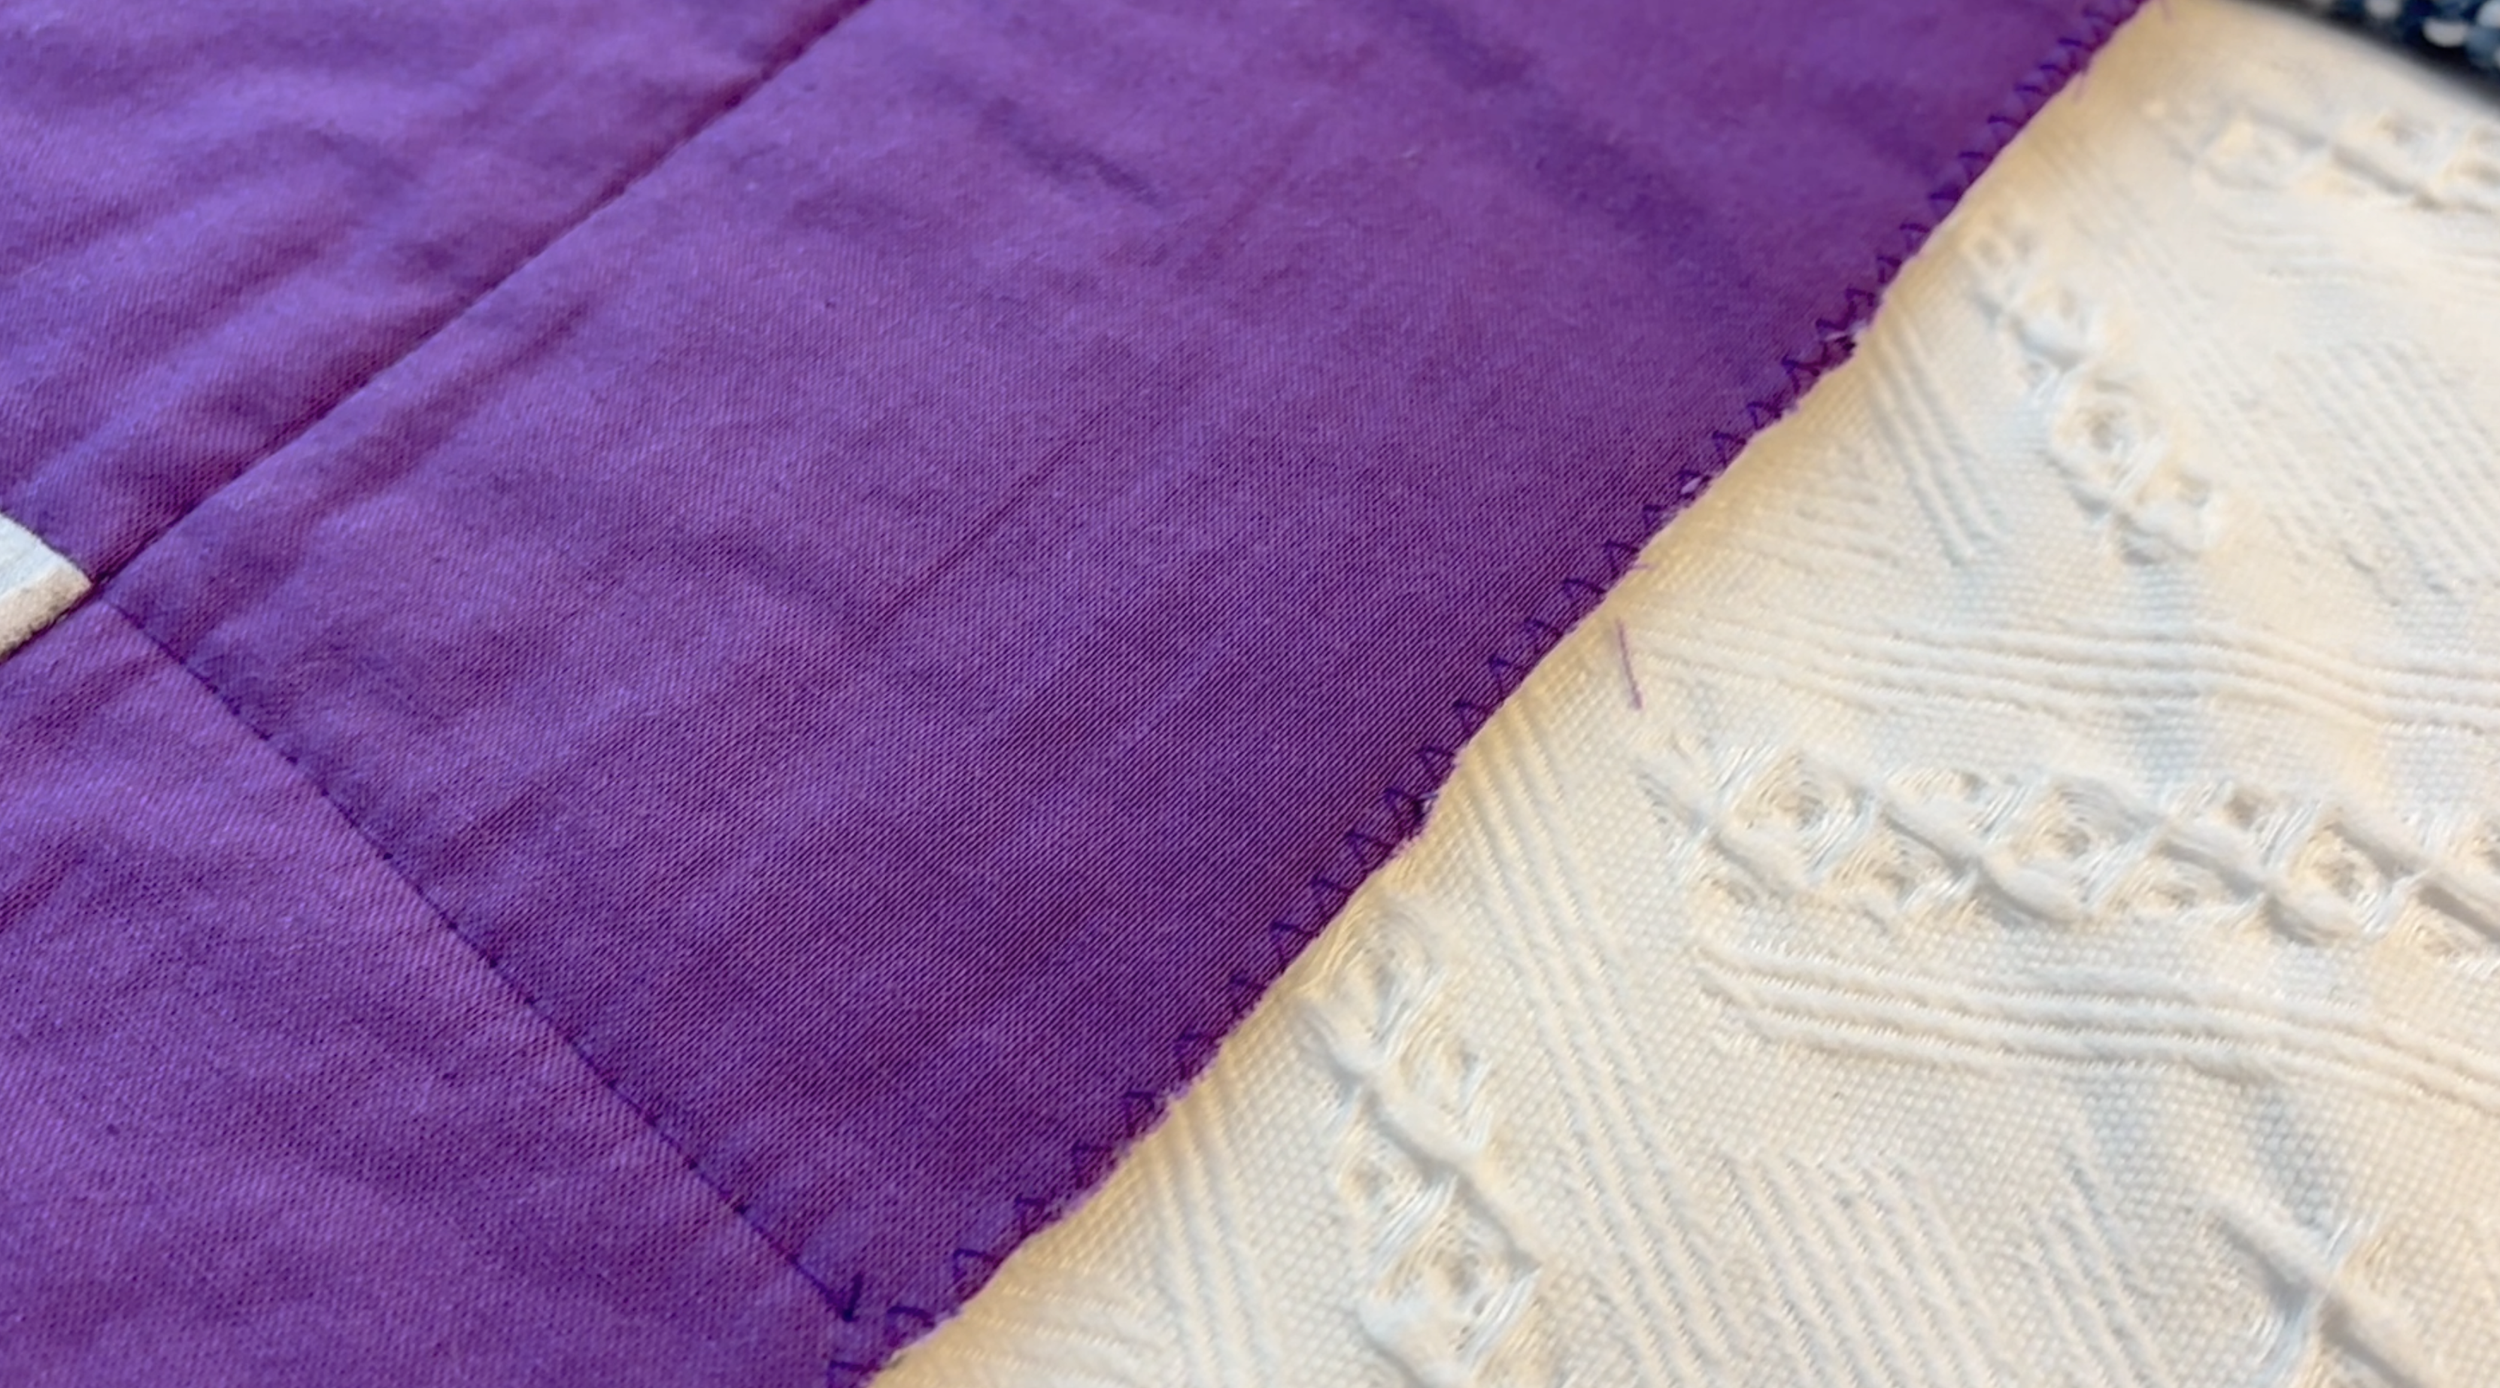
9. Zig-Zag the Edges Before Applying Bias Tape
I found this quick prep step to be worth it By zig-zagging or serging around the raw edge of the entire quilt, you lock in the top, batting, and backing. This makes sewing the final binding on much smoother.
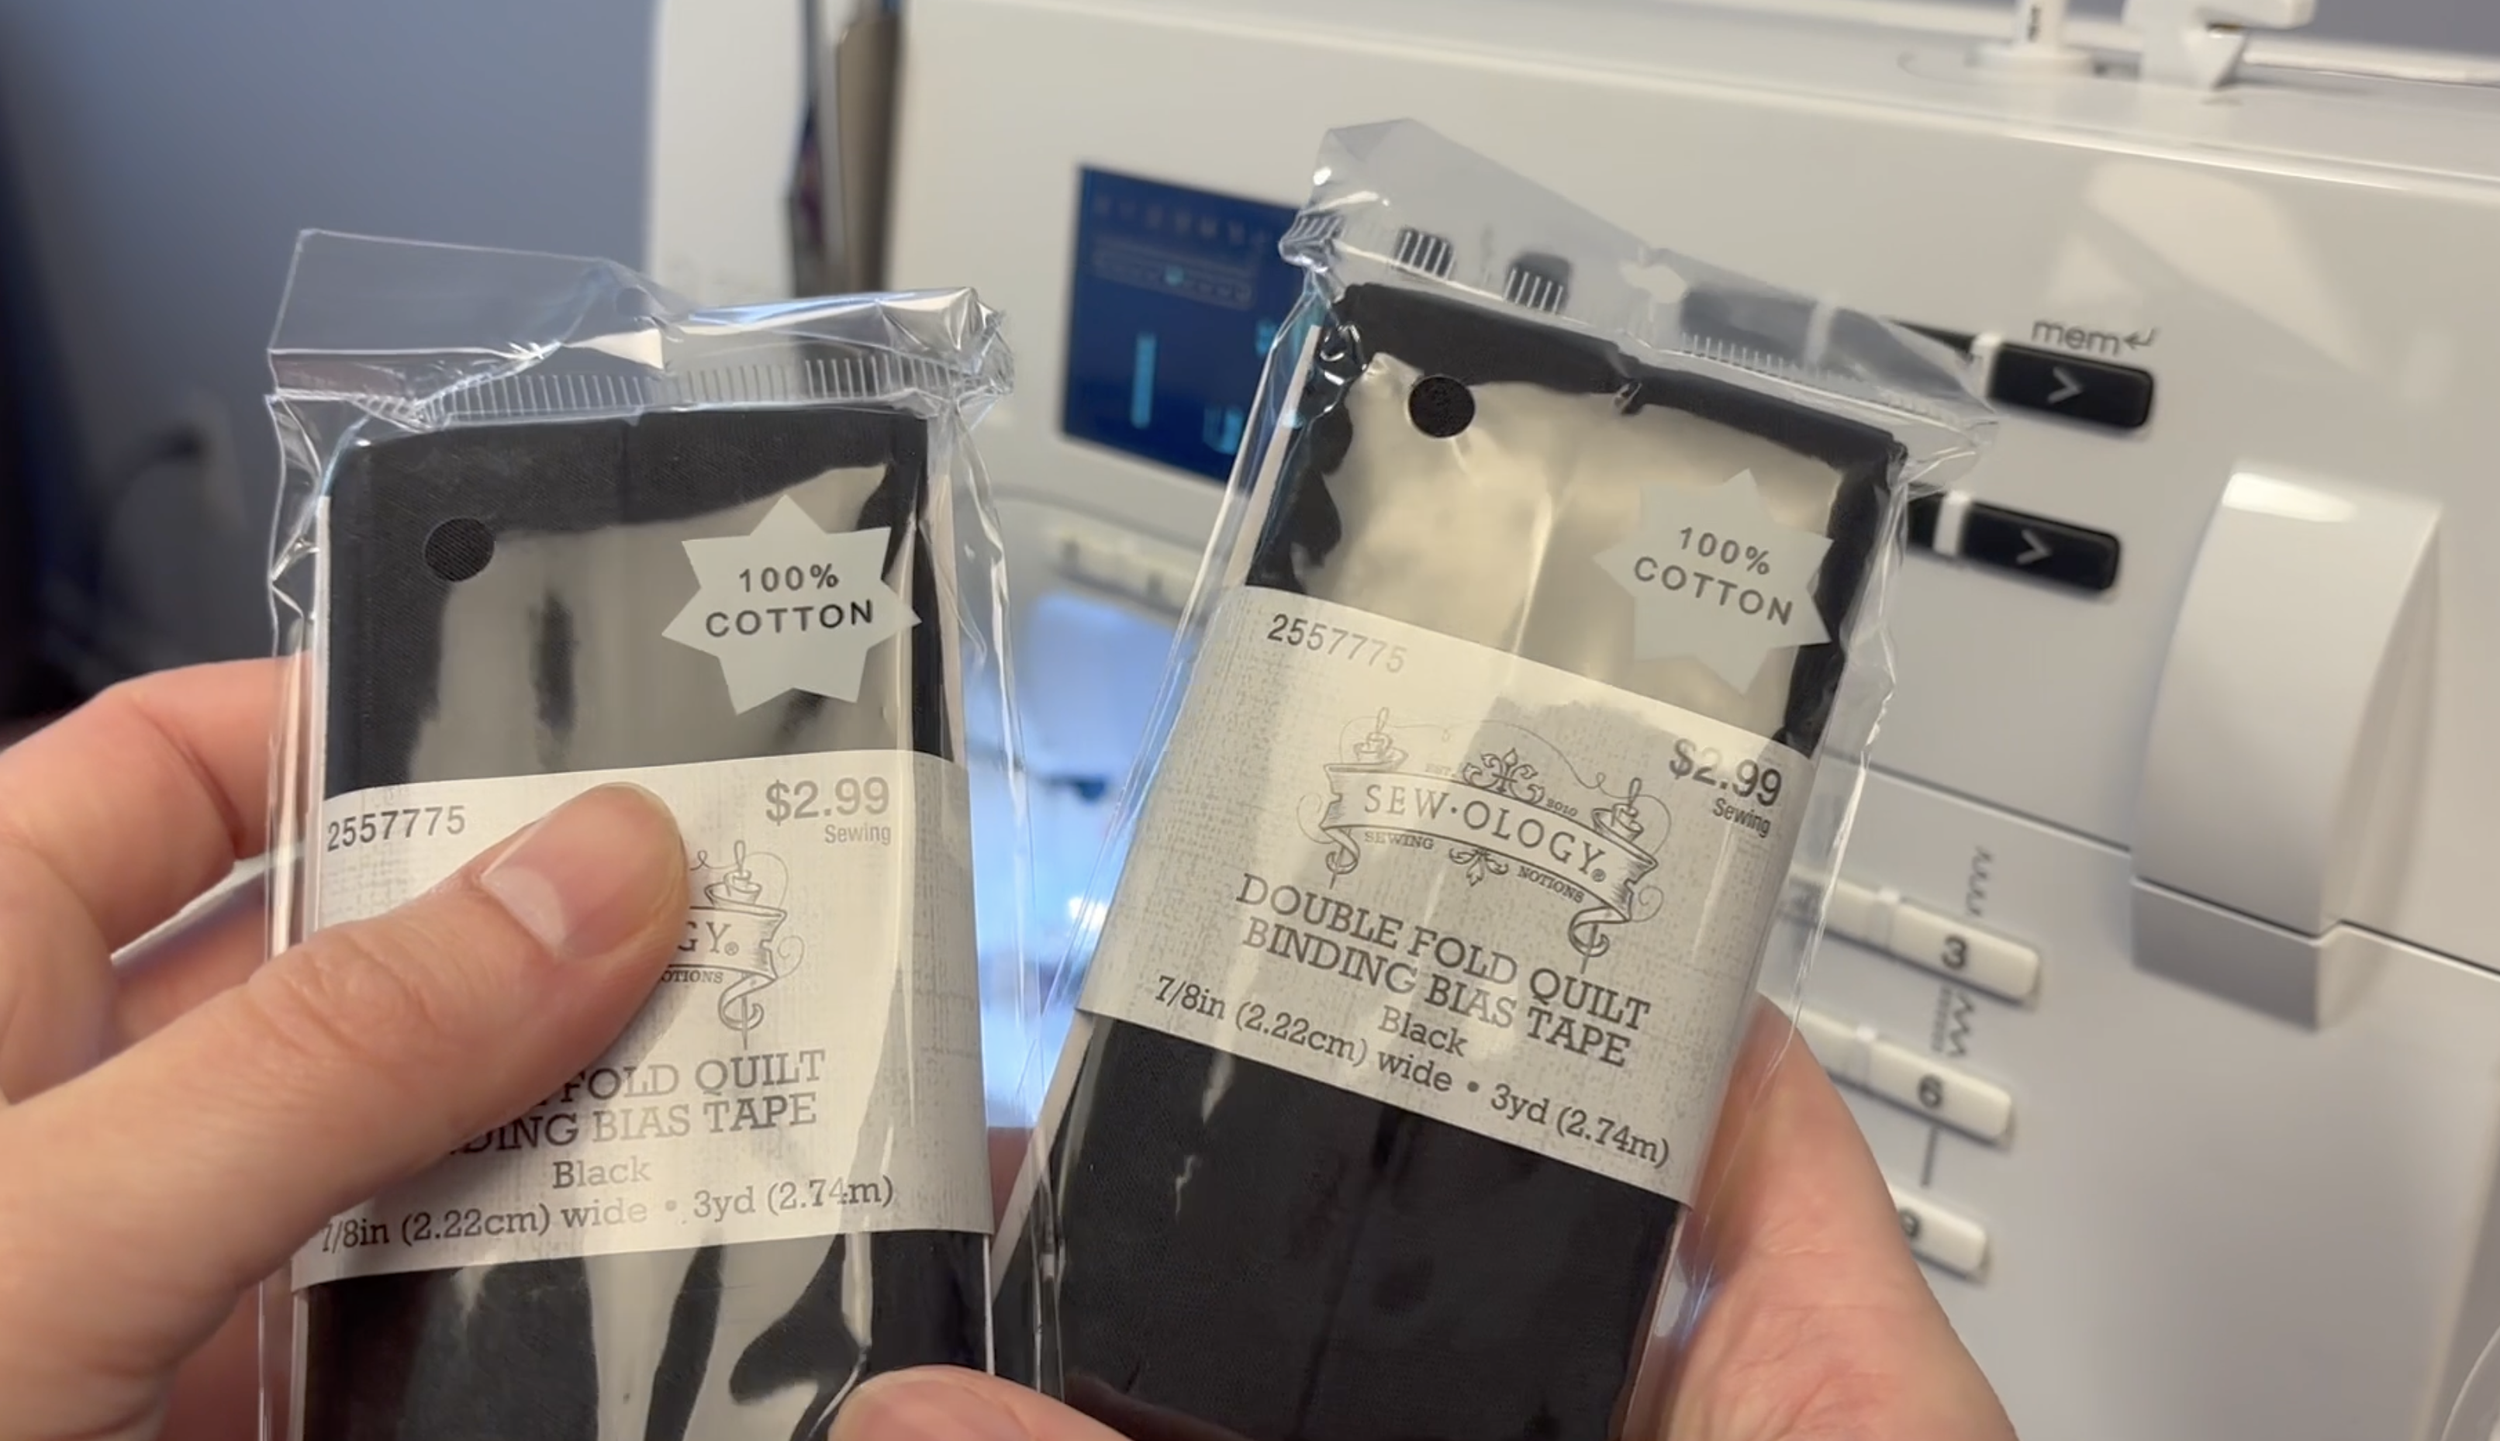
10. For Your First Quilt, Just Buy Pre-Made Bias Tape
When making my first quilt, making yards of custom bias tape felt like a massive chore right when I was exhausted and ready to be done. Pre-made binding is quick, easy, and guarantees a clean, durable edge. When attaching your bias tape, I highly recommend using sewing clips instead of pins to hold the thick layers together!
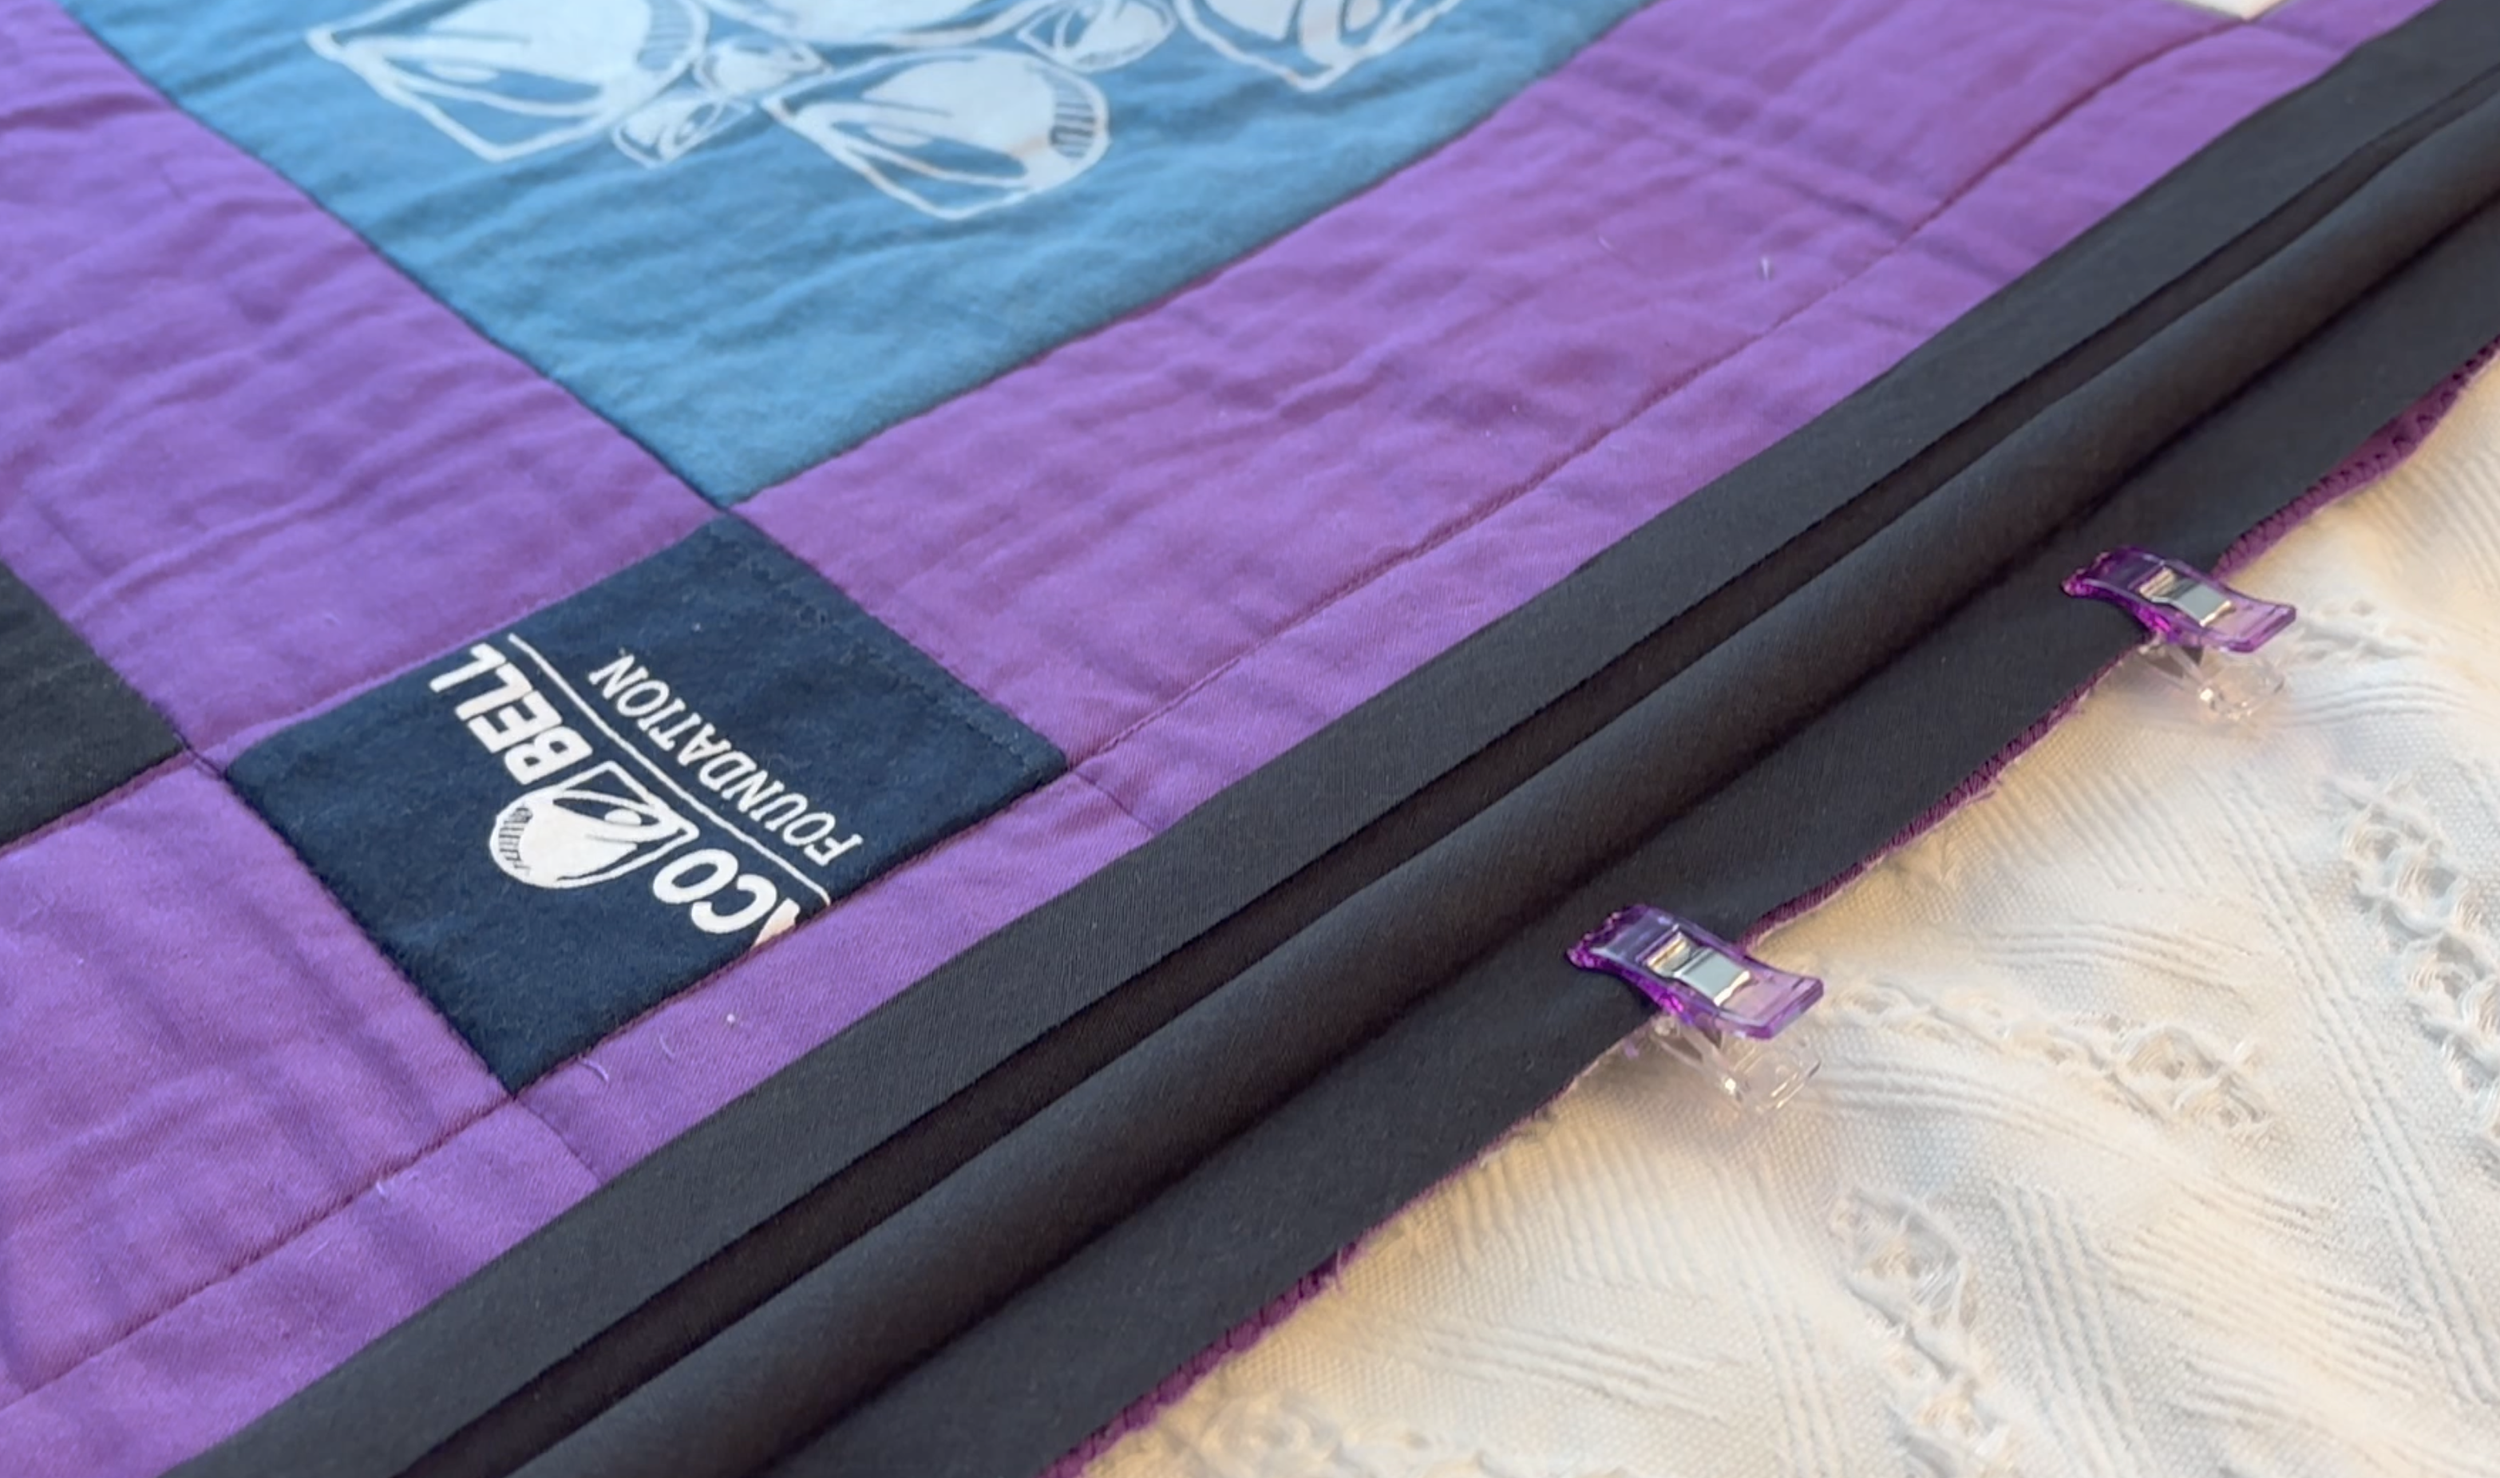
Purchase the same sewing clips here: https://amzn.to/4fpyVDb
All Done!